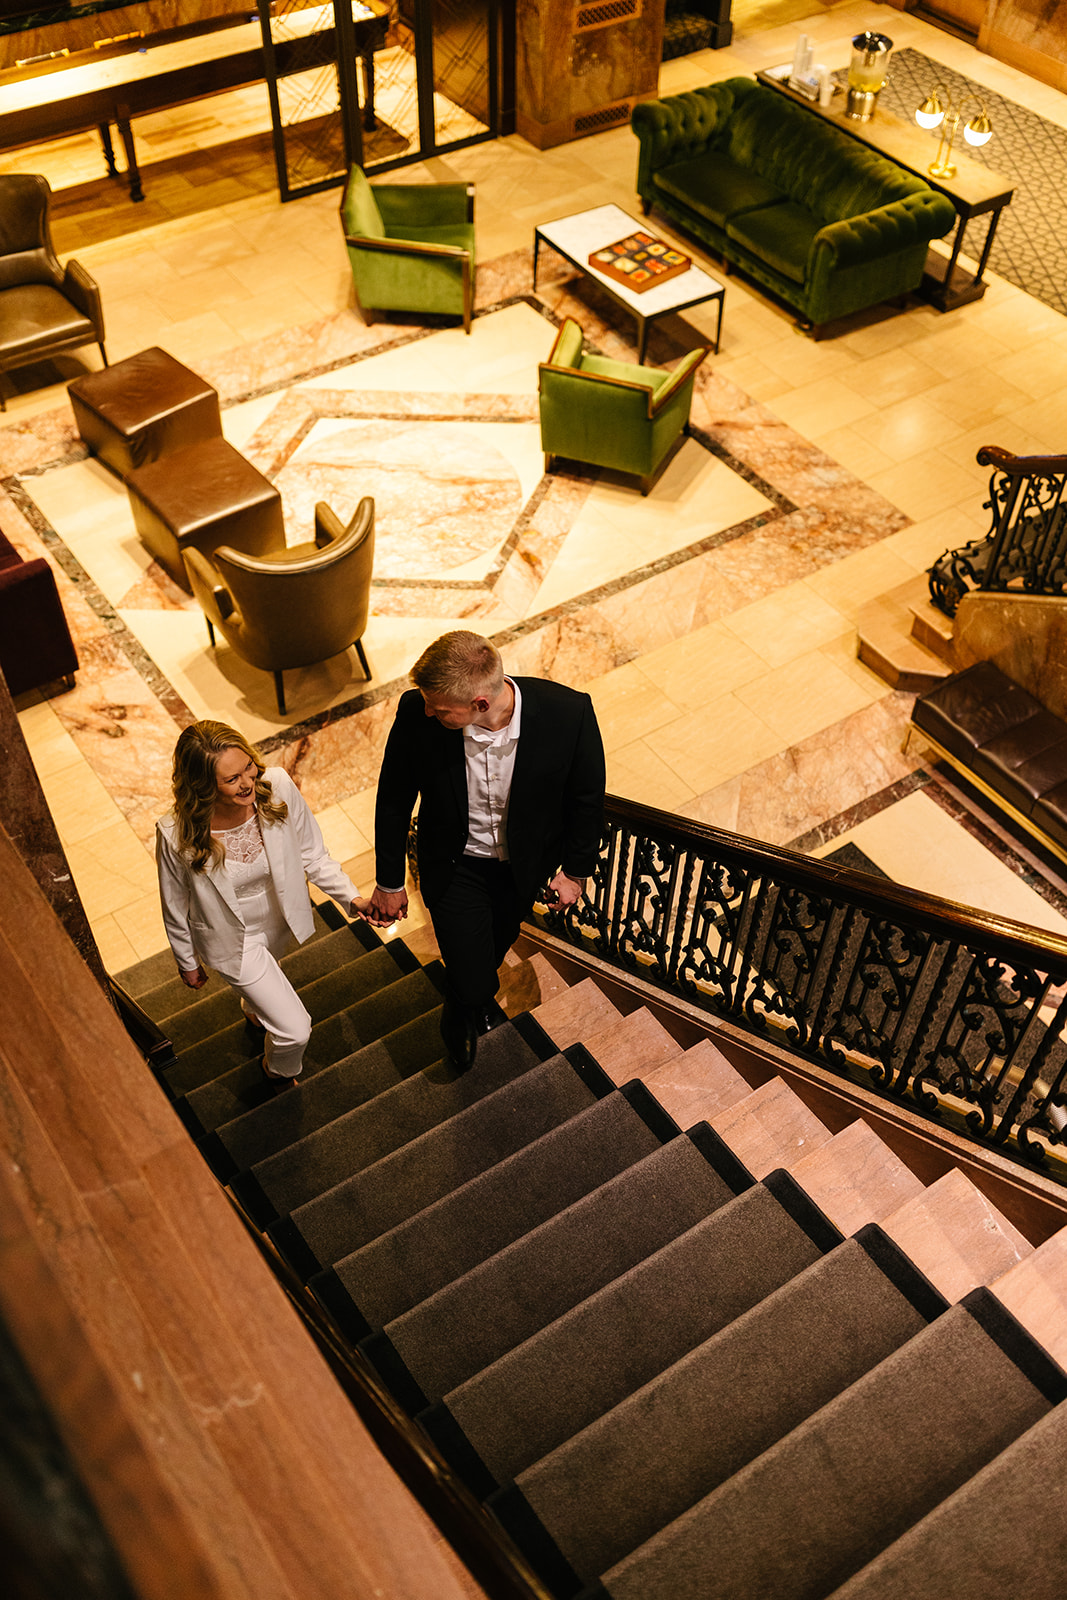
Some engagement sessions feel like stepping straight into a movie, and Danielle and Quentin’s was exactly that! These two brought style, personality, and a perfect mix of moody vintage charm and carefree fun to their session. With two incredible locations—the historic Hotel Phillips and the breathtaking Kauffman Center for the Performing Arts—they truly got the best of both worlds.
Moody & Romantic at The Hotel Phillips
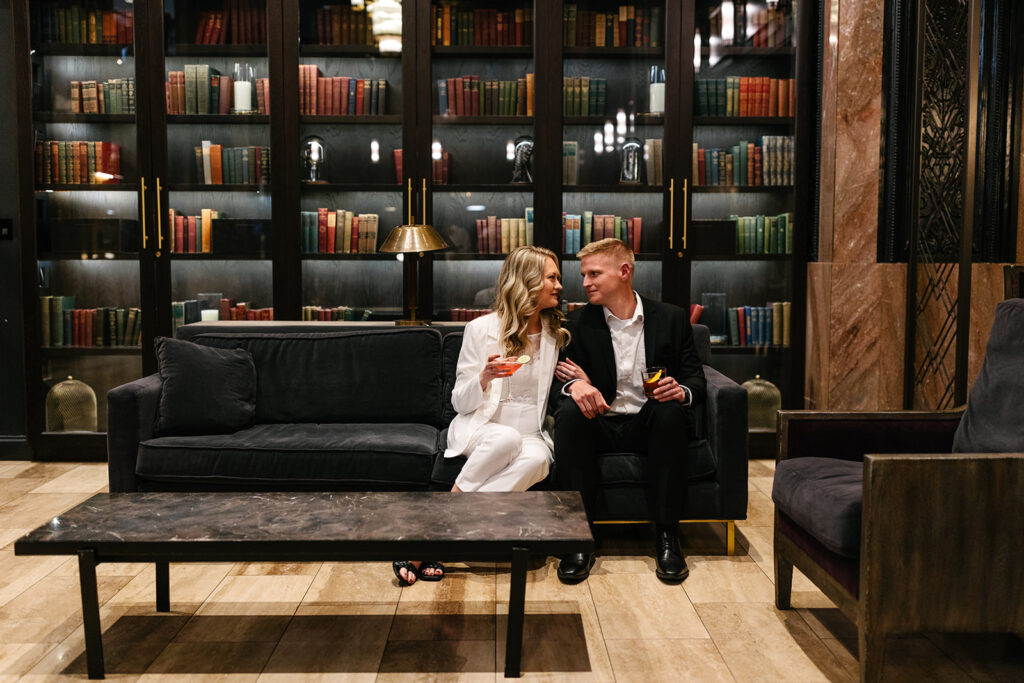
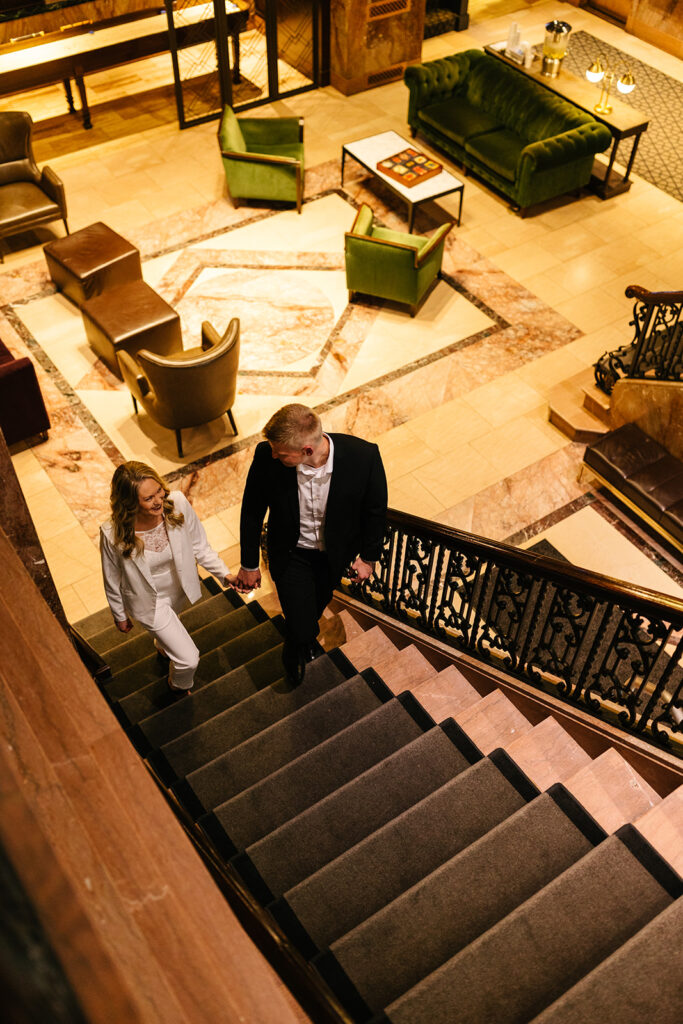
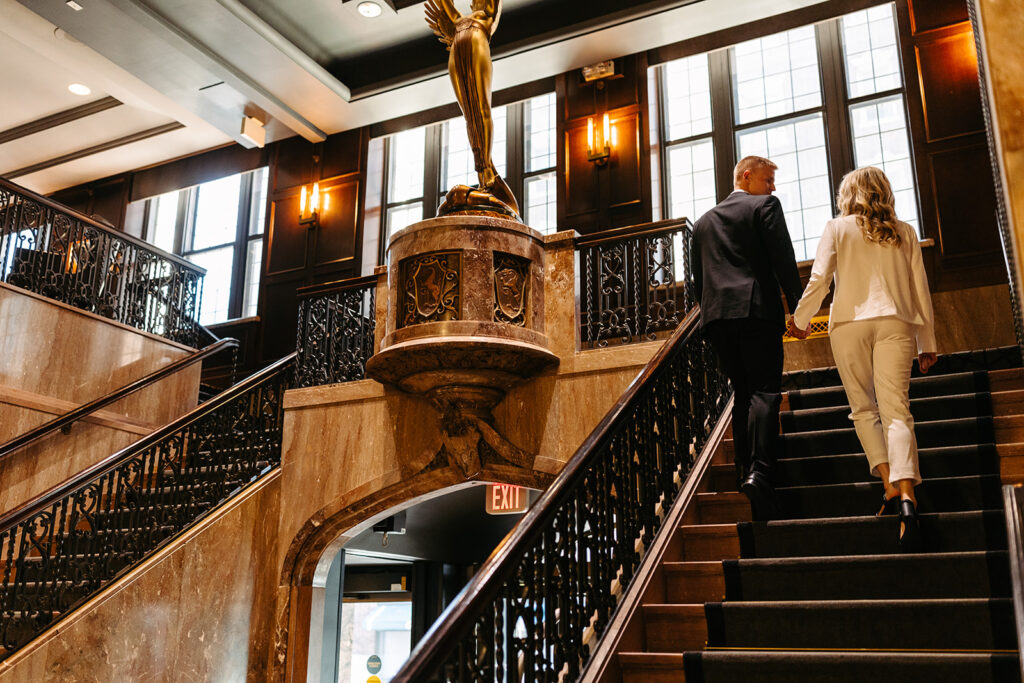
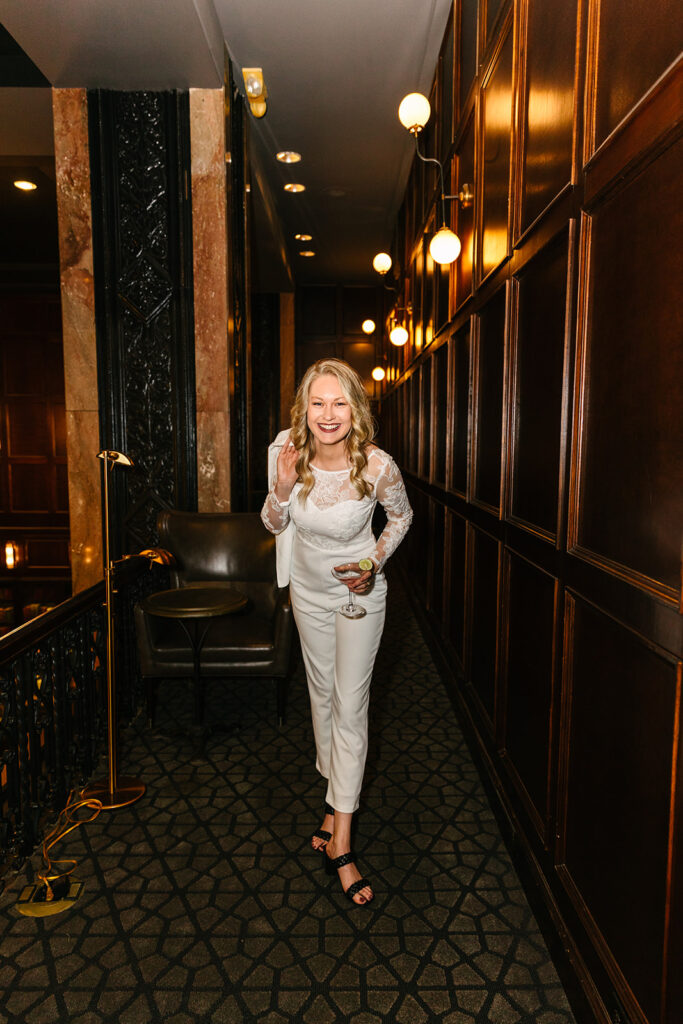
The Hotel Phillips offered perfect vintage charm! The warm lighting, vintage decor, and classic architecture created the perfect setting for a session that felt timeless and cinematic.
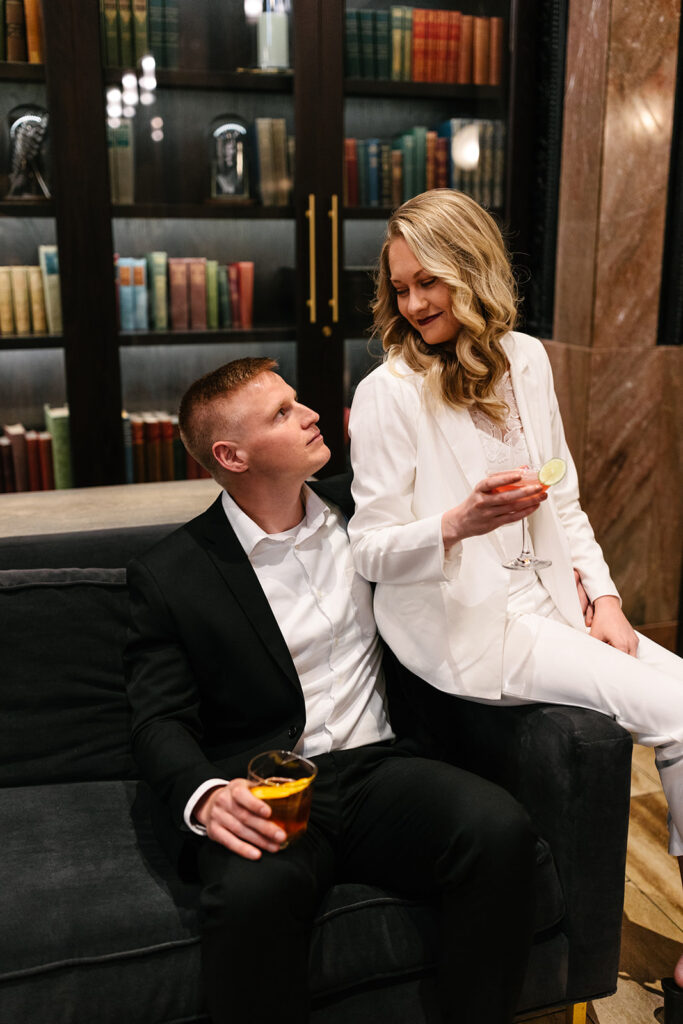
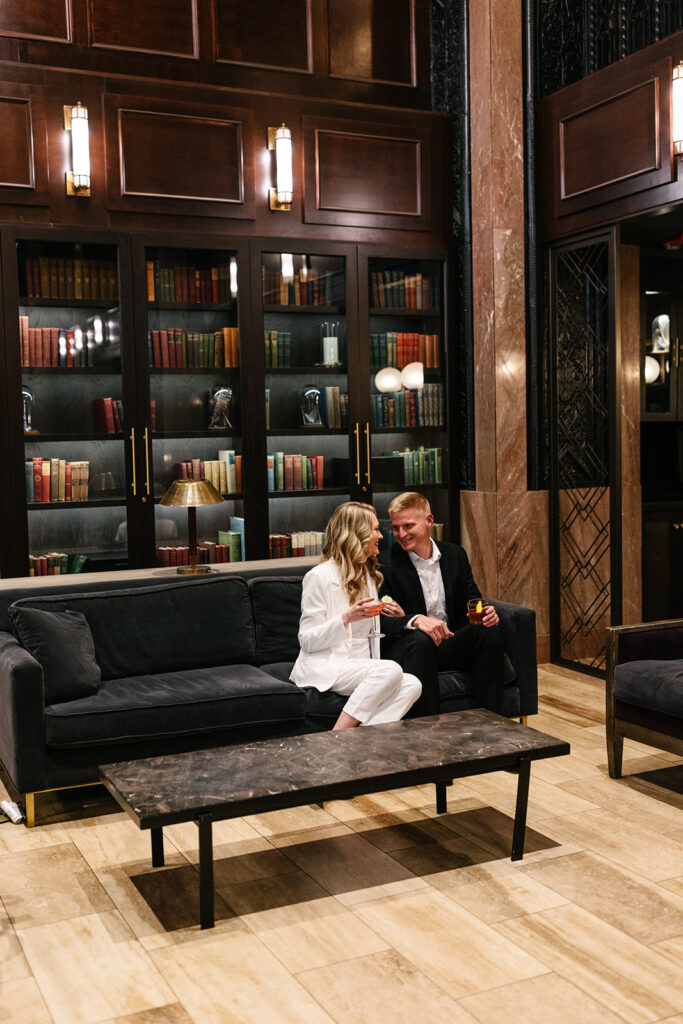
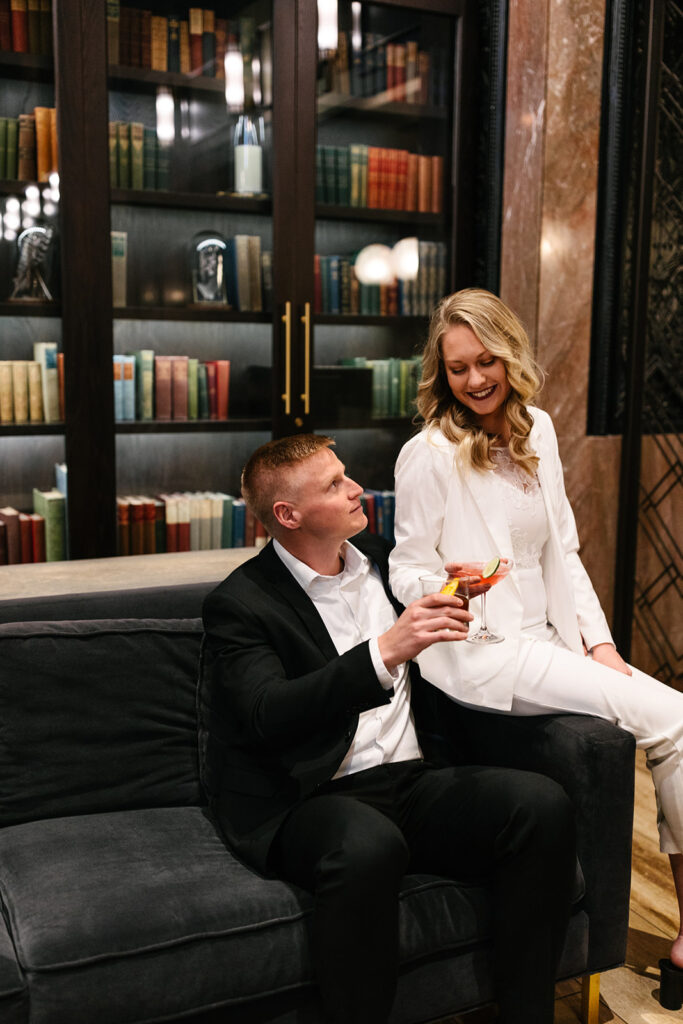
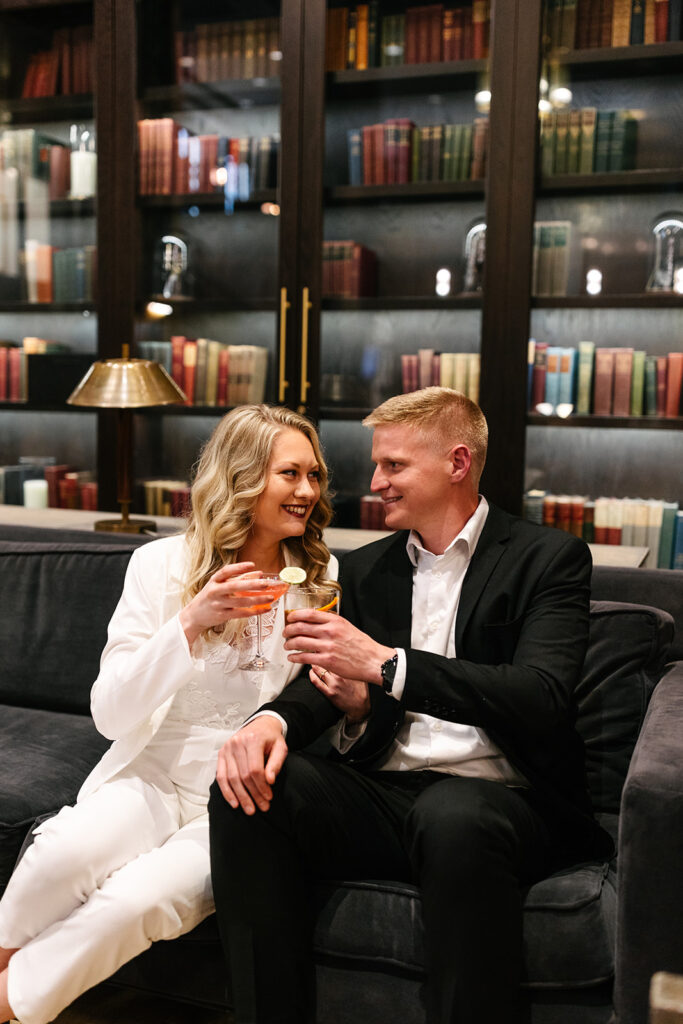
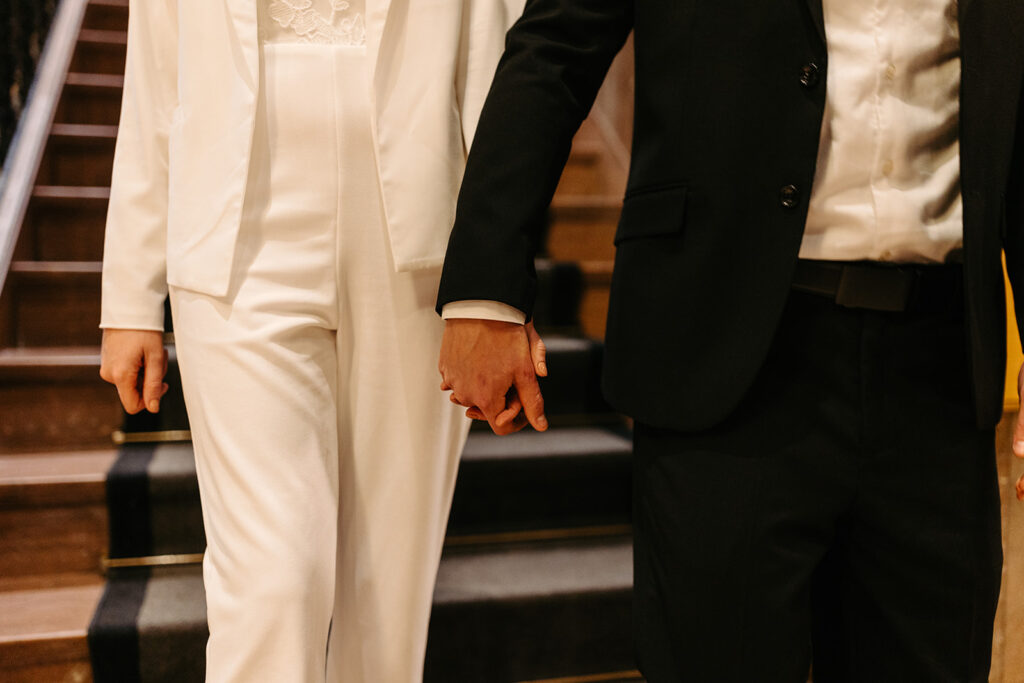
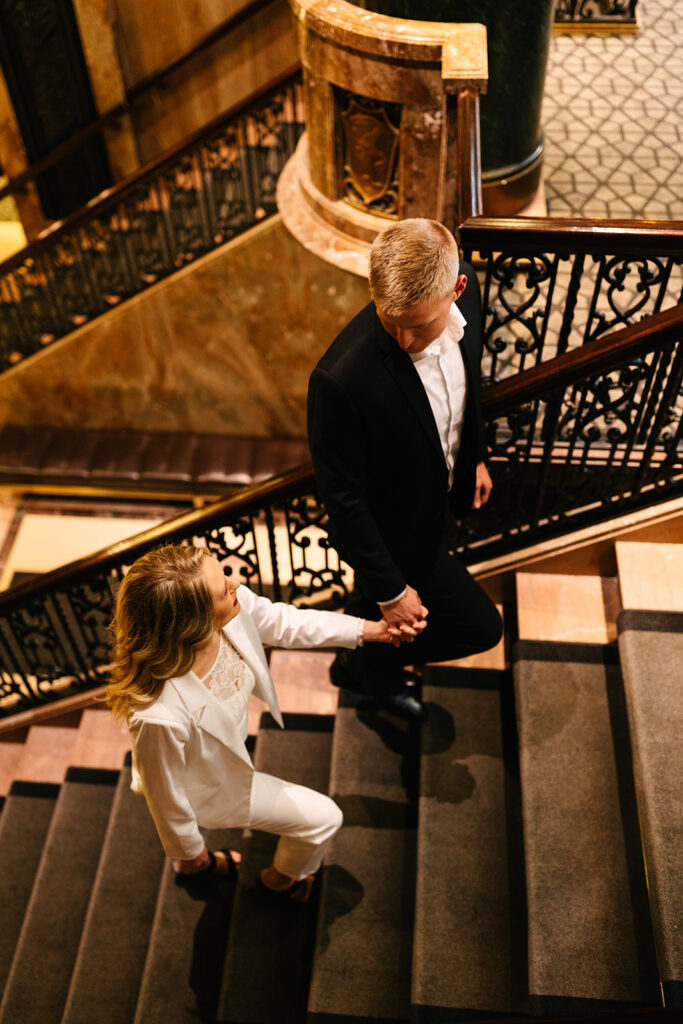
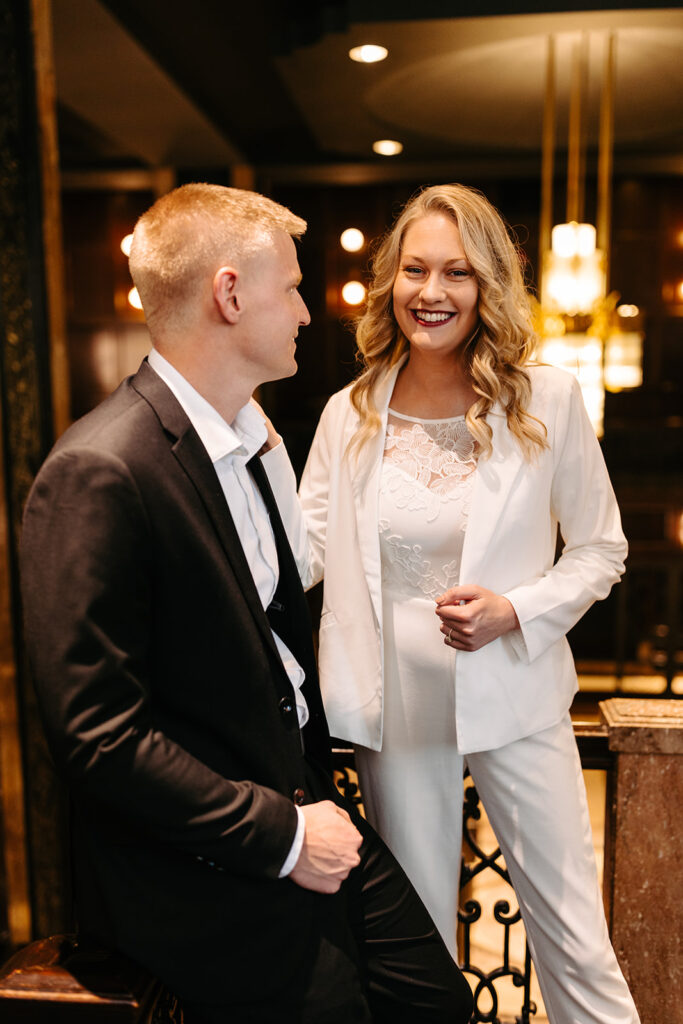
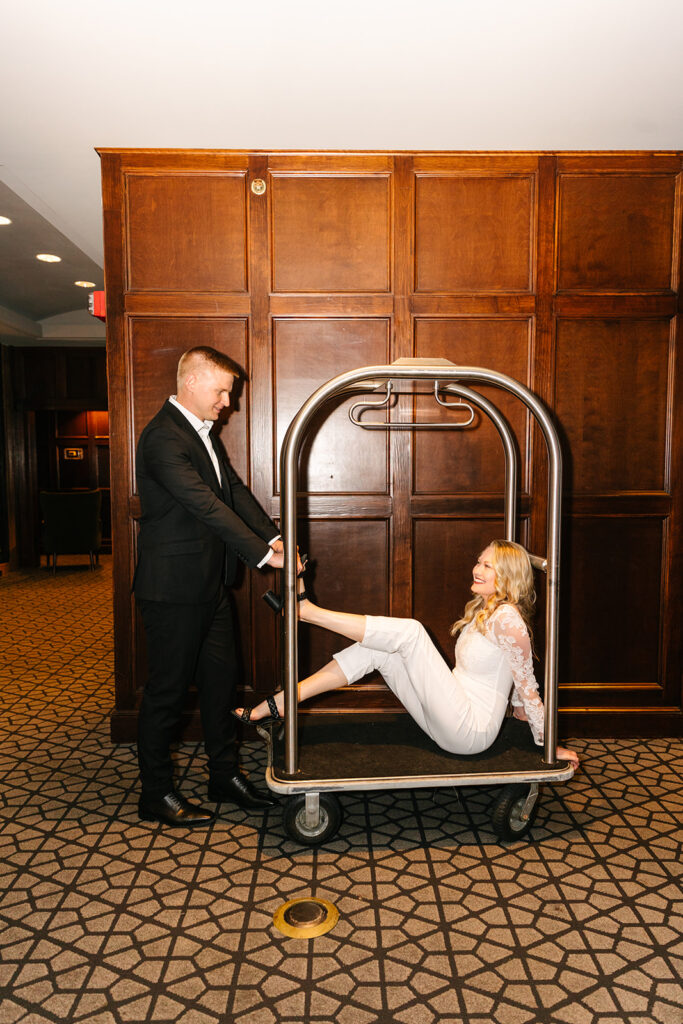
Danielle and Quentin’s outfits were absolutely on point. Danielle stunned in a white jumpsuit with a lace sleeve overlay, paired with a sleek white blazer. Quentin looked effortlessly sharp in a black suit with a crisp white button-up. Together, they looked elegant with just the right touch of edge.
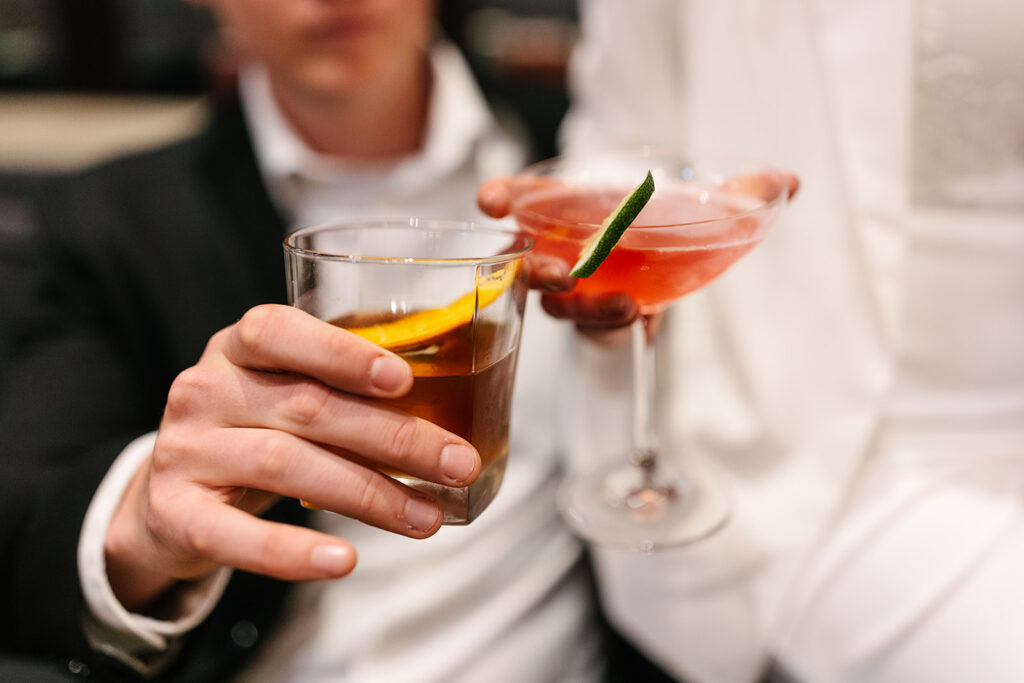
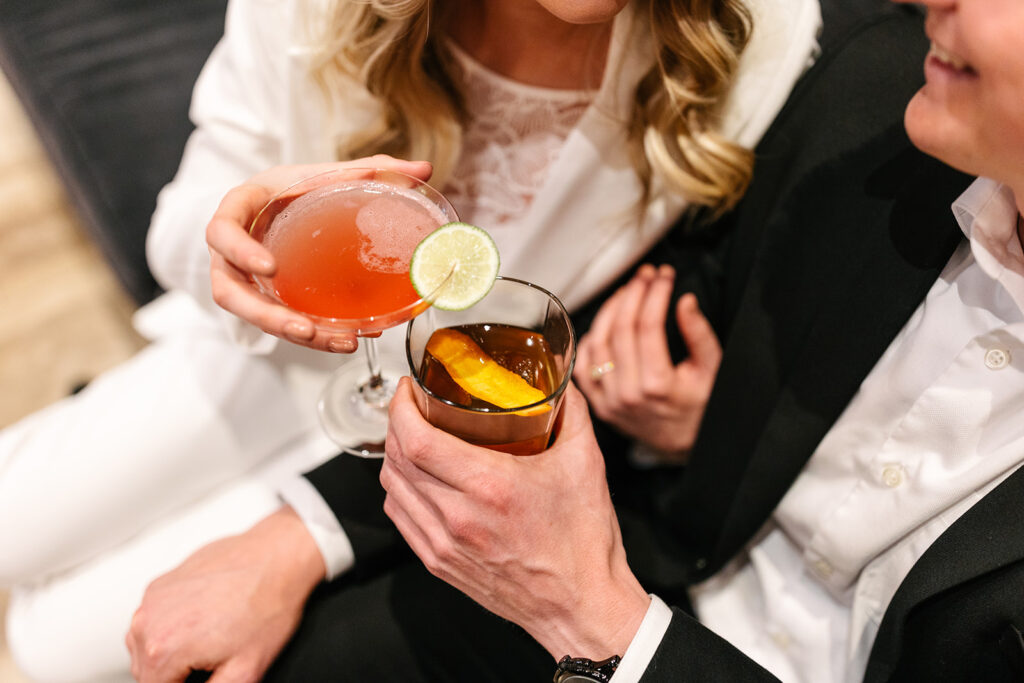
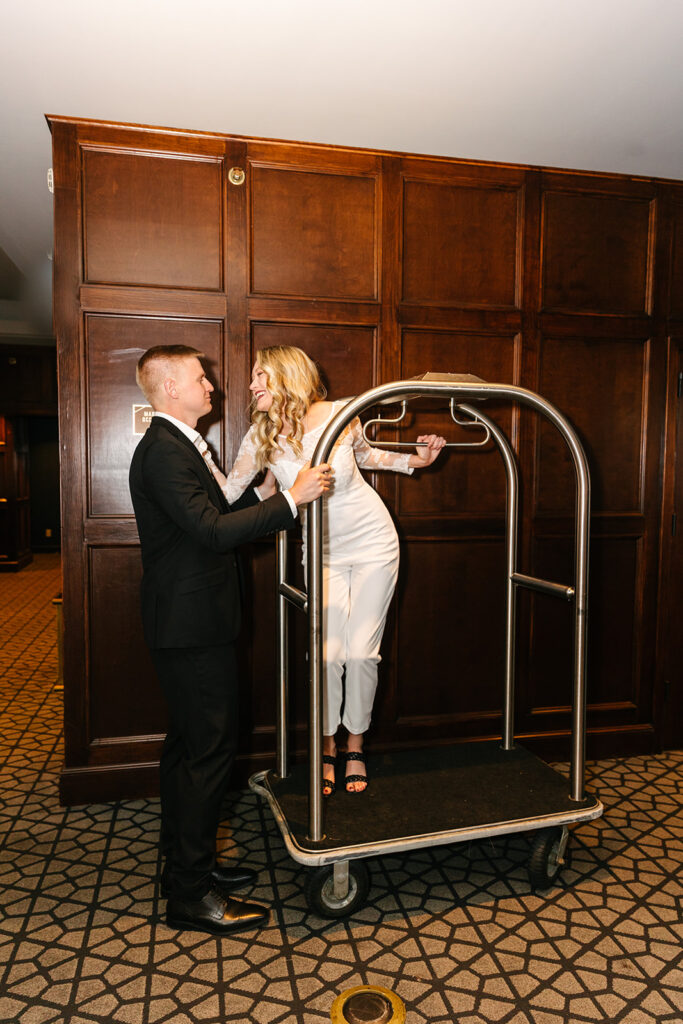
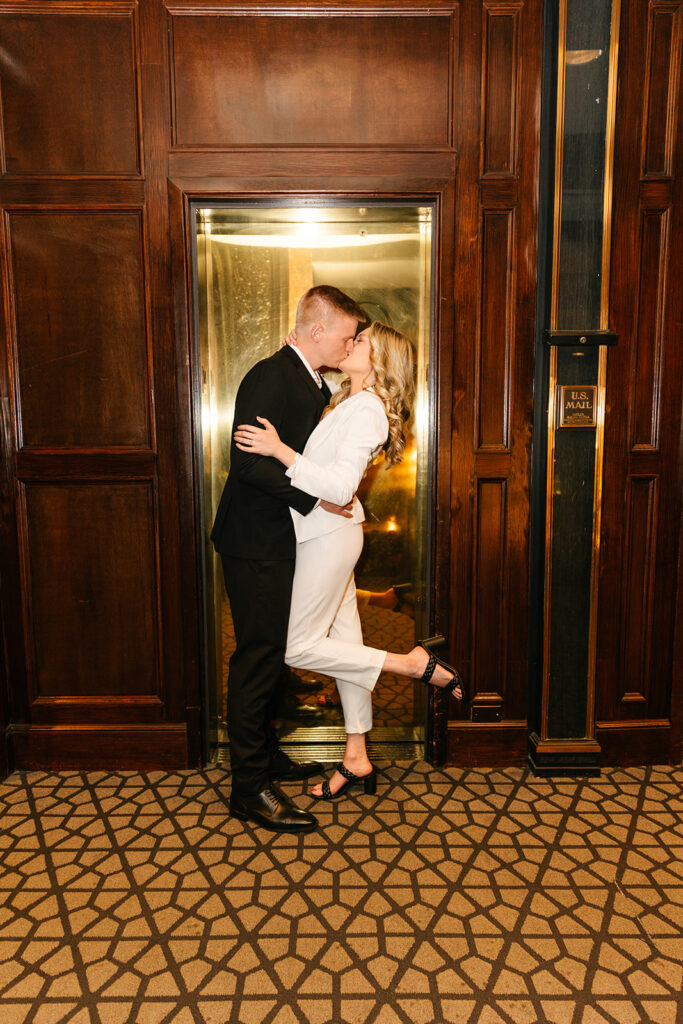
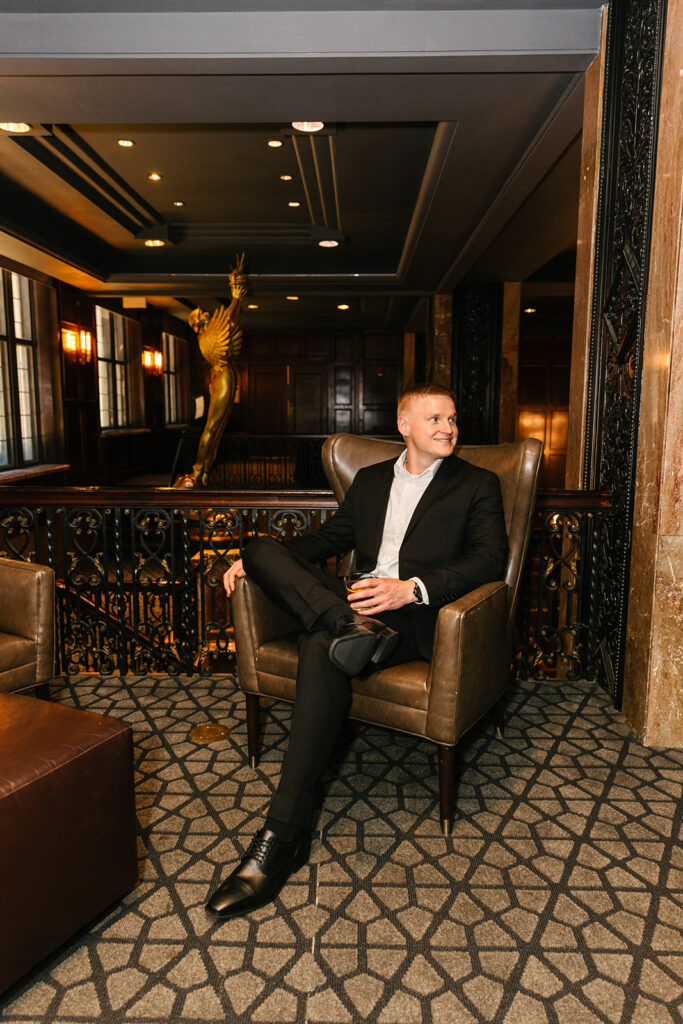
We started in the hotel’s library, sipping cocktails and capturing those intimate, stolen-glance moments. From there, we moved to the grand staircase, where their formal attire blended beautifully with the moody lighting and old-world charm. Then, things got even more fun! We creative with the classic old-school elevators and even had a blast on a luggage cart, proving that romance and laughter go hand in hand. The balcony shots added a dramatic, almost Gatsby-esque feel!
A Bright & Carefree Vibe at Kauffman Center
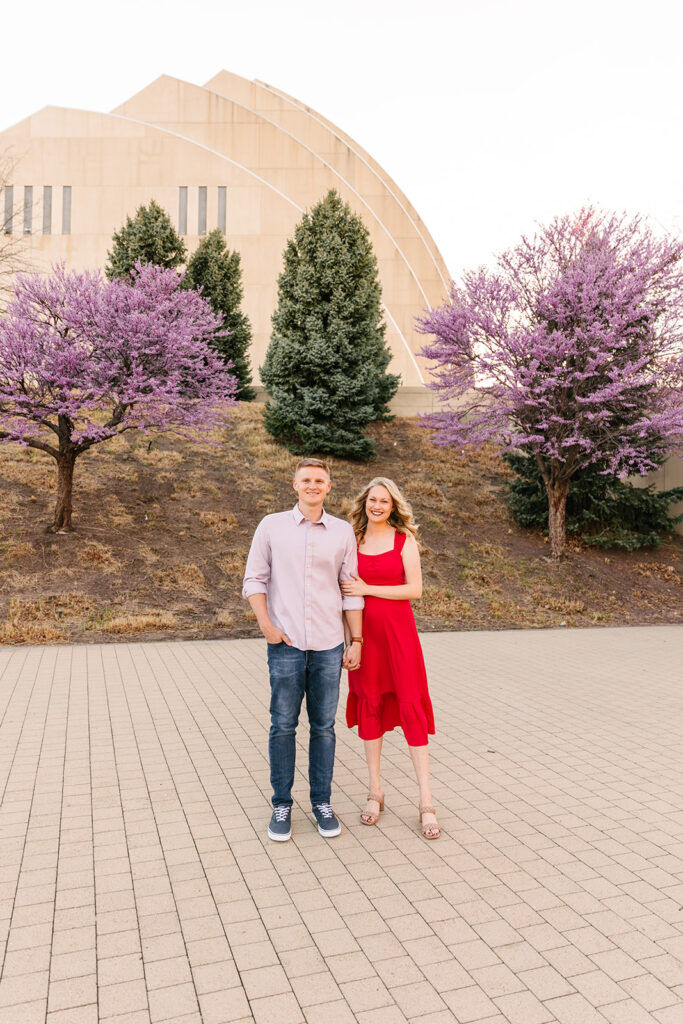
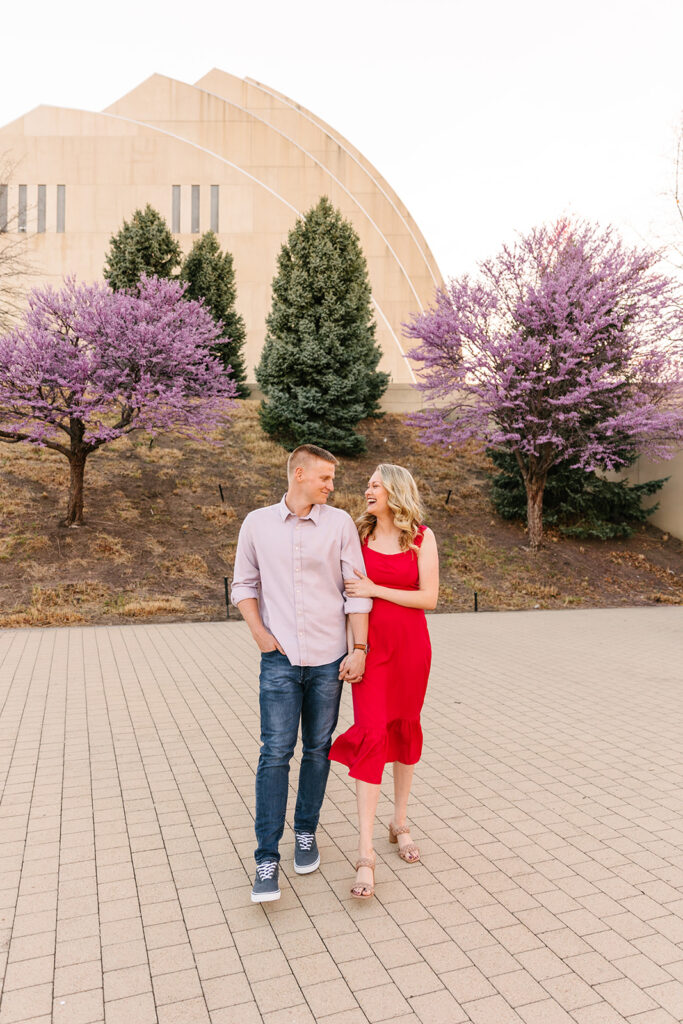
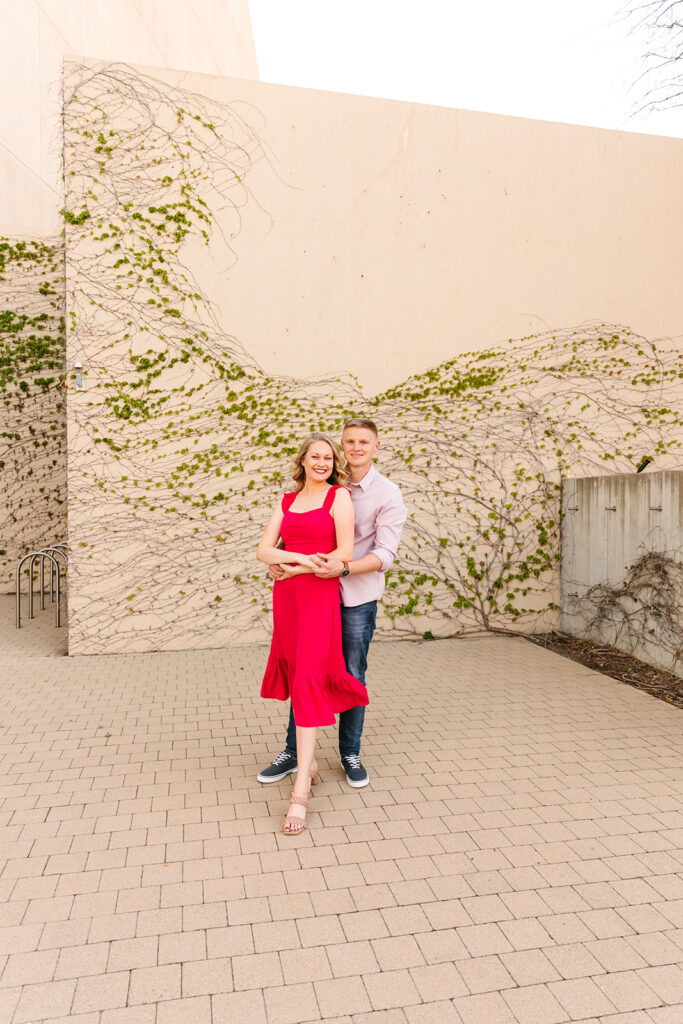
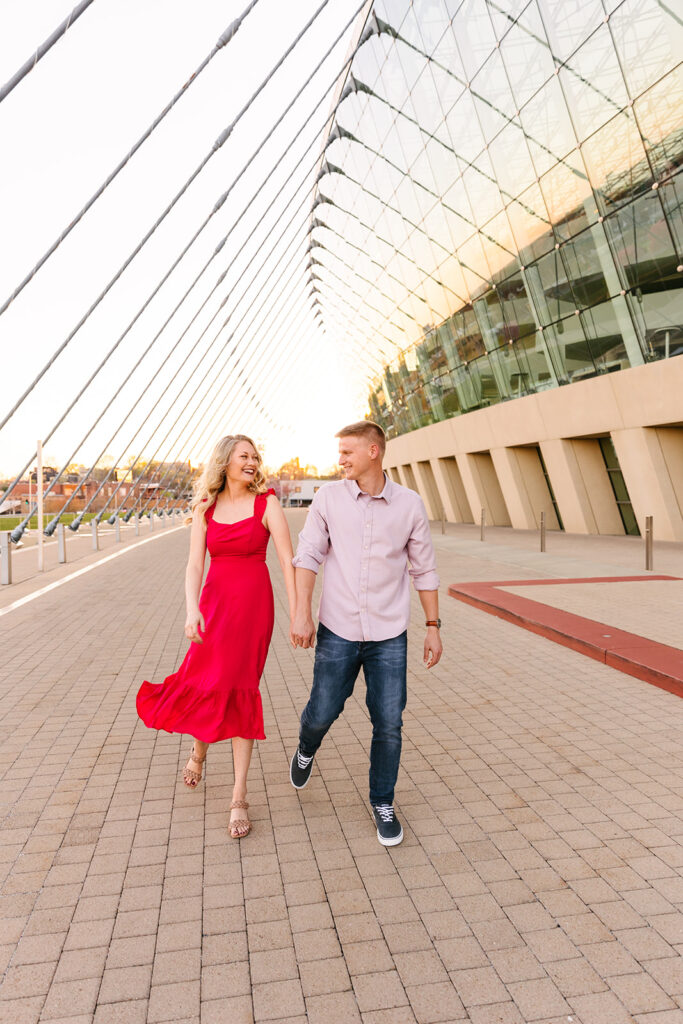
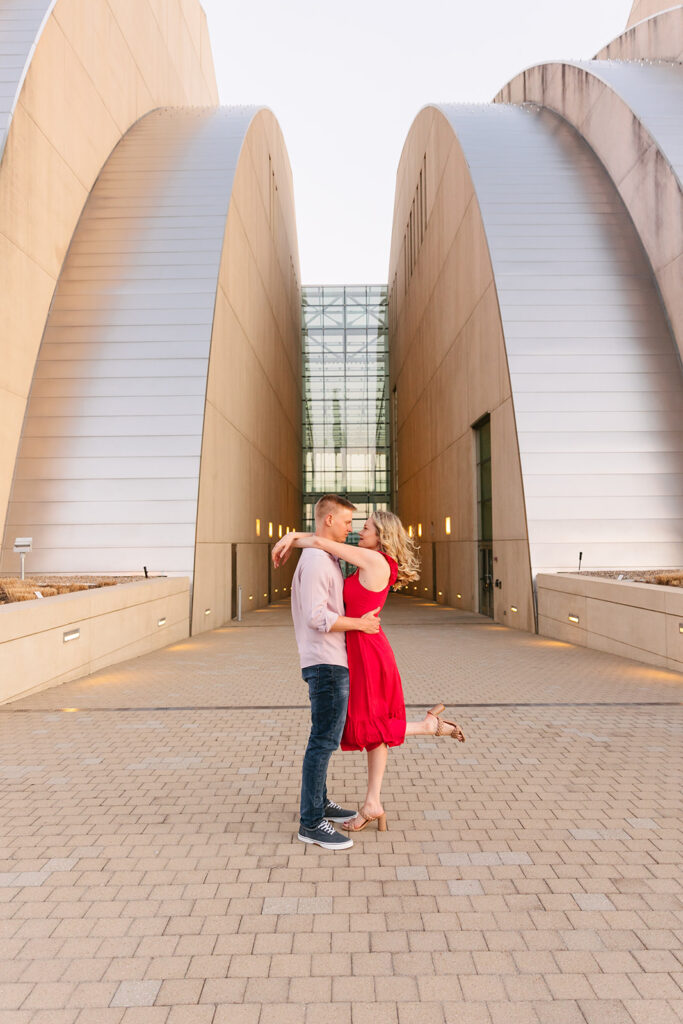
Then we made a total 180 and switched gears for the second half of their session. Heading to the Kauffman Center for the Performing Arts, we left the moody, romantic atmosphere behind and embraced a fresh, playful energy.
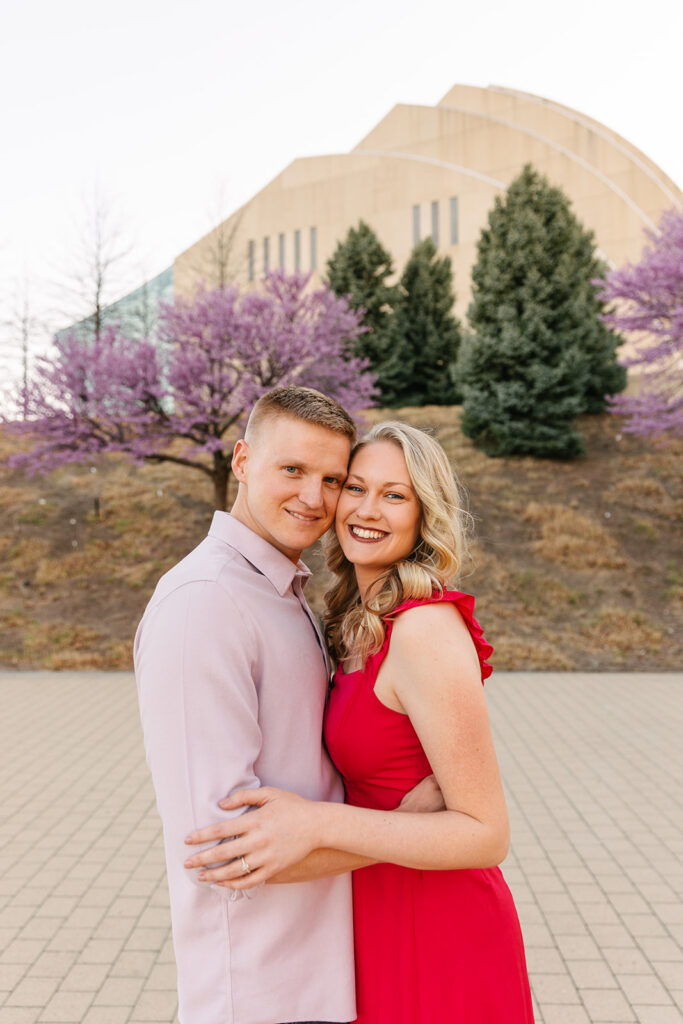
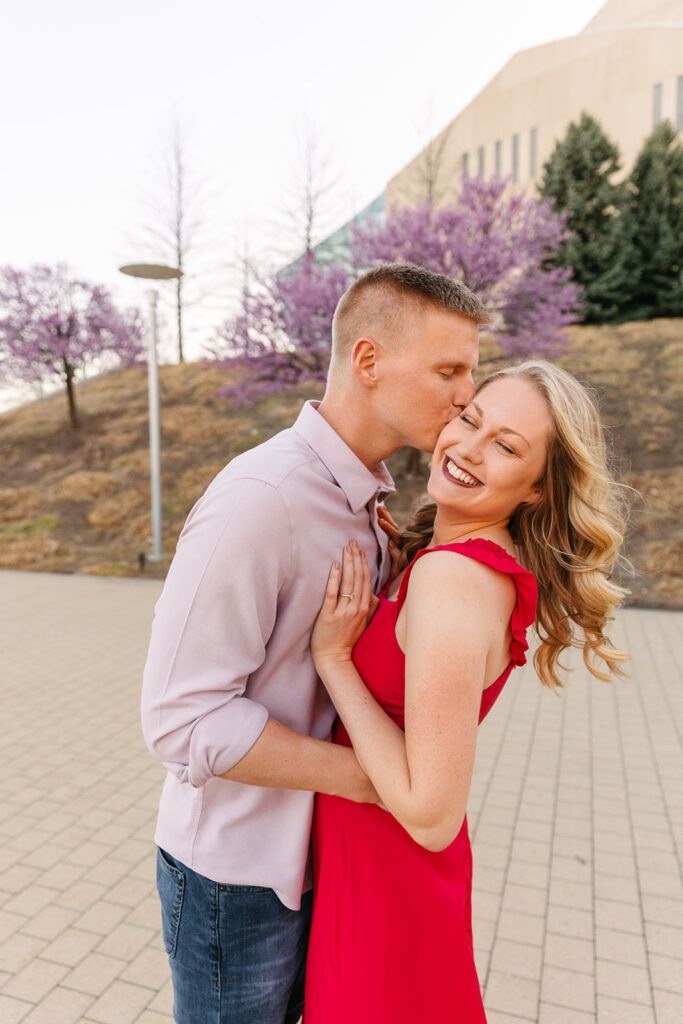
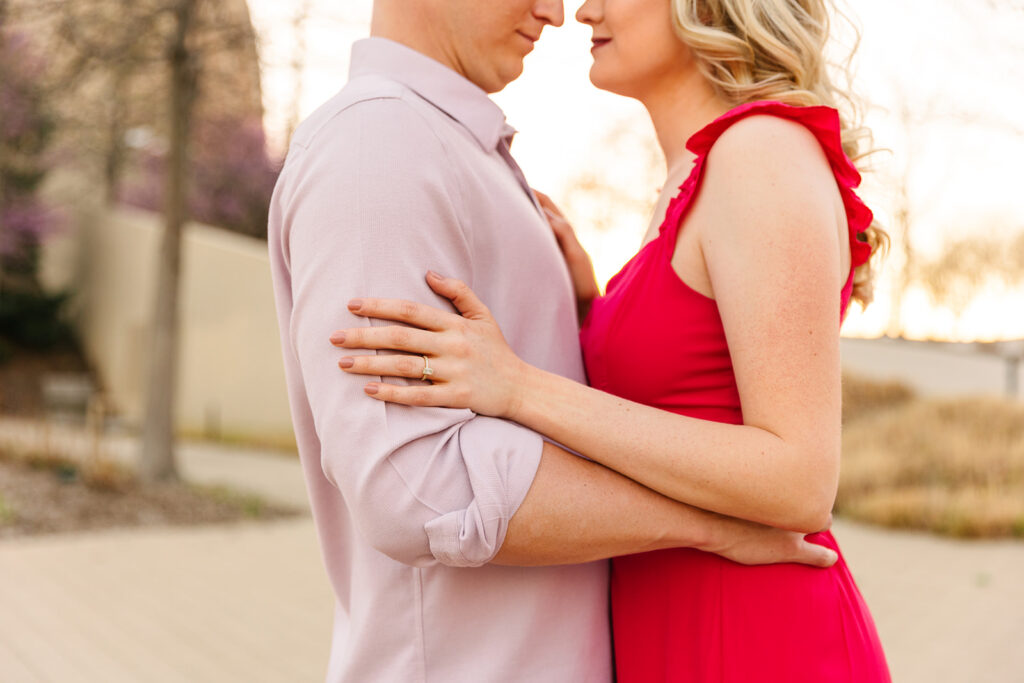
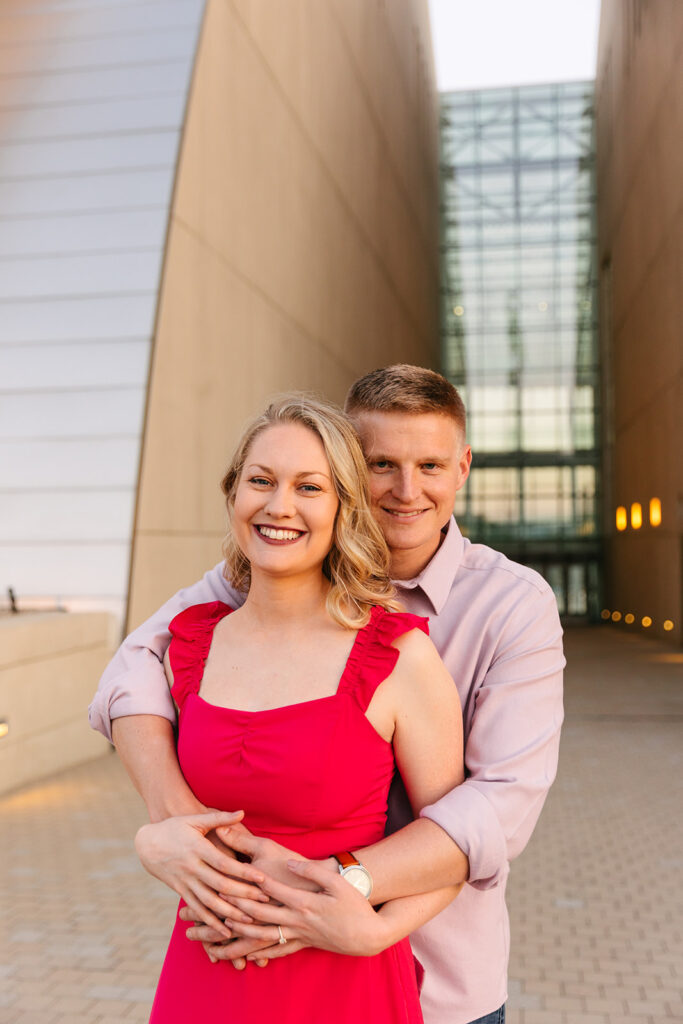
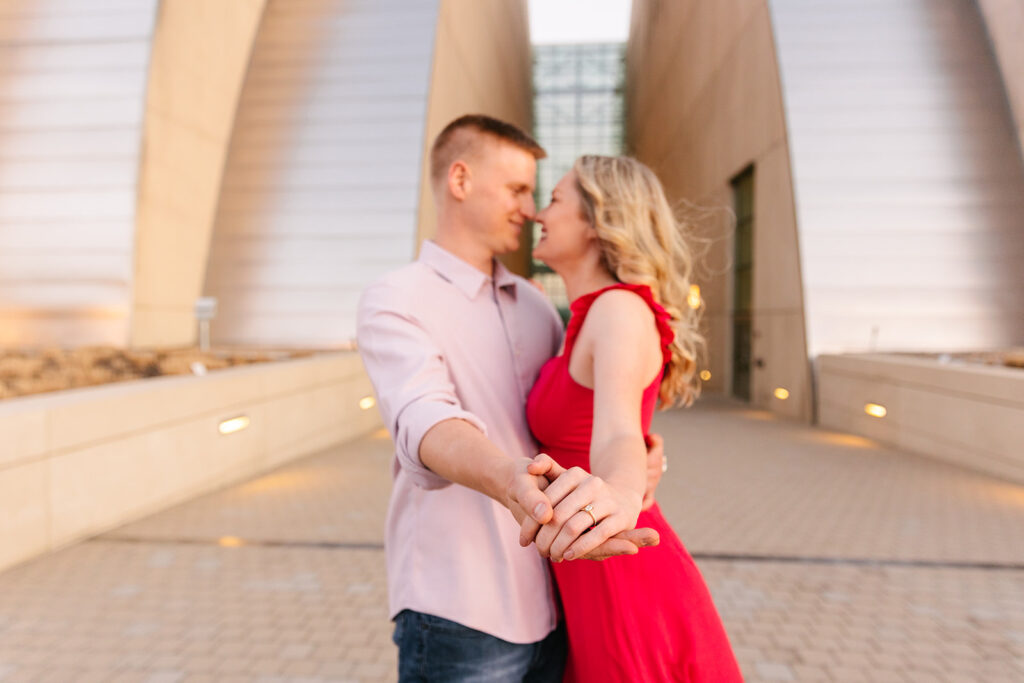
Danielle changed into a red dress that popped beautifully against the soft spring colors. Quentin complemented her look perfectly in a soft purple button-up and jeans, adding just the right amount of contrast. The flowers were blooming, the trees were full, and everything about the setting was ideal.
We strolled around outside the building and every laugh, every sweet glance, and every little moment was a reminder of just how perfect these two are together!
The Best of Both Worlds
Danielle and Quentin’s engagement session was the perfect blend of vintage charm and playful fun. From the elegance of The Hotel Phillips to the fresh, joyful energy of the Kauffman Center, they got a session as dynamic as their love story.
Thinking about an engagement session that truly reflects you? Let’s plan something magical—moody, romantic, playful, or all of the above!

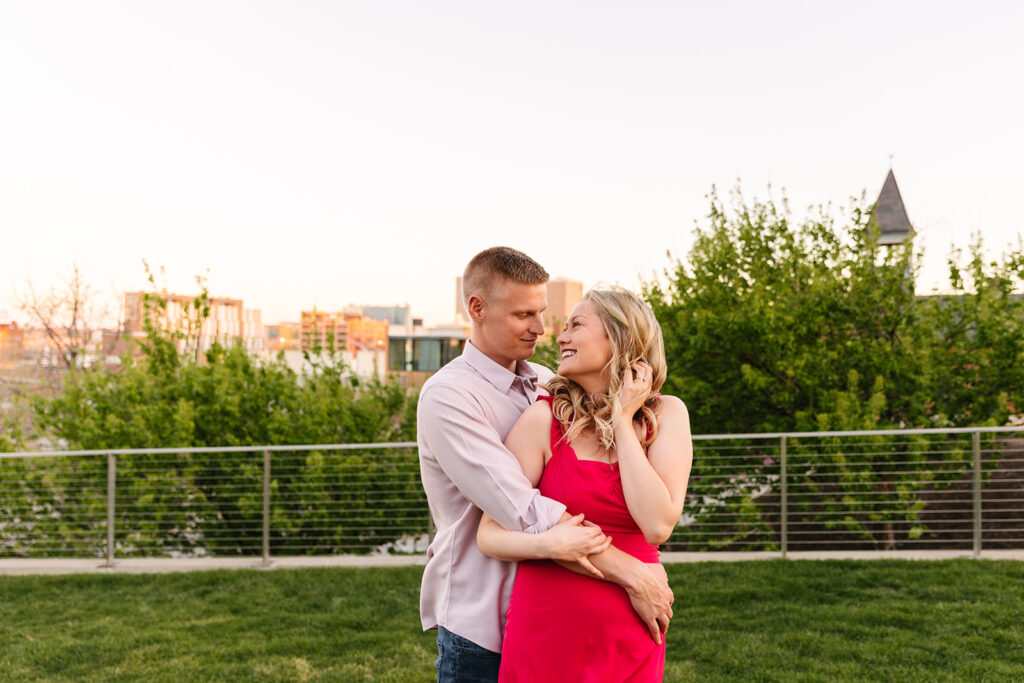
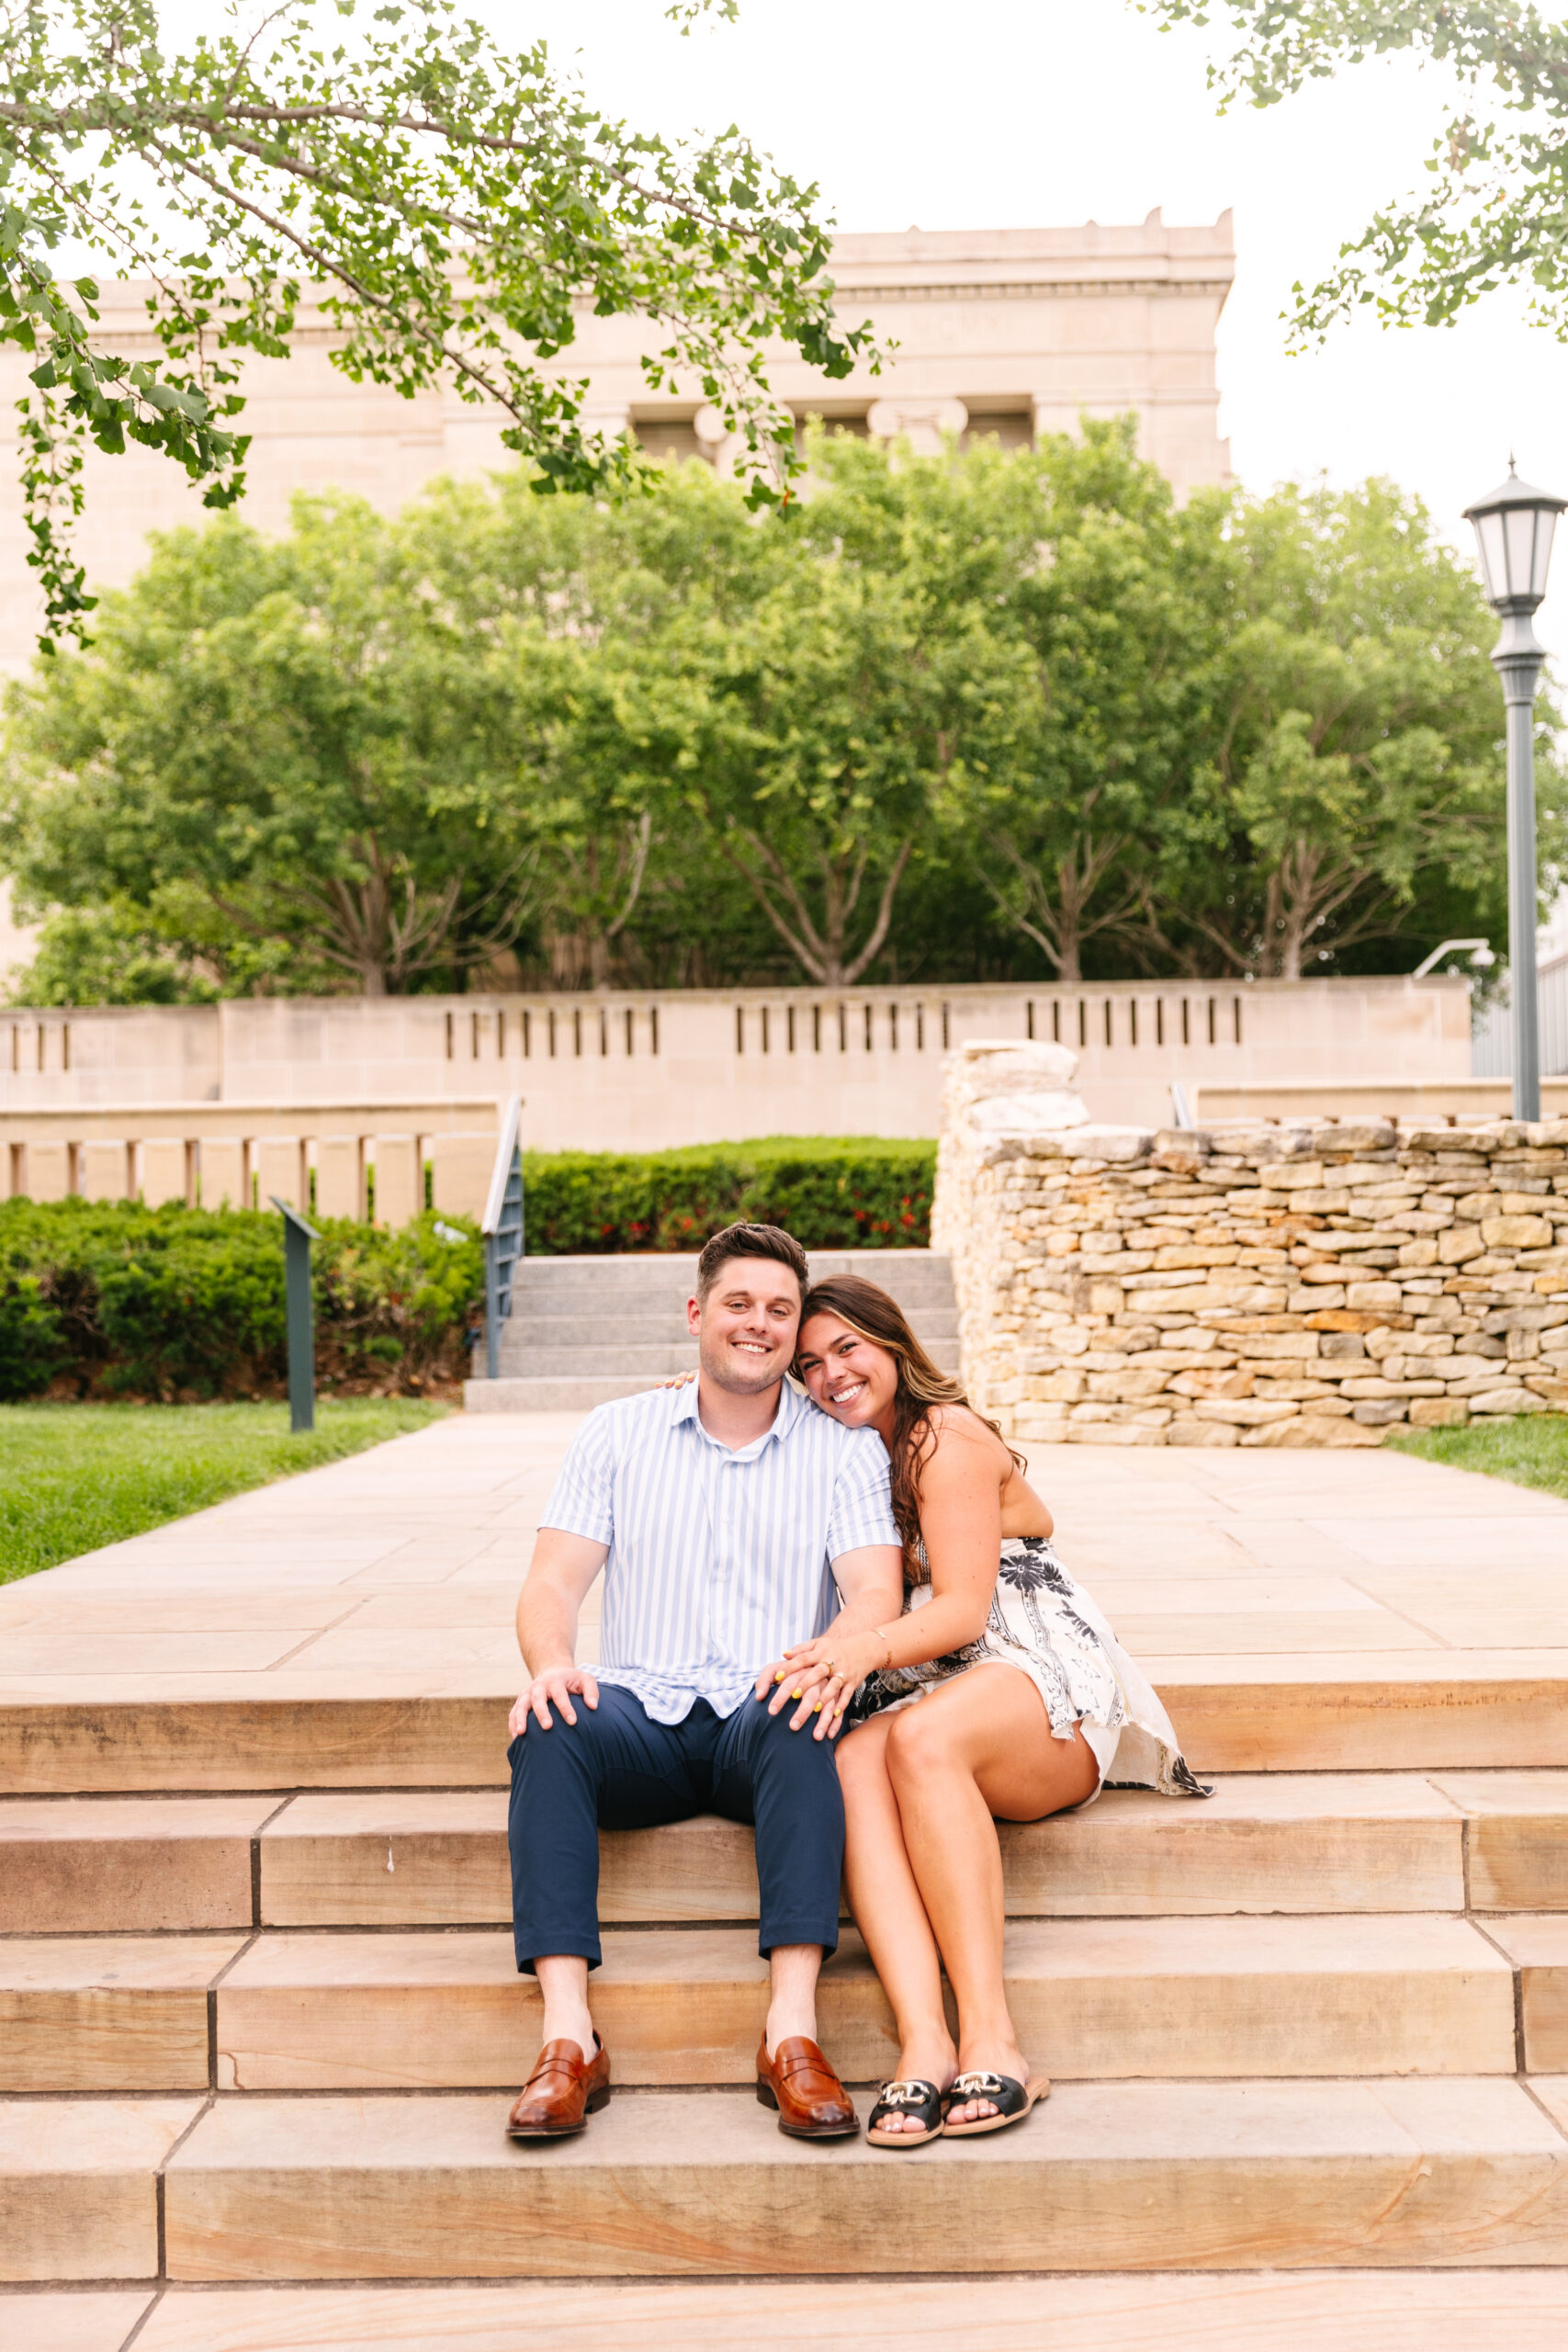
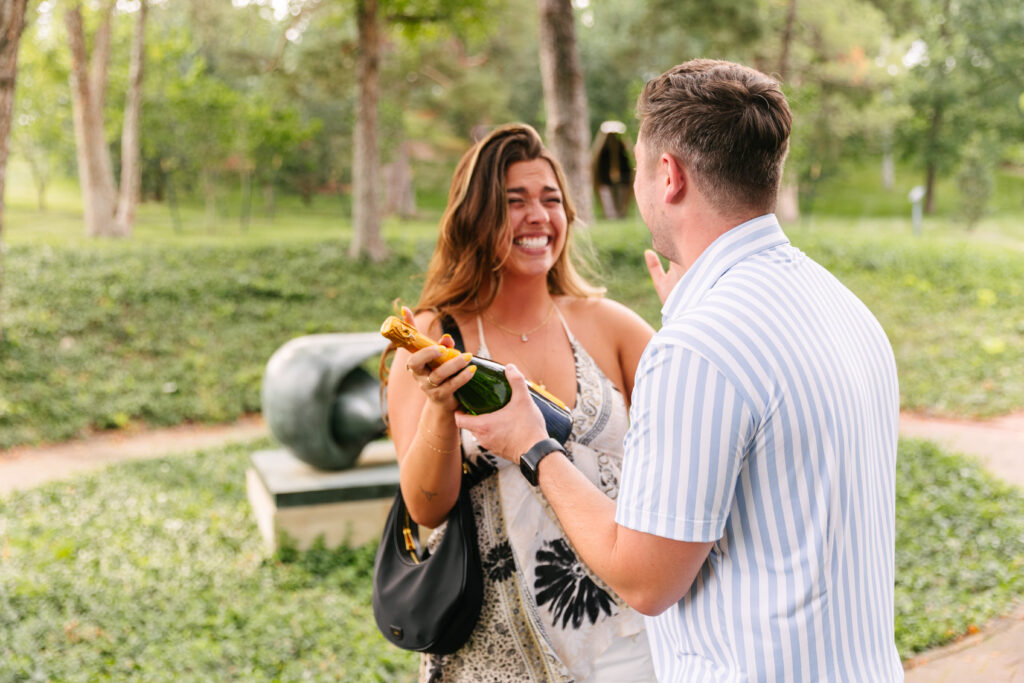
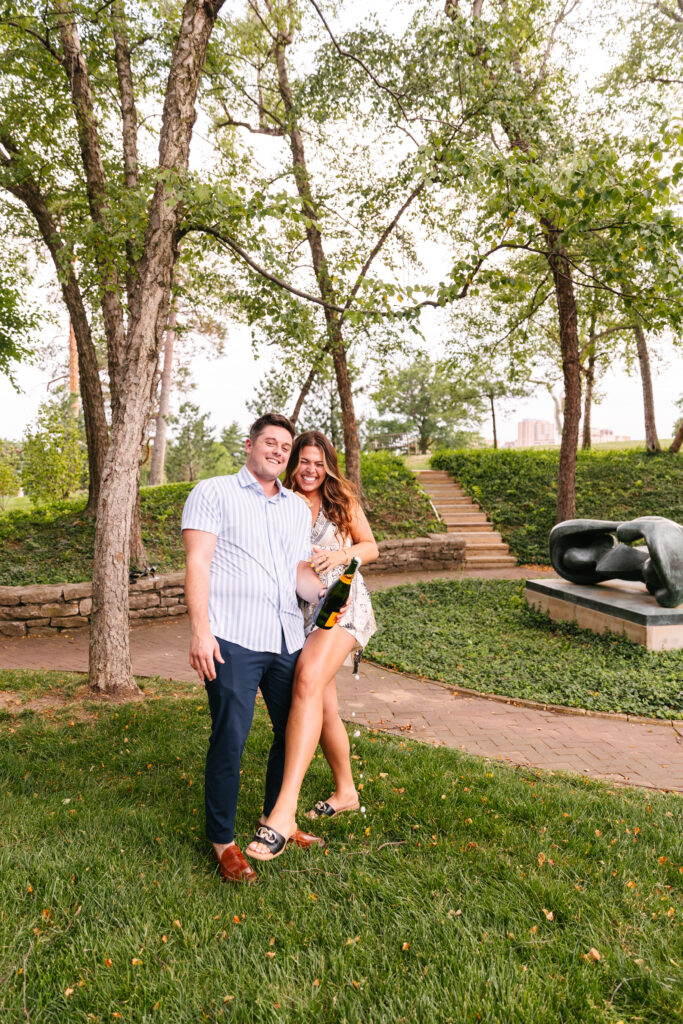
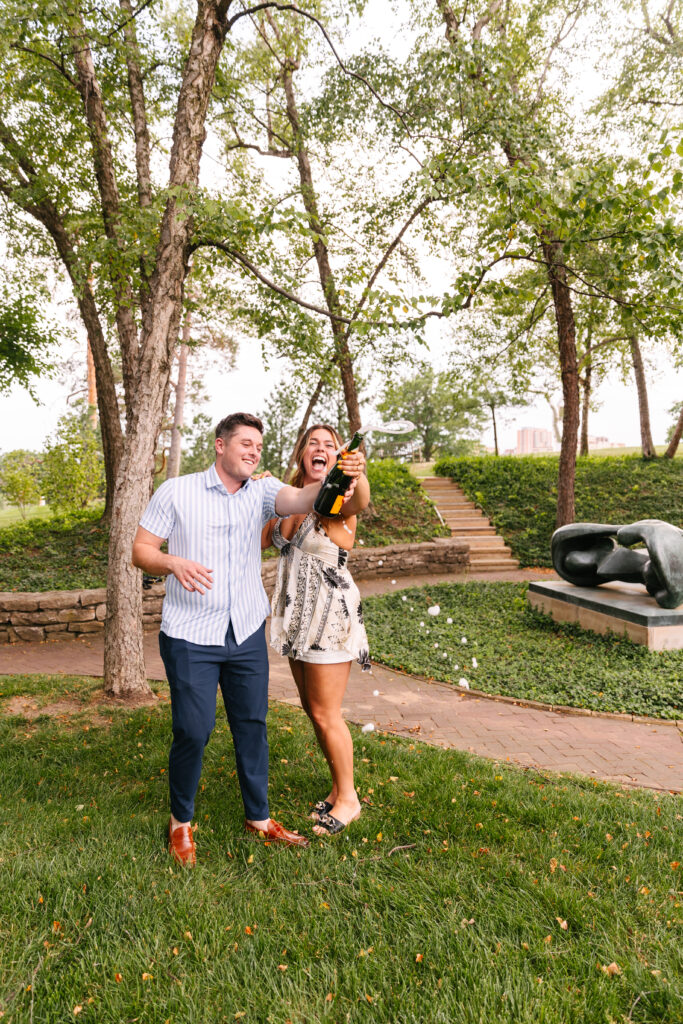
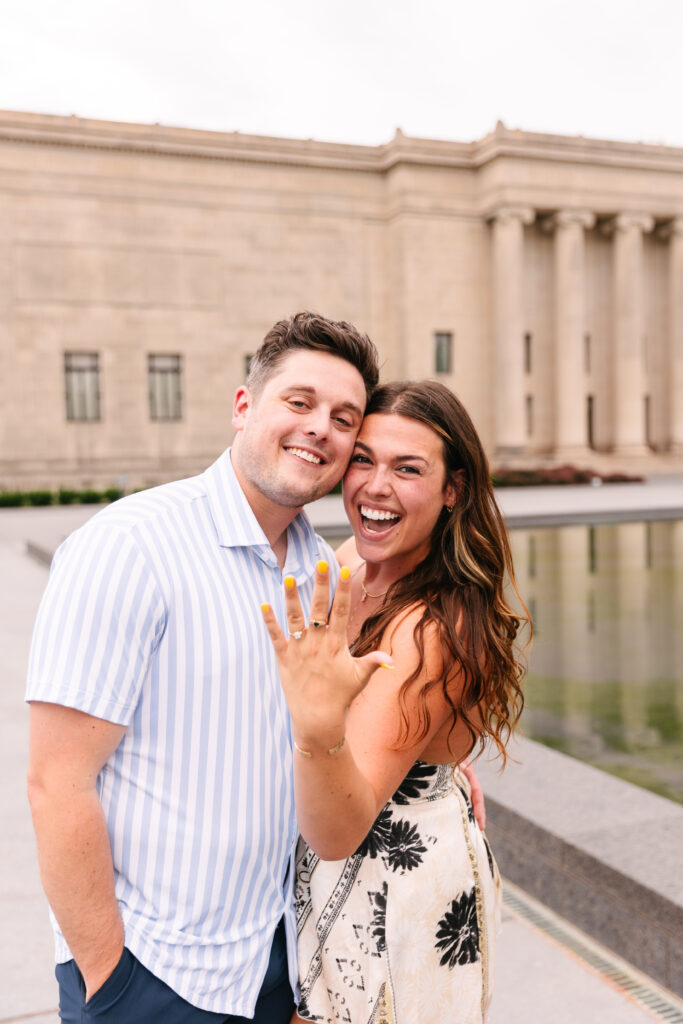
There’s something extra special about capturing a proposal. The raw emotion, the happy tears, and the sheer excitement of saying “YES!” always make these moments unforgettable. And Anne and Logan’s proposal at The Nelson-Atkins Museum? Absolute perfection.
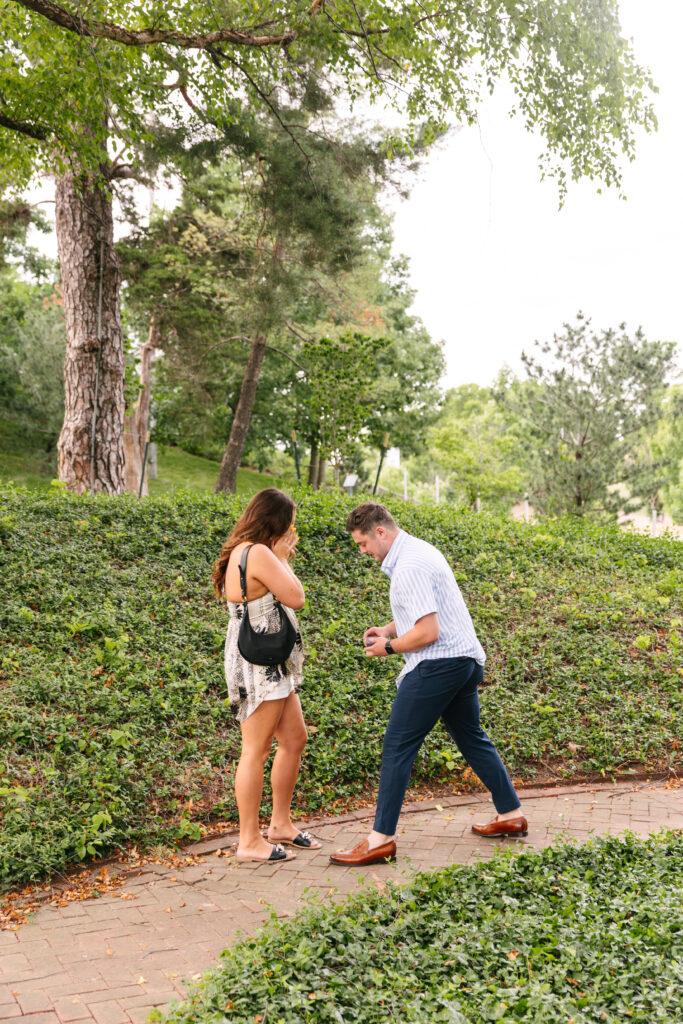
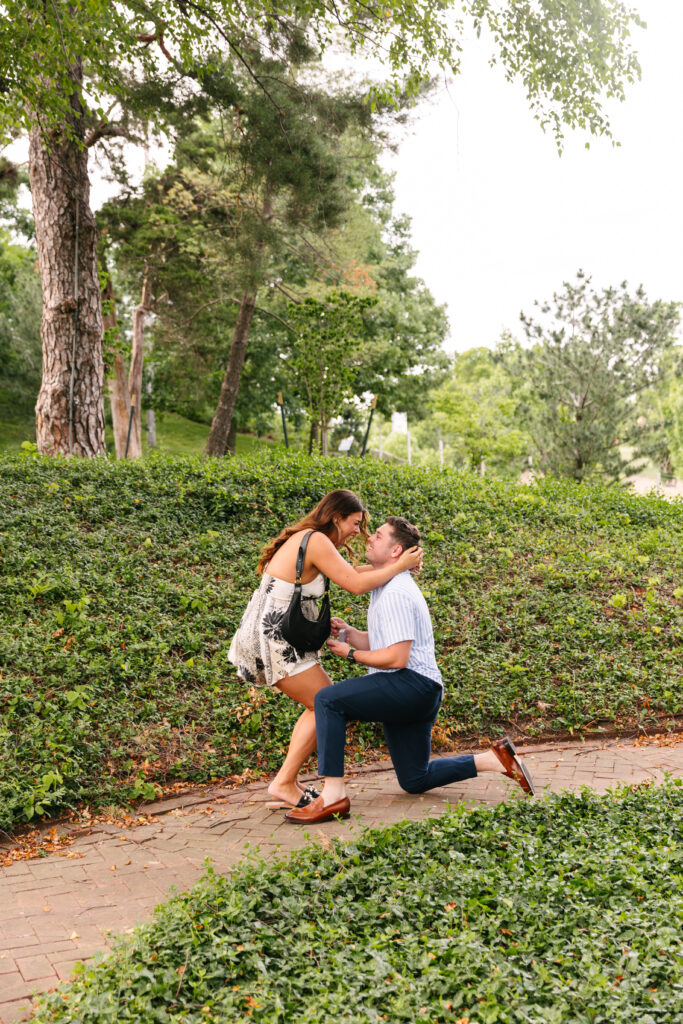
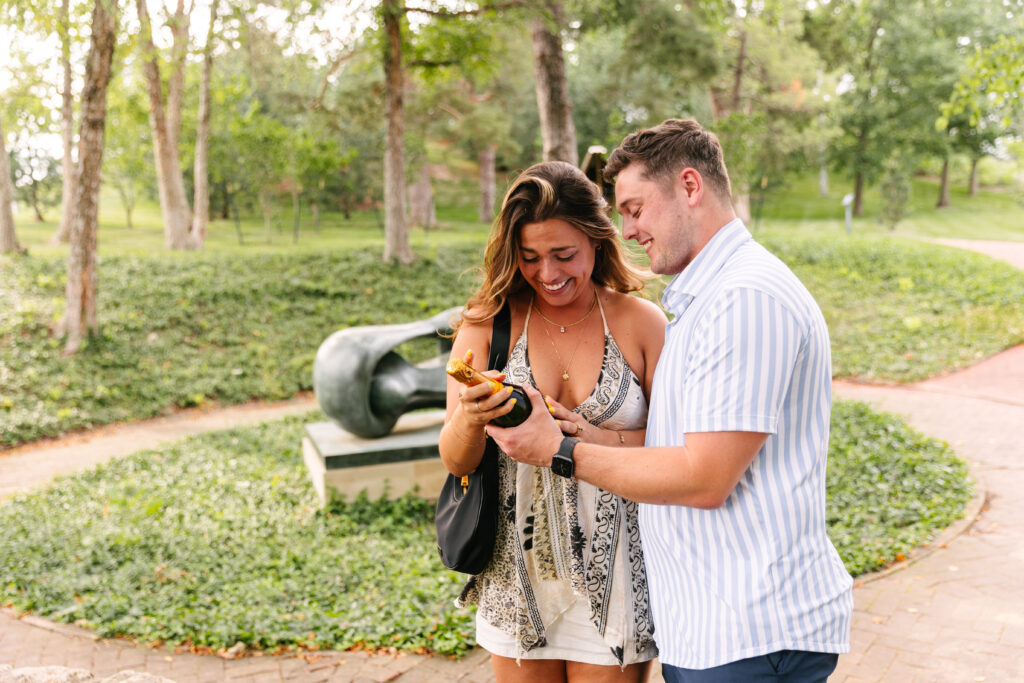
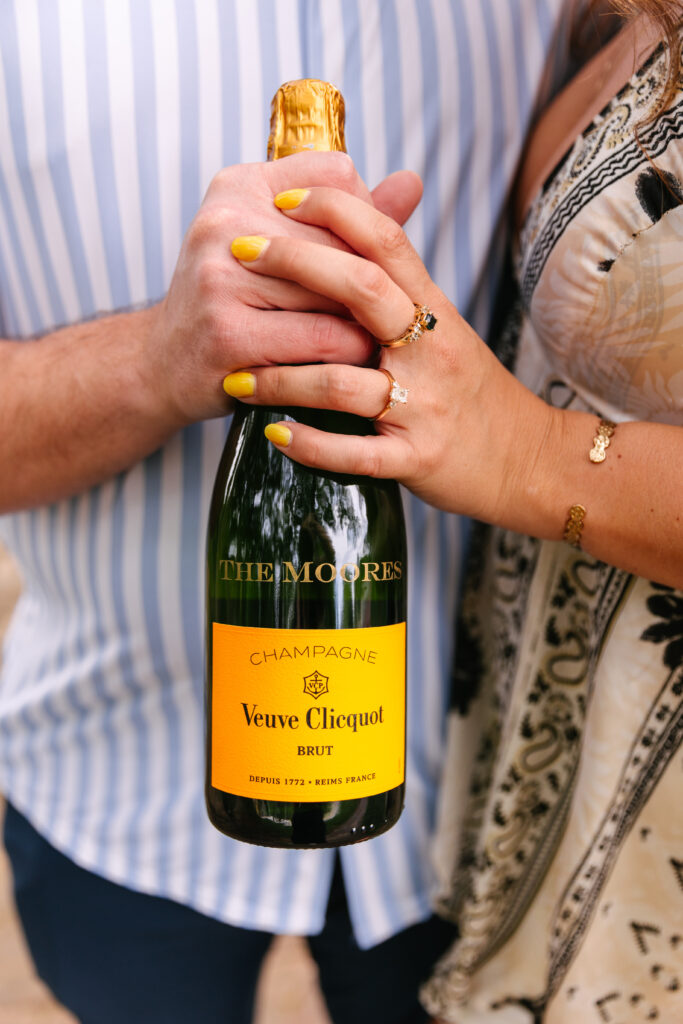
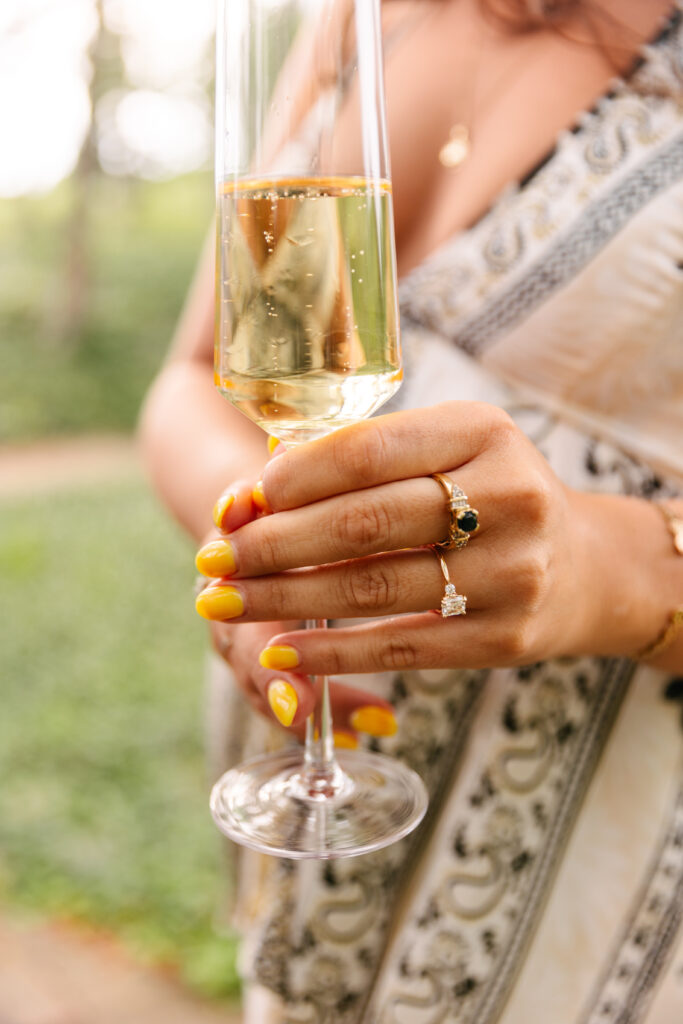
Logan had everything mapped out—right down to the celebratory champagne! Under the trees in the park at The Nelson, he got down on one knee and asked Anne to spend forever with him. The joy on her face said it all! It was one of those moments that felt like time slowed down, just for them.
After the big moment, we wandered around the museum grounds, taking in everything The Nelson has to offer. This place is a dream for proposals and engagement sessions! Nestled between the trees, we captured sweet, quiet moments where Anne and Logan soaked it all in. Then, we made our way to the grand stairs, where the architecture added a timeless, elegant touch to their photographs.
Next, we stopped by the water feature, where the reflection of the sky and the soft ripples in the background created a dreamy effect. And, of course, we couldn’t miss the beautiful red flowers in full bloom—perfectly framing the joy on their faces. Every spot gave us a different vibe!
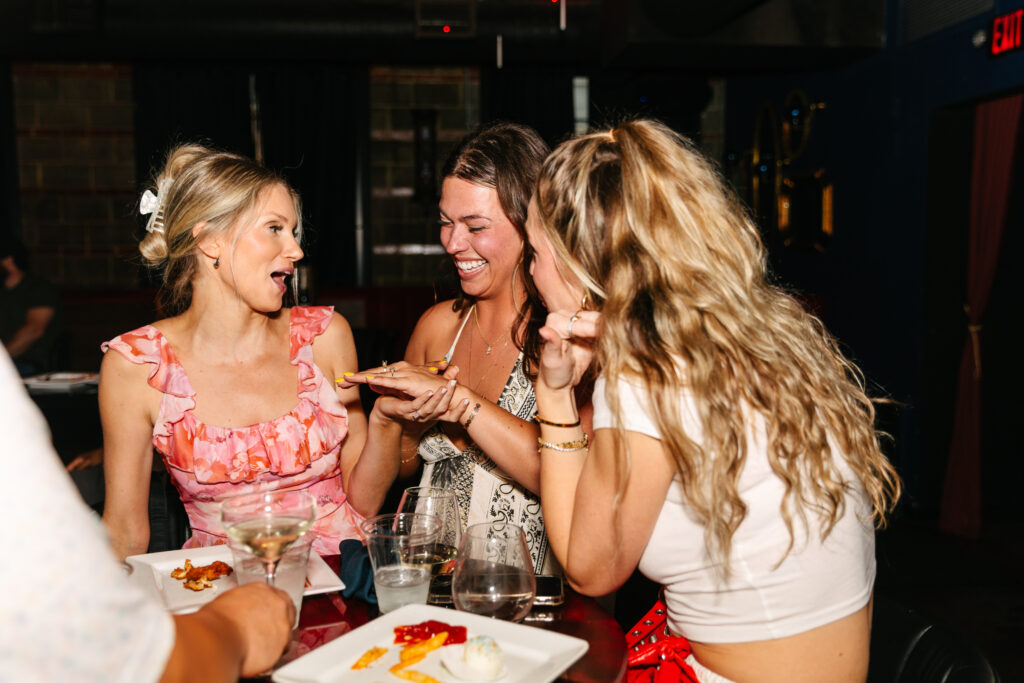
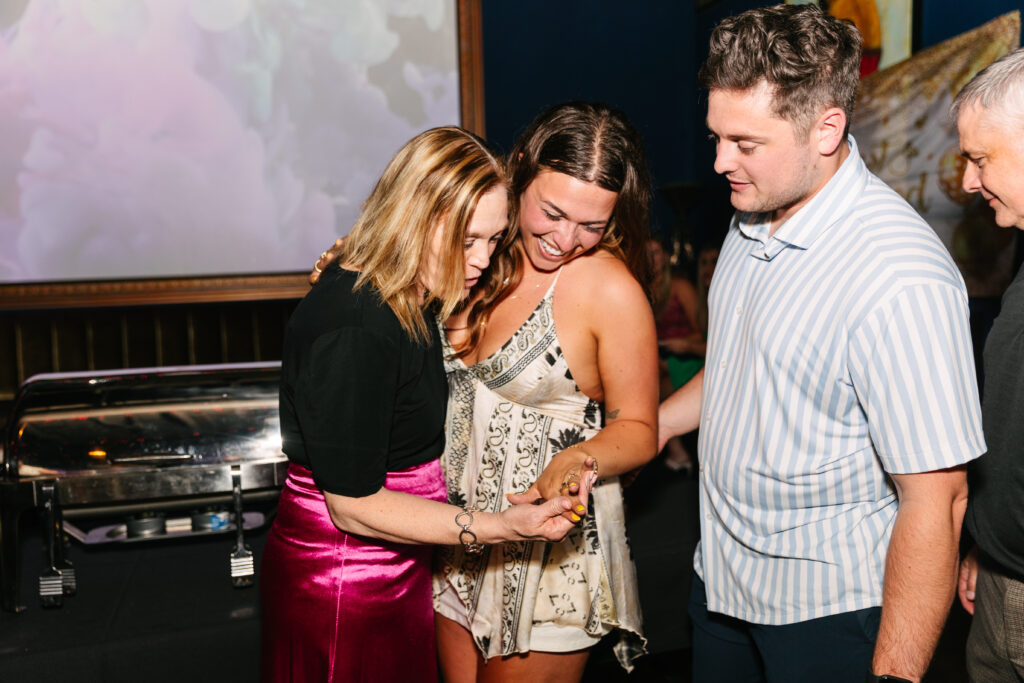
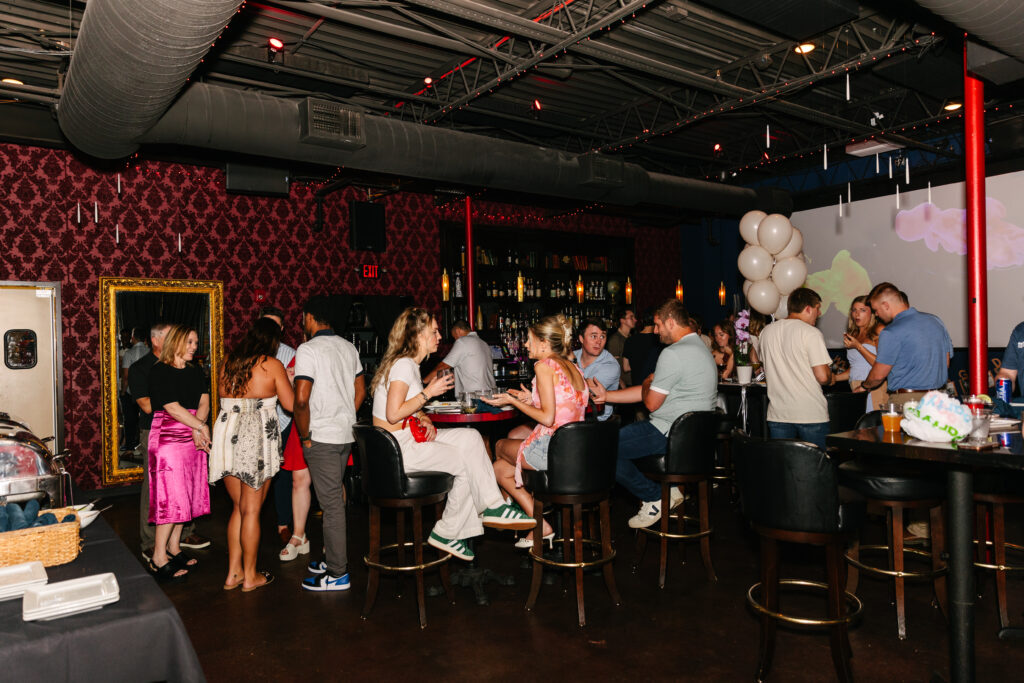
After all the excitement, it was time to celebrate! Anne and Logan headed to a local restaurant, where their closest friends and family were waiting to toast to their future. The energy in the room was contagious—hugs, happy tears, and lots of clinking glasses filled the night.
Why The Nelson is the Perfect Proposal Spot
The Nelson-Atkins Museum isn’t just an iconic KC location; it’s full of little hidden gems that make any proposal feel magical! Whether it’s the grand stairs, the lush green spaces, or the romantic sculptures tucked away in the gardens, every corner offers something special. And when you add in a thoughtfully planned surprise like Logan’s, it becomes an unforgettable experience.
Anne and Logan’s proposal was everything a love story should be—joyful, heartfelt, and full of meaning. I feel so lucky to have captured it all!
Thinking about popping the question? Let’s chat! I’d love to help you plan and capture your perfect moment.
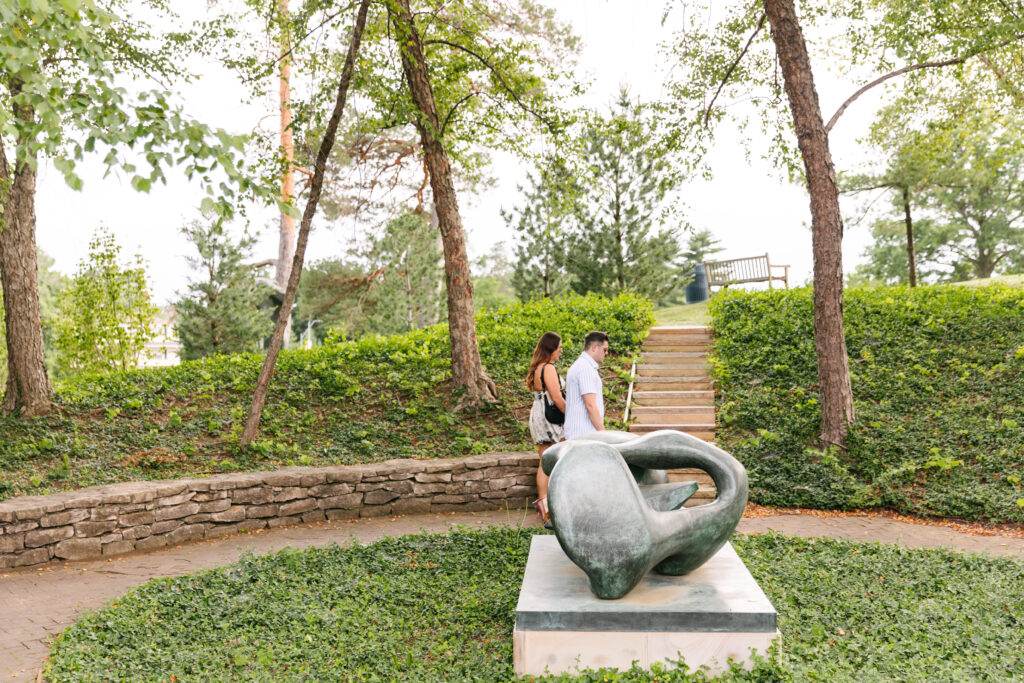
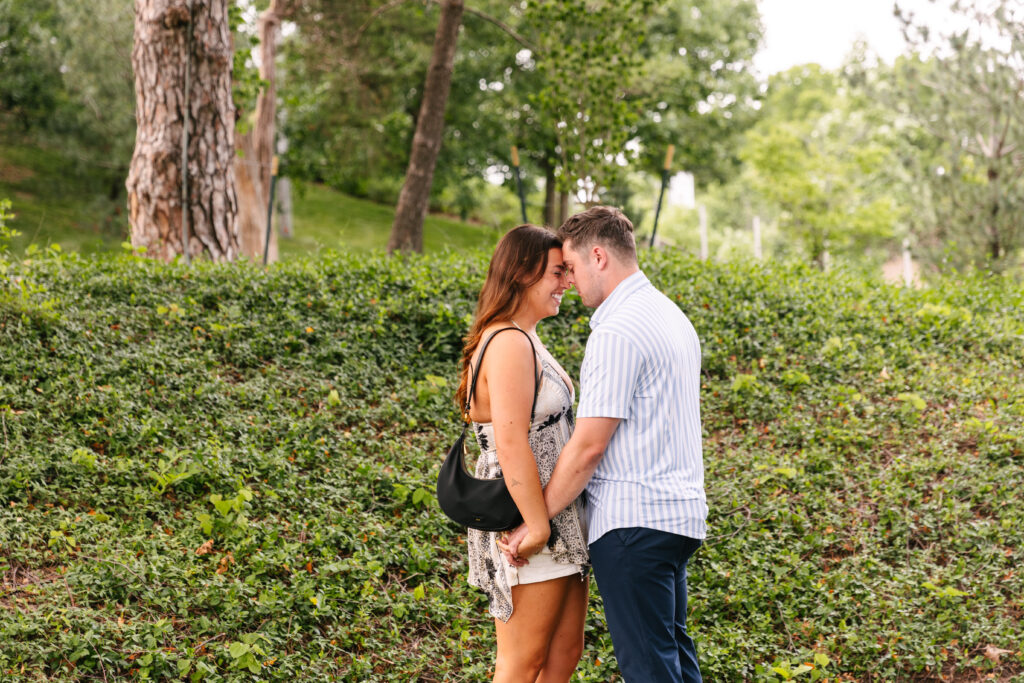
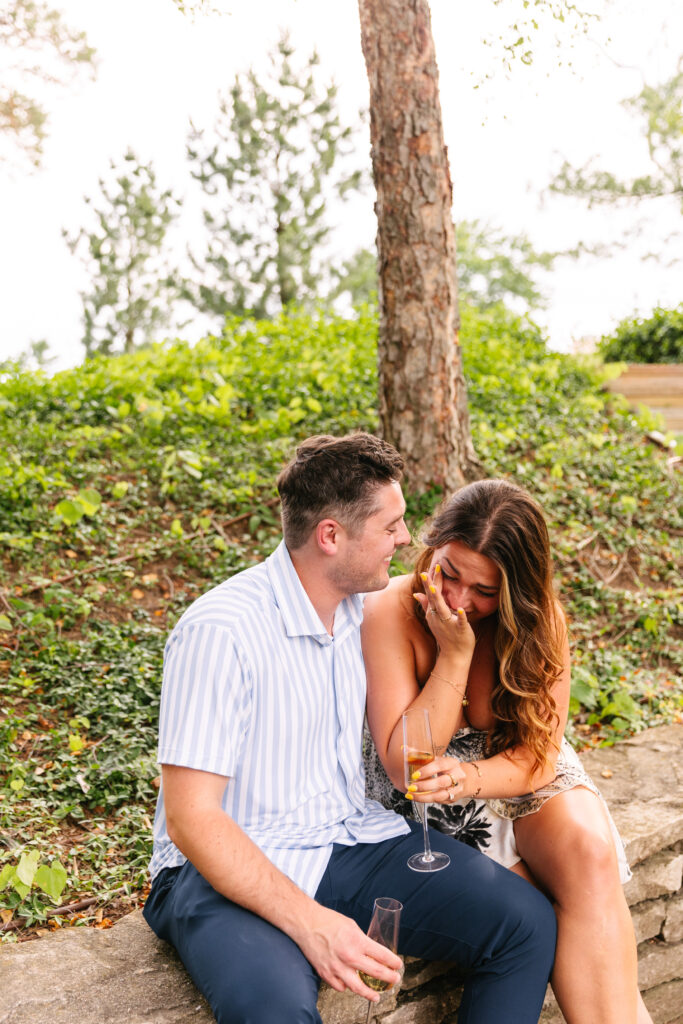
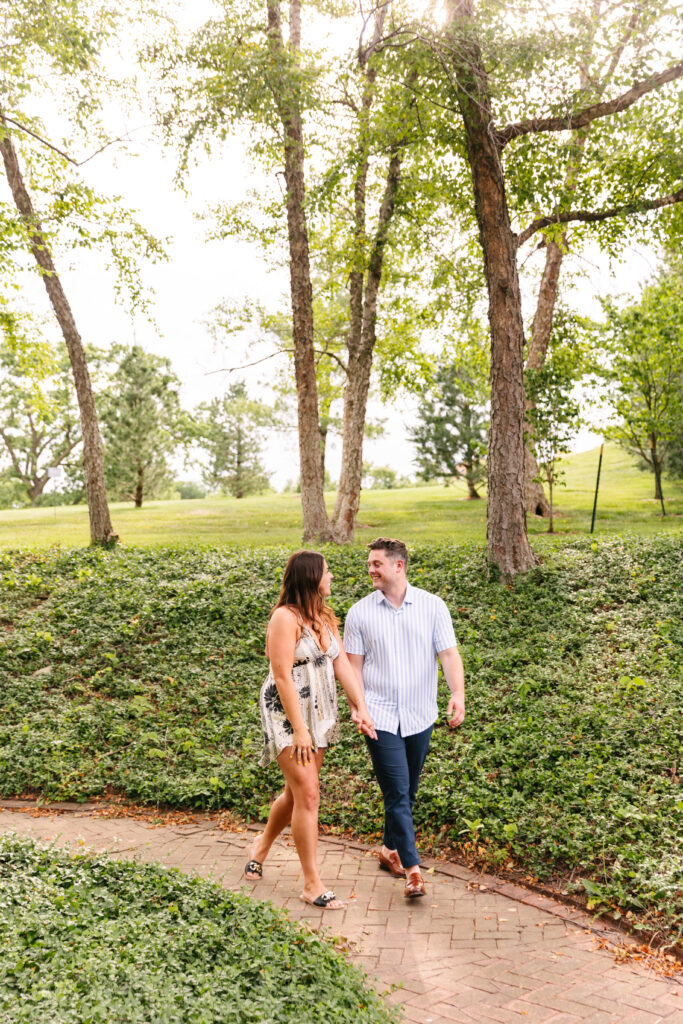
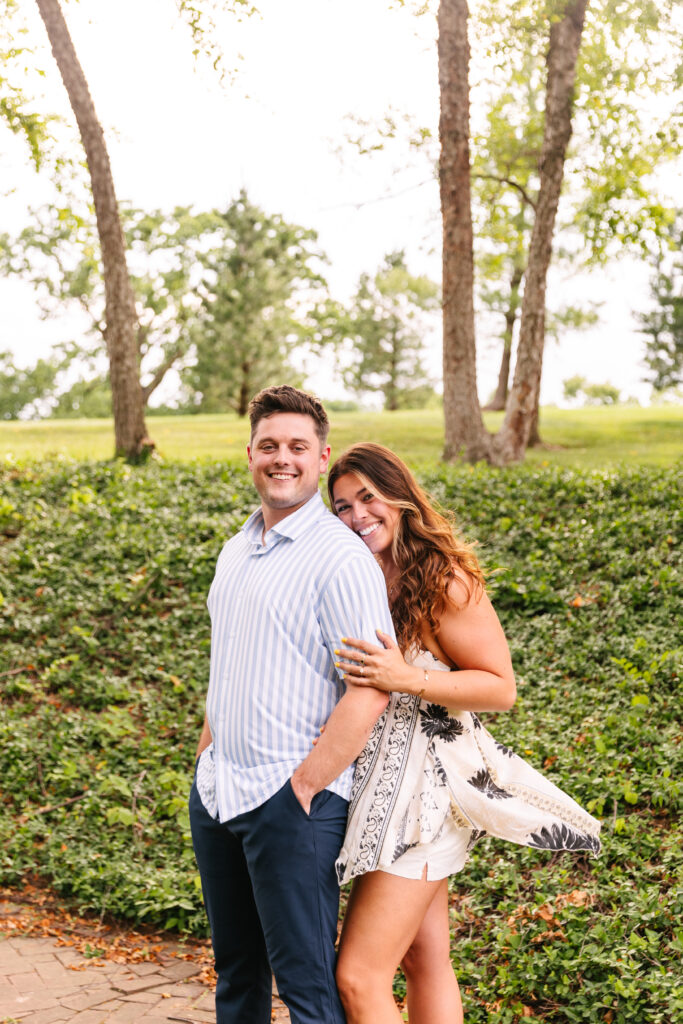

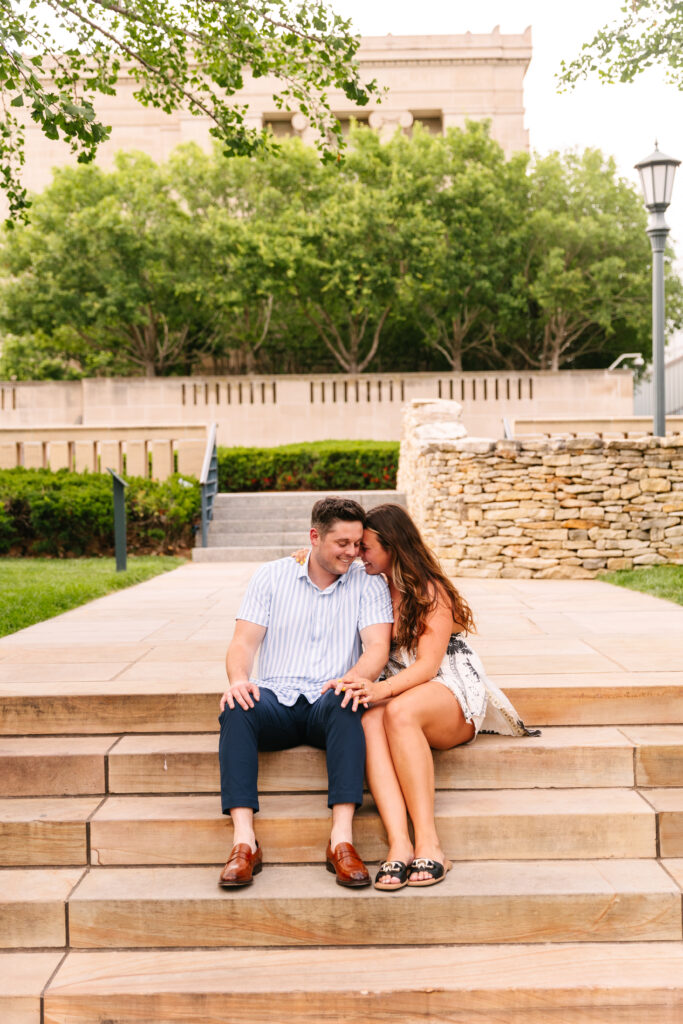

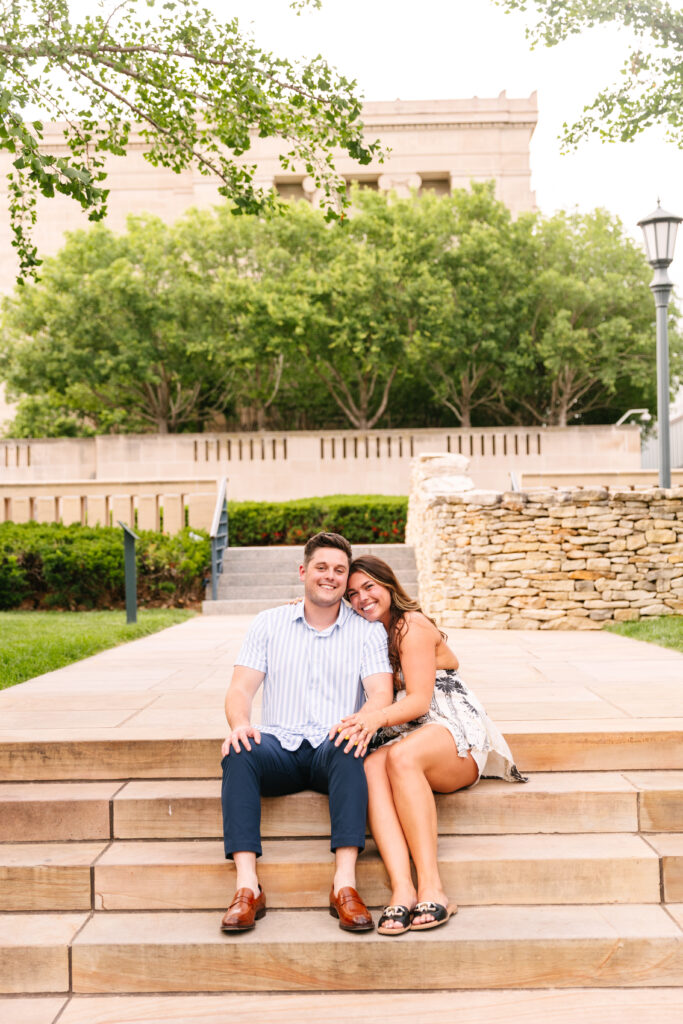

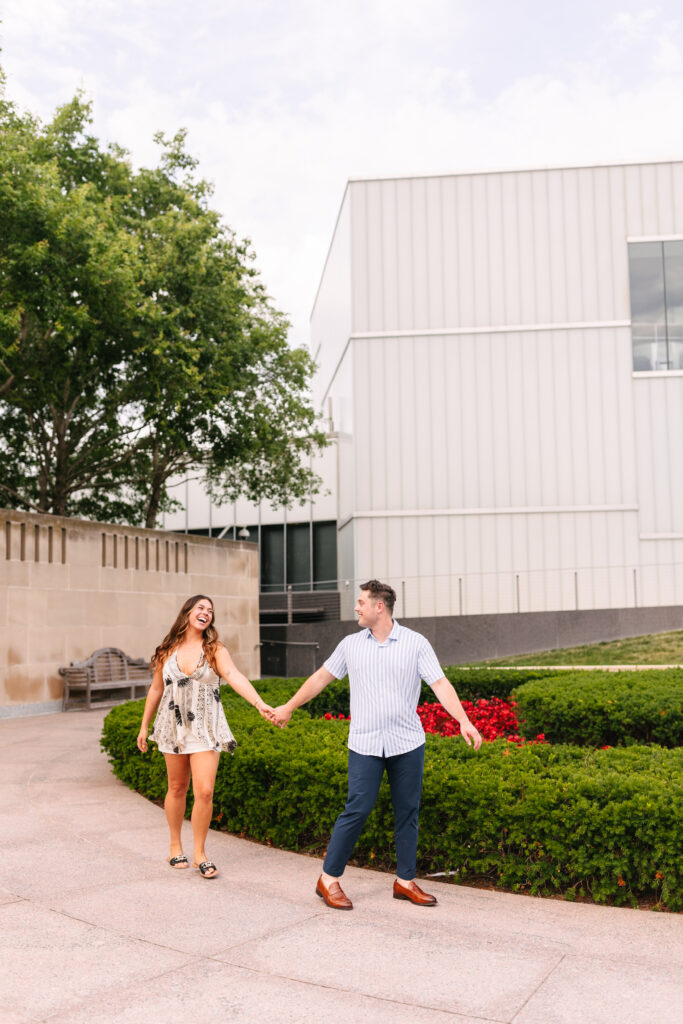
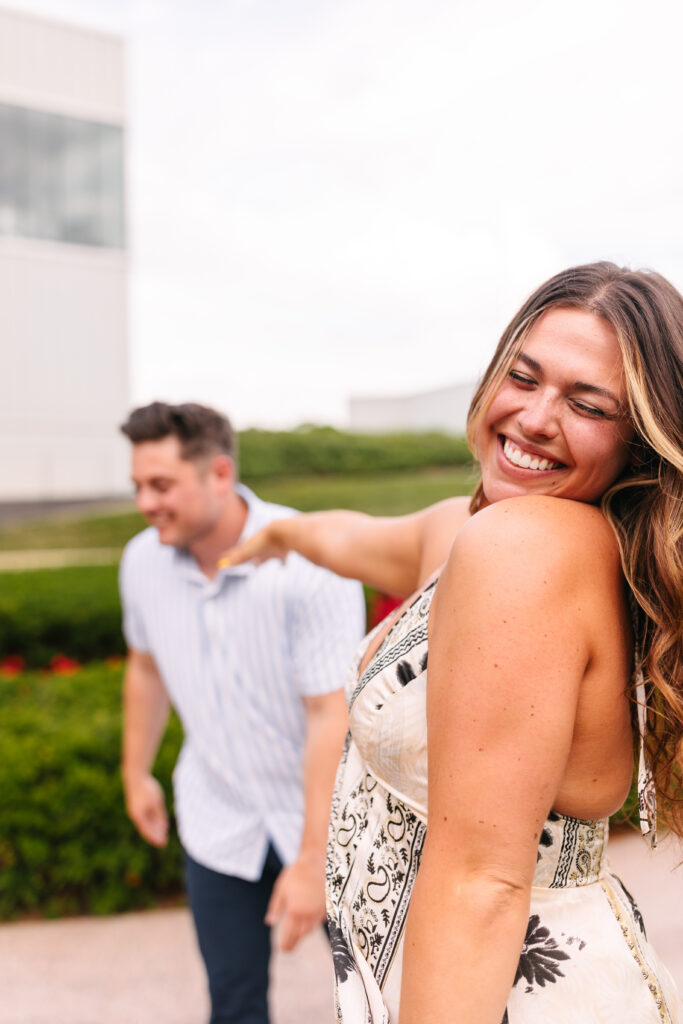
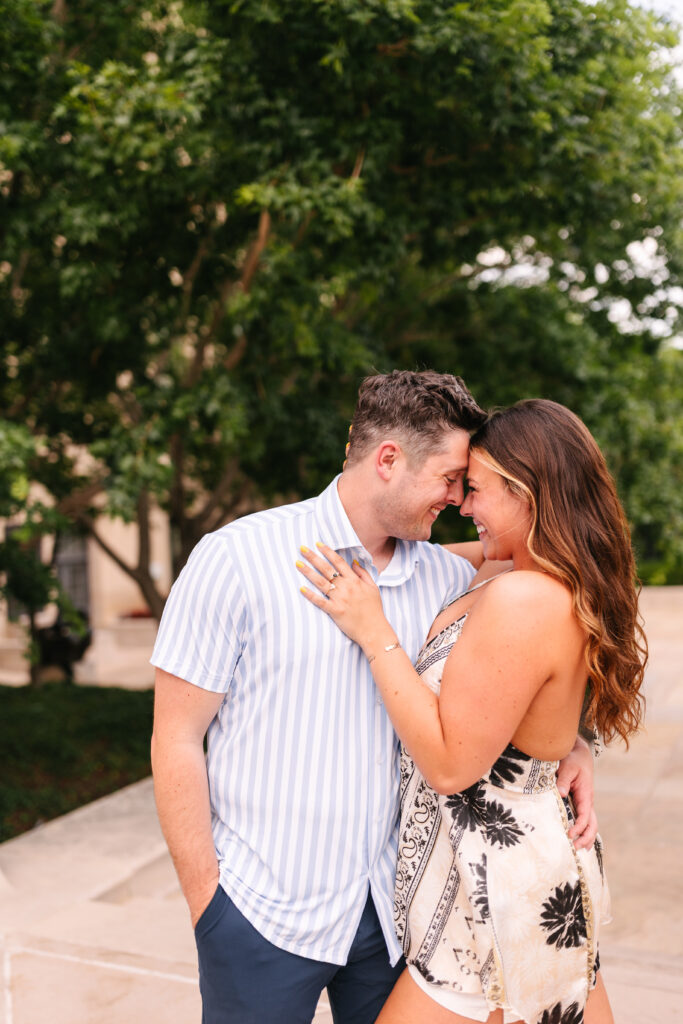
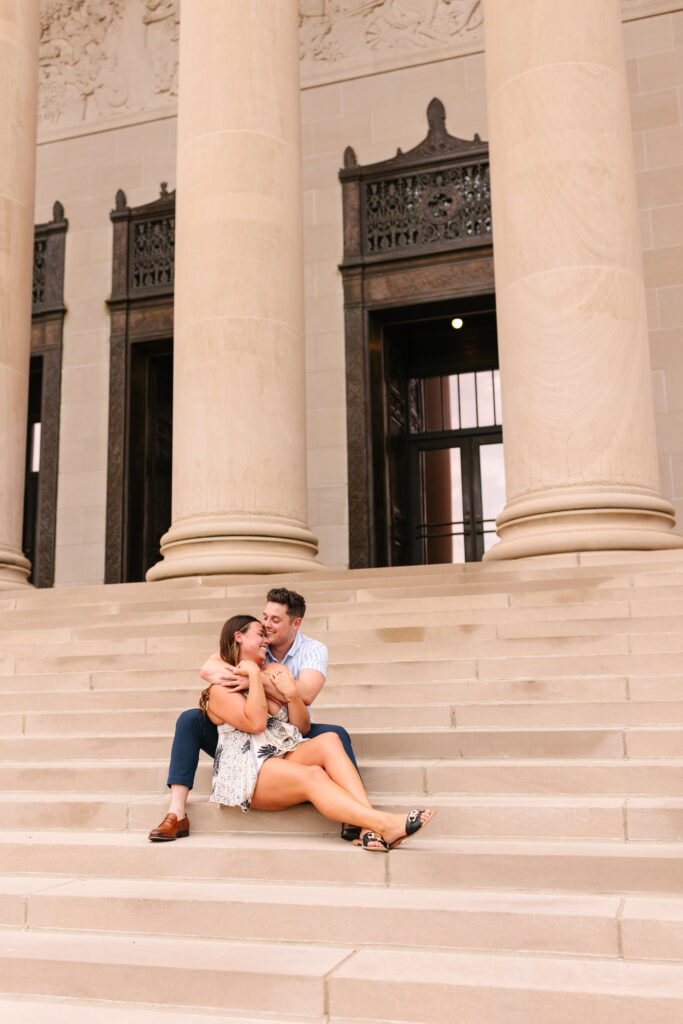
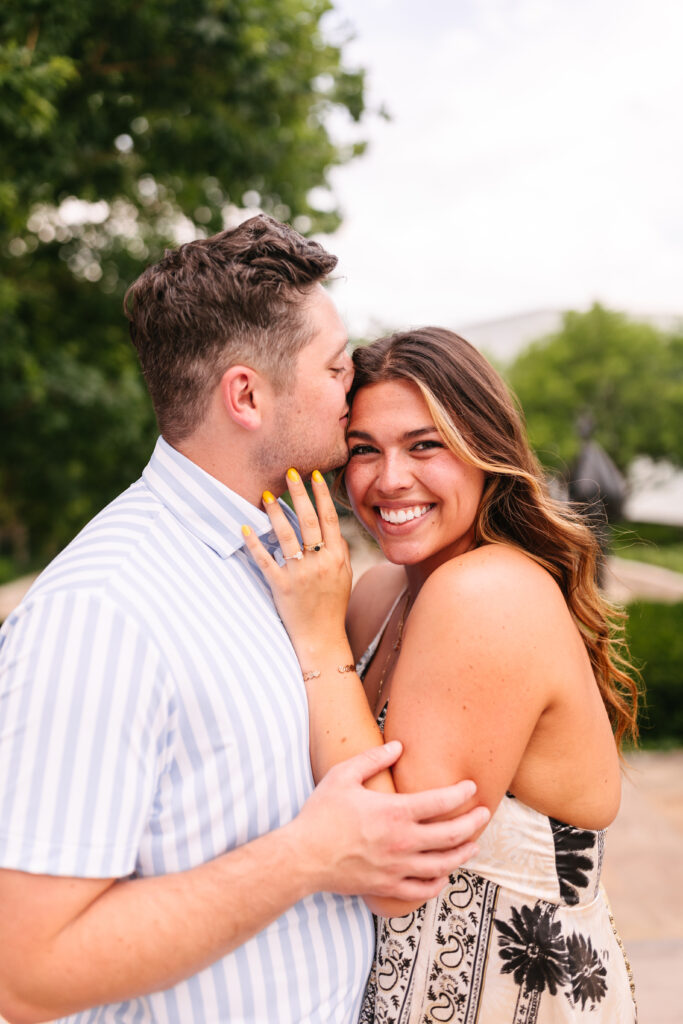
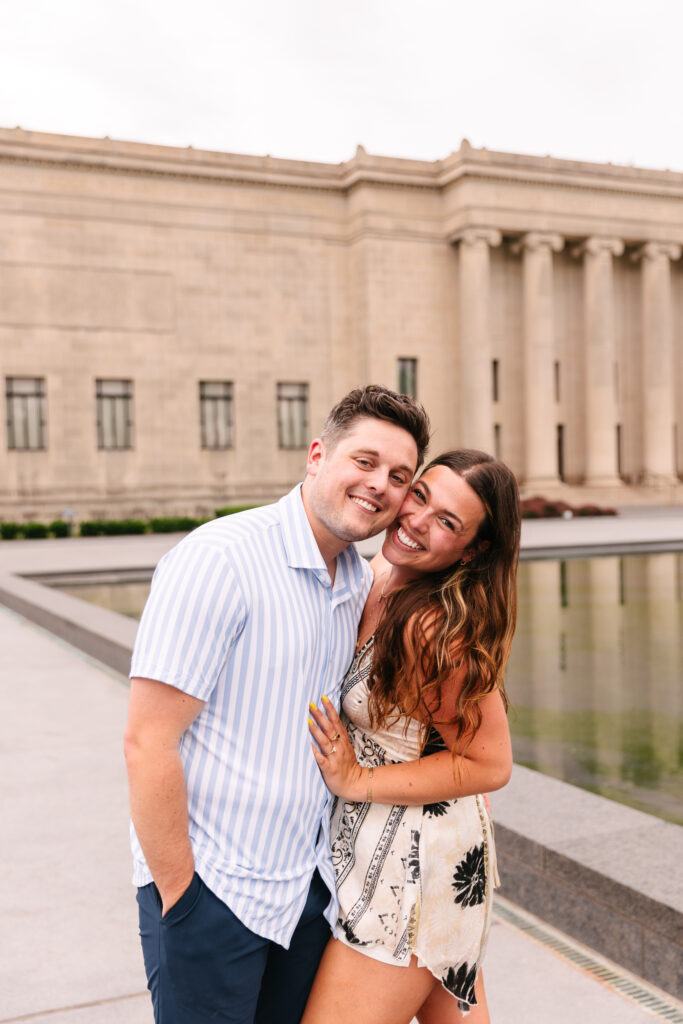
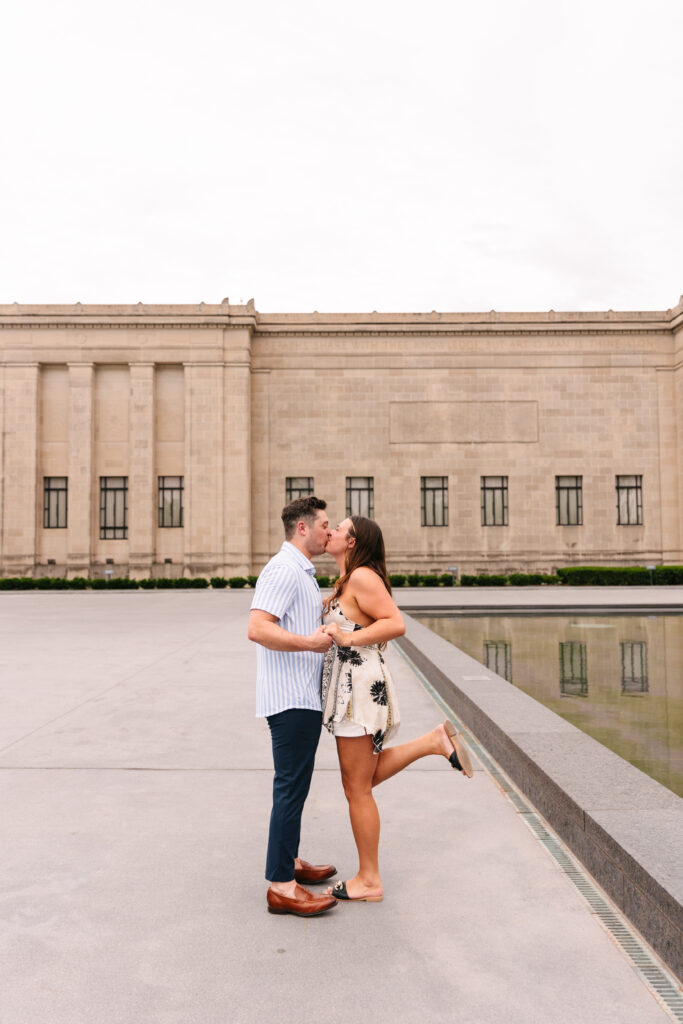
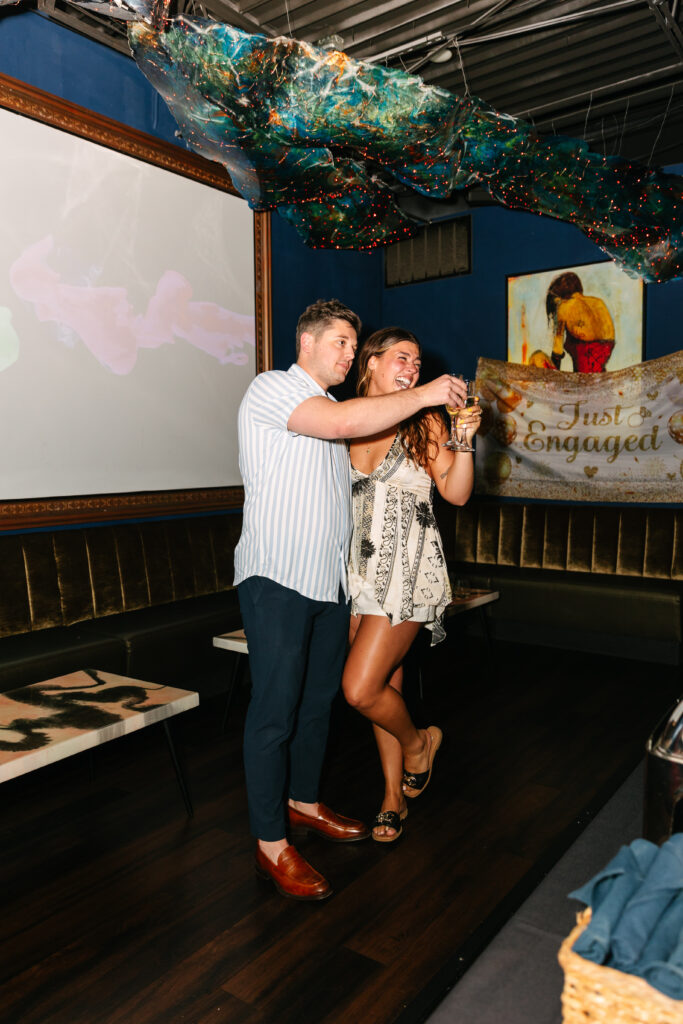
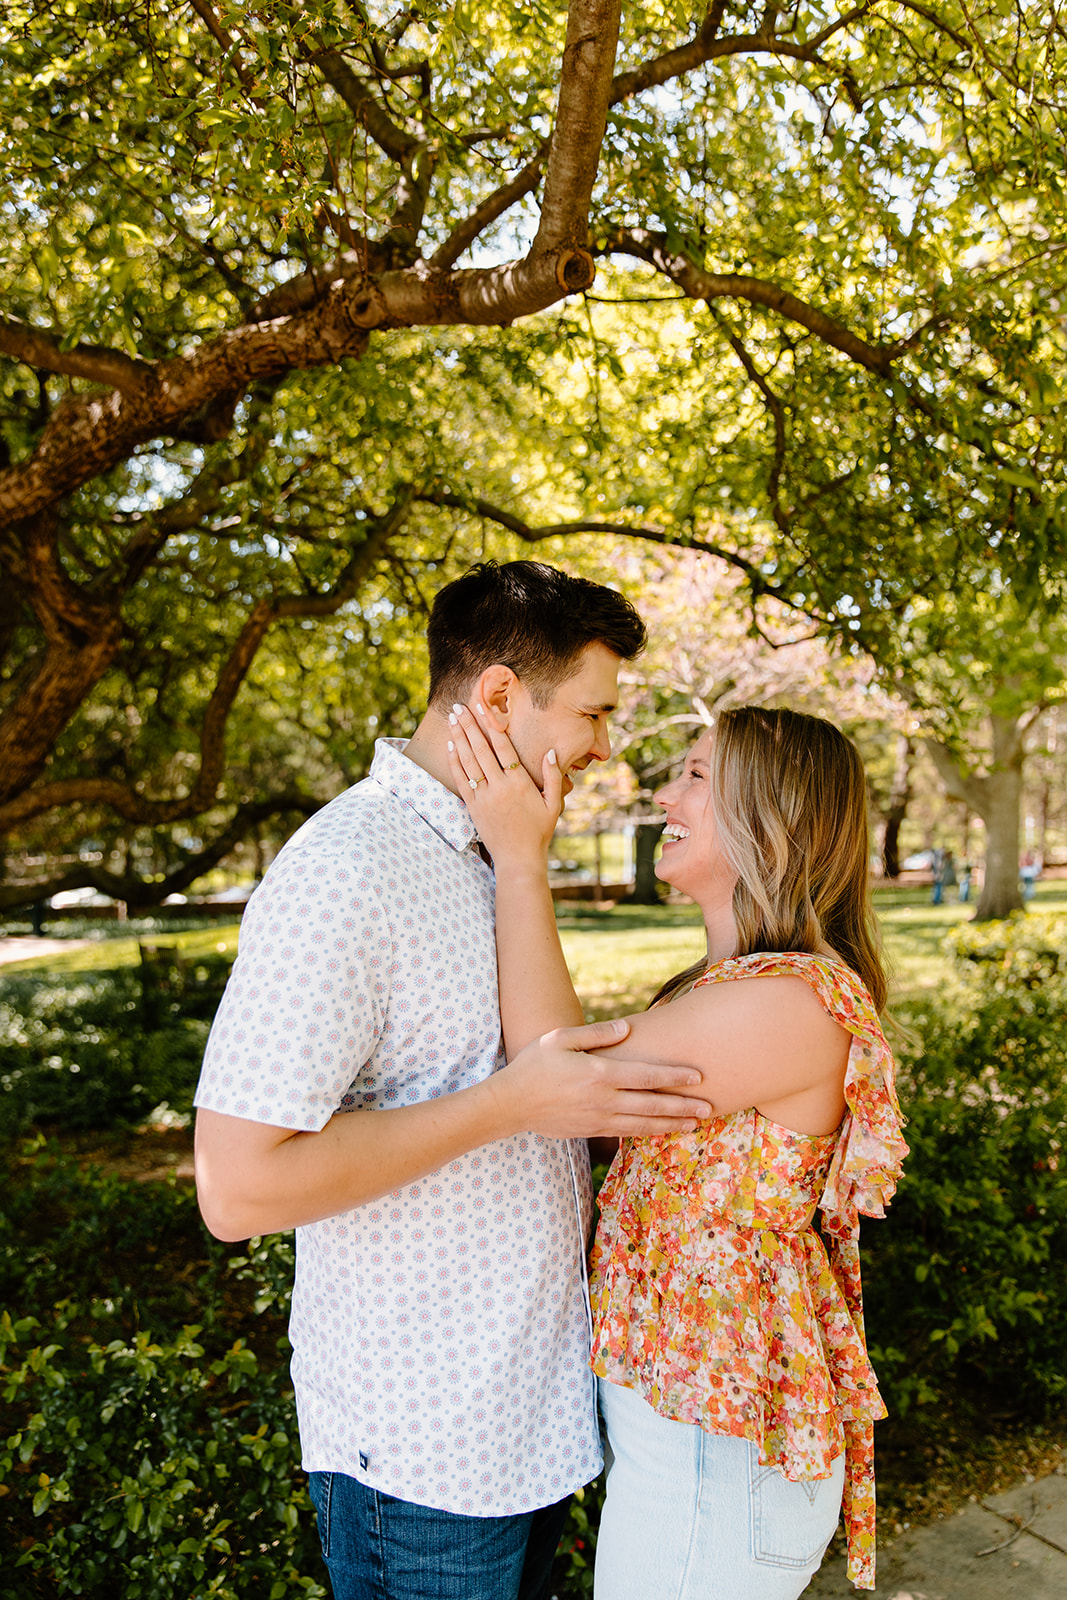
Spring in Kansas City is magic—everything is blooming, the weather is just right, and warmth is finally in the air. If you’re planning your session and want to take advantage of the gorgeous scenery, you’re in luck! KC has some truly breathtaking outdoor spots that make the perfect backdrop for Spring sessions.
Here are five of my favorite locations for a dreamy spring session:
1. Loose Park – A Springtime Wonderland
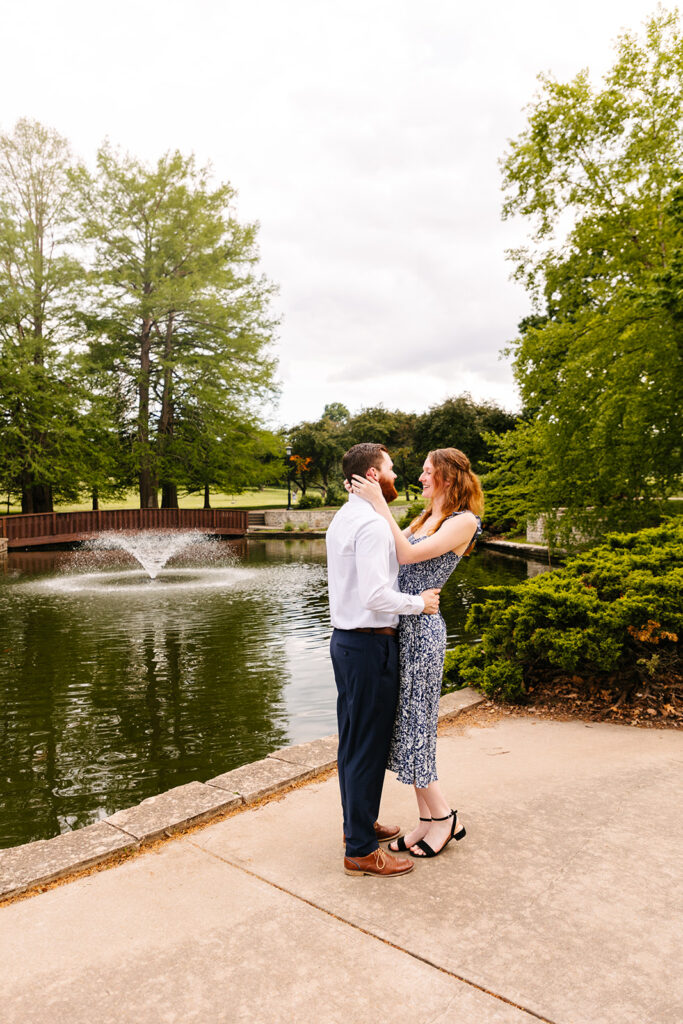
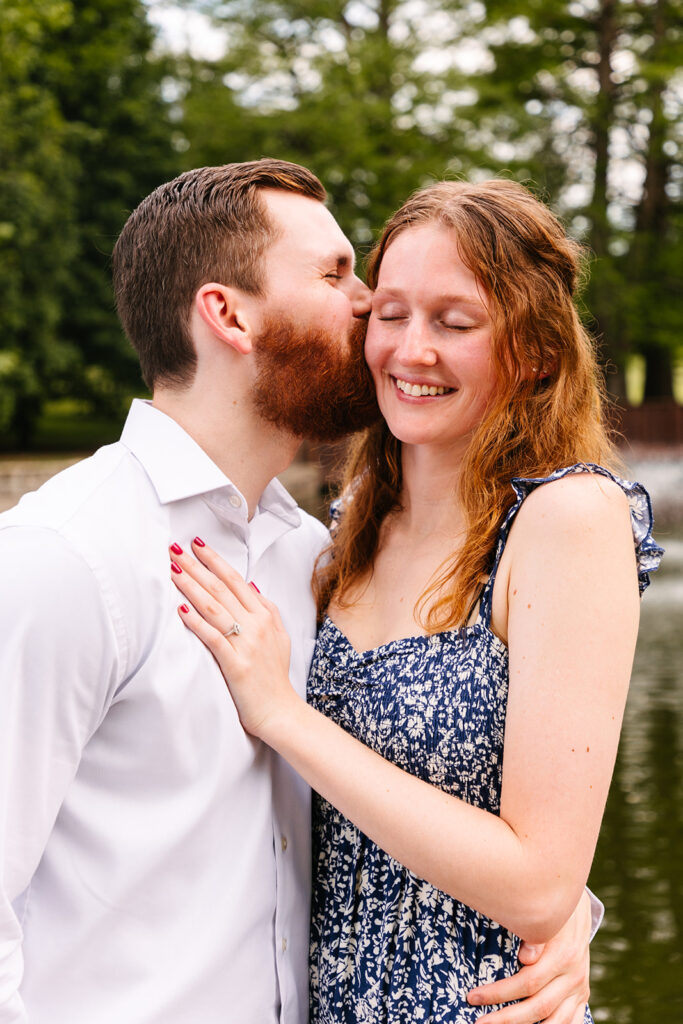
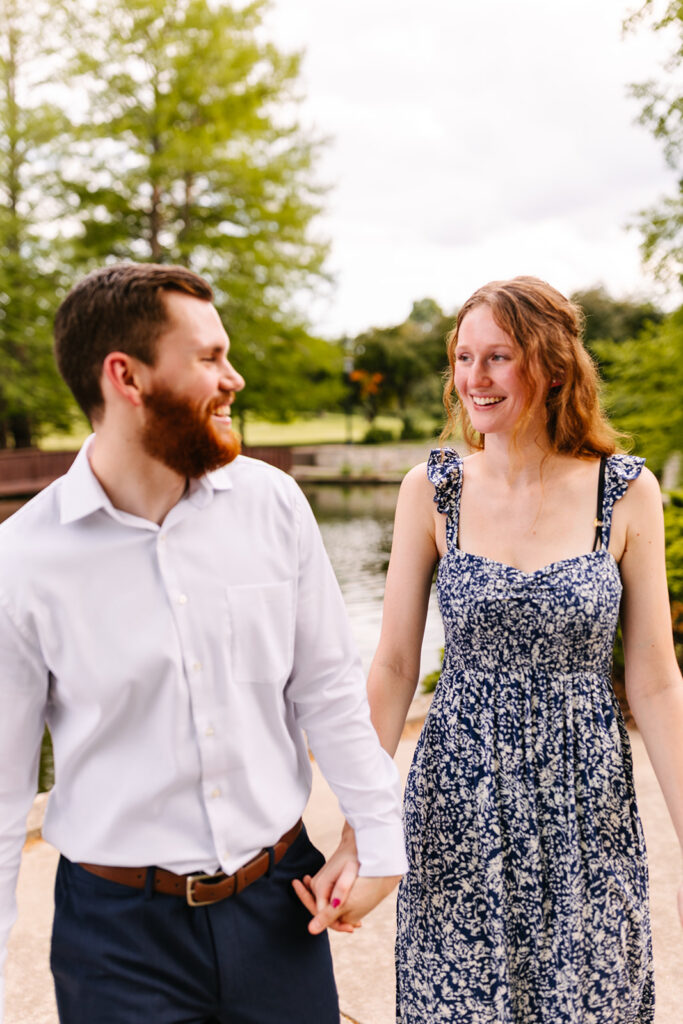
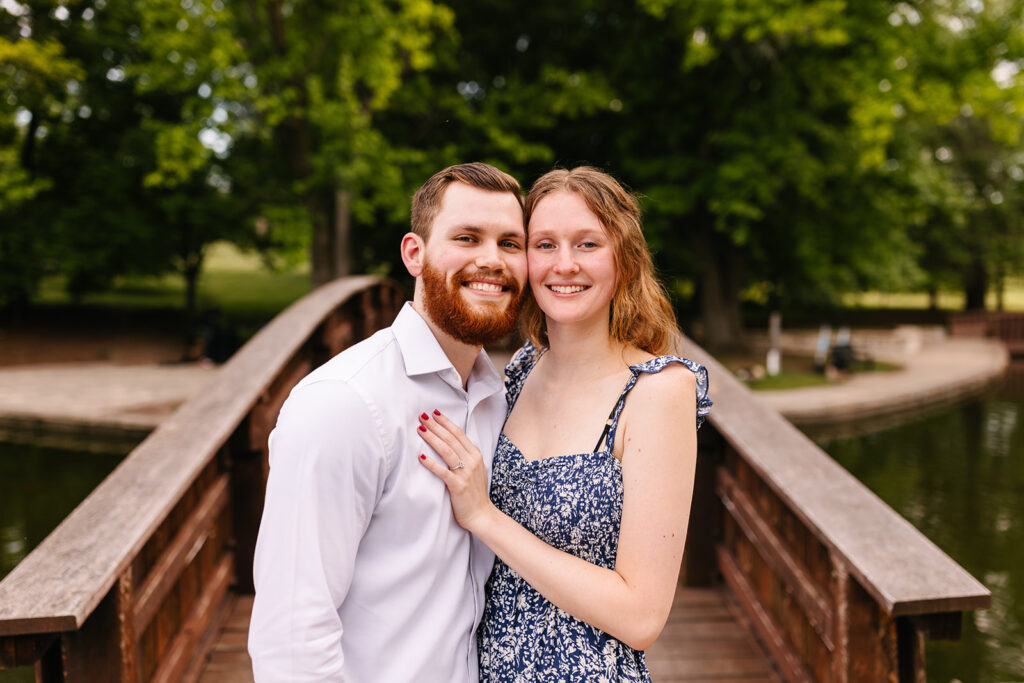
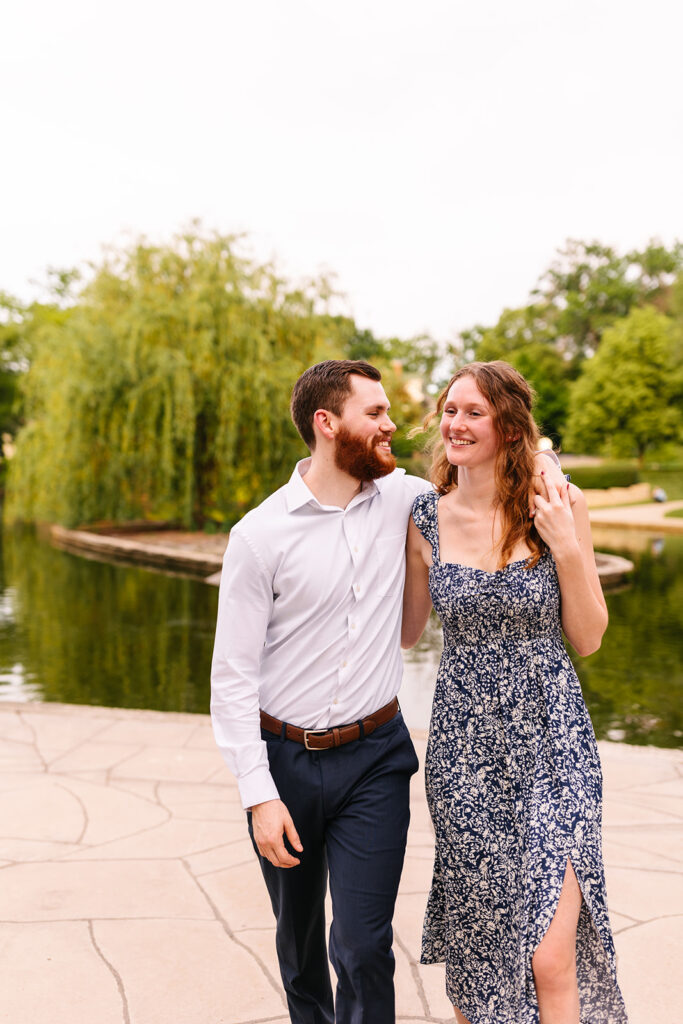
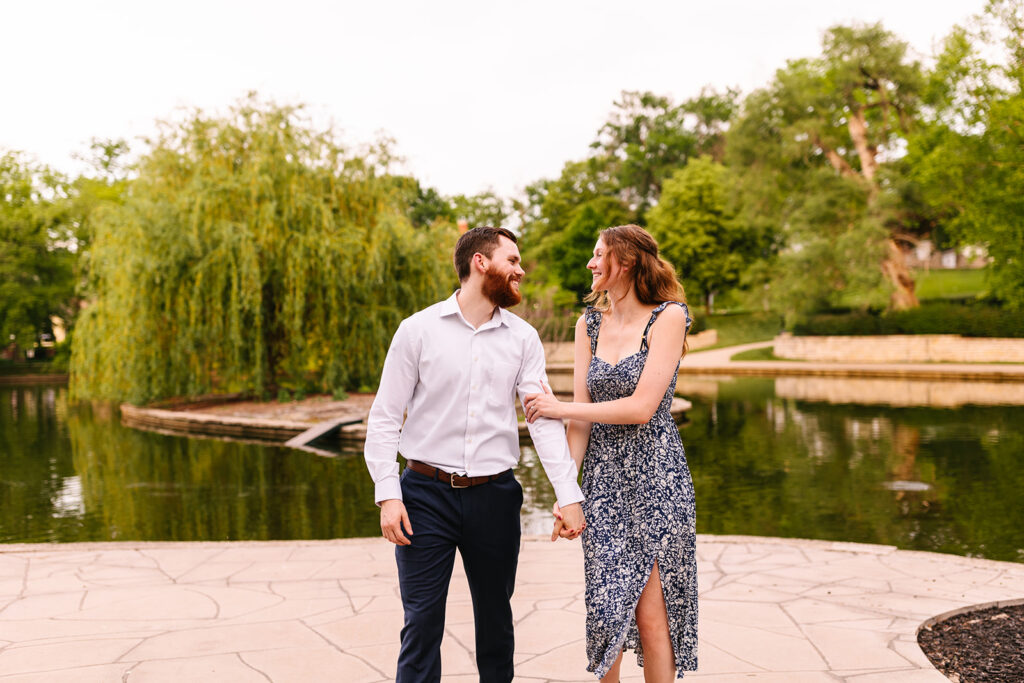
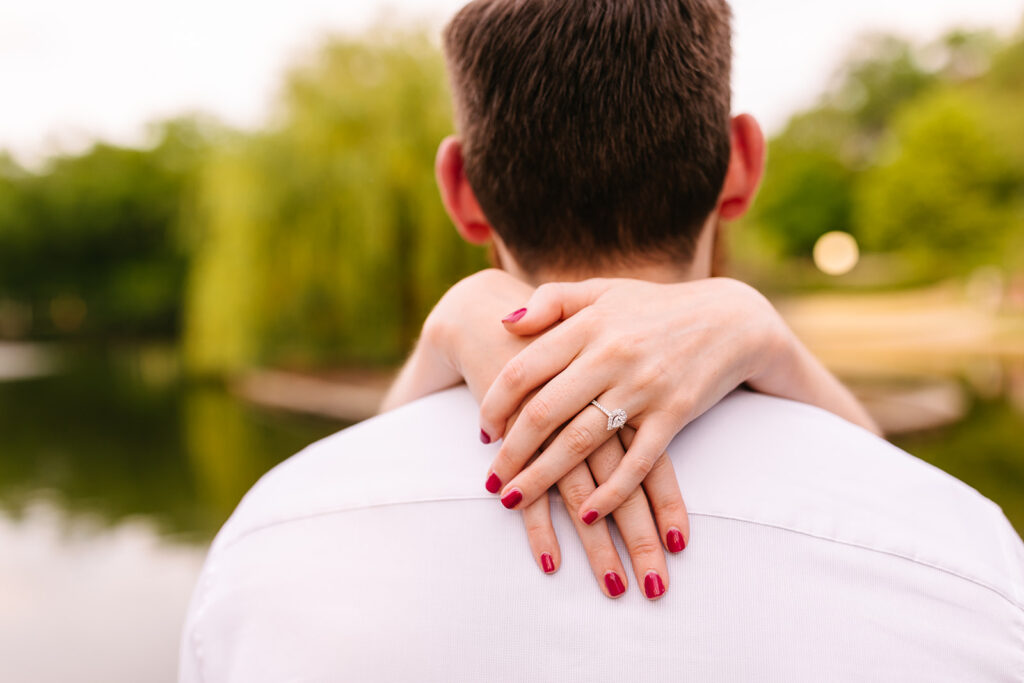
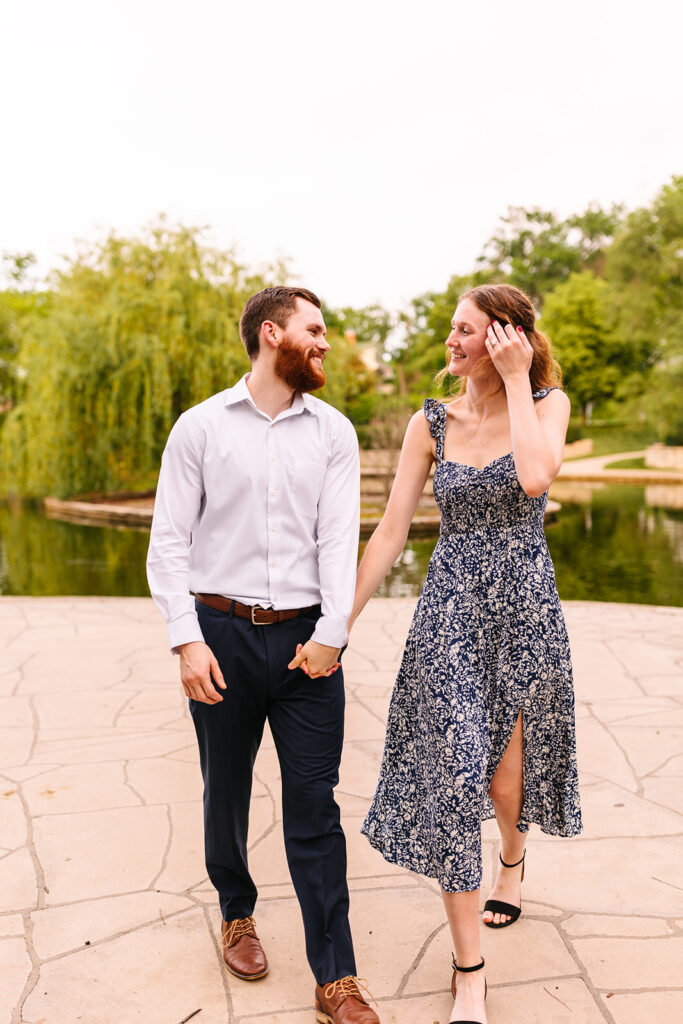
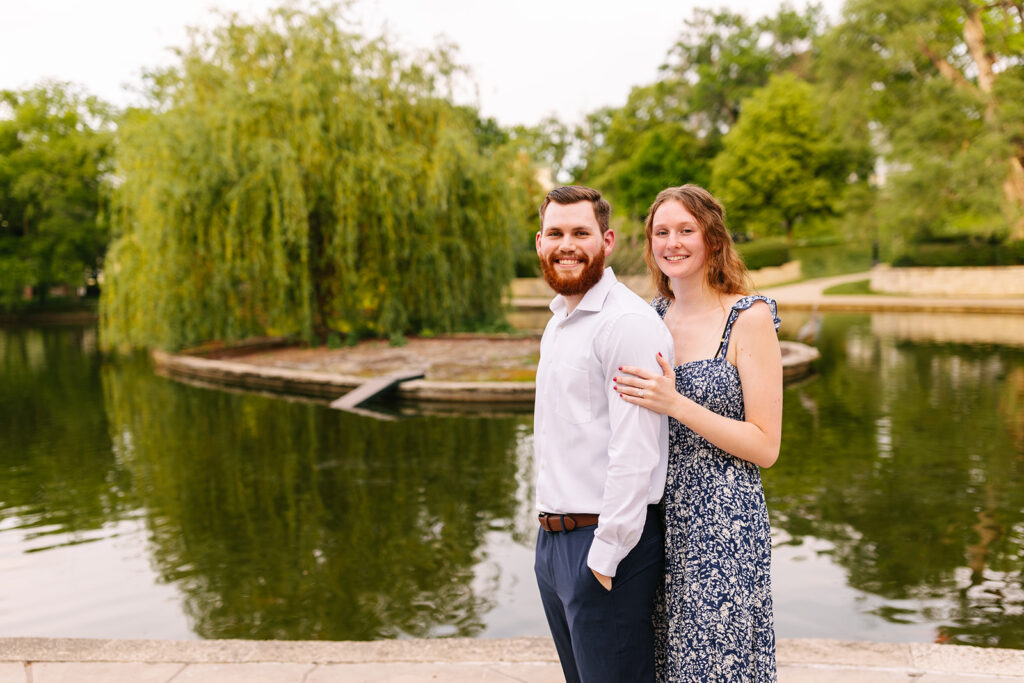
If you’re dreaming of soft florals, charming pathways, and lush greenery, Loose Park is the place to be. In the spring, the rose garden starts to wake up, and the vibrant colors make every photograph pop. Whether you’re strolling under the blooming trees or sharing a quiet moment by the pond, this park offers endless timeless settings.
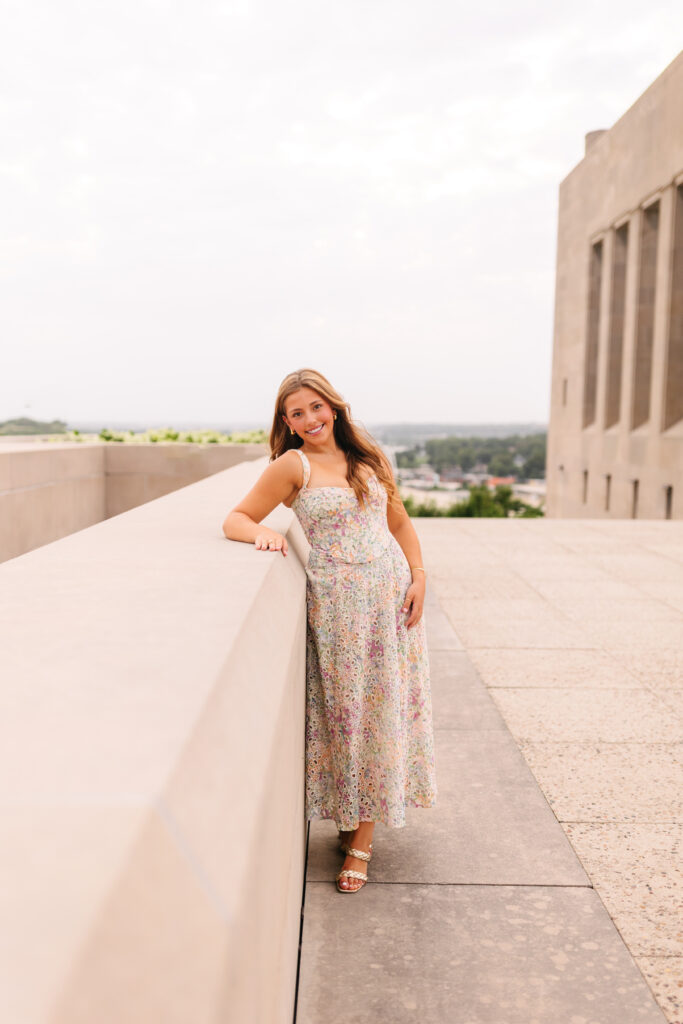
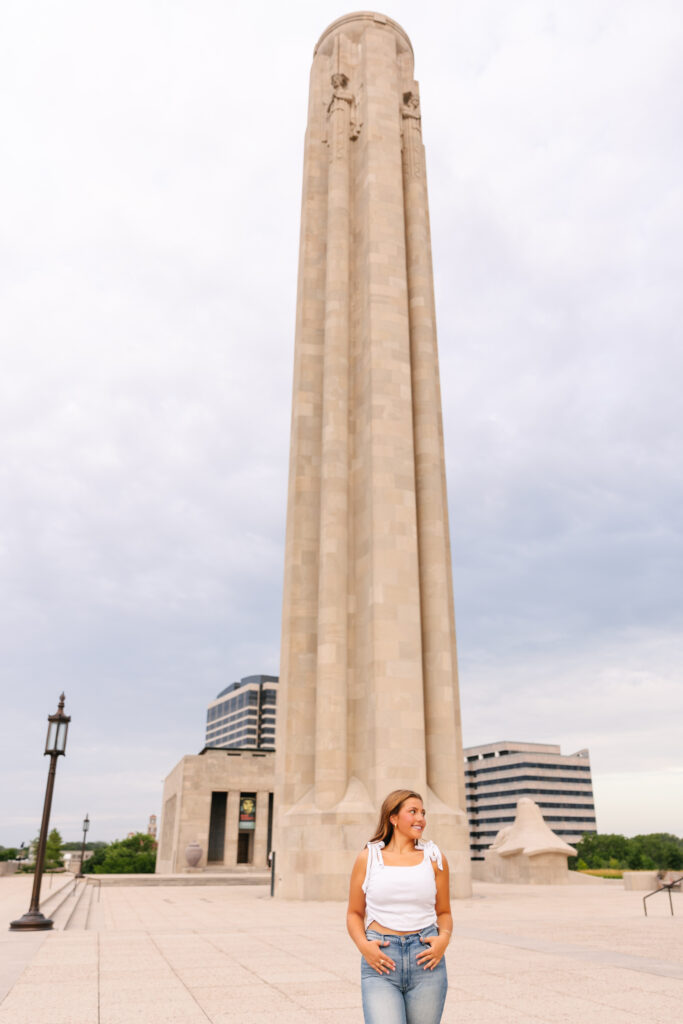
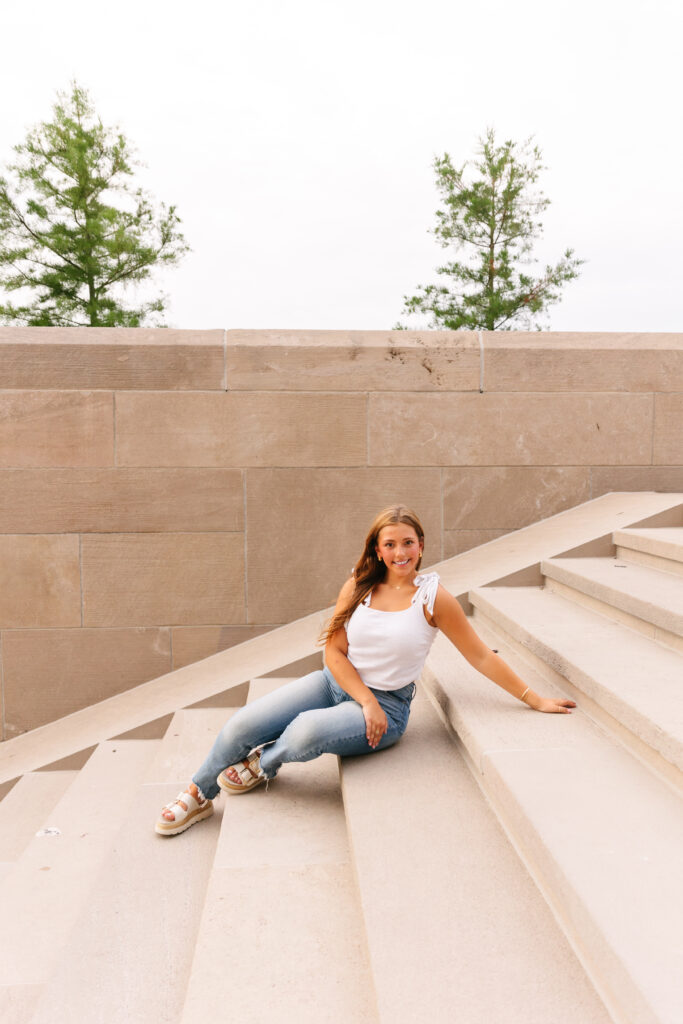
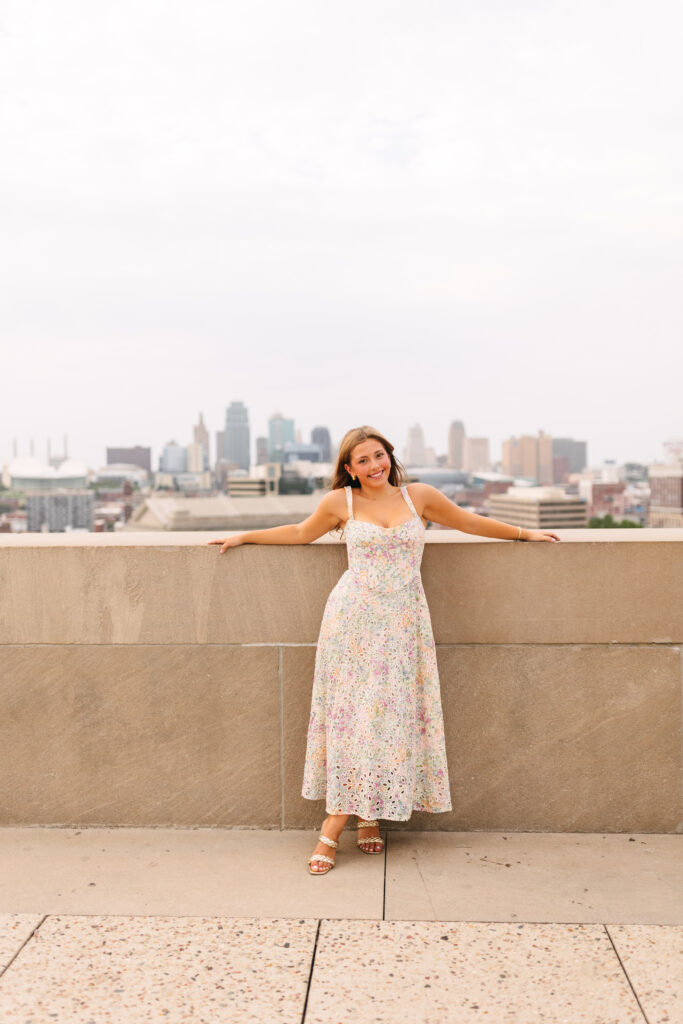
2. Liberty Memorial – Classic Views with a Kansas City Skyline
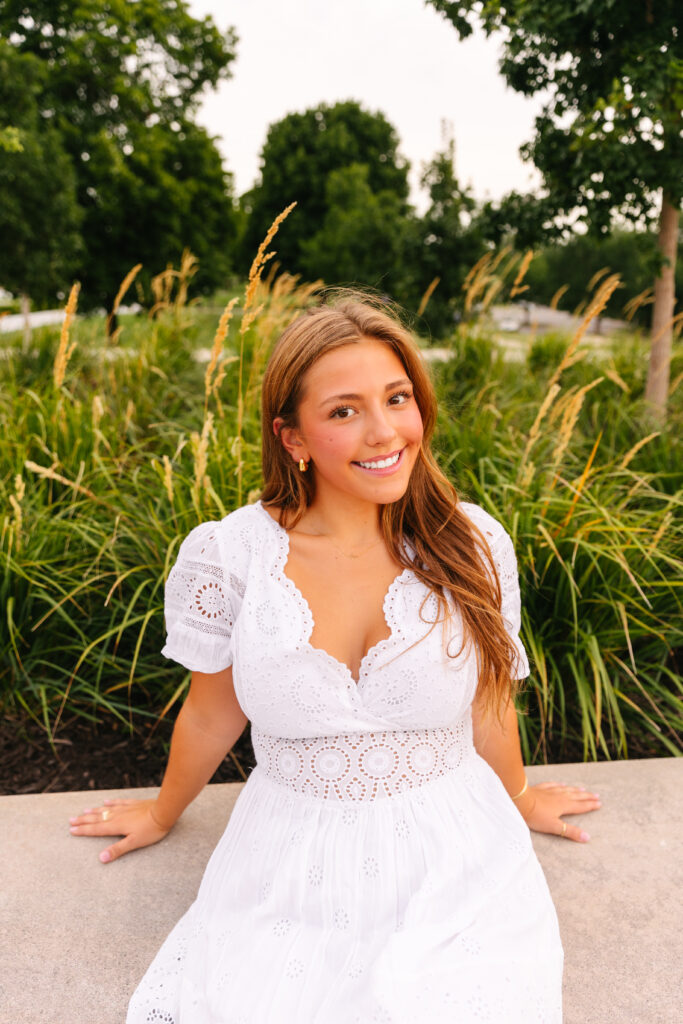
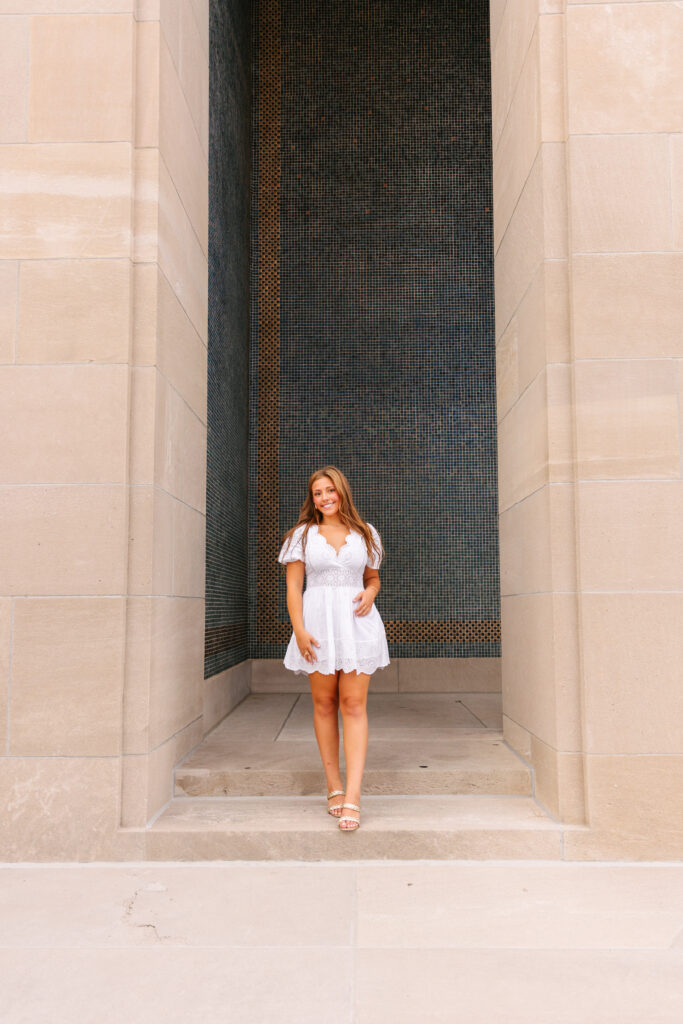
For those who love a mix of nature and city vibes, Liberty Memorial is a fantastic choice! The grand steps, towering monument, and skyline views make for both dramatic and intimate moments. Plus, in the spring, the grass is bright green, and the flowers around the memorial add the perfect touch of color!

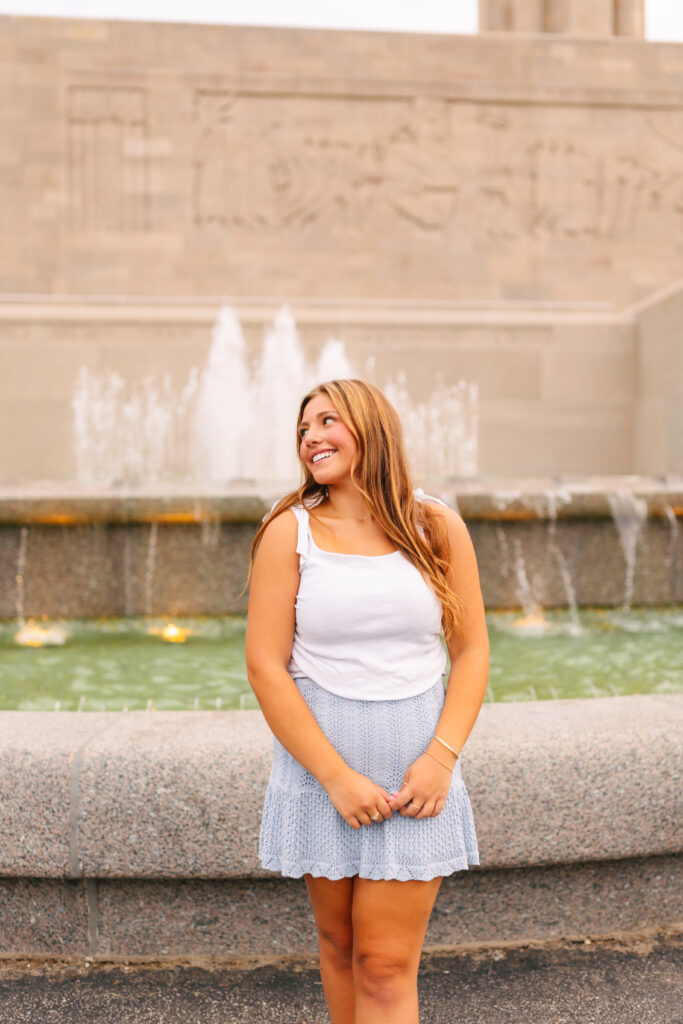

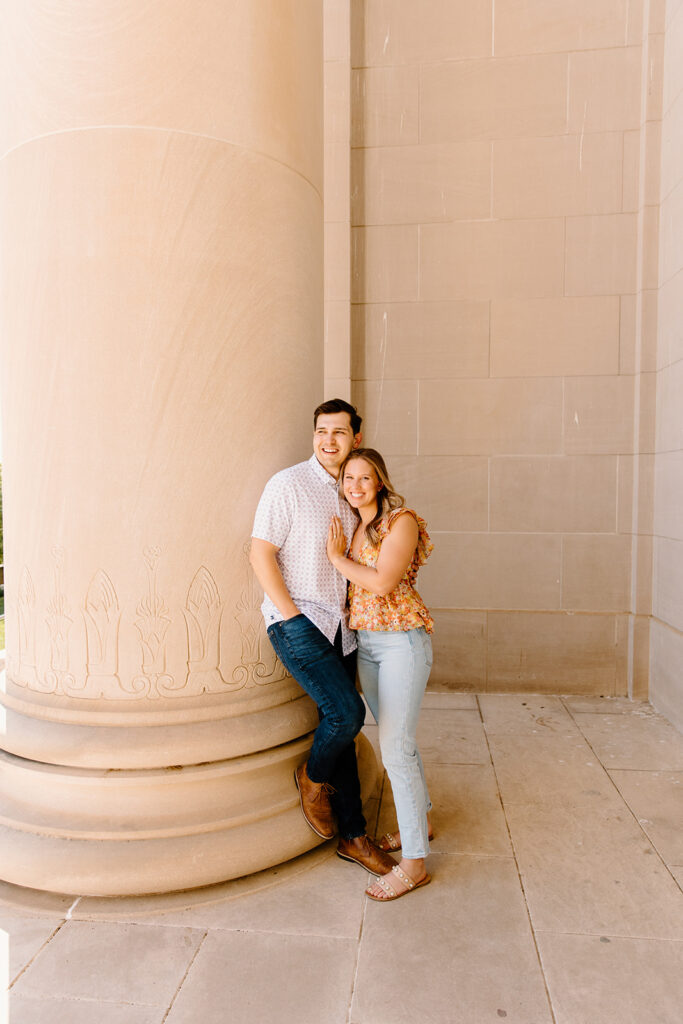
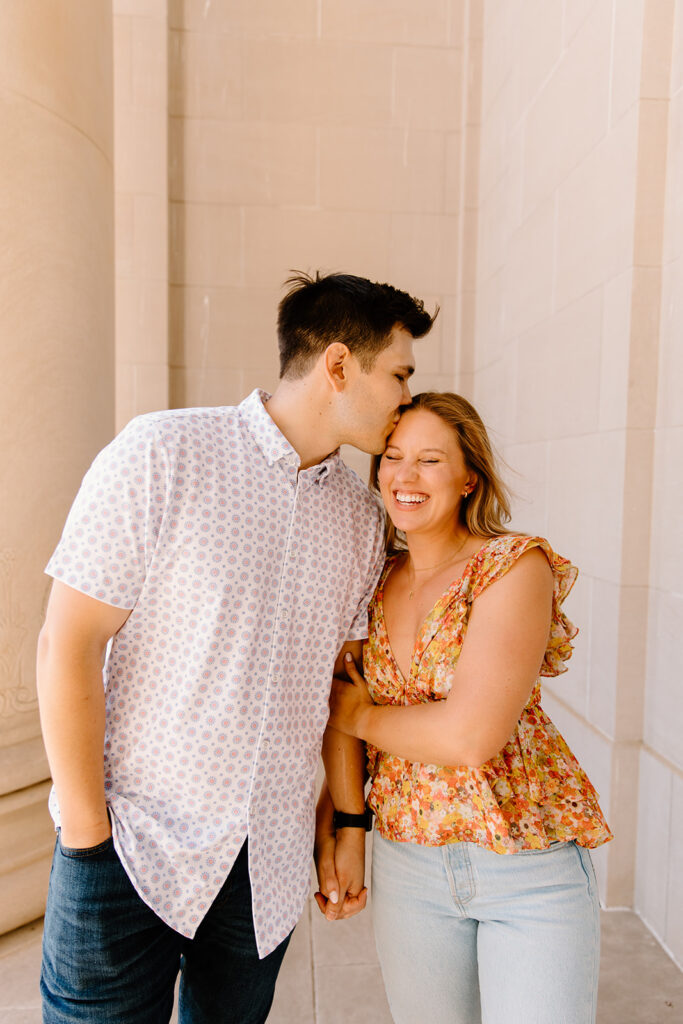
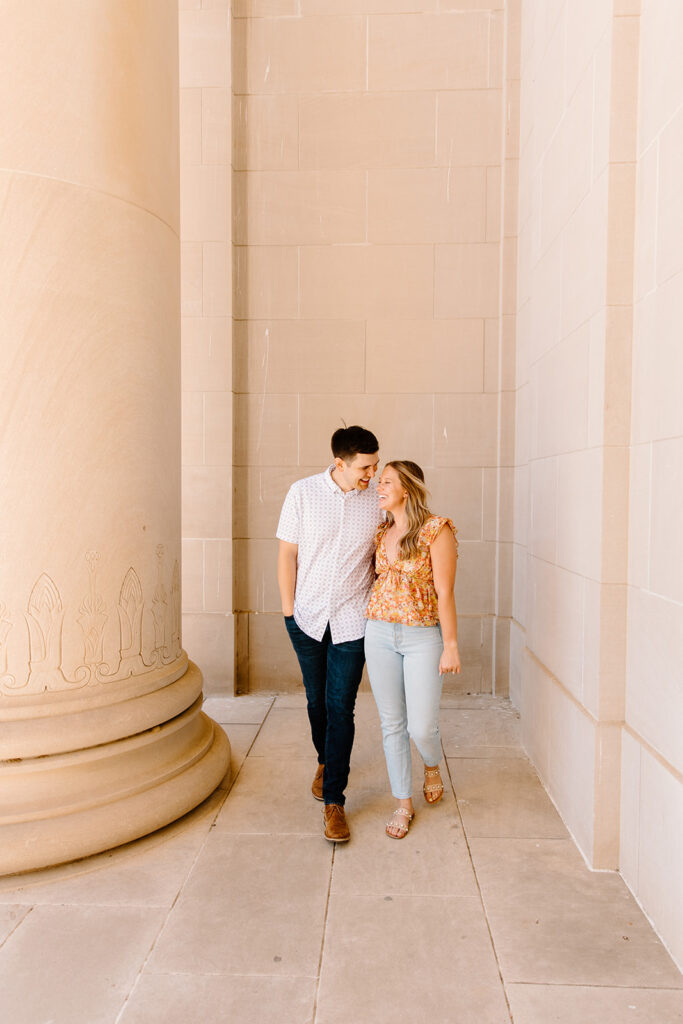
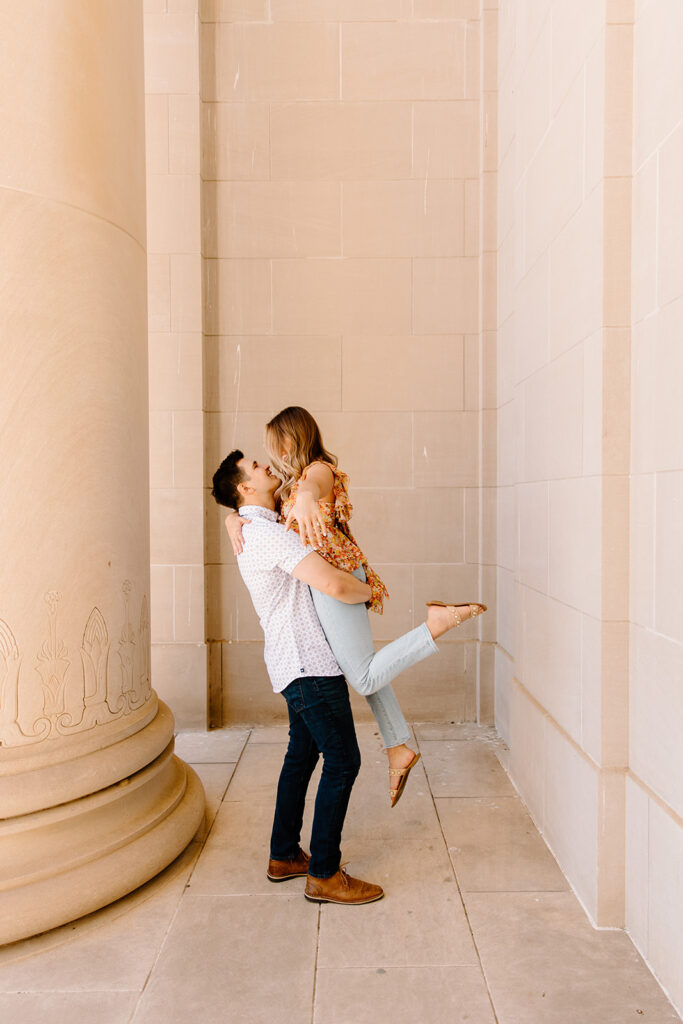
3. Kauffman Center for the Performing Arts – Sleek, Modern, and Timeless
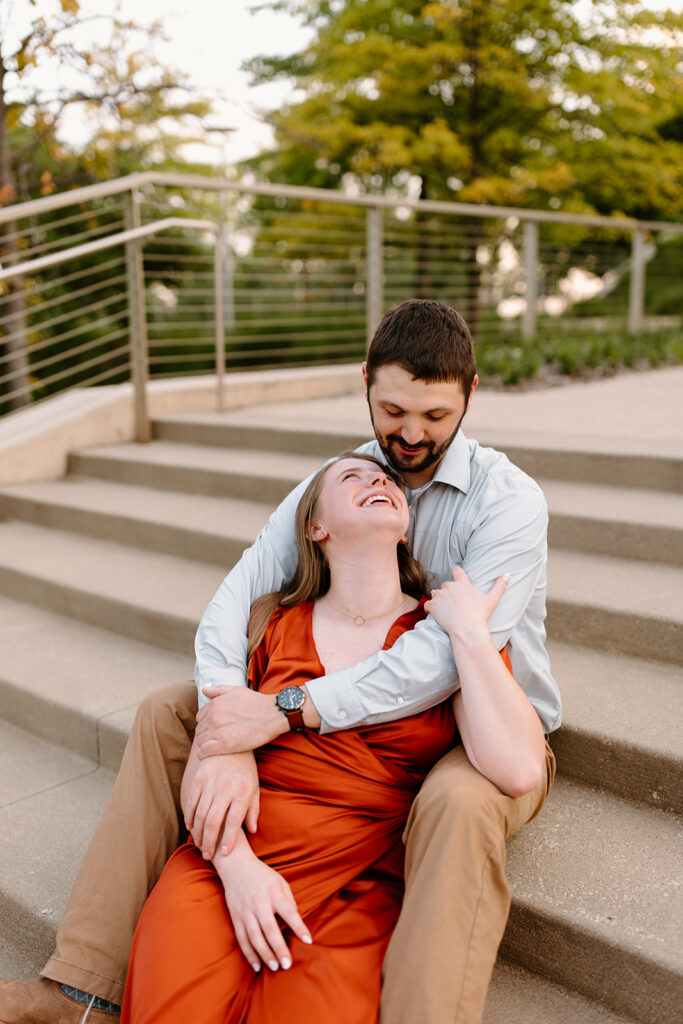
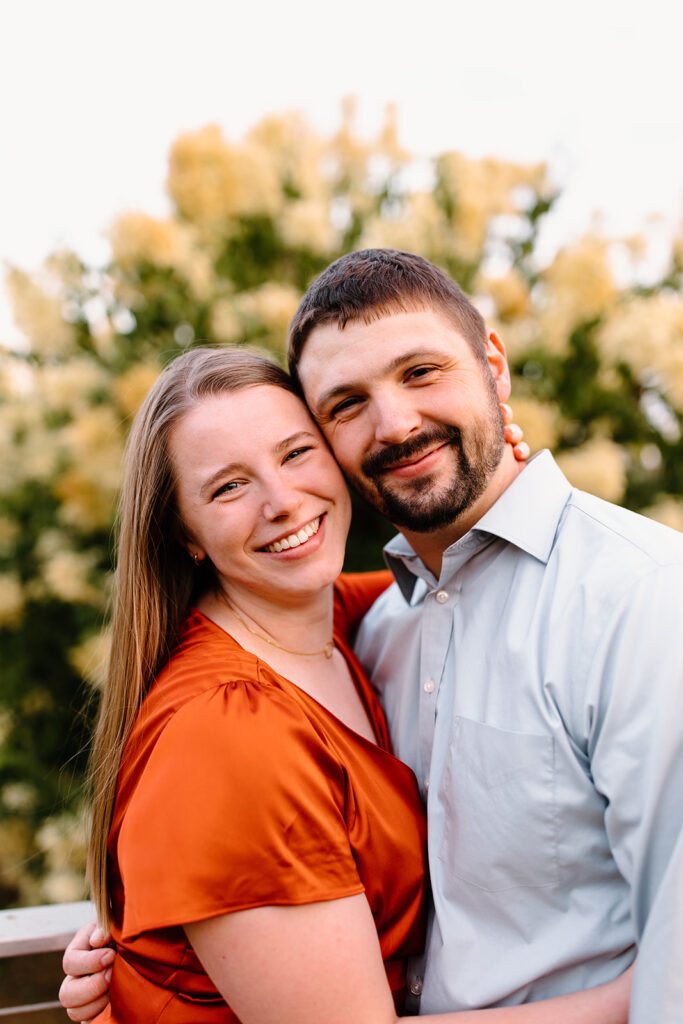
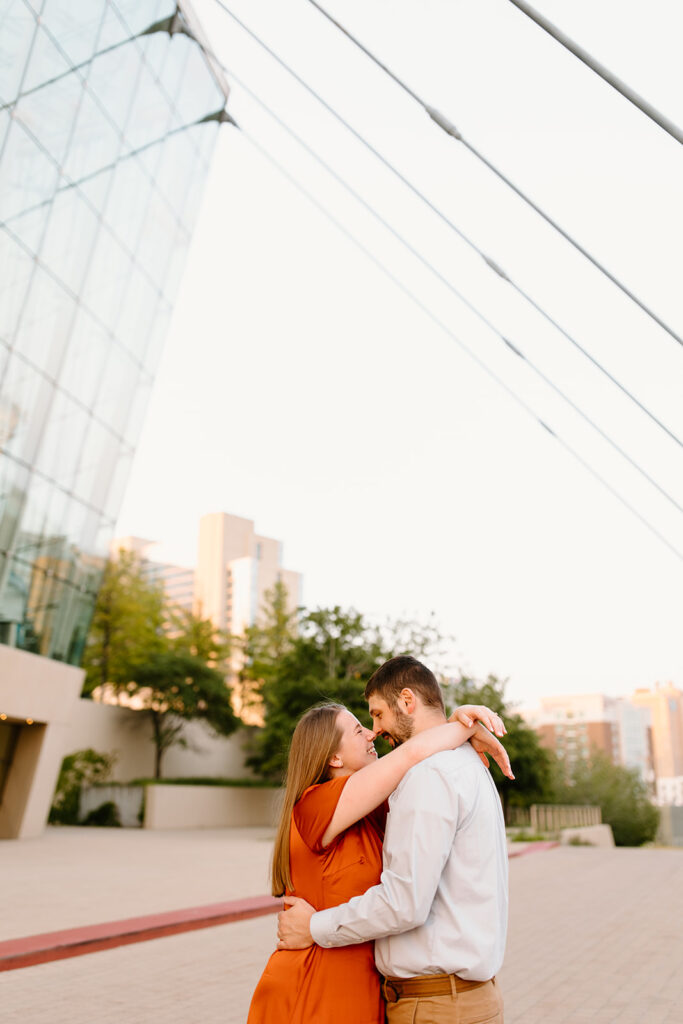
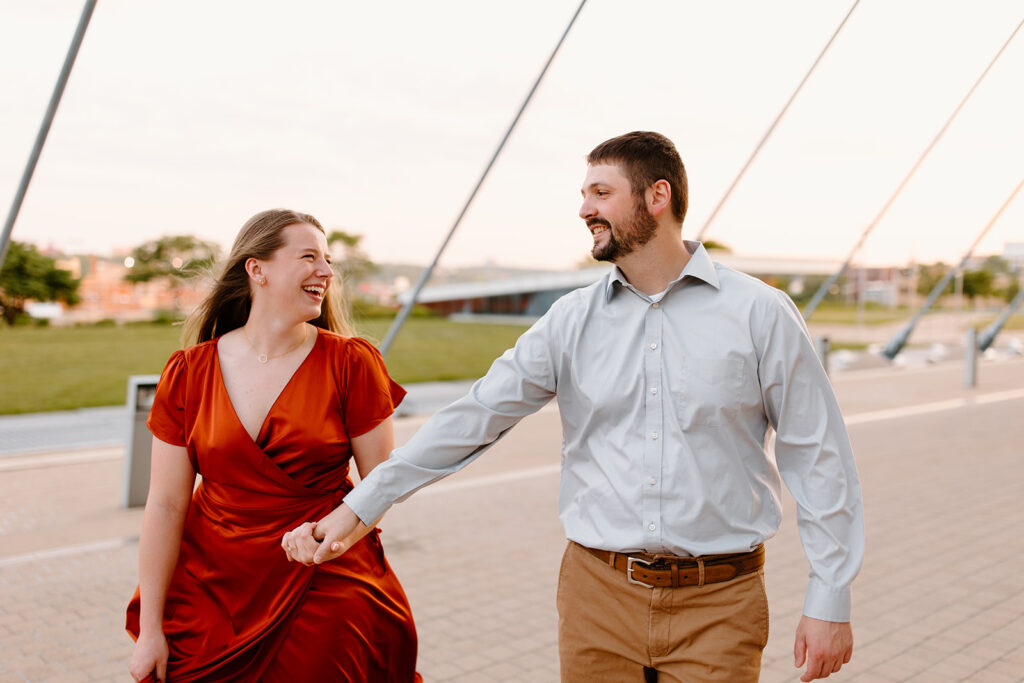
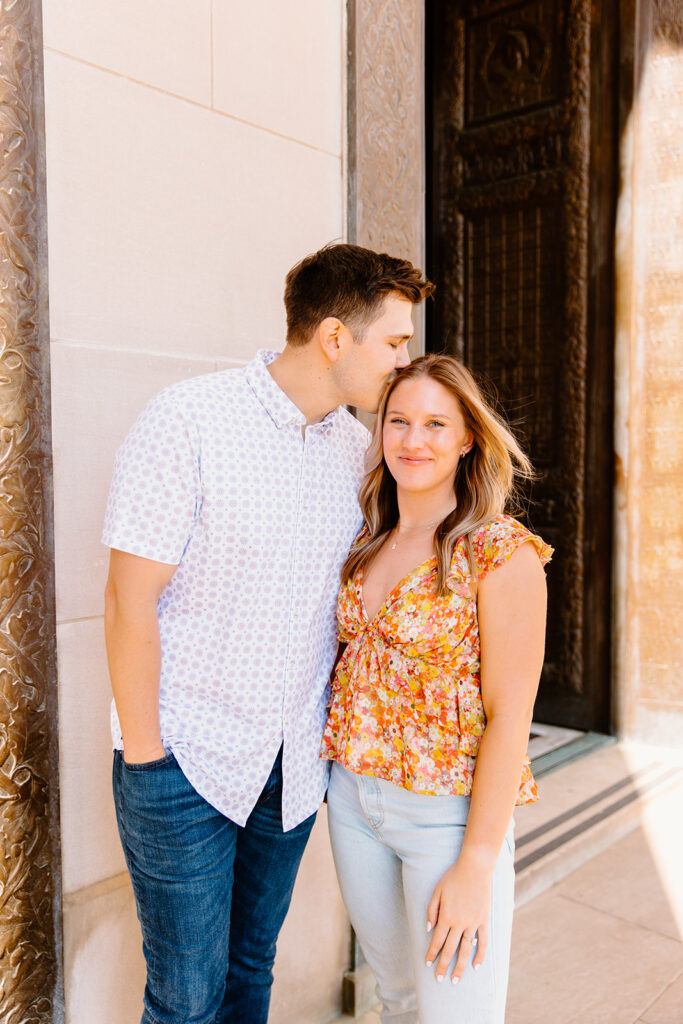
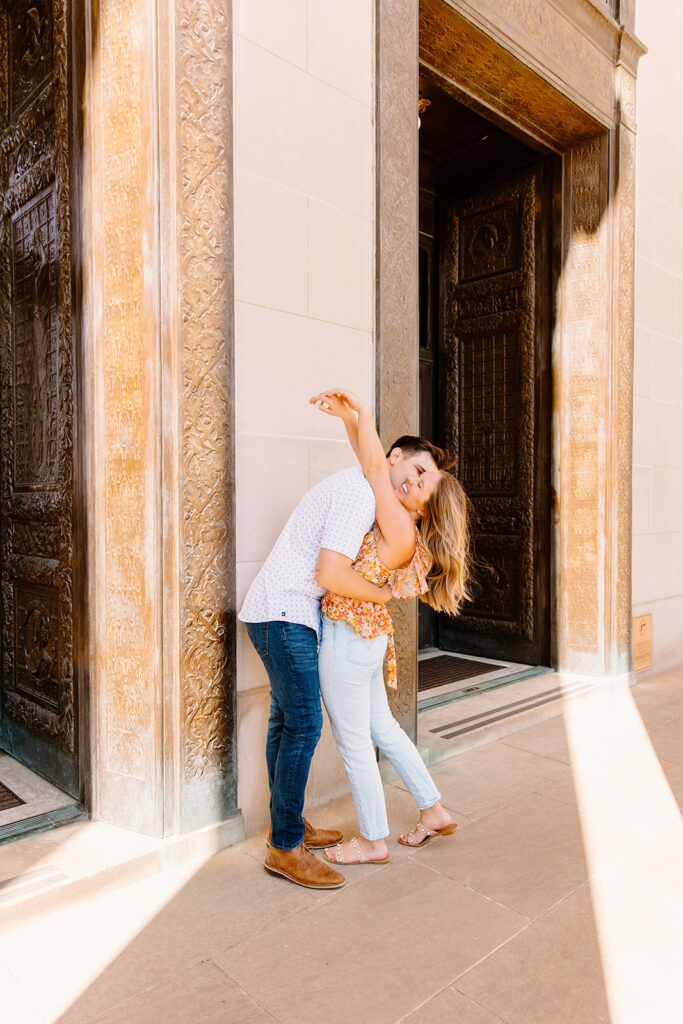
If you’re looking for a modern, edgy vibe with a hint of elegance, Kauffman Center is the perfect spot. The unique architecture creates stunning lines and reflections, making your photographs look effortlessly artistic. The nearby greenery and fountains add a soft contrast, giving you the best of both worlds.
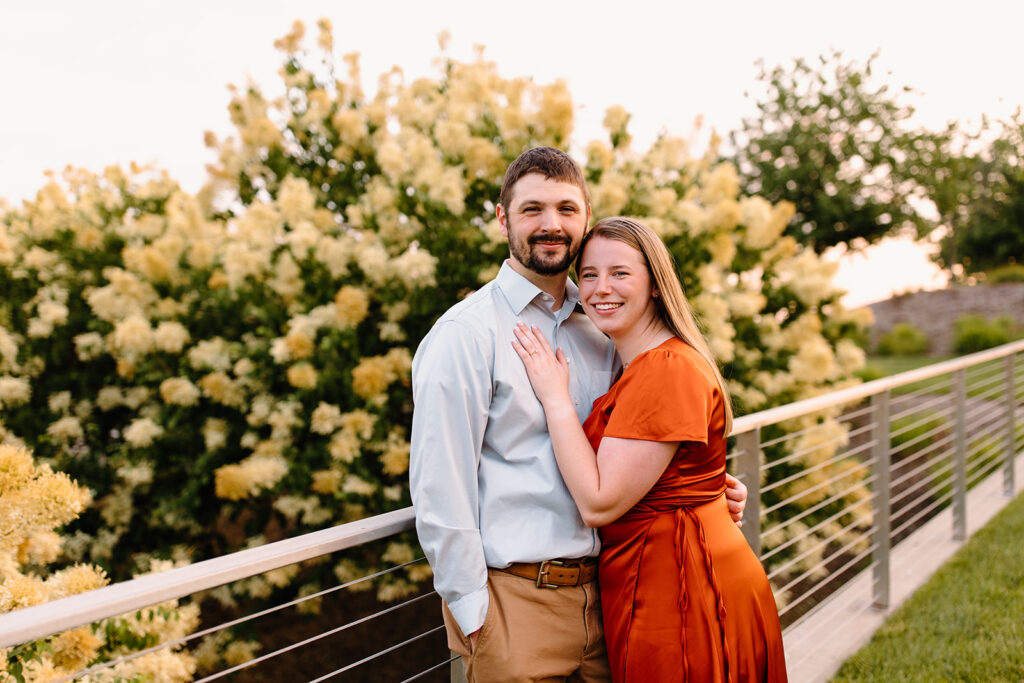


4. Shawnee Mission Park – A Natural Beauty
Shawnee Mission Park is a dream for those who love nature! With its scenic lake, sprawling fields, and winding trails, this spot offers a mix of stunning backdrops. The wildflowers in spring add a romantic touch, and if you’re up for it, a sunset session by the water is breathtaking.


5. The Nelson-Atkins Museum – Iconic and Elegant
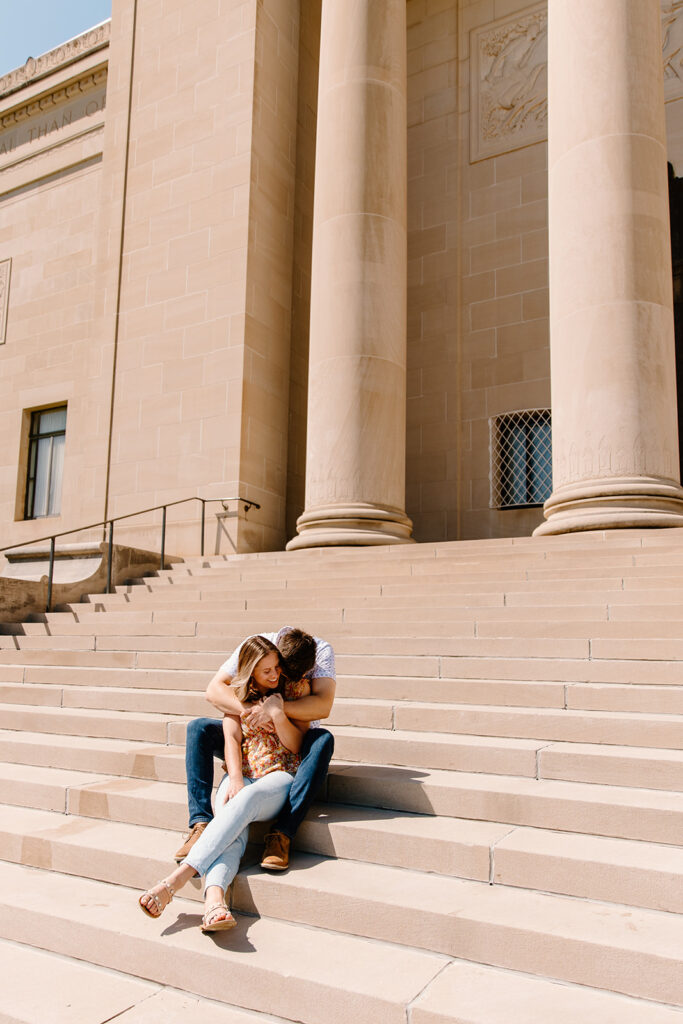
You can never go wrong with The Nelson! This iconic KC location blends history, art, and nature into one perfect setting. The stunning steps, giant shuttlecocks, and blooming trees in the sculpture garden give your session an extra creative flair. Every corner of this spot offers something unique, making it one of the most versatile locations in the city.

Let’s Make Your Spring Engagement Session Unforgettable!
No matter which location you choose, Kansas City has something for everyone. Whether you’re drawn to the romance of Loose Park, the modern feel of Kauffman, or the nature-filled beauty of Shawnee Mission Park, your session will be filled with stunning moments.
If you’re ready to start planning spring sessions, let’s chat! I’d love to help you pick the perfect spot and create photographs that truly capture your story.

Your wedding day will be a whirlwind of love, laughter, and once-in-a-lifetime moments. While you can’t possibly remember every little detail, your wedding photographs will help you relive it all for years to come. That’s why having a “must-have” photograph list is so important!
Of course, your photographer will capture all the big moments—your first look, the first kiss, and those dreamy sunset portraits. But what about the small, in-between moments that are just as meaningful? Some of the most fun and heartfelt photographs are the ones couples don’t even think to ask for.
To make sure nothing gets forgotten, here’s a list of must-capture moments that add an extra layer of personality and magic to your wedding album!
1. The Pre-Ceremony Excitement
- Your wedding dress hanging in the bridal suite with beautiful natural light
- A flat-lay of invitations, rings, perfume, and meaningful heirlooms
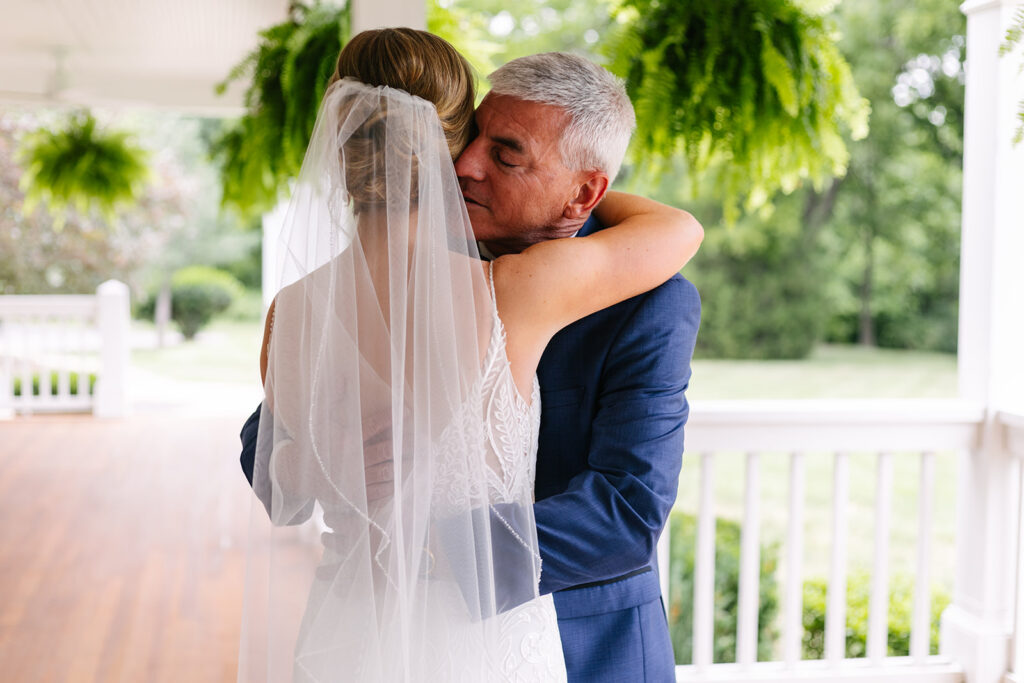
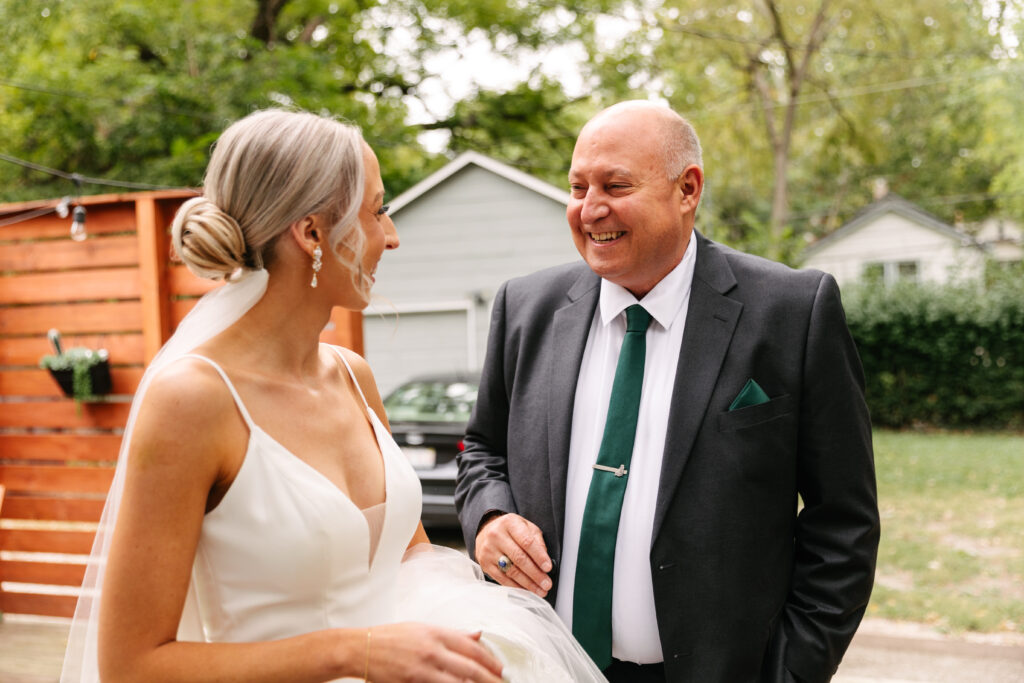
- The look on your parents’ faces when they see you in your dress
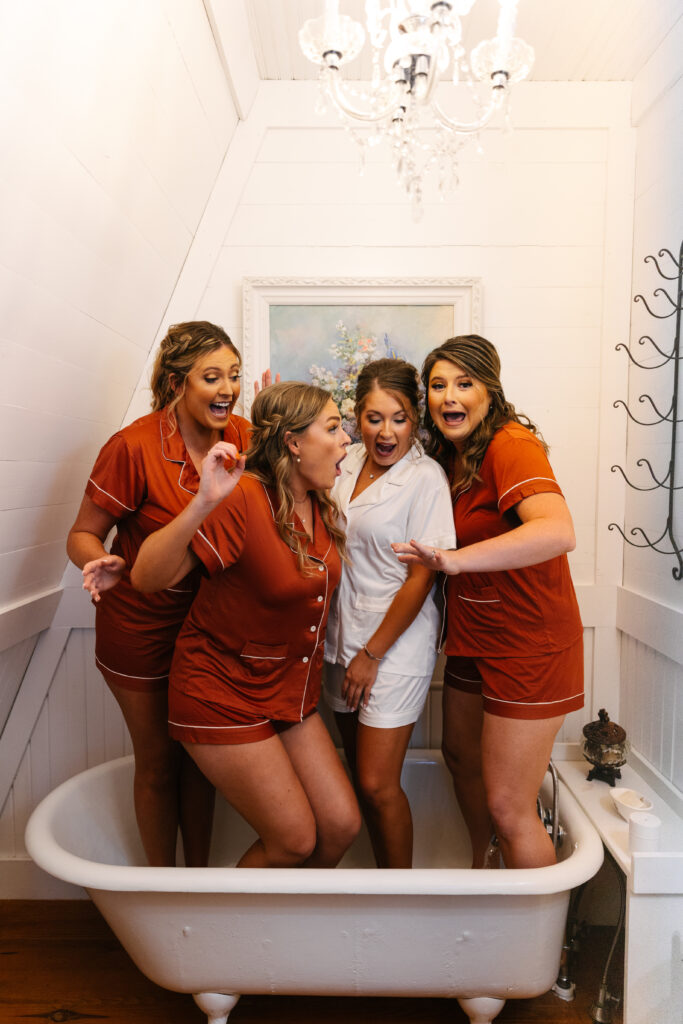
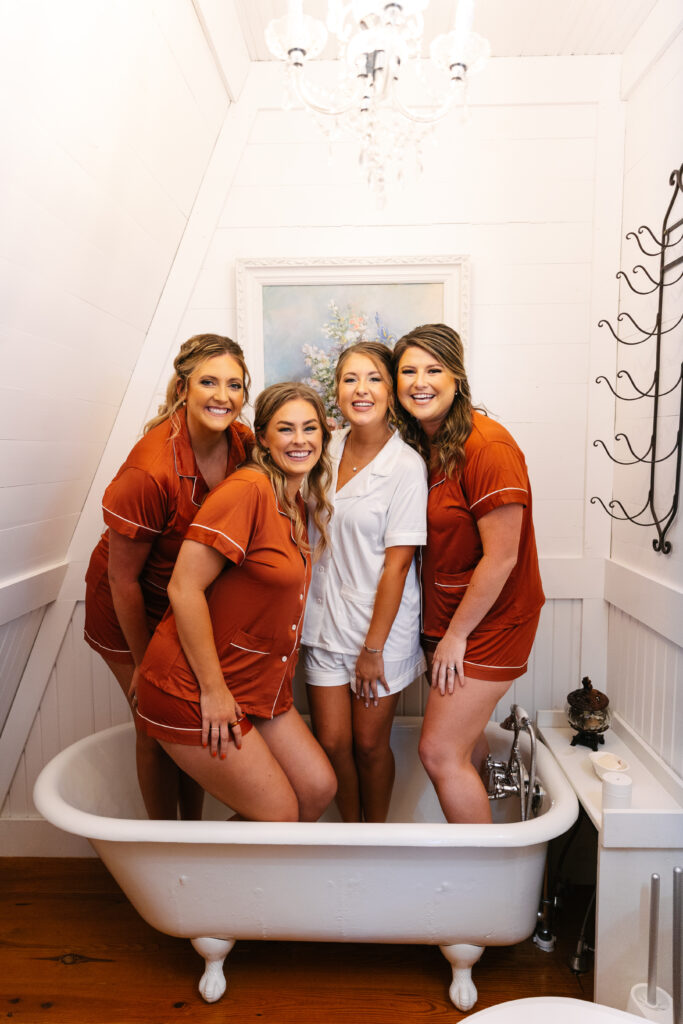
- Your bridesmaids hyping you up before you walk down the aisle
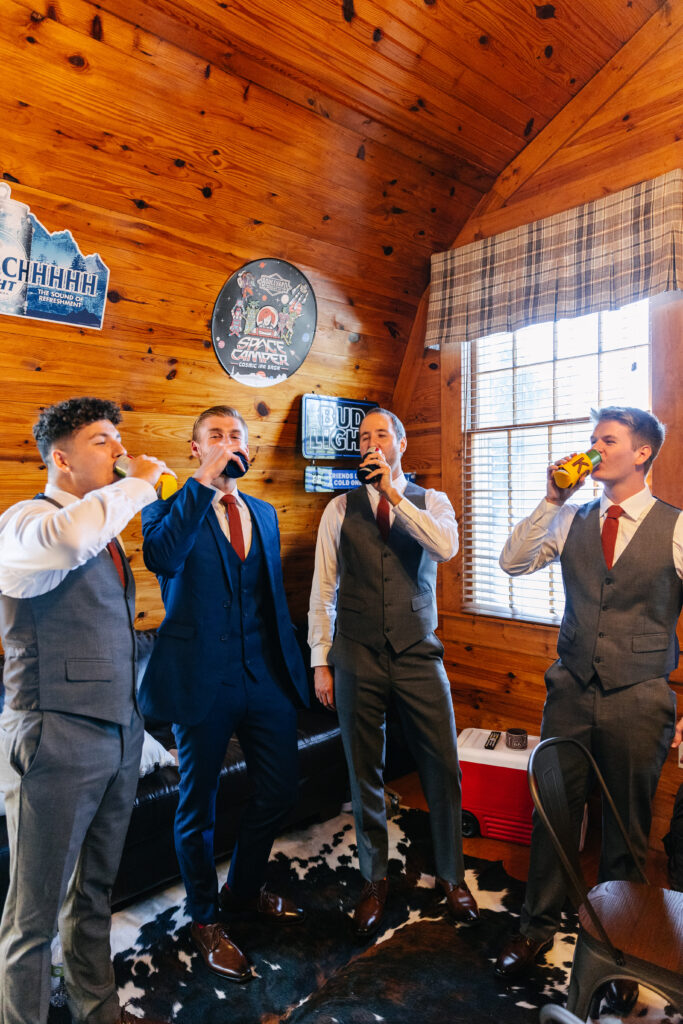
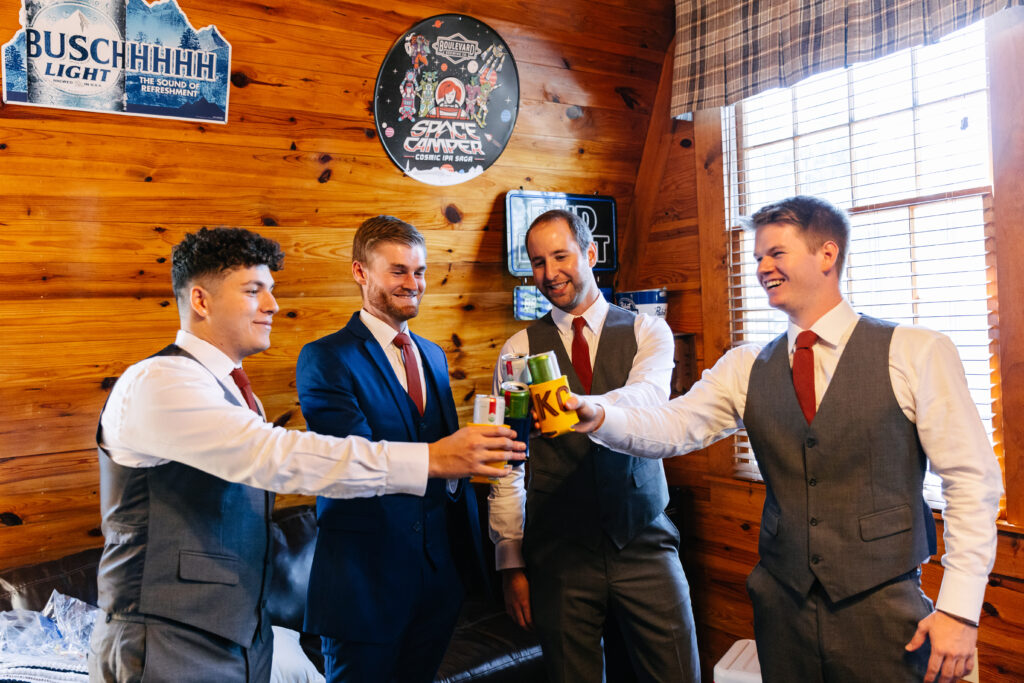
- The groomsmen’s reactions when they see the groom all dressed up


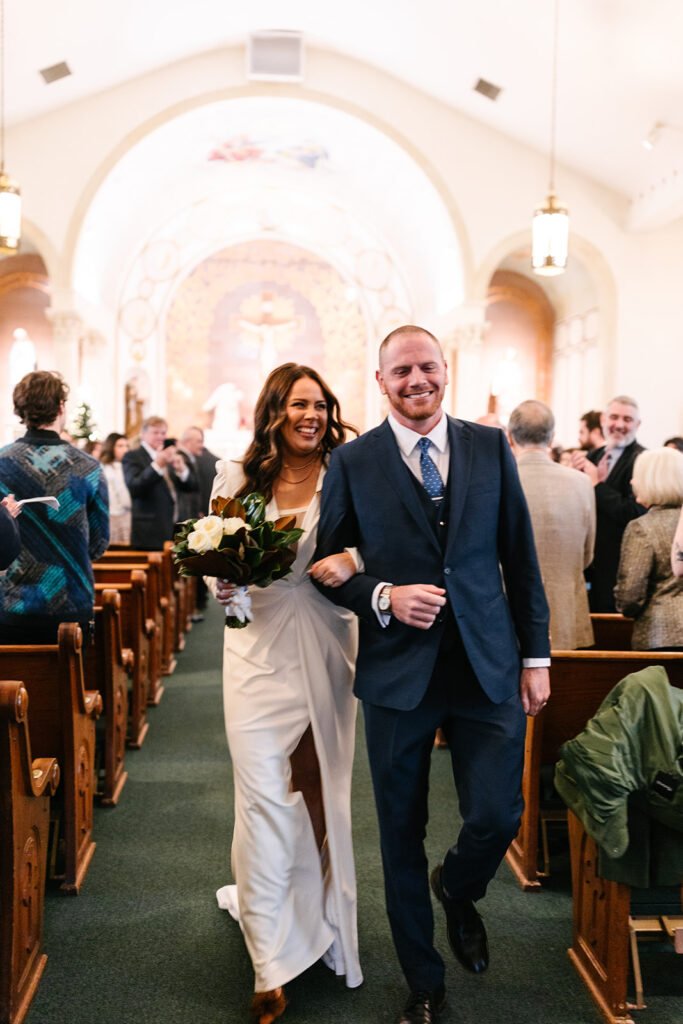
2. Sweet & Unexpected Ceremony Moments
- The flower girl or ring bearer making a last-minute detour down the aisle
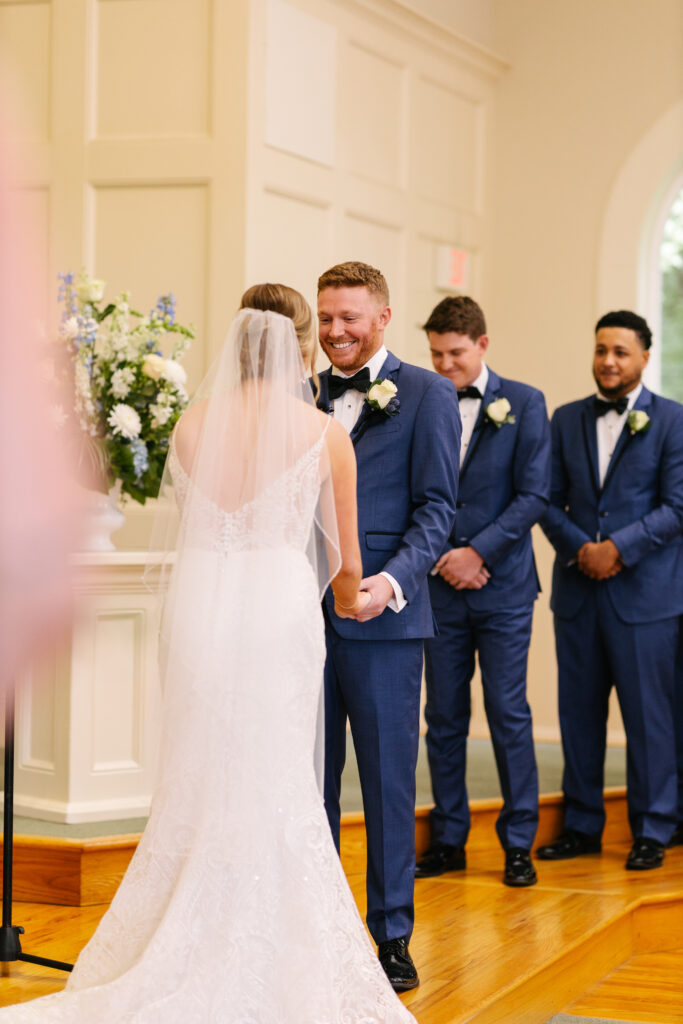
- Your partner’s face just before they see you
- Guests wiping away happy tears during your vows
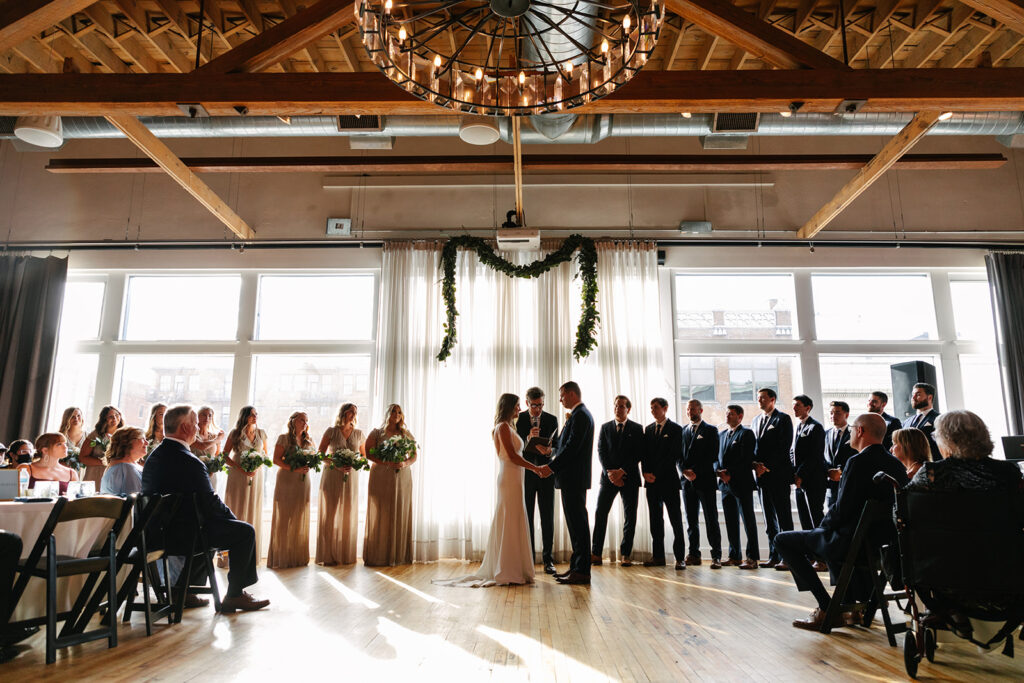
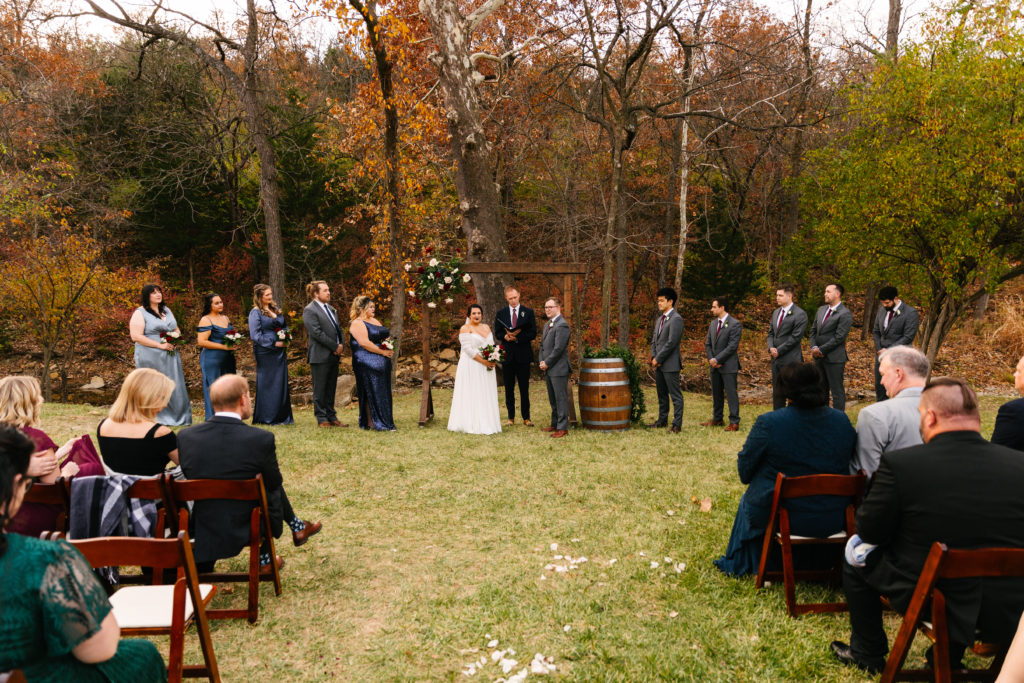
- A wide-angle view of everyone as you say “I do.”
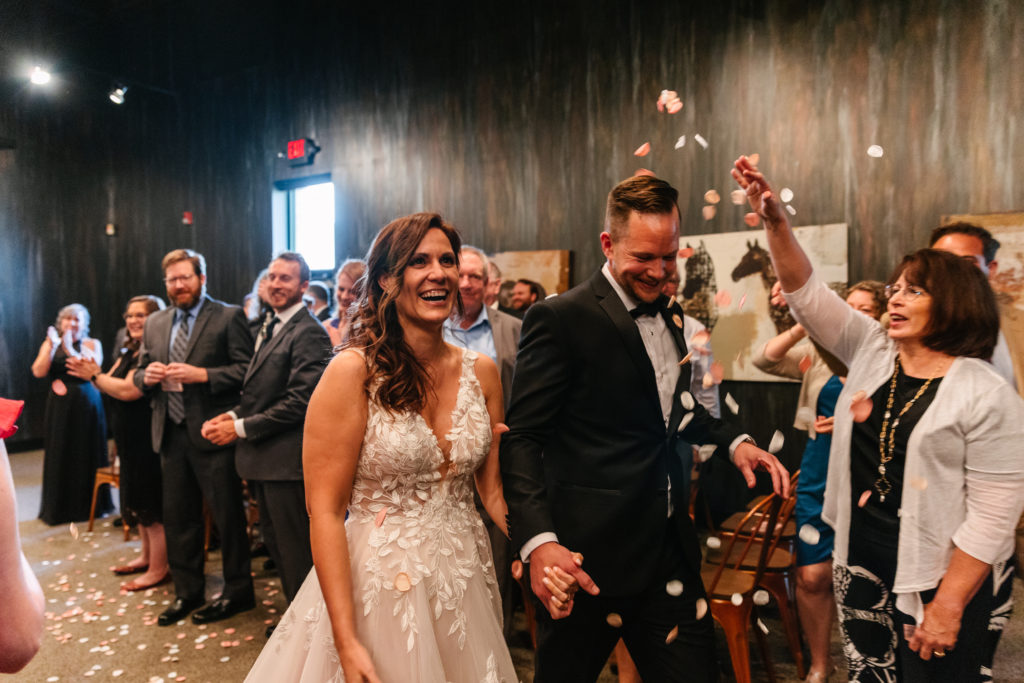
- The instant after your first kiss—when you’re glowing with happiness


3. Fun & Candid Reception Photos
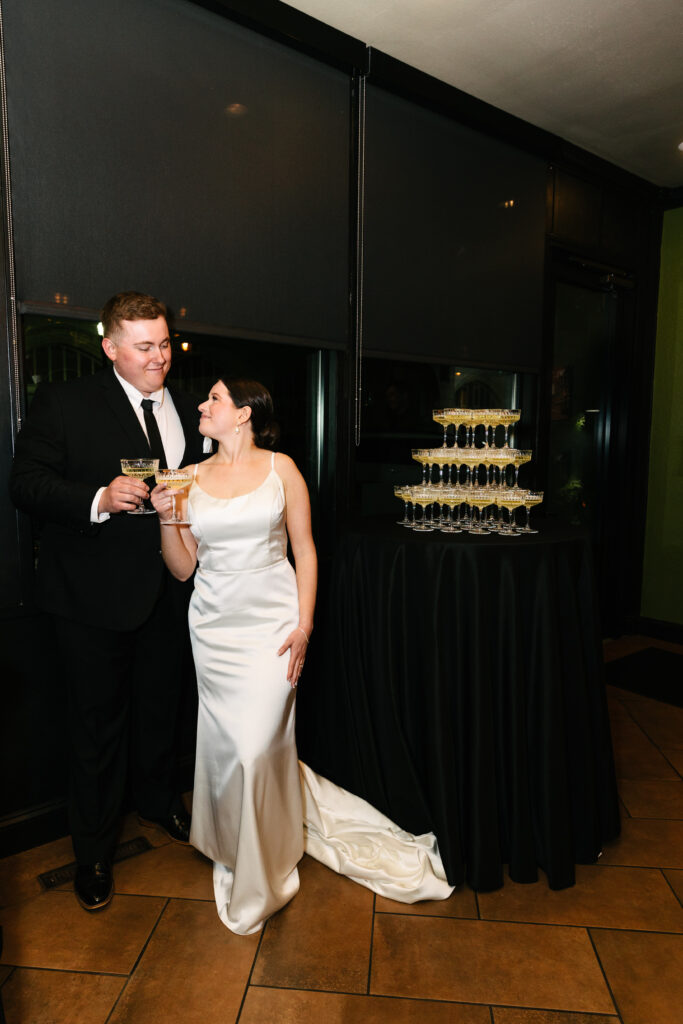
- Your first moments alone as newlyweds, soaking it all in
- Guests reacting to an emotional toast
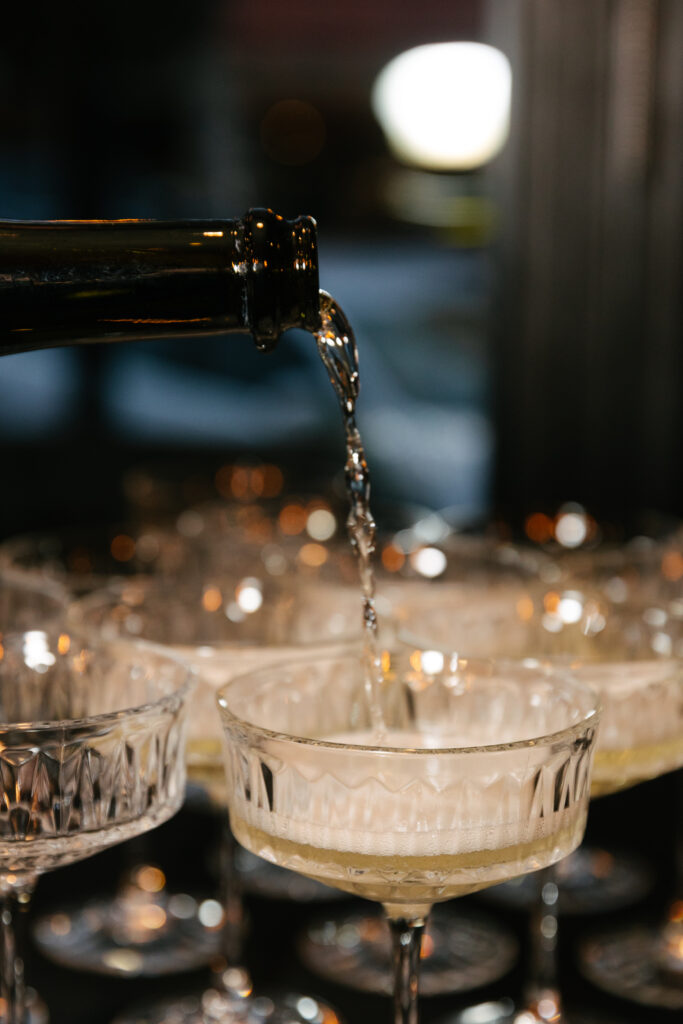
- A fun, behind-the-scenes view of your signature cocktail
- A group photo of all your college friends or childhood besties
- The grandparents hitting the dance floor


4. Golden Hour & Late-Night Magi
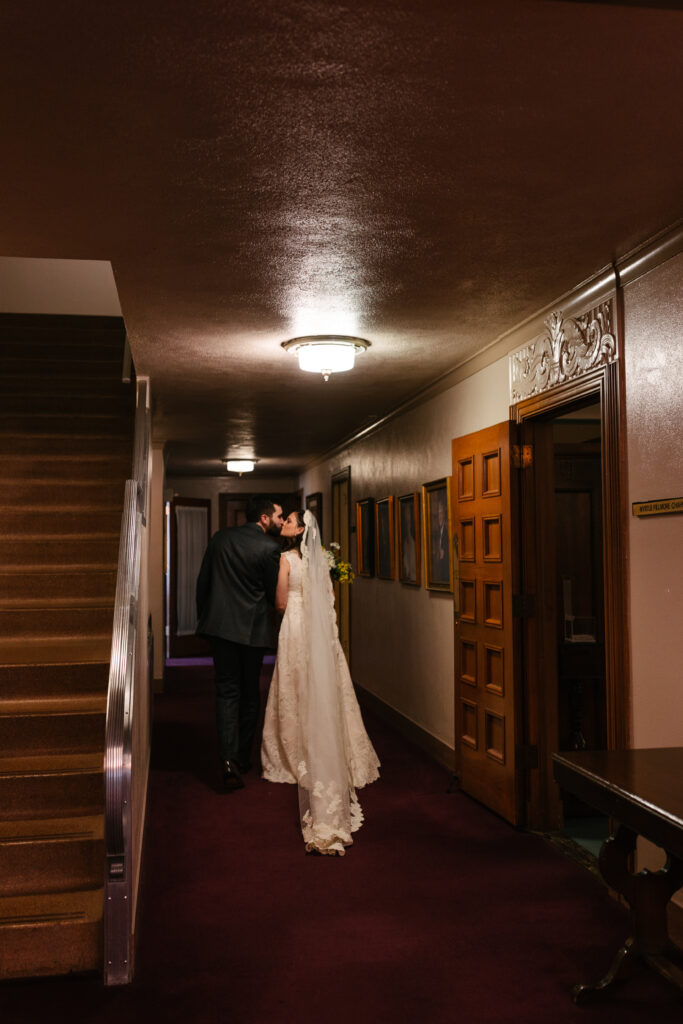
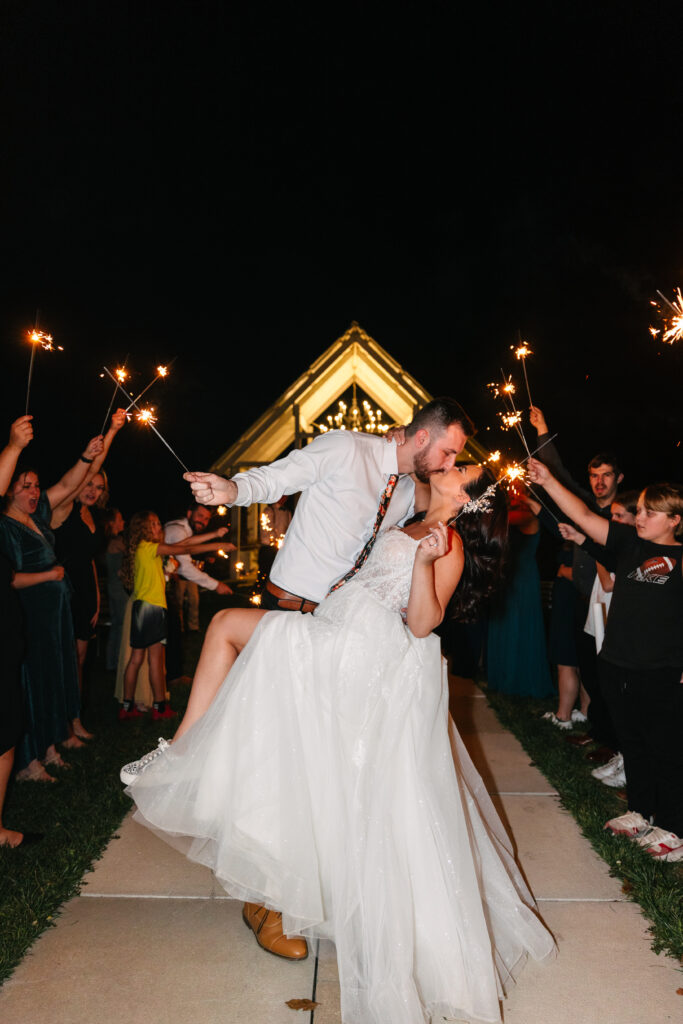
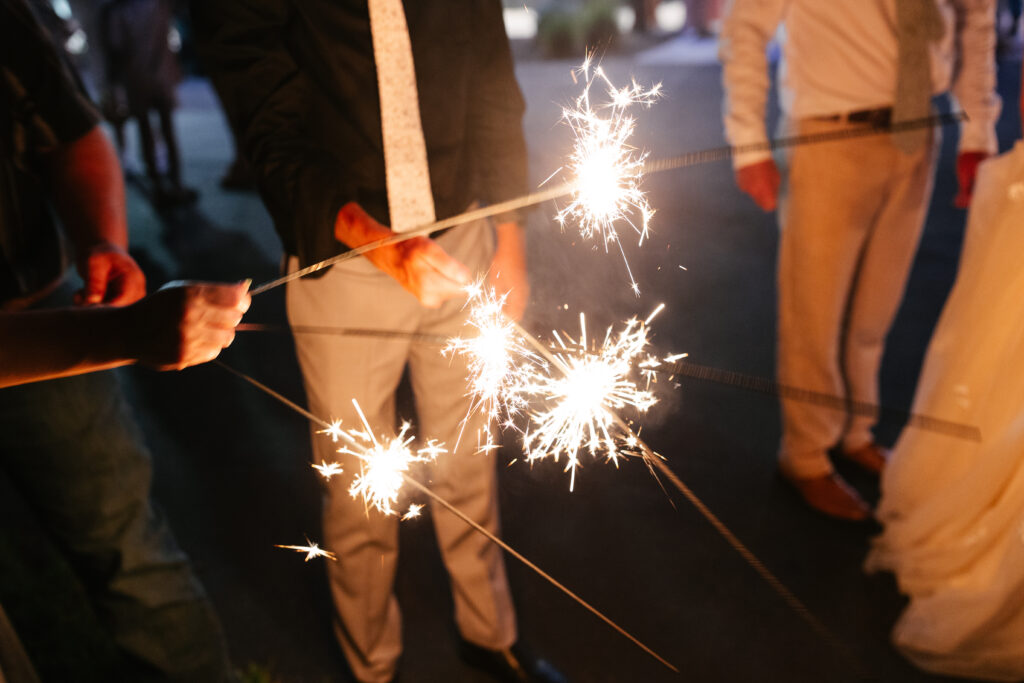
- A dramatic nighttime kiss under string lights or sparklers
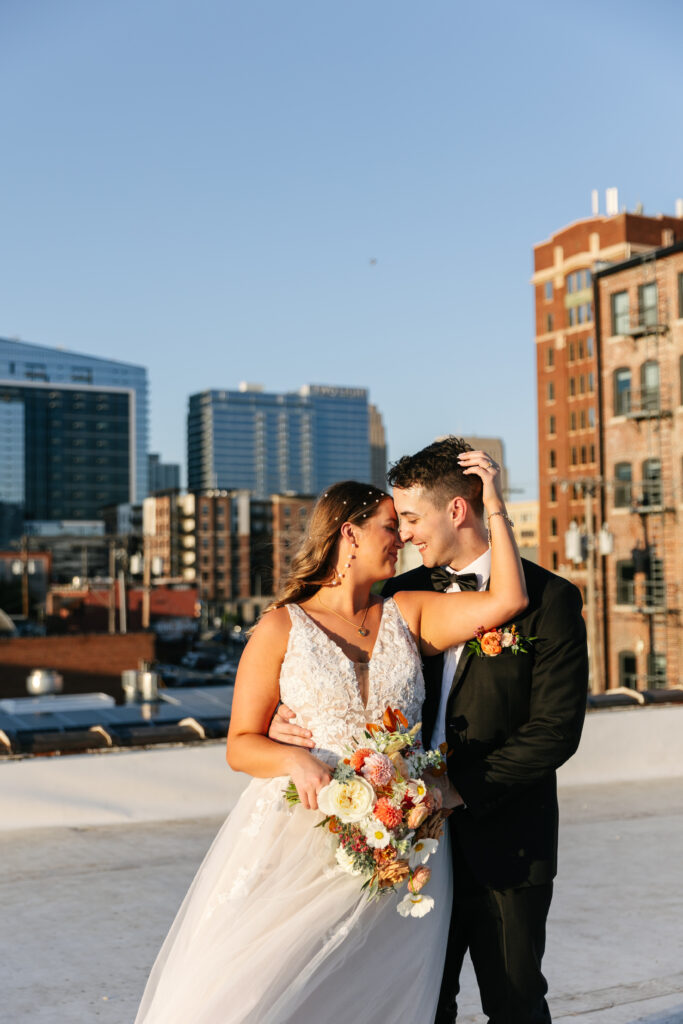
- A rooftop skyline view (if you’re in the city)
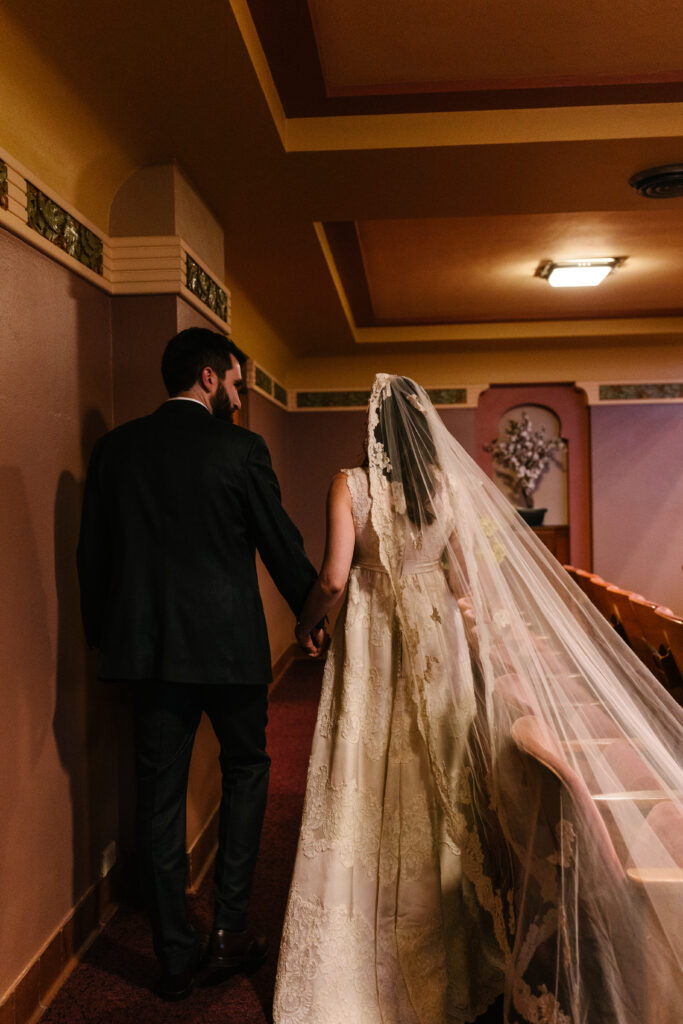
- A quiet moment together after the party winds down
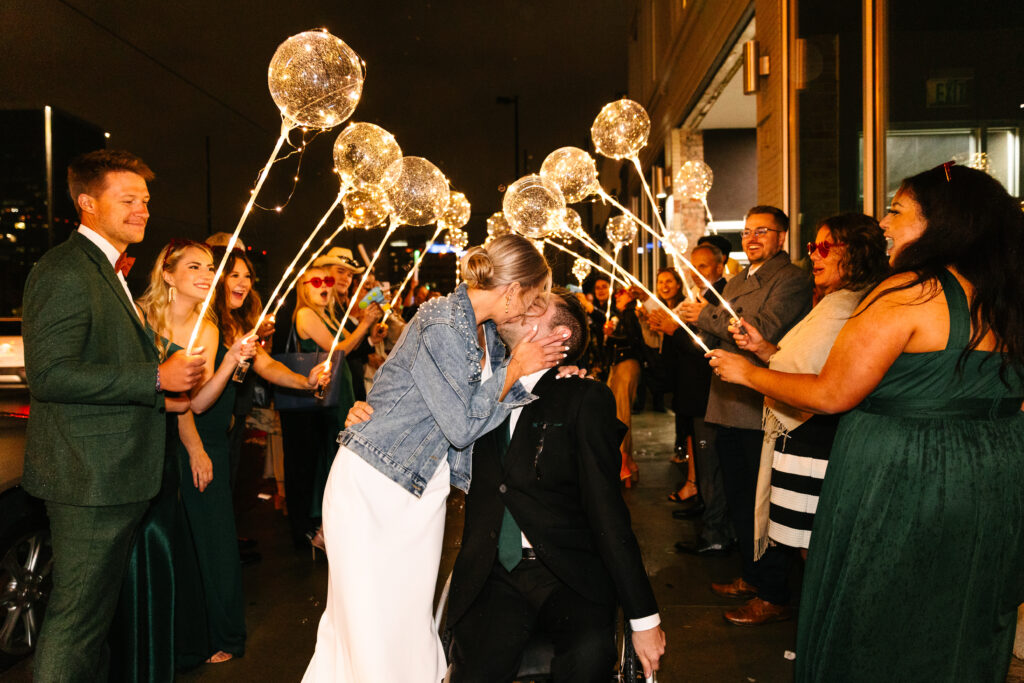
- Your send-off—whether it’s sparklers, confetti, or a classic car getaway



Make It Your List!
Your wedding photos should reflect you. Think about moments that mean the most, inside jokes with friends, or sentimental details. If there’s something special you want captured, create a photograph list and let your photographer know!
At the end of the day, the best wedding photos are the ones that make you feel something. So let’s make sure every moment—big and small—is beautifully documented.

If you’re searching for a wedding venue with history, character, and a unique charm, then Fire House KC might just be the perfect spot for you! Nestled in Midtown Kansas City, this beautifully restored 1931 fire station is now a stunning venue that blends industrial vibes with sophisticated elegance. Whether you’re dreaming of an outdoor courtyard ceremony or a cozy, intimate reception, Fire House KC offers endless possibilities to make your wedding truly unforgettable!


A Little History: From Firehouse to Wedding Venue
Originally built in 1931, Fire House KC was Midtown’s only fire station and served the area for over 40 years. After closing in 1979, the building sat vacant for decades—until UC-B Investment Properties purchased it in 2019 and gave it a second life! Thanks to a meticulous restoration, this historic space has been reborn as a wedding and event venue, keeping much of its original charm while adding elegant, modern touches.


What Makes Fire House KC Unique?
Fire House KC isn’t just another wedding venue—it’s full of character! Many of its original features remain, making it a one-of-a-kind space.
- Original truck bay doors are now gorgeous, oversized windows in the main hall.
- A fire pole and hose shaft still remain, perfect for unique photo opportunities.
- The courtyard provides a rare outdoor ceremony option right in the heart of the city.
- Upstairs, the former captain’s quarters and locker room have been transformed into private getting-ready suites.
From romantic chandeliers to lofty ceilings, this venue offers a perfect mix of historic charm and modern elegance!


Spaces & Guest Accommodations
One of the best things about Fire House KC is its flexibility. Whether you’re planning a small intimate ceremony or a big celebration, there’s a space to fit your vision.
- Outdoor Courtyard – Perfect for ceremonies or cocktail hours, seating up to 150 guests.
- Main Hall – Ideal for ceremonies and receptions, accommodating up to 150 guests indoors.
- Bonus Room Upstairs – A cozy, stylish space for cocktail hours or intimate ceremonies for up to 80 guests.


Amenities & Services
Fire House KC offers all the essentials to make wedding planning stress-free:
- Tables, chairs, and linens included
- Sound system & prep kitchen with an ice machine
- Open vendor policy – choose from their recommended list or bring your own
- Two private getting-ready suites and a lounge area upstairs
- On-site staff to assist with heat/air, sound, and lighting
- Set-up and teardown of tables and chairs
- On-site and nearby parking for guests
Alcohol Service Options:
Fire House KC also offers flexible alcohol options to suit your needs! You can choose to bring in your own alcohol and hire a bartender, giving you full control over your drink selections. If you’d rather skip the hassle of handling alcohol yourself, the venue also offers an in-house bar package. This option takes care of everything, so you can relax and enjoy the celebration without any extra stress.
While their team helps with venue logistics, couples are encouraged to hire a wedding planner to handle day-of coordination.


Ceremony & Reception Options
Many couples love the idea of hosting both their ceremony and reception in the same place. Fire House KC makes this easy with multiple ceremony options and an upstairs lounge for guests while the space is flipped for the reception. The perfect excuse for cocktail hour with apps!
Outdoor ceremonies in the courtyard are a favorite, with the city skyline peeking through the trees. Indoor ceremonies in the Main Hall offer a warm, romantic setting under stunning chandeliers. Intimate ceremonies upstairs provide a cozy atmosphere for smaller weddings!
And don’t worry about Kansas City weather! Backup indoor options are available in case of rain.


Best Photography Spots at Fire House KC
As a photographer, this venue is a dream! Some of the best places for wedding portraits include:
- The grand staircase – an elegant backdrop for romantic moments.
- Under the chandeliers – adding a soft, glowing light to your photos.
- The outdoor courtyard – perfect for sunset portraits.
- The lounge area by the mini bar – stylish and modern.
- The getting-ready suites – capturing those final pre-ceremony touches.
Want something even more unique? The original fire pole and hose shaft make for playful and unforgettable photos!


Planning Your Fire House KC Wedding
Pricing & Booking: Weekend wedding pricing remains the same year-round. However, weekday weddings are significantly discounted, and last-minute bookings (within 12 weeks) may receive additional discounts.
How far in advance should you book? Peak dates fill up fast, so plan to book at least 6-9 months in advance, or 12+ months for prime wedding season dates.
Policies to know: A 50% deposit is required to reserve your date, and while it’s non-refundable, cancellations can be made at any time. Events must end by 10 PM on weekdays and 11 PM on weekends, with everything cleared out one hour later.


Memorable Moments at Fire House KC
One of the most special things about this venue? Firefighters who get married here! Given the venue’s rich history, it’s always extra meaningful when couples with connections to the fire service choose this as their wedding space. But every couple who celebrates at Fire House KC becomes part of its story—and that’s what makes it so special.


Final Thoughts: Is Fire House KC Right for You?
If you’re looking for a venue with historic charm, modern elegance, and a little urban edge, Fire House KC is an amazing choice. The flexible spaces, stunning architectural details, and indoor/outdoor options make it versatile, unique, and unforgettable.
Molly, the Venue & Event Manager, recommends checking out their preferred vendor list to make planning easier. Their recommended professionals know the space well and can help bring your wedding vision to life!


Schedule a Tour!
If Fire House KC sounds like your perfect venue, book a tour through their website and see it for yourself! It’s a place where history meets love, and where your story becomes part of something truly special.
A HUGE shoutout to Molly, the Venue & Event Manager for agreeing to collaborate on this Venue Spotlight by answering all my questions and being so wonderful to work with. I can confidently say that if you decide to host an event at Fire House KC, you will be in good hands!

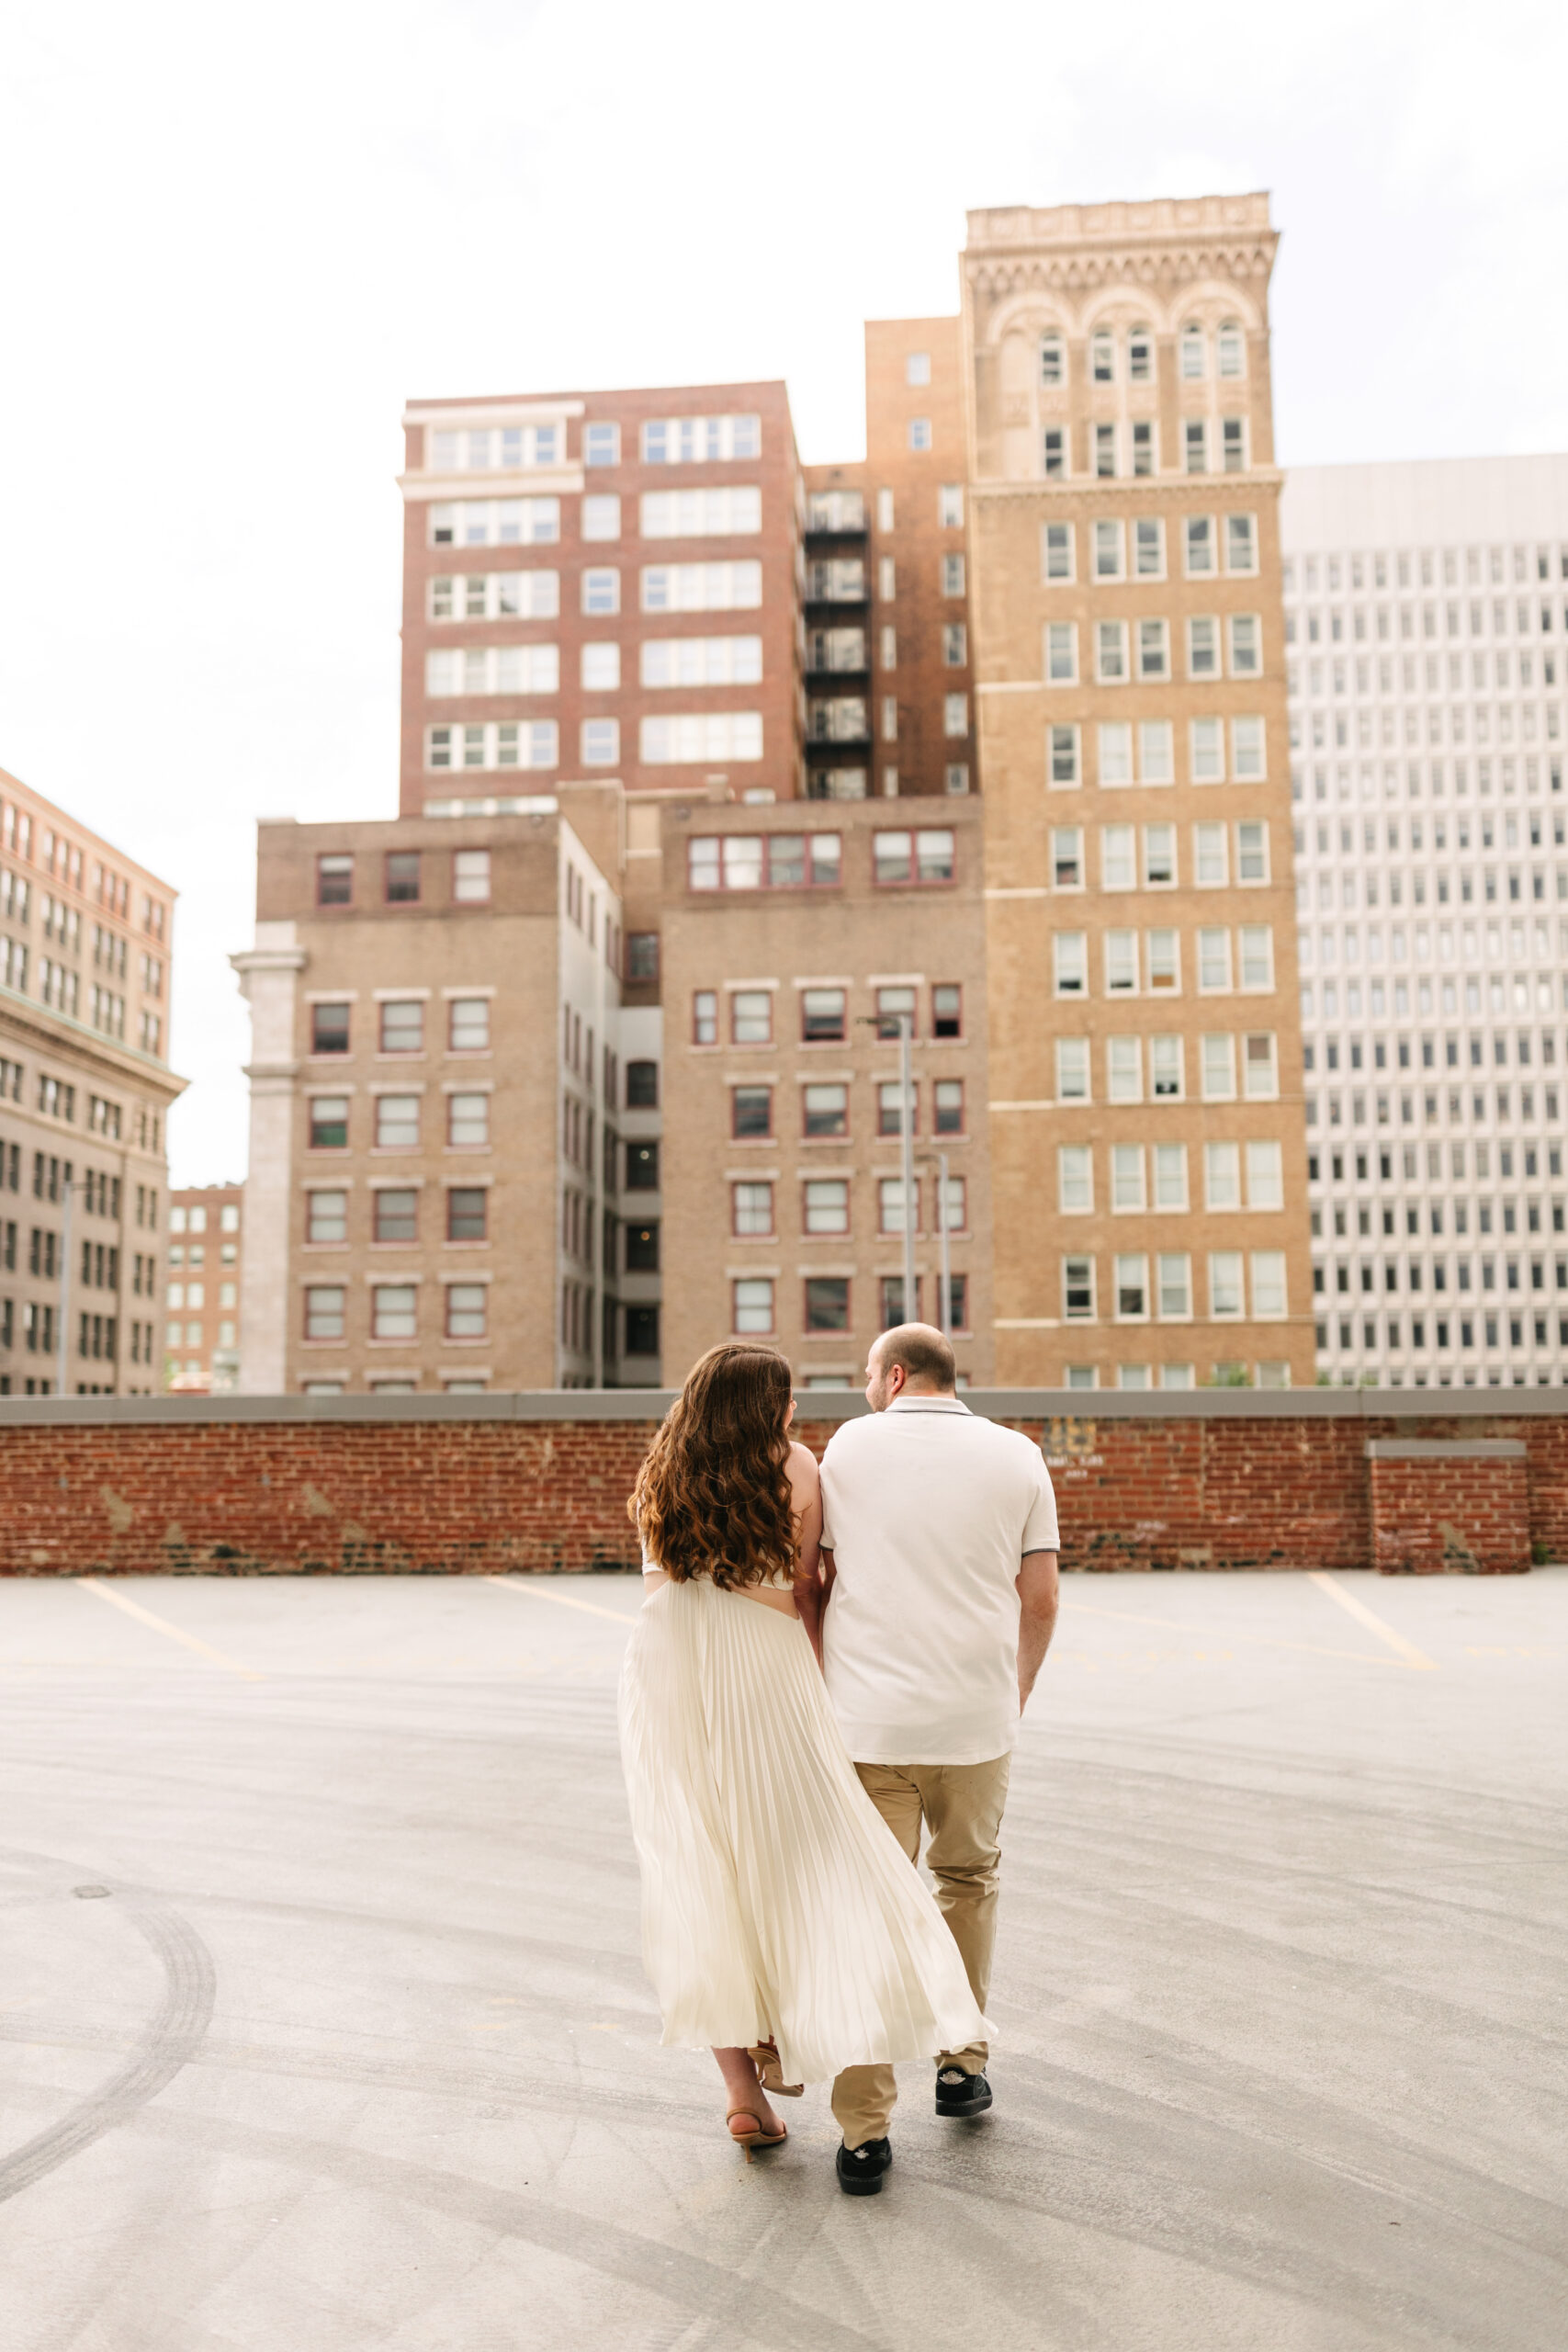
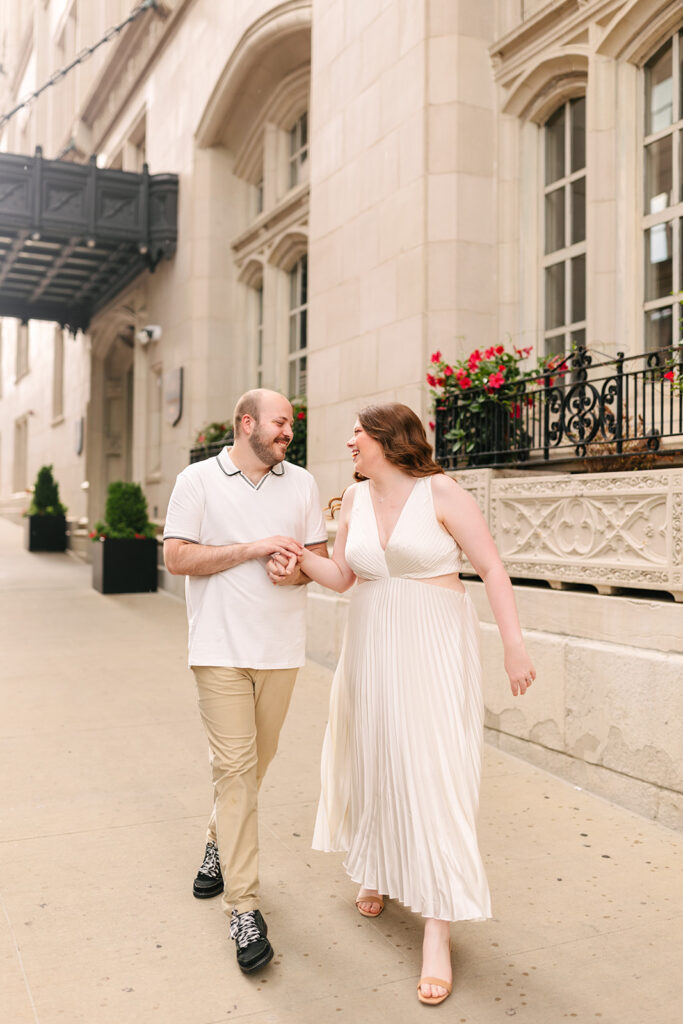
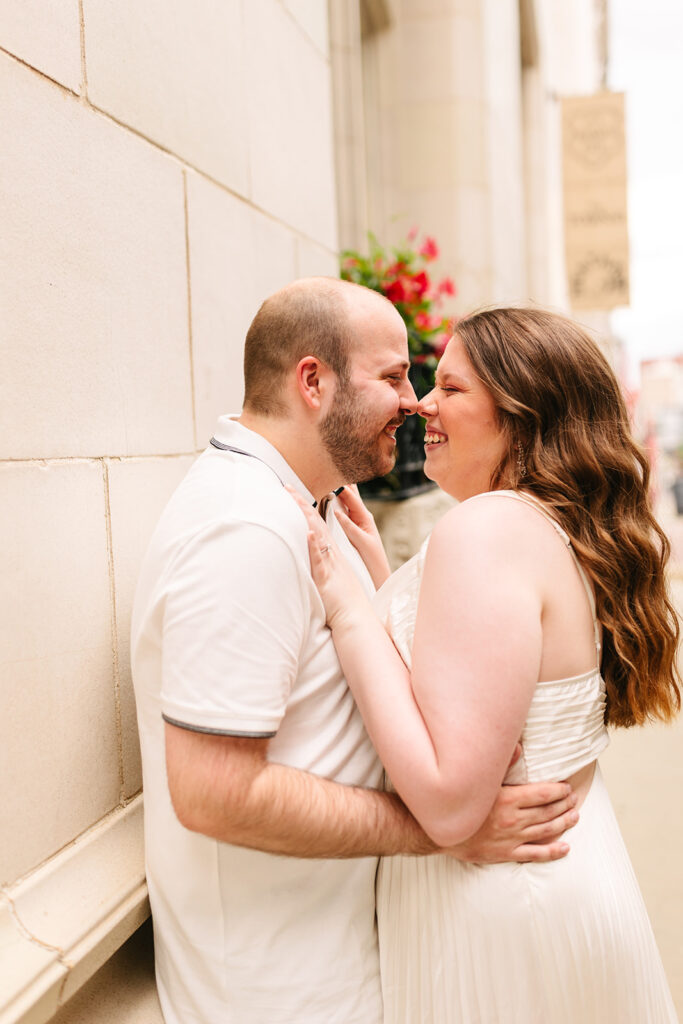
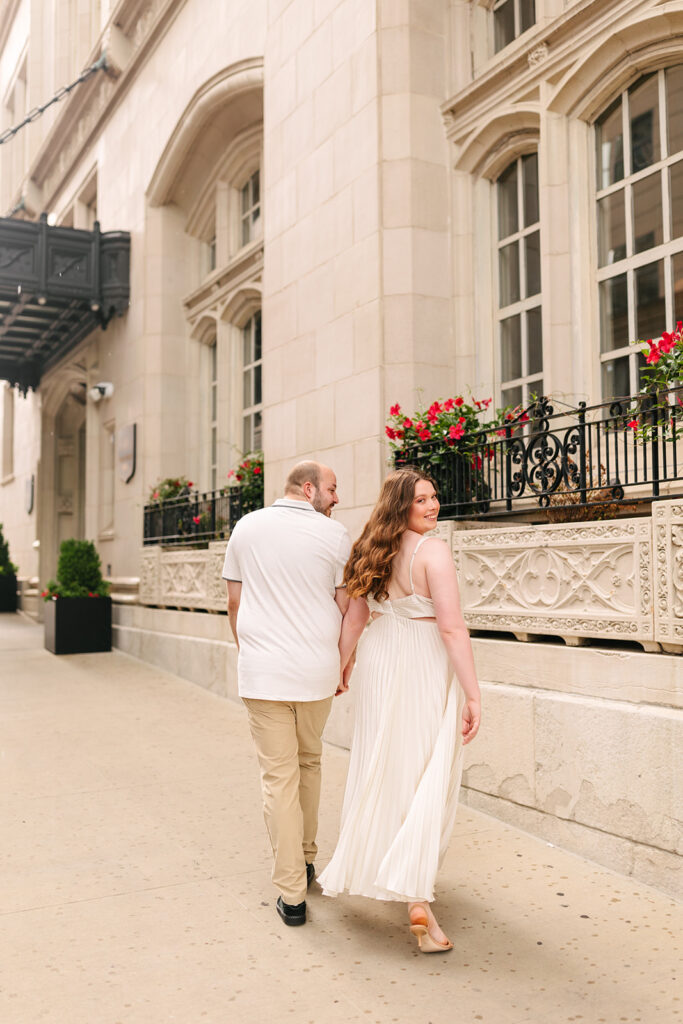
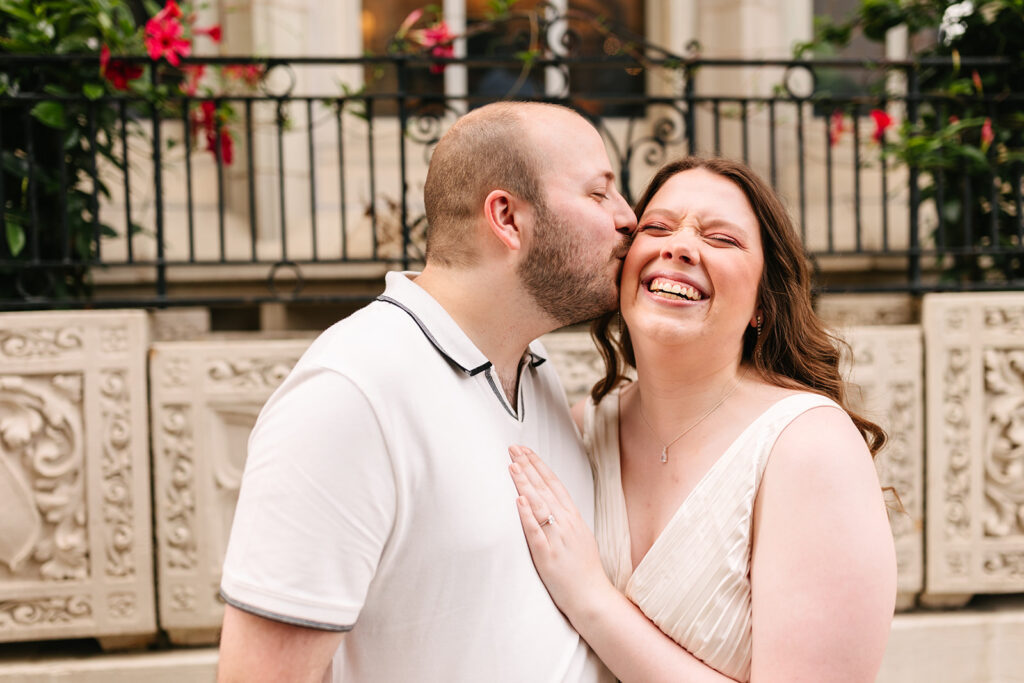
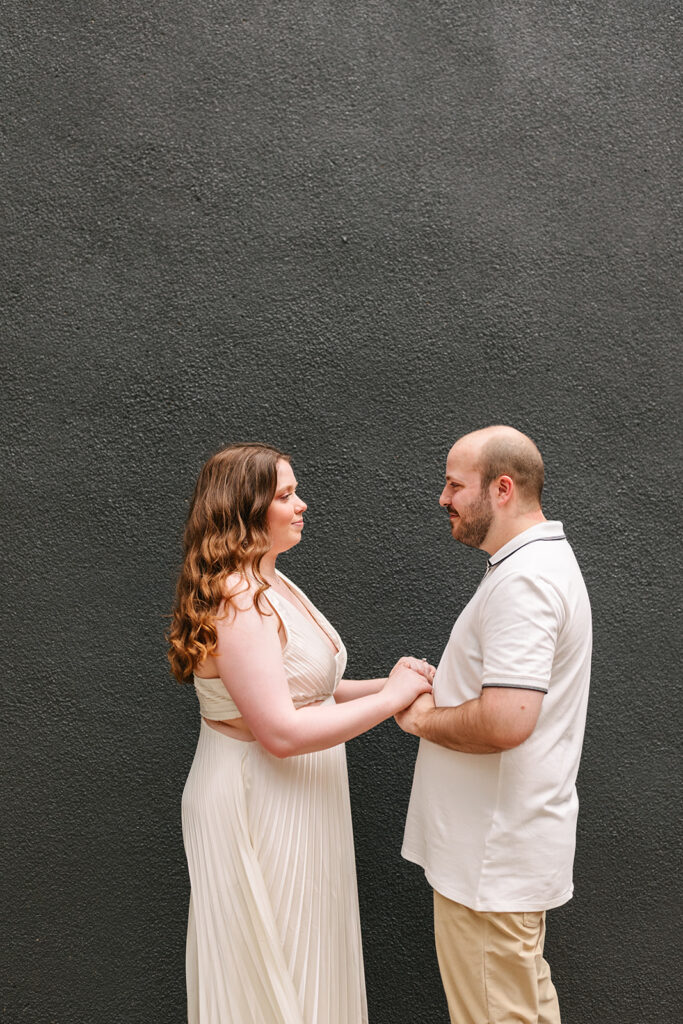
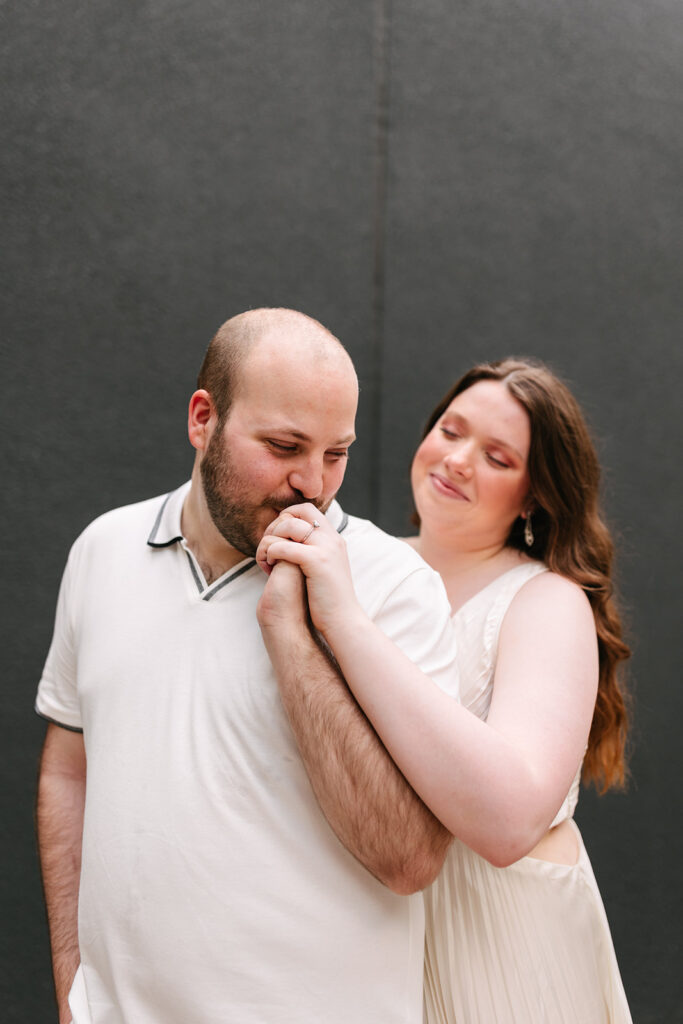
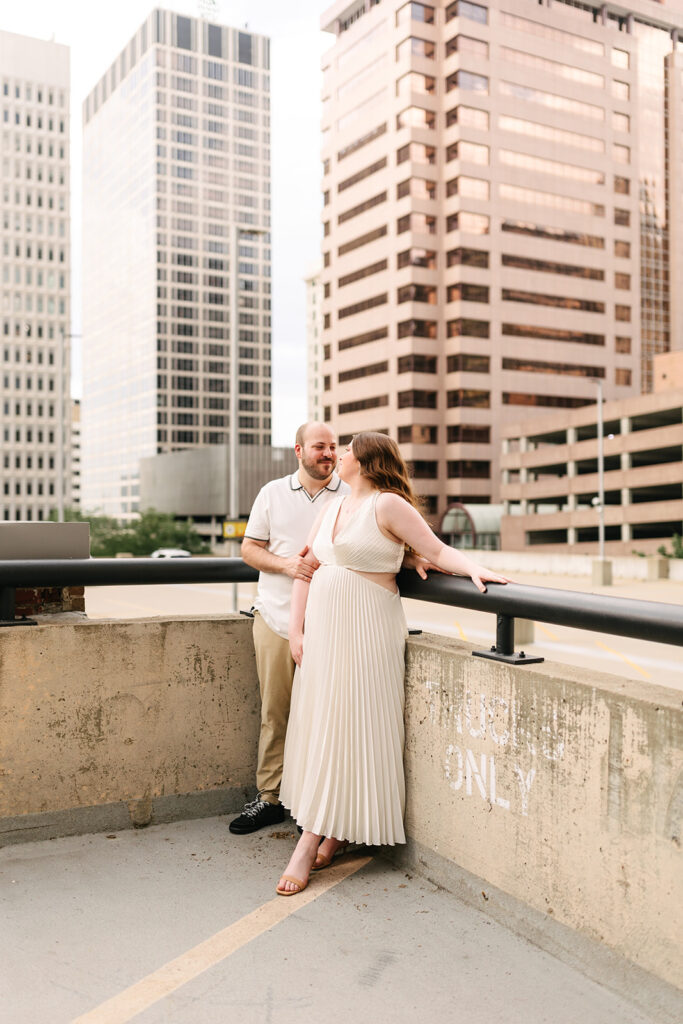
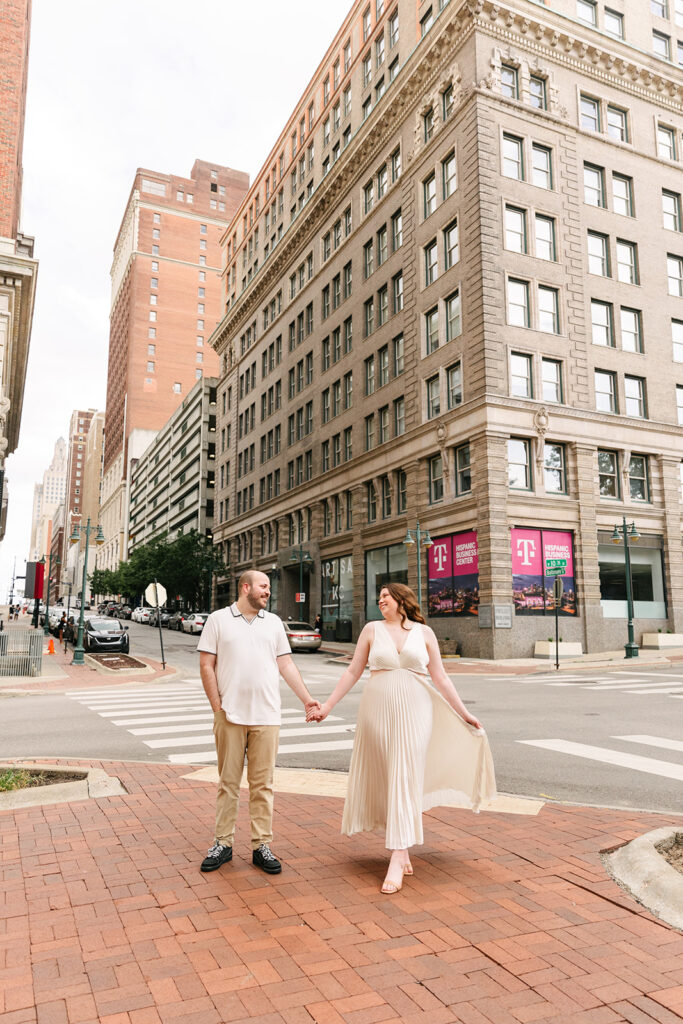
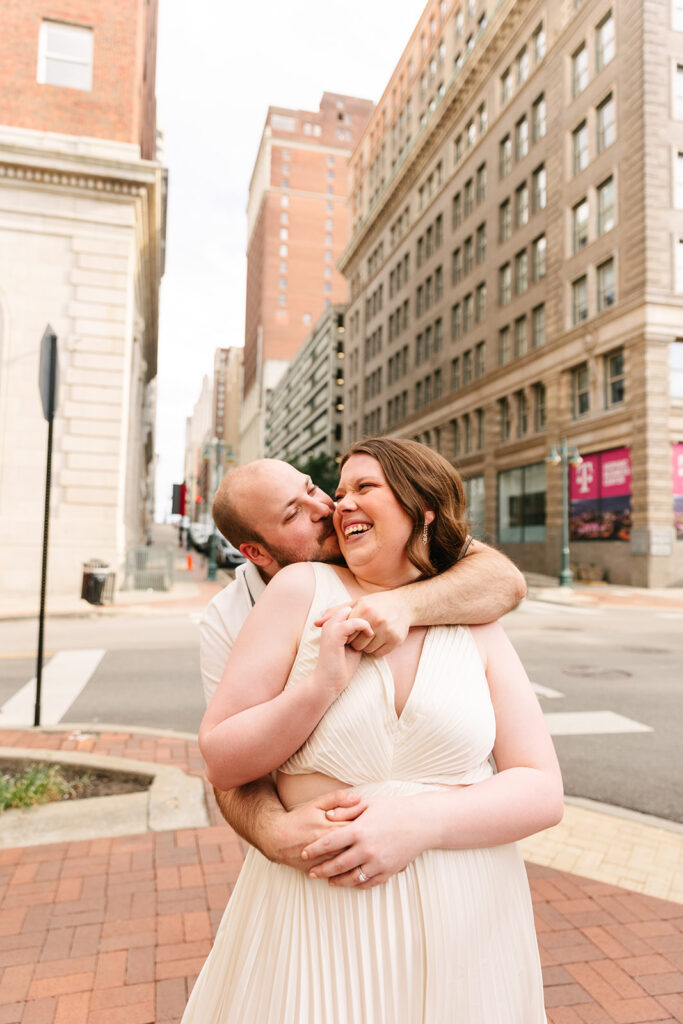
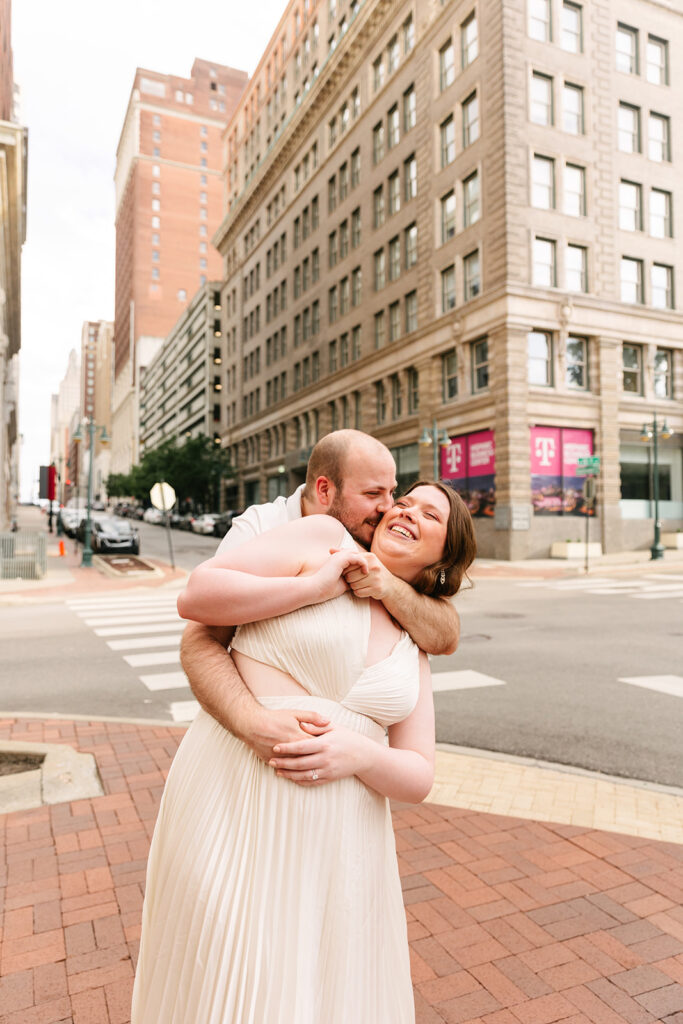
There’s just something magical about an engagement session in downtown Kansas City—the mix of historic charm, modern city vibes, and endless stunning backdrops. Miranda and Nick’s session was nothing short of perfection. From vintage elegance to moody cityscapes, we explored it all, capturing their love in a way that felt uniquely them.
Effortless Style & Timeless Elegance
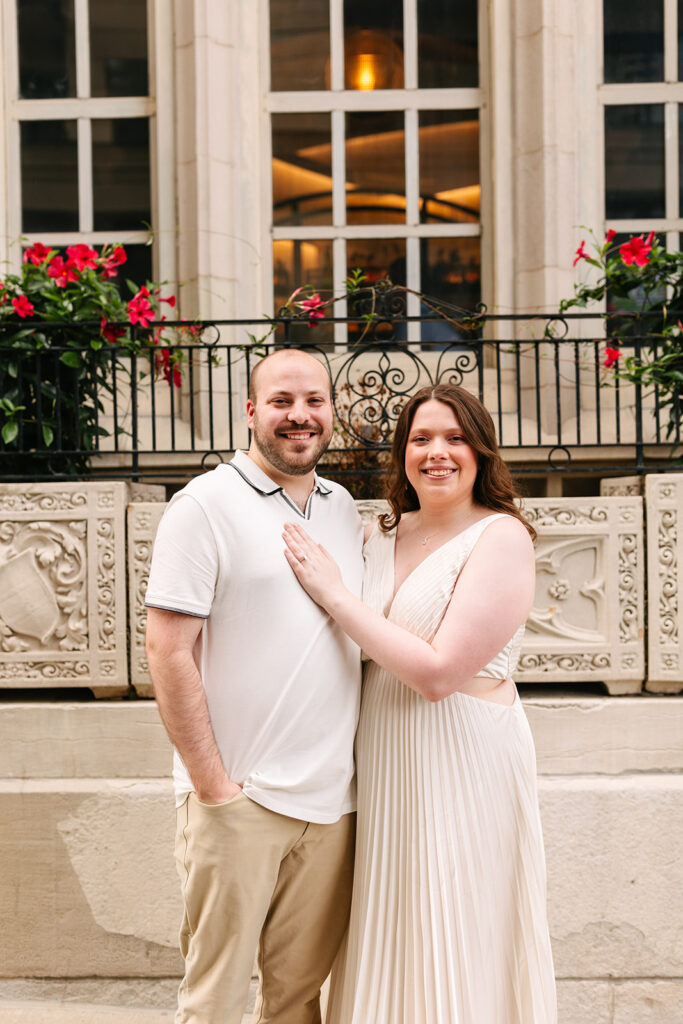
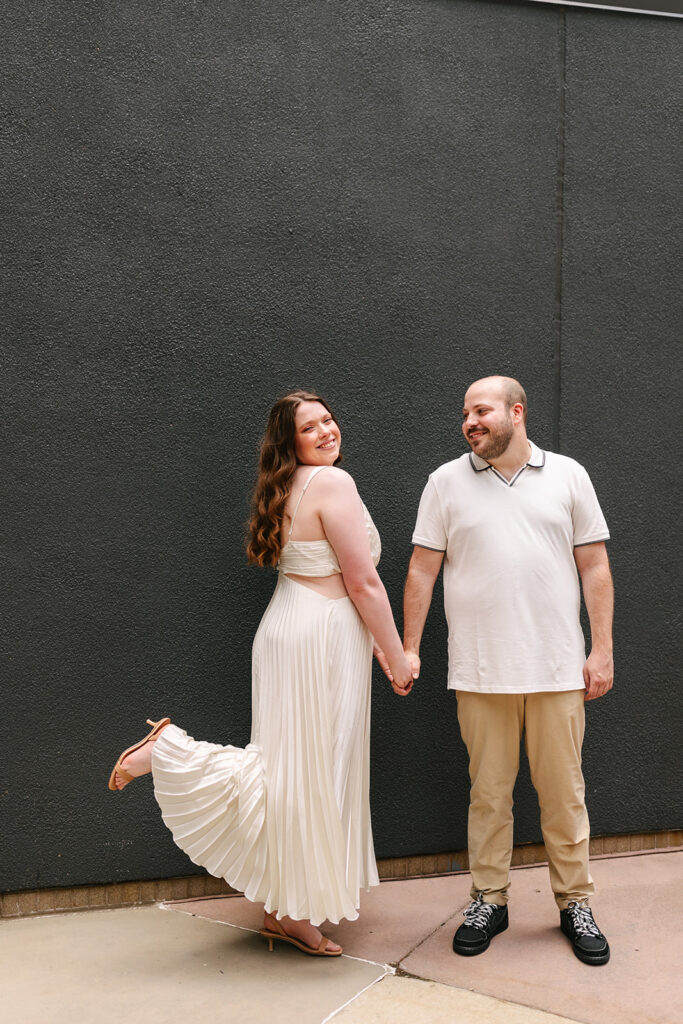
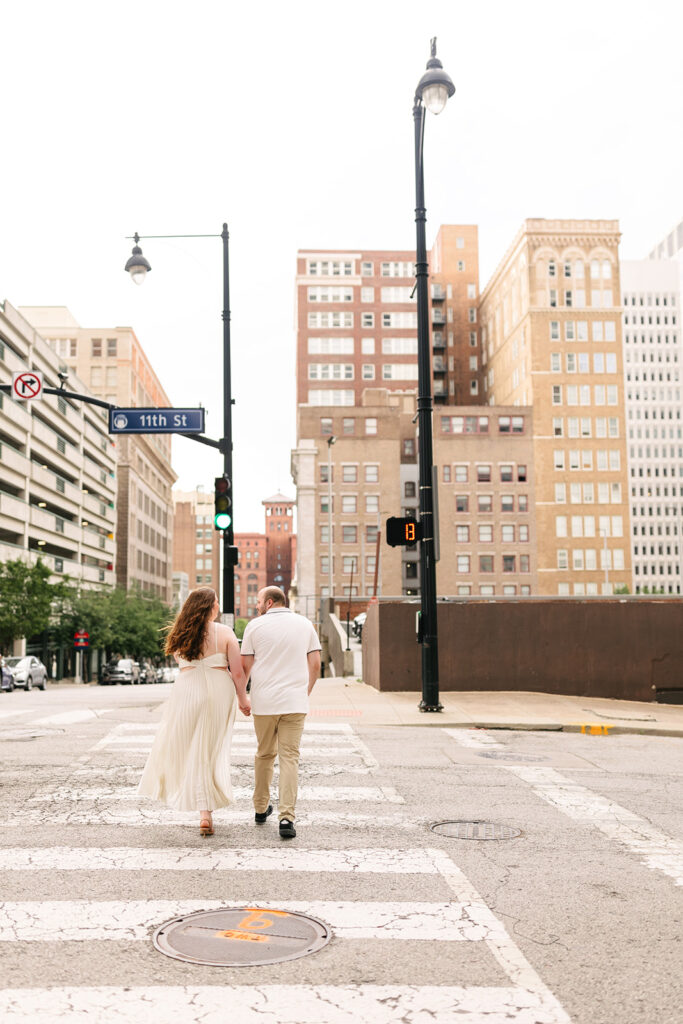
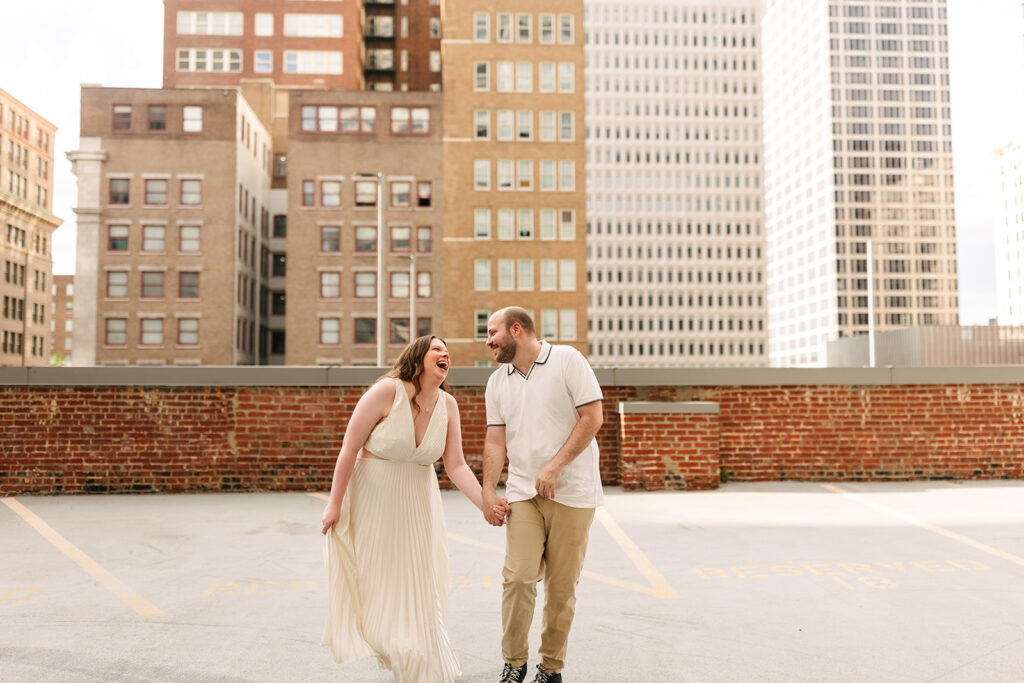
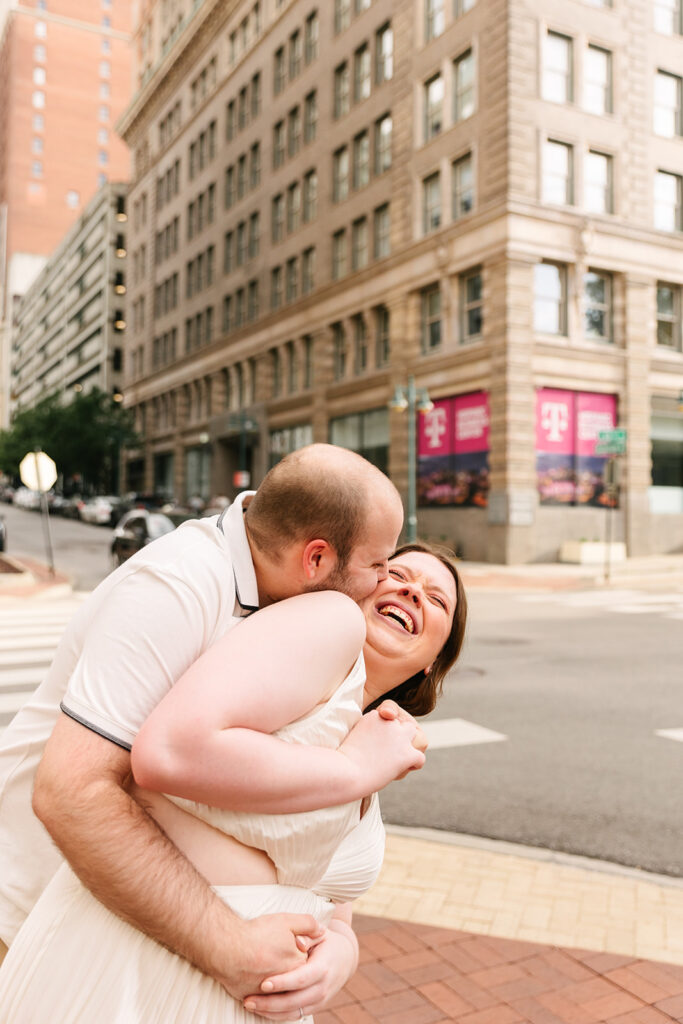
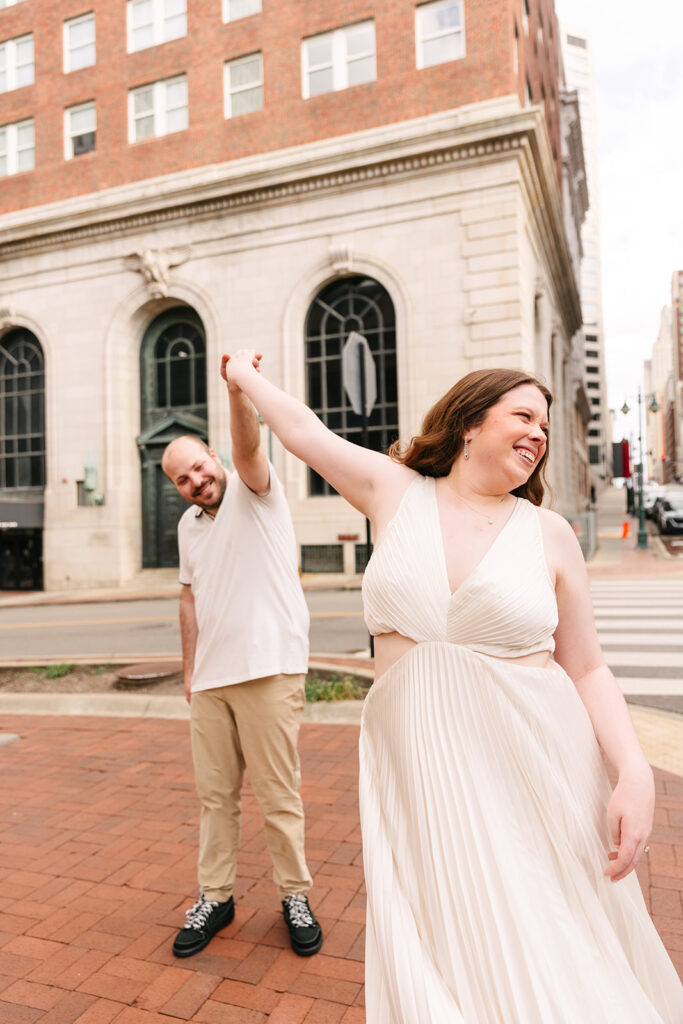
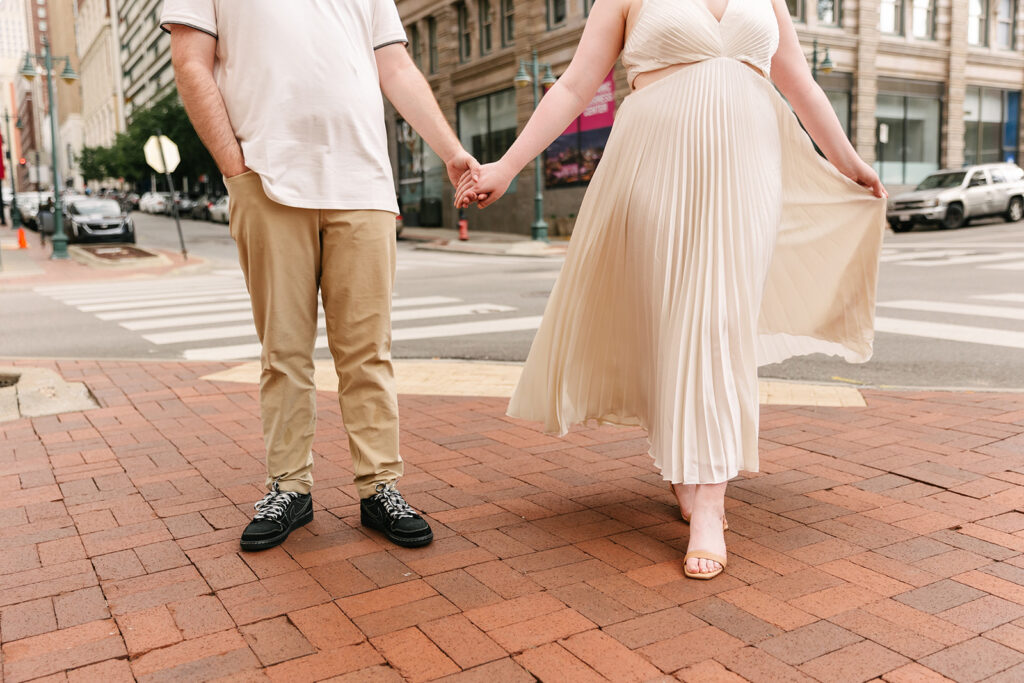
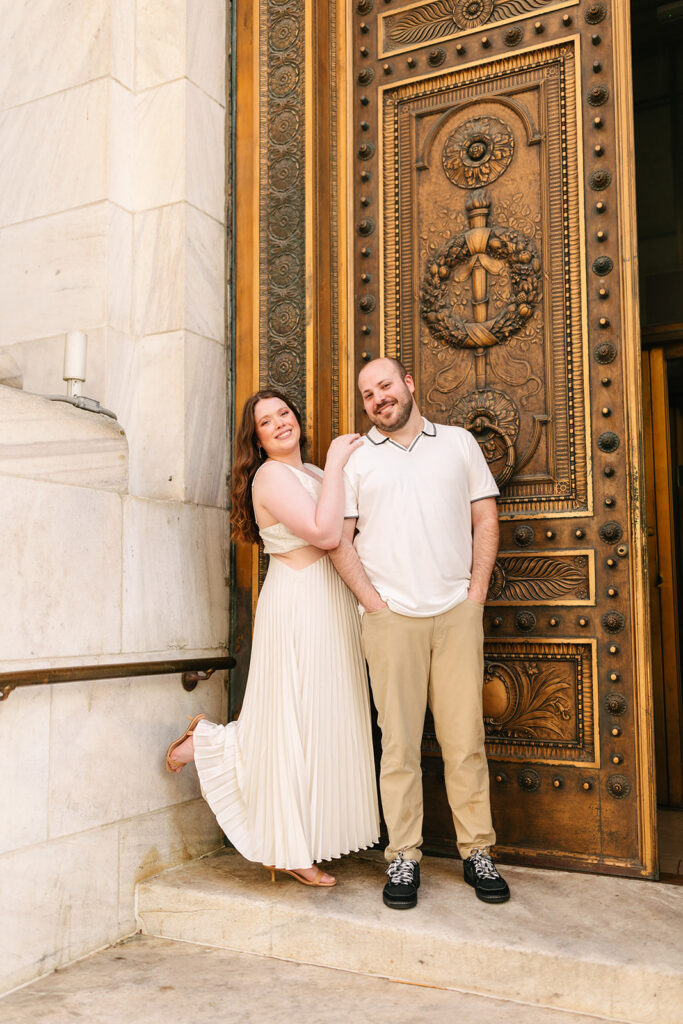
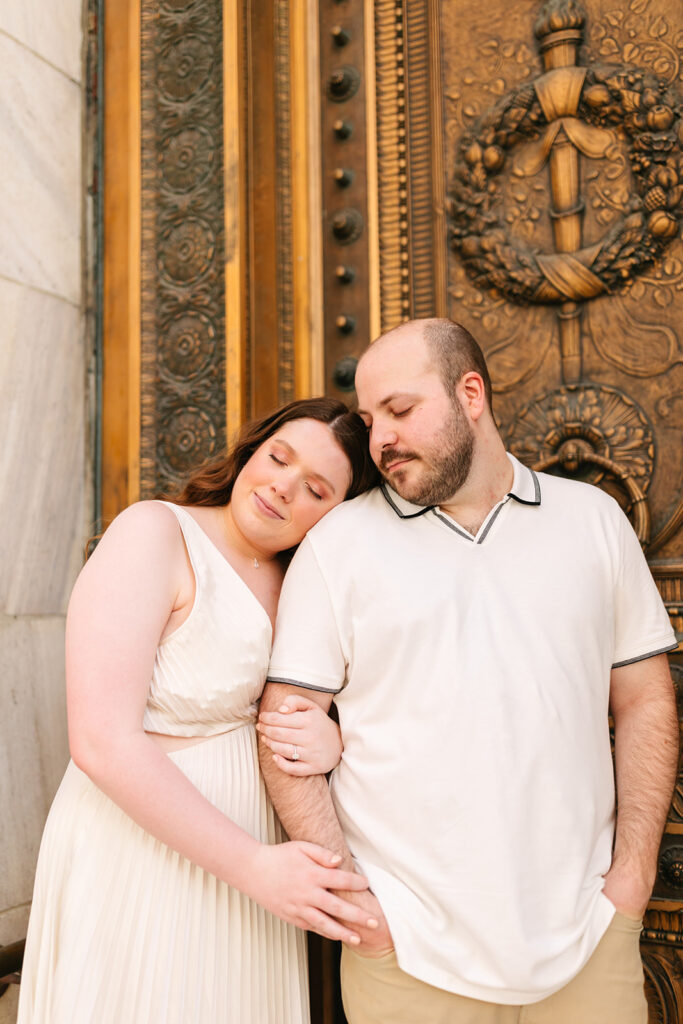
Miranda and Nick absolutely nailed their outfit choices! Nick’s classic khakis paired with a vintage cream-colored polo, featuring delicate black stitching along the collar and sleeves, gave off an effortlessly cool, timeless vibe. And Miranda? She looked stunning in a pleated satin cream dress that flowed beautifully with every step, perfectly complementing her dark brown hair. Together, they looked like they had stepped right out of an old Hollywood love story, ready to take on the city.
The Best of Both Worlds: Historic Charm & Modern Edge
One of the best things about downtown Kansas City is the variety of locations to explore. We started with the city’s gorgeous historic architecture, letting grand buildings with intricate details set the vibe. Then, we switched things up, seeking out some moodier, more modern spots with bold pops of color. The contrast made for the best mix of classic romance and contemporary edge!
Dancing in the Streets & Rooftop Magic
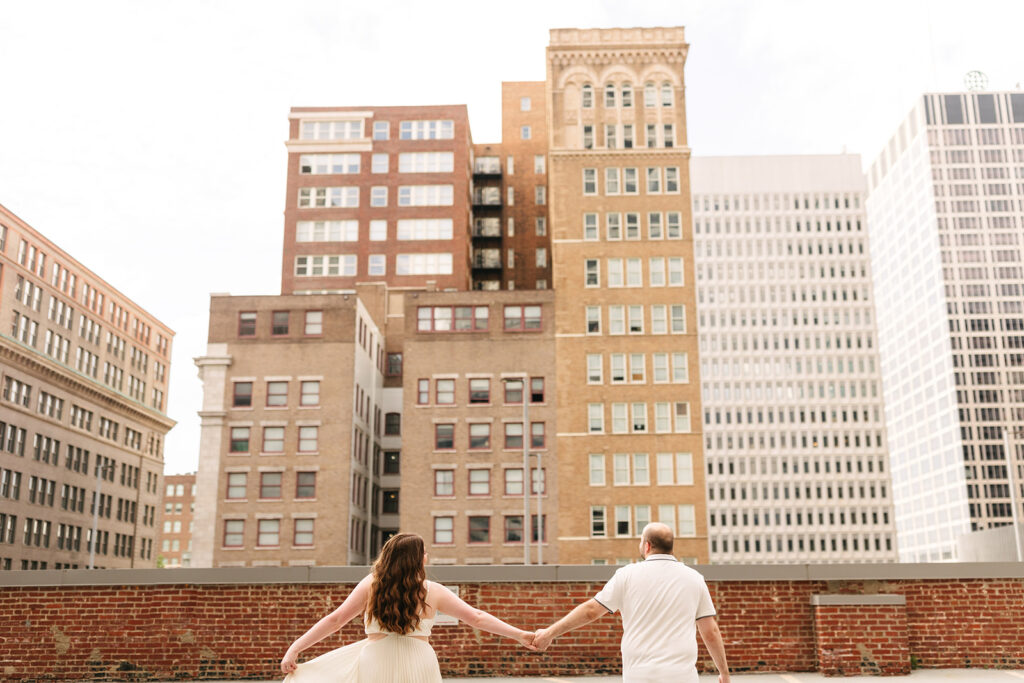
If there’s one thing I love about these two, it’s how naturally they move together. Whether it was strolling hand-in-hand down a quiet street, twirling in the middle of a crosswalk, or laughing together on the rooftop, every moment felt genuine and so full of joy. The best part? They were completely down to try new things!
Capturing Love, One Session at a Time
Photographing Miranda and Nick was an absolute dream. Their engagement session felt so them—classic, stylish, fun, and full of love. If you’re looking for an engagement session that truly captures your personality, let’s make it happen. Whether it’s dancing in the streets, finding the perfect skyline view, or simply soaking in the beauty of KC, I’m here to document your love story in the most authentic way possible.
Let’s make some downtown magic together!






5 Tips to Feel Confident in Front of the Camera
Let’s be real—being in front of a camera can feel awkward if you’re not used to it. But here’s the thing: confidence isn’t about knowing exactly what to do. It’s about feeling comfortable, having fun, and letting go of the pressure to be “perfect.” So, if you’re gearing up for a session and feeling a little nervous, here are five tips to help you feel like your best, most confident self!
1. Wear Something That Feels Like You
The best outfit is one that makes you feel amazing! If you’re constantly adjusting your shirt or fidgeting with a dress that feels too tight, it’s going to show in your photos. Stick to pieces that you love, feel comfortable in, and match your style. And if you’re unsure, neutrals and classic colors always look timeless!



2. Focus on Each Other, Not the Camera
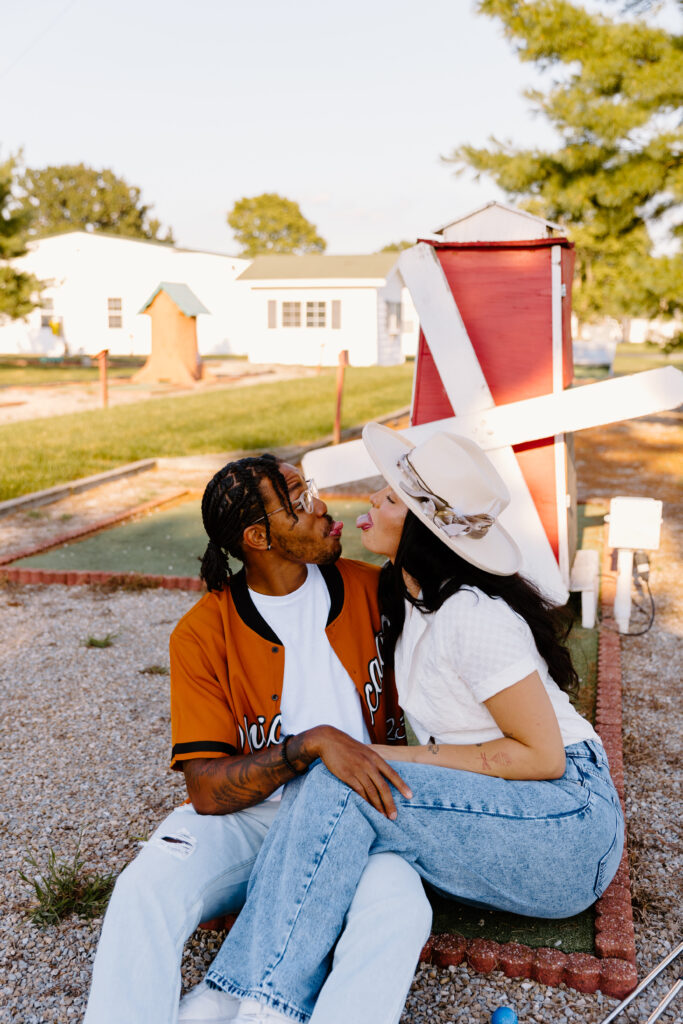
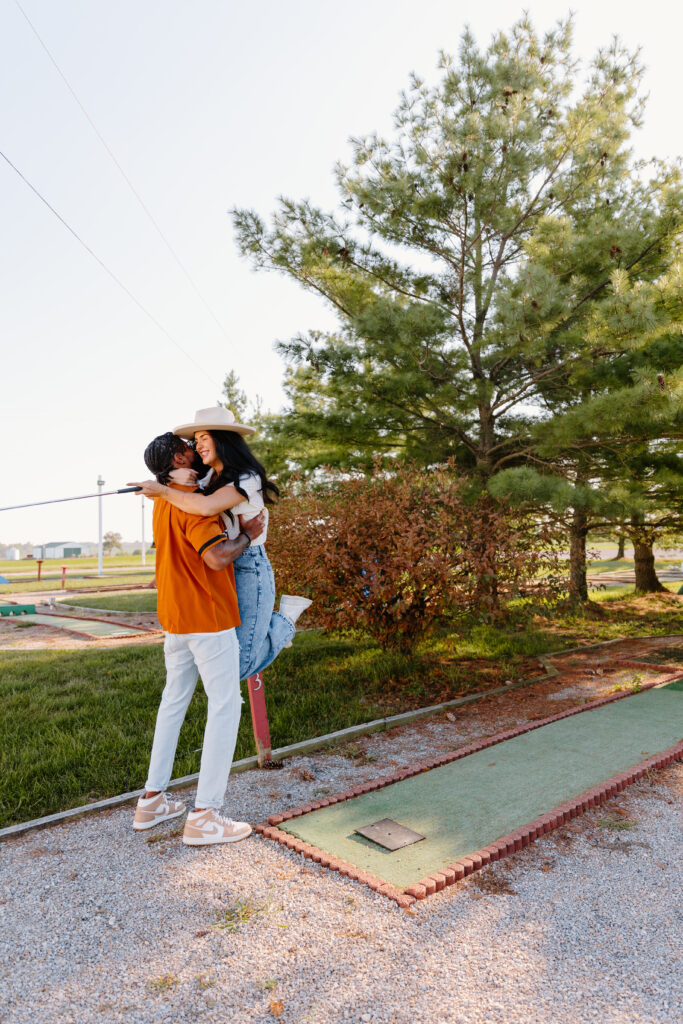
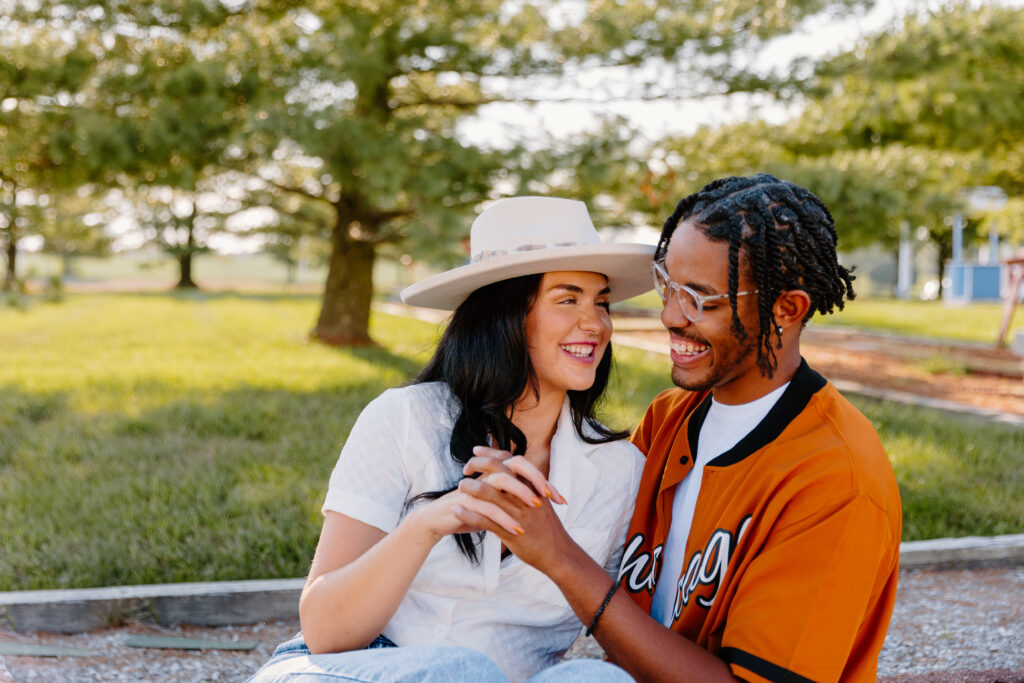
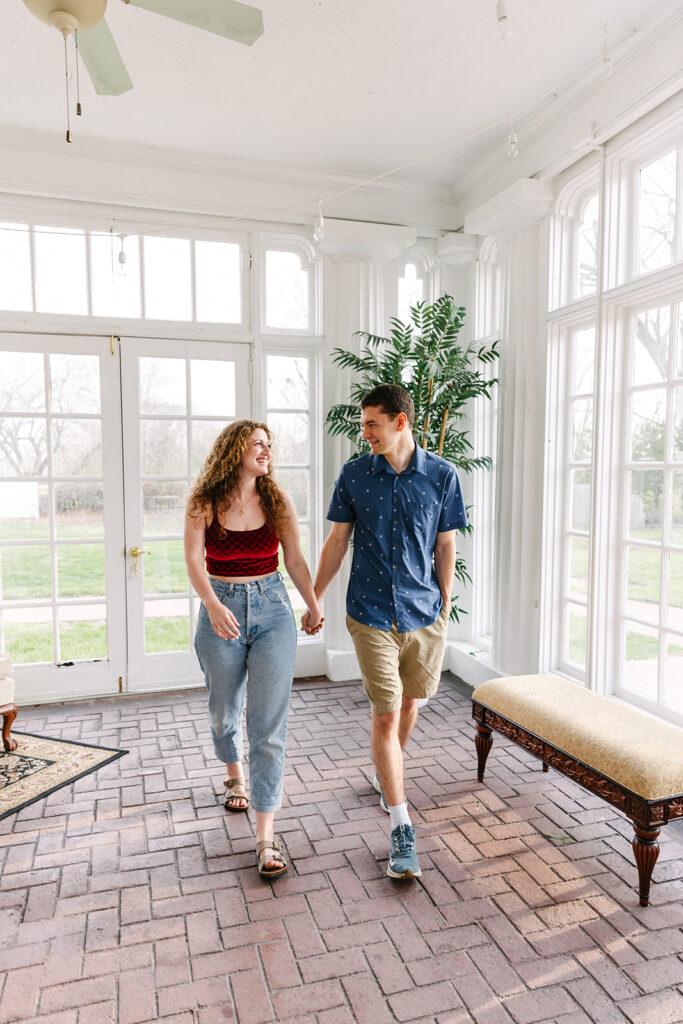
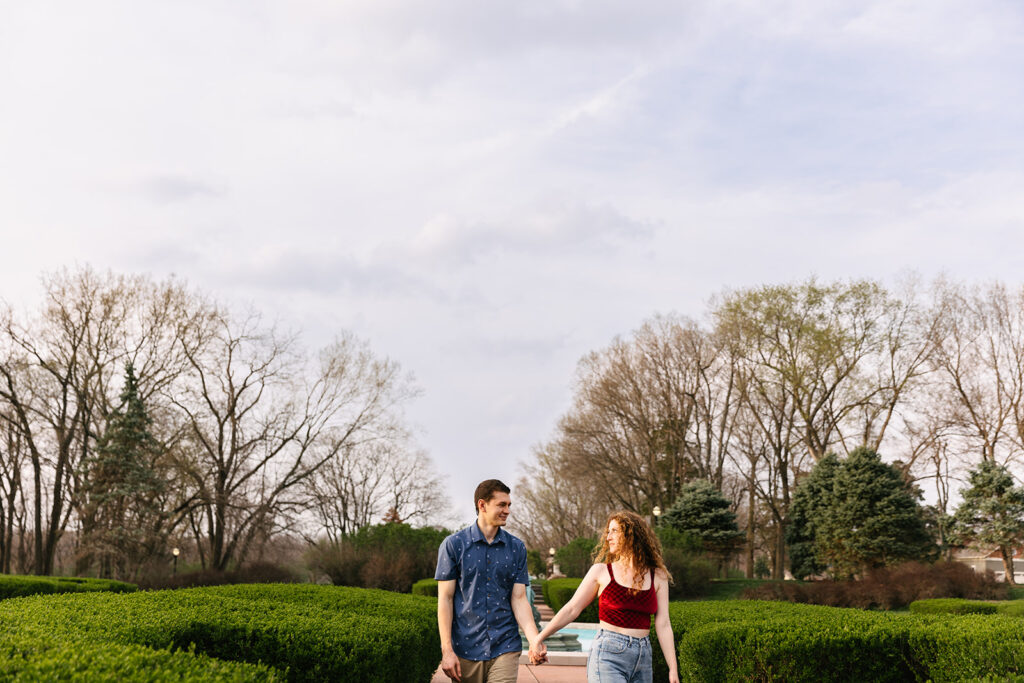
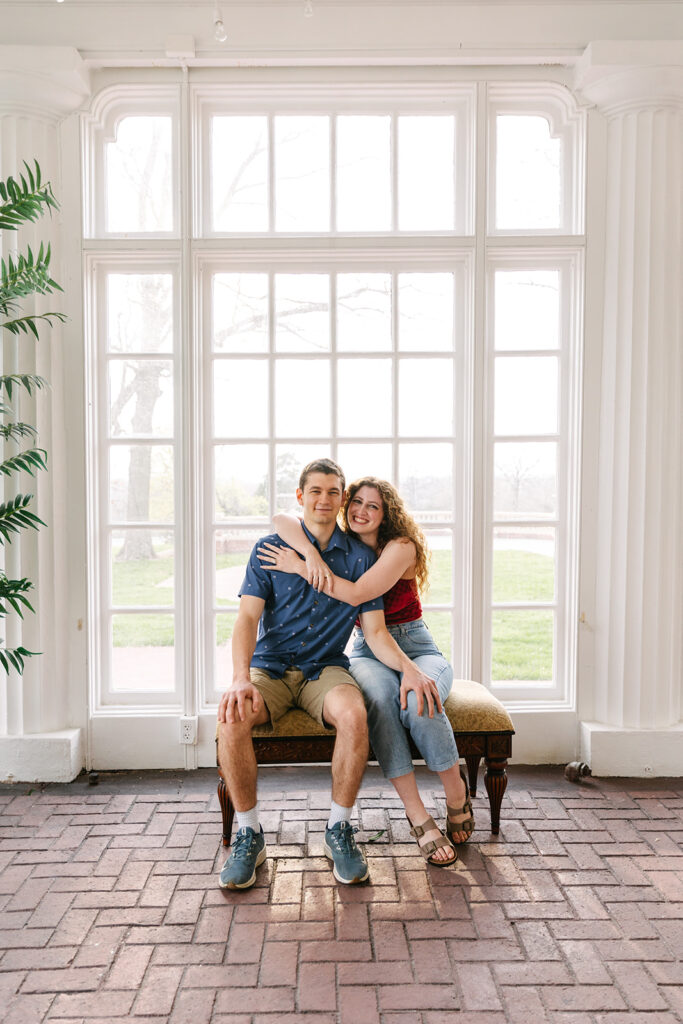
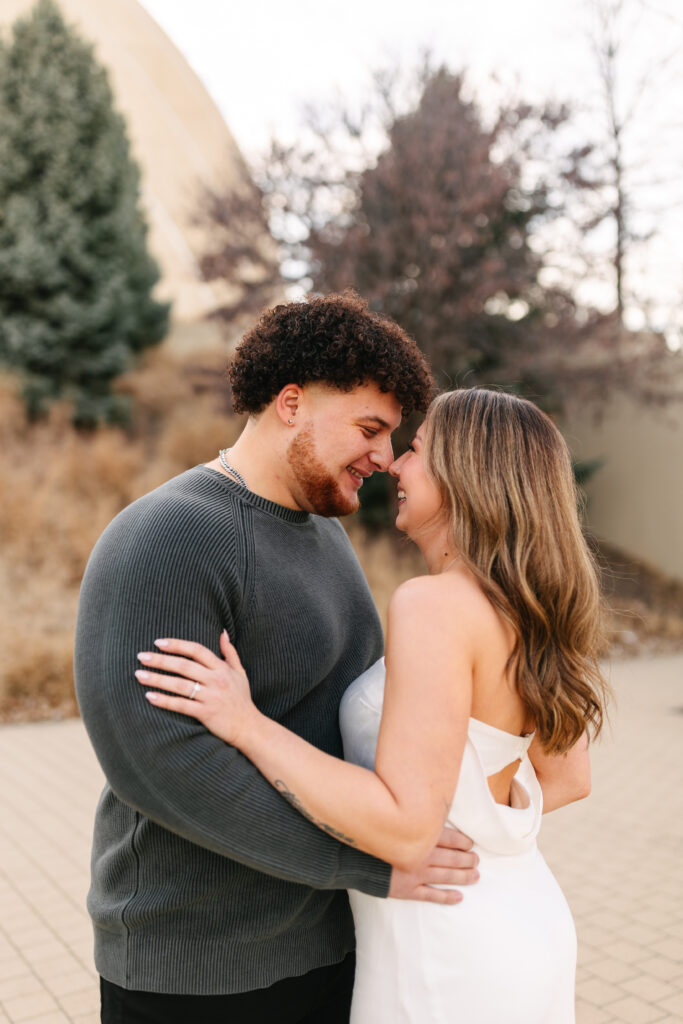
If you’re doing a couples or family session, shift your attention to the people you’re with. Laugh, talk, and interact naturally—those moments always make for the best photographs. Even if it’s a solo session, try to think about something that makes you happy instead of overanalyzing your poses.


3. Keep Moving
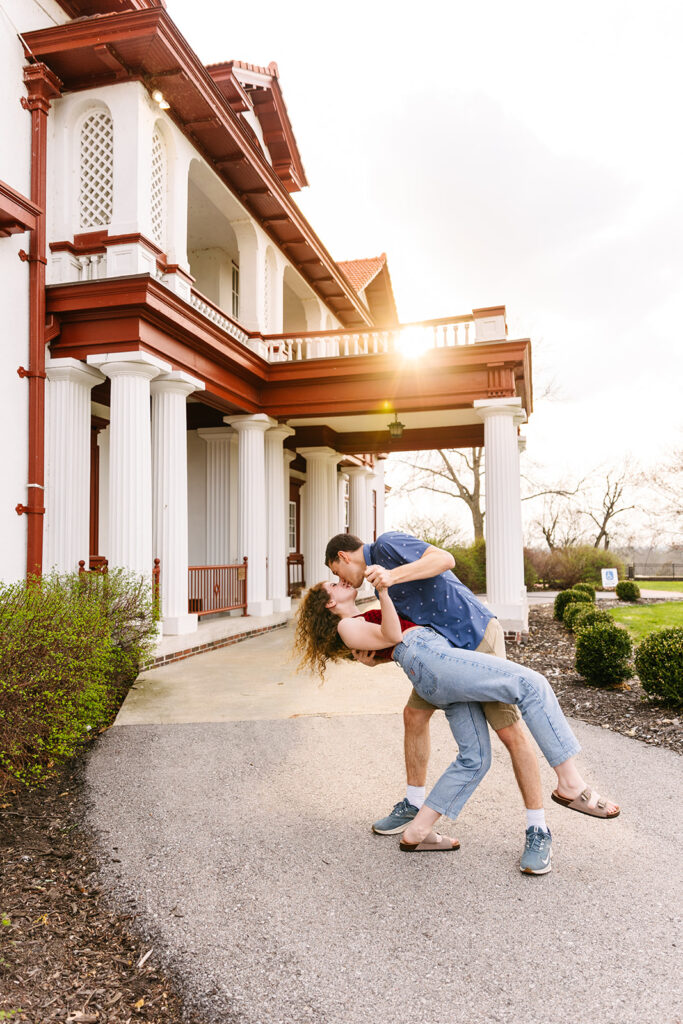
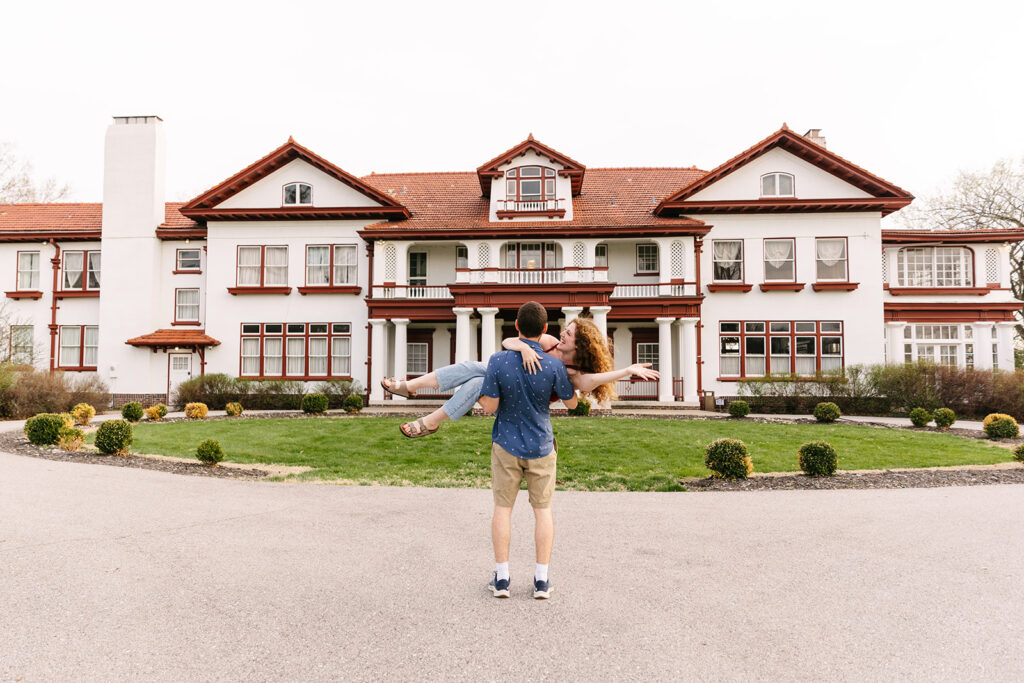
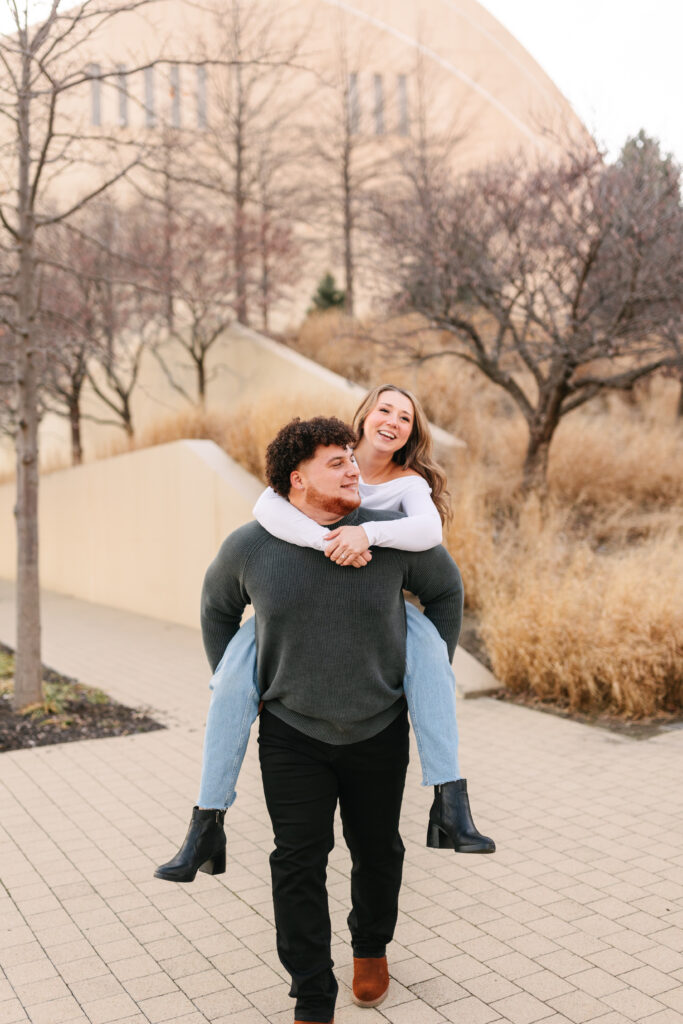
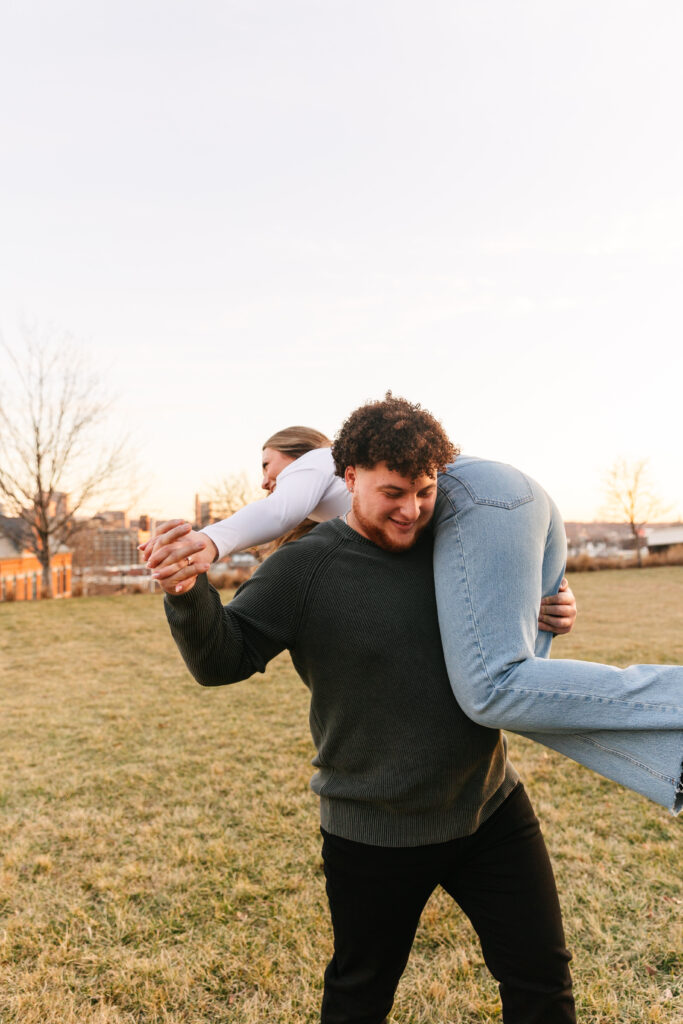
Standing stiffly can make you feel way more awkward. Instead, embrace movement! Walk, twirl, sway, or even dance a little. Small actions help you feel more at ease and create gorgeous, natural-looking images. Plus, movement brings out your true personality, and that’s what I want to capture!

4. Trust Your Photographer
You don’t have to know how to pose—that’s what I’m here for! I’ll guide you every step of the way, giving direction while keeping things relaxed. Just take a deep breath and let yourself enjoy the experience. The best moments happen when you’re simply being you.


5. Embrace the Candid Moments
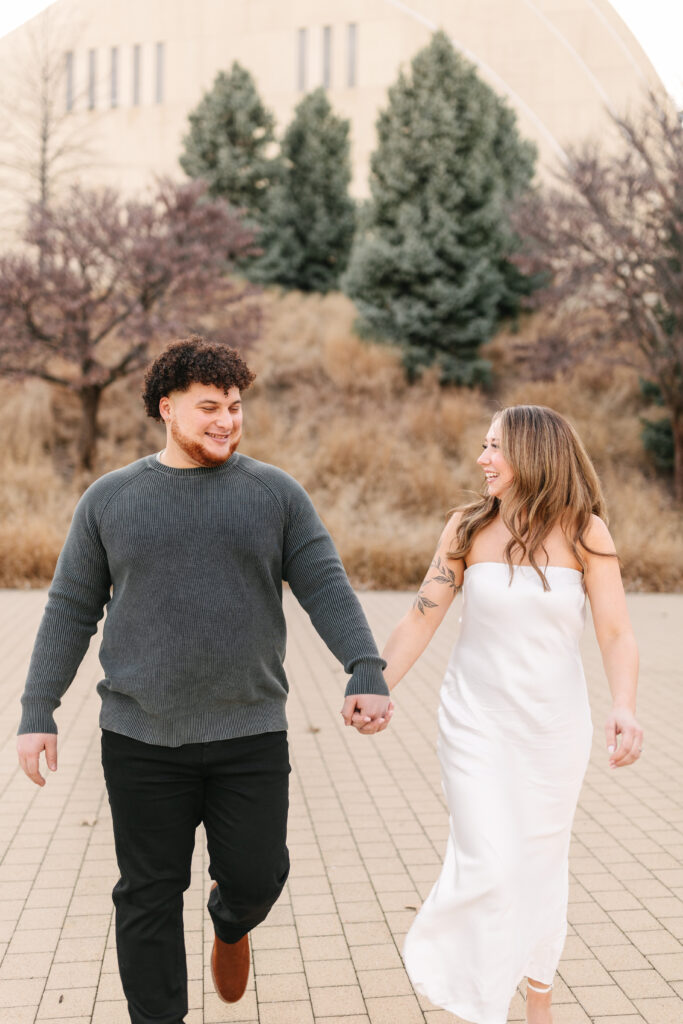
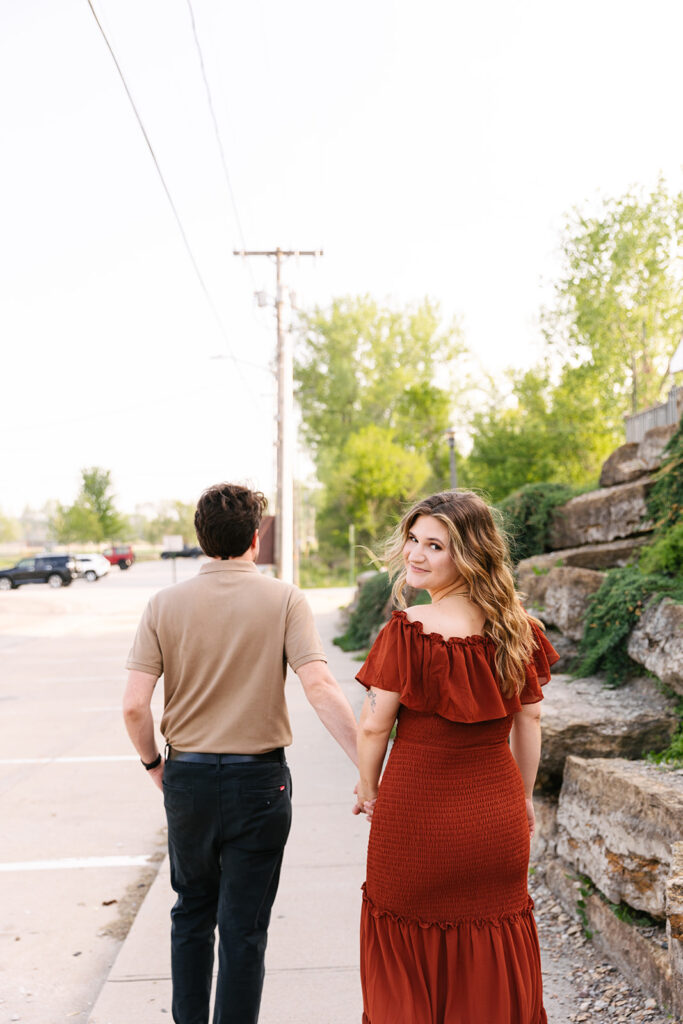
Some of the most beautiful photographs happen in between poses—when you’re laughing, fixing your hair, or sharing a quiet moment. So don’t stress about being “perfect.” The best images capture feeling, not perfection!


You’ve Got This!
At the end of the day, your session is about celebrating you—your love, your personality, and your story. So take a deep breath, relax, and have fun with it! Confidence comes from feeling good in the moment, and I’ll be right there to make sure you do. Ready to book your session? Let’s make some magic happen!
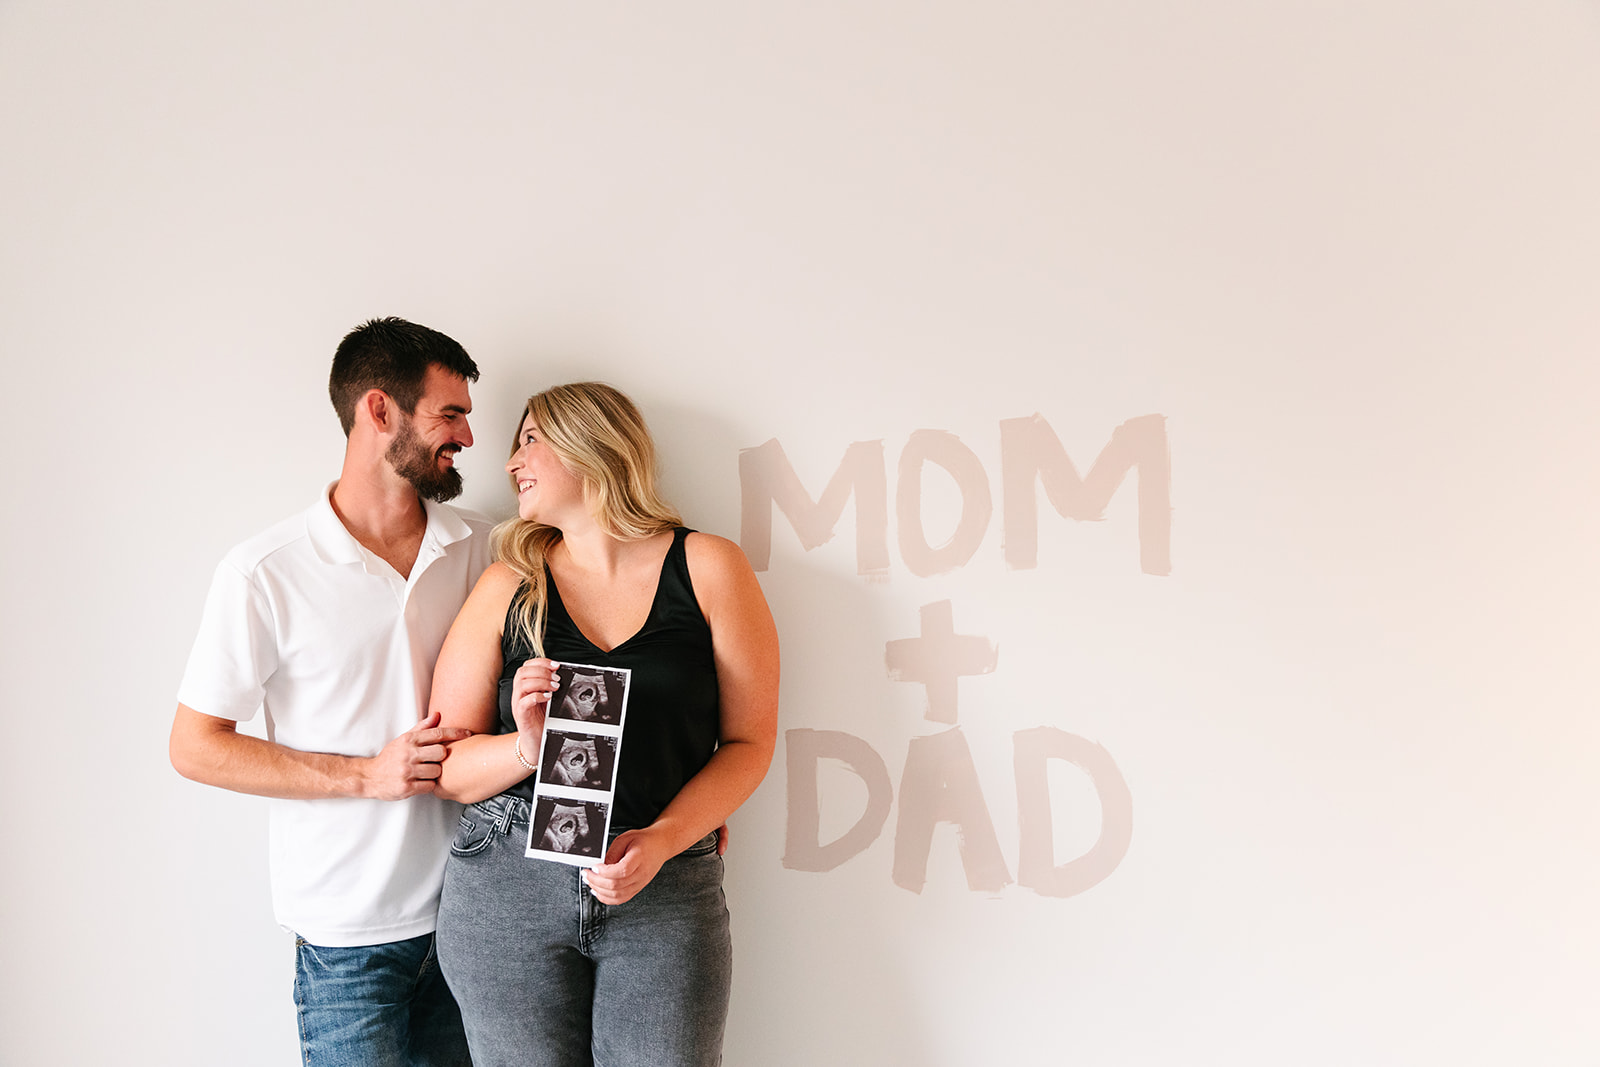
There’s something so special about an at-home maternity session. It’s intimate, personal, and full of all the little details that make this season of life so meaningful. When Brittani and Tyler reached out, they wanted their session to feel warm, fun, and uniquely them—and that’s exactly what we captured!
Starting in the Nursery
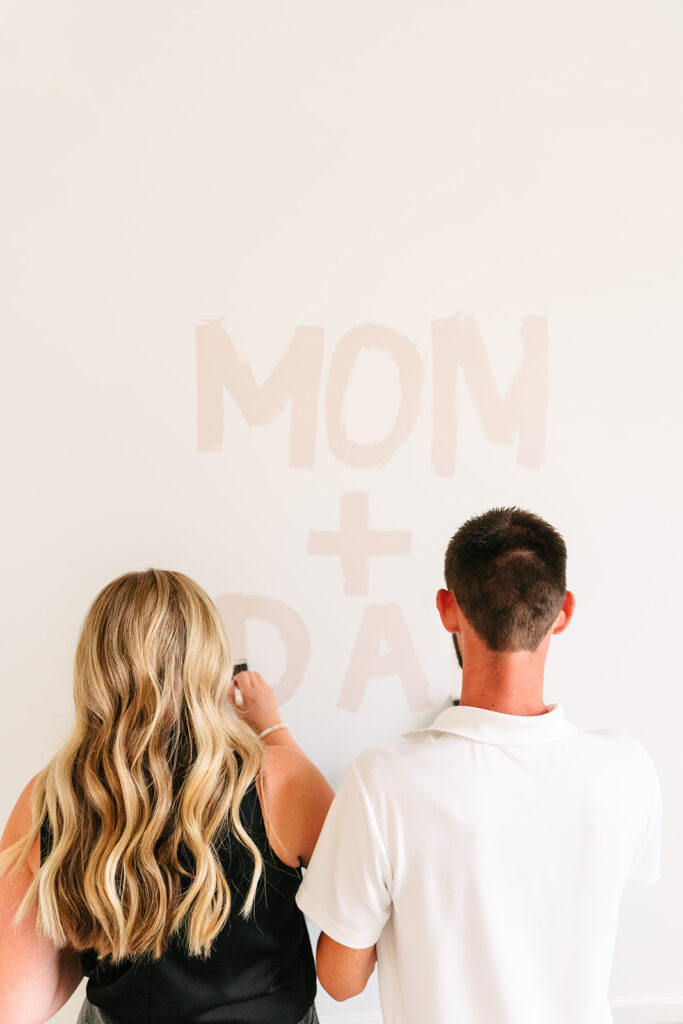
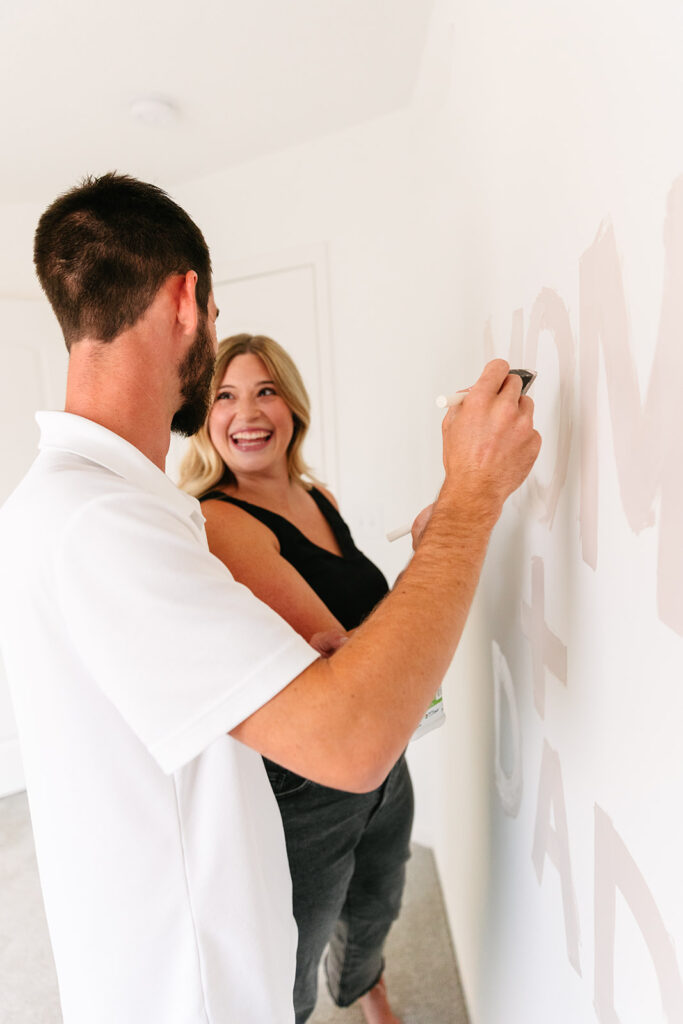
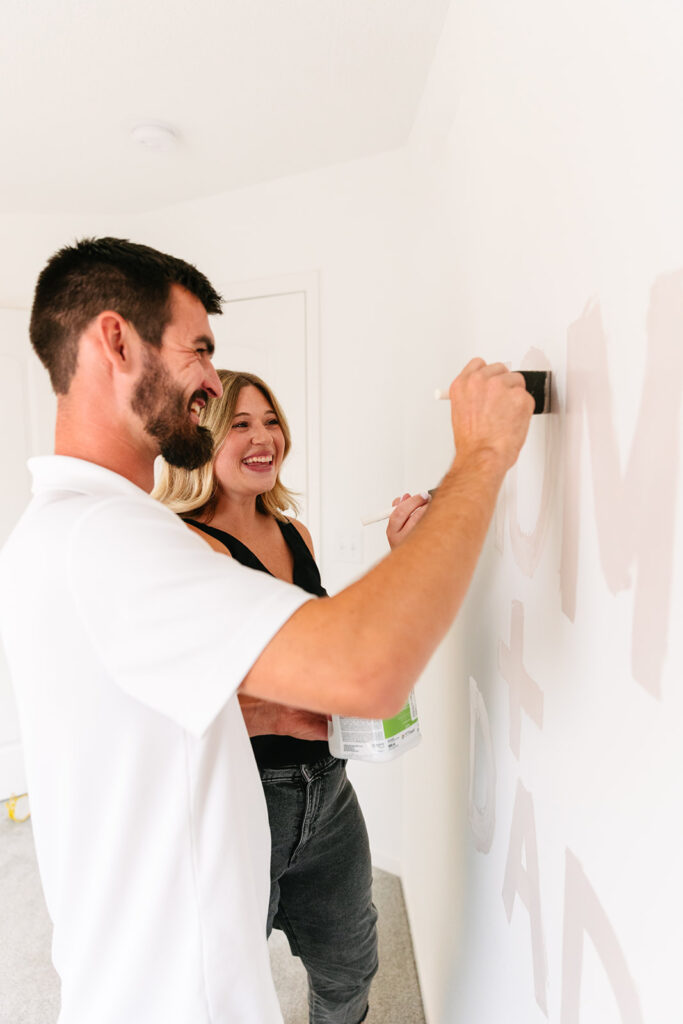
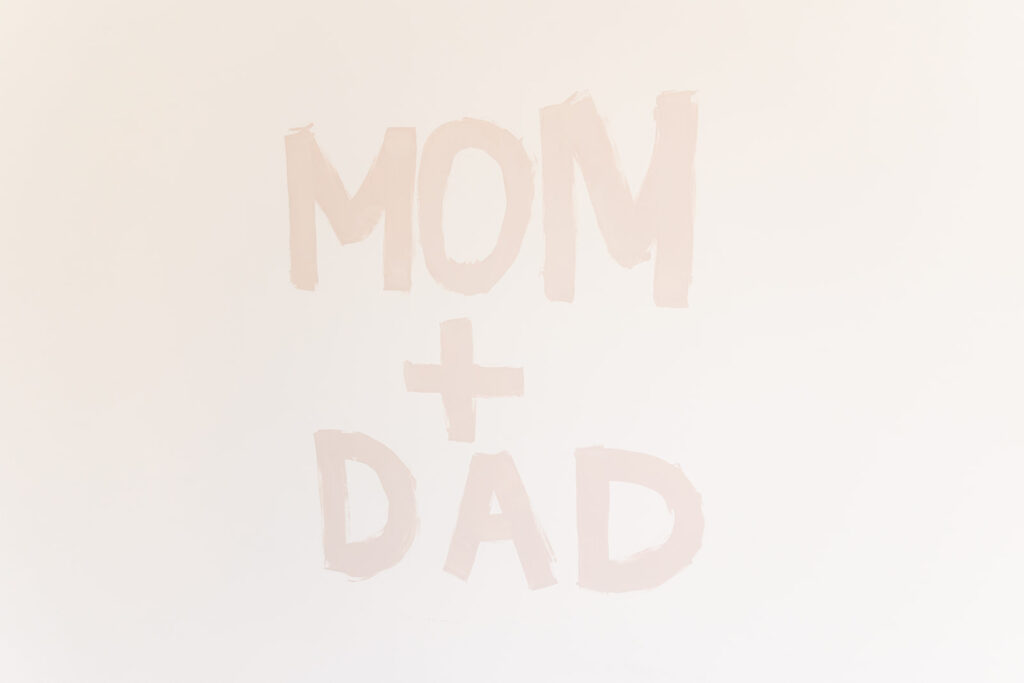
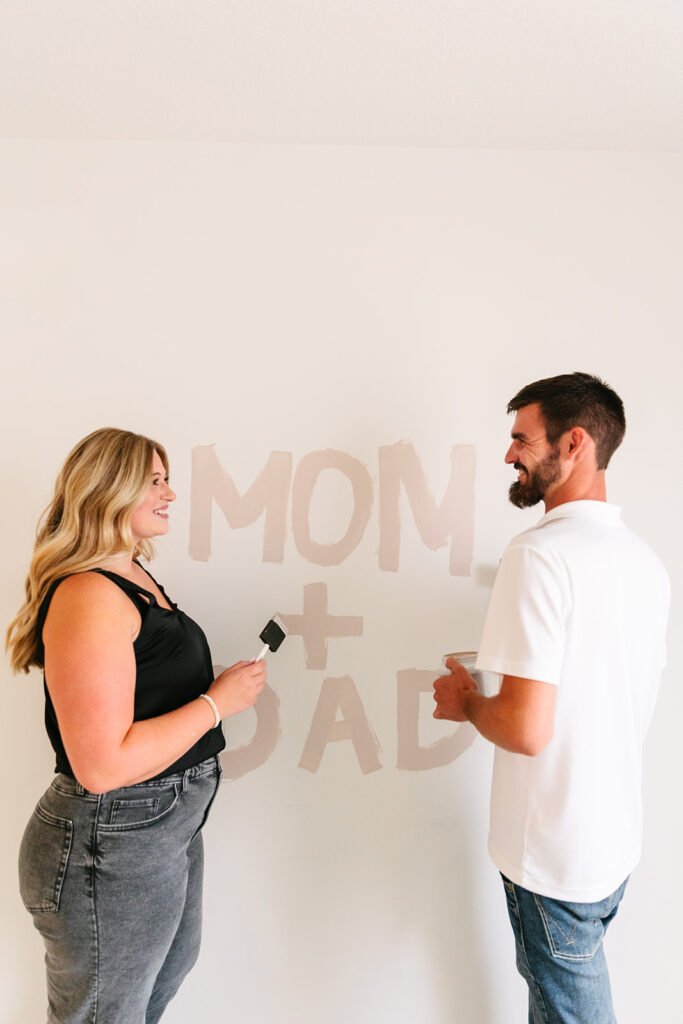
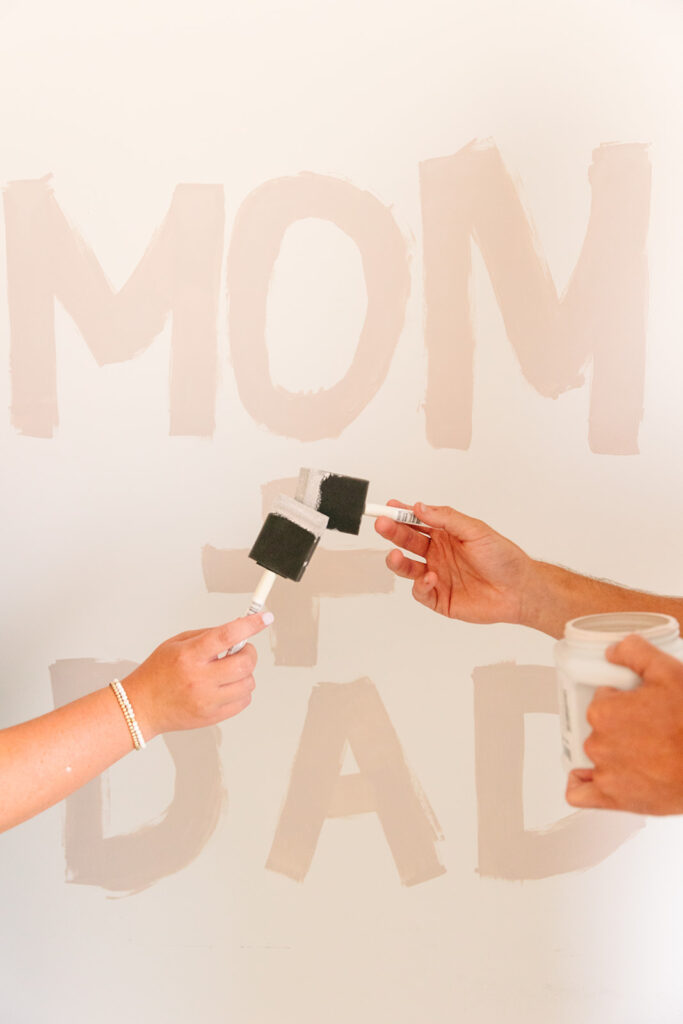
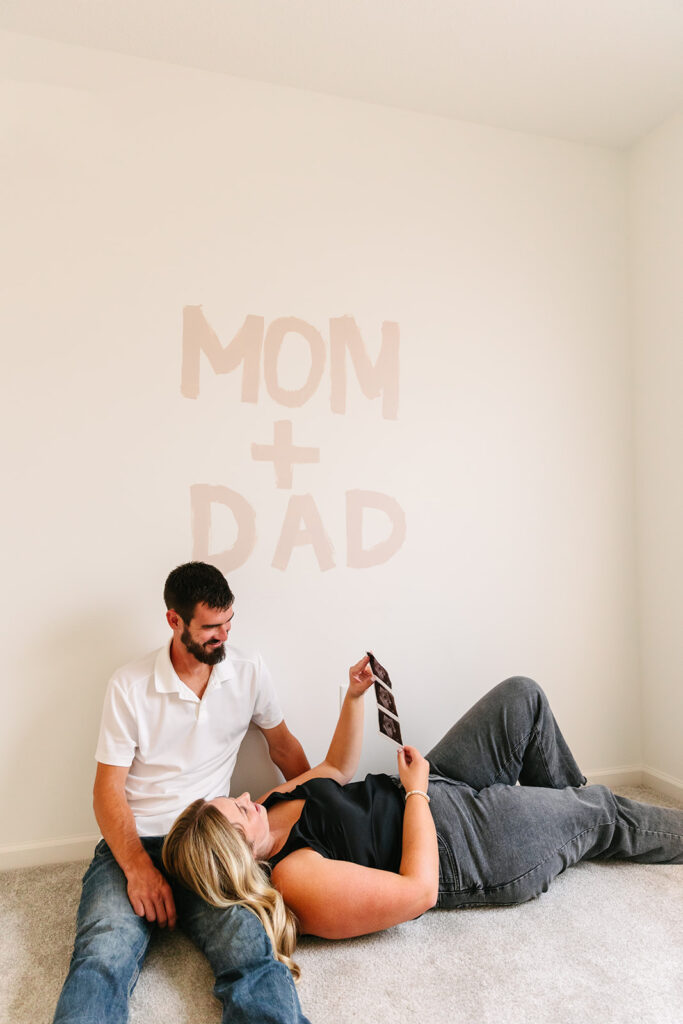
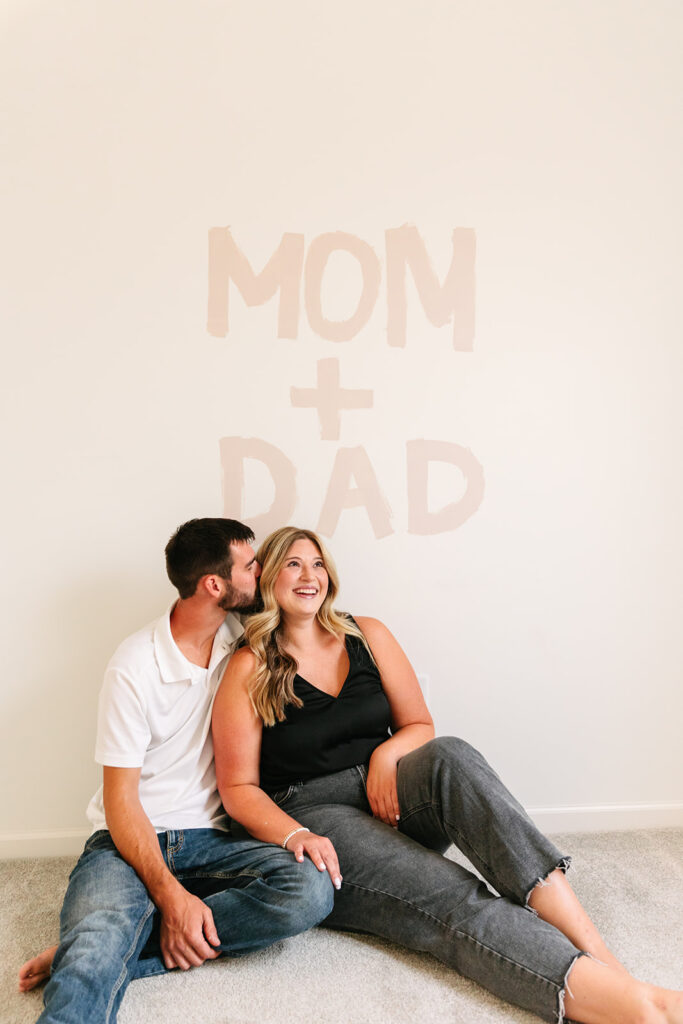
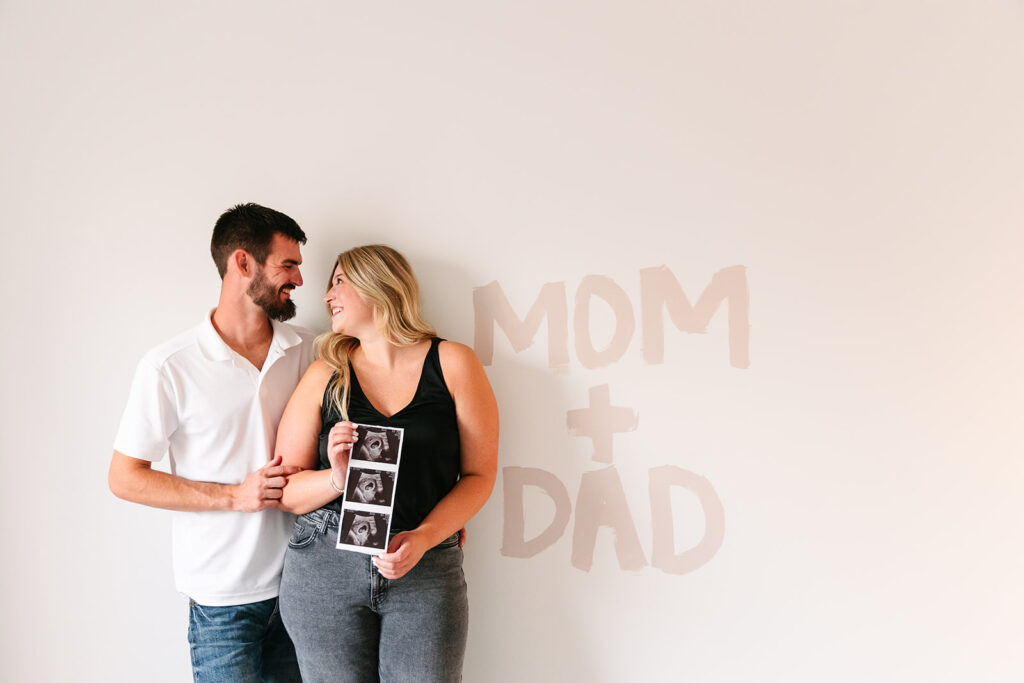
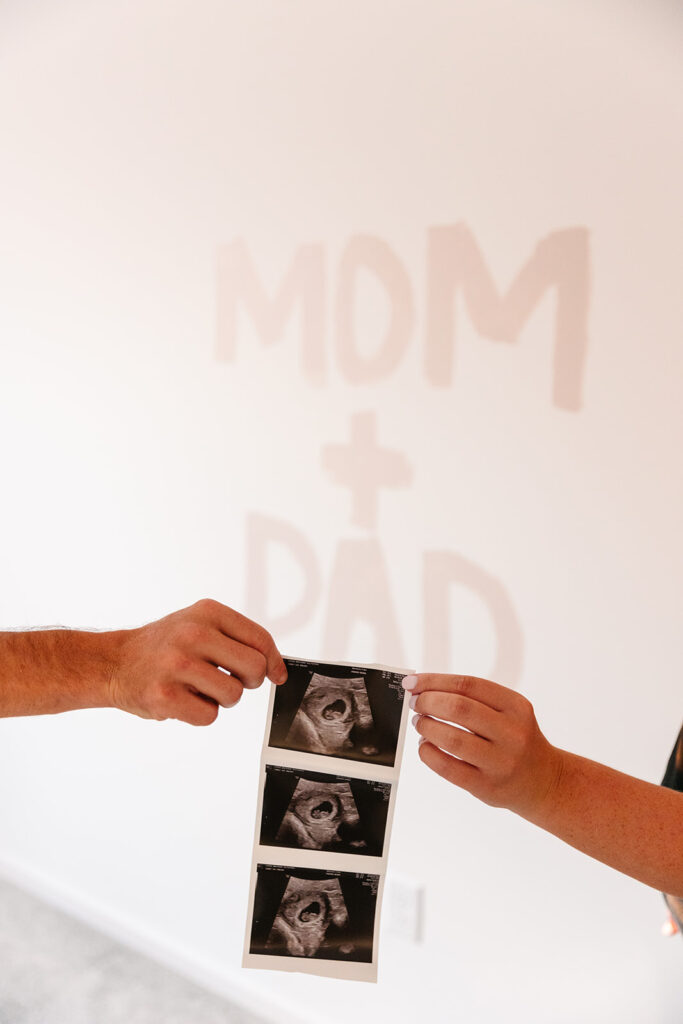
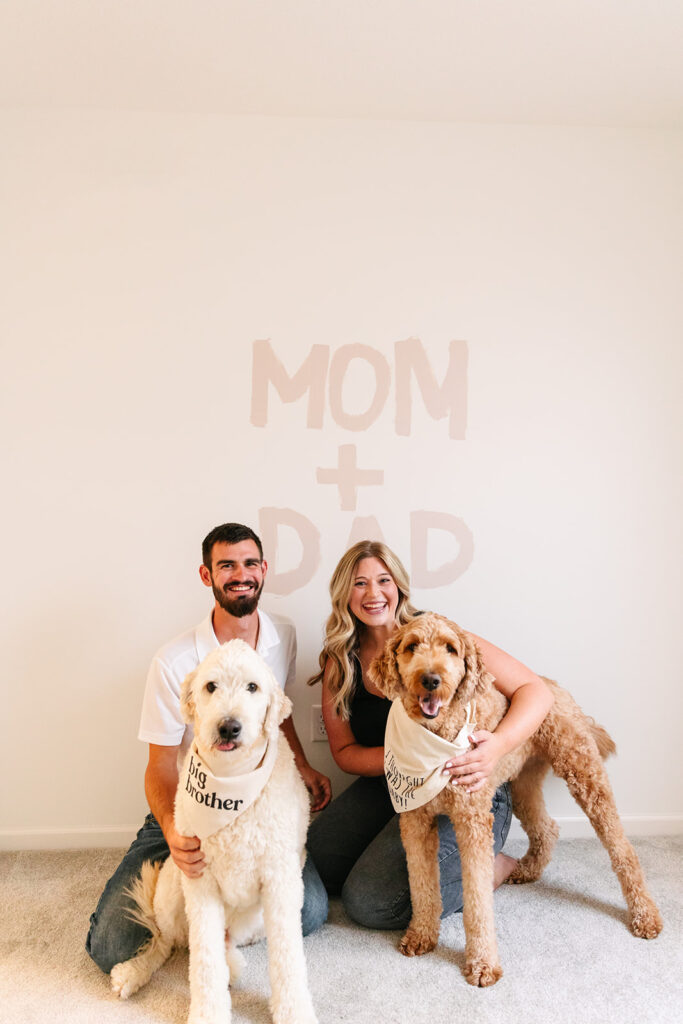
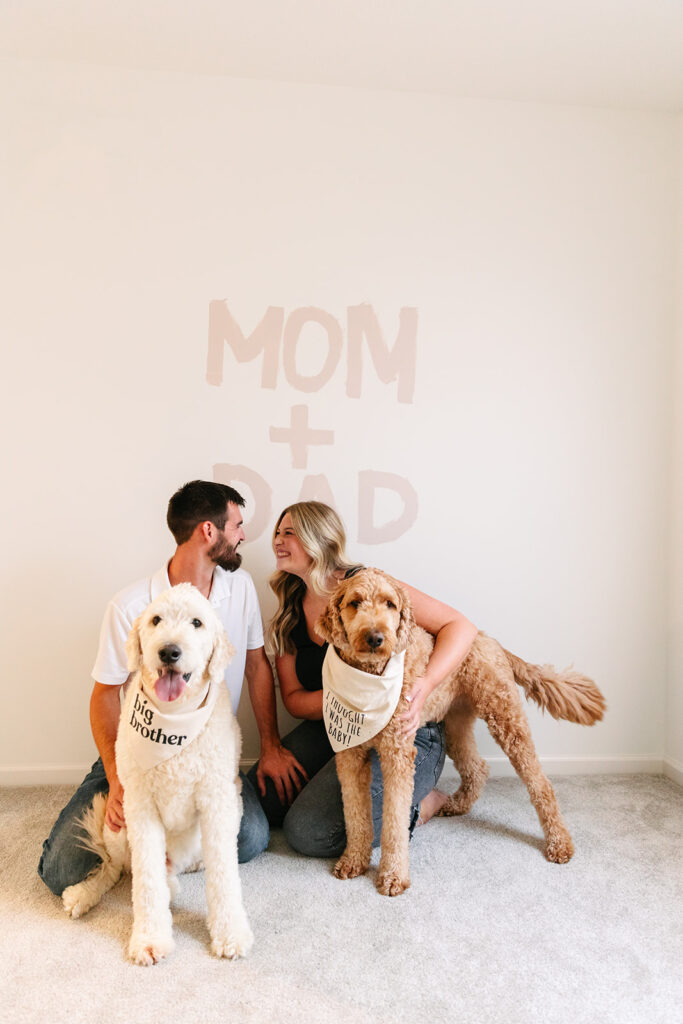
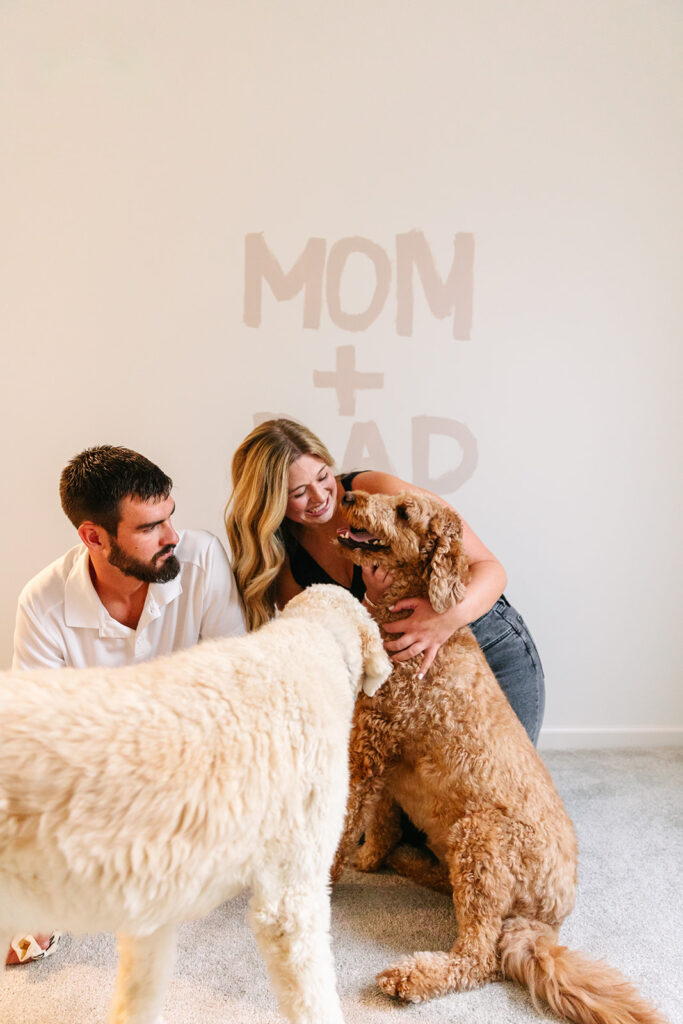
We kicked things off in the sweetest spot—the nursery that will soon belong to their baby girl. Brittani and Tyler had a creative and playful way to announce their pregnancy: using sponges to paint “Mom + Dad” on the wall in a soft blush pink. Watching them laugh and enjoy the process made for some of the most joyful and candid photographs.
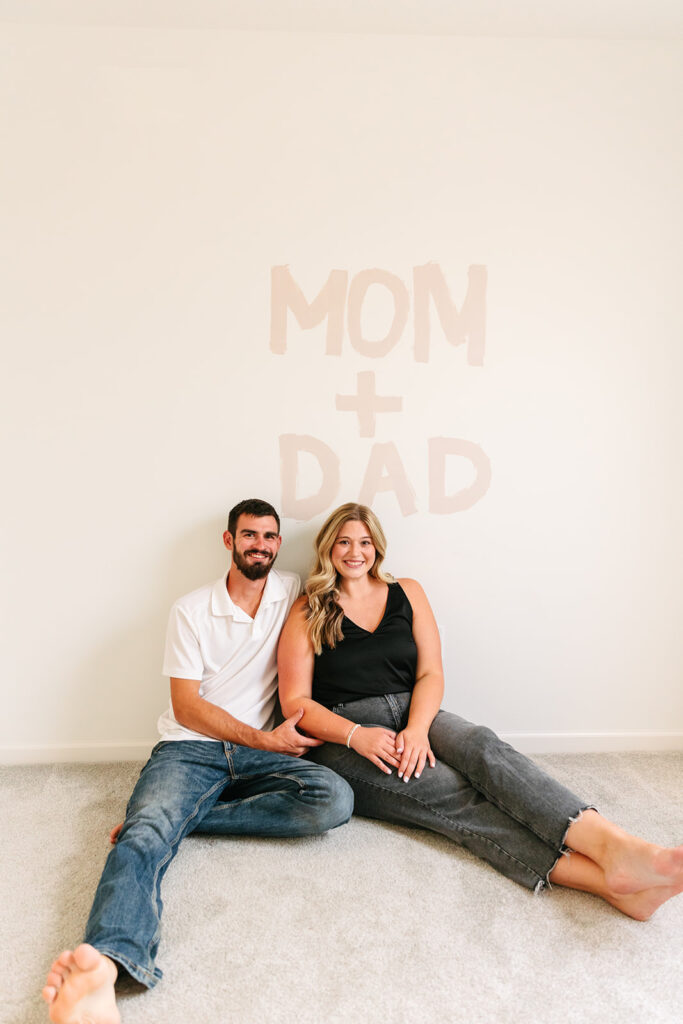
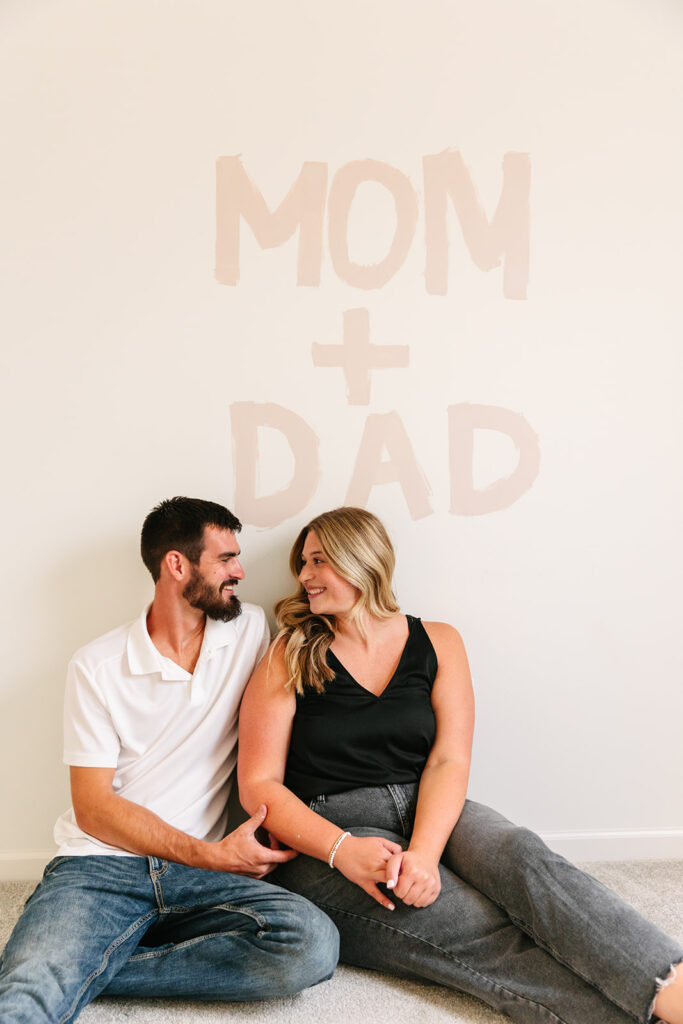
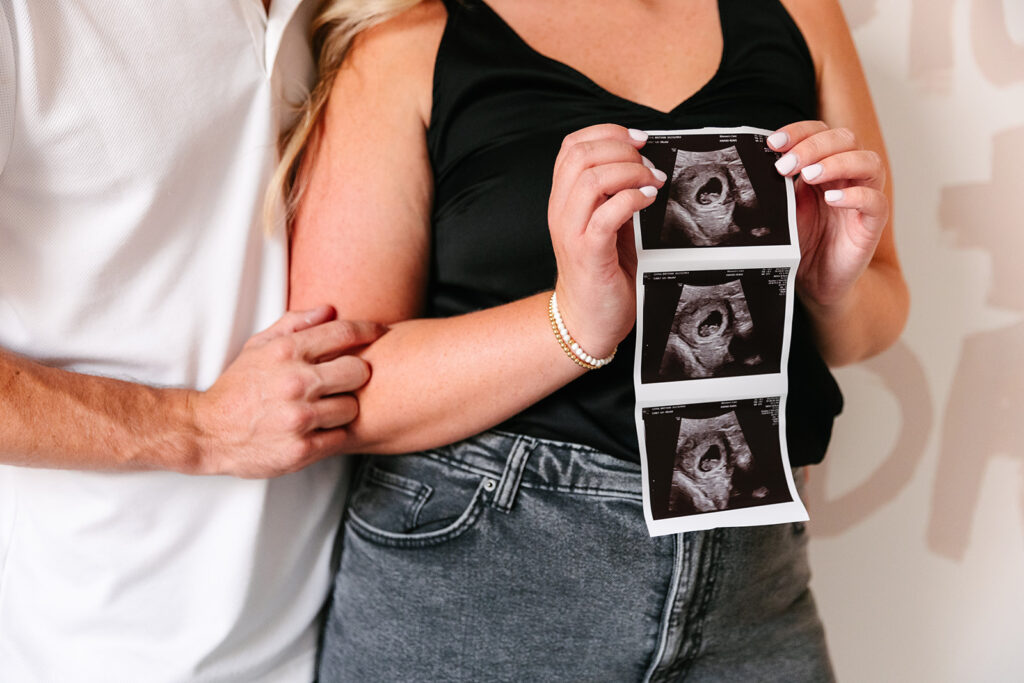
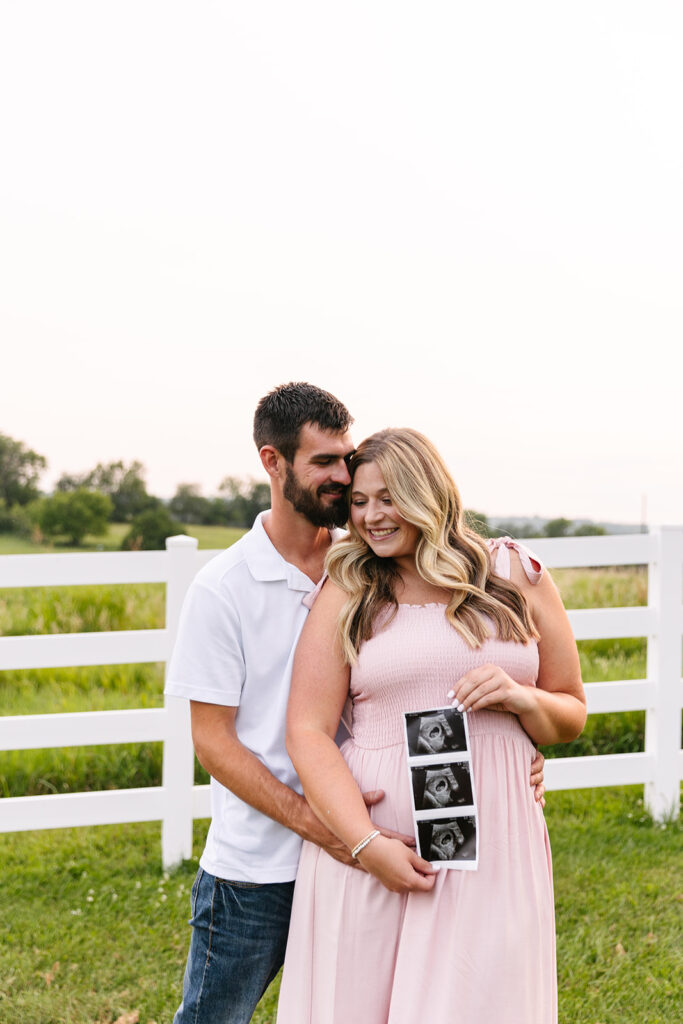
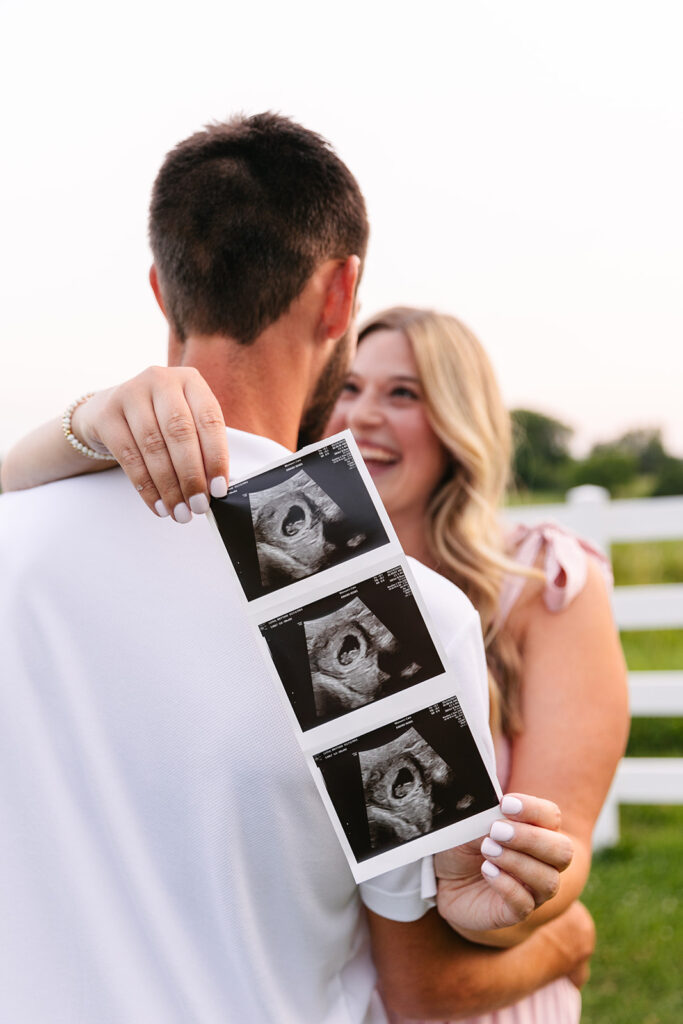
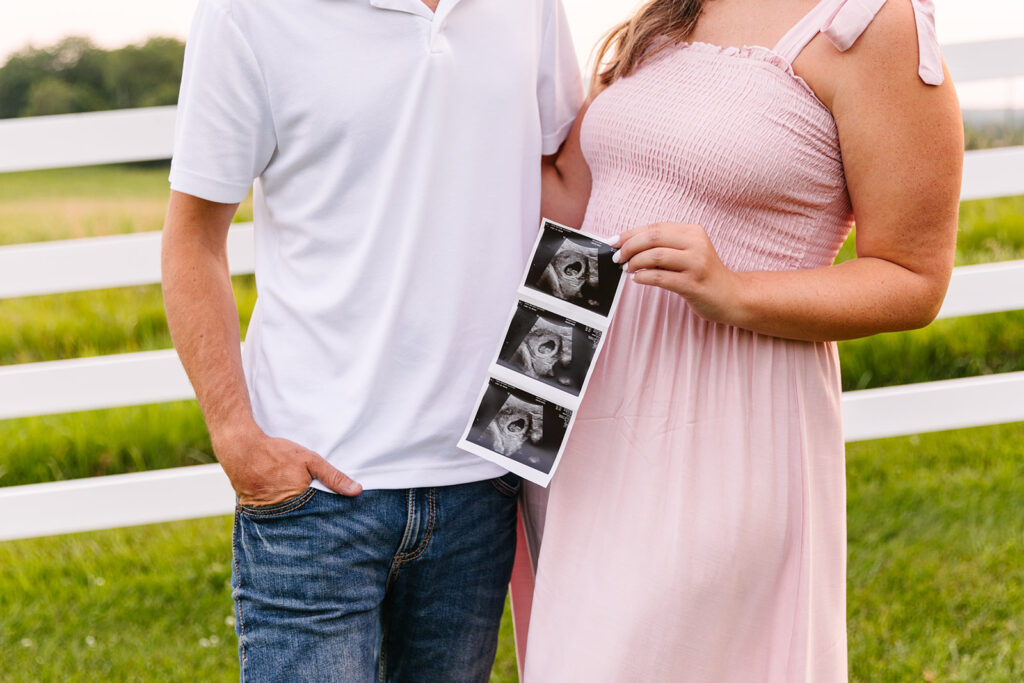
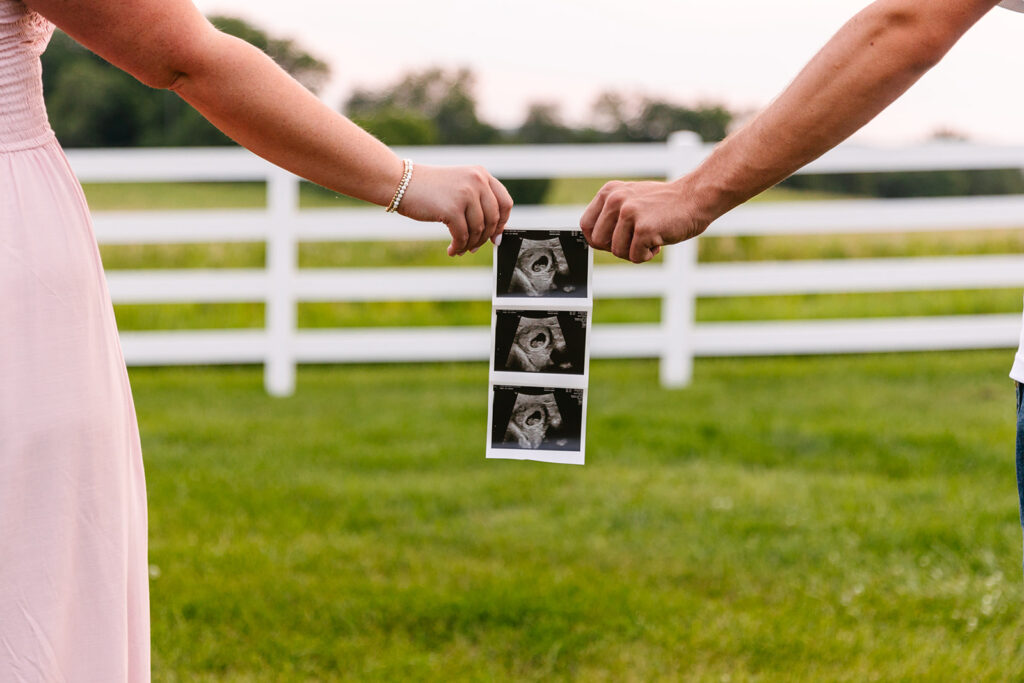
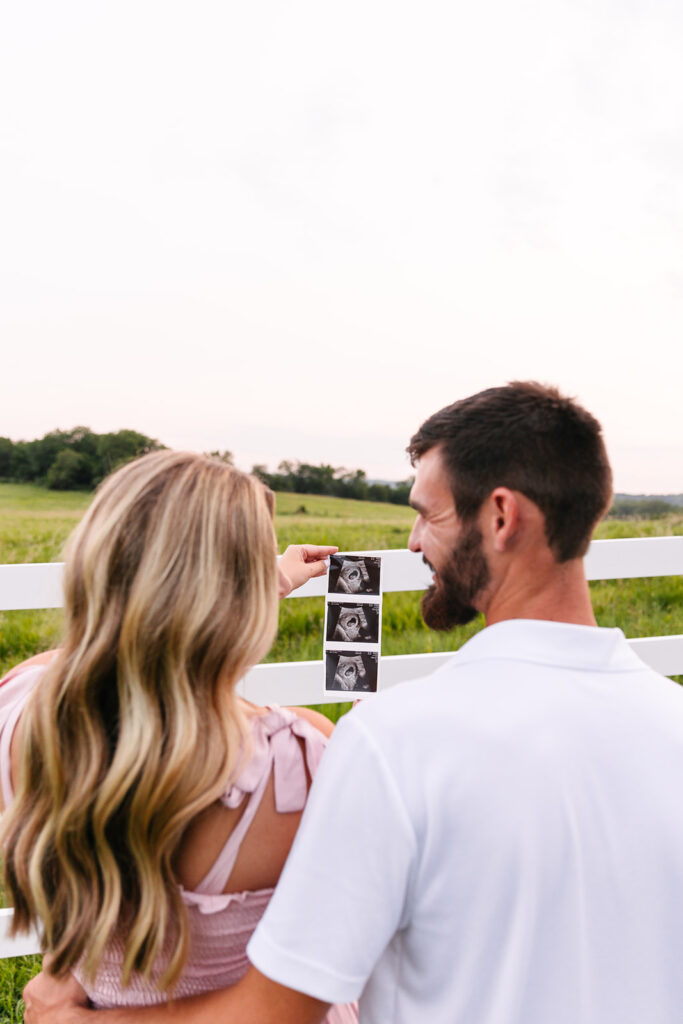
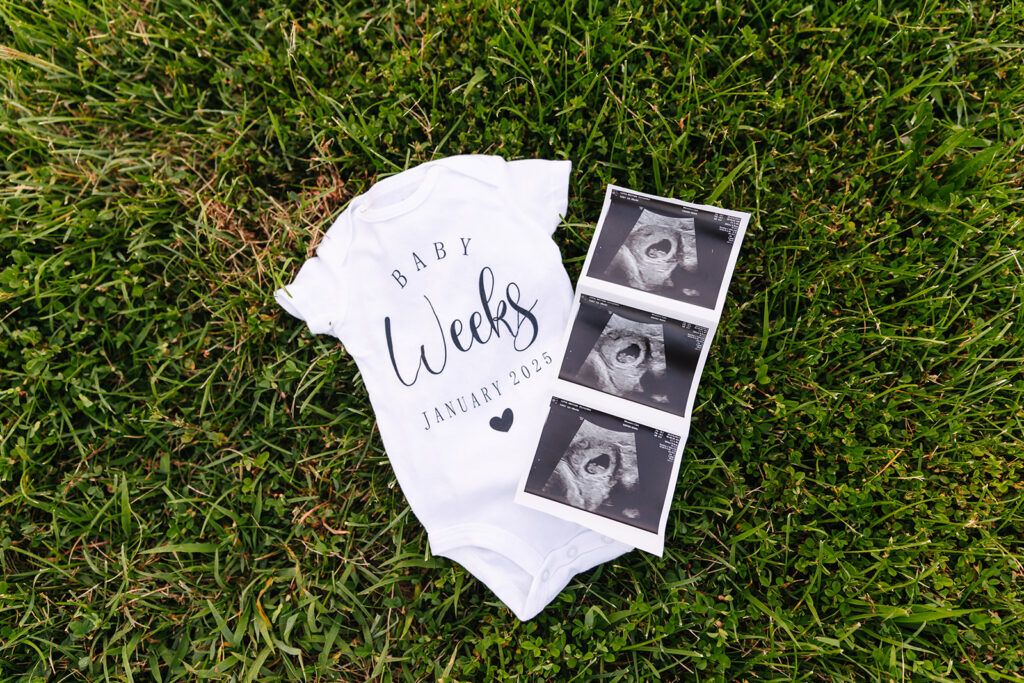
After the paint dried, we captured them standing in front of their artwork, holding their sonogram pictures. Their excitement was contagious, and it was so heartwarming to see them soaking in the moment. Of course, we couldn’t leave out their dogs! They happily joined in, making for some adorable family photographs.
Stepping Outside for Golden Hour Magic
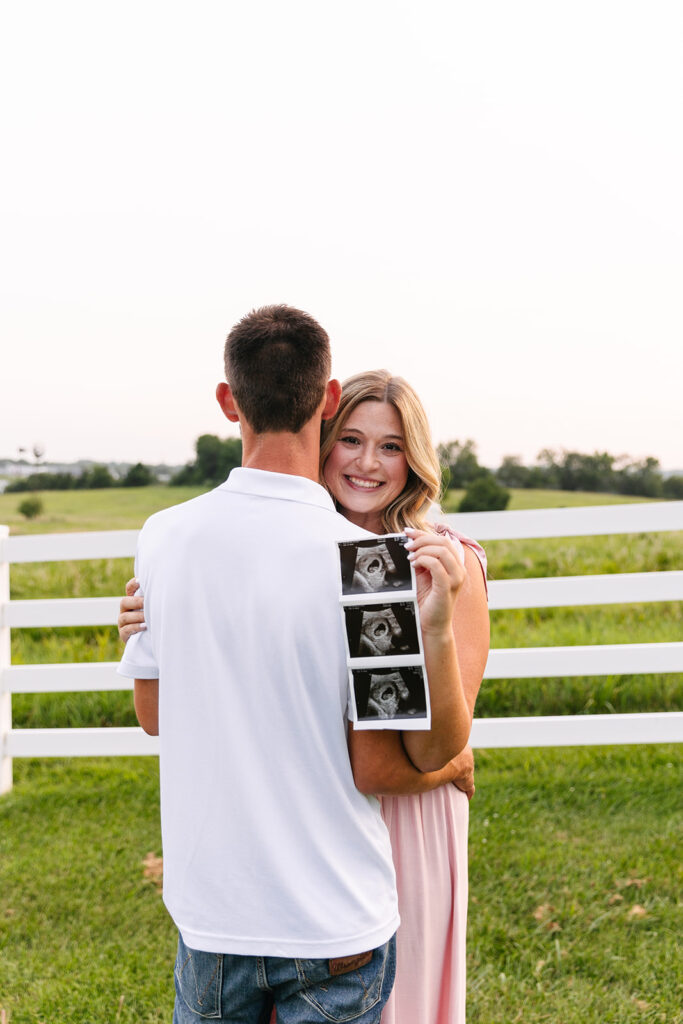
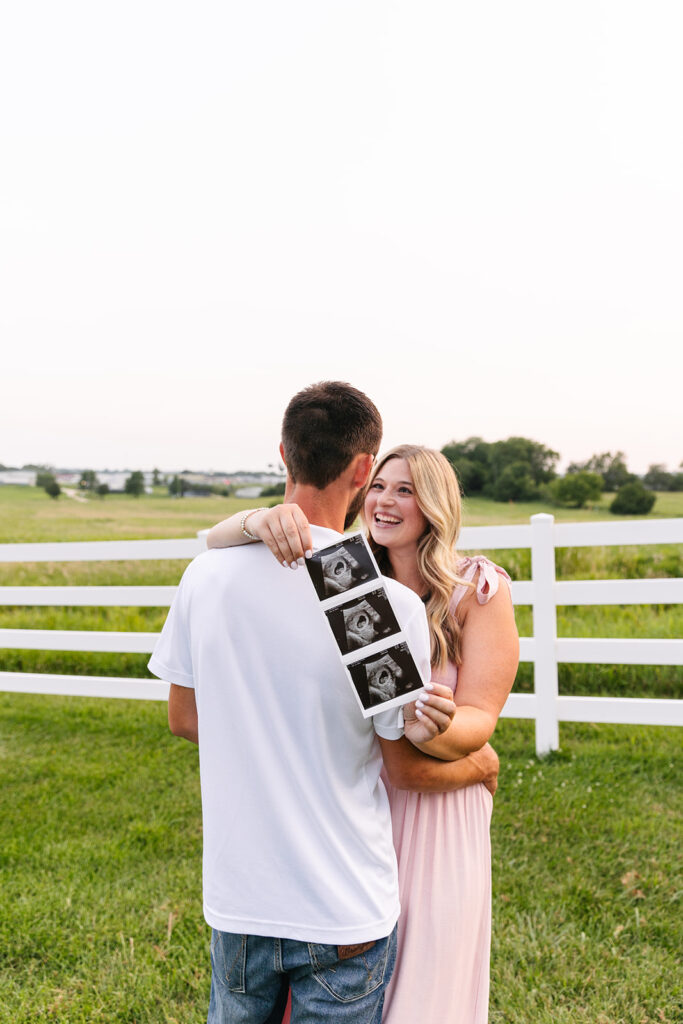
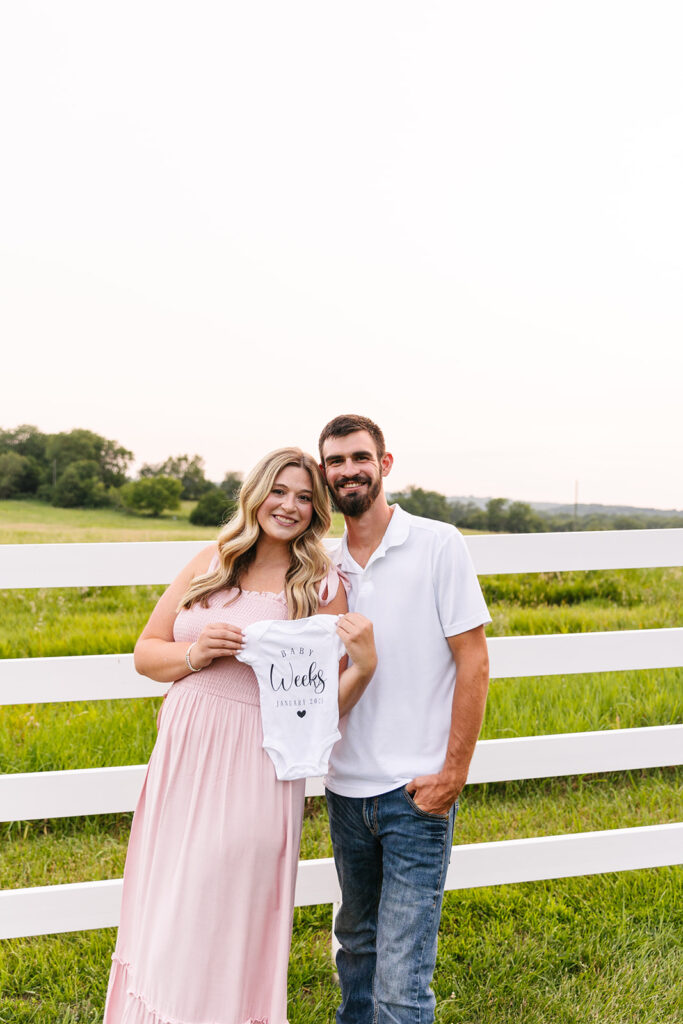
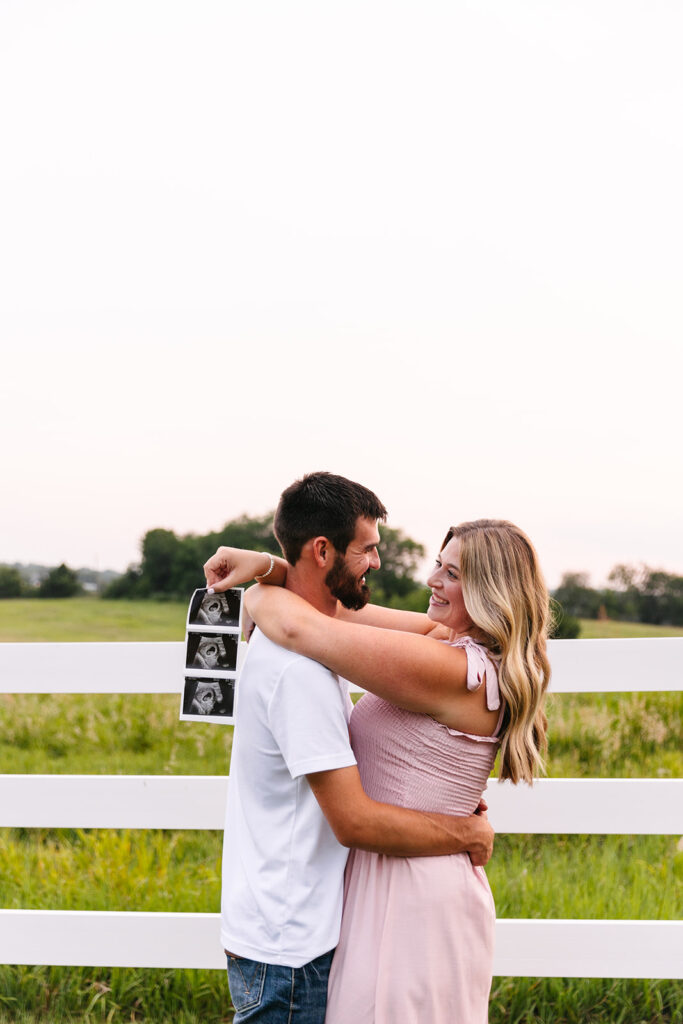
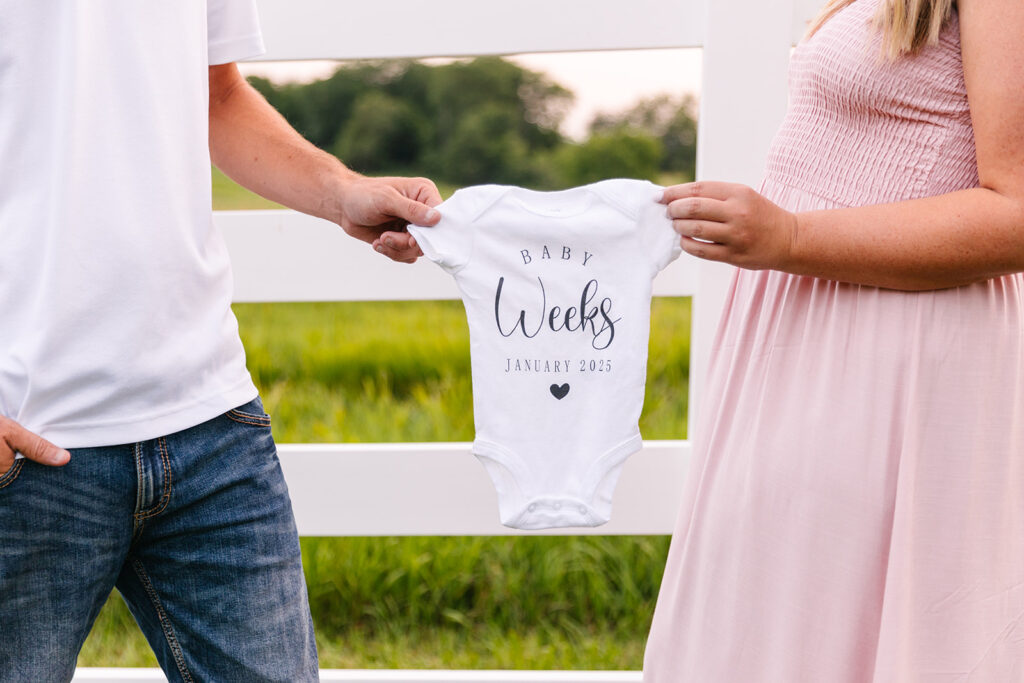
Once we wrapped up inside, Brittani changed out of her casual jeans and black silk tank top into a flowing light pink dress. It was the perfect choice for soft, blue hour outdoor photographs. We headed to a nearby field, enclosed by a classic white fence, and the blue hue made everything feel even more magical.
Why At-Home Maternity Sessions Are So Special
There’s nothing quite like capturing the beginning of this chapter in the place where so many memories will be made! From the nursery filled with dreams for their baby girl to the quiet moments outside, every photograph tells a story.
Brittani and Tyler’s session was a perfect mix of sentimental and fun, and I couldn’t be more honored to document this exciting time for them. I already know their little girl will be surrounded by so much love!
Thinking about doing an at-home maternity session? Let’s make it as unique and special as your growing family!
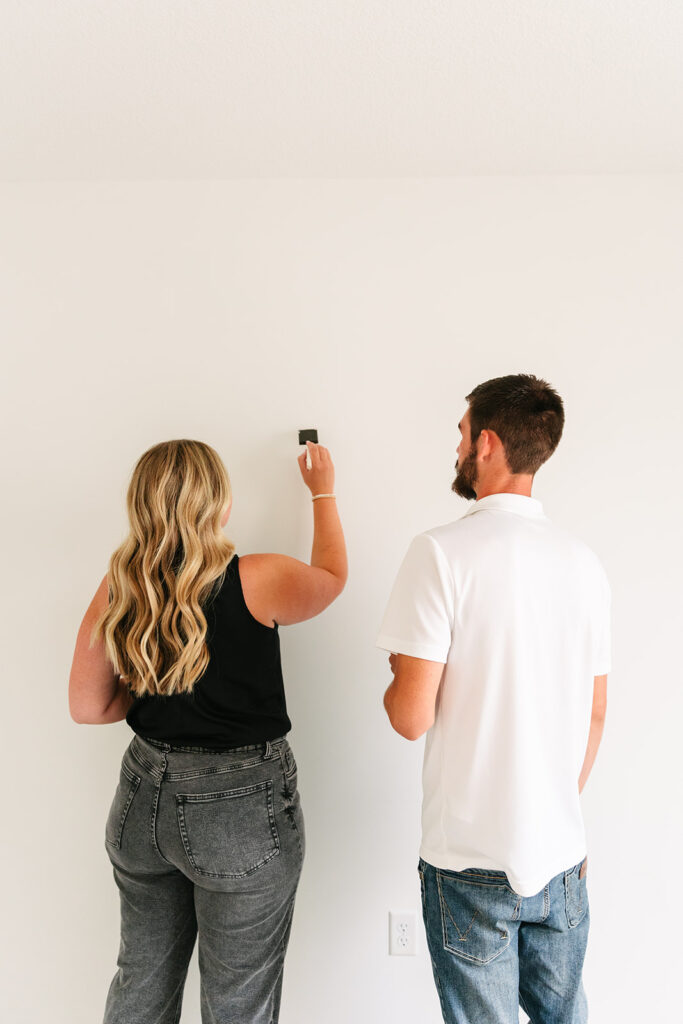
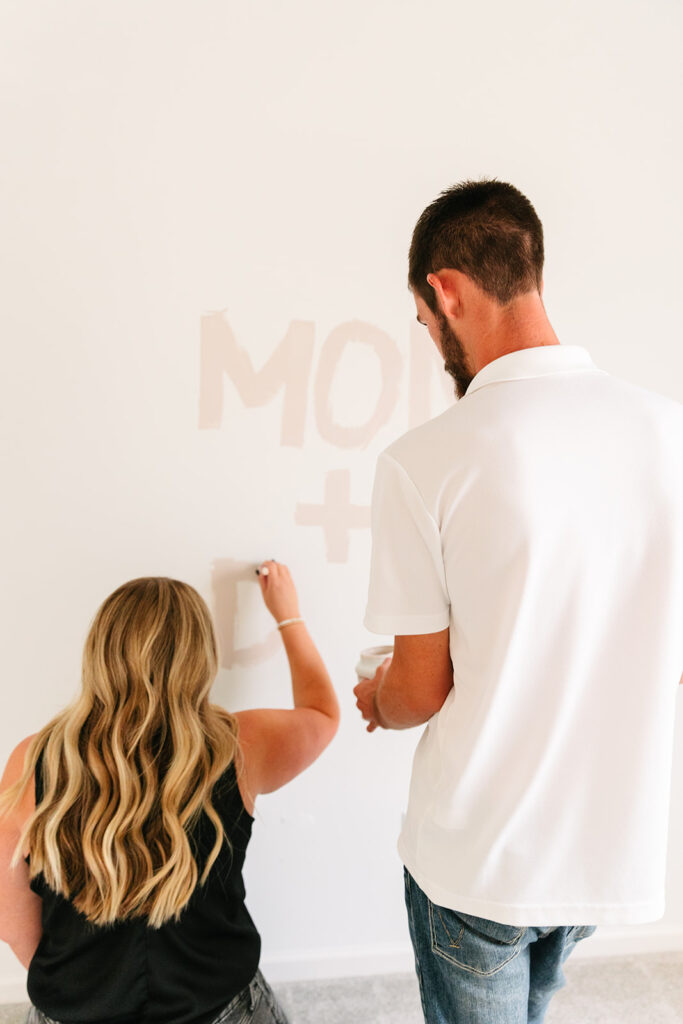
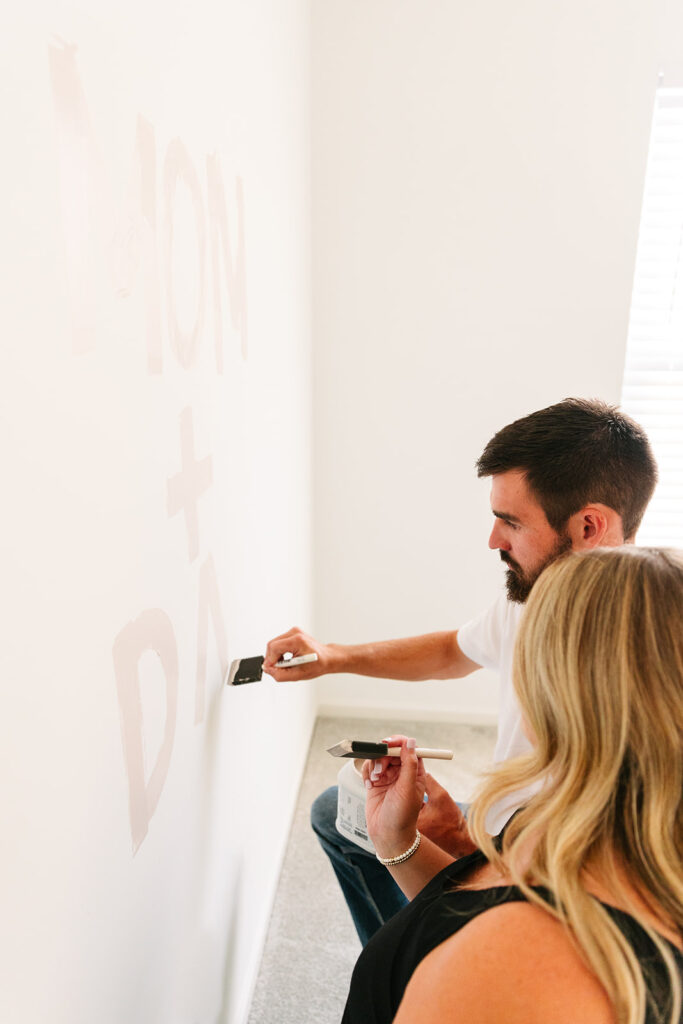


Valentine’s season is all about love, and what better way to celebrate than with an engagement session that’s as unique as your relationship? If candlelit dinners and roses aren’t your thing, why not raise a glass and capture your love in a place that feels like you? Whether you’re craft cocktail lovers, whiskey connoisseurs, or just enjoy a good local brew, incorporating your favorite Kansas City bar or distillery into your engagement session is a fun way to add personality to your photographs!
Sip, Laugh, and Capture the Love
Some of my favorite engagement sessions happen in places where couples feel relaxed and truly themselves. That’s why I love sessions at Kansas City’s best bars and distilleries. There’s something about clinking glasses, cozy booths, and moody lighting that sets the stage for romantic, candid moments. Plus, a little pre-session cocktail never hurts to shake off the camera jitters!
Favorite Spots to Toast to Love
If you’re looking for the perfect location to incorporate drinks into your engagement session, here are a few KC gems that always deliver stunning photographs:
Union Horse Distillery – With its rustic charm and rich whiskey tones, Union Horse makes for a warm and inviting backdrop. Think whiskey barrels, rich wood textures, and an atmosphere that’s both relaxed and refined.


Lifted Spirits Distillery – This place is a vibe! The industrial-chic space has plenty of character, and their handcrafted spirits add an extra layer of fun to your shoot. Plus, their cocktails? Chef’s kiss.


River Bluff Brewing – If you’re after a laid-back, intimate setting with exposed brick and a vintage feel, River Bluff’s is the way to go. The soft lighting and cozy seating make for effortlessly romantic shots.


P.S. Speakeasy – Hidden behind a bookcase in the Hotel Phillips, this moody underground bar oozes Gatsby-era glamour! Dim lighting, luxe décor, and craft cocktails? It’s a dream for an engagement session with an air of mystery and romance.


Brown and Loe – This historic spot in the River Market combines classic architecture with a modern touch. Its old school bar top with plush bar stools and neon signs make for a laid back setting with a sophisticated twist.


Make it Yours
No matter which spot you choose, your session should feel personal. Maybe it’s where you had your first date or your go-to weekend hangout. Maybe it’s just a place with a killer Old Fashioned! Either way, it’s about capturing your love in a way that’s true to you.
So, if you’re ready to mix a little fun into your engagement session, let’s grab a drink (or two) and make some magic happen!
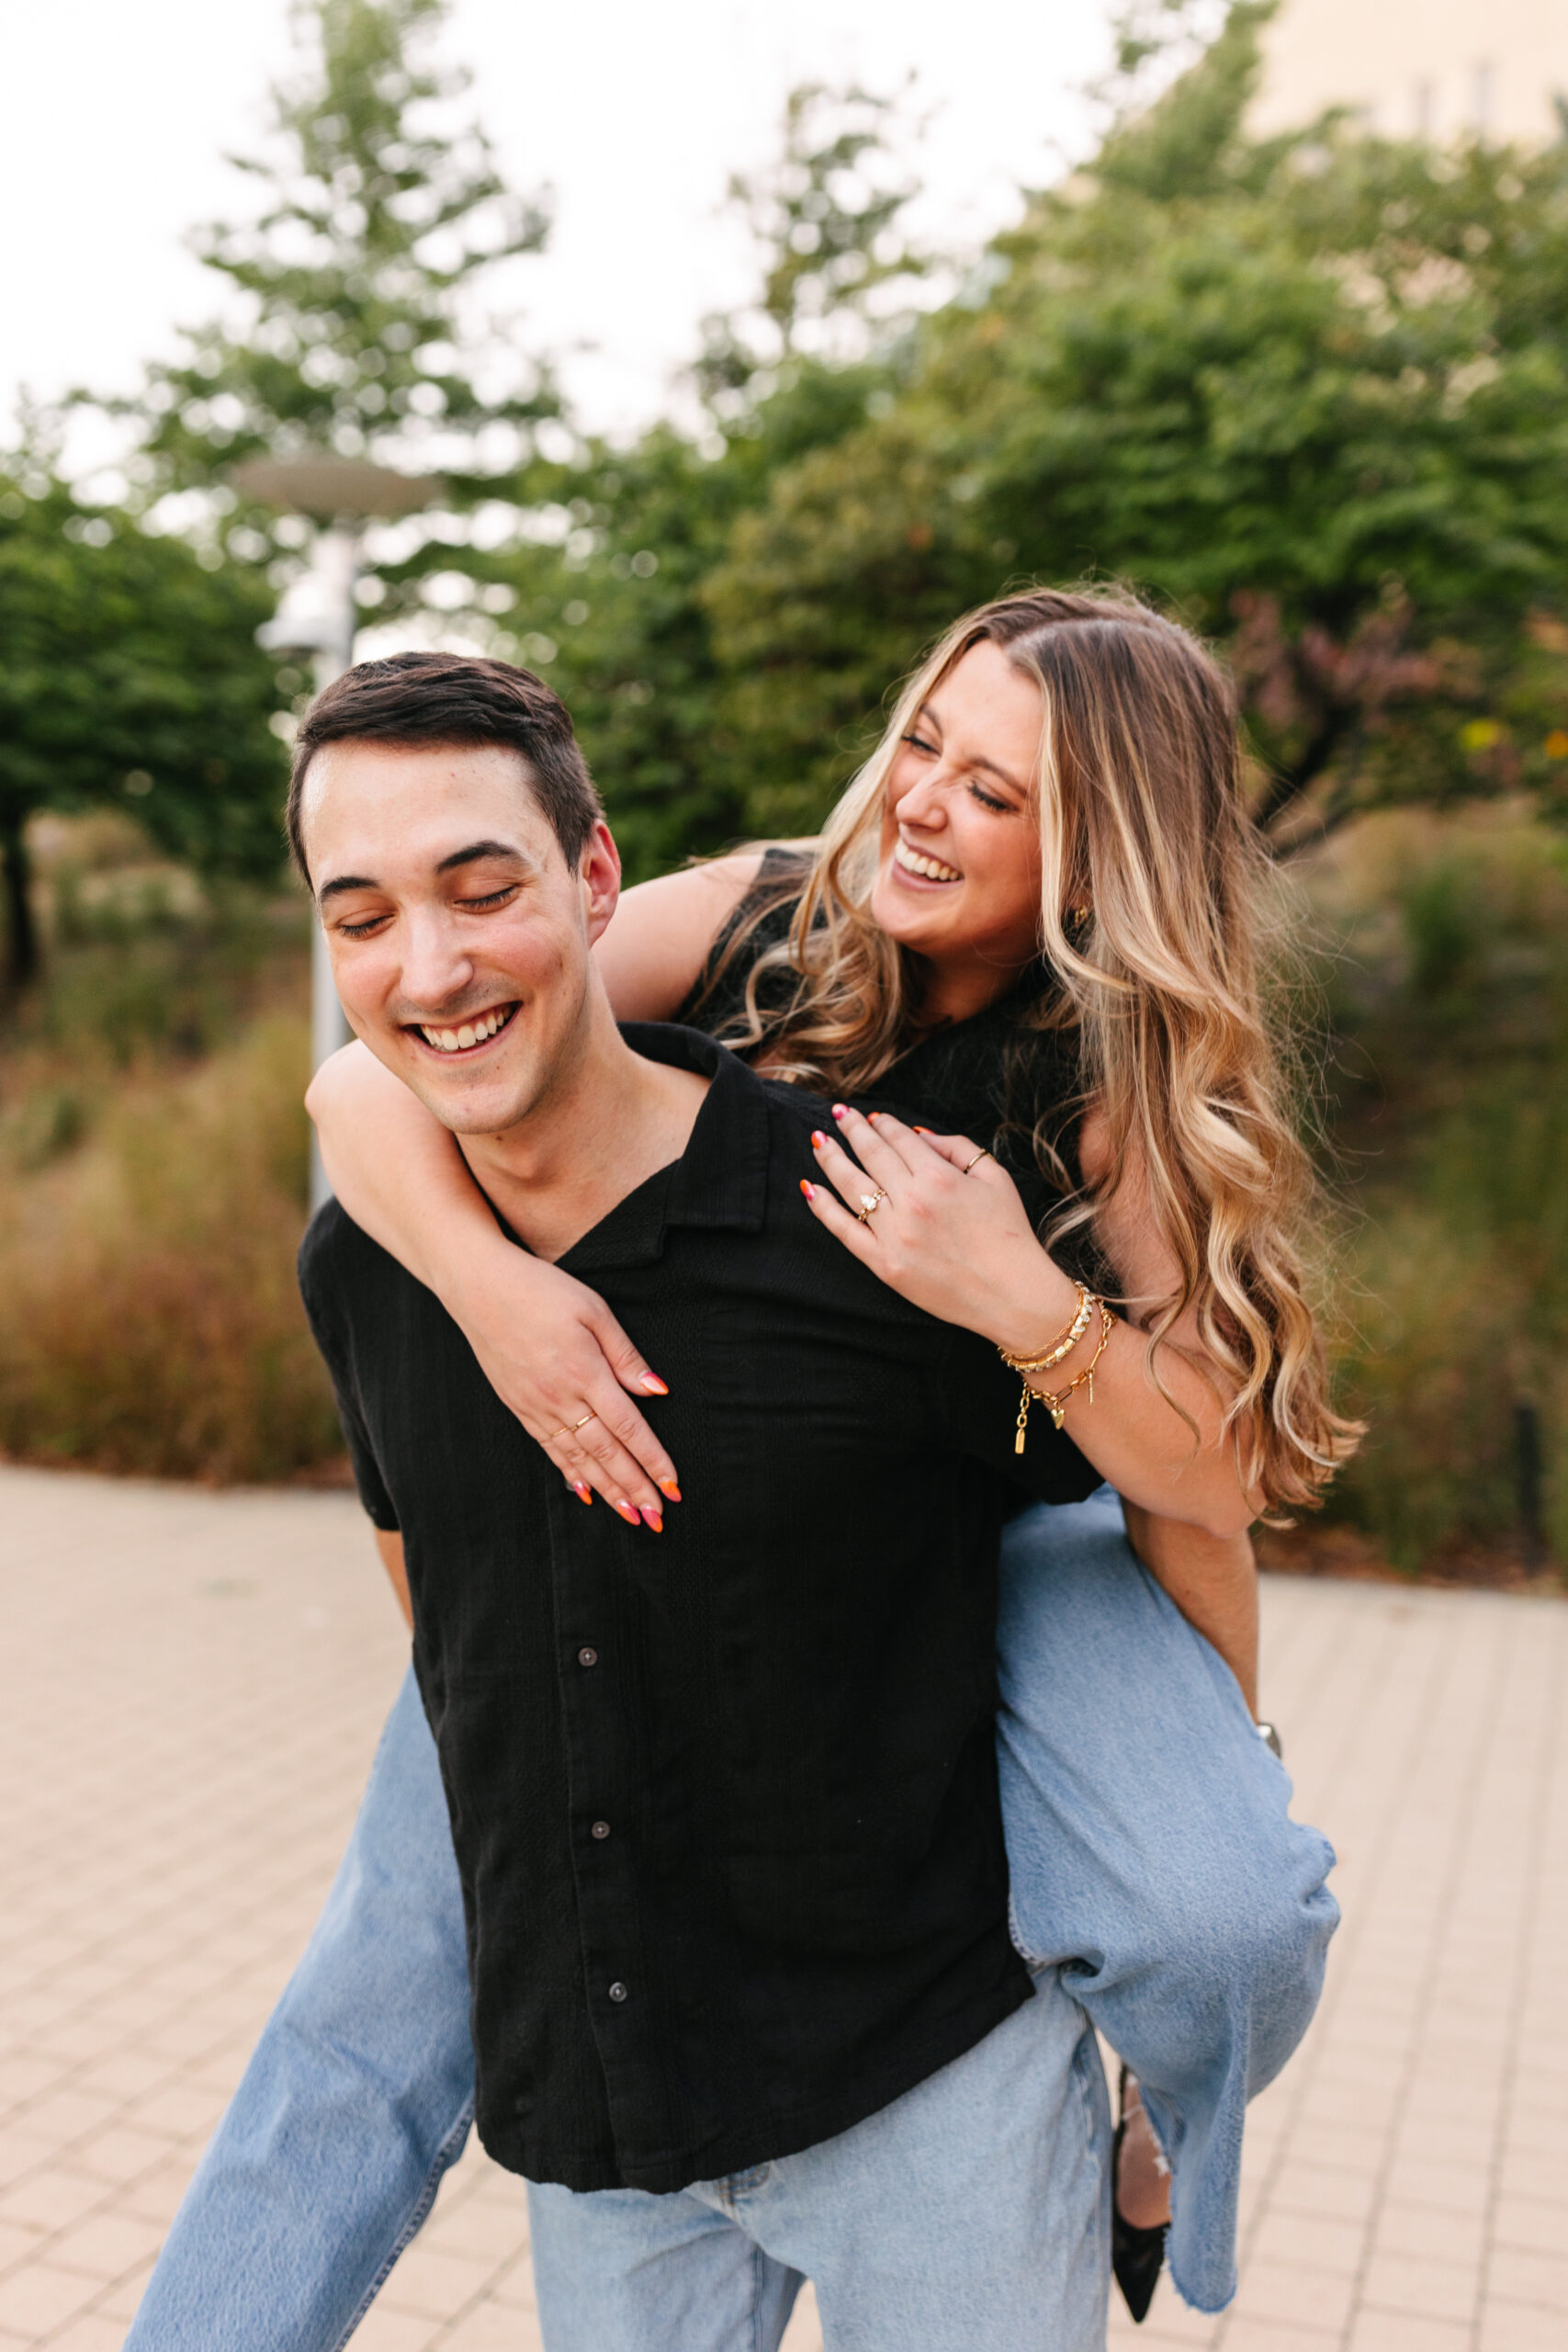
One of the best parts of being a photographer is getting to capture love stories as they unfold. With Katherine and Cody, I’ve had the absolute pleasure of documenting so many special moments in their journey together! From their engagement session to their wedding day and now their one-year anniversary at the Kauffman Center, their story has been nothing short of amazing.
From Engaged in the City to Married with Style
I first met Katherine and Cody for their engagement session, and let me tell you—they brought it. Their fun personalities and bold outfit choices made the session uniquely them. We wandered through downtown Kansas City, stopping in alleyways, posing against historic architecture, and, of course, visiting one of their favorite spots—Brown and Loe in the River Market. Every moment felt effortless with these two. They were up for anything, totally comfortable in front of my lens, and their connection was undeniable.
Then came their wedding day—a day filled with love, laughter, and so much thoughtfulness. Every detail was intentional, reflecting their personalities and the love they share. From their heartfelt vows to the little touches throughout the day, it was truly the perfect representation of who they are as a couple.
A New Chapter at Kauffman Center
So, when they reached out for an anniversary session, I couldn’t have been more excited! Capturing this next phase of their love story felt so special. We chose Kauffman Center for the Performing Arts as the backdrop—its modern architecture and clean lines were the perfect complement to their timeless style.
As always, Katherine and Cody were completely down for anything! Whether I asked them to twirl, dip, or strike a dramatic pose, they jumped right in without hesitation. That’s what I love about them—they trust the process and bring so much energy to their sessions. Their laughter, the way they look at each other, and their playful dynamic always shine through in their photographs.
Photographing these two over the years has been such a joy, and I can’t wait to see what’s next for them! Whether it’s another milestone session or just an excuse to capture more of their love, I’ll be there, camera in hand, ready to document whatever adventure comes next.
Katherine and Cody, thank you for letting me be part of your story. Here’s to many more chapters ahead!


