the blog


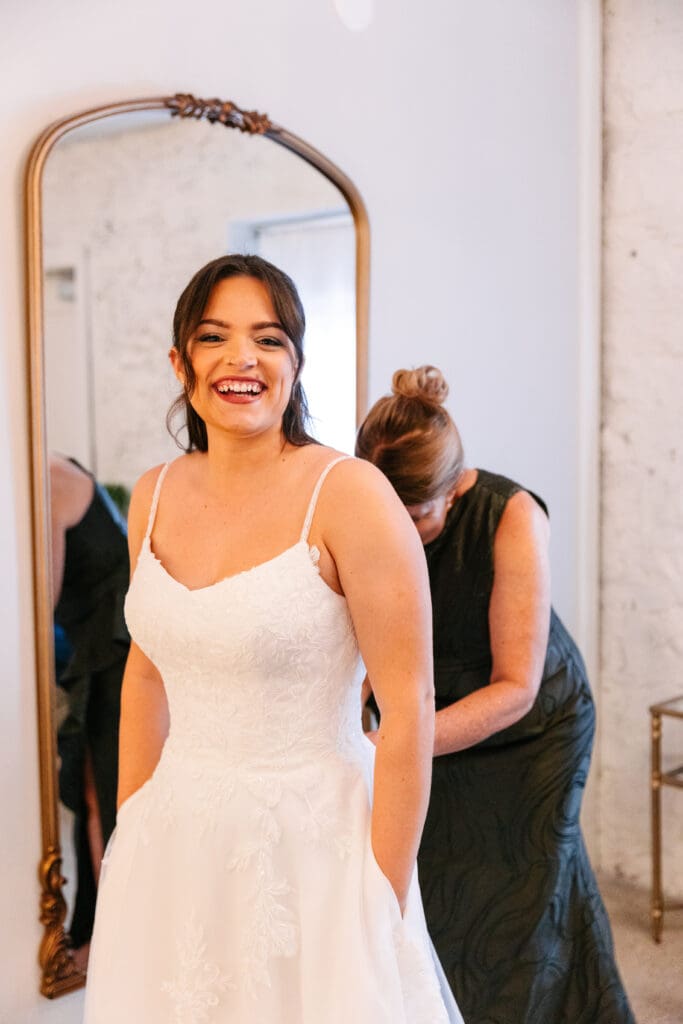
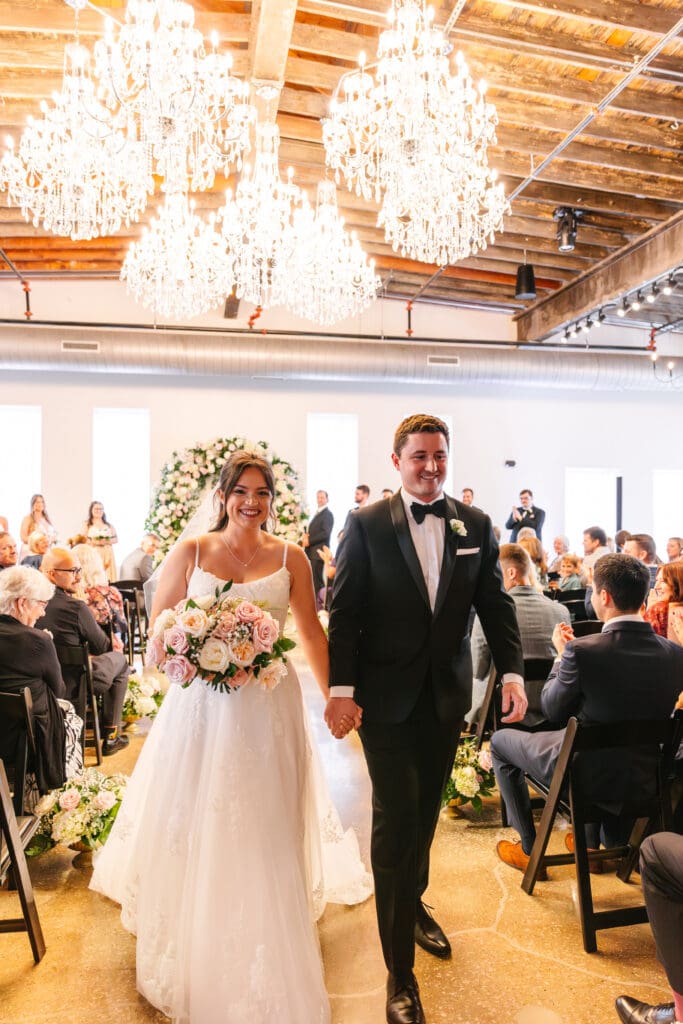
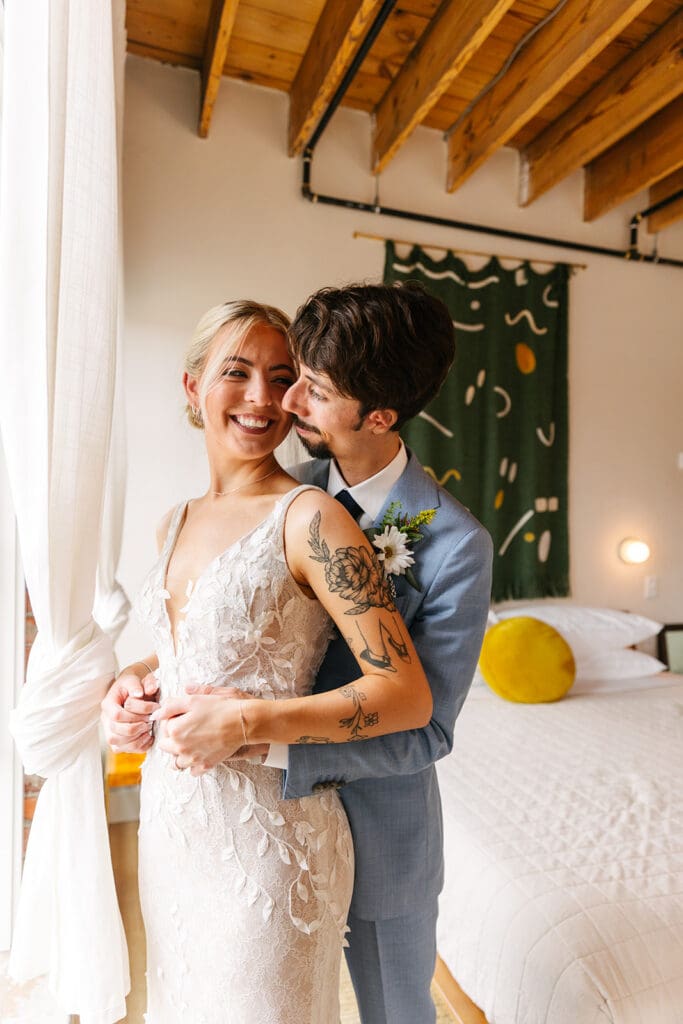
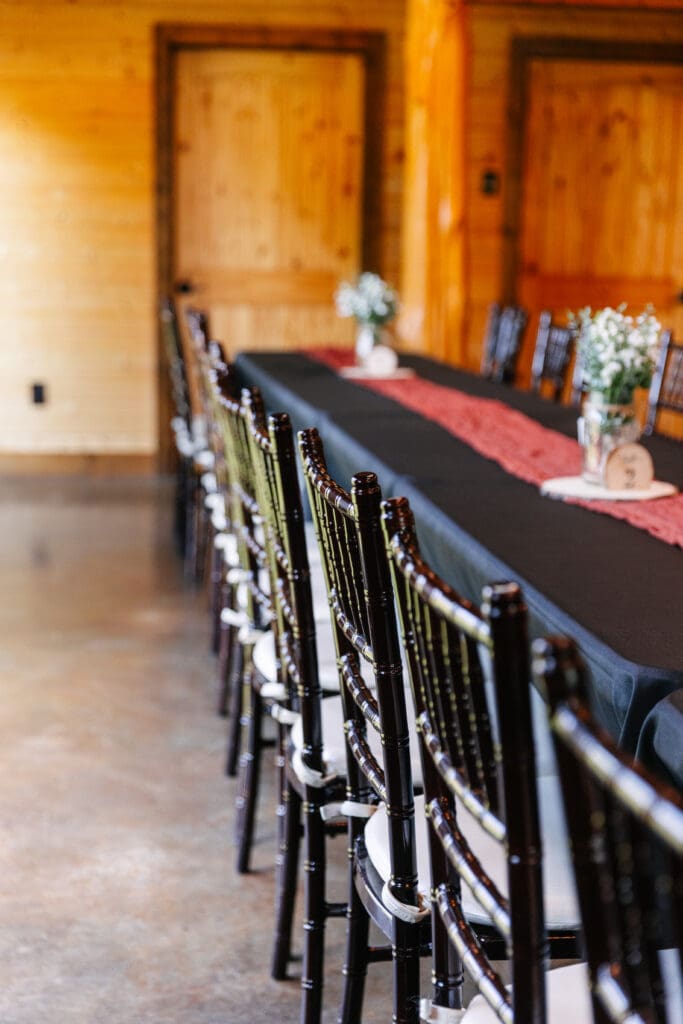
If you are searching for the Stone Manor wedding venue, you are probably envisioning a wedding day that feels elegant, timeless, and romantic from beginning to end. The Stone Manor wedding venue offers all of that while still feeling warm, inviting, and incredibly intentional.
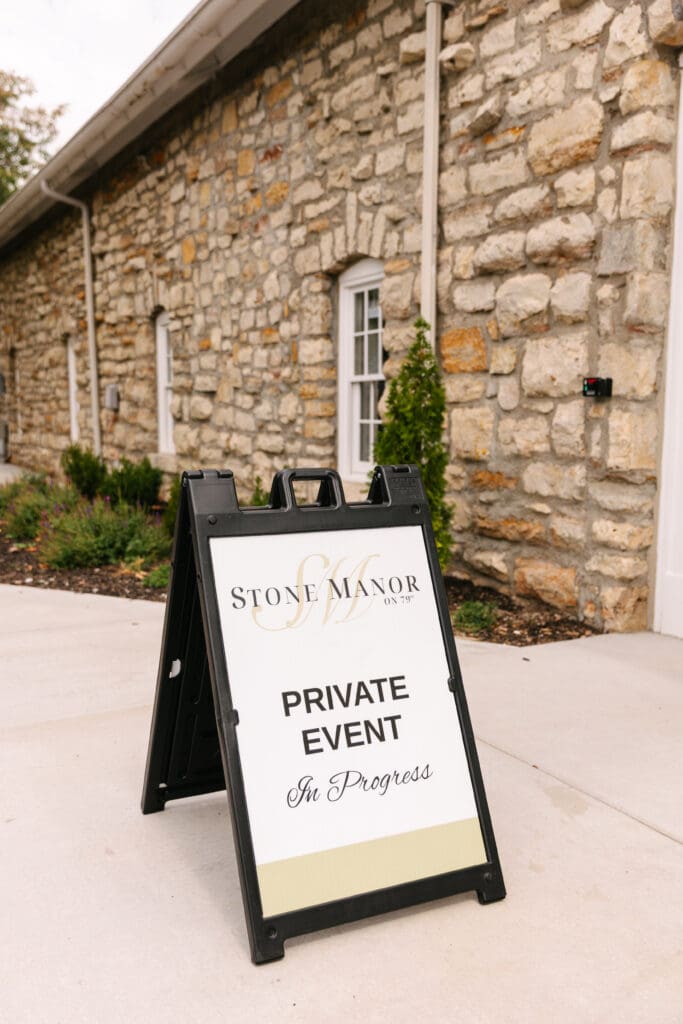
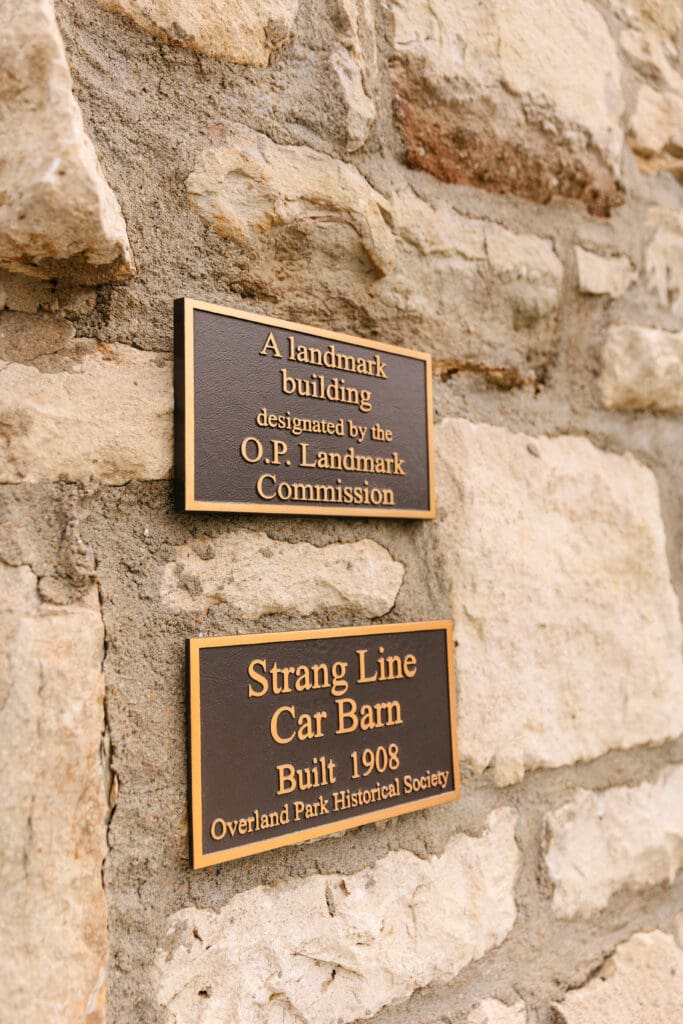

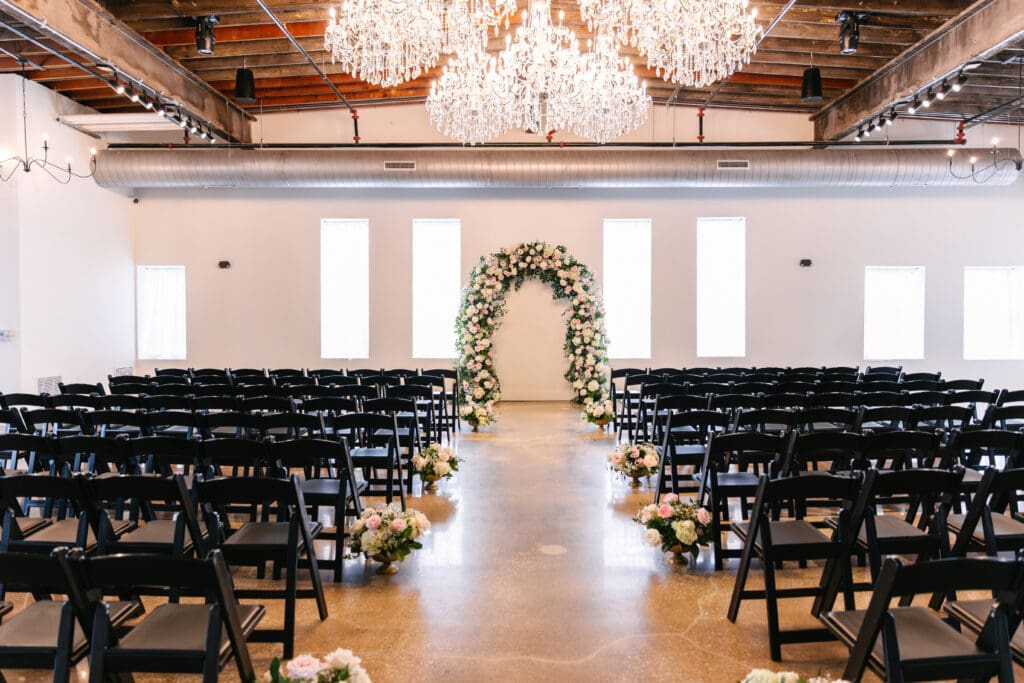
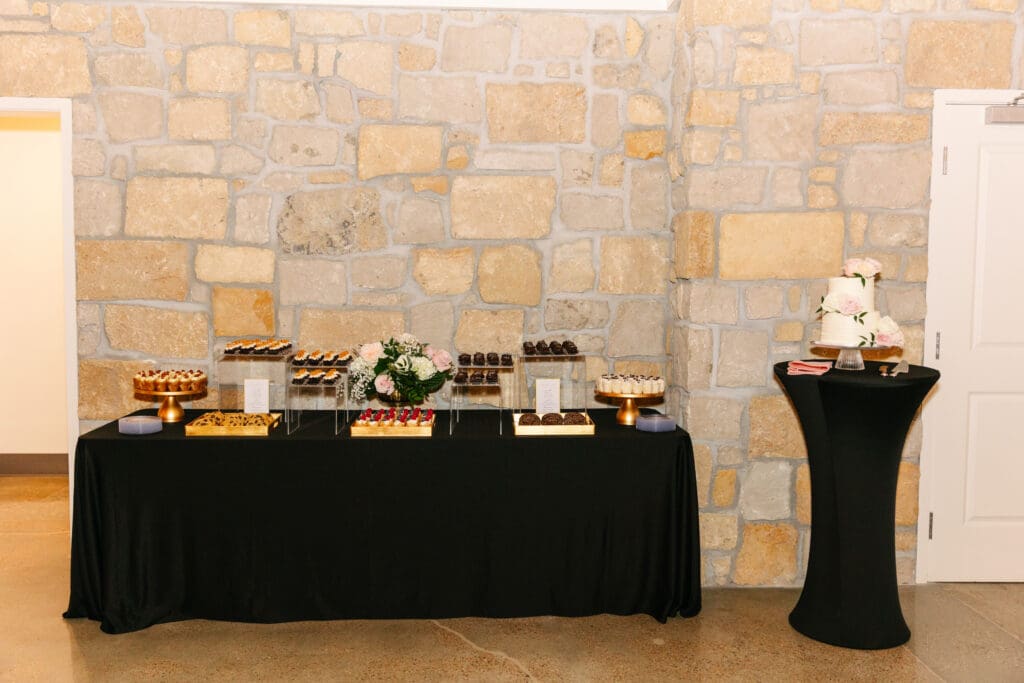
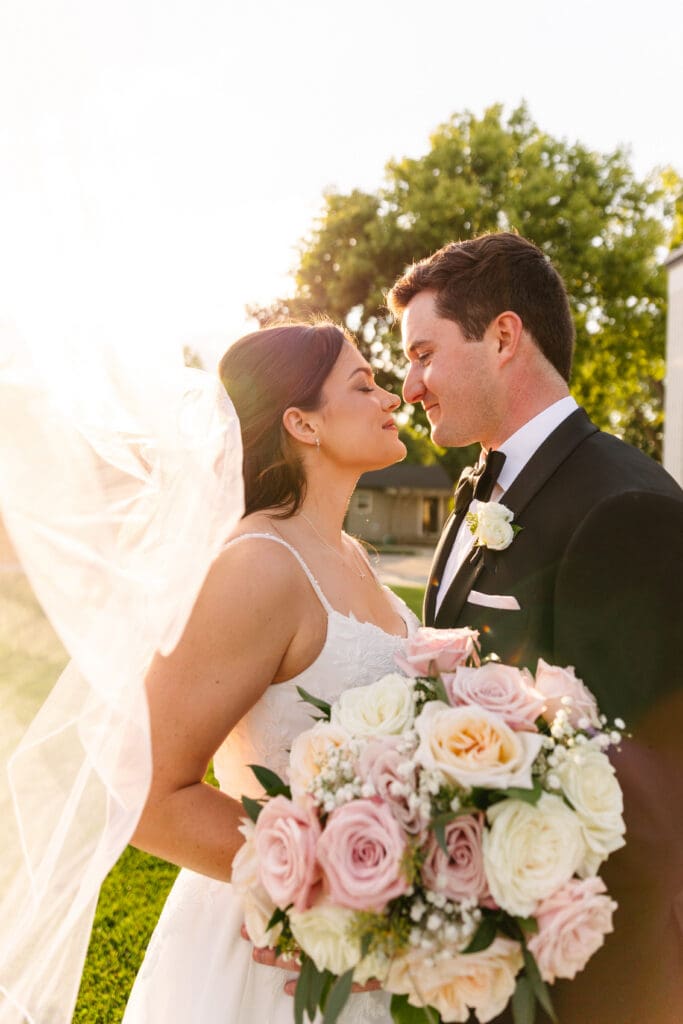
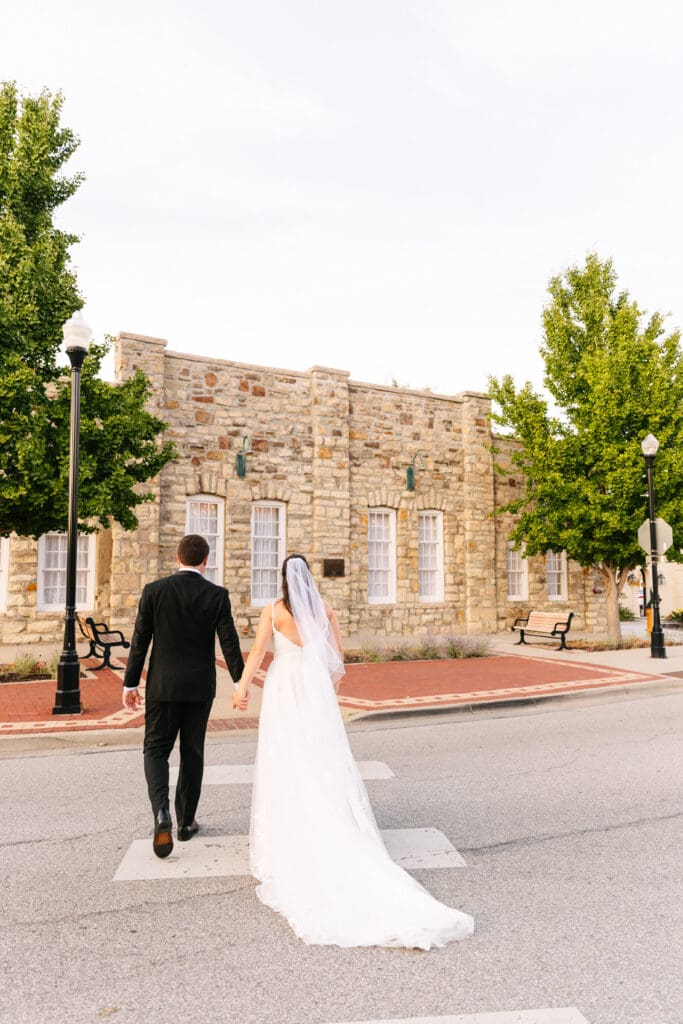
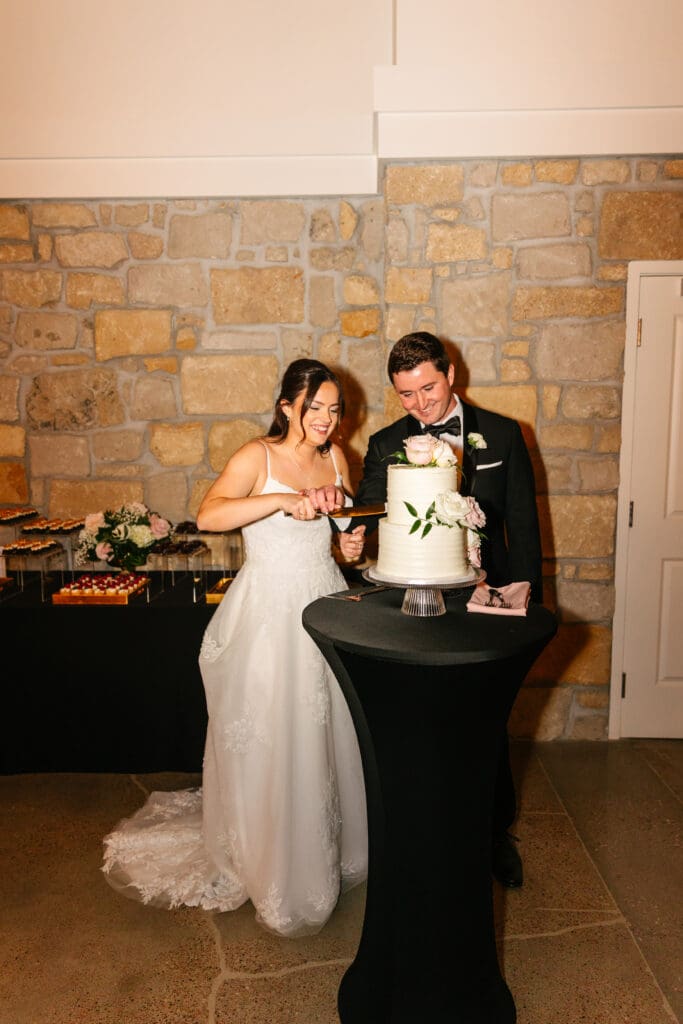
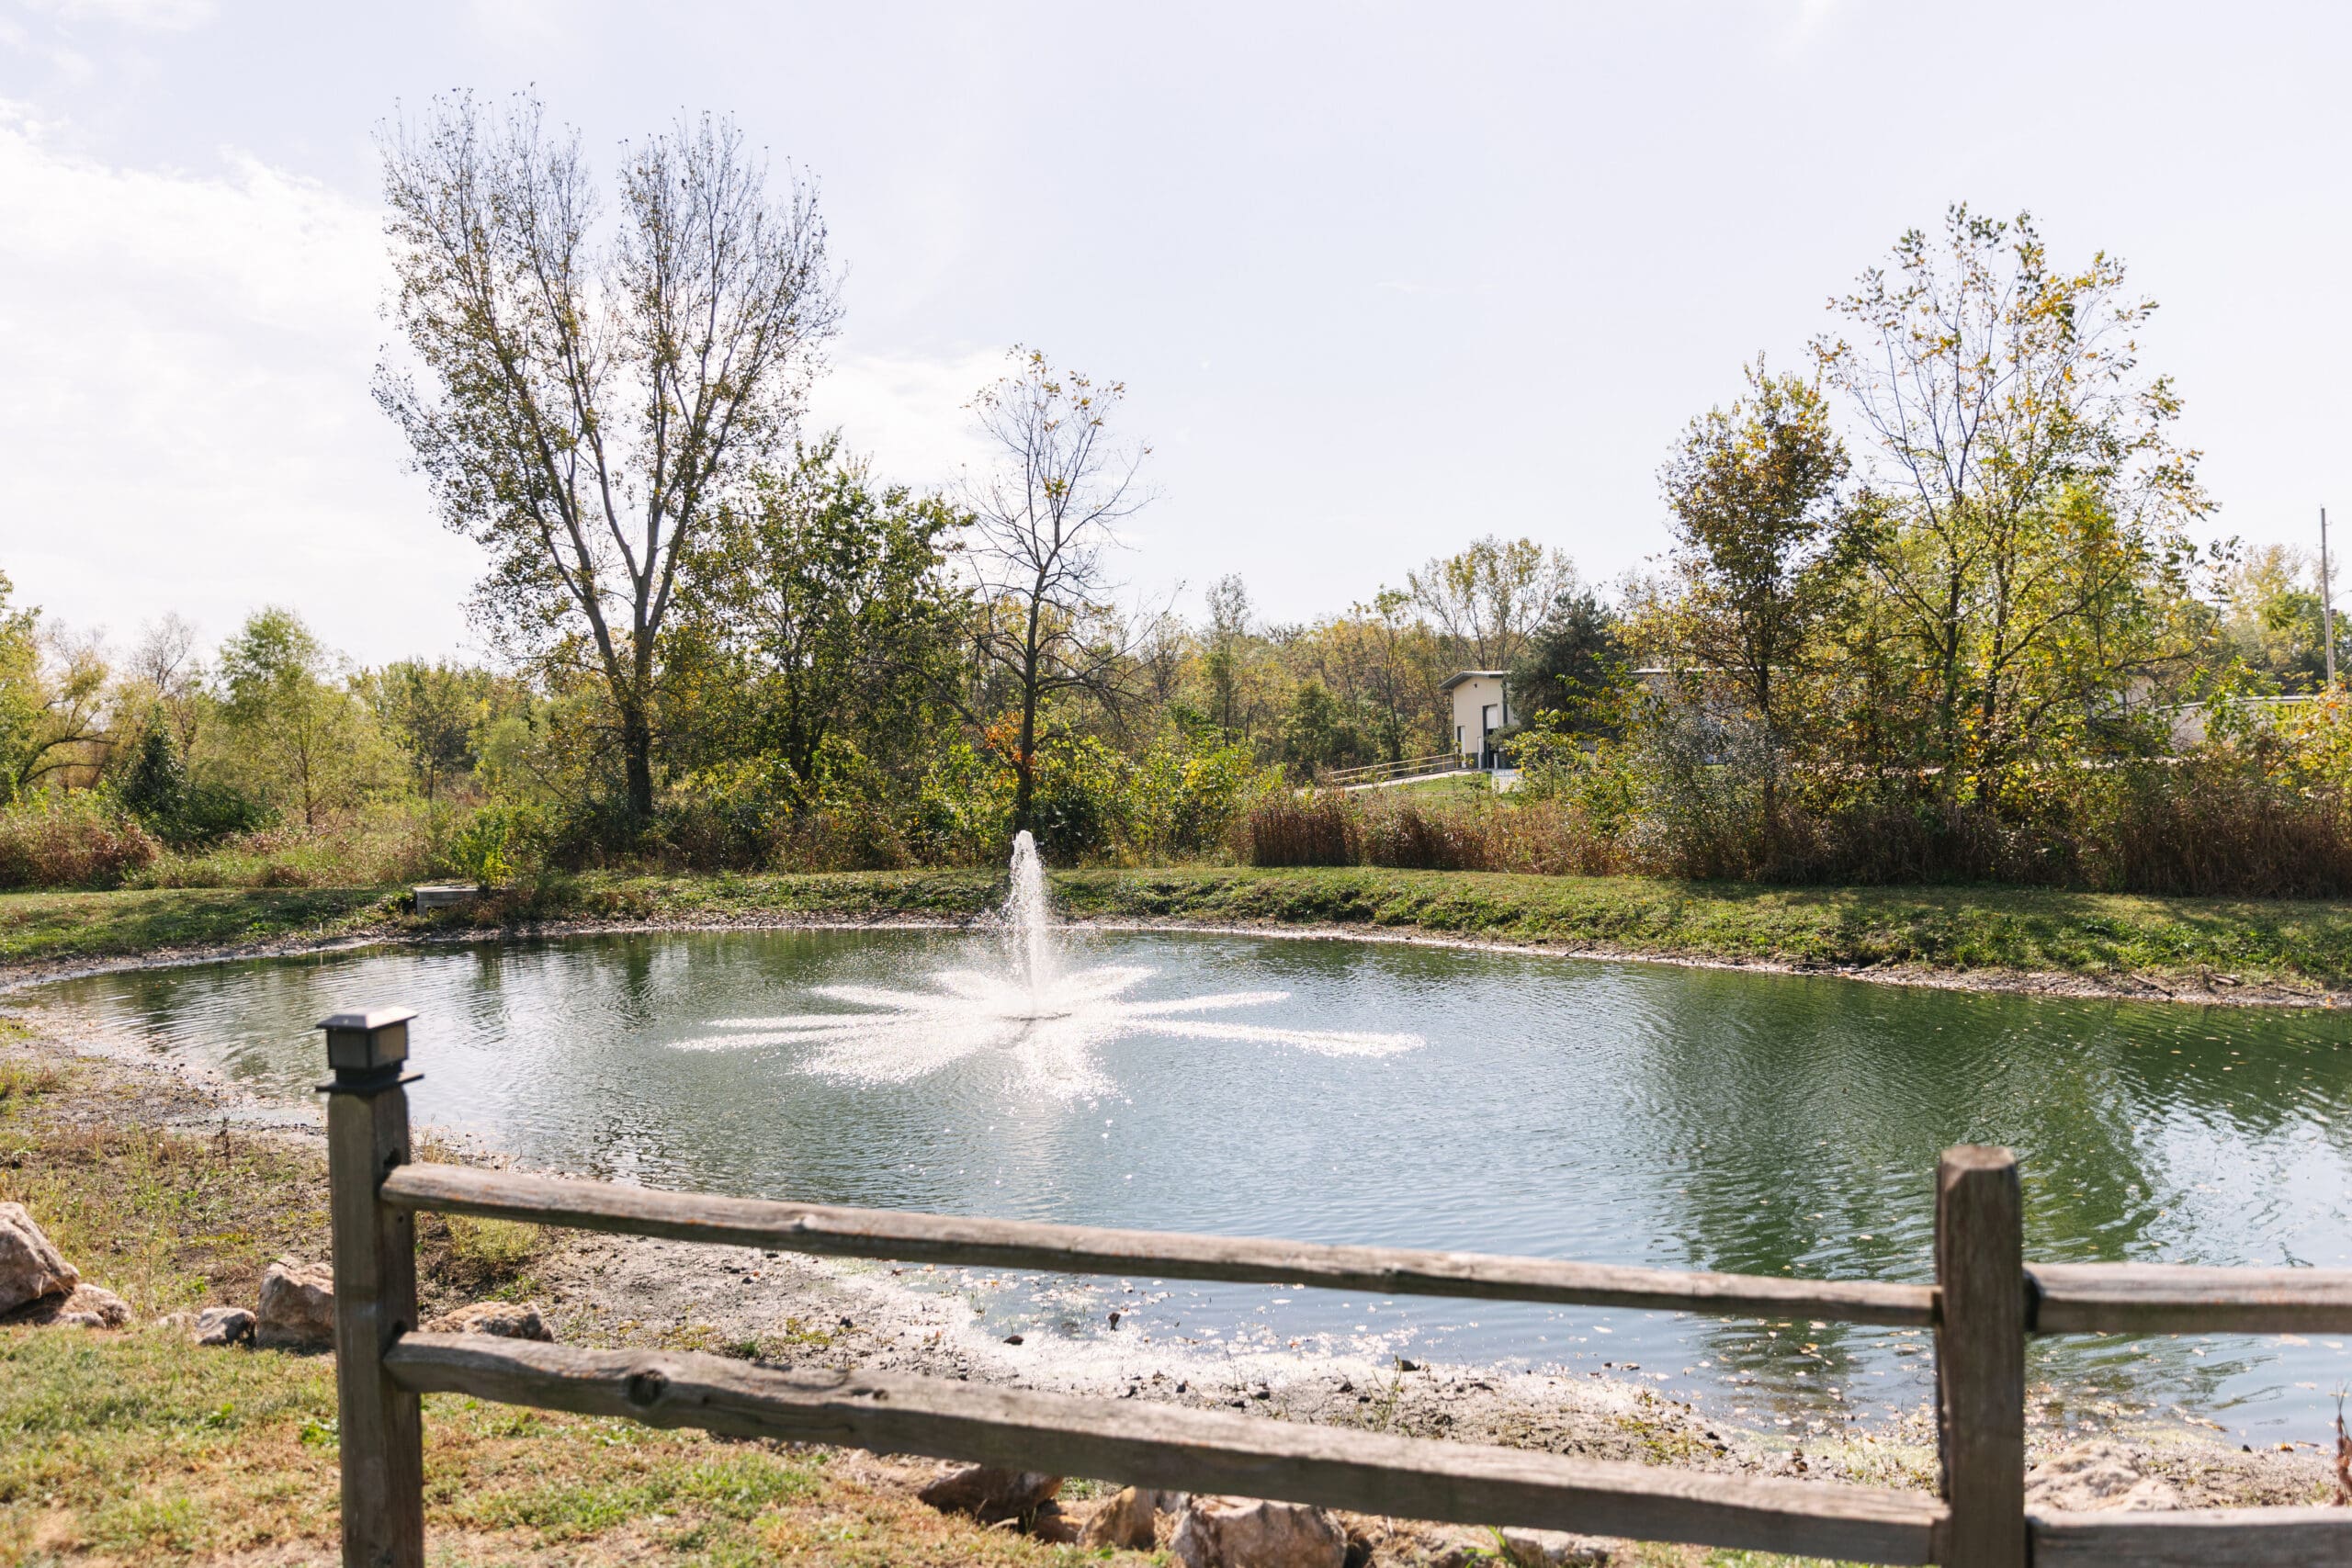
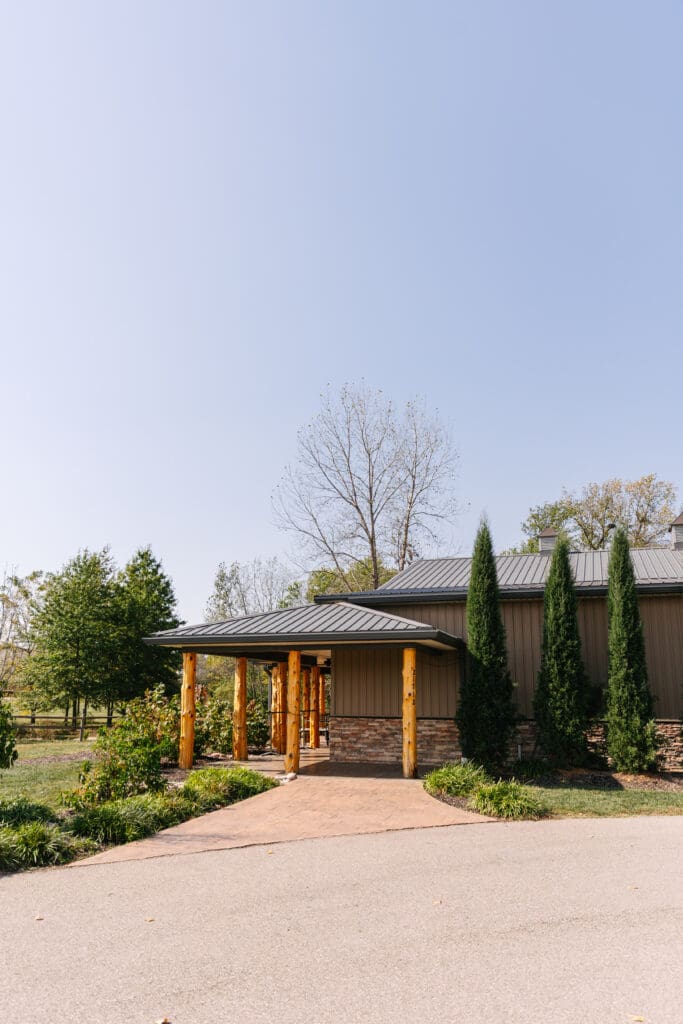
Located just outside of Kansas City, Stone Manor blends classic architecture with modern luxury in a way that immediately feels elevated. From the stunning stone exterior to the thoughtfully designed interior spaces, every corner of the property photographs beautifully and creates an atmosphere that feels refined without being overly formal.
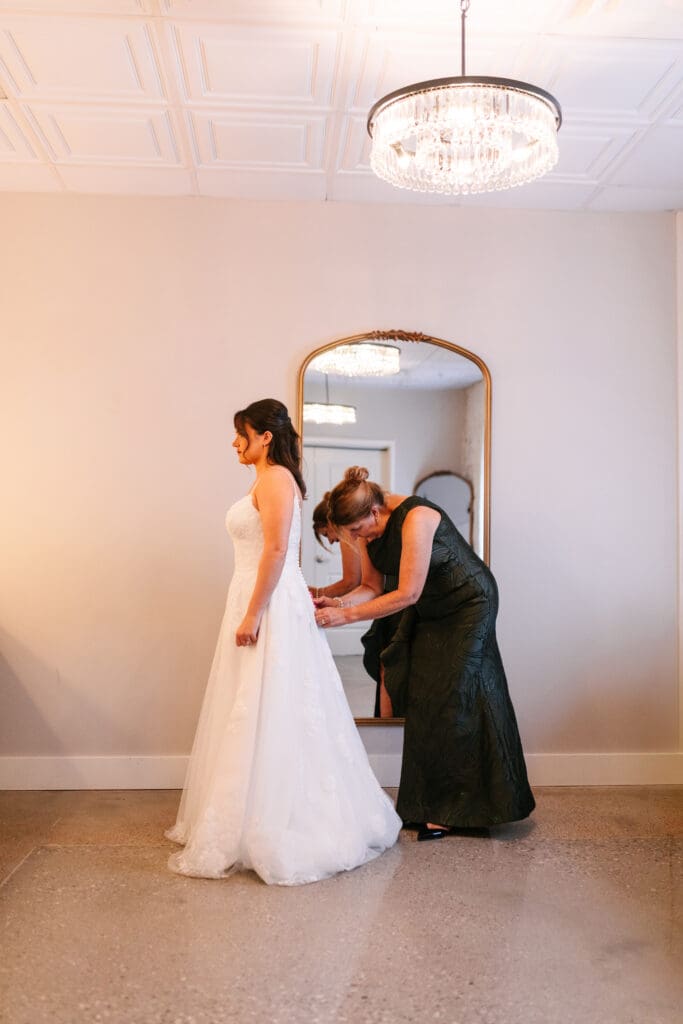
One of the things couples love most about Stone Manor is how versatile the venue feels! It works beautifully for classic black tie weddings, romantic garden-inspired celebrations, and even modern minimal wedding aesthetics. The neutral tones and timeless finishes allow couples to truly make the space their own.
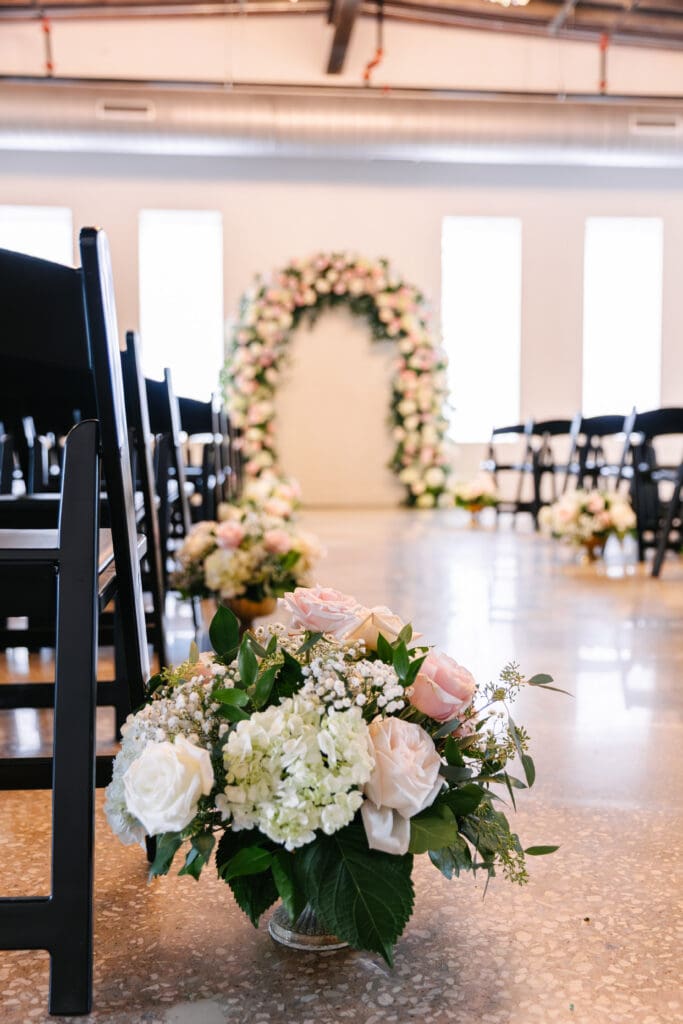
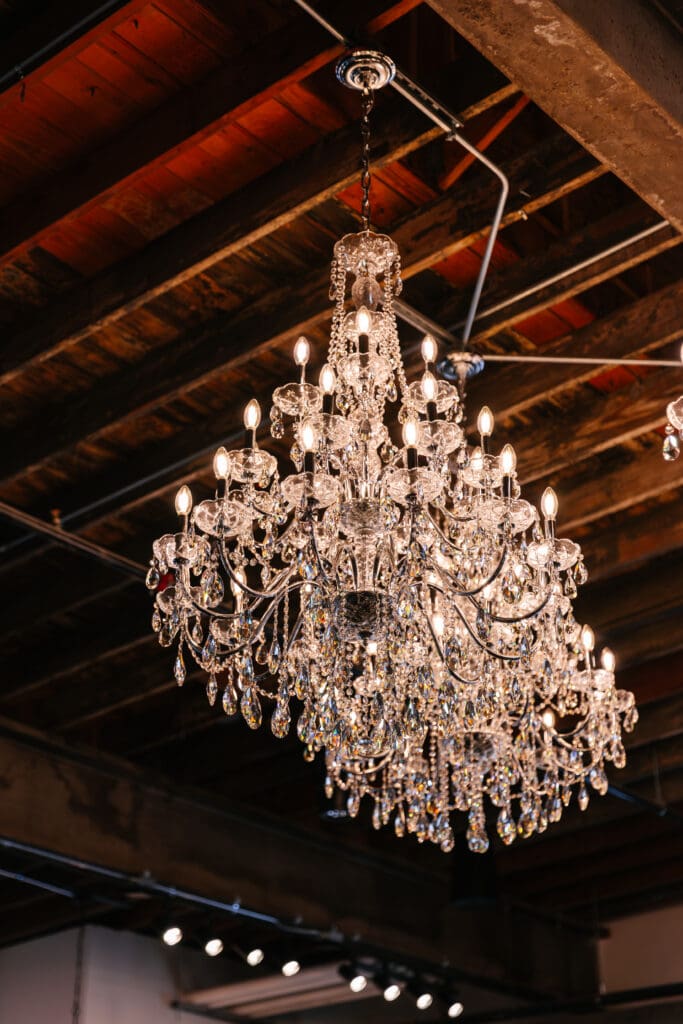
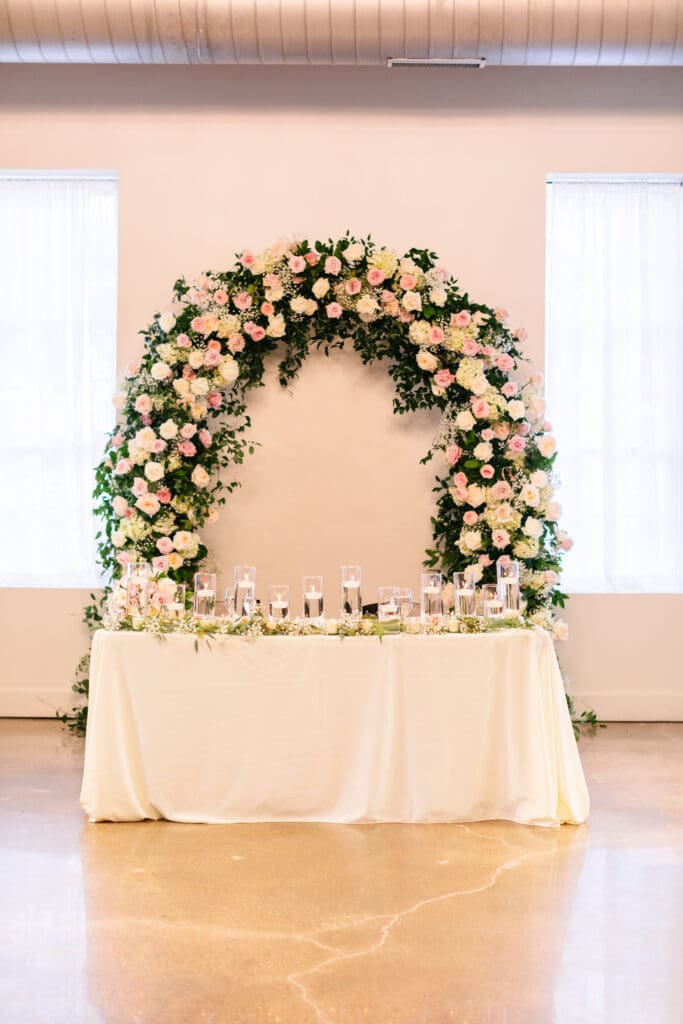
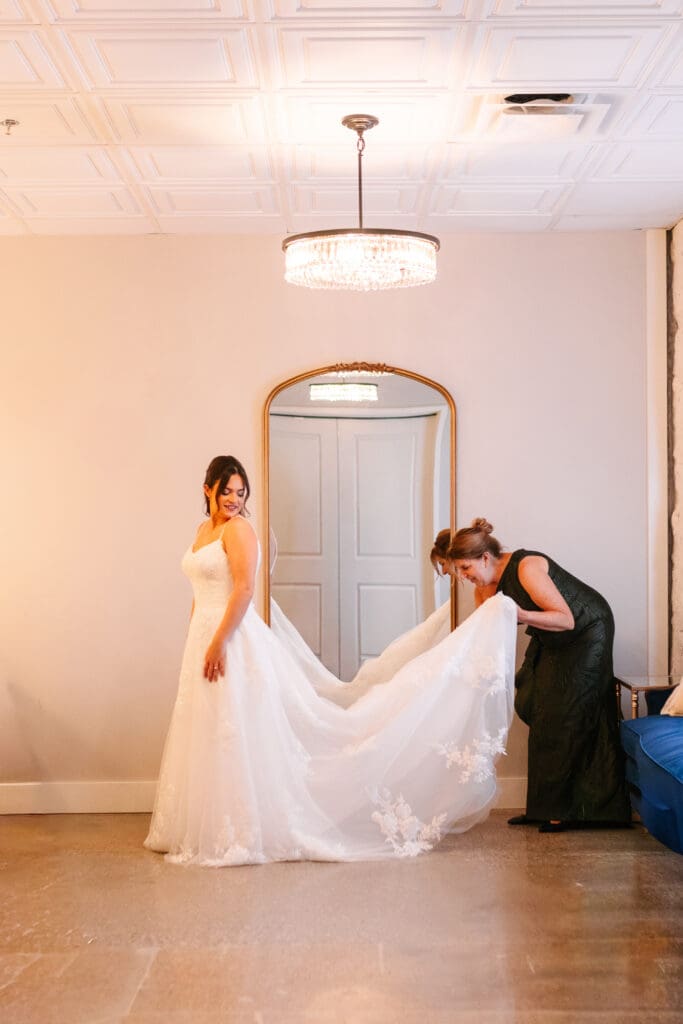
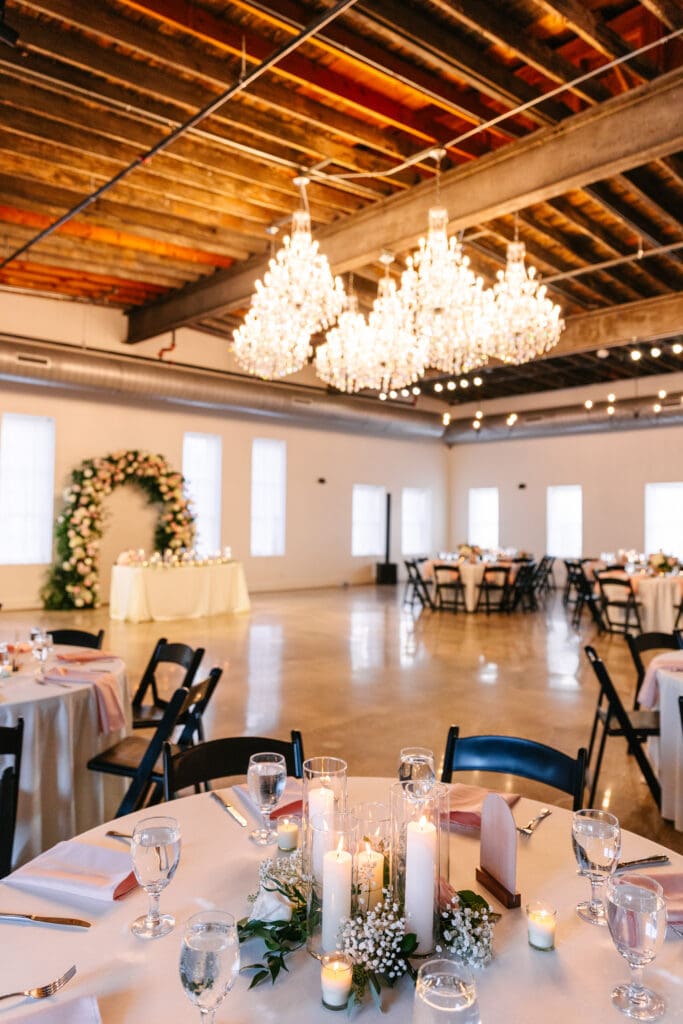
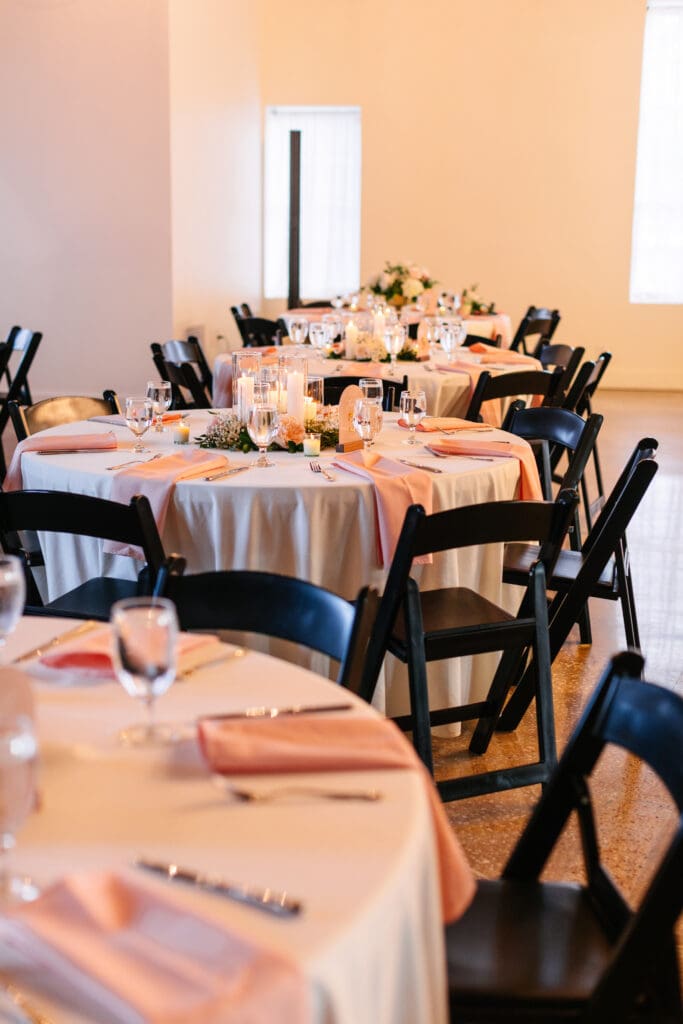
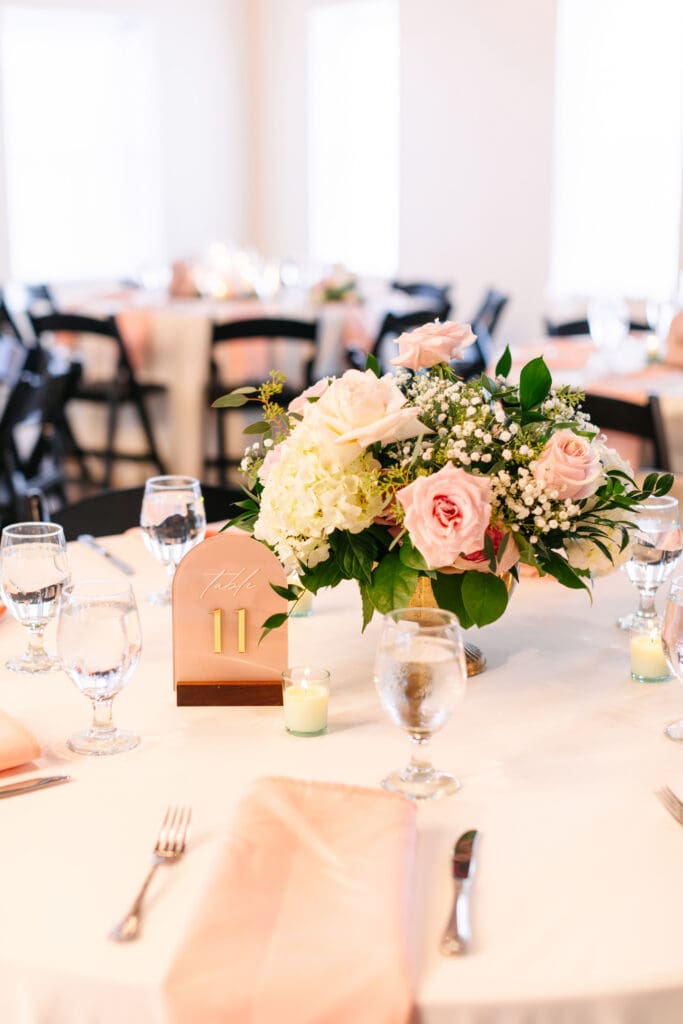
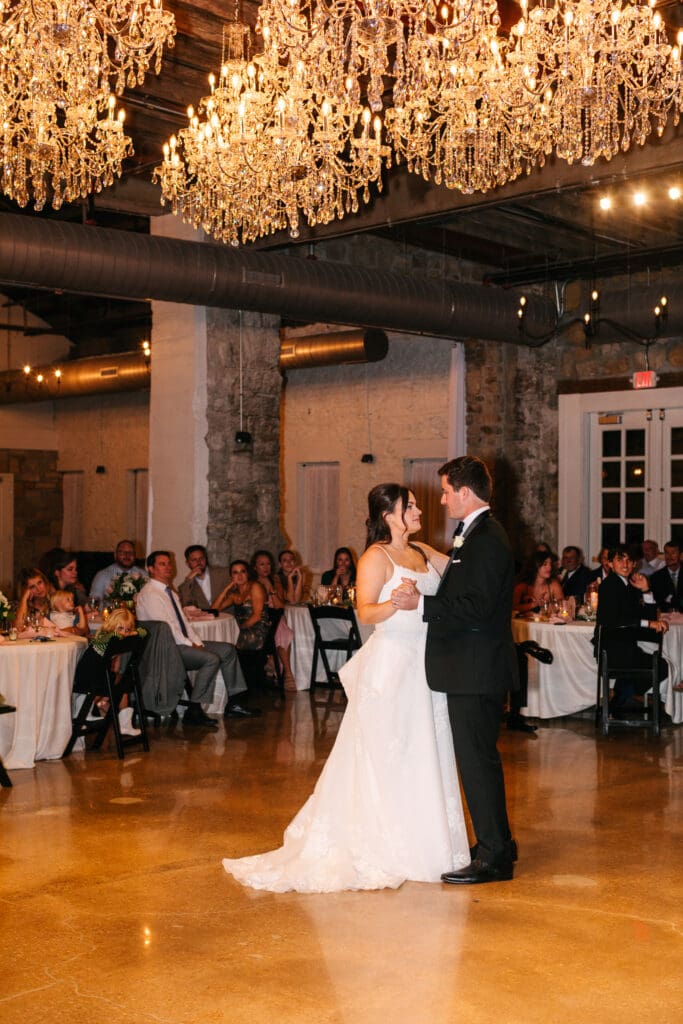
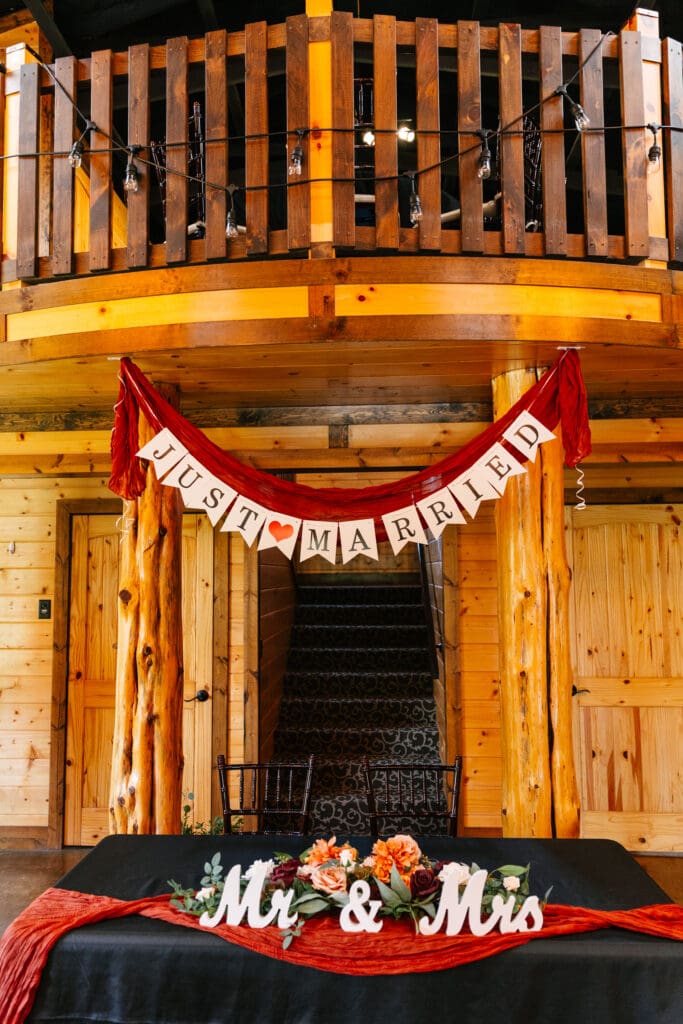
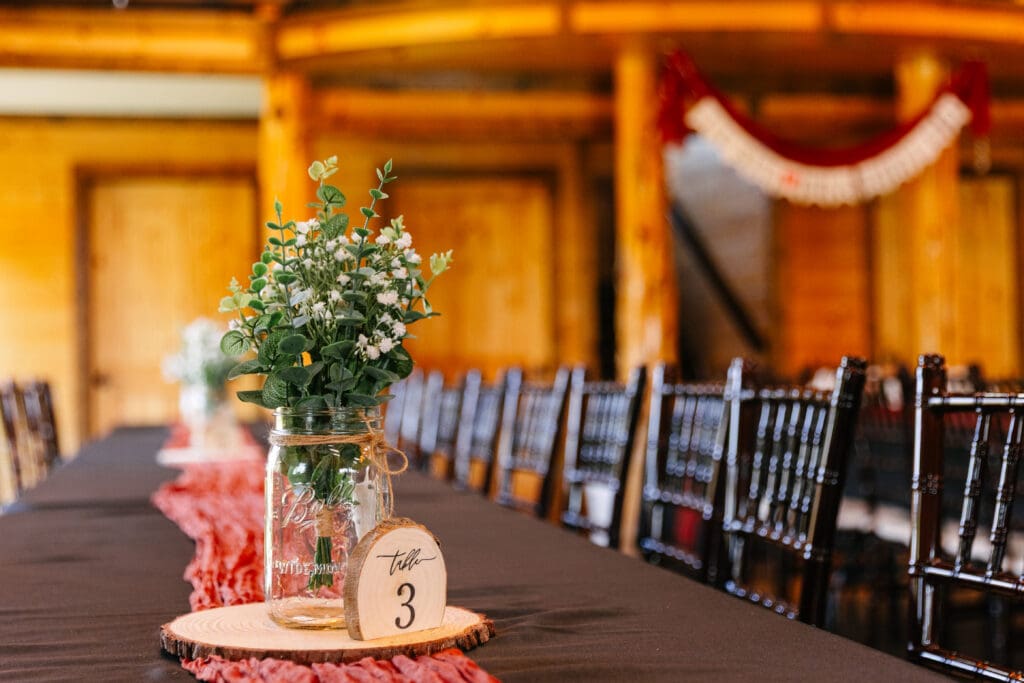
The reception space is equally beautiful! High ceilings, elegant lighting, and sophisticated details create an atmosphere that feels upscale while still allowing room for personalization. Whether couples envision candlelit romance, soft florals, or a more modern celebration, the venue adapts beautifully to different styles and visions.
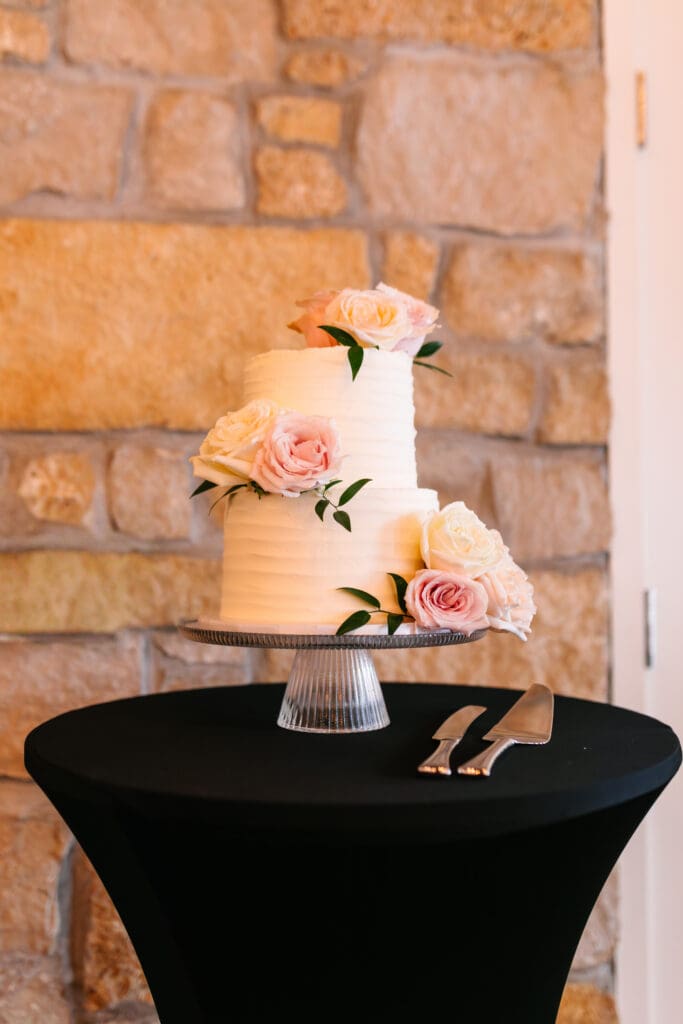
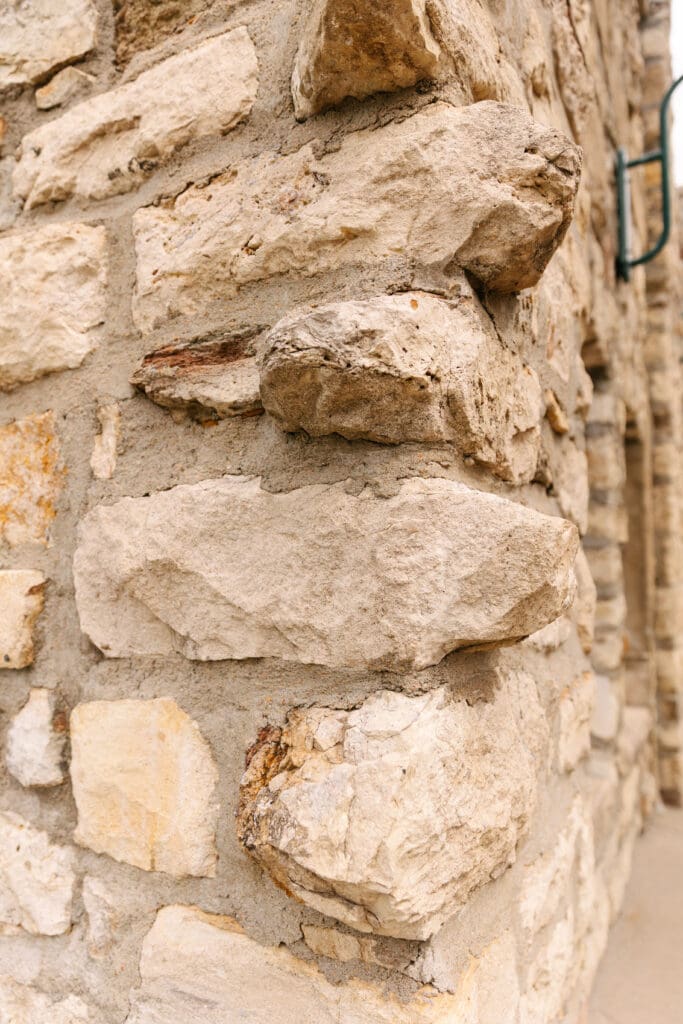
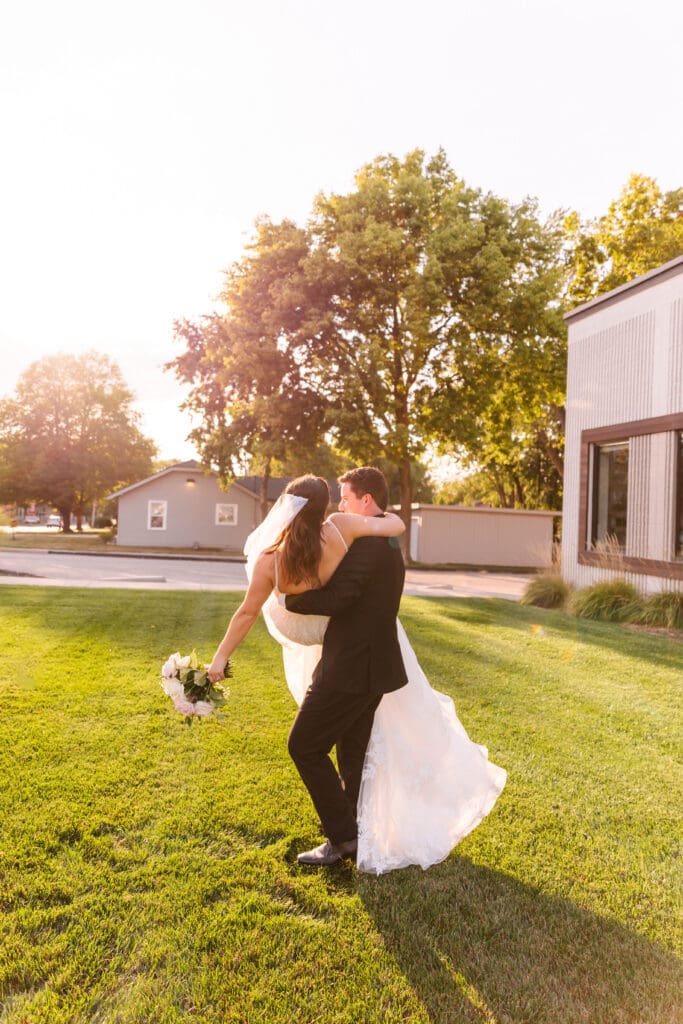
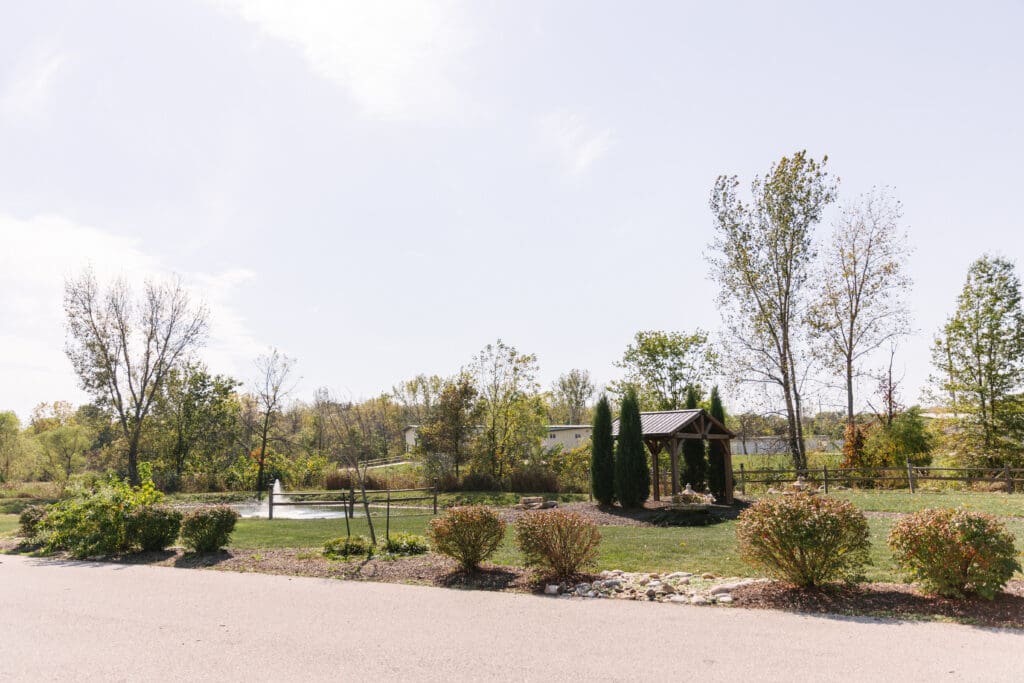
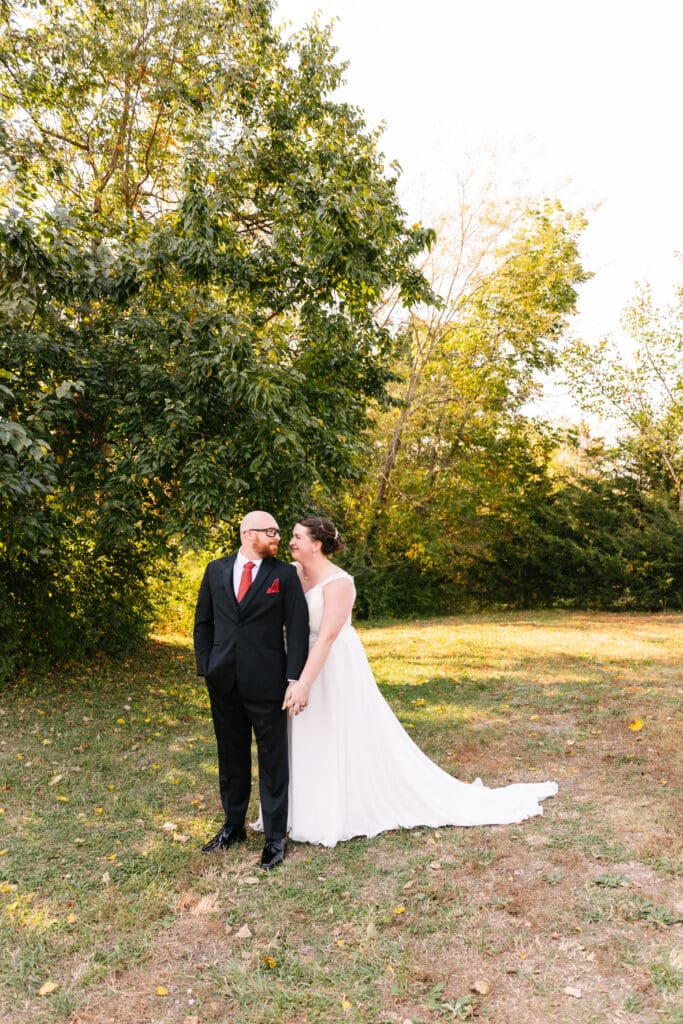
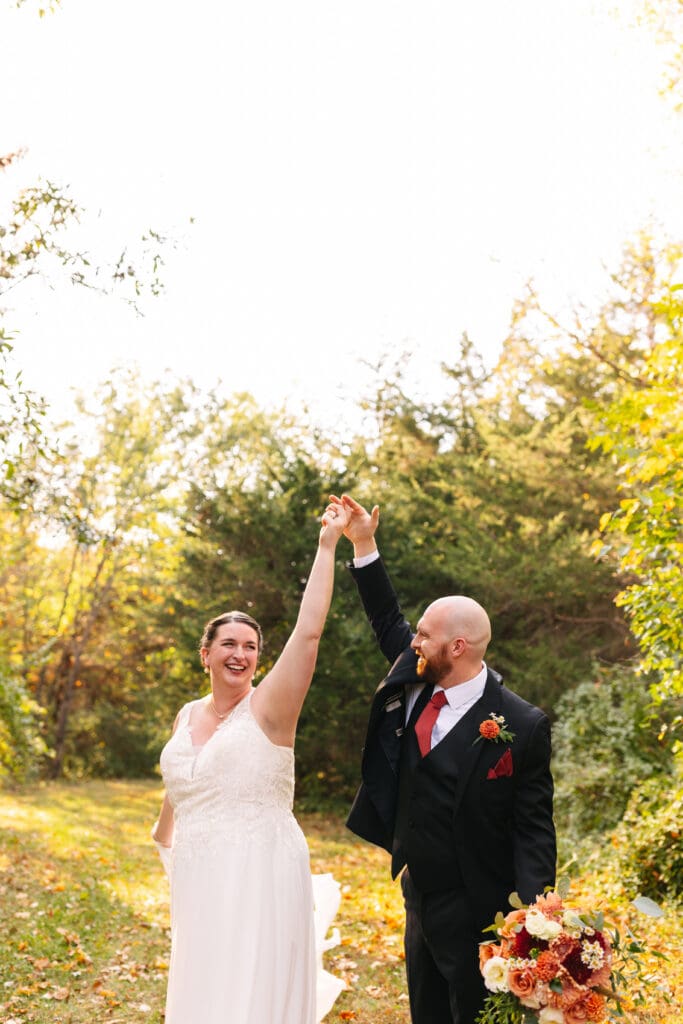
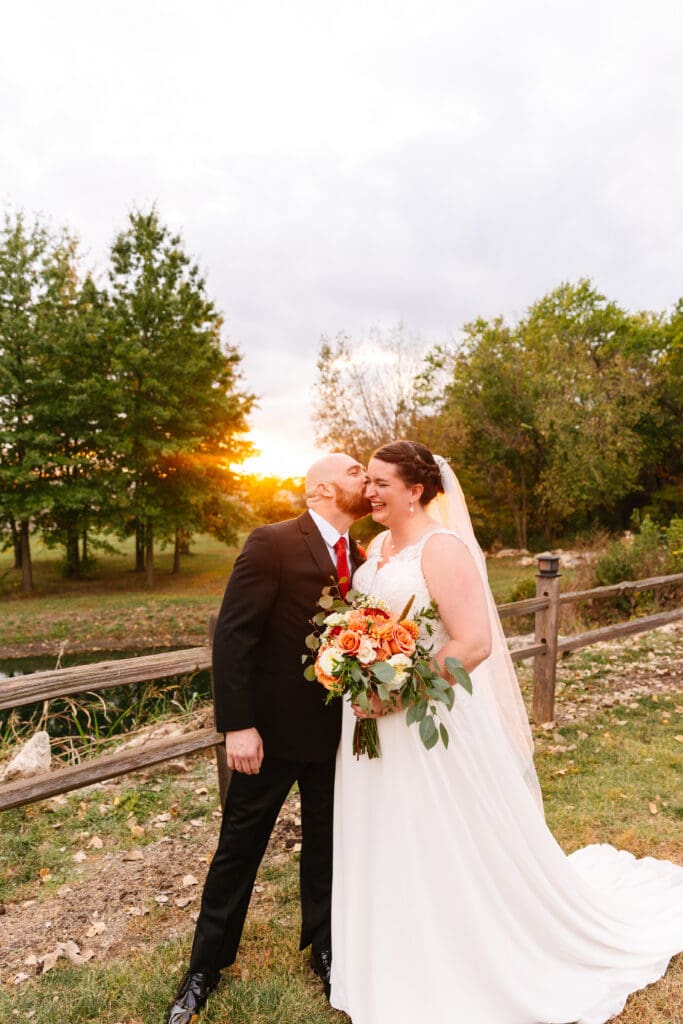
From a photography standpoint, Stone Manor is truly a dream. The stone architecture creates depth and texture in portraits, while the surrounding grounds provide beautiful natural backdrops throughout the property.
Couples consistently gravitate toward Stone Manor because it offers:
- indoor and outdoor flexibility
- timeless architecture and elegant design
- a luxurious atmosphere that still feels welcoming
- incredible portrait opportunities onsite
- beautiful natural light throughout the venue
- a romantic, elevated wedding experience close to Kansas City
- a seamless flow for guests and vendors


If you are dreaming of a wedding day that feels romantic, refined, and effortlessly beautiful, Stone Manor is absolutely worth exploring. It offers the perfect balance of luxury and warmth while giving couples a timeless setting for one of the most important days of their lives. For couples planning a Kansas City wedding, Stone Manor creates the kind of atmosphere that not only feels unforgettable in person but also photographs beautifully for years to come!
Frequently Asked Questions:
Yes! Stone Manor offers elegant architecture, versatile ceremony spaces, and beautiful photography locations close to Kansas City.
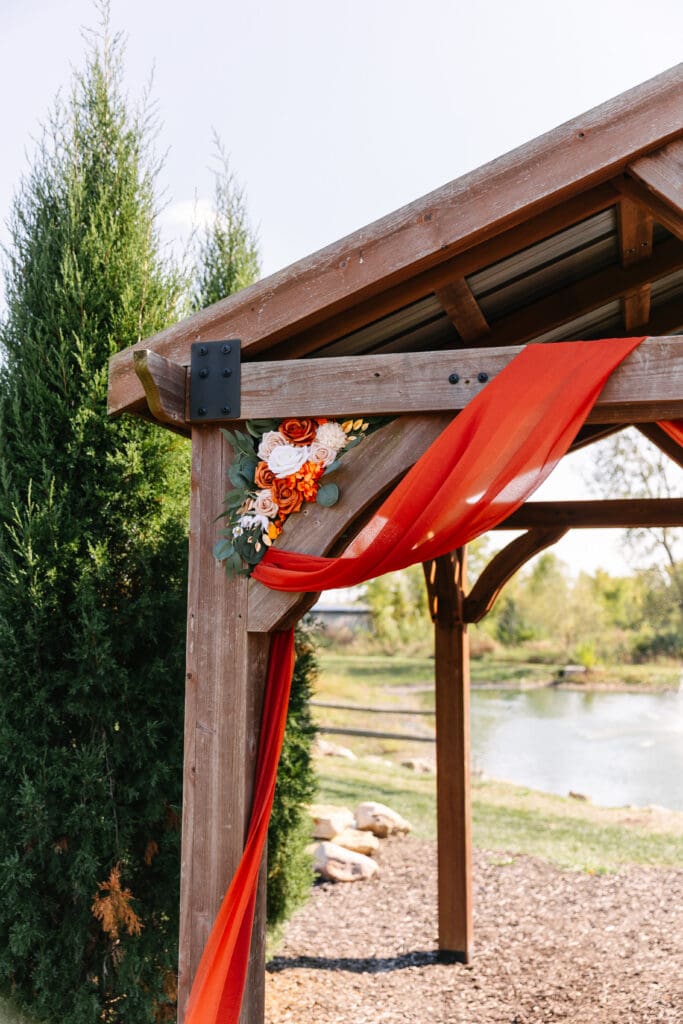
Yes, it does! Couples can choose between scenic outdoor ceremony areas and refined indoor spaces.
The venue combines timeless stone architecture, natural light, and beautiful outdoor scenery, creating a wide variety of portrait opportunities.

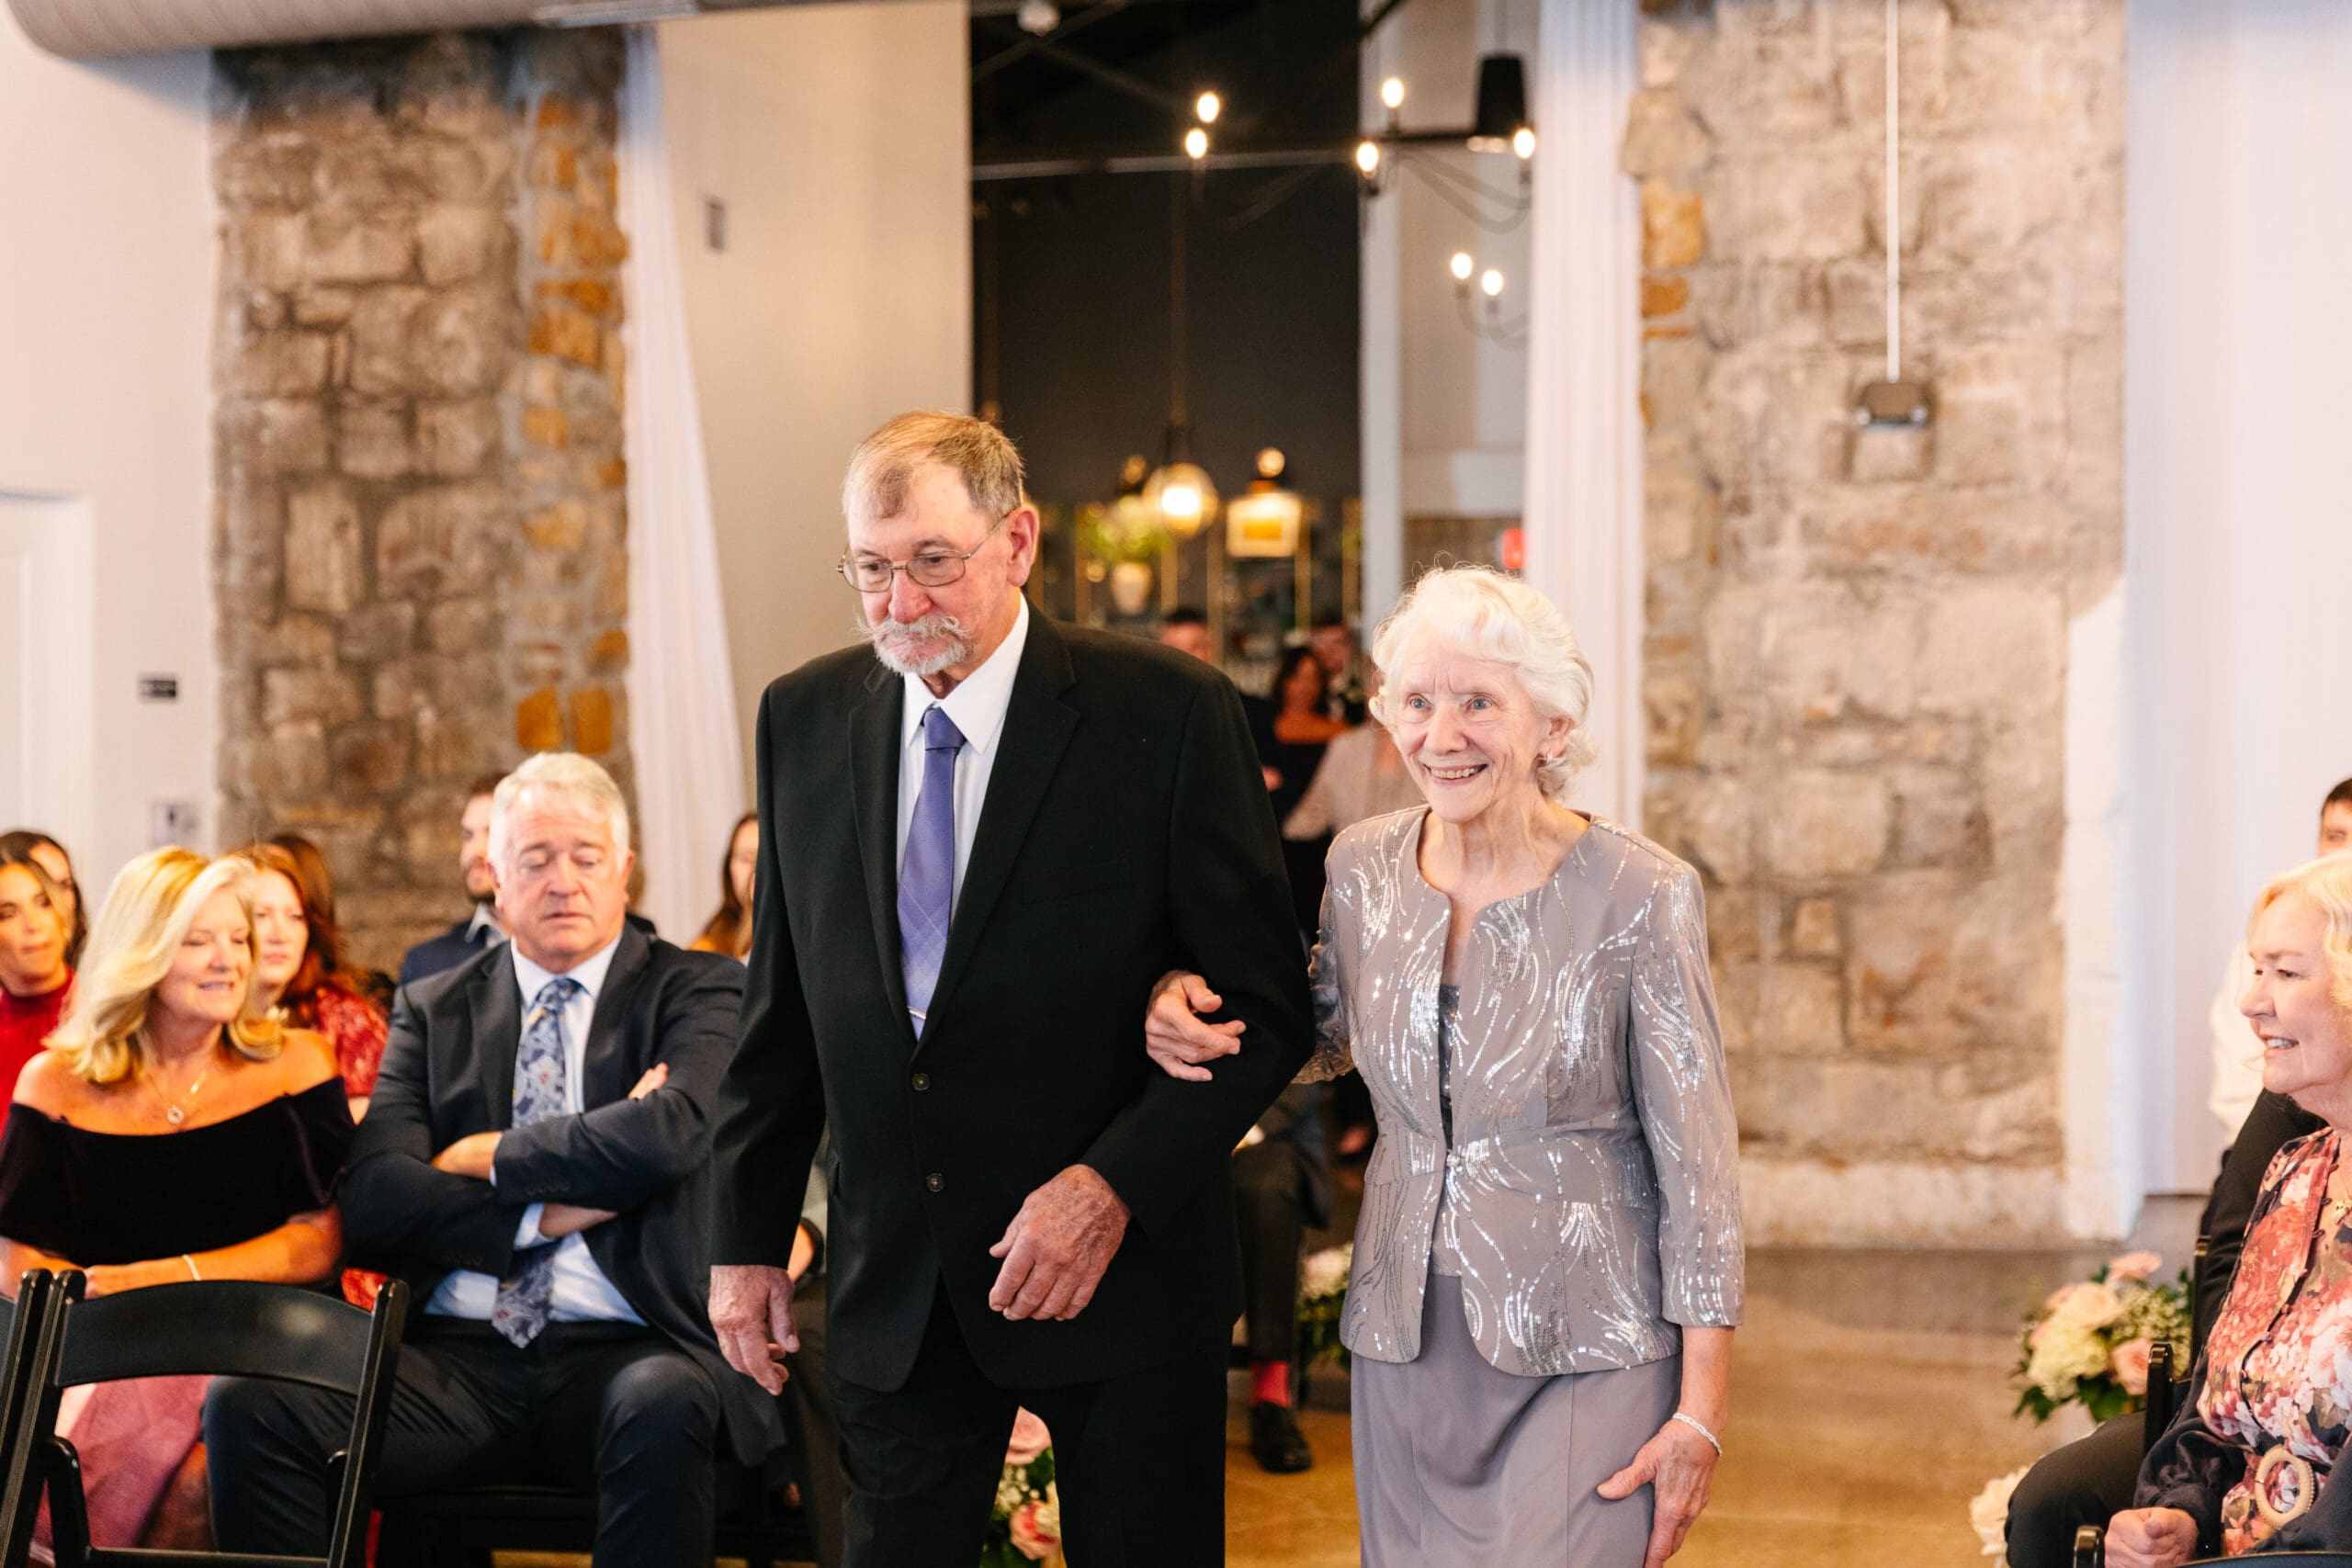
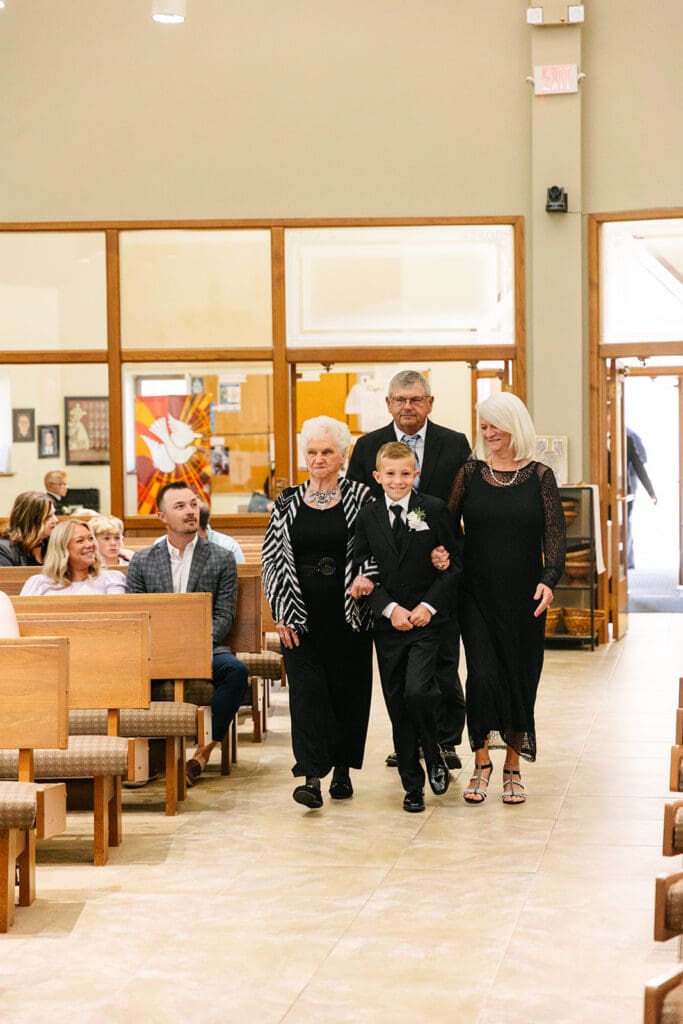
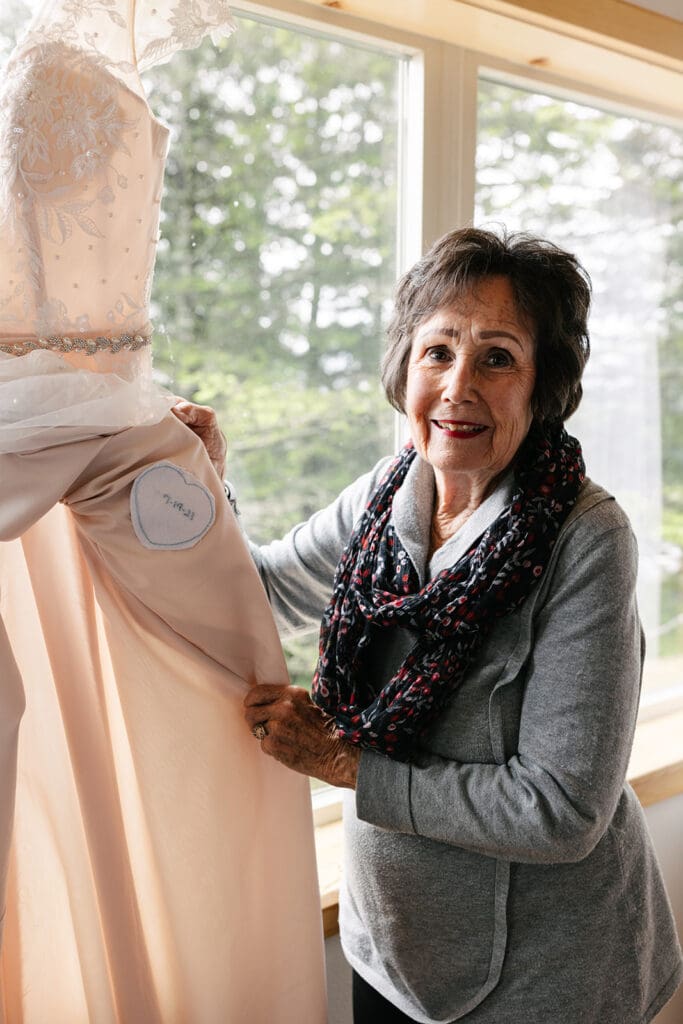
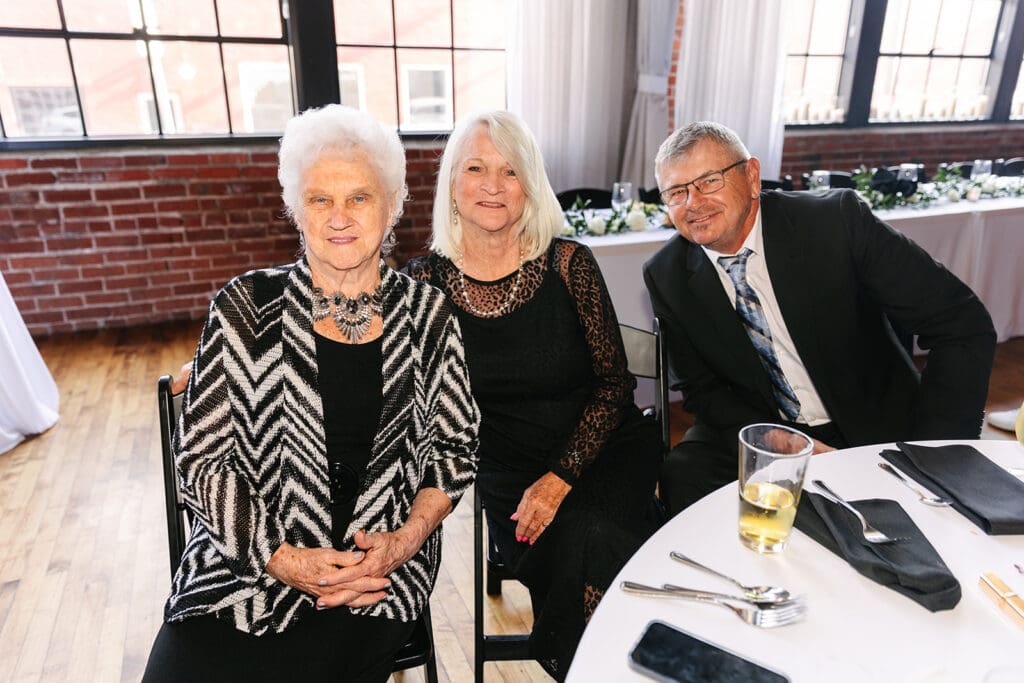
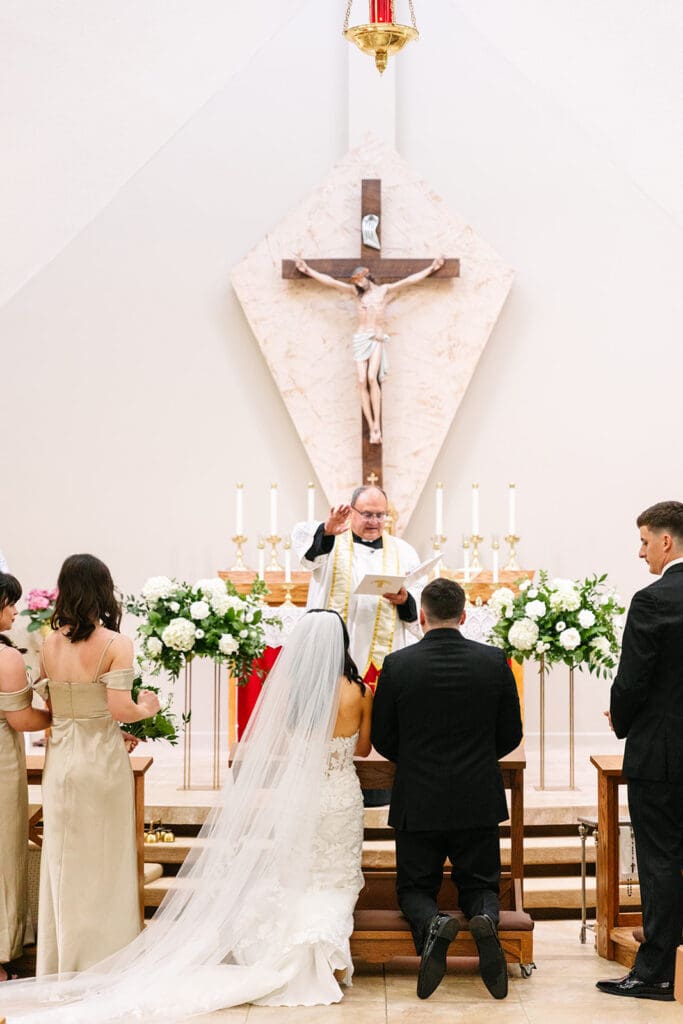
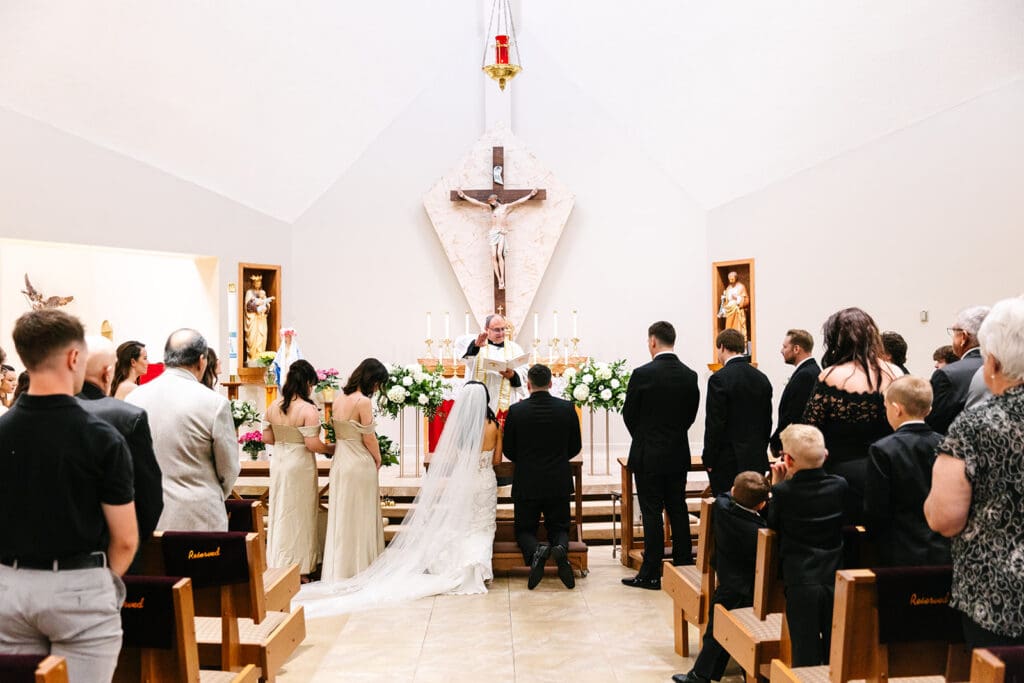
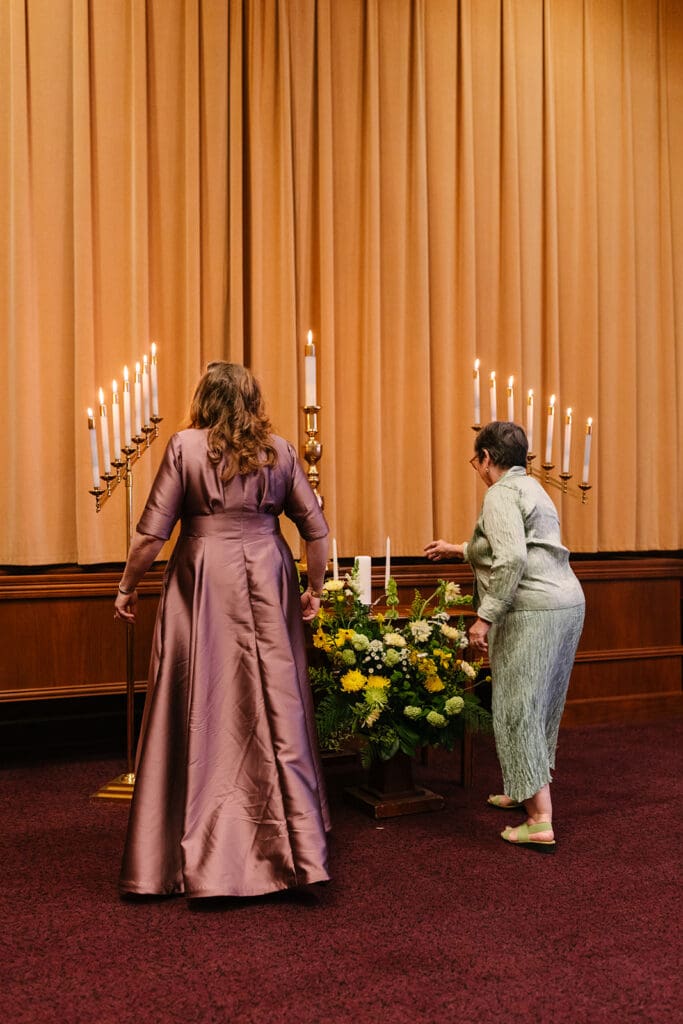
One meaningful way to personalize your celebration is learning how to include grandparents in your wedding day! Grandparents often play an important role in family history and traditions. Because of that, including them intentionally can create some of the most emotional moments of the entire wedding day.
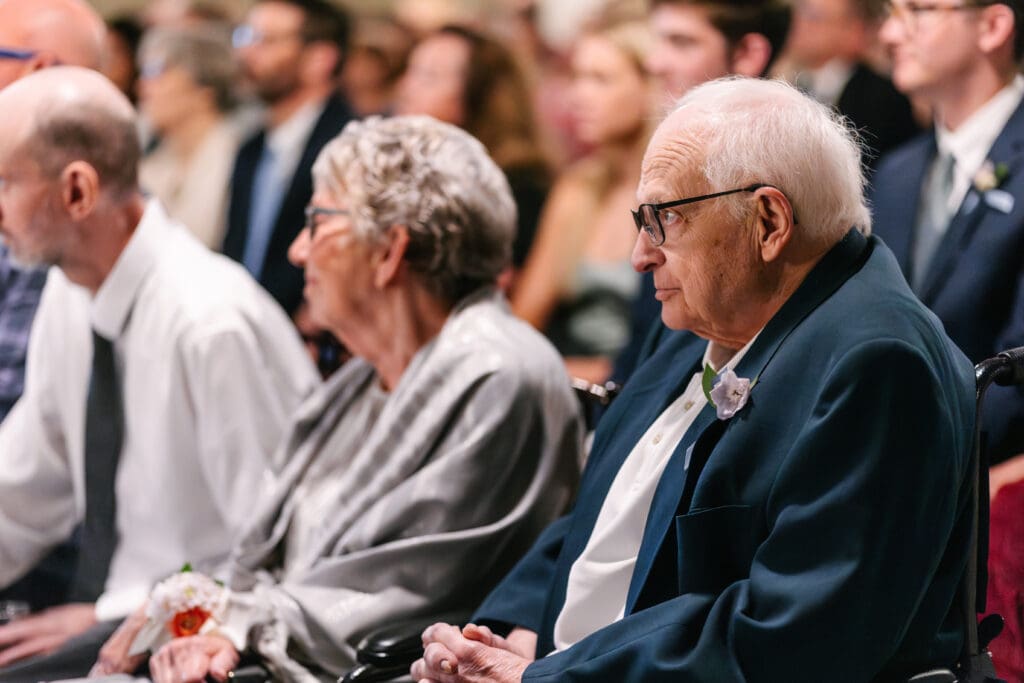
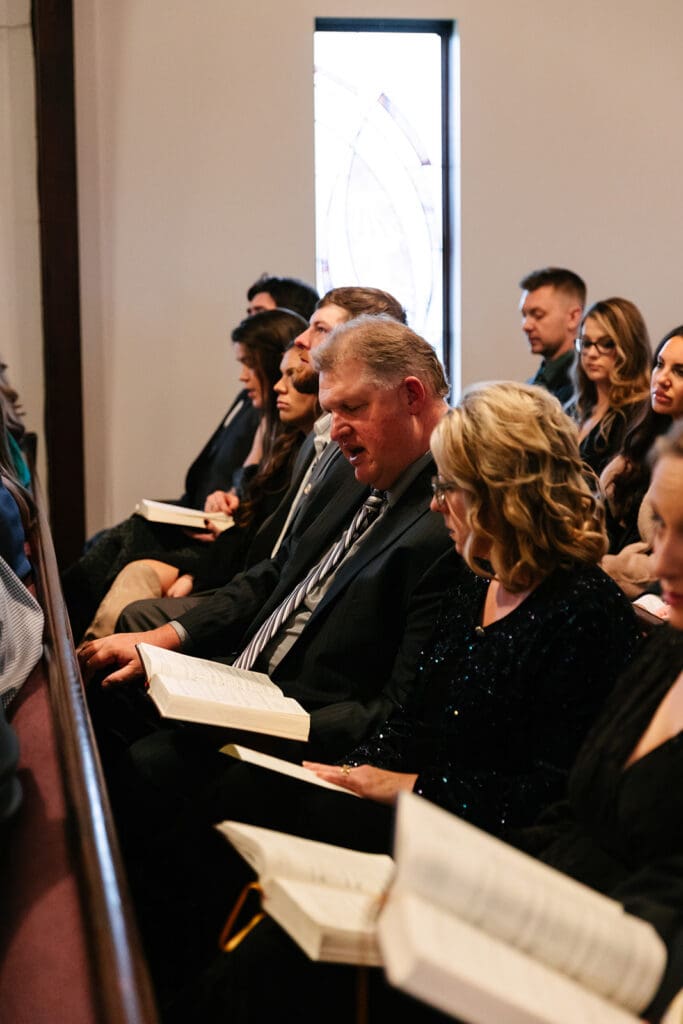
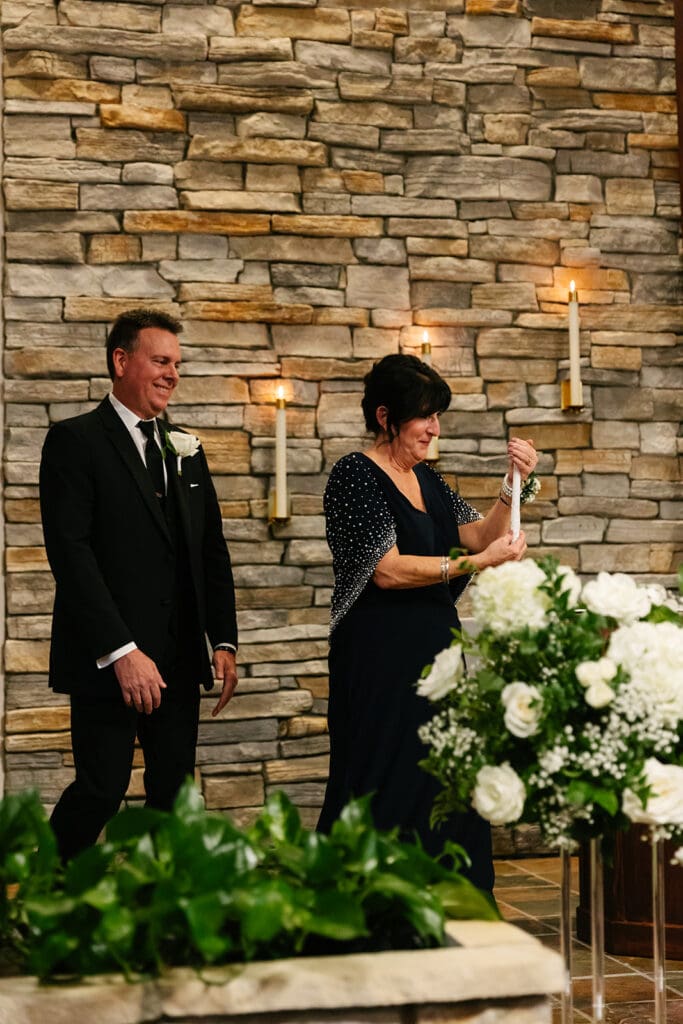
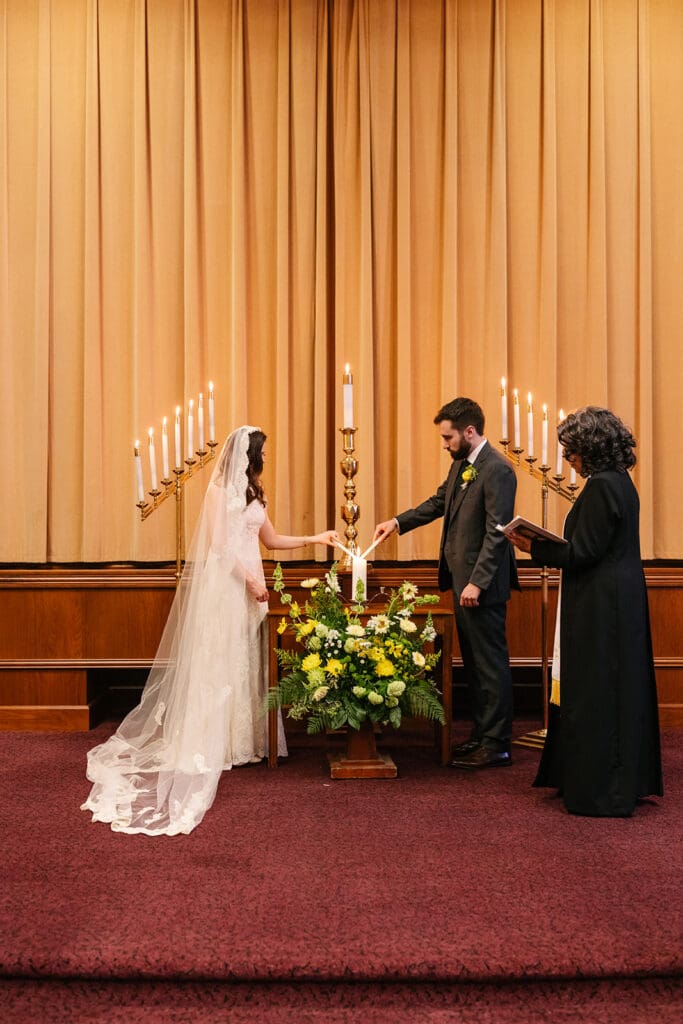
You can consider involving grandparents in the ceremony itself. Some couples ask grandparents to walk down the aisle, participate in readings, or light a unity candle. These small moments create meaningful ways to honor their presence while making them feel deeply included in the celebration.


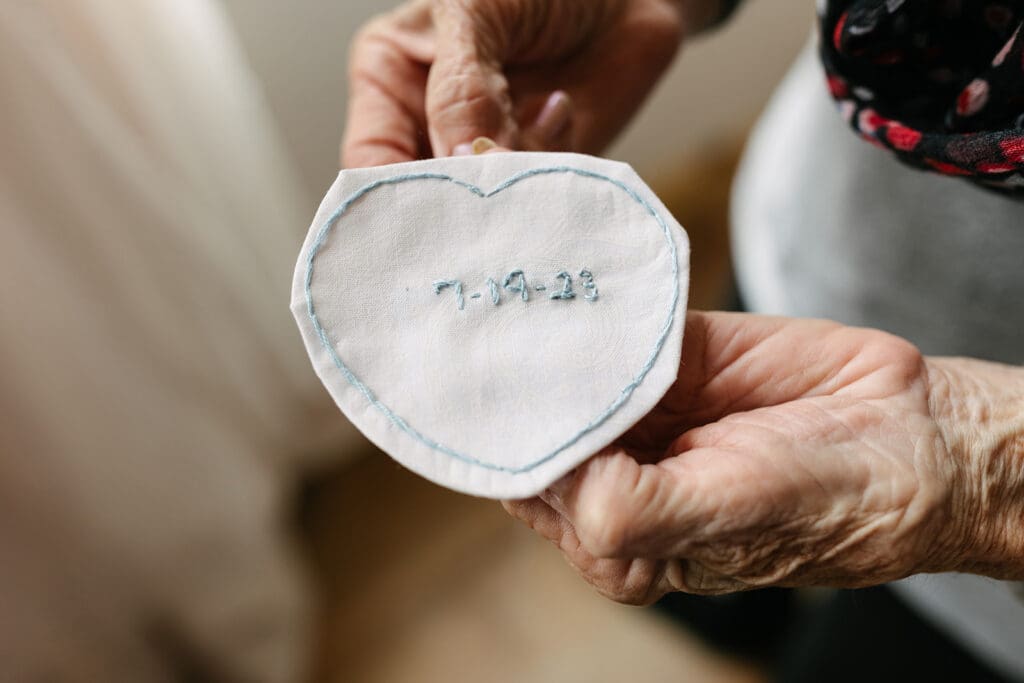
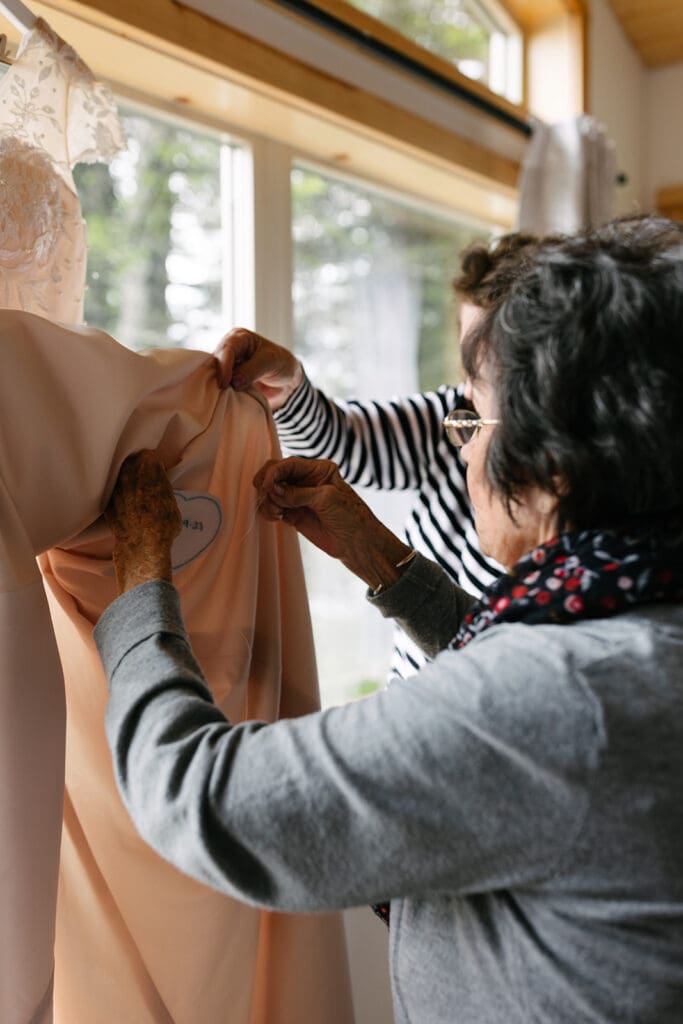
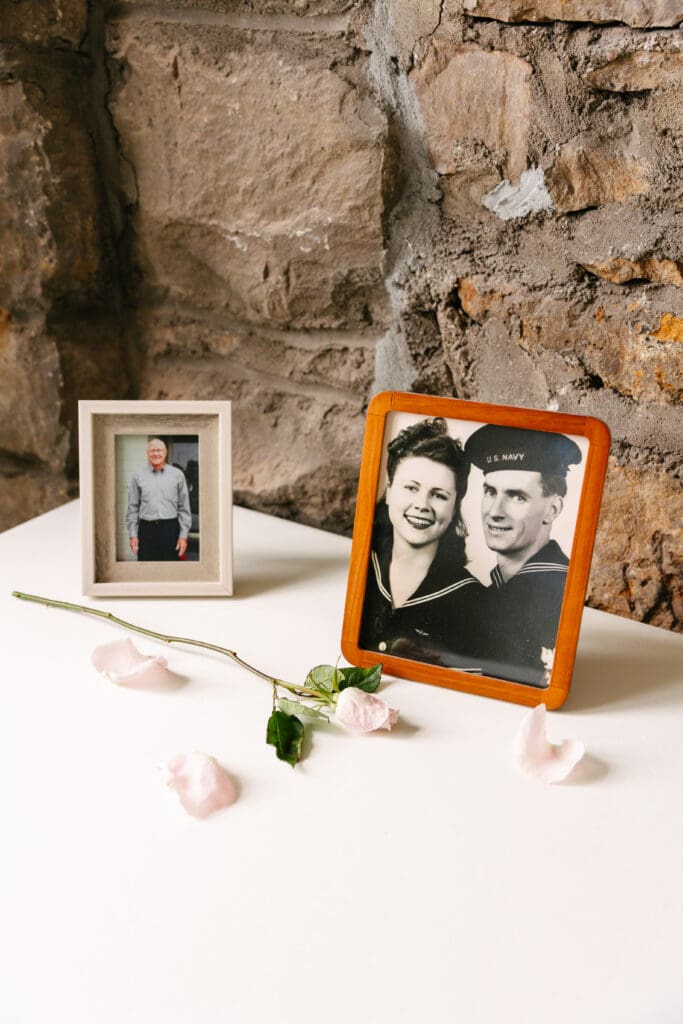
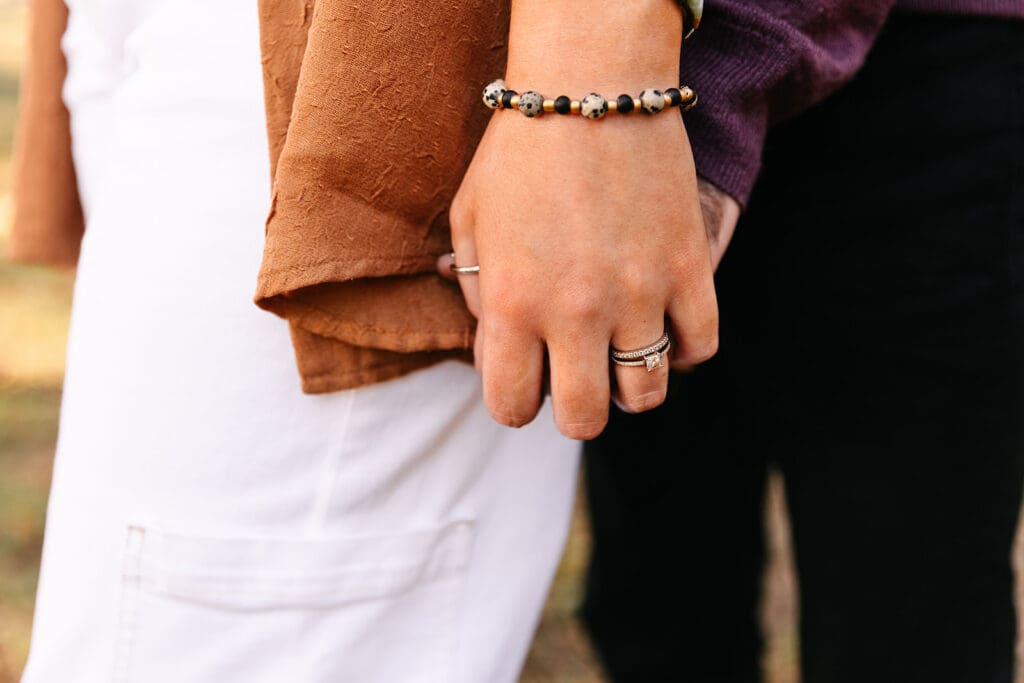
A common and thoughtful idea is incorporating family heirlooms! Jewelry, handkerchiefs, wedding photographs, or handwritten notes from previous generations add emotional depth to the day. As a result, your wedding story feels even more connected to your family history.
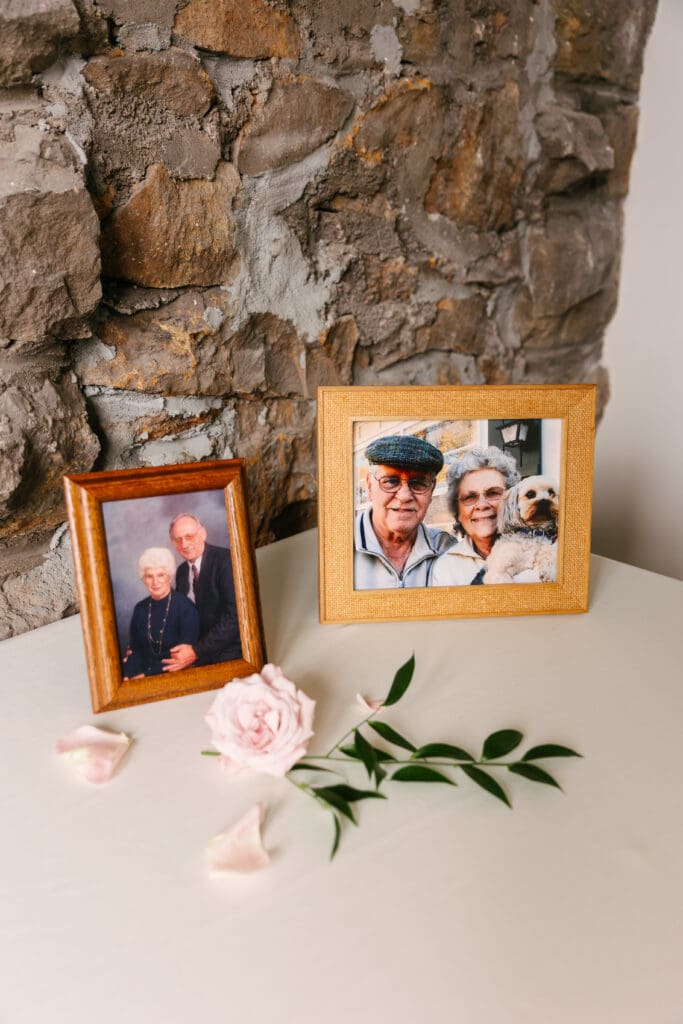
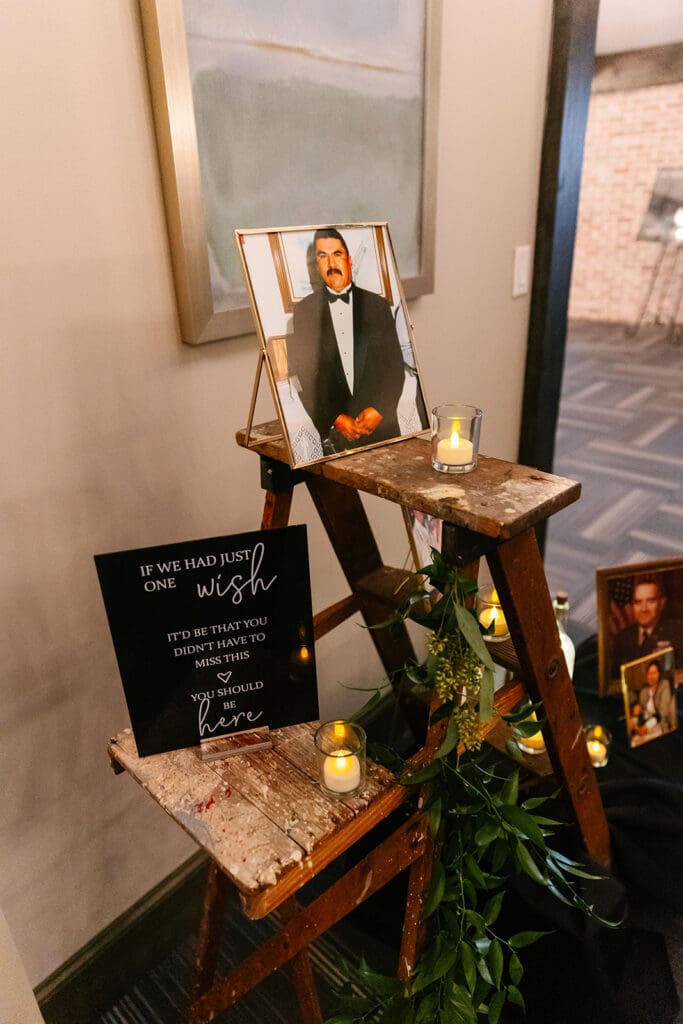
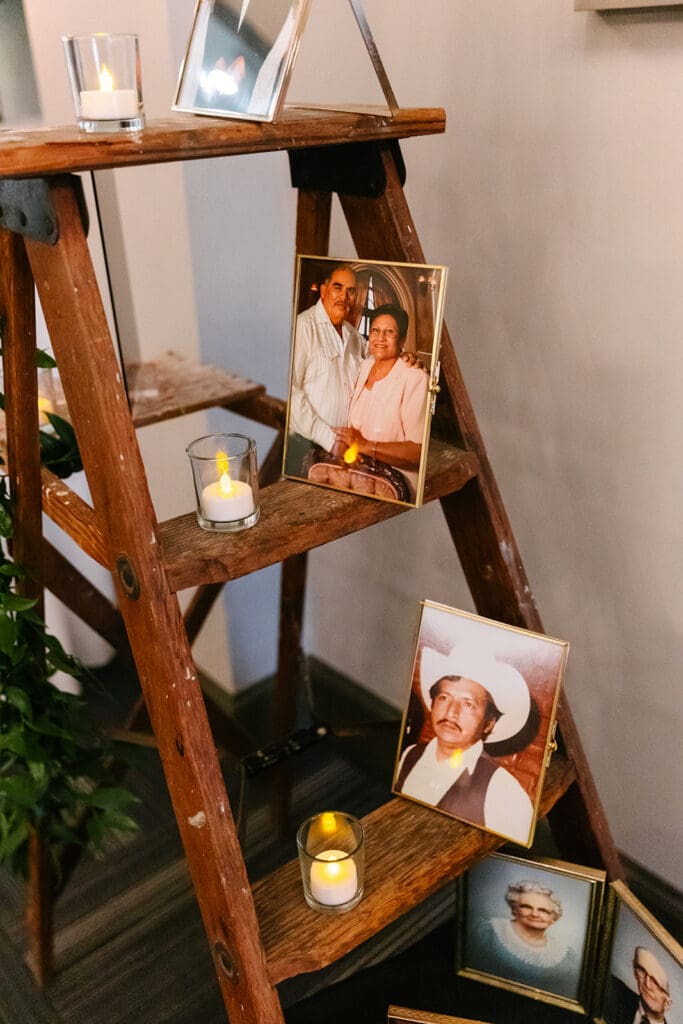
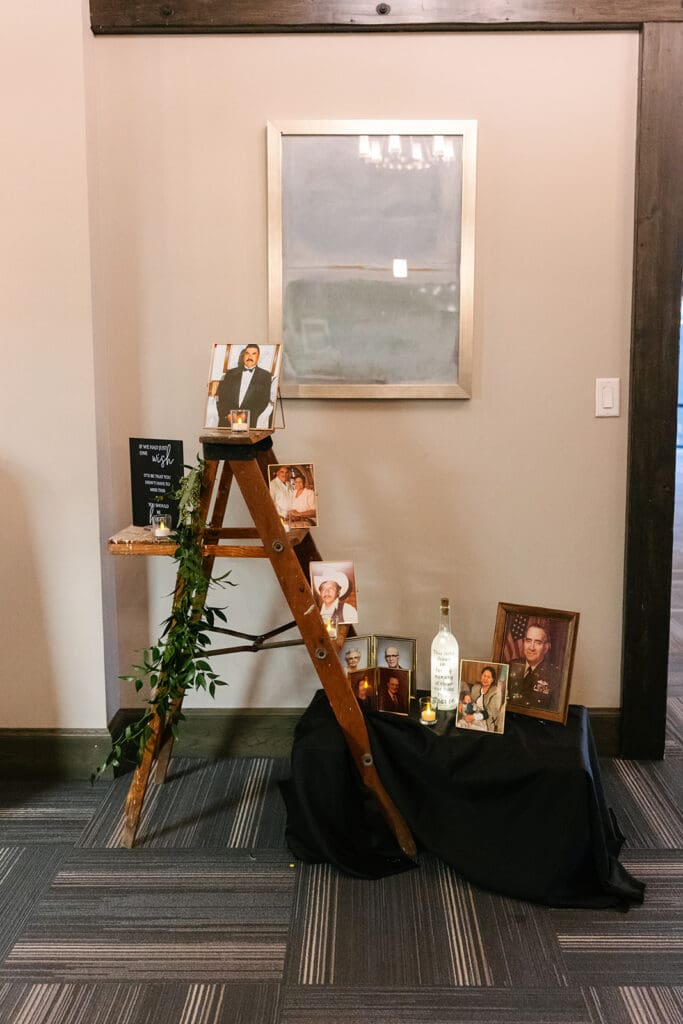
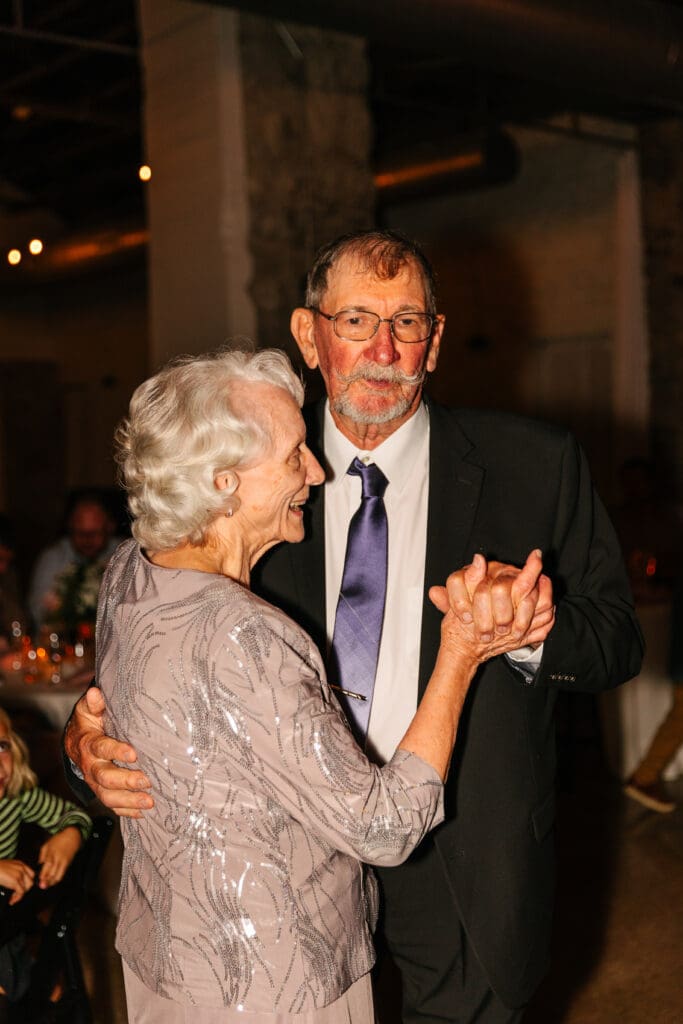
Rception moments can also create meaningful opportunities for connection. Some couples reserve special dances with grandparents or include family recipes and traditions during dinner. Others display framed wedding photographs from parents and grandparents throughout the venue. These personal touches help guests feel connected to the larger family story!
From a photography standpoint, candid interactions with grandparents often become incredibly meaningful later on. A hand squeeze during the ceremony, a quiet conversation during dinner, or a joyful hug on the dance floor can carry so much emotional weight in a single image.
Most importantly, including grandparents in your wedding day is not about creating elaborate moments. Instead, it is about intentionally honoring the people who helped shape your life and relationship.
Frequently Asked Questions:
Grandparents can participate through readings, processional walks, unity ceremonies, or special reserved seating.
Family heirlooms, private first looks, special dances, and framed family photographs all create meaningful tributes.
Absolutely. Emotional interactions between couples and grandparents often become some of the most treasured photographs.
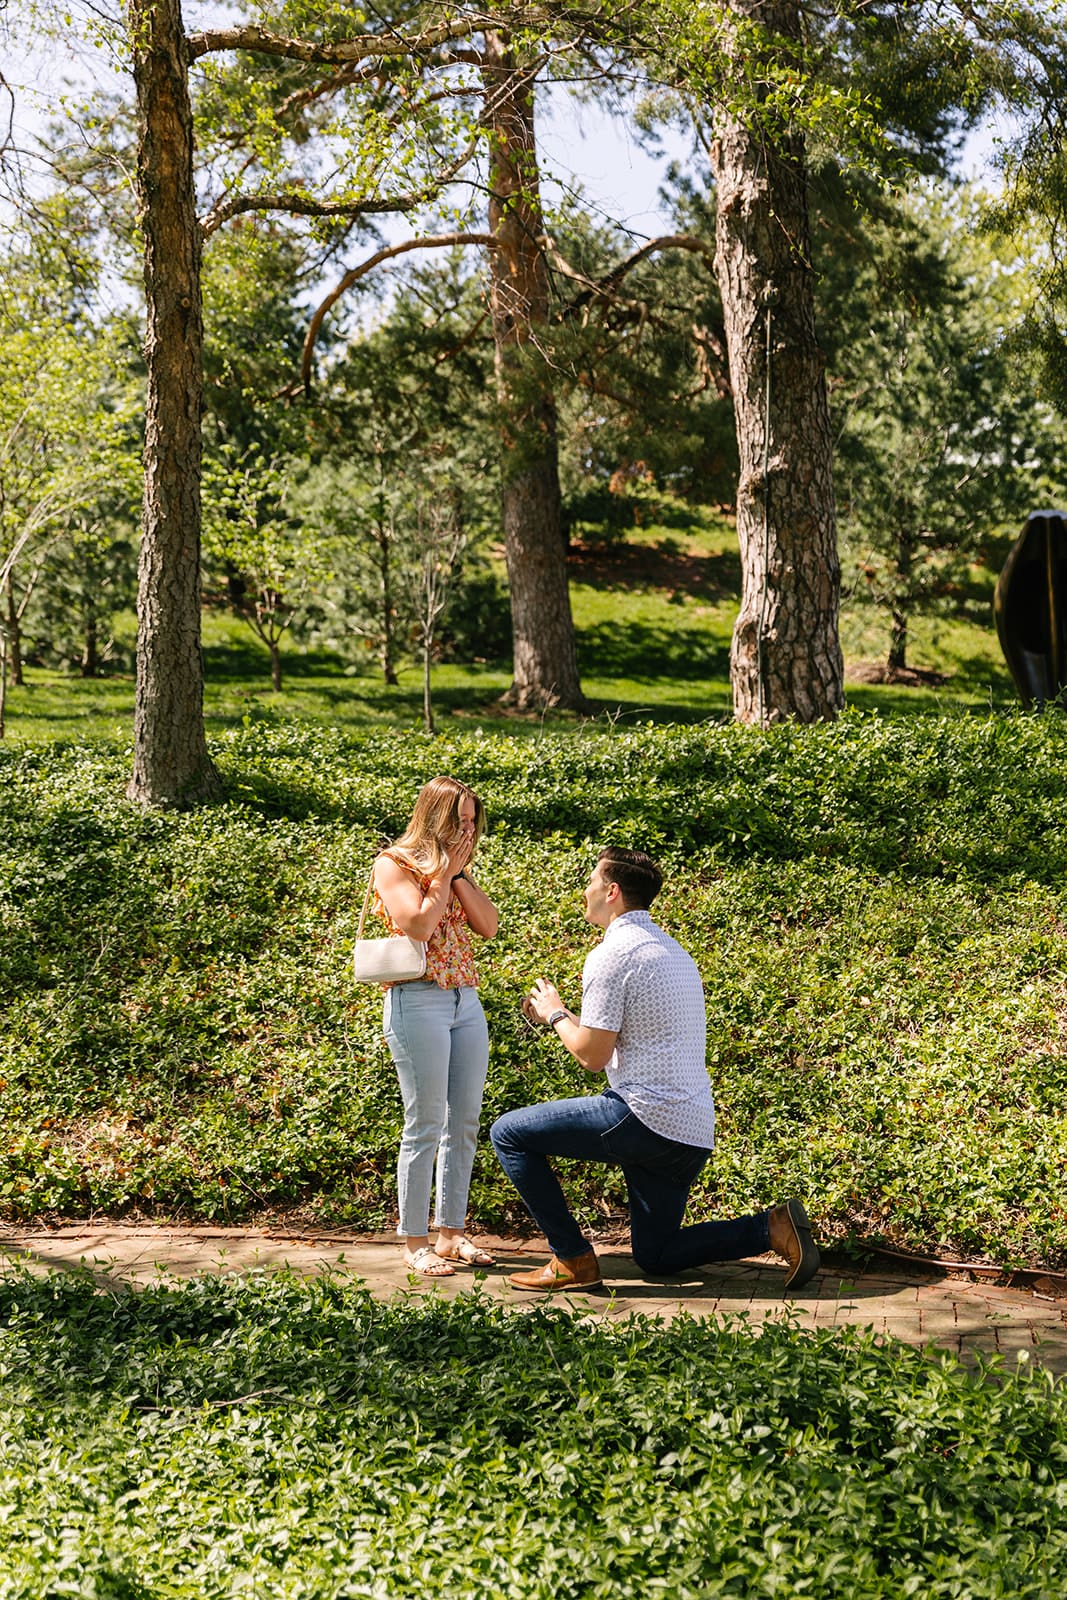
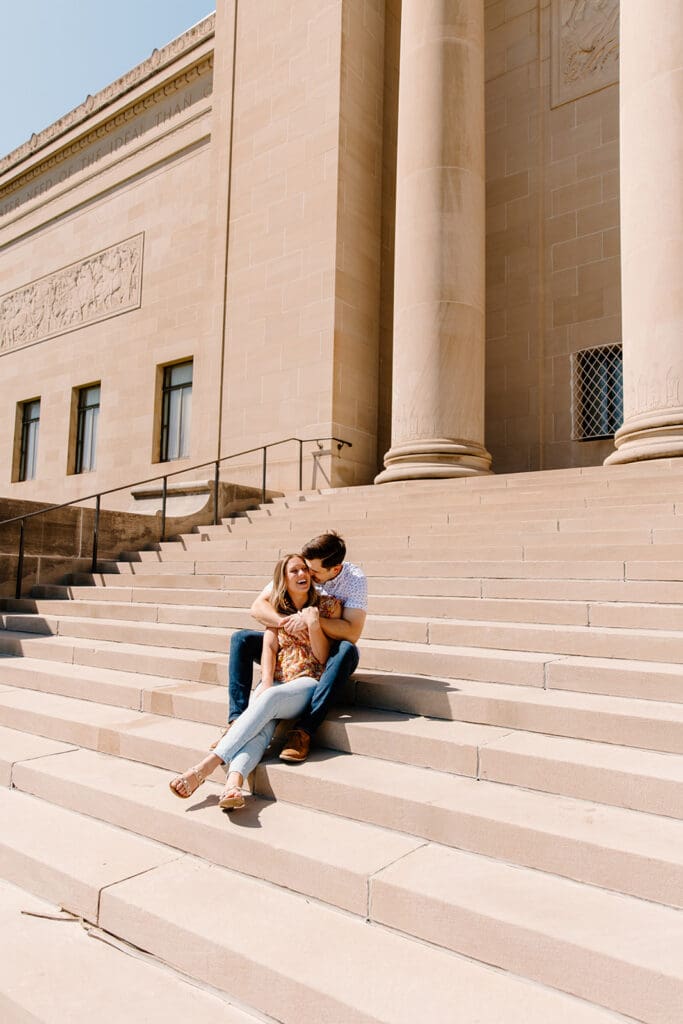
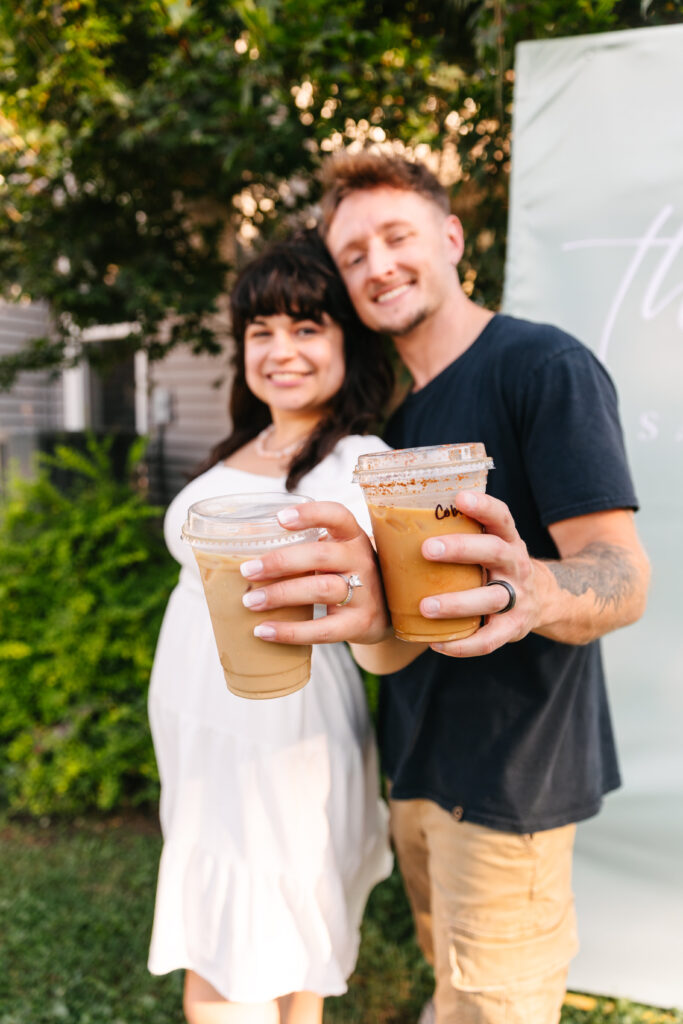
At first glance, planning a proposal can feel overwhelming! However, planning a surprise proposal without stress becomes much easier when you focus on intention instead of perfection. The best proposals are not overly complicated. They feel personal, thoughtful, and genuine.


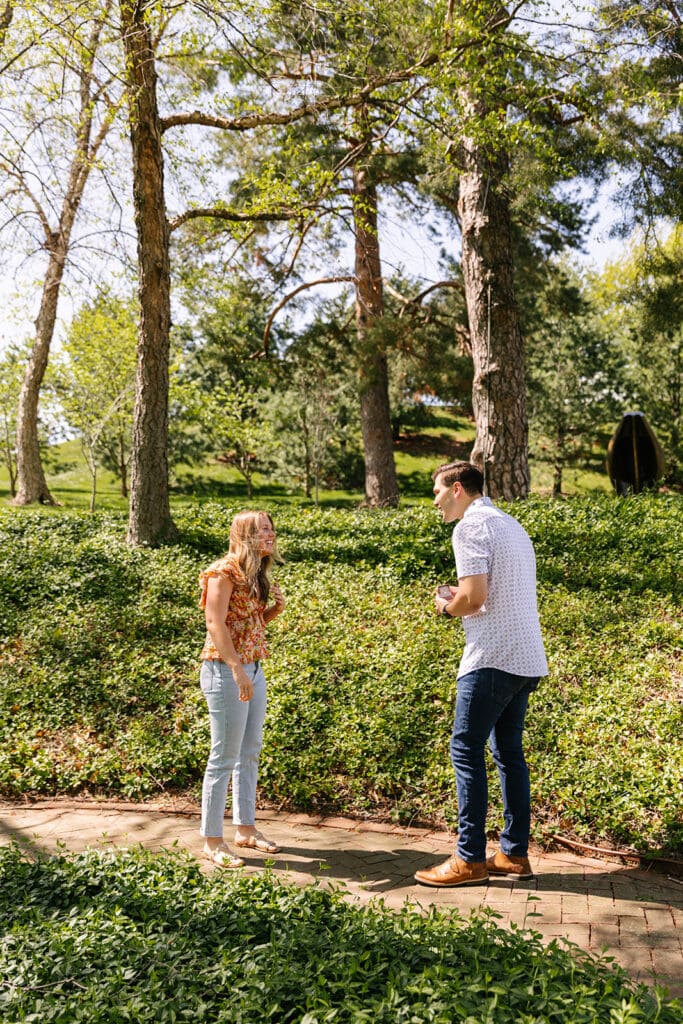
Choose a location that feels meaningful to your relationship. Some couples love iconic Kansas City spots like Nelson-Atkins Museum of Art, while others prefer a quiet park, rooftop, or favorite coffee shop. A meaningful location naturally helps the proposal feel more personal and relaxed.
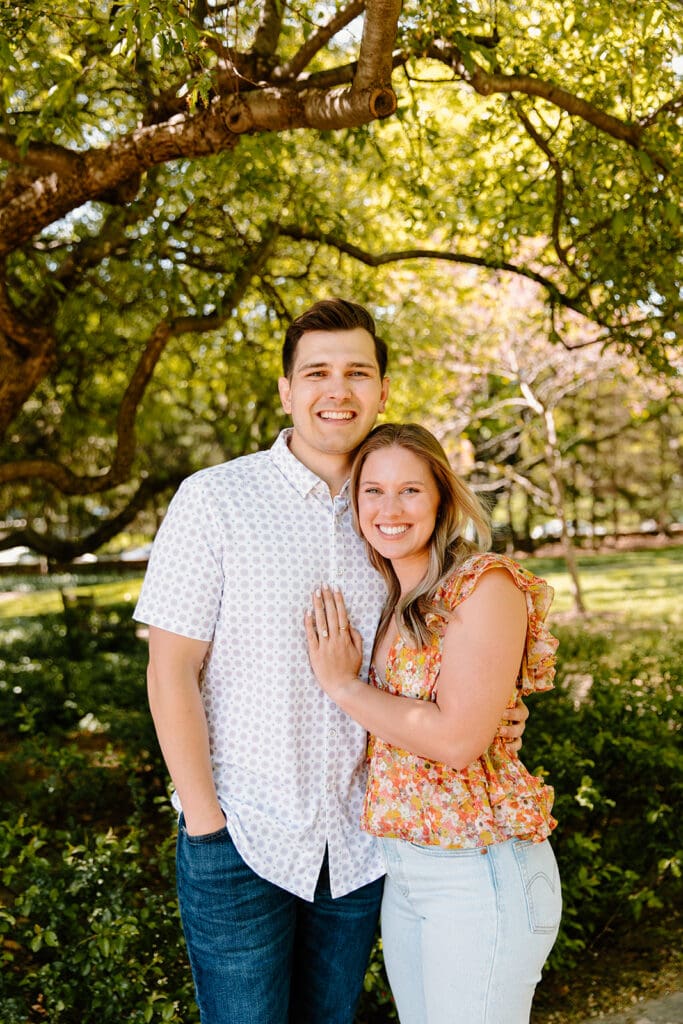
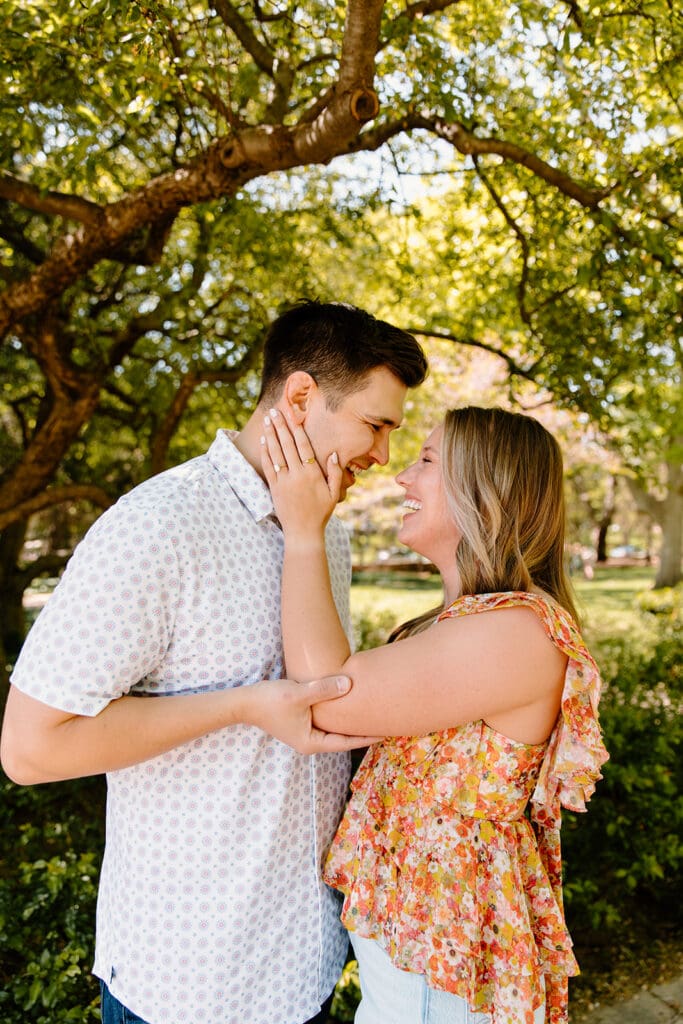
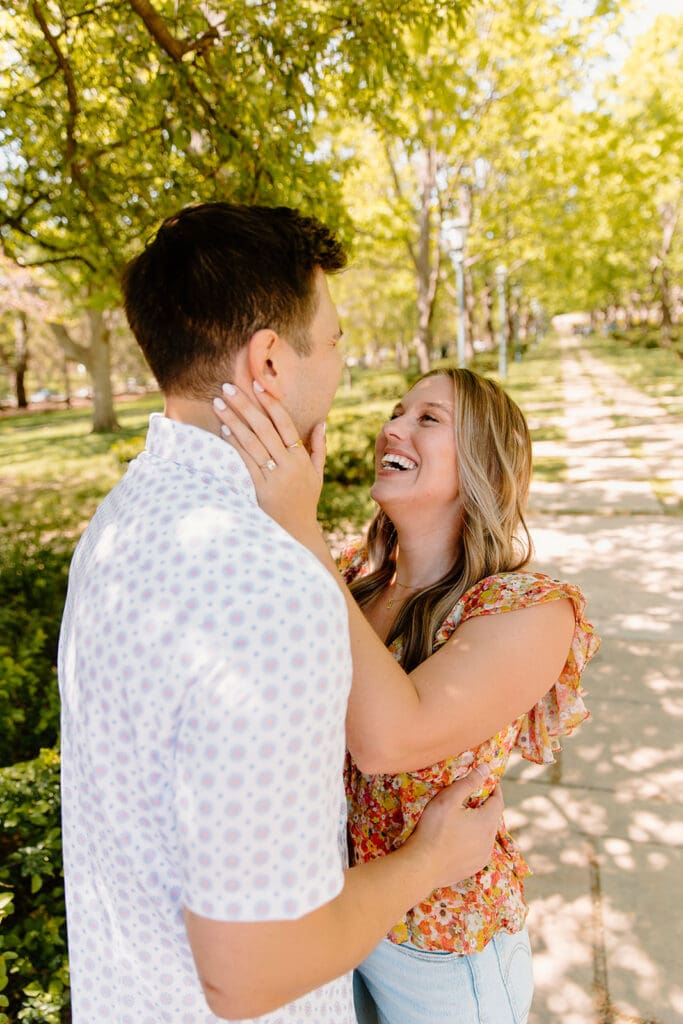
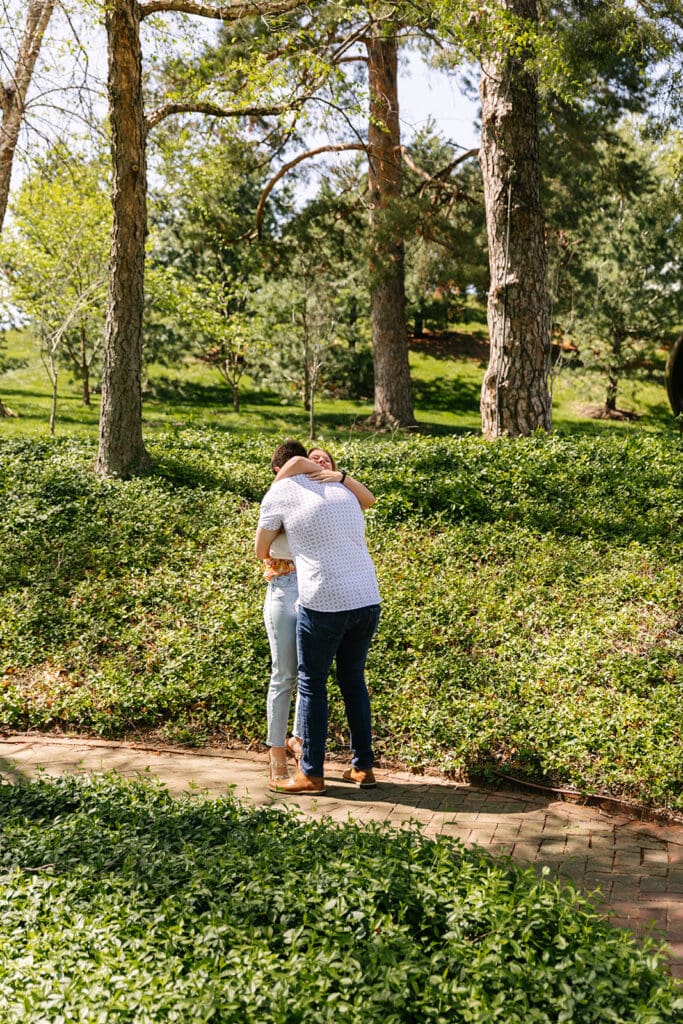
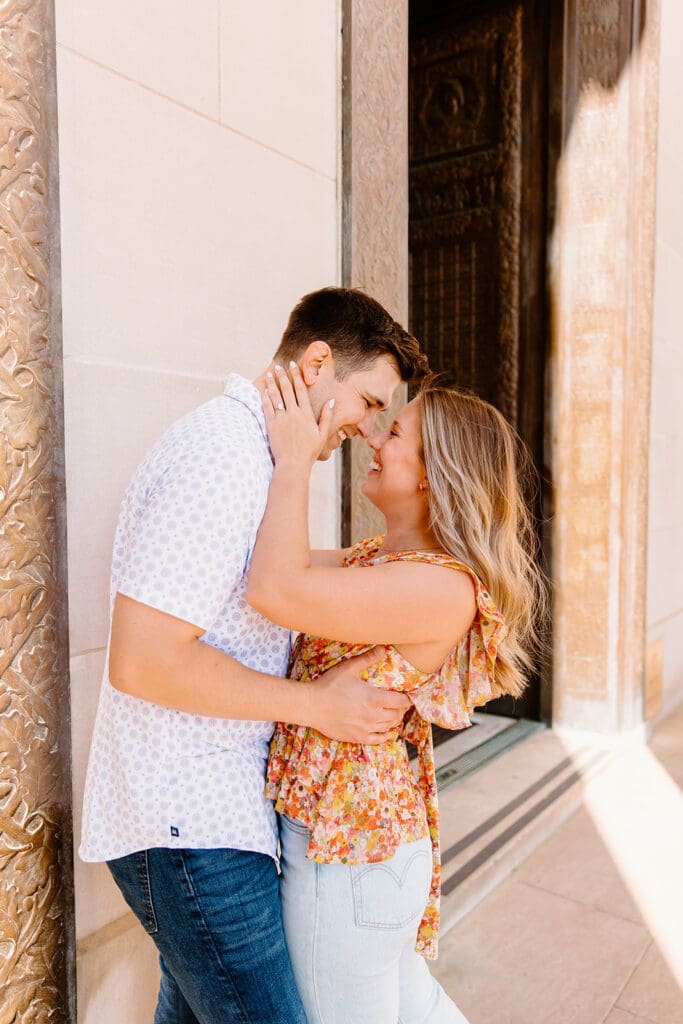
Keep the plan simple. Trying to coordinate too many moving parts can create unnecessary stress. Instead, focus on creating a moment that feels authentic to the two of you. Often, the most emotional proposals happen during the quiet, unexpected moments.
Another helpful tip is involving your photographer in the planning process early. A proposal photographer can help with location suggestions, positioning, timing, and even subtle cues to keep everything running smoothly! That way, you can stay focused on the moment instead of worrying about logistics.
At the end of the day, planning a surprise proposal without stress simply means creating space for an authentic moment between the two of you, and that is what makes it unforgettable.
Frequently Asked Questions:
Most proposals benefit from at least a few weeks of planning, especially if photography or special locations are involved.
Anytime that suits you best! Golden hour near sunset provides the softest light and most romantic atmosphere and is a popular option.
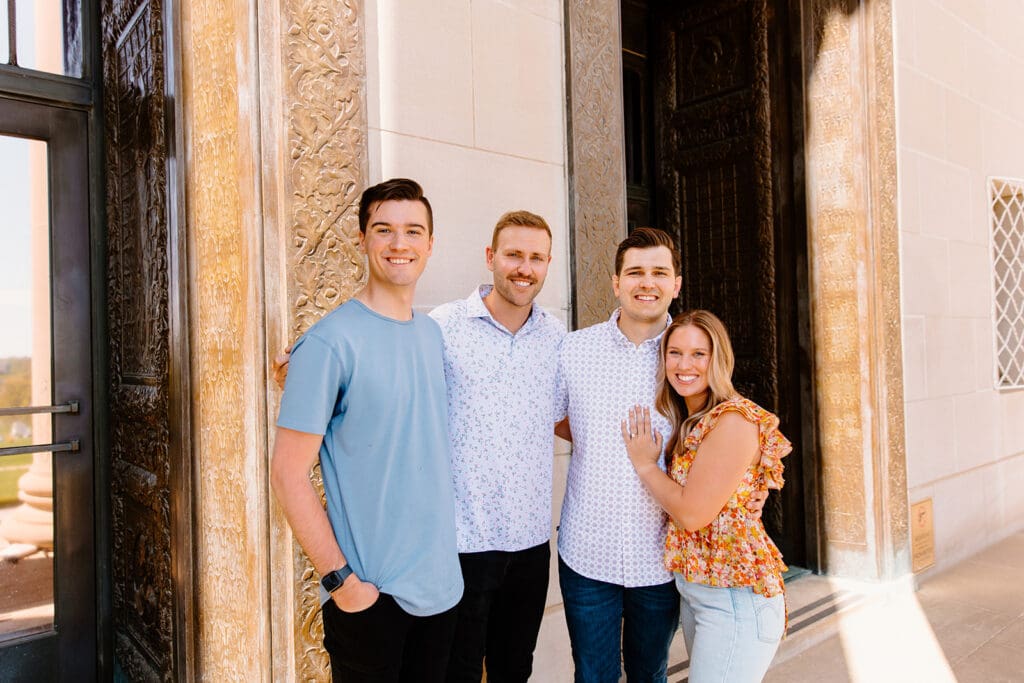
This is based on personal preference! Of course, I would recommend having a photographer there so everyone can be fully present and you still get the moment documented. But, it’s not a necessity!
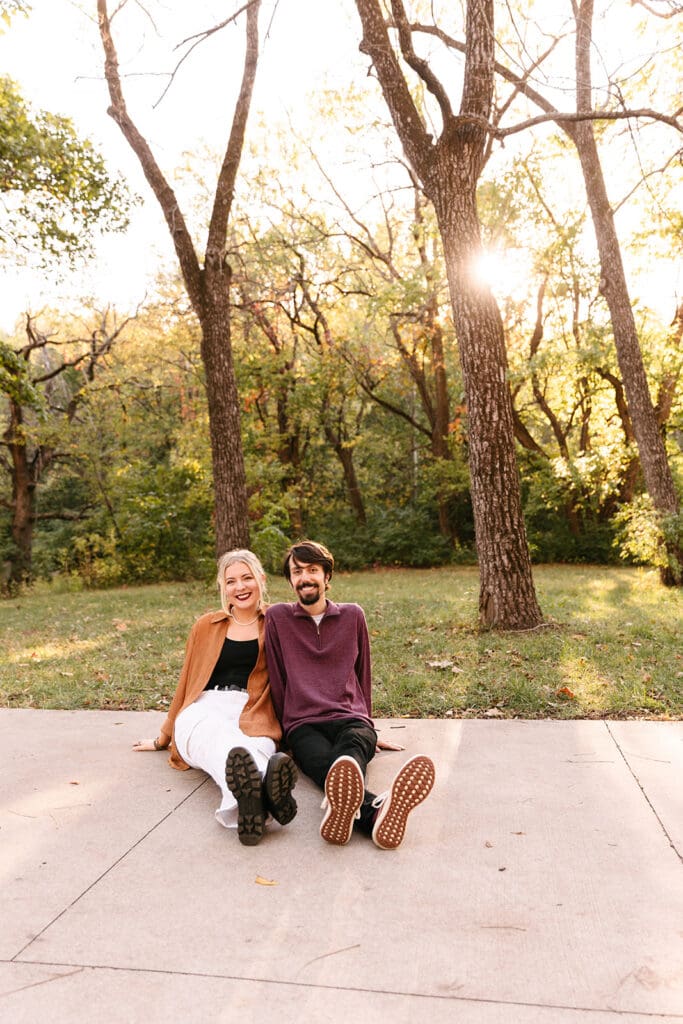
One of the biggest shifts happening in weddings right now is couples learning how to create a wedding day that feels like you instead of planning a celebration based entirely on expectations or trends. When couples focus on creating a wedding day that feels like them, the entire experience becomes more meaningful, relaxed, and memorable.
Prioritize the moments that matter most to you! Maybe that means private vows before the ceremony, a small dinner with close family, or spending extra time on the dance floor with friends. Not every wedding day needs to follow the same formula.
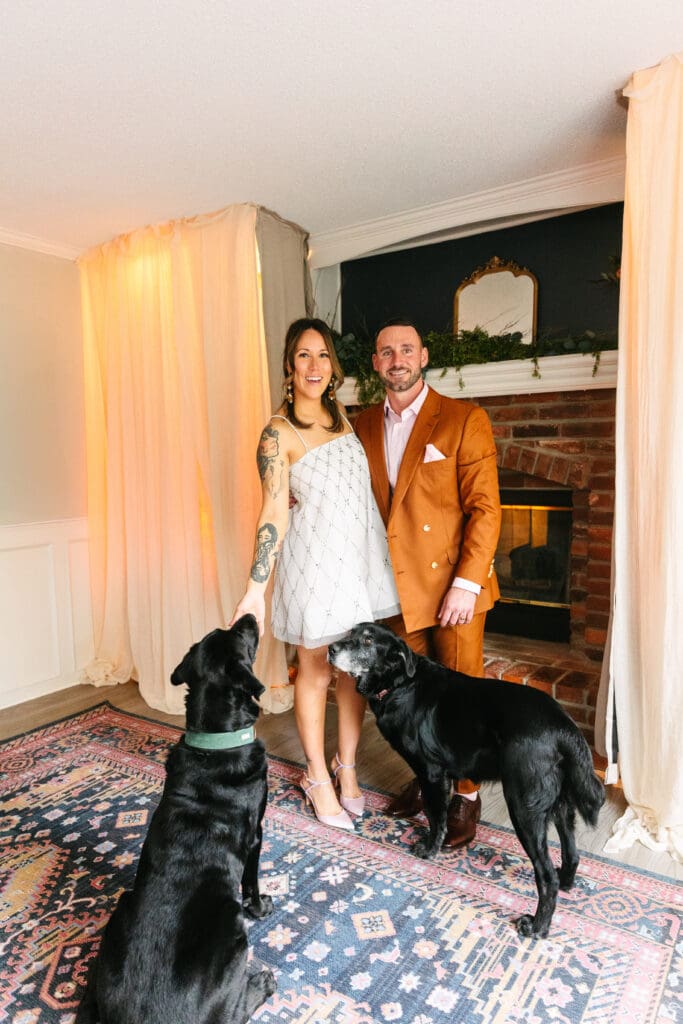

Think about the atmosphere you want your guests to experience. Some couples want an elegant black-tie celebration in Kansas City, while others prefer a cozy outdoor dinner under string lights. Neither option is more “correct.” The goal is creating a space that reflects your personalities and relationship.
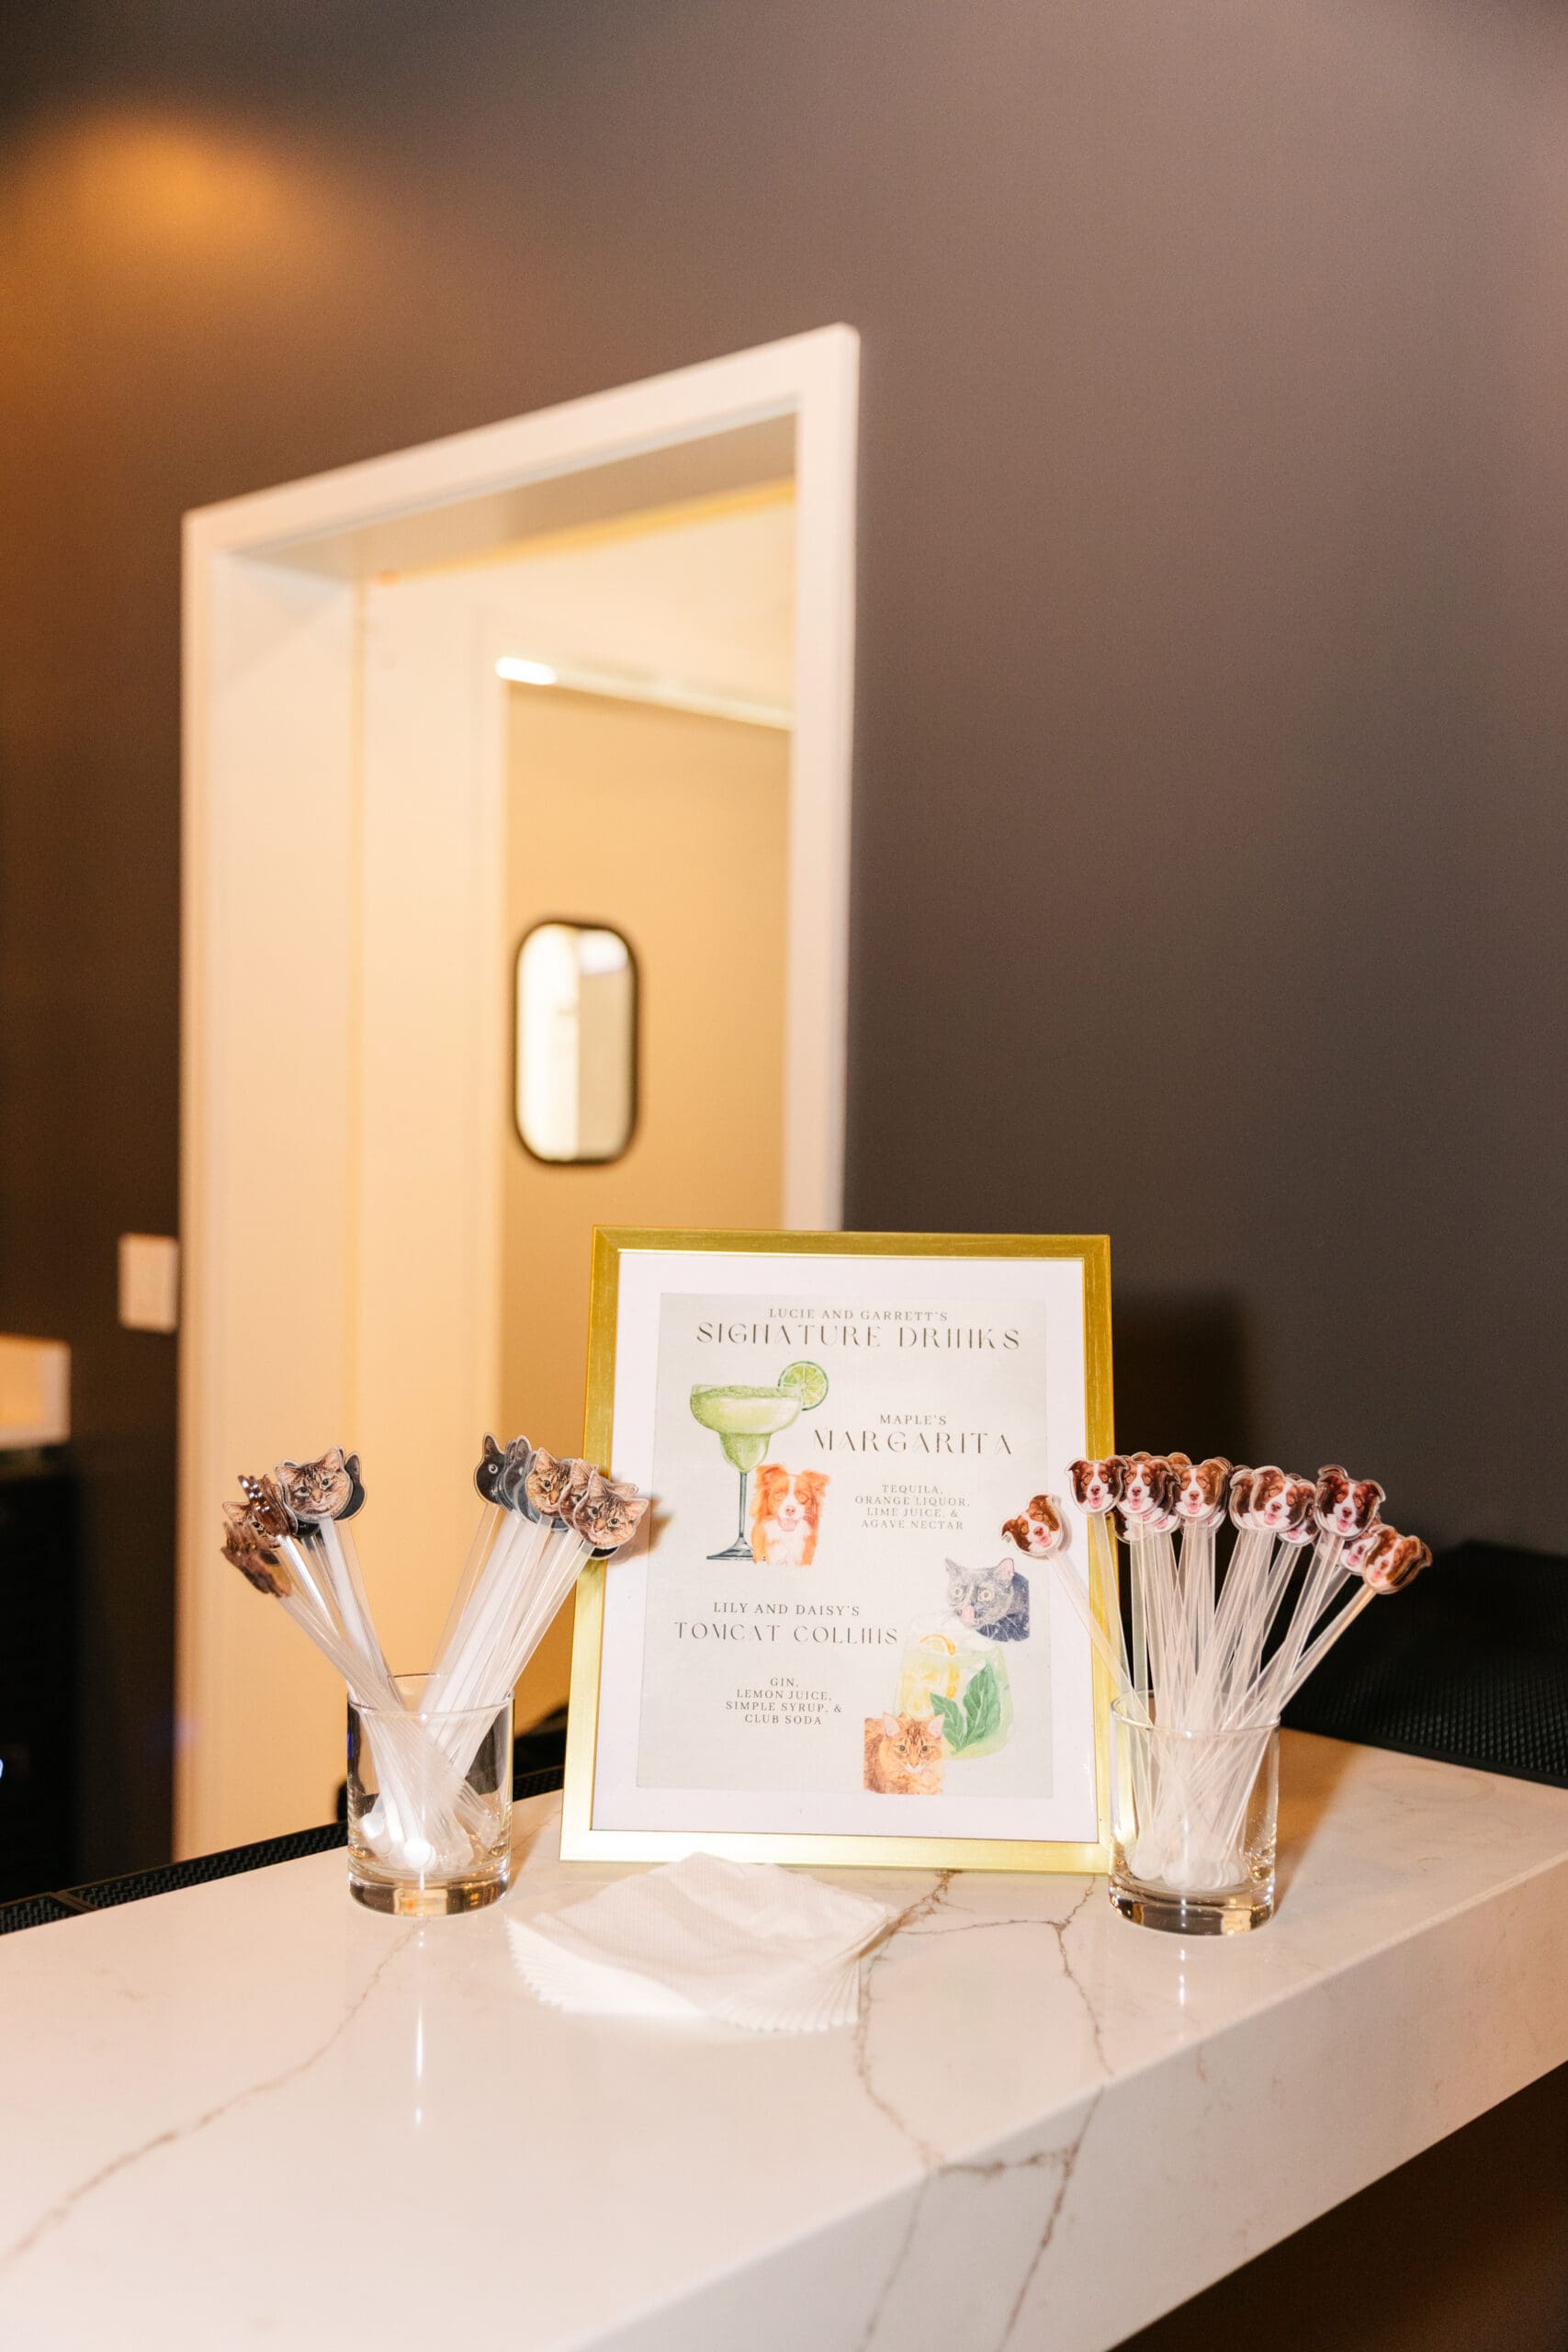
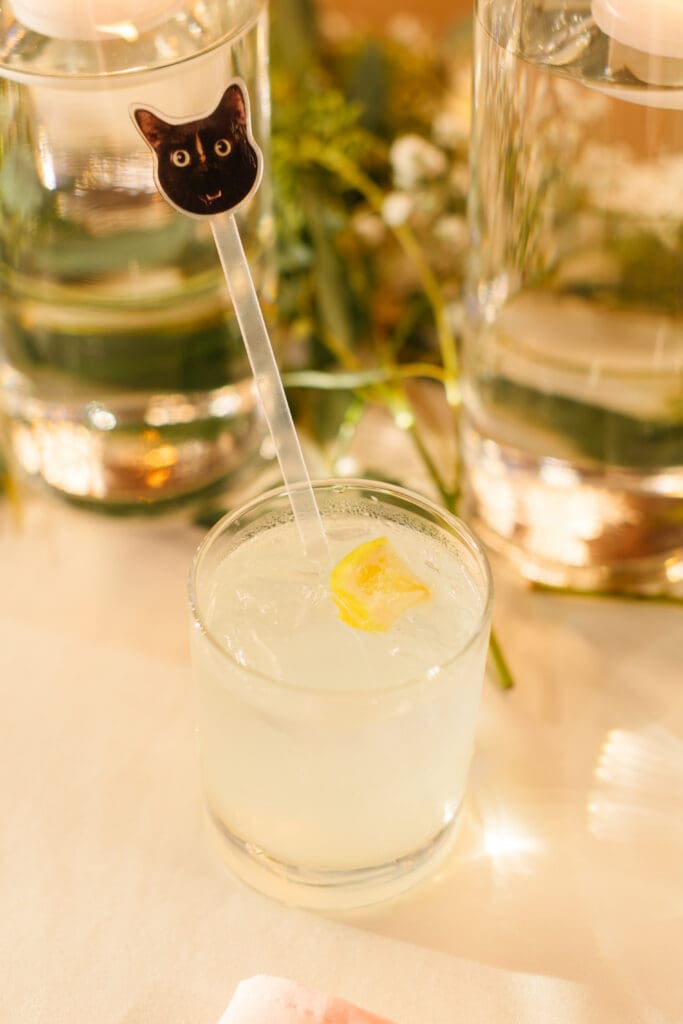
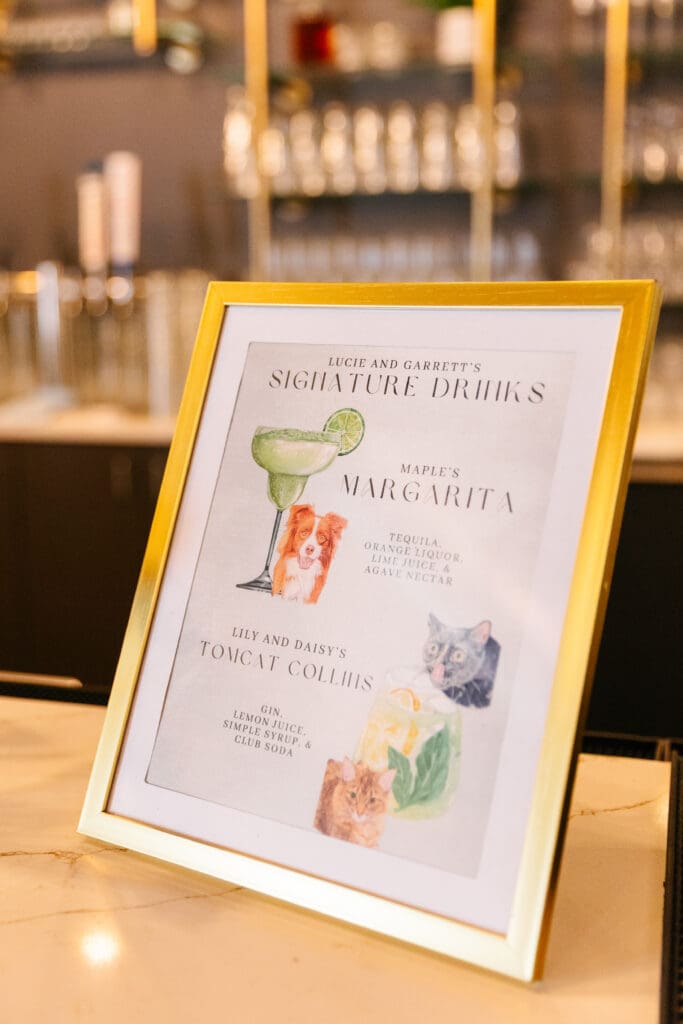
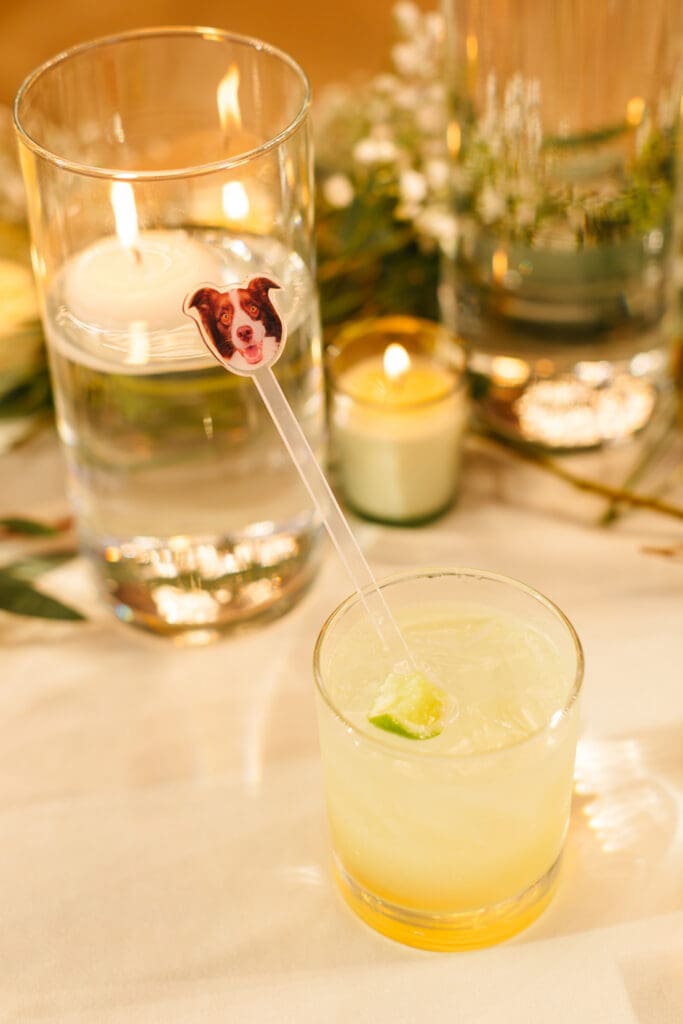
Another way to personalize your wedding day is through meaningful details. Family heirlooms, handwritten vows, favorite foods, signature cocktails, or music that tells your story all help create a celebration that feels authentic. As a result, the photographs often feel more emotional and connected, too.
Meanwhile, don’t feel pressured to include traditions that do not resonate with you. Some couples skip large bridal parties. Others choose private ceremonies followed by relaxed celebrations later. Your wedding day should support the experience you want to have, not simply meet outside expectations.
Most importantly, remember that your guests will remember how the day felt. Genuine connection, joy, and intentional moments always leave a stronger impression than perfectly following trends. At the end of the day, the most beautiful weddings are the ones that reflect the couple at the center of them.
Frequently Asked Questions:
Meaningful details, intentional traditions, and a relaxed timeline all help create a personalized wedding experience.
Authentic weddings focus on connection, meaningful moments, and details that genuinely reflect the couple.
Not at all. Many couples are choosing celebrations that better reflect their personalities and priorities!
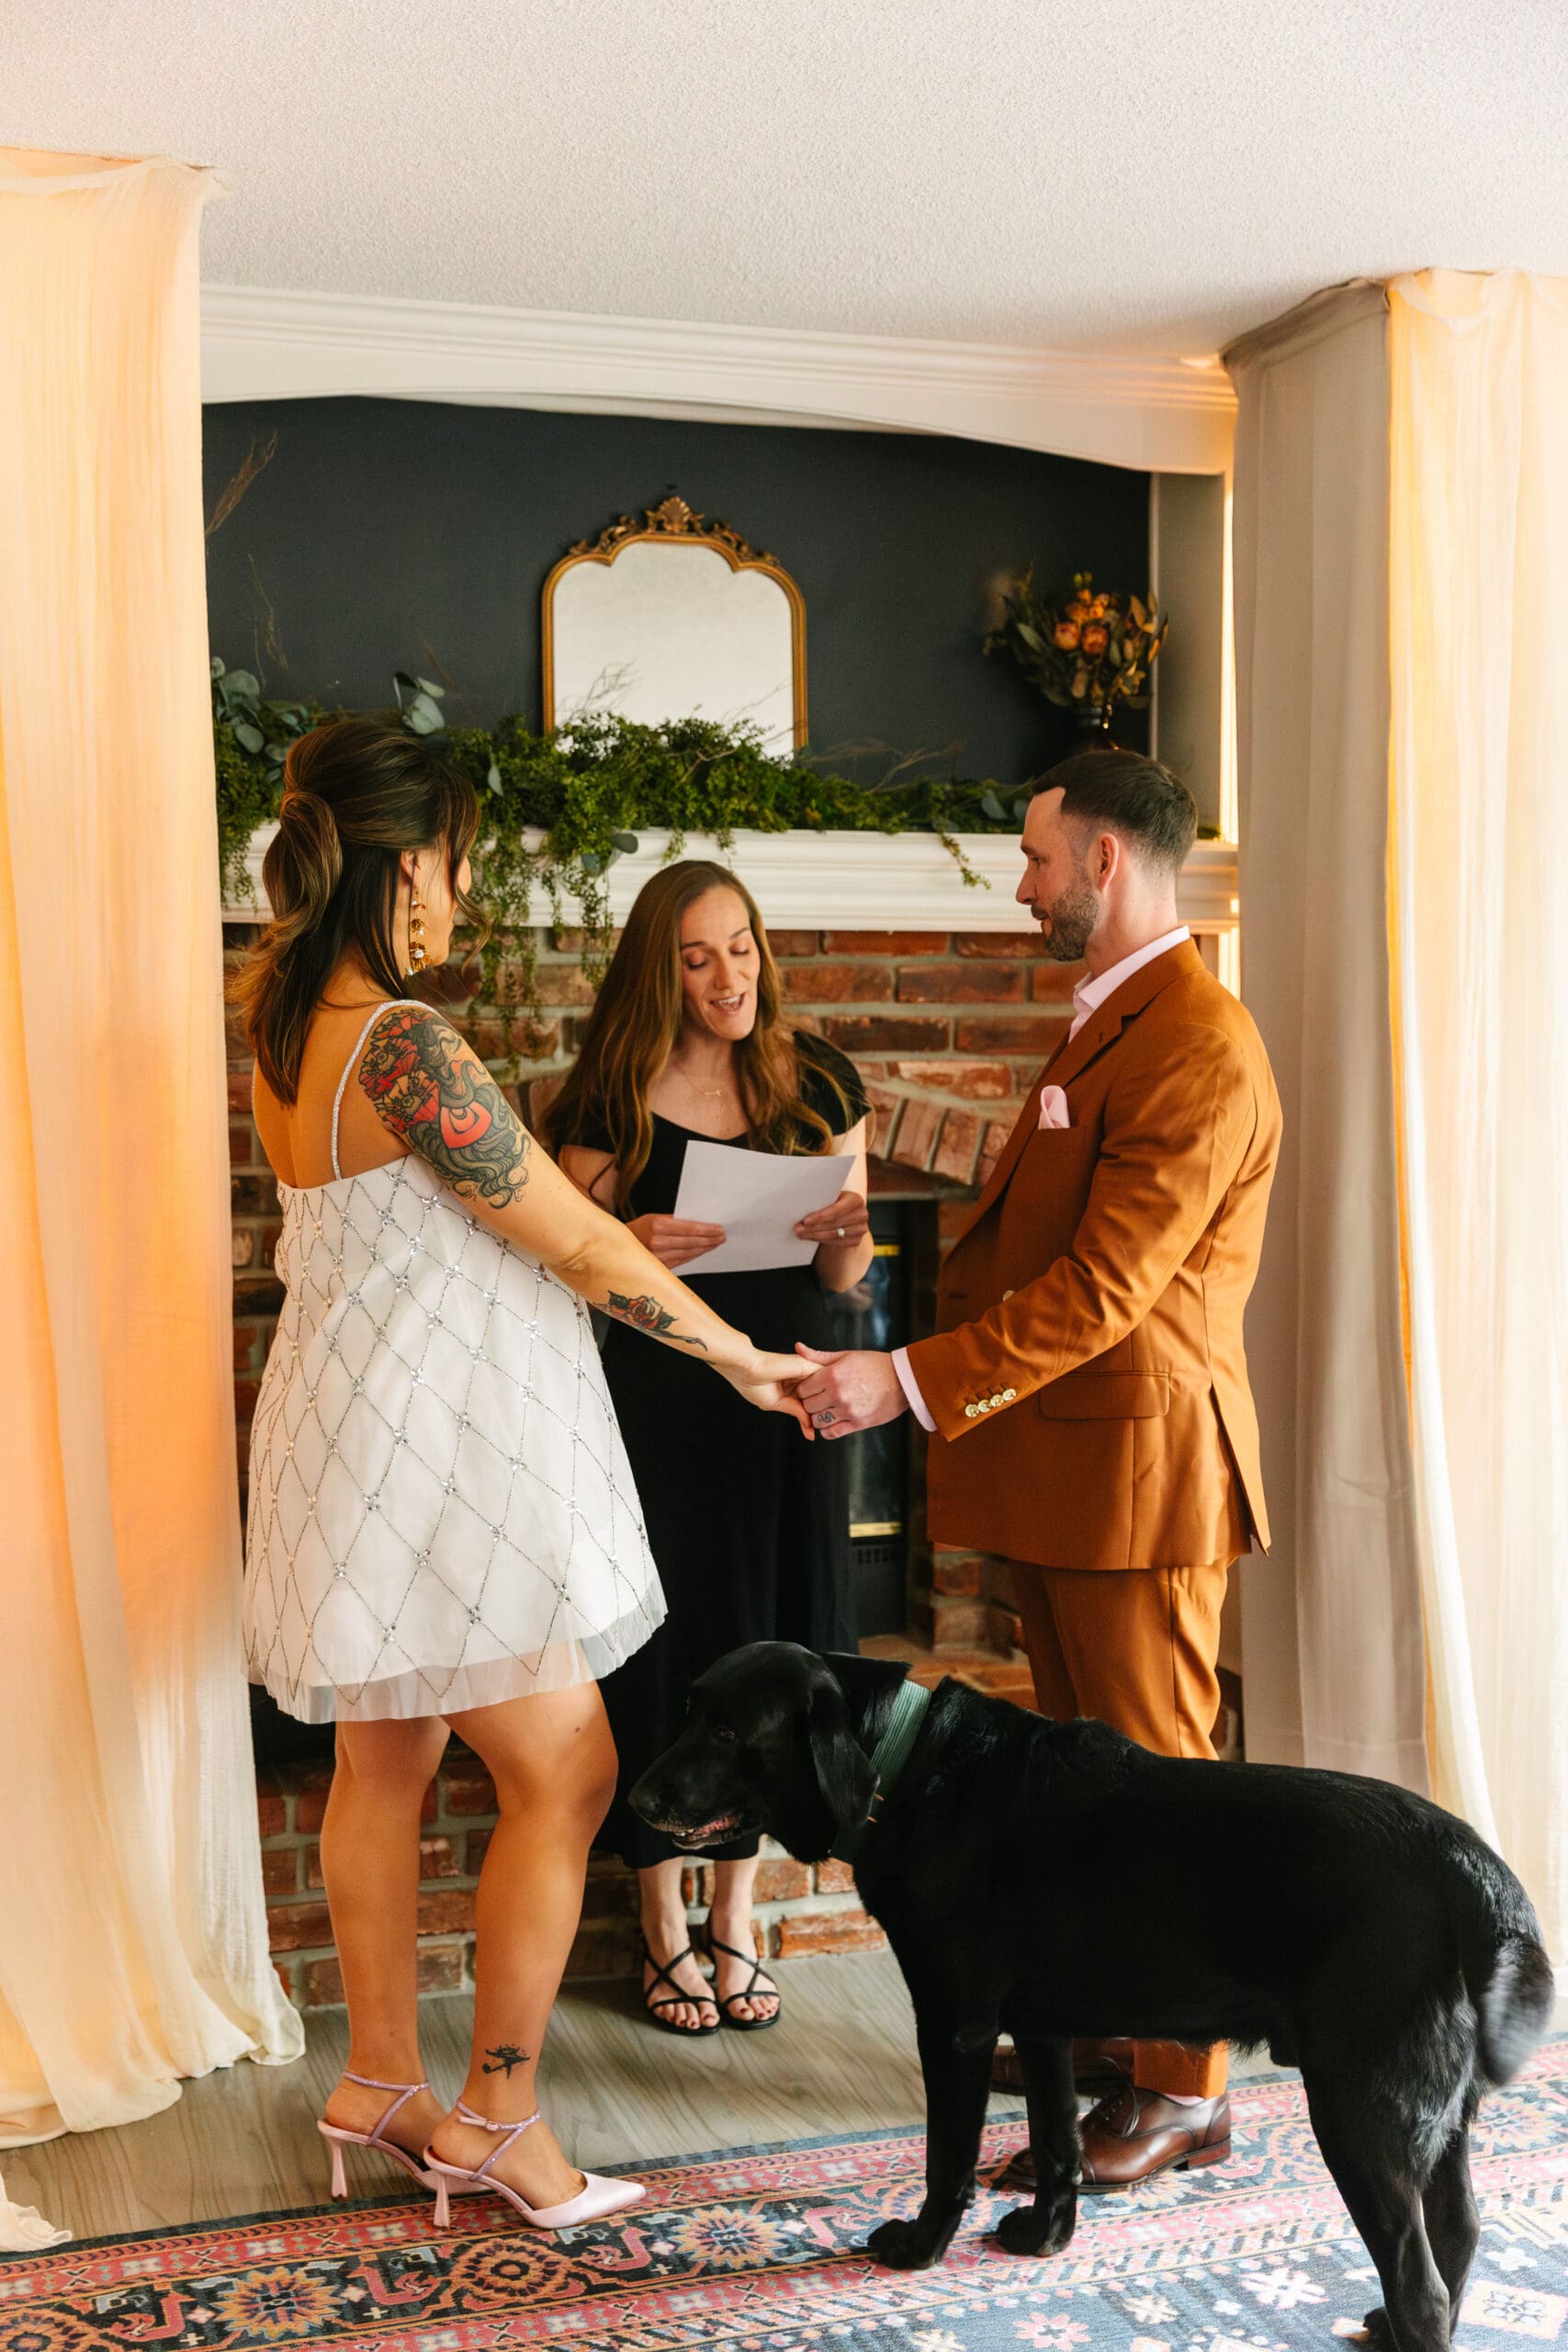
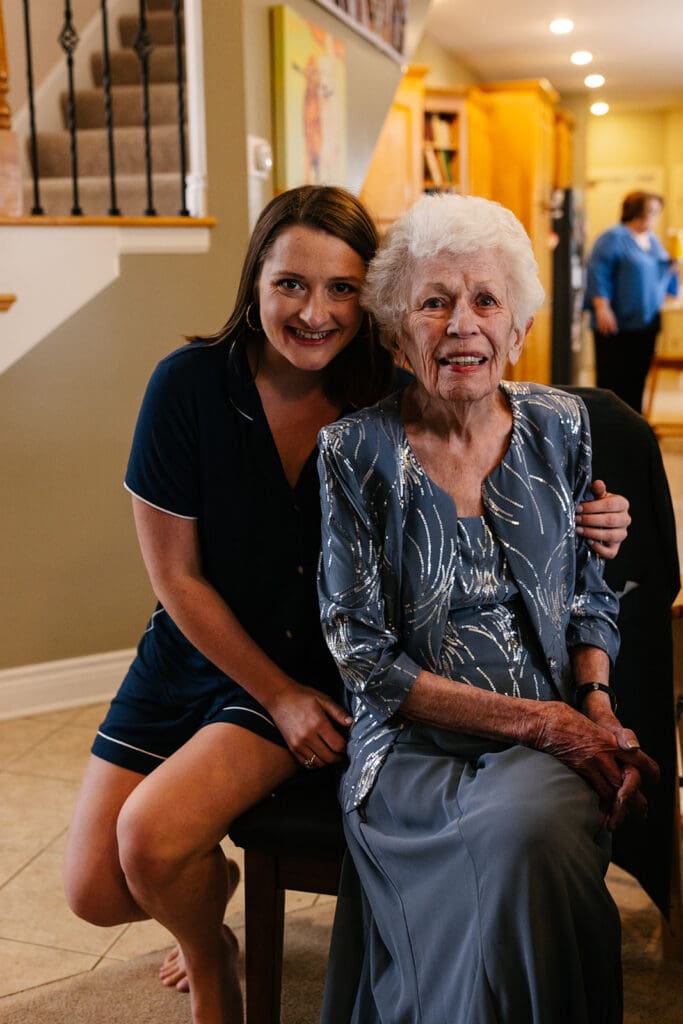
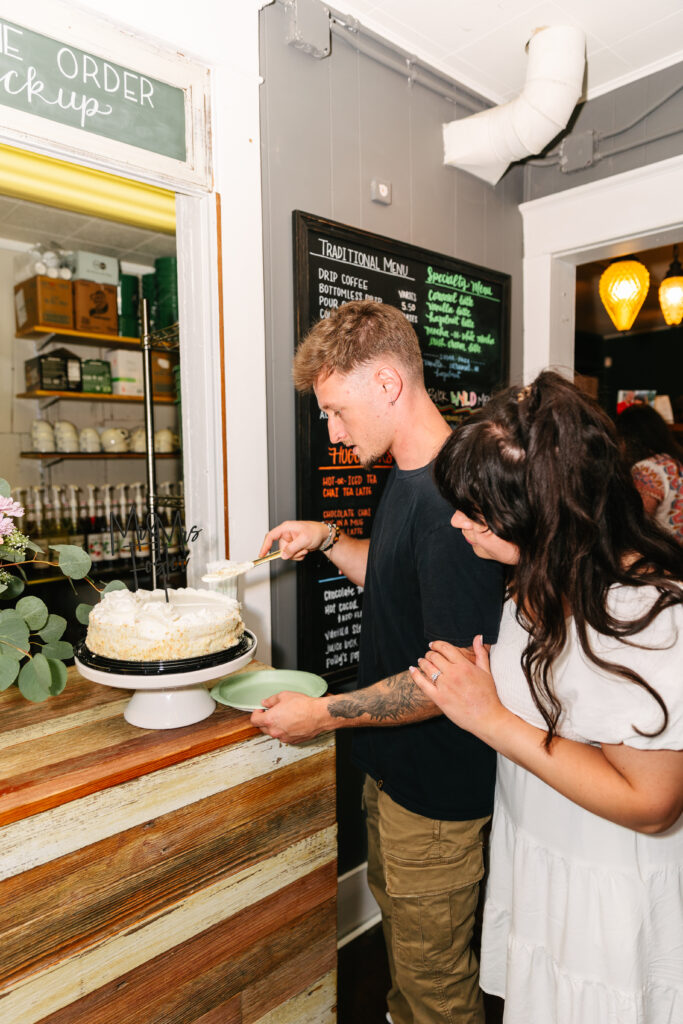
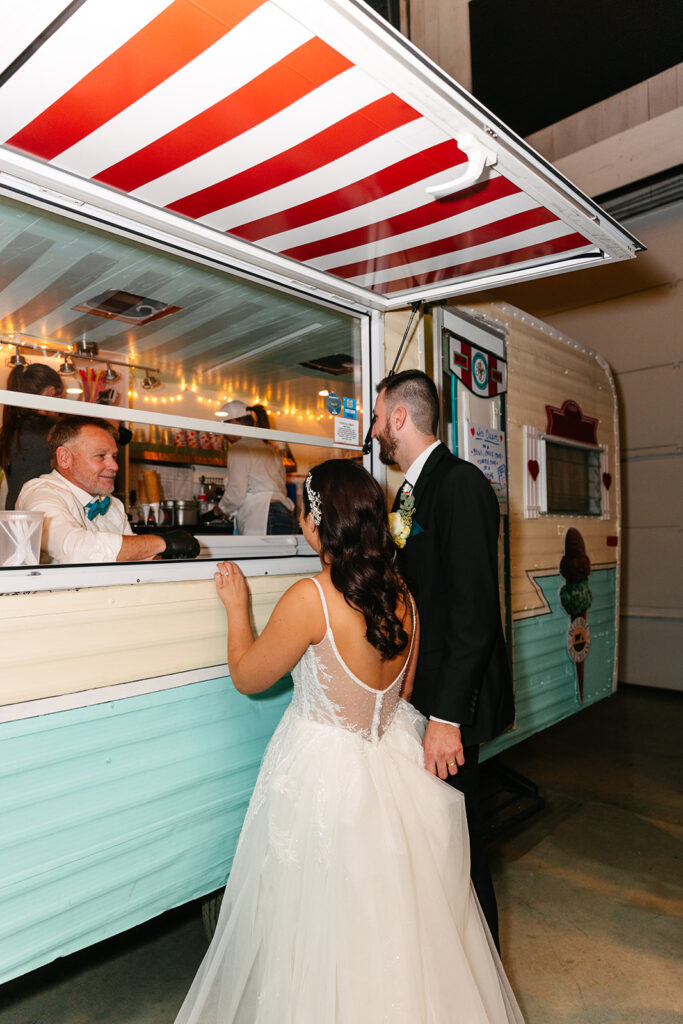
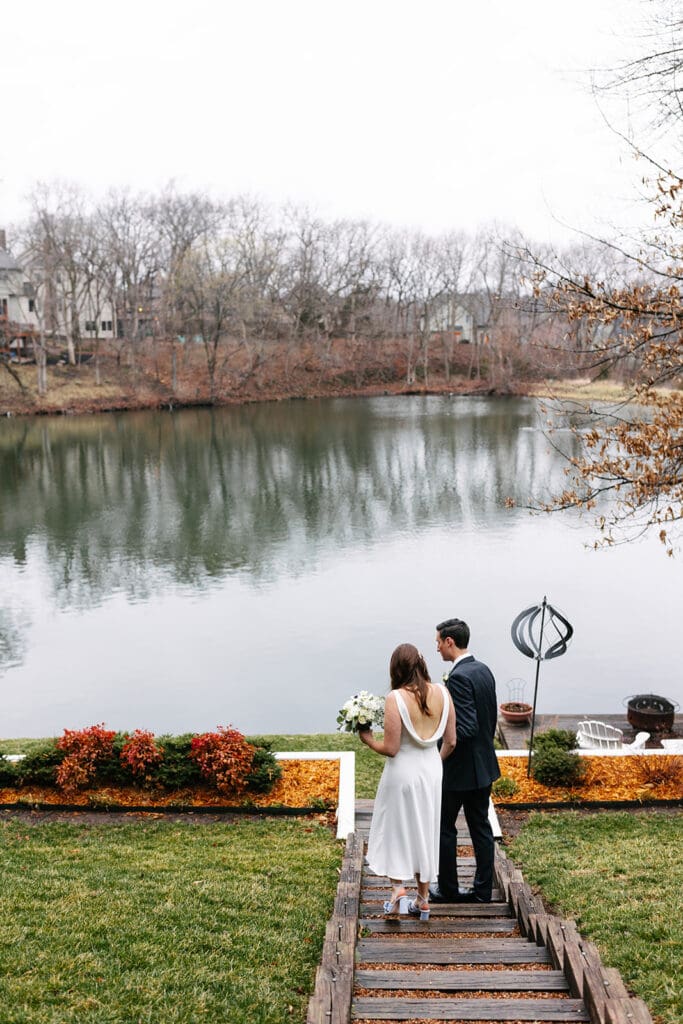
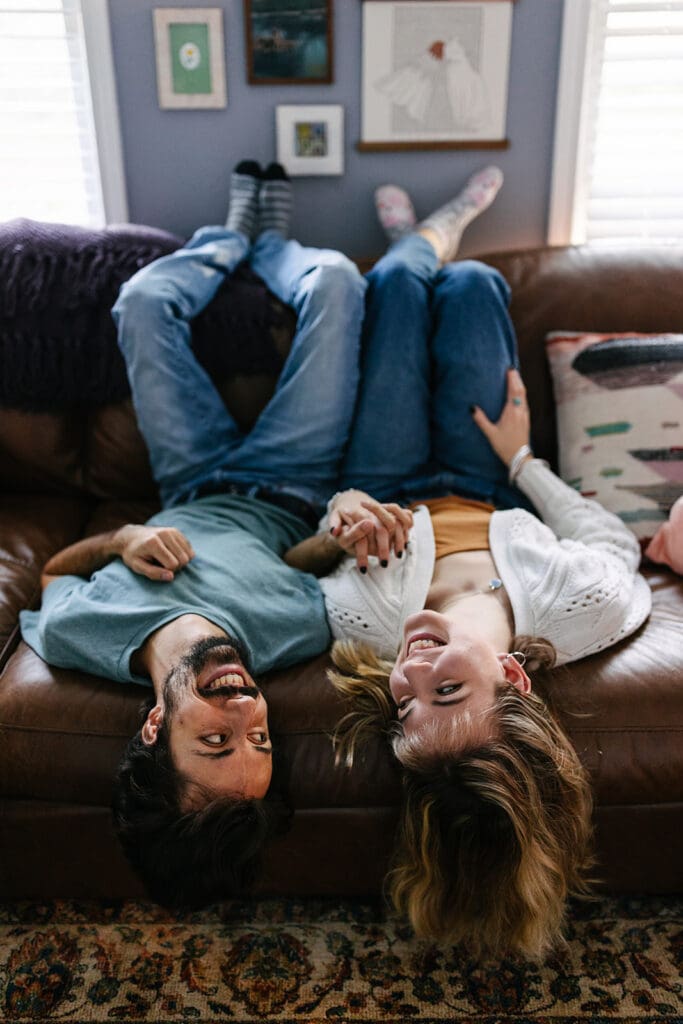
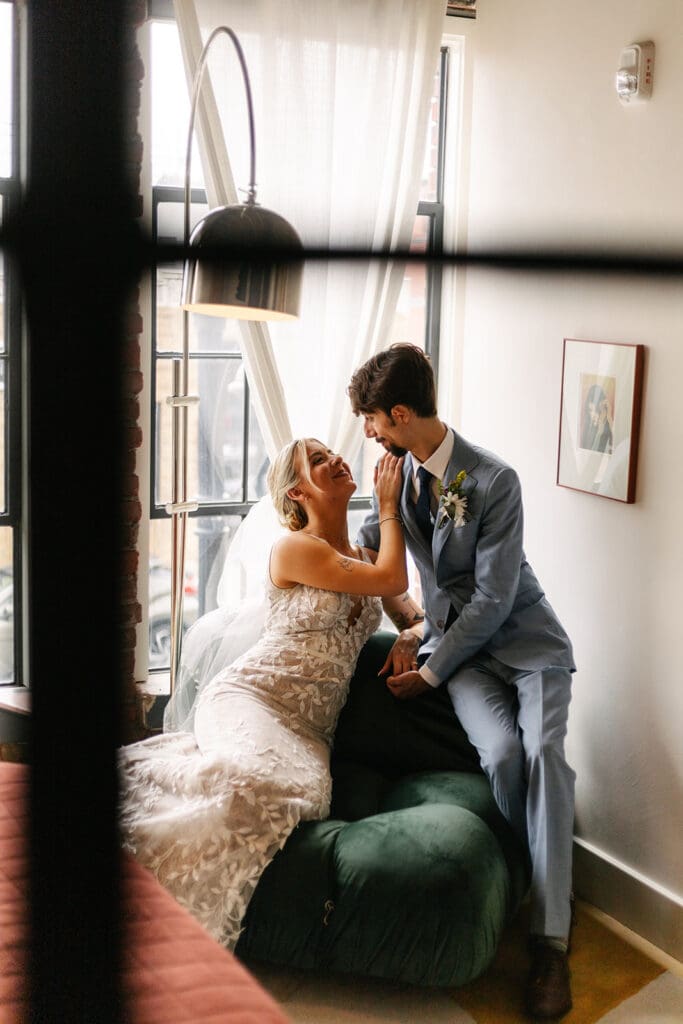
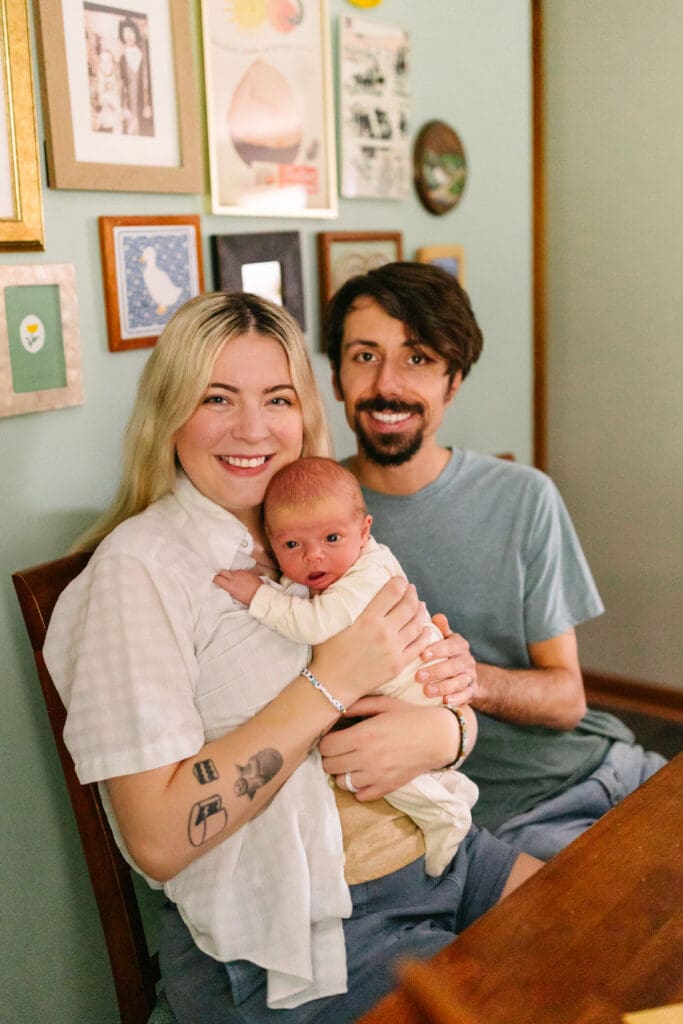
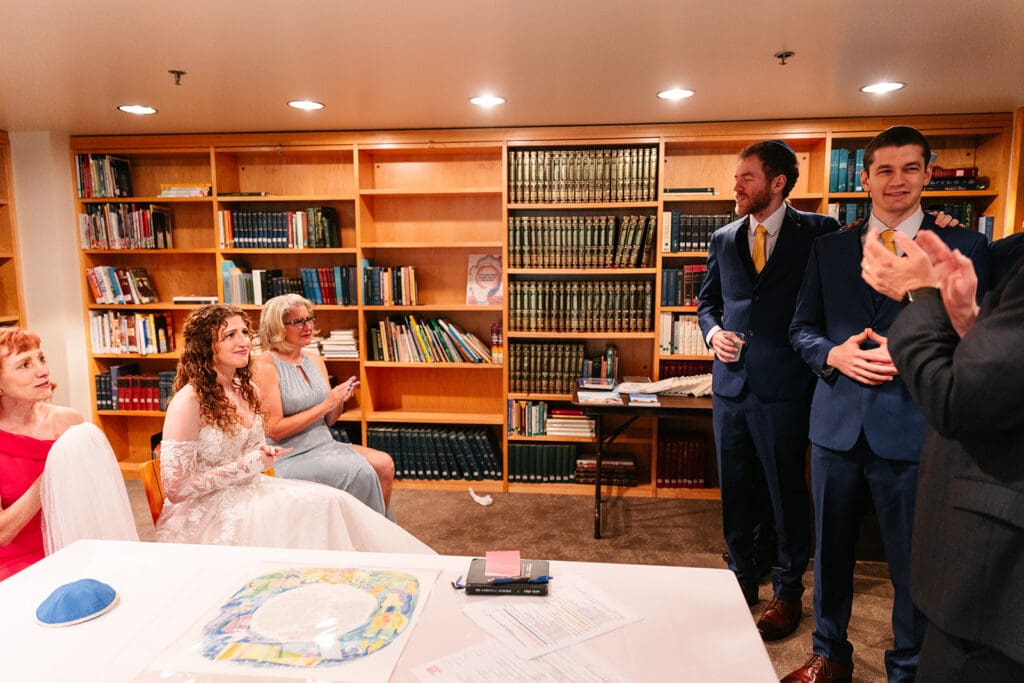
There is something incredibly meaningful about intimate at-home weddings. More couples are embracing at-home weddings as a way to create celebrations that feel personal, relaxed, and deeply connected to the people around them.
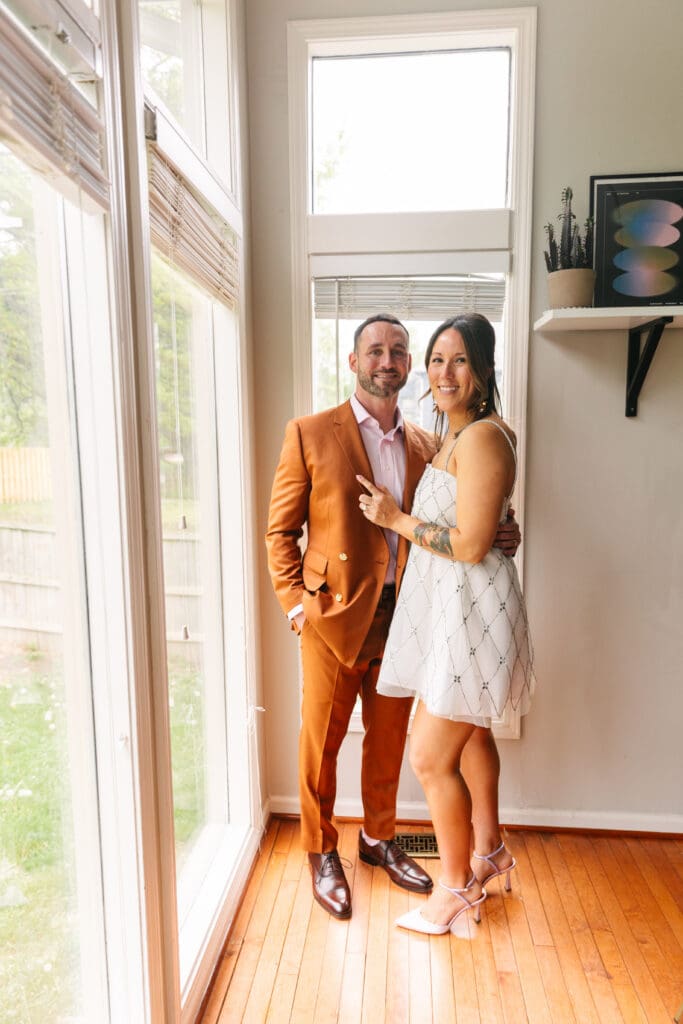
Instead of focusing on large productions or packed timelines, these weddings prioritize presence and authenticity. As a result, the day often feels emotional in the best possible way.
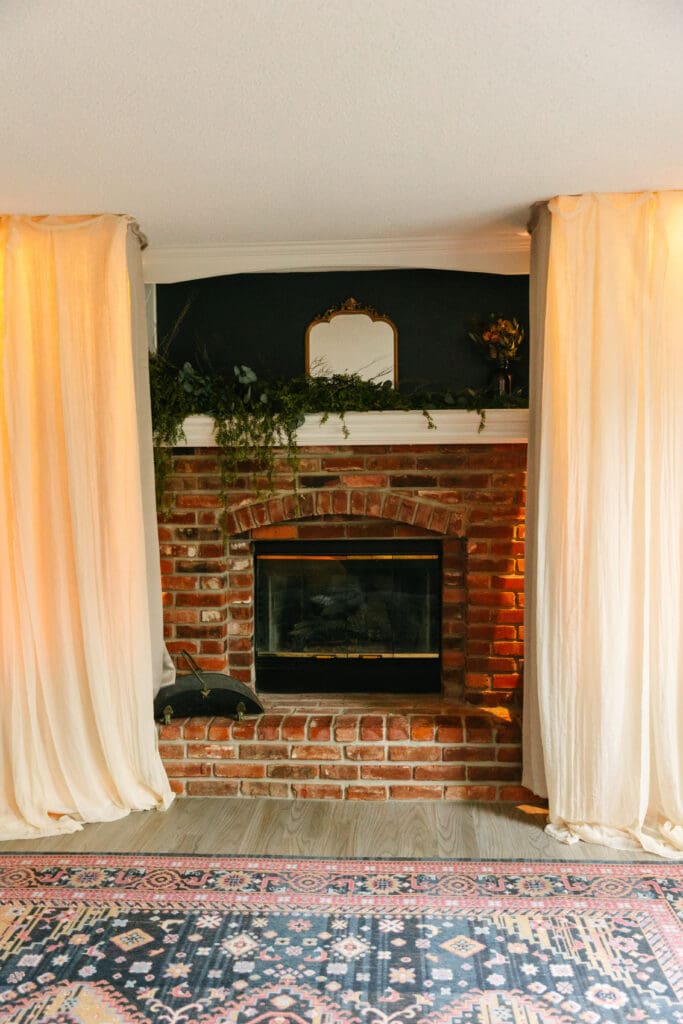
First, at-home weddings naturally create comfort. Couples get ready in familiar spaces, exchange vows surrounded by meaningful memories, and celebrate in places that already hold significance in their lives. Because of that, the day often feels less stressful and more intentional.


Smaller guest counts allow couples to spend more quality time with the people they love most. Rather than rushing through conversations, they can slow down and truly experience the celebration together.
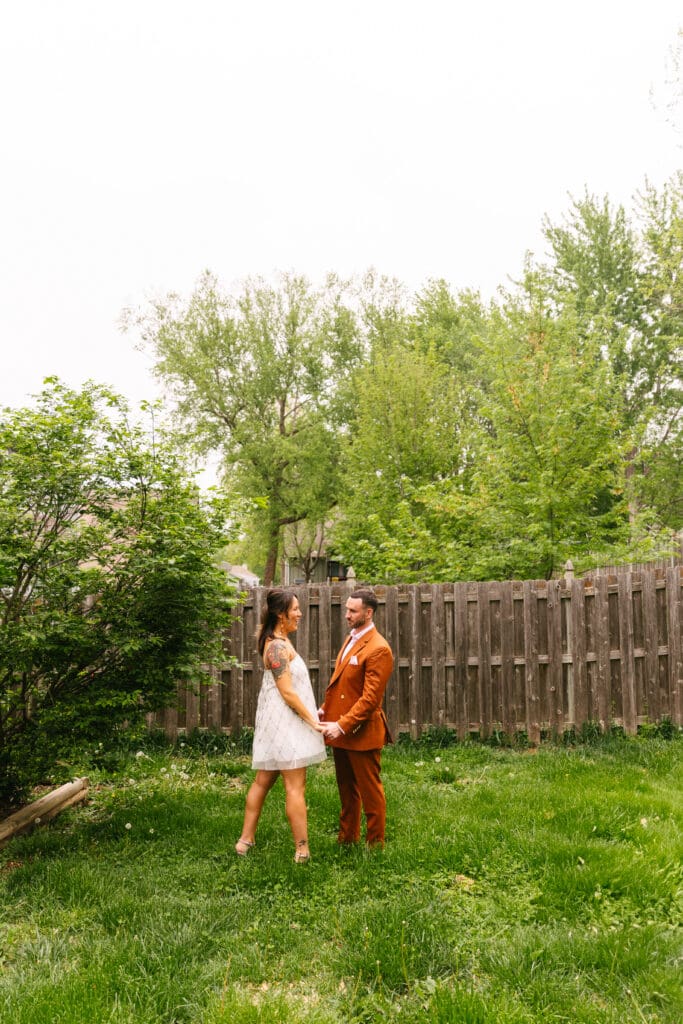
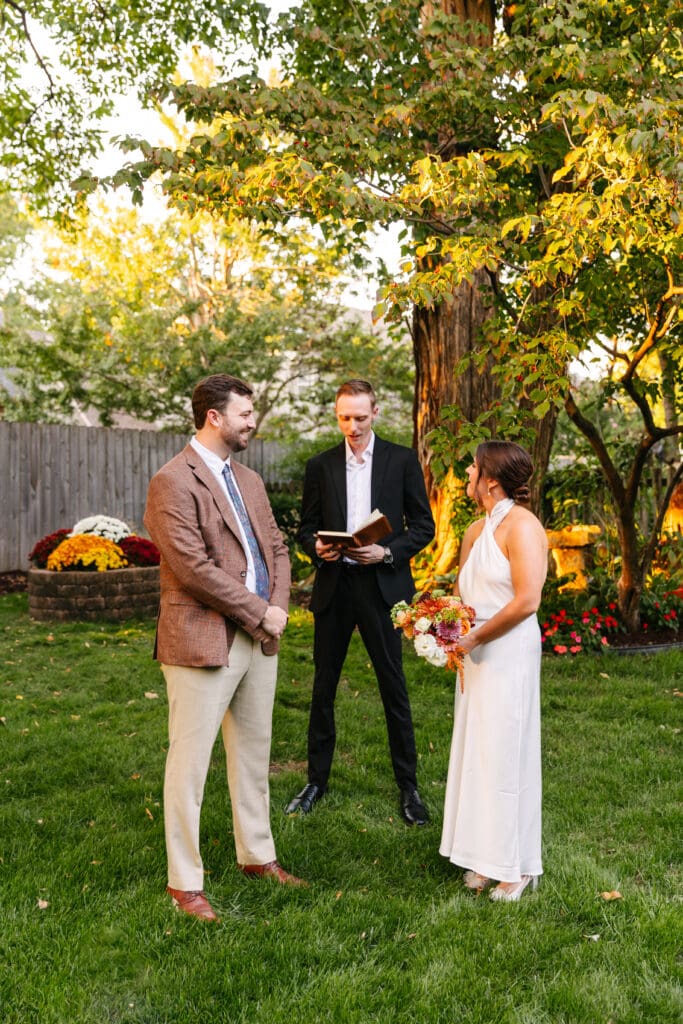
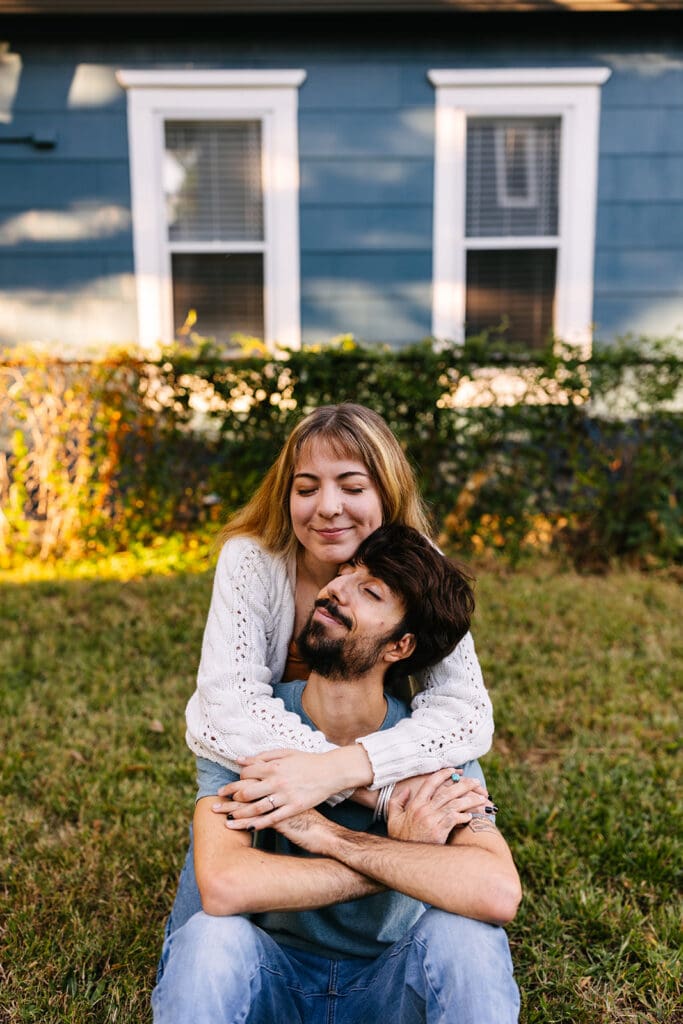
Another reason couples love intimate weddings is the flexibility they provide. Some couples transform backyards into elegant dinner-party receptions with candlelight and string lights. Others keep things simple with family-style dinners and heartfelt toasts. Either way, the atmosphere feels deeply personal.
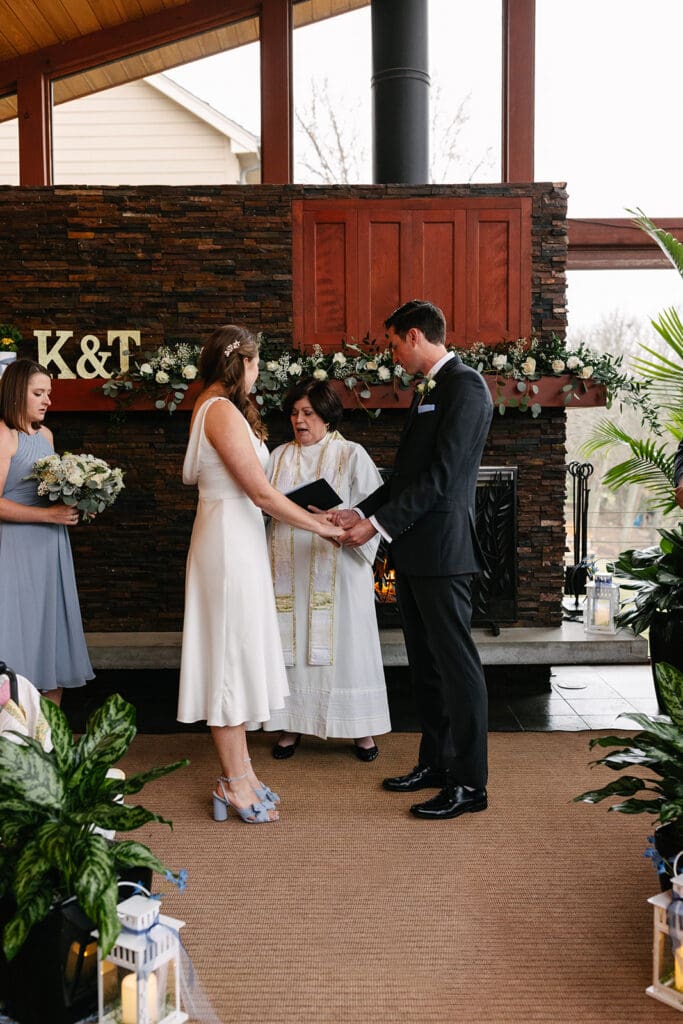
From a photography standpoint, intimate at-home weddings create beautiful storytelling opportunities. Personal details, family heirlooms, and emotional interactions naturally become part of the gallery. Consequently, the photographs feel authentic and connected to the couple’s real life.
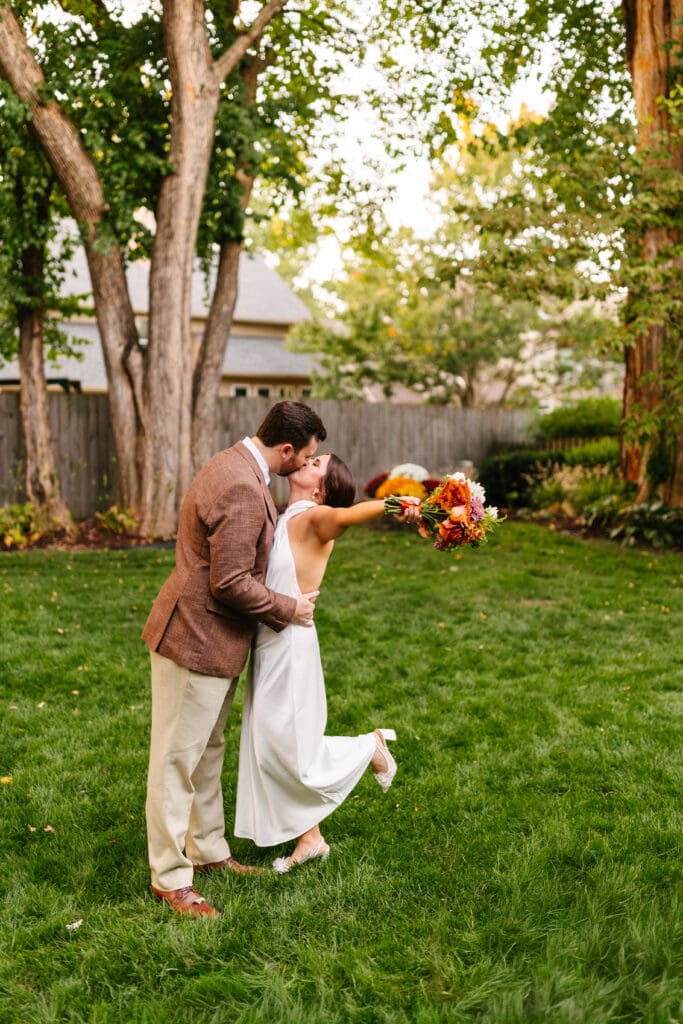
Most importantly, intimate weddings remind couples that a meaningful celebration does not need to feel extravagant. Sometimes the most beautiful wedding days happen in the places that already feel like home.
Frequently Asked Questions:
Yes! Many couples are choosing intimate at-home weddings because they feel more personal, relaxed, and meaningful.
Absolutely! Familiar spaces, natural interactions, and meaningful details create emotional, storytelling-rich photographs.
100%, yes! Intimate weddings often feel incredibly elevated because couples can focus intentionally on meaningful details and experiences.
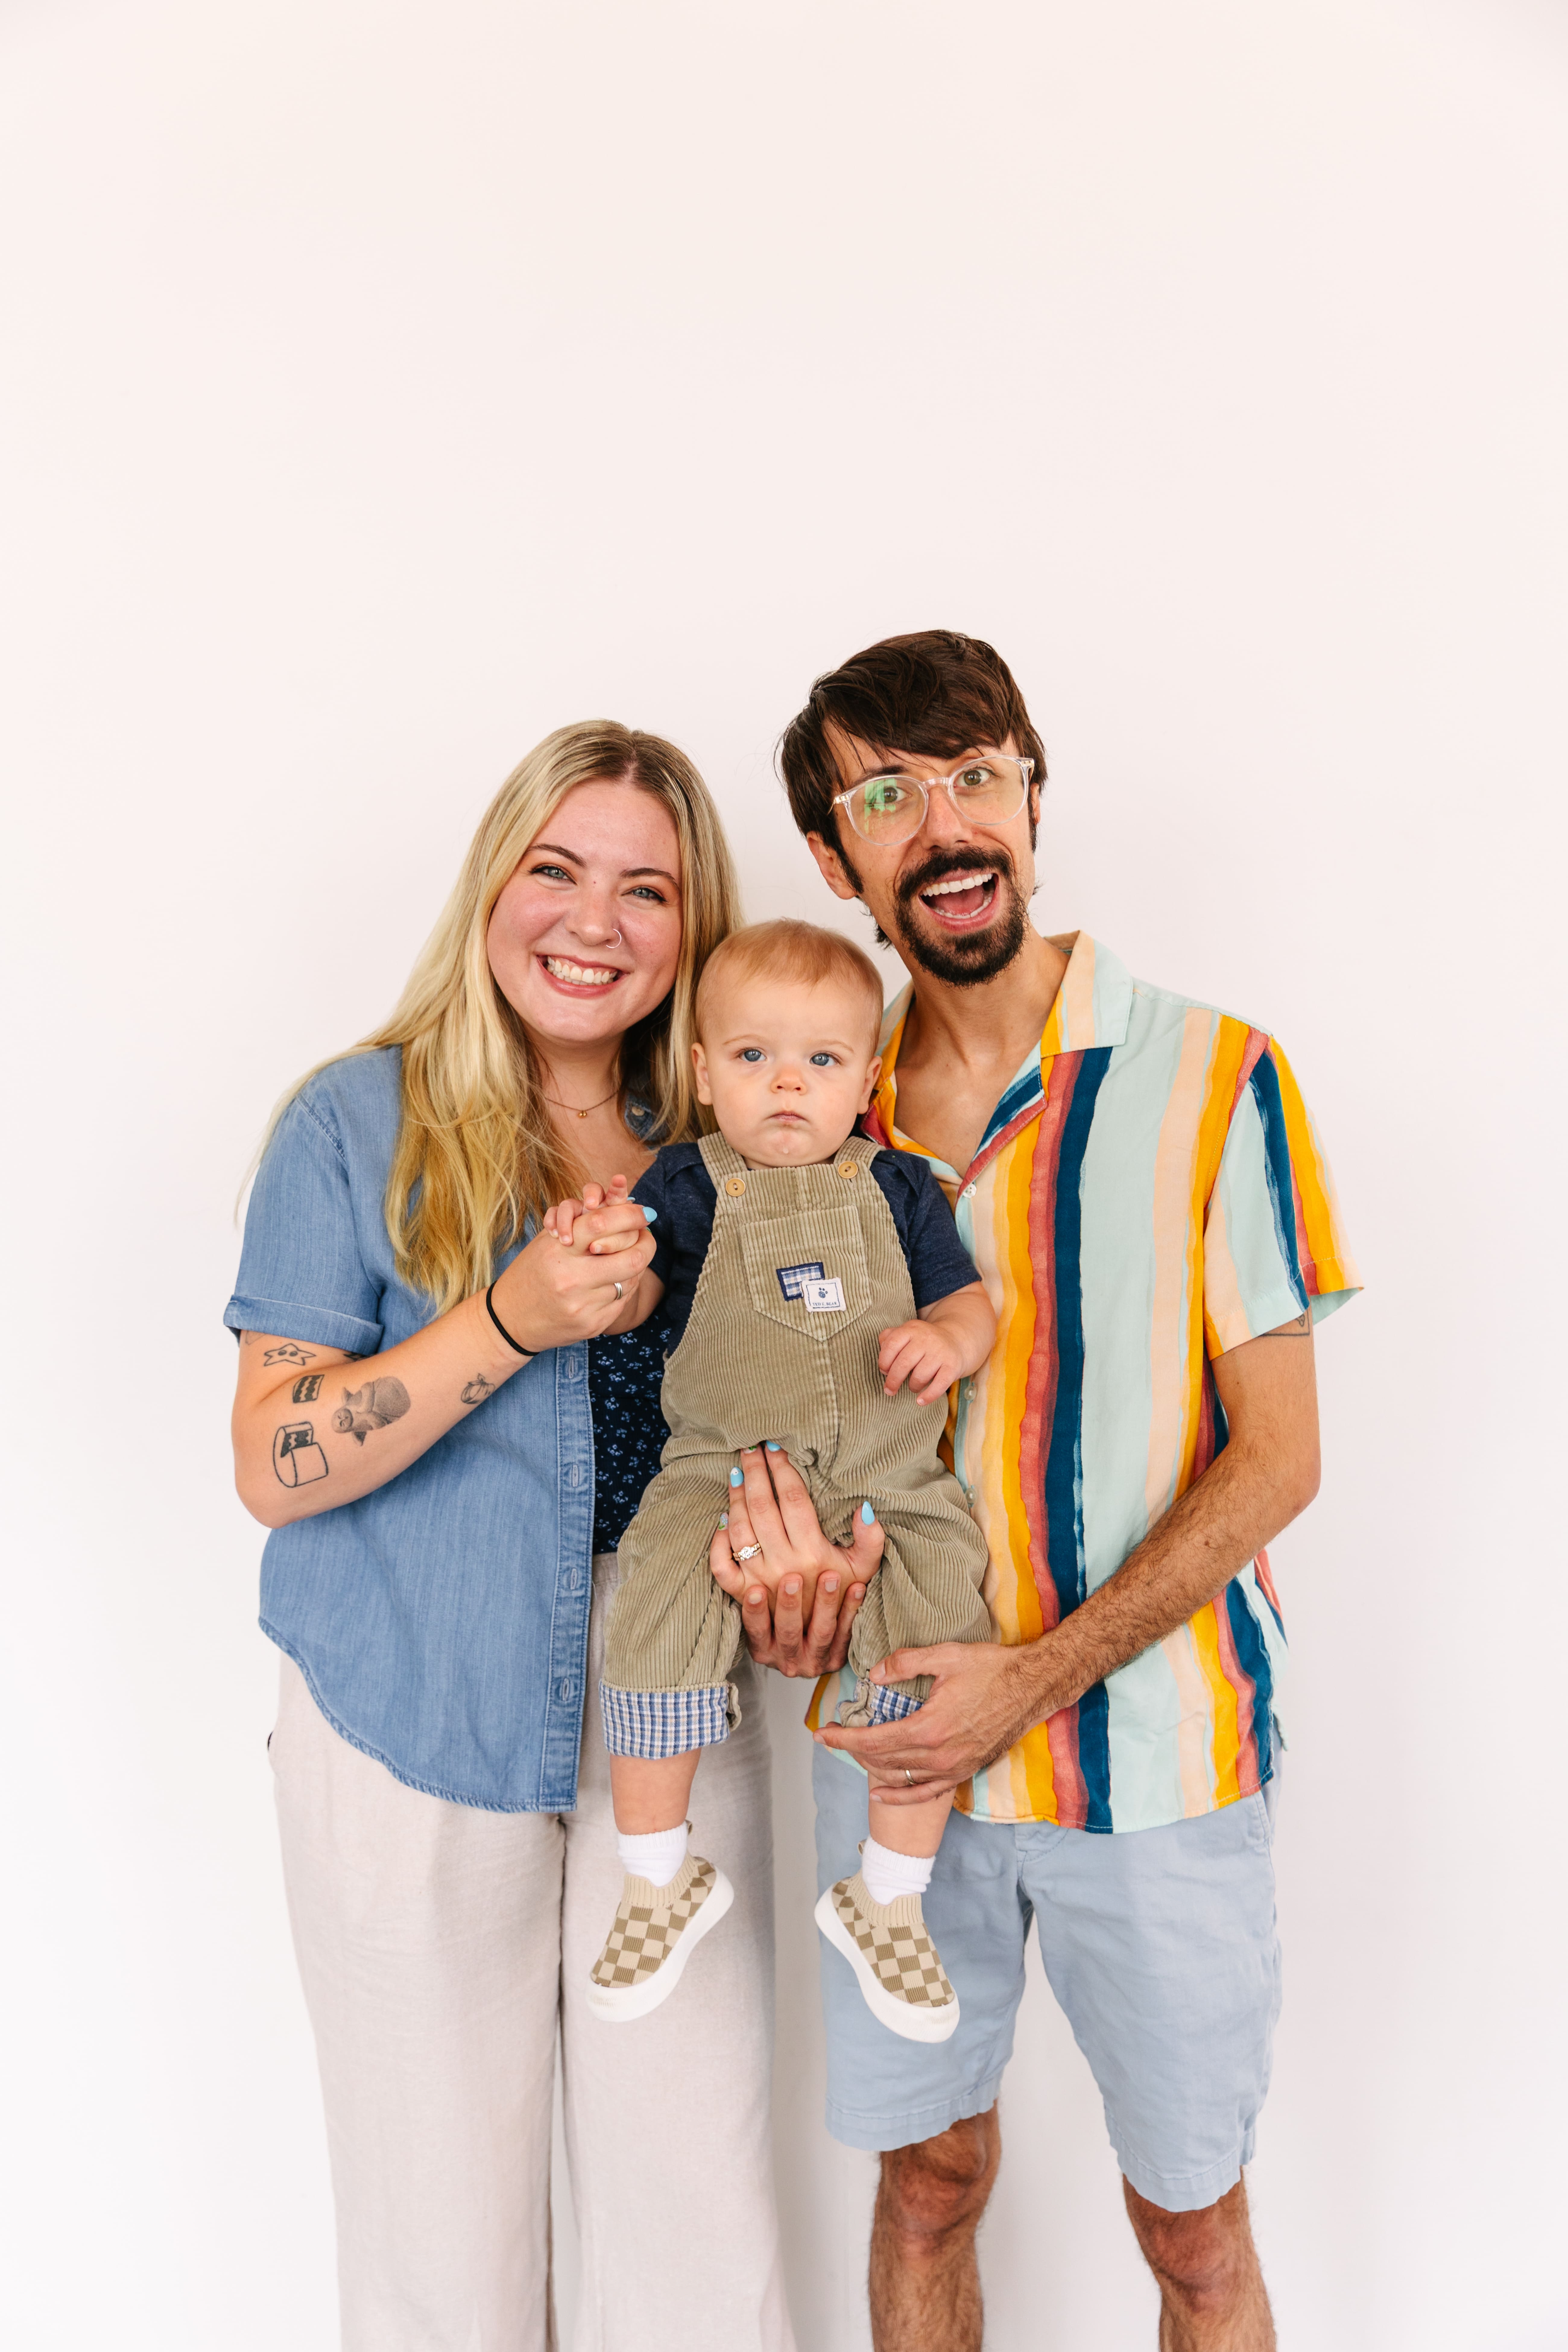
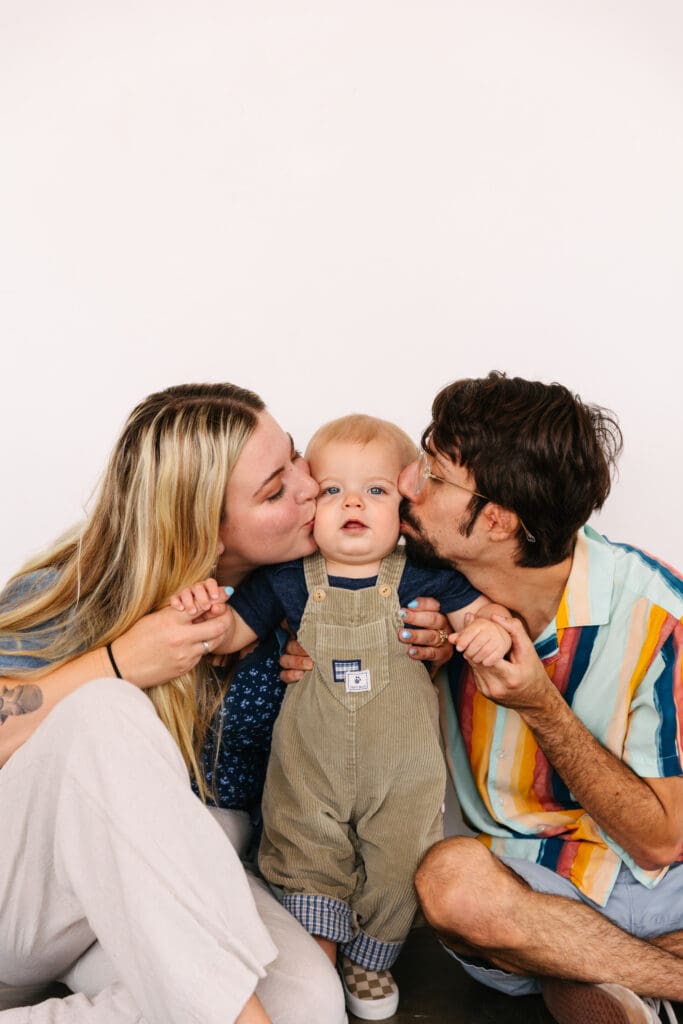
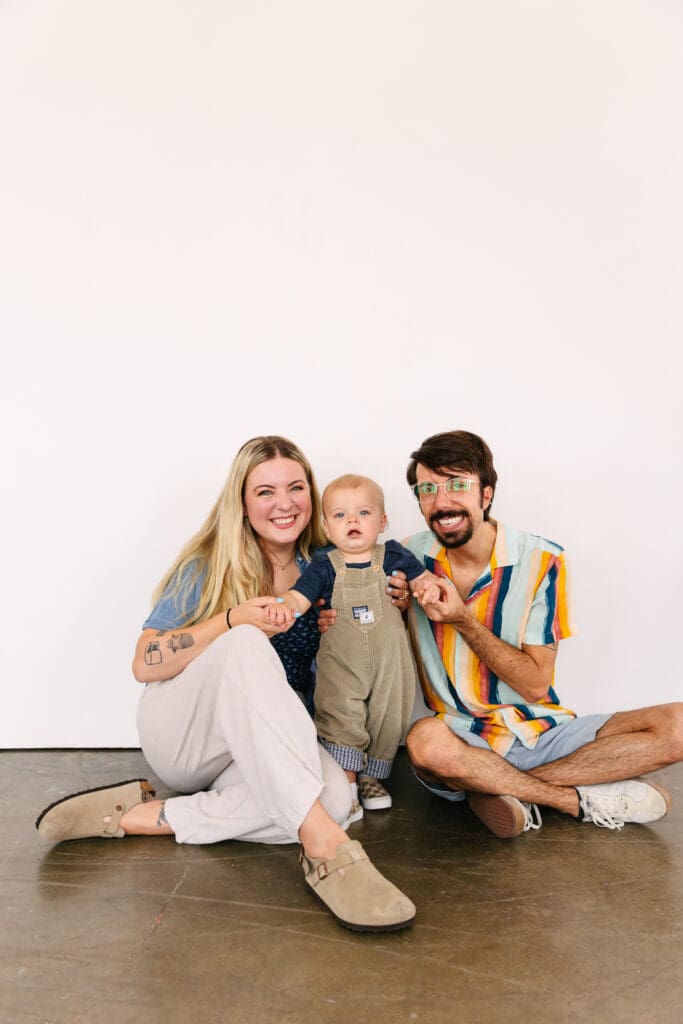
When thinking about professional photographs, weddings and engagements usually come to mind first. However, many people are discovering the value of milestone sessions long before and after the wedding. The value of milestone sessions goes far beyond updated photographs! These sessions preserve connection, growth, and the quiet beauty of every season of life.

Milestone sessions document everything from graduation to growing families. They celebrate the life your building and capture the sweet moments you don’t want to forget!
First, milestone sessions create intentional time and space to remember the present. Life gets busy quickly between work, routines, and family responsibilities. Because of that, many people love having a reason to slow down. These sessions often feel relaxed!
Additionally, milestone sessions help tell a fuller story over time. Maybe your first session takes place downtown in Kansas City. Then, you capture your engagement and wedding. A few years later, you return with children or celebrate another milestone together. Those photographs become part of your family legacy!
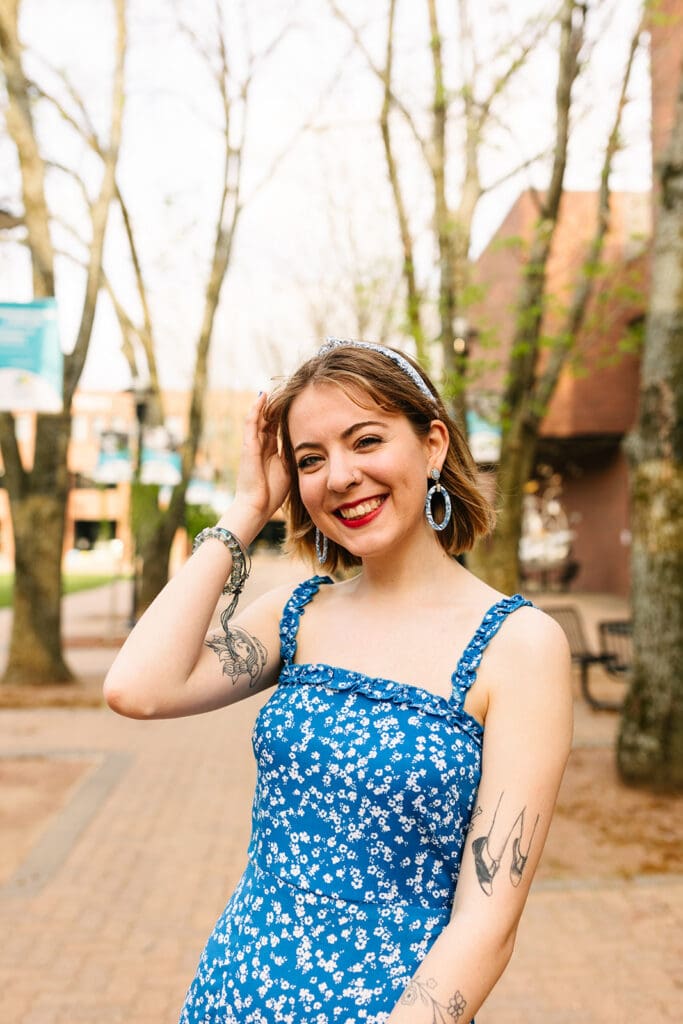
Another reason people love milestone sessions is the freedom they provide. Unlike a wedding day, there is no strict timeline or pressure. You can choose meaningful locations, wear outfits that feel authentic, and simply enjoy being present! As a result, the photographs often feel natural and genuine.
Most importantly, your journey deserves to be celebrated and remembered! Love continues to grow and evolve over time. Milestone sessions simply create space to honor that journey together.

Frequently Asked Questions:
Many people schedule sessions near their anniversary date, but it can be for any meaningful season!
Not at all. Life deserves to be celebrated and documented!
Not at all. Every year of marriage deserves to be celebrated and documented!
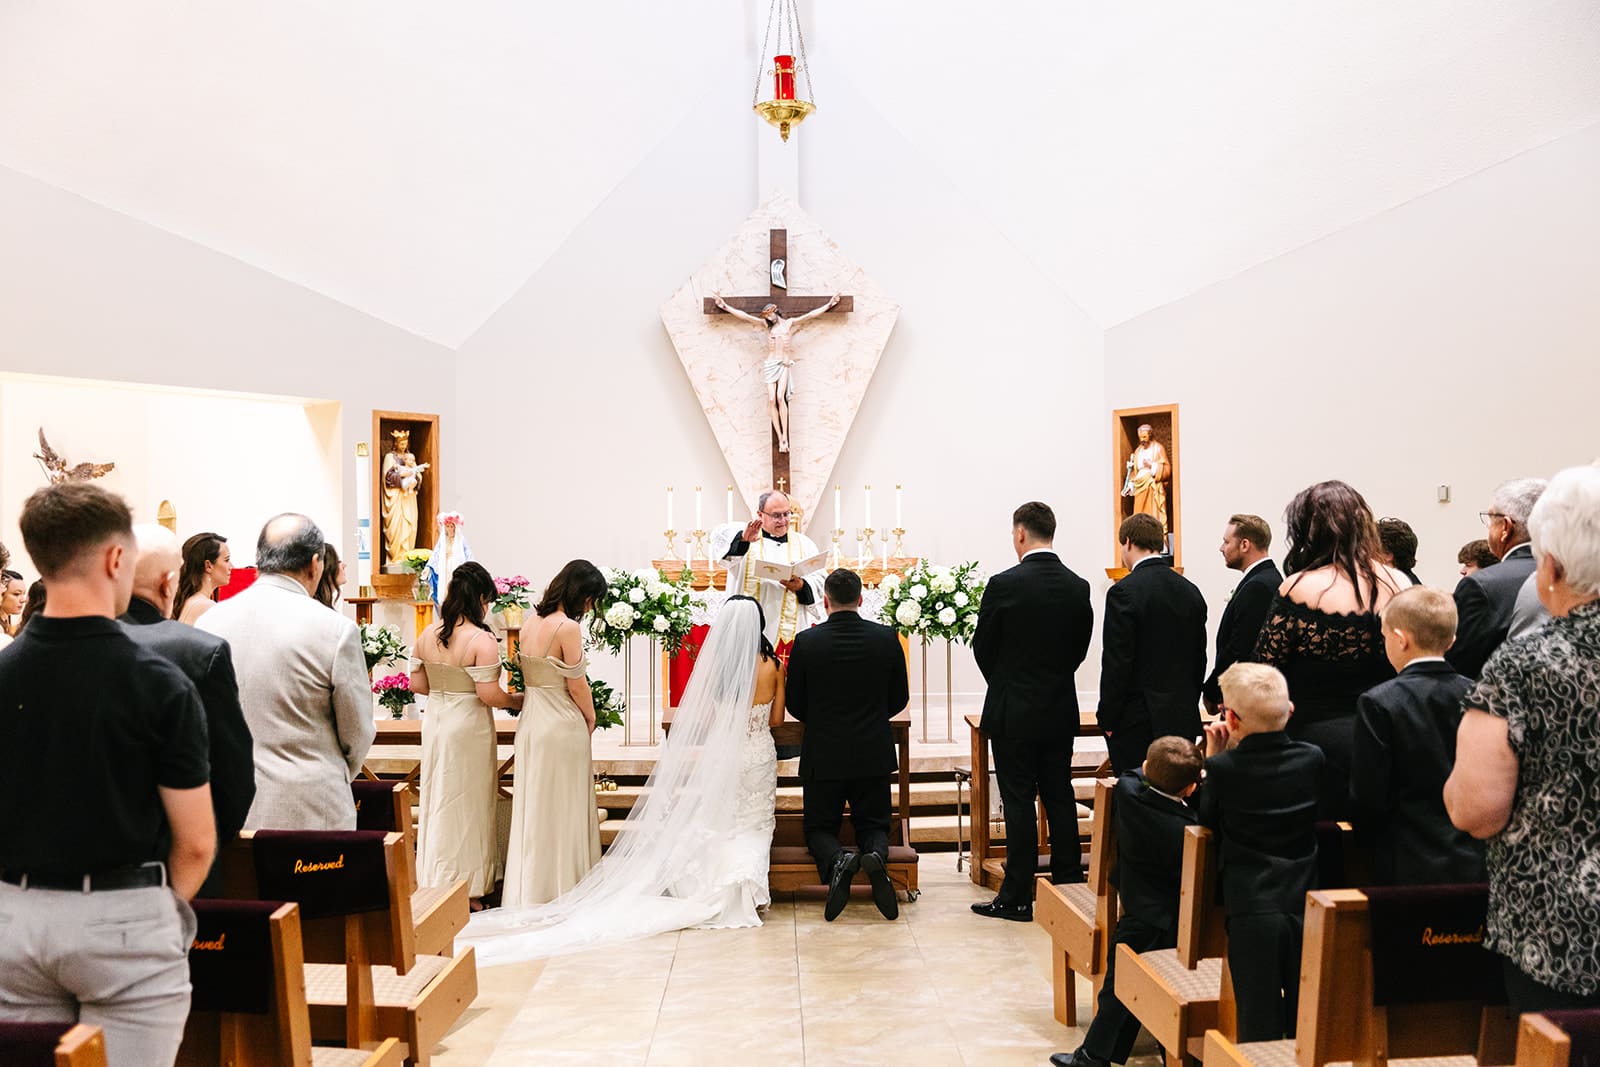
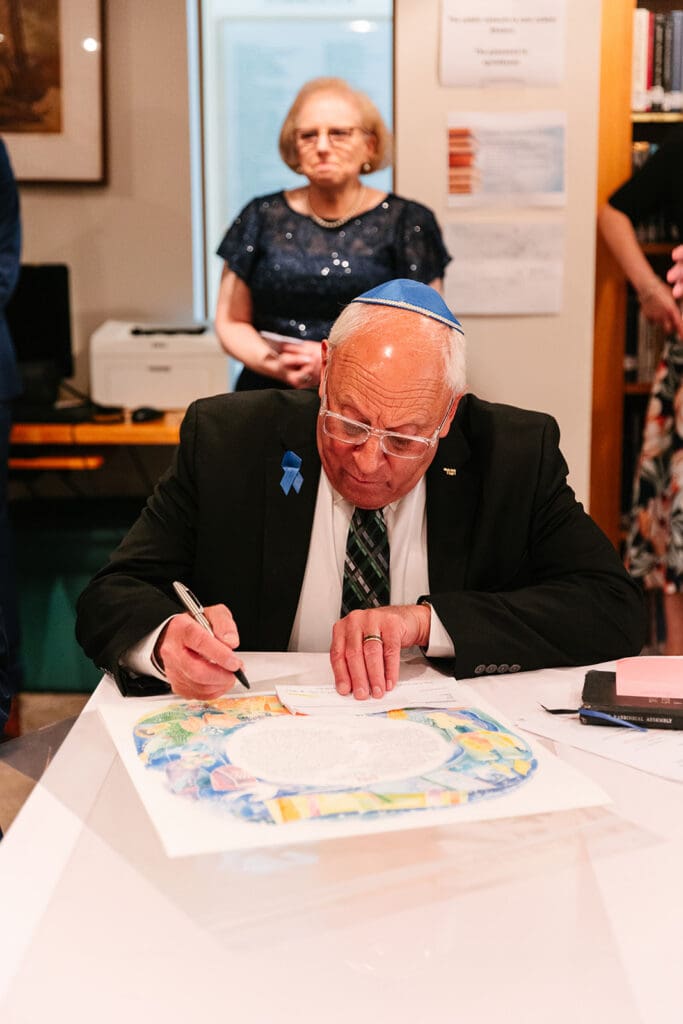
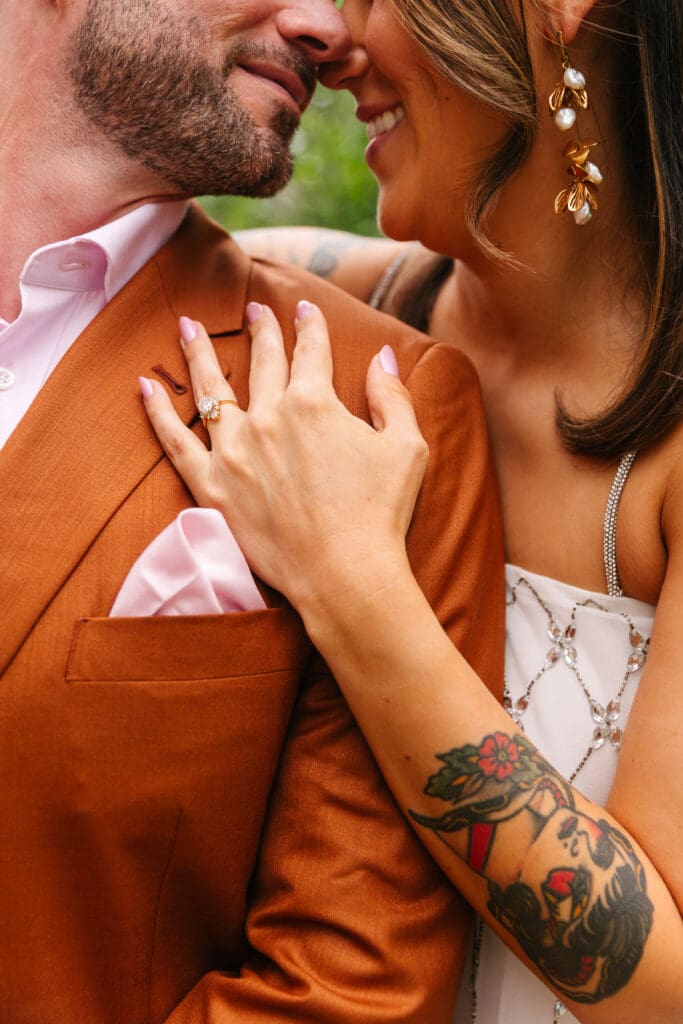
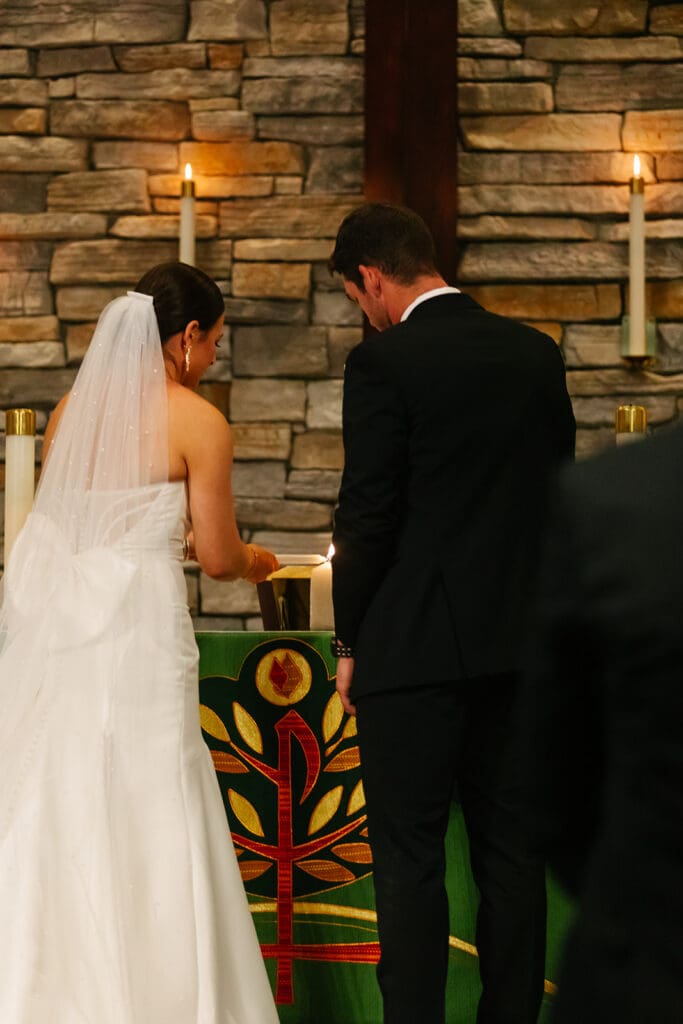
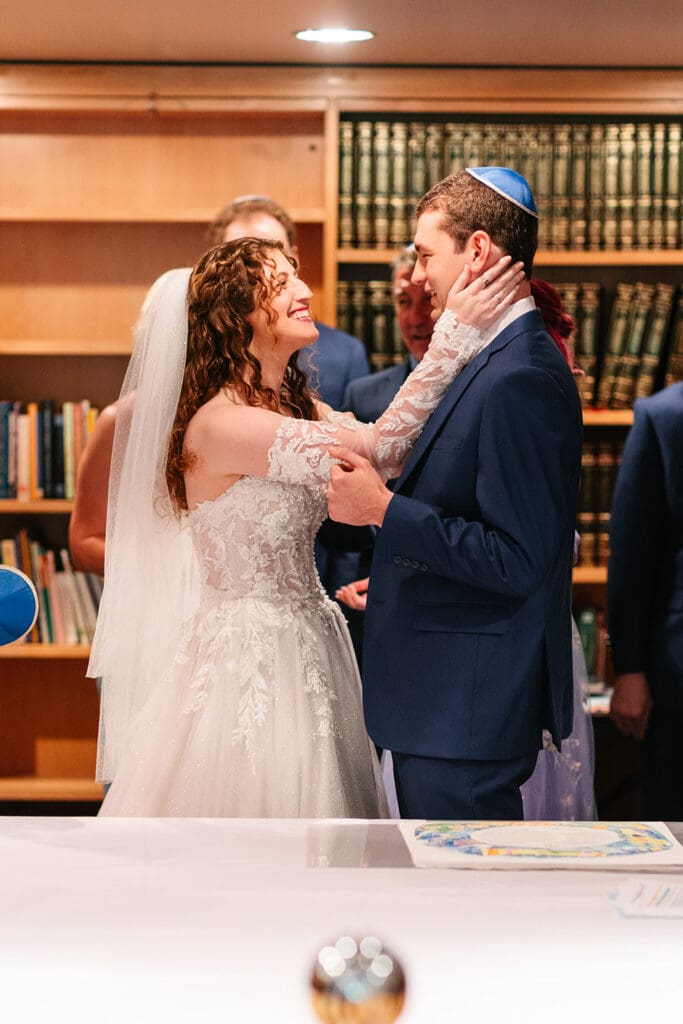
One meaningful part of wedding photography is incorporating cultural traditions into your wedding photography in a way that feels authentic and intentional. Every couple brings unique backgrounds, stories, and family traditions into their wedding day! Because of that, incorporating cultural traditions into your wedding photography creates images that feel deeply personal and emotionally rich.
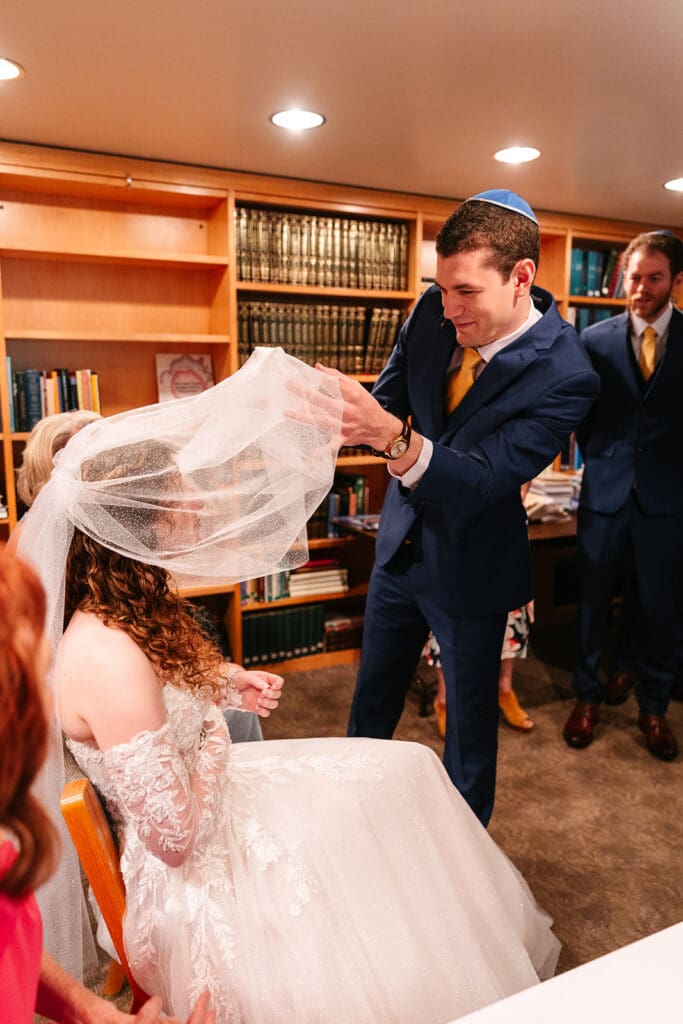
Wedding traditions often carry generations of meaning. Whether it is a tea ceremony, breaking the glass, a money dance, handfasting, or traditional family attire, these moments deserve thoughtful documentation. Additionally, they often become some of the most emotional and memorable parts of the entire celebration.
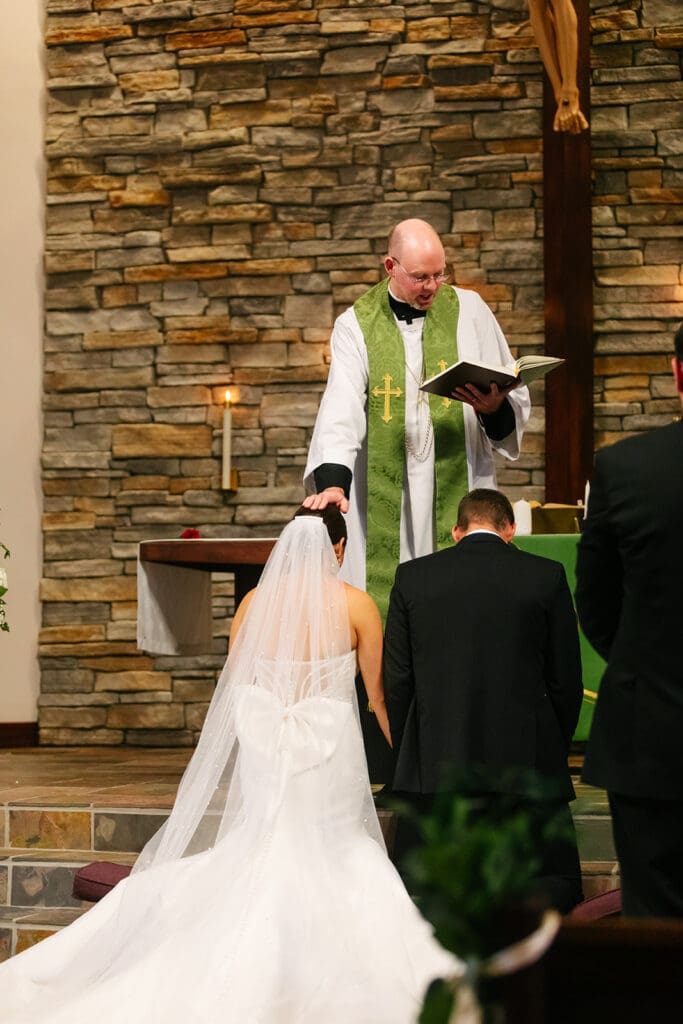
First, communication matters! Before the wedding day, I always encourage couples to share important traditions and explain what each moment means to them. As a result, I can photograph those traditions intentionally rather than simply reacting in the moment. Understanding the significance behind each event helps preserve the emotion attached to it.
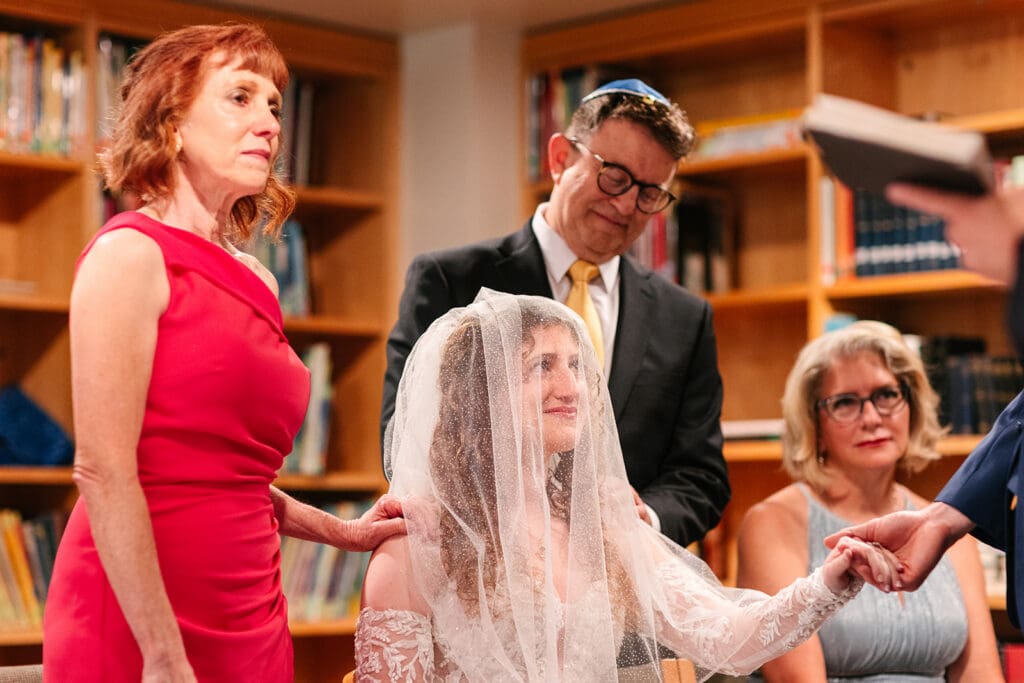
Next, timing plays a huge role. Cultural traditions sometimes happen quickly or involve multiple family members at once. Building space into the timeline ensures those moments never feel rushed. This also allows family members to fully participate and stay present during meaningful parts of the day!

Incorporating cultural traditions into your wedding photography allows future generations to look back and understand where they came from. These images become more than wedding photographs, they become family history. Most importantly, your wedding day should reflect who you are! Traditions do not have to follow a single format or fit perfectly into modern trends. Instead, they should feel meaningful to you and your families.
Frequently Asked Questions:
Cultural traditions preserve family history, heritage, and meaningful emotional moments throughout the wedding day.
Yes! Sharing the meaning and timeline of traditions helps ensure they are photographed intentionally and respectfully.
Absolutely. Many couples blend modern wedding styles with meaningful cultural traditions in a way that feels personal and authentic!
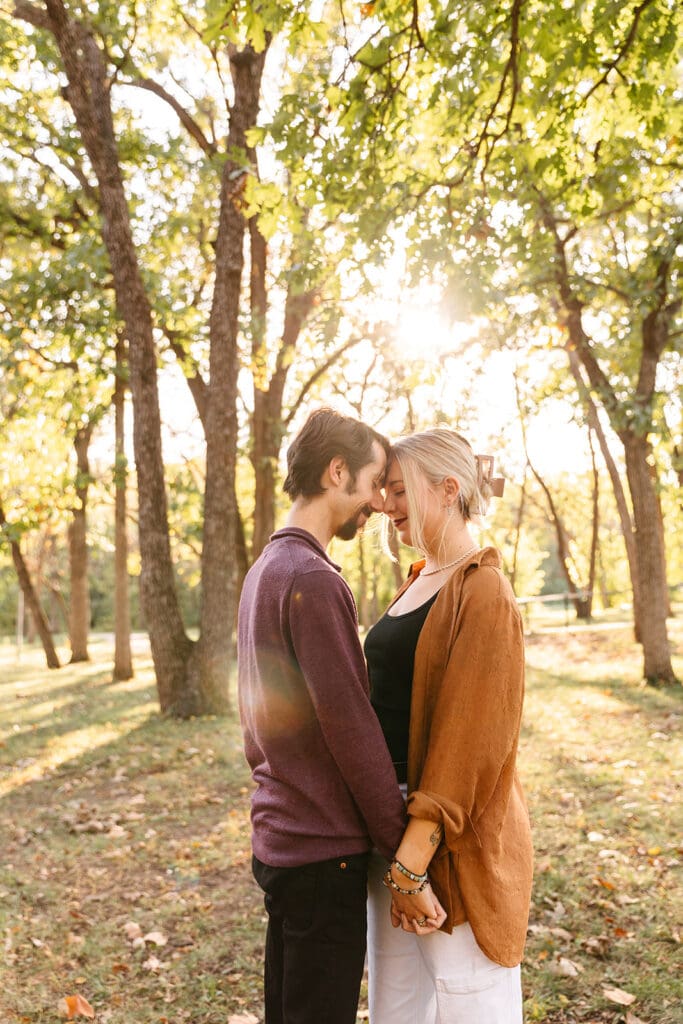
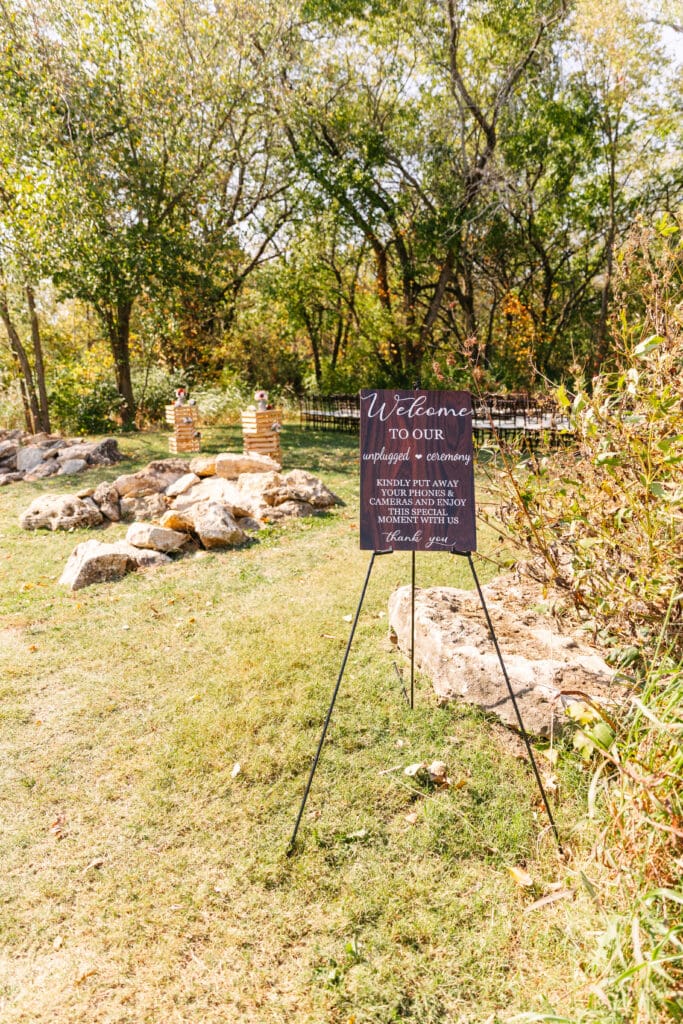
The Dogwood Gardens venue is perfect for couples dreaming of a romantic outdoor wedding. Located near Kansas City, it offers beautiful gardens, peaceful scenery, and timeless charm. The venue feels private and relaxing from the moment you arrive. Lush greenery, winding paths, and blooming flowers create a beautiful setting for wedding photographs. Every part of the property feels soft, elegant, and inviting.


One of the best things about this venue is its natural beauty. Couples do not need a large amount of décor because the venue already feels stunning on its own. Spring weddings look fresh and colorful, while Fall weddings glow with warm golden light. The ceremony spaces feel intimate and romantic. Guests can enjoy the peaceful atmosphere while couples exchange vows surrounded by nature. The property also offers countless portrait locations for timeless wedding photographs.
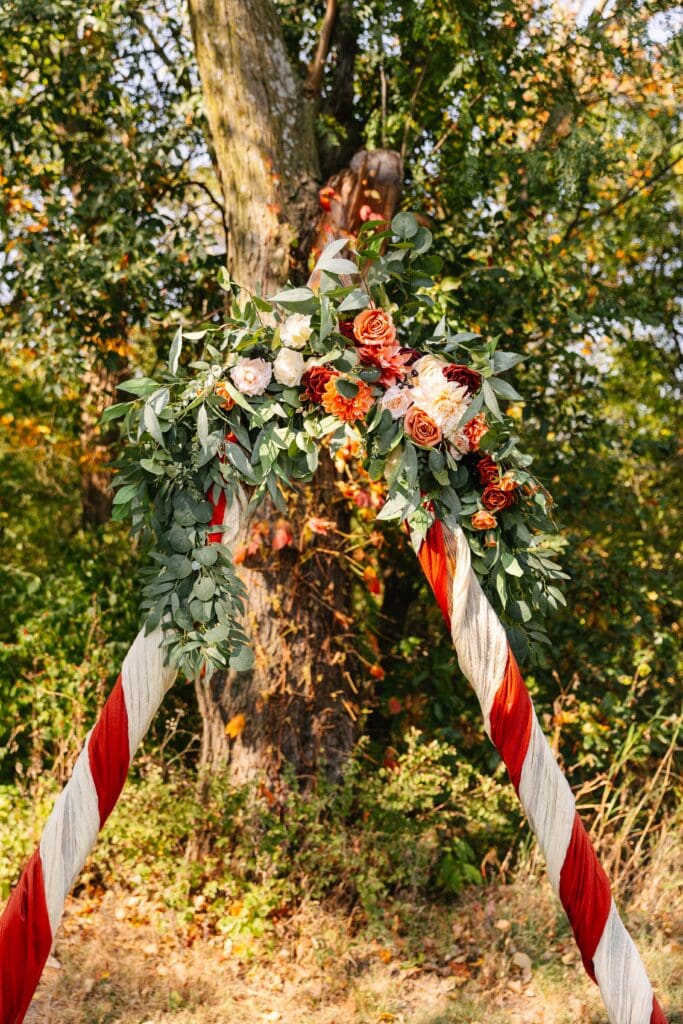
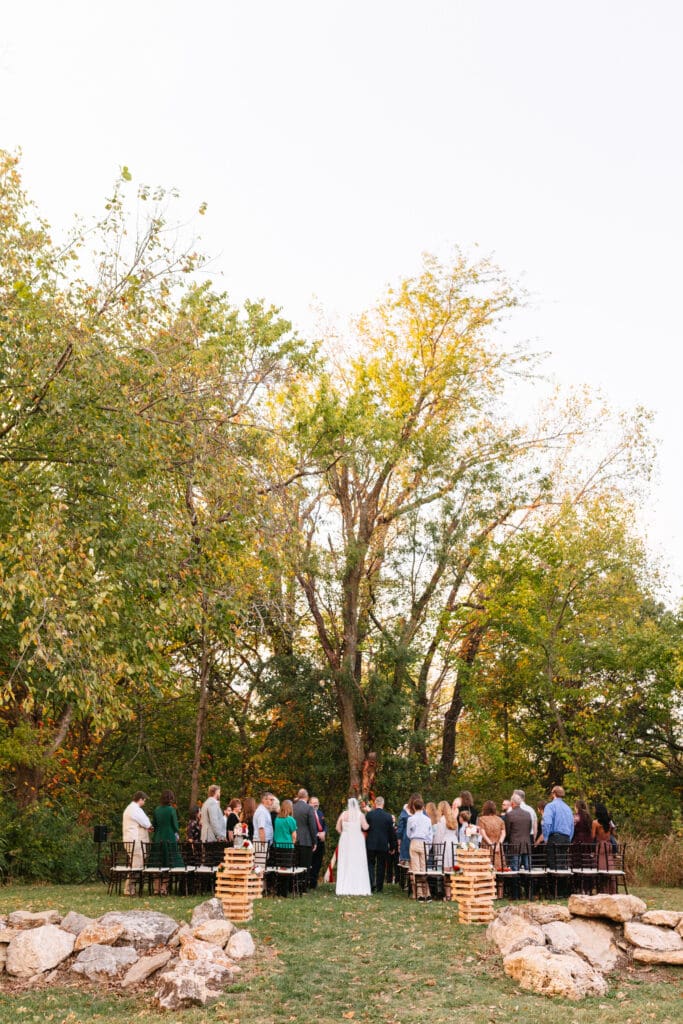
Golden hour at the venue is especially beautiful. The warm sunlight filters through the trees and creates dreamy lighting for newlywed portraits. It is the perfect setting for soft, romantic images that feel timeless. As a Kansas City wedding photographer, venues like this are always exciting to photograph! Every corner of the property offers beautiful backdrops and natural light.

If you are searching for a romantic outdoor wedding venue near Kansas City, this one is definitely worth adding to your list!


Frequently Asked Questions:
Couples love The Dogwood Gardens for its intimate atmosphere, natural beauty, and the romantic golden hour lighting throughout the property.
It is located near Kansas City and provides couples with a secluded garden venue feel while still being conveniently accessible for guests.
It offers a peaceful outdoor setting filled with lush gardens, natural beauty, and romantic ceremony spaces that create a timeless wedding atmosphere.

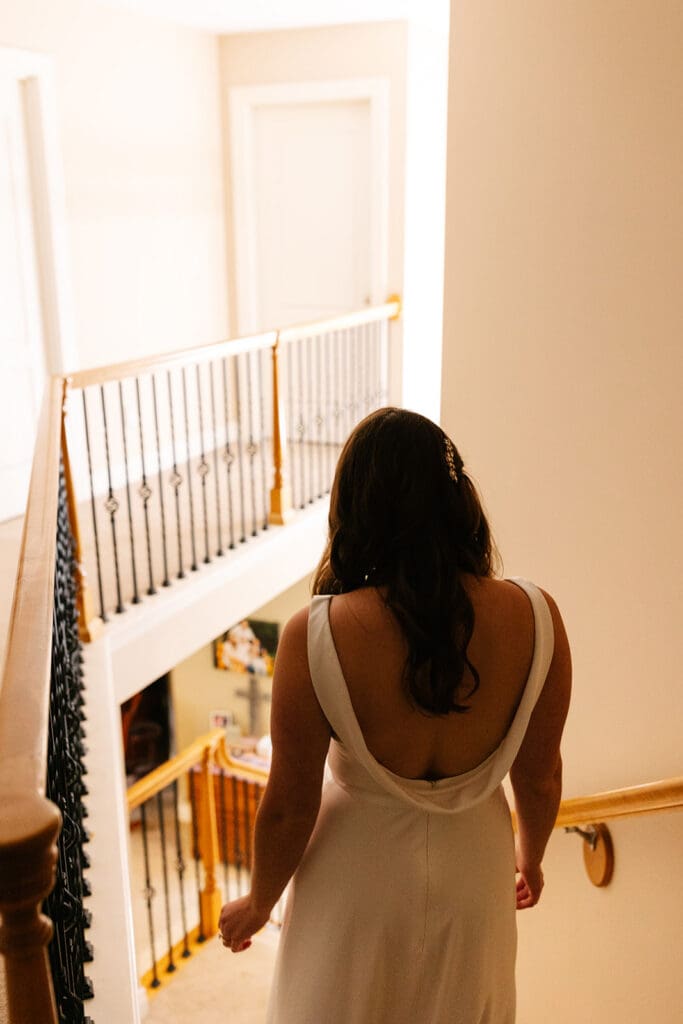
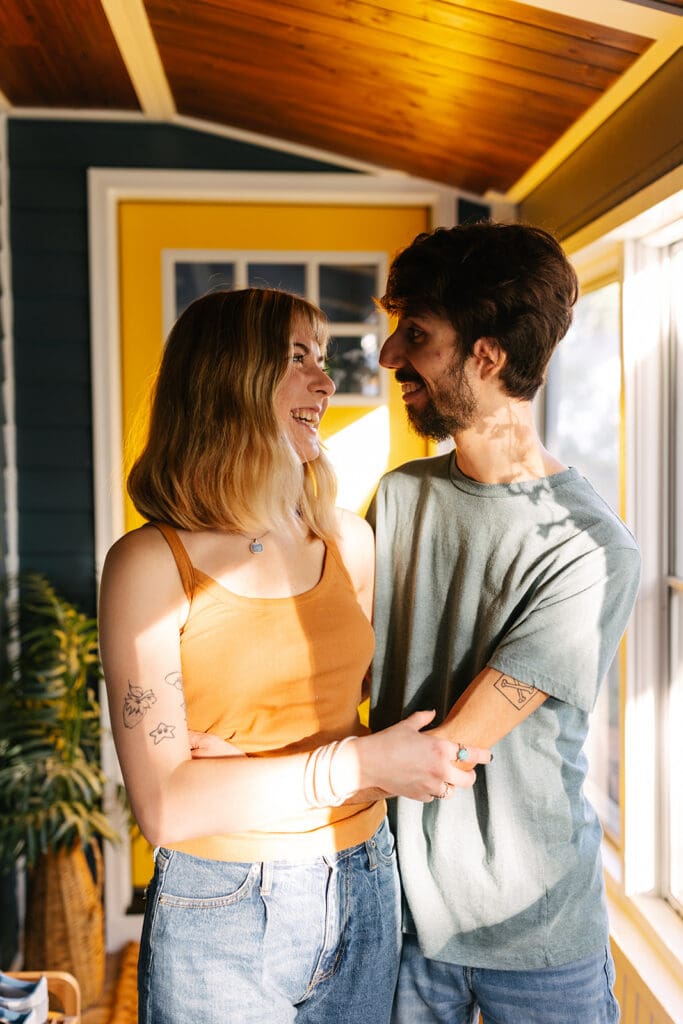
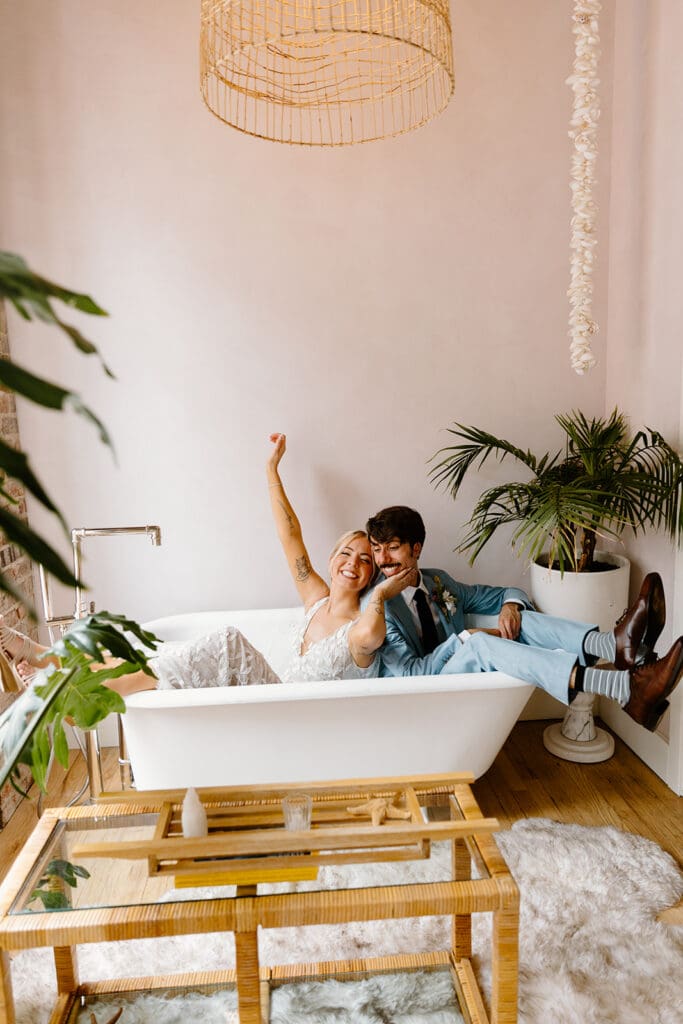
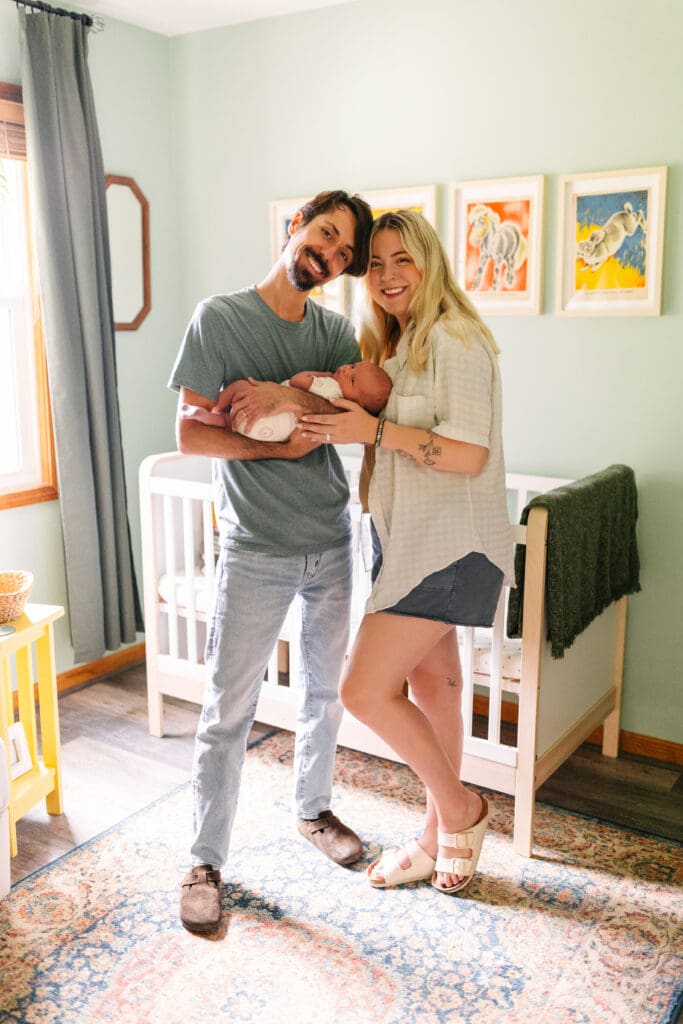
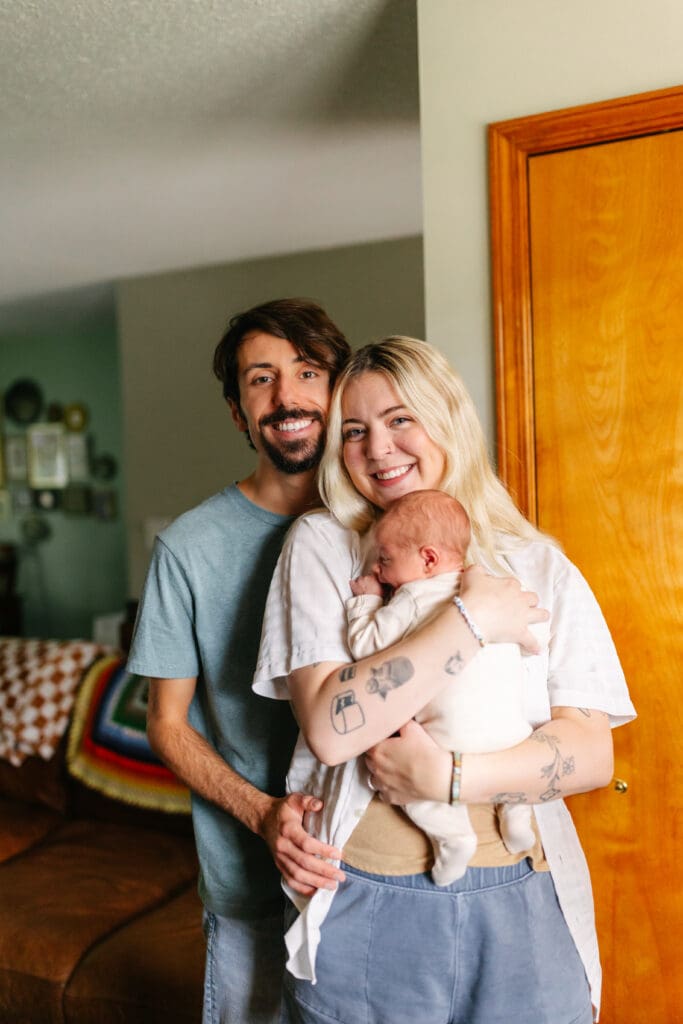
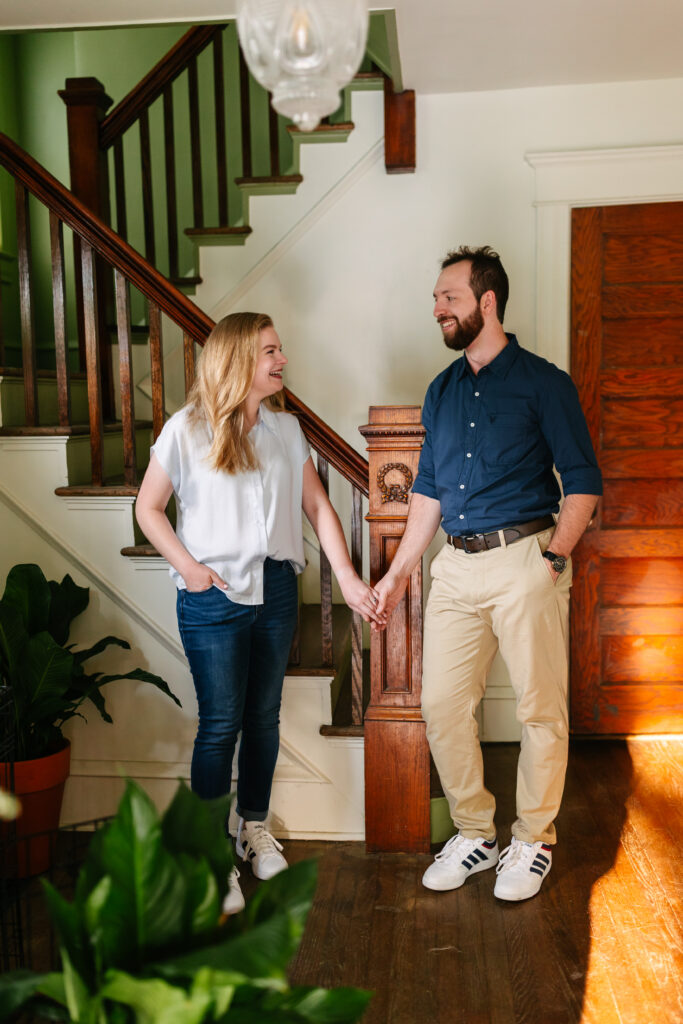
If you’re considering lifestyle photographs, you may be wondering about planning the perfect in-home session. The beauty of planning the perfect in-home session is that it removes pressure and replaces it with comfort. Your home tells your story. It’s where real life unfolds, and that authenticity always translates into meaningful photographs.
First, let’s talk about light. Natural light is everything. Open blinds and curtains fully, especially in rooms with large windows. Spaces near windows will become our primary shooting areas. Even homes in neighborhoods like Kansas City benefit from this simple adjustment. The brighter the space, the softer and more natural your photographs will feel.


Next, simplify your environment. You don’t need a spotless house. Instead, focus on decluttering visible surfaces like nightstands, kitchen counters, and coffee tables. A clean backdrop keeps attention on connection rather than distractions.


Wardrobe also plays a major role. Choose neutral, cohesive tones that complement your home’s color palette. Soft creams, warm grays, muted greens, and earthy tones photograph beautifully. Avoid bold patterns or neon shades that pull focus.
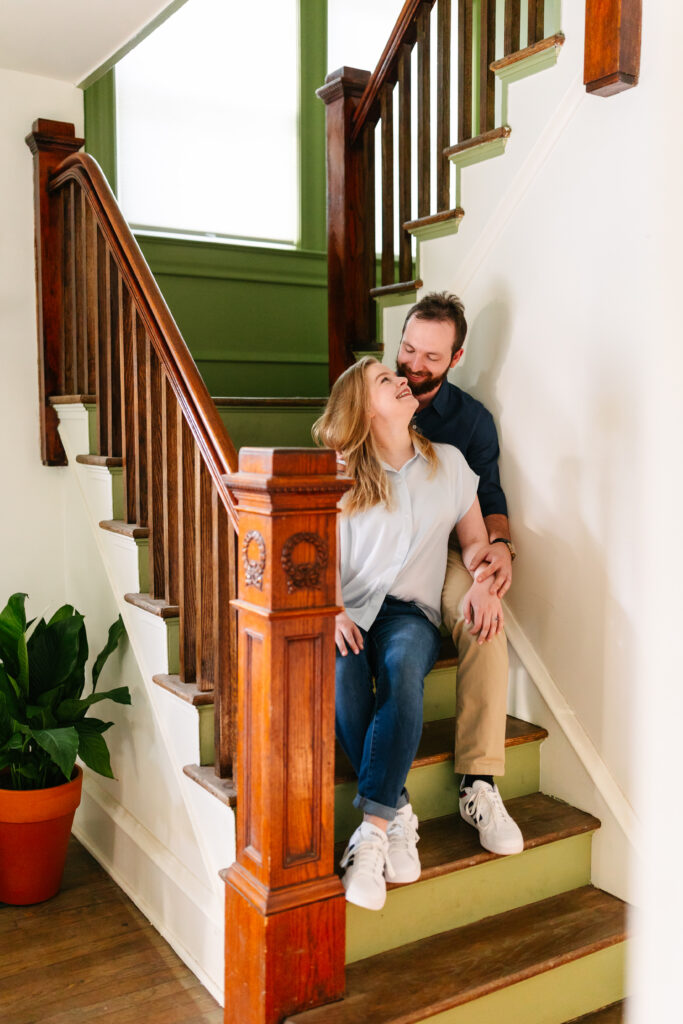
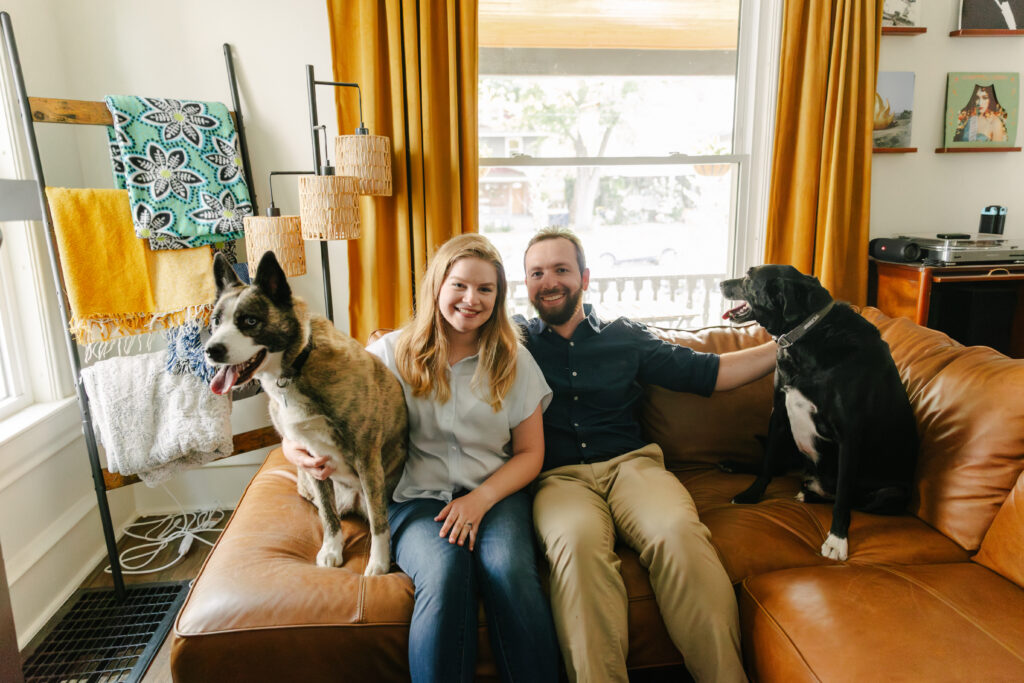
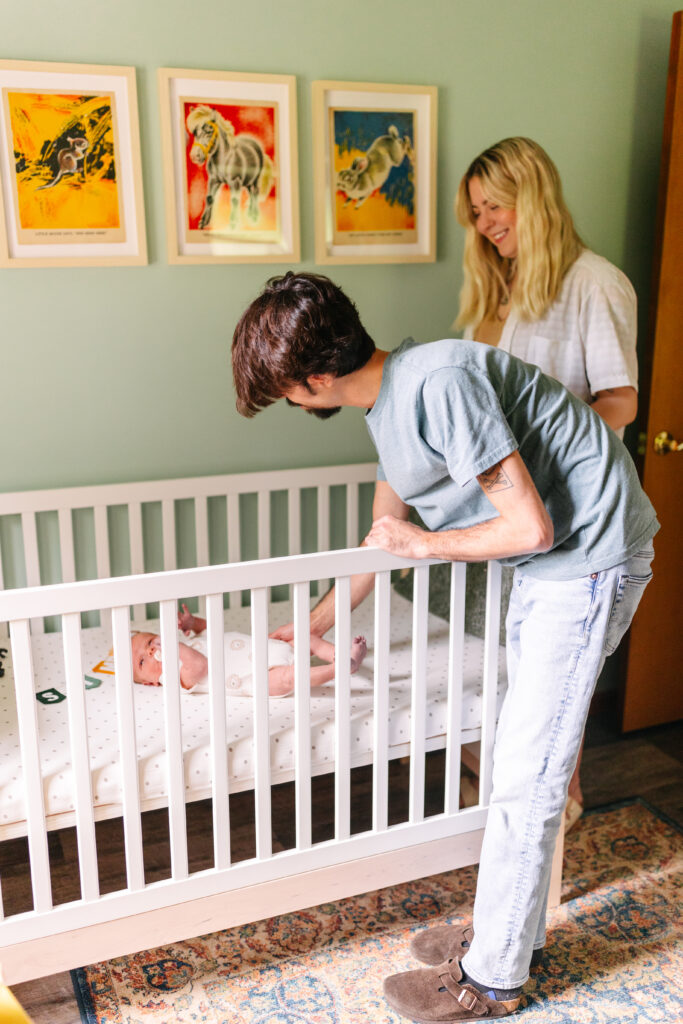
Additionally, think about meaningful spaces. The nursery, master bedroom, or even the kitchen often hold the most emotional weight. If you’re welcoming a newborn, quiet neighborhoods near Loose Park aren’t the only option. Your living room couch can be just as timeless.


Timing matters as well. Mid-morning or early afternoon typically provides the best natural light. We’ll choose a time when your home feels brightest and most relaxed.
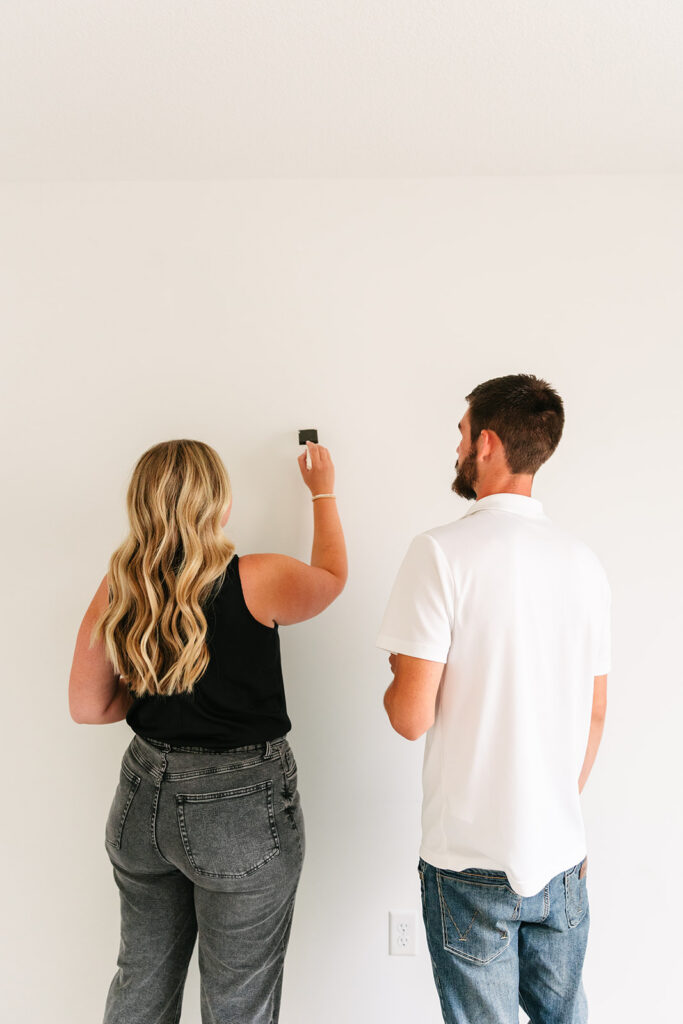


Ultimately, planning the perfect in-home session is less about perfection and more about presence. When you relax into your space, your photographs feel genuine and deeply personal. Years from now, you won’t just see what you looked like. You’ll remember how this season of life felt.
Frequently Asked Questions
Do I need a perfectly clean house?
No. Light decluttering is enough. The focus remains on connection and emotion.
What rooms work best for in-home sessions?
Rooms with large windows and neutral walls photograph beautifully.
What should we wear for an in-home session?
Stick to soft, neutral tones that complement your home’s natural light.

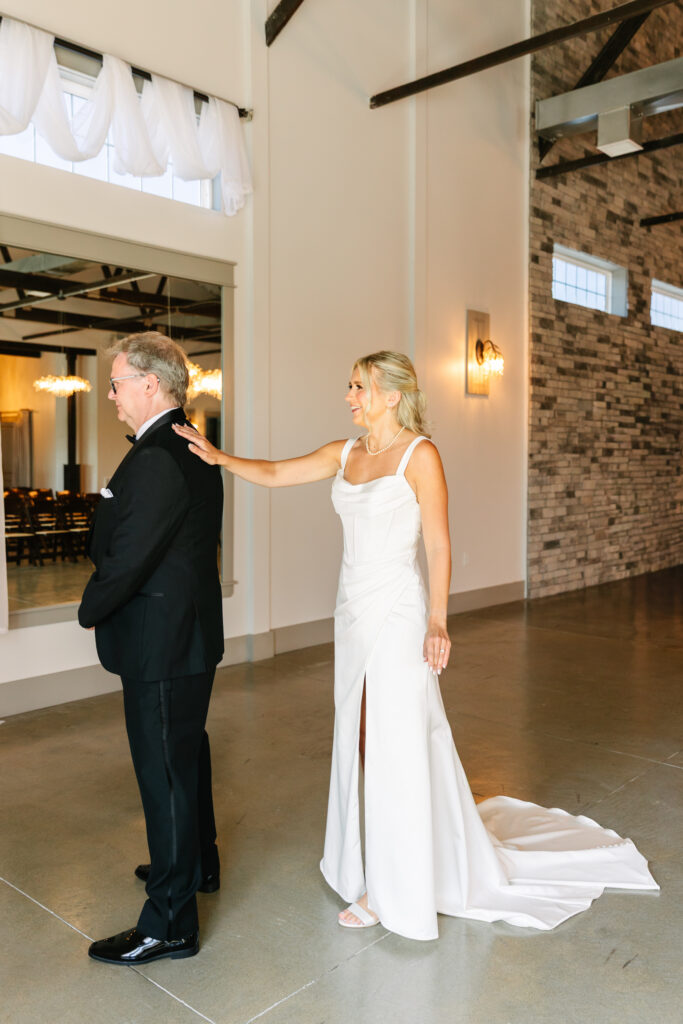
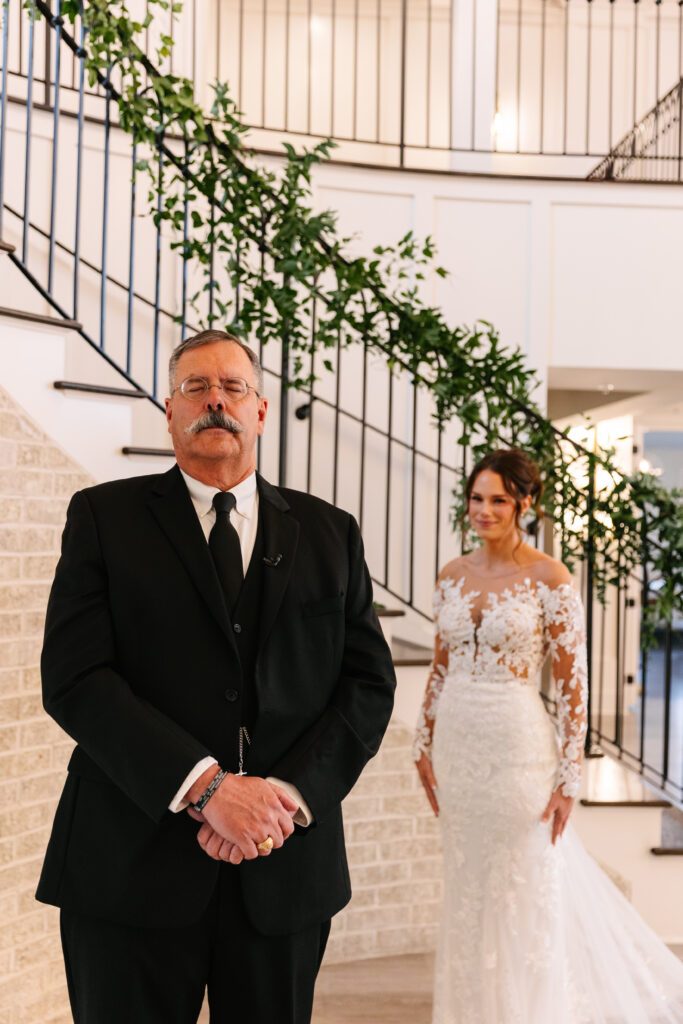
When couples build their timeline, they often focus on a first look with each other. However, adding a first look with your father can become one of the most emotional parts of your entire wedding day. A first look with your father creates space for connection before the ceremony begins. It slows everything down in the best way.

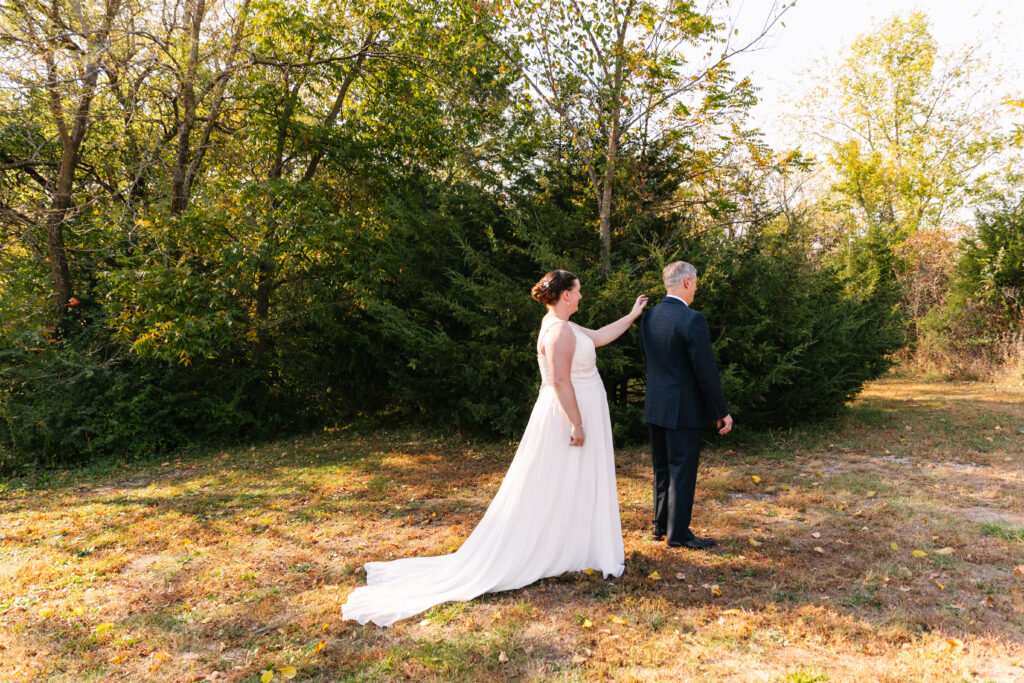


Your wedding day moves quickly. Hair and makeup wrap up. Dresses zip. Boutonnieres pin on. Suddenly, guests are arriving. Because of that, carving out intentional time with your father allows you to truly experience the moment instead of rushing through it.

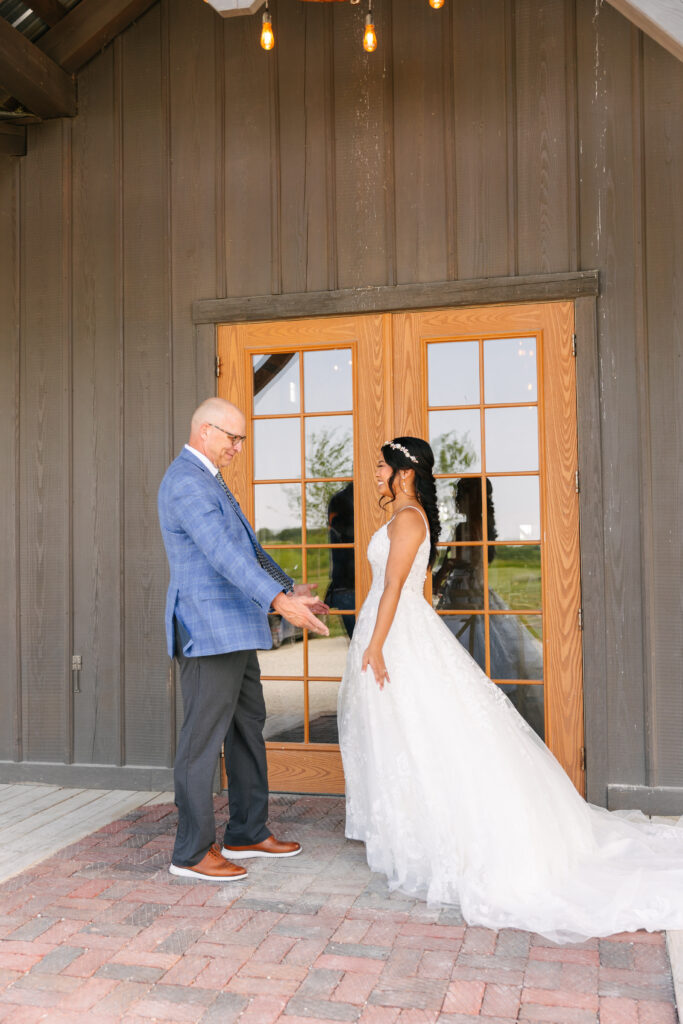

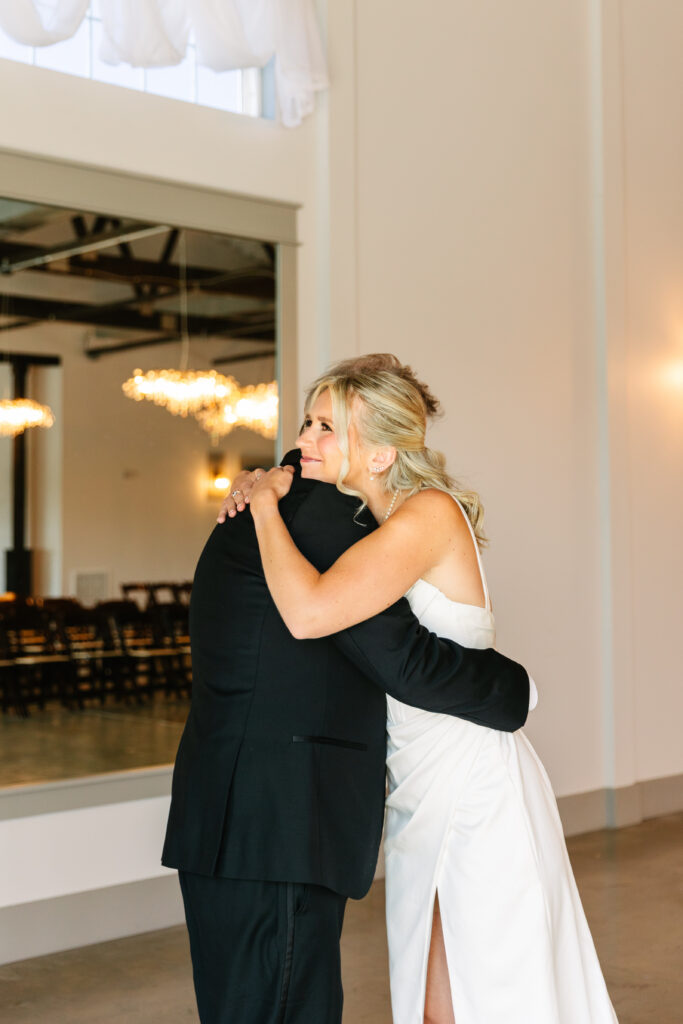
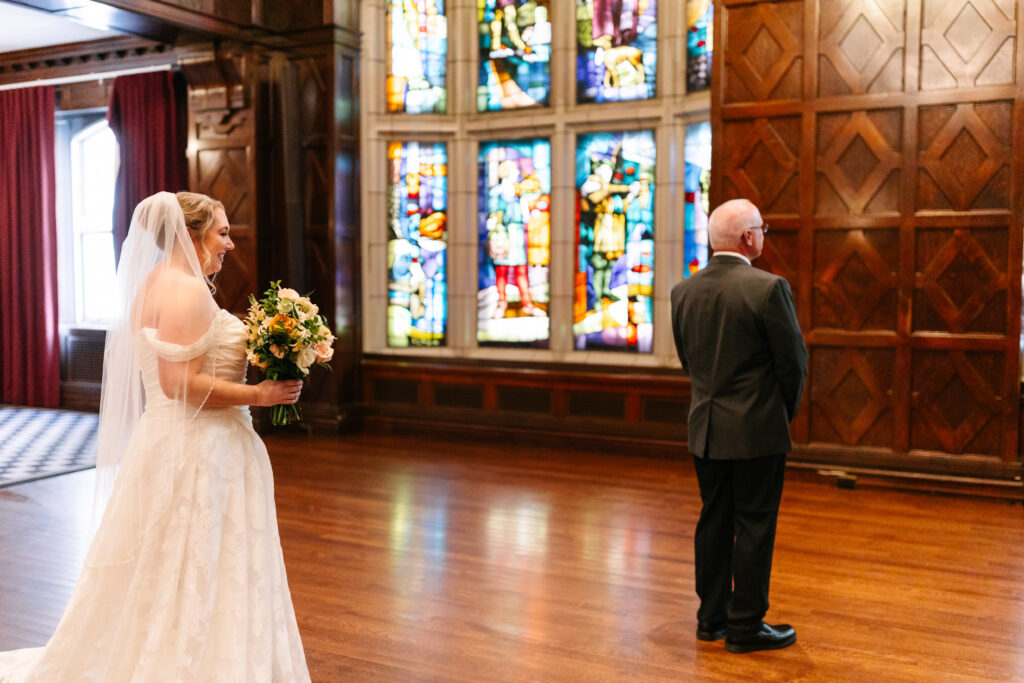
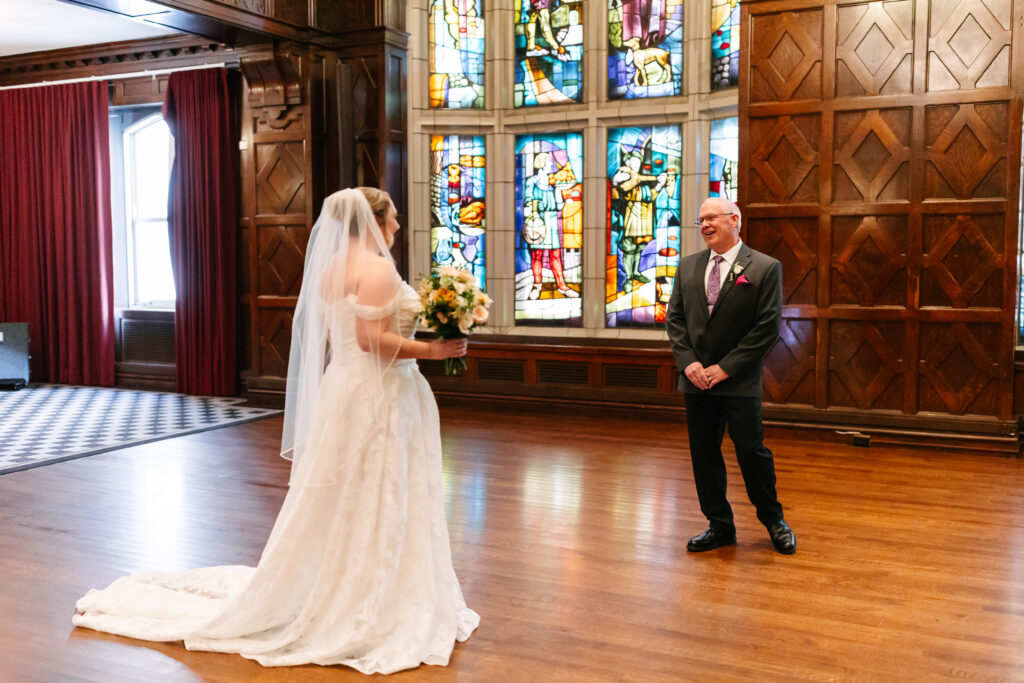
Imagine stepping into the light and seeing your dad’s reaction when he sees you in your dress for the first time. These reactions are unscripted and deeply genuine. As a Kansas City wedding photographer, I can tell you these are the photographs families treasure for decades.


If you’re getting married at a stunning venue like The Abbott or planning portraits near the Kauffman Center for the Performing Arts, we can choose a quiet corner that feels private and calm. That intentional setting makes the moment even more meaningful.


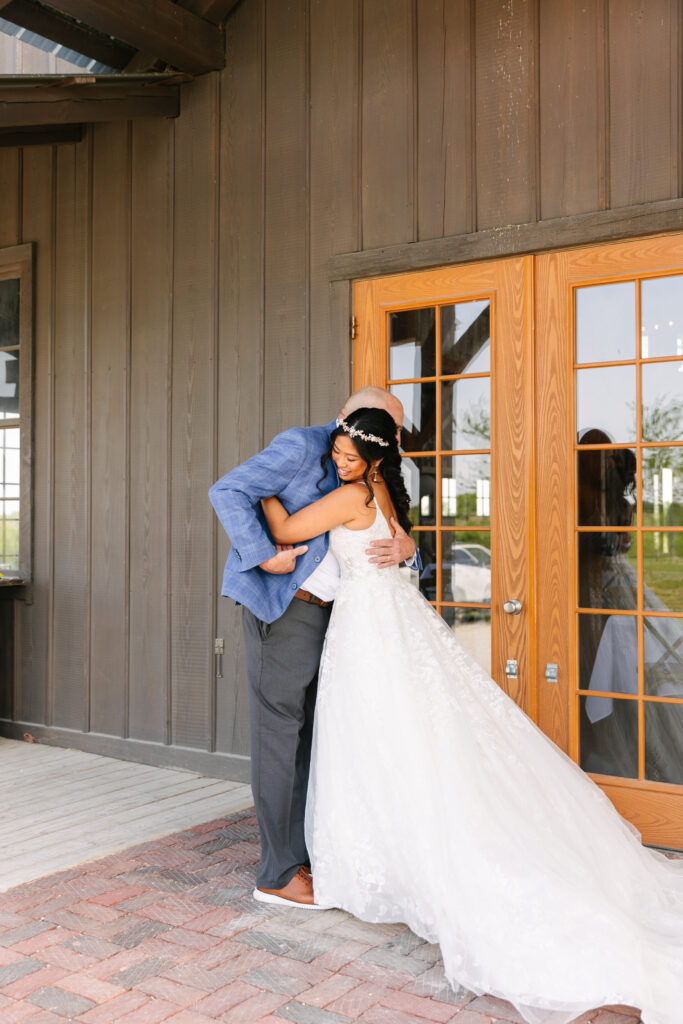
Additionally, this moment isn’t limited to one parent. You can plan a reveal with both parents together, or separate moments if you prefer something more intimate. Some couples also include grandparents or siblings.
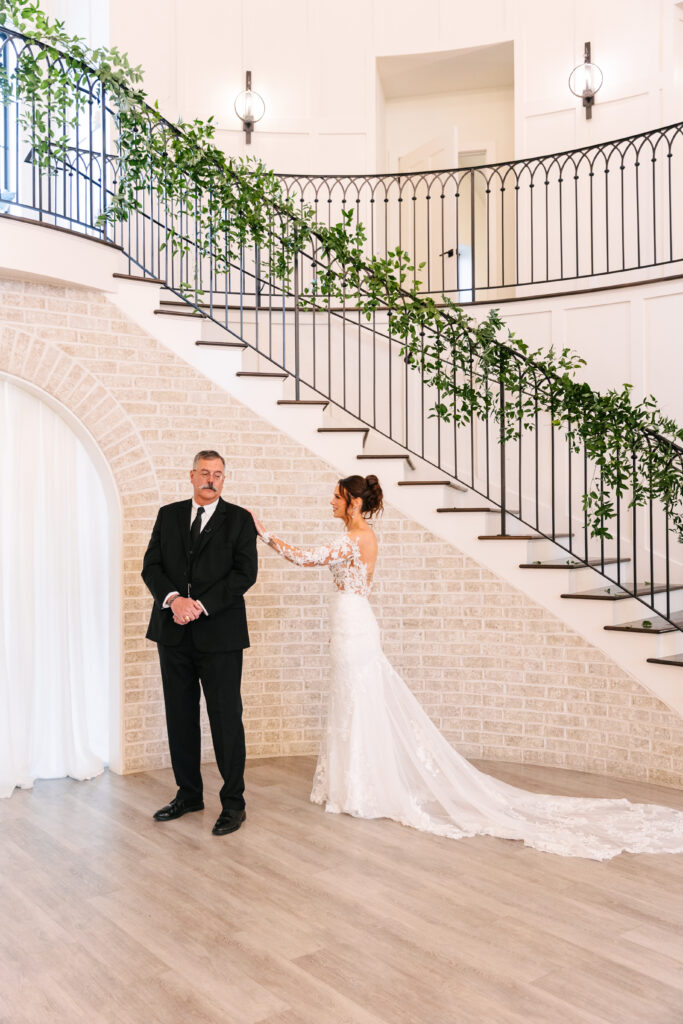


Ultimately, a first look with your father isn’t about adding another item to your timeline. It’s about preserving a memory that might otherwise feel rushed. And those quiet, tear-filled embraces? They always photograph beautifully.
Frequently Asked Questions
When should we schedule a first look with our father?
Plan it right after getting dressed and before bridal party photographs.
Does this add too much to the timeline?
Not at all. It typically takes 10–15 minutes and fits naturally into the morning flow.
What if one parent is more emotional than the other?
That’s perfectly okay. Every reaction is meaningful and authentic.
