the blog


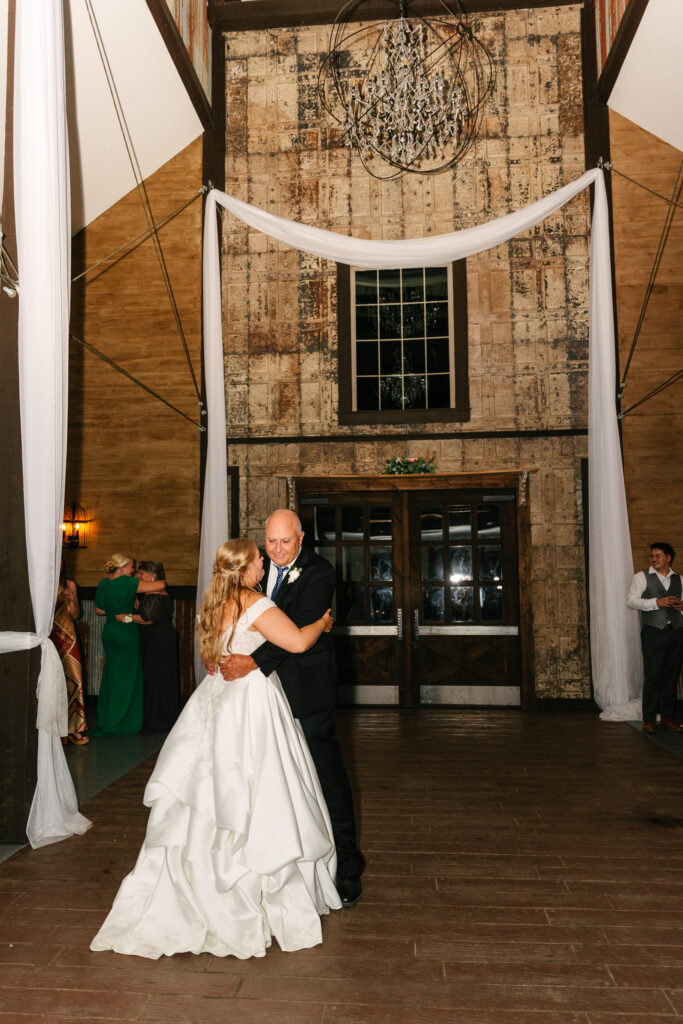
If you’re planning your big day, you may be wondering how to add personal touches to your wedding ceremony without overwhelming the moment. The truth is, learning how to add personal touches to your wedding ceremony doesn’t require grand gestures. Instead, it’s about weaving meaningful details into the foundation of your day.
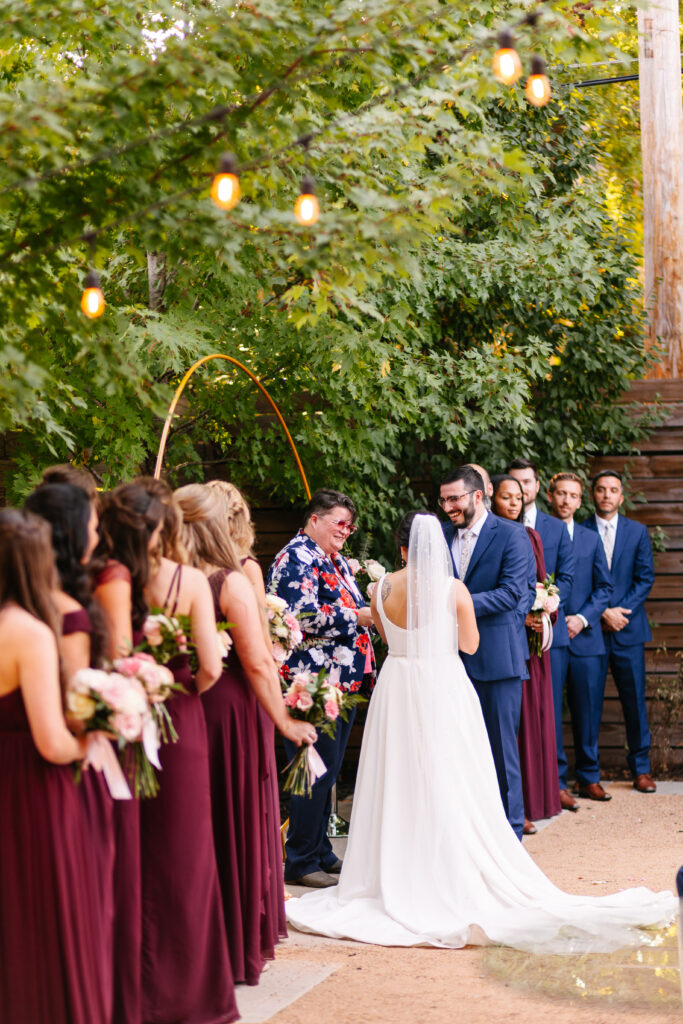
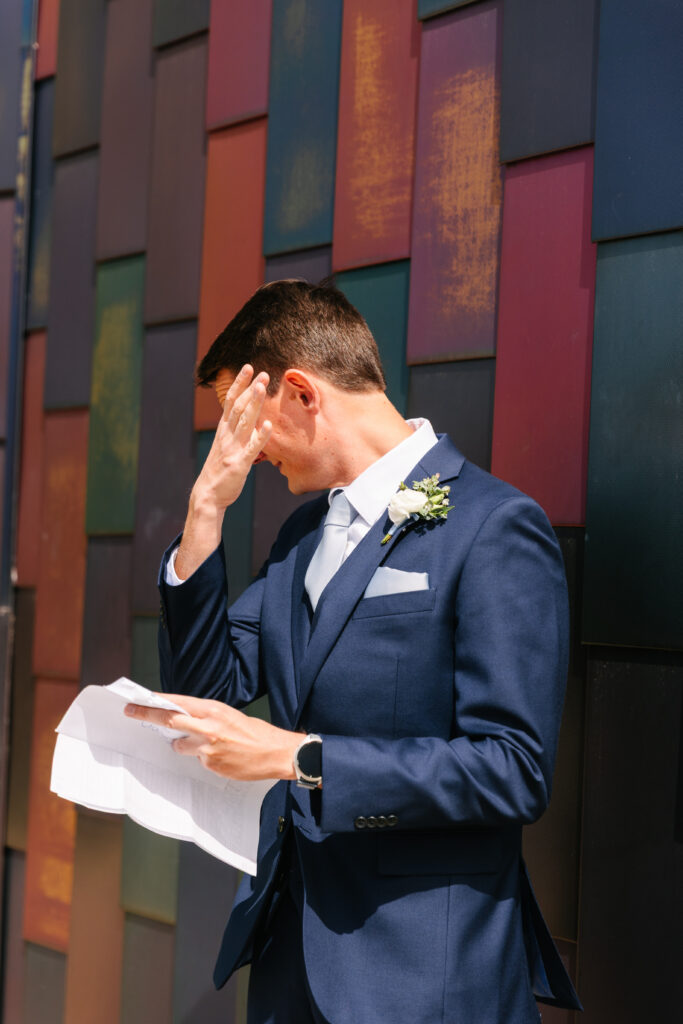
First, consider writing your own vows. Personalized vows create a quiet, emotional pause during the ceremony. They allow you to speak directly to each other rather than reciting traditional wording. As a photographer, these moments often produce the most genuine expressions.
Next, include family traditions or cultural elements. Whether it’s a unity candle, handfasting, or a meaningful prayer, these rituals add depth and connection. If you’re getting married at a timeless venue like The Brim or inside a historic church in Kansas City, incorporating tradition feels especially powerful.
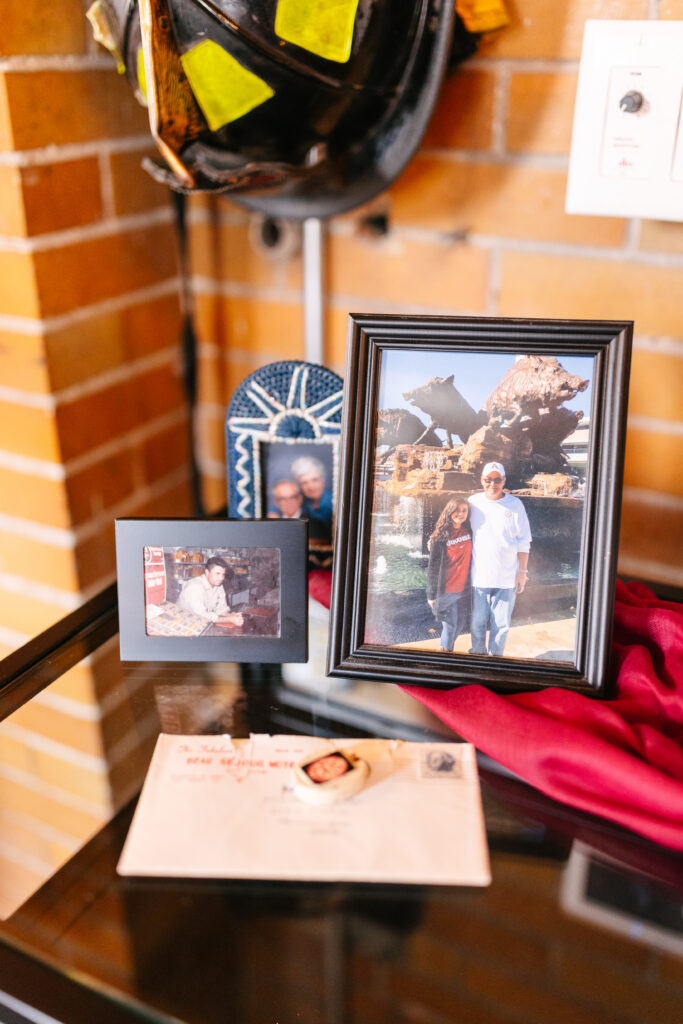
Another beautiful idea is honoring loved ones. Display framed photographs, reserve a special seat, or include a quiet moment of acknowledgment during the ceremony. These subtle touches bring intention without shifting focus.
Music also transforms the atmosphere. Choose songs that reflect your relationship rather than defaulting to popular options. Live musicians, acoustic covers, or even a string quartet can elevate the mood.
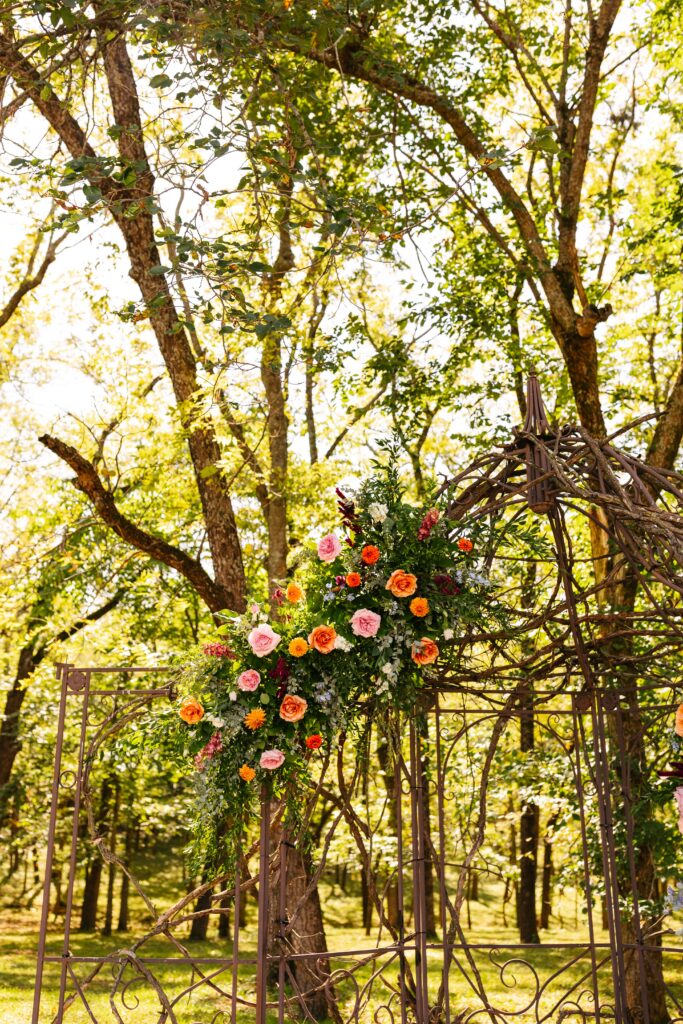
Additionally, think about your ceremony backdrop. Florals, draping, or architectural framing influence how your ceremony photographs look. However, the most powerful detail is often your connection.
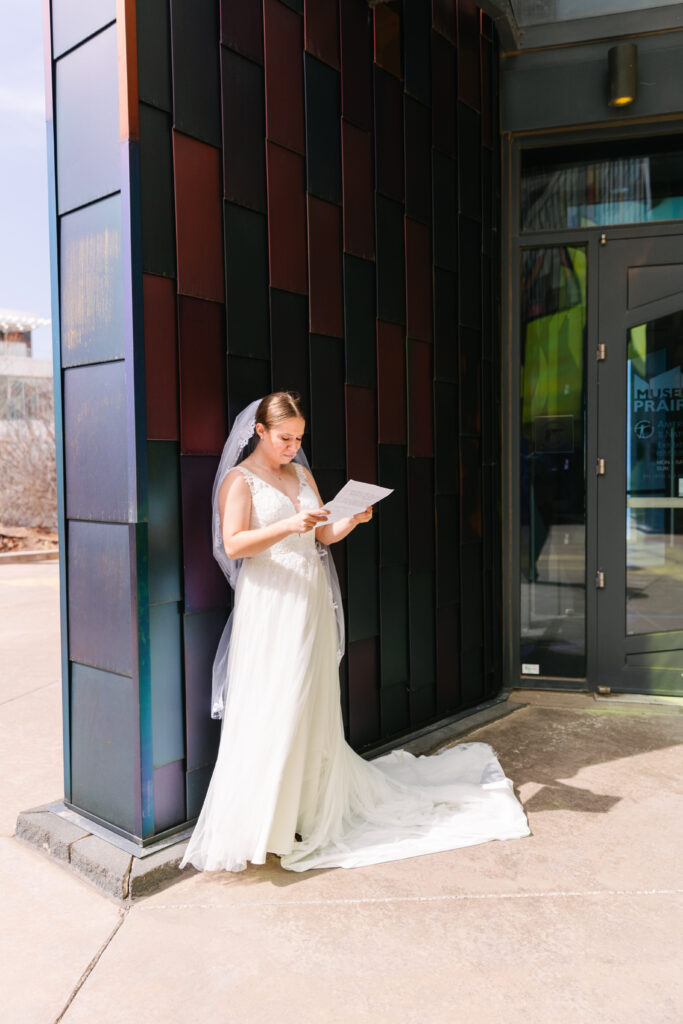
Finally, consider a private first touch or prayer before walking down the aisle. This moment creates calm before the celebration begins. It also allows you to center yourselves before guests arrive.
Ultimately, when deciding how to add personal touches to your wedding ceremony, focus on meaning over trend. The details that reflect your story will always feel timeless.
Frequently Asked Questions
What are simple ways to personalize a wedding ceremony?
Writing your own vows, choosing meaningful music, and incorporating family traditions are simple yet impactful.
Do personalized ceremonies photograph better?
Yes. Emotional, authentic moments create natural expressions and storytelling-rich photographs.
Should we follow tradition or create our own format?
You can absolutely blend both. Many couples combine tradition with modern personalization.

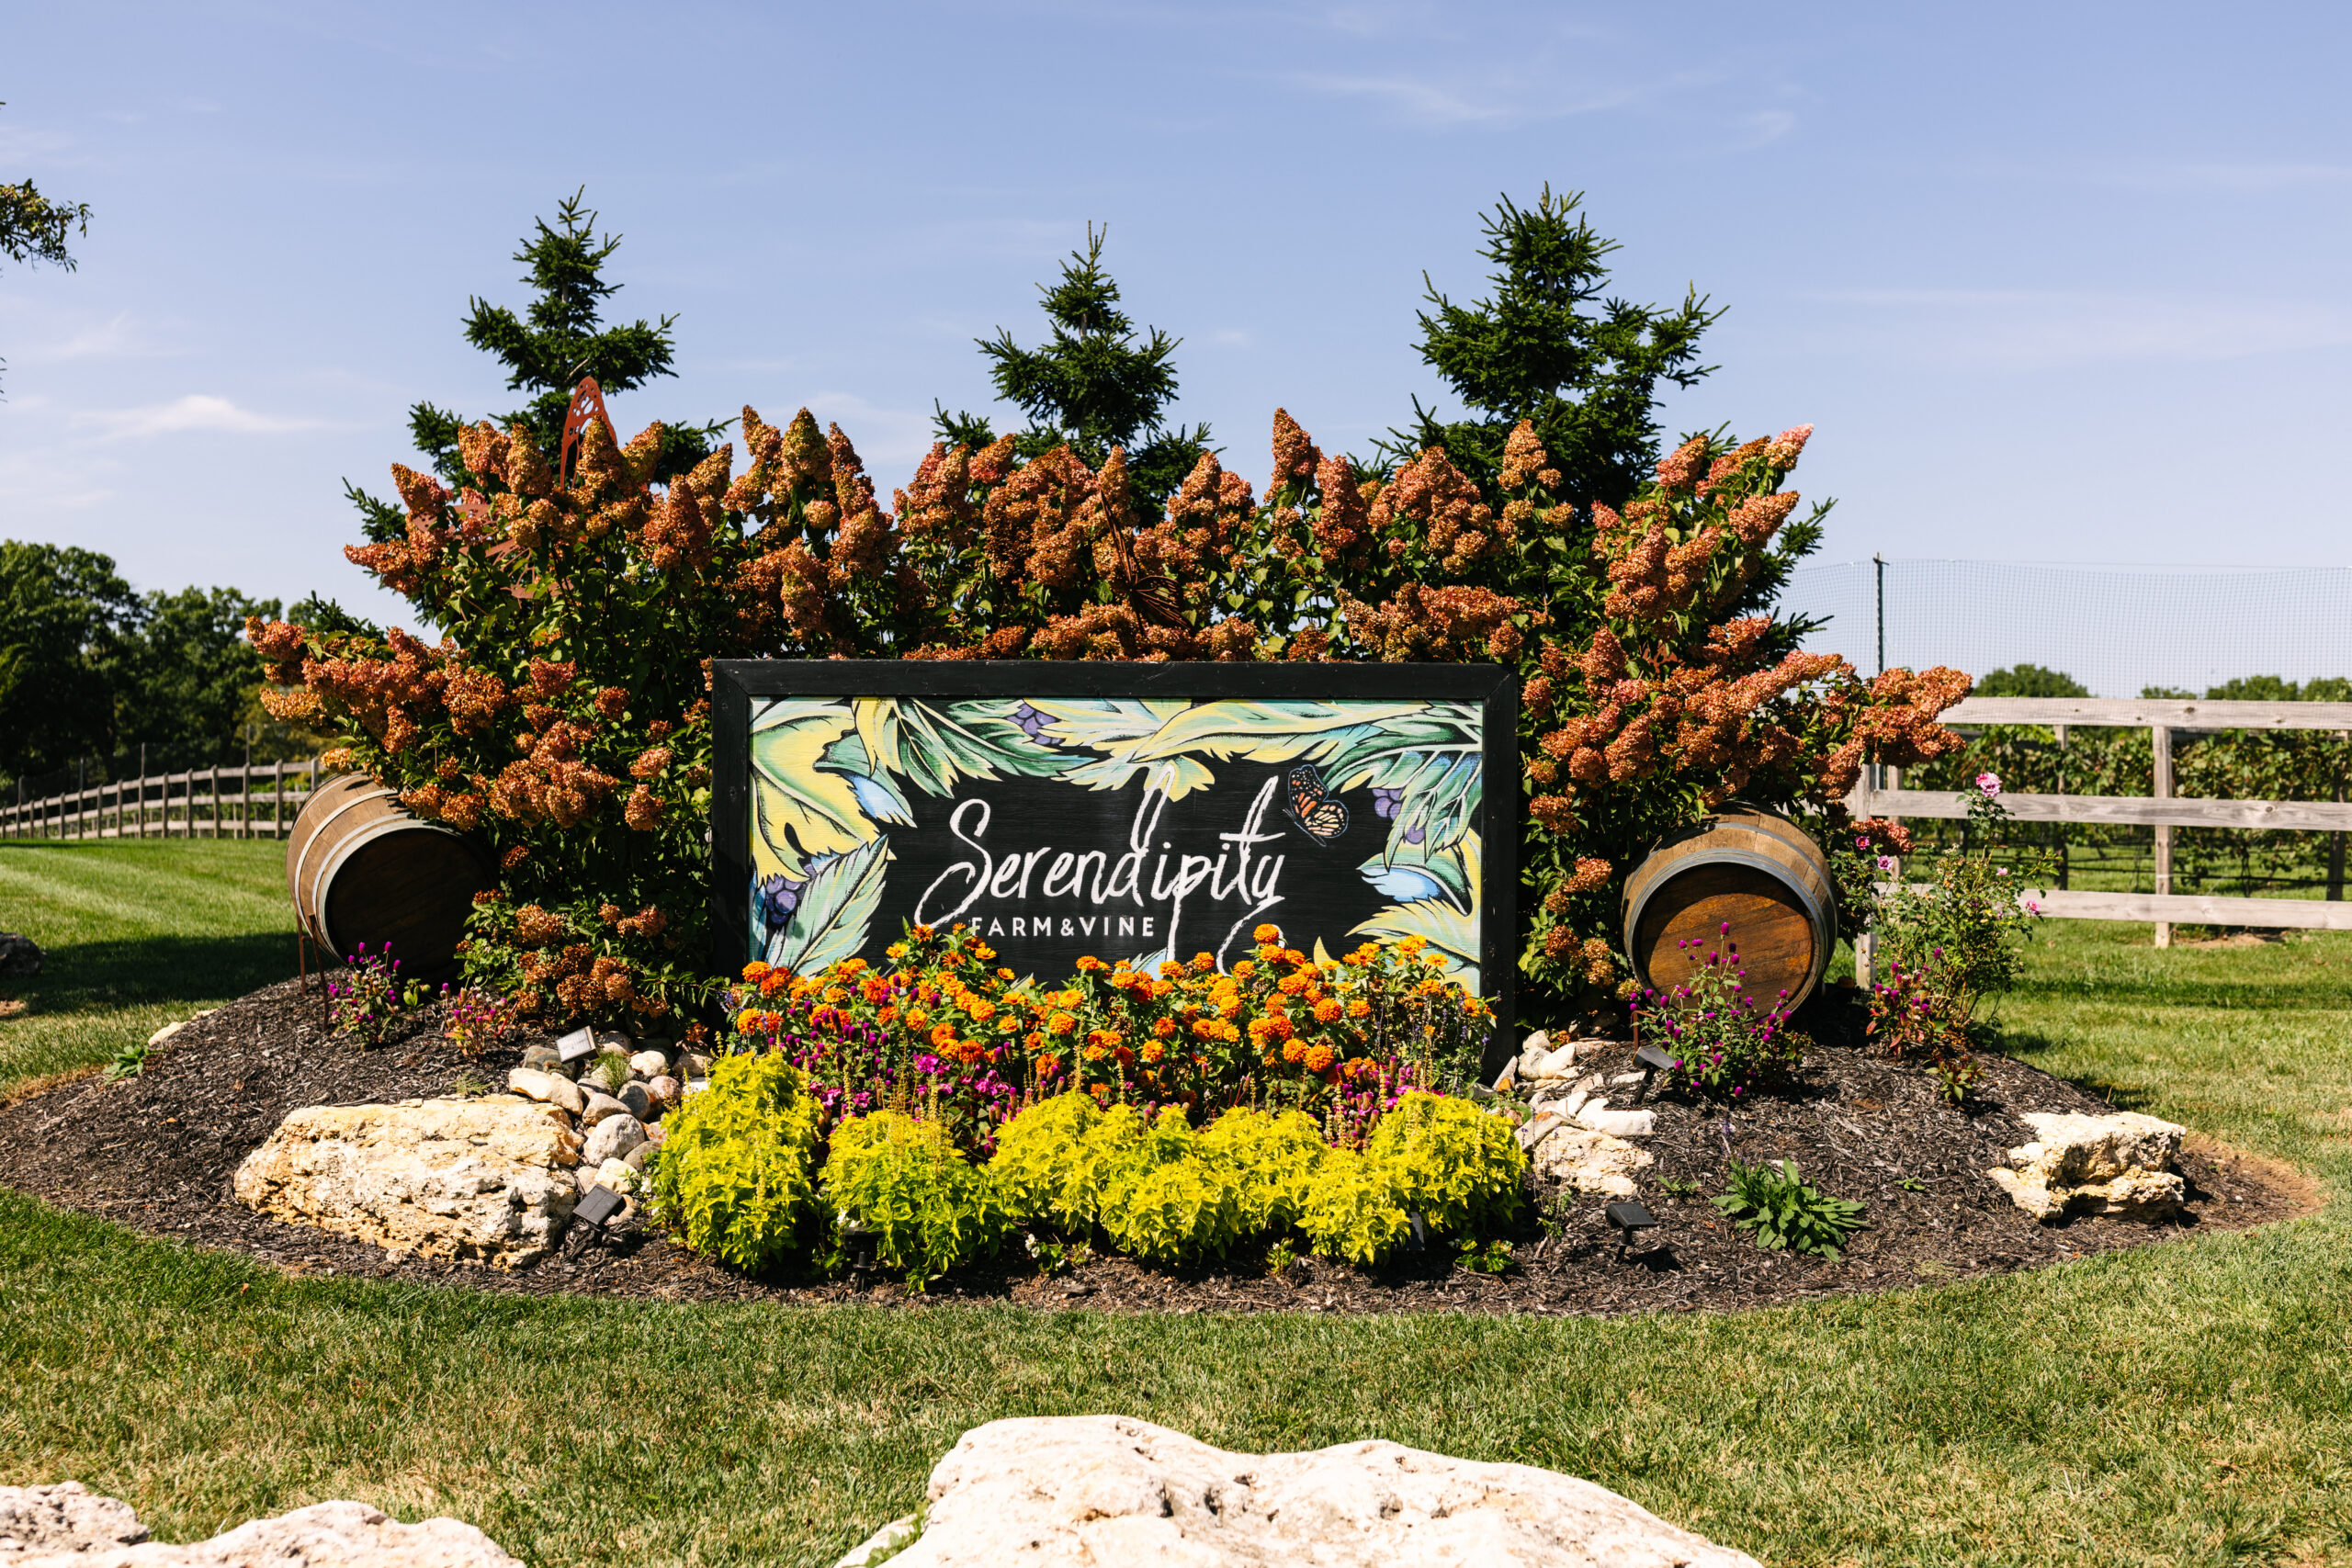
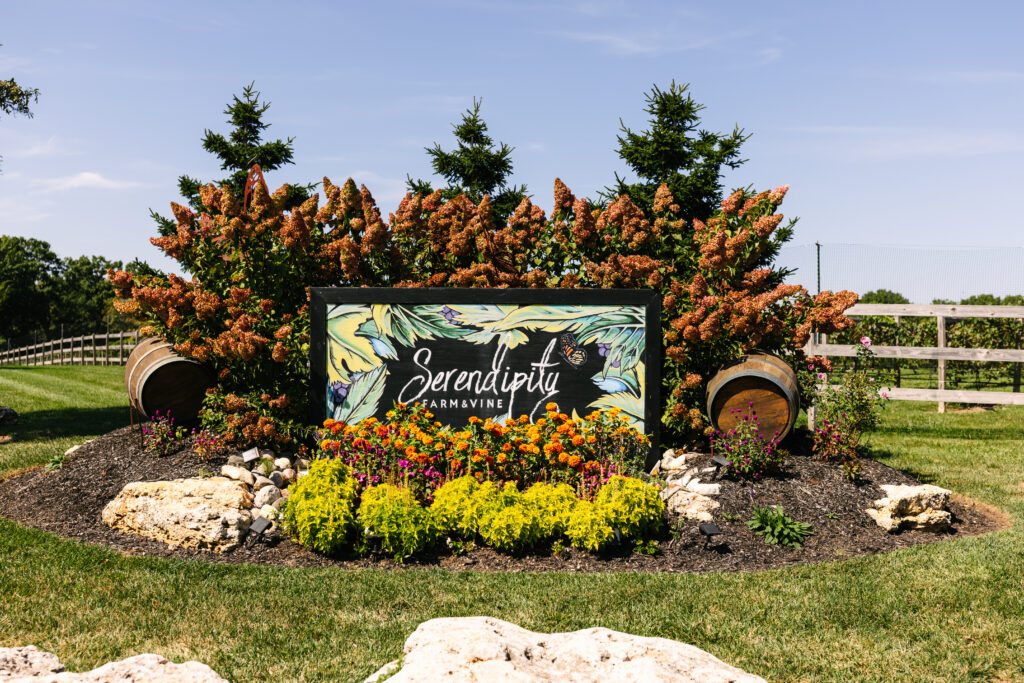
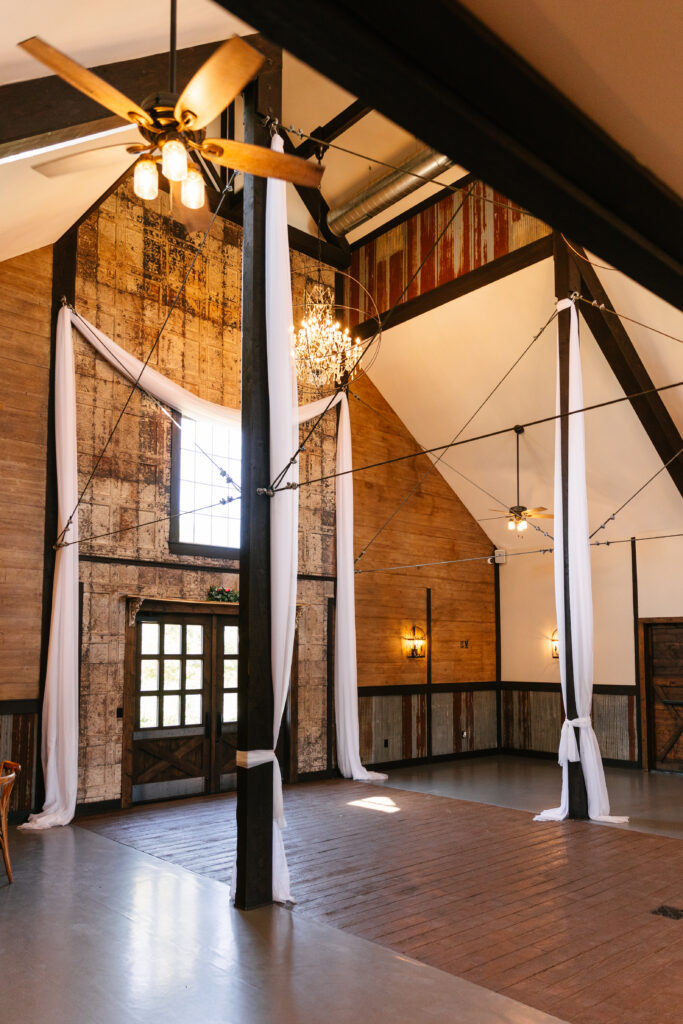
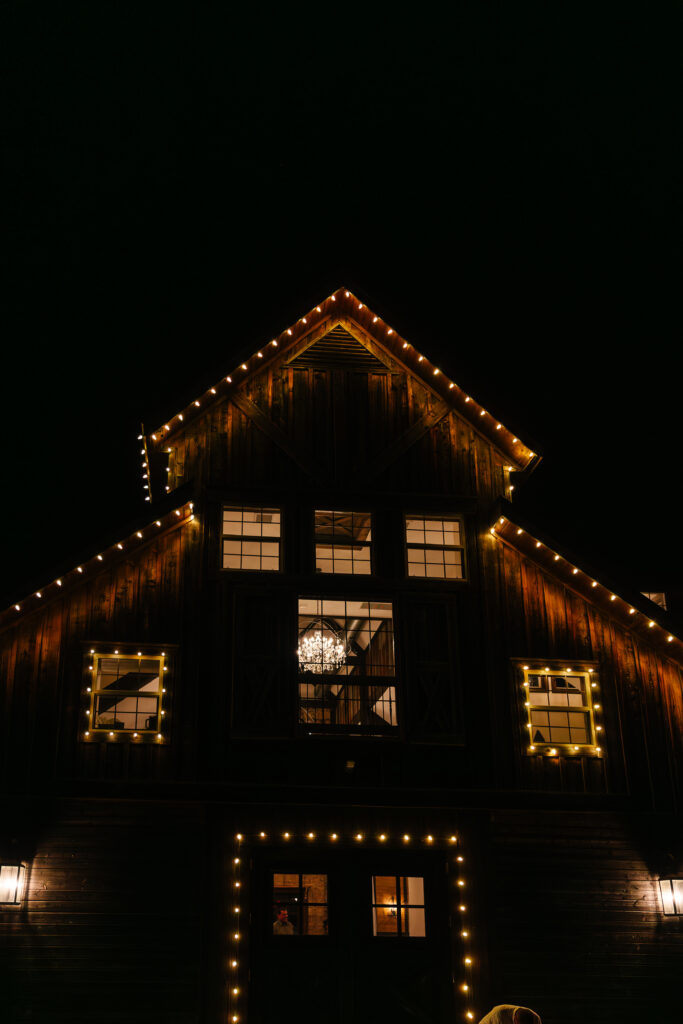
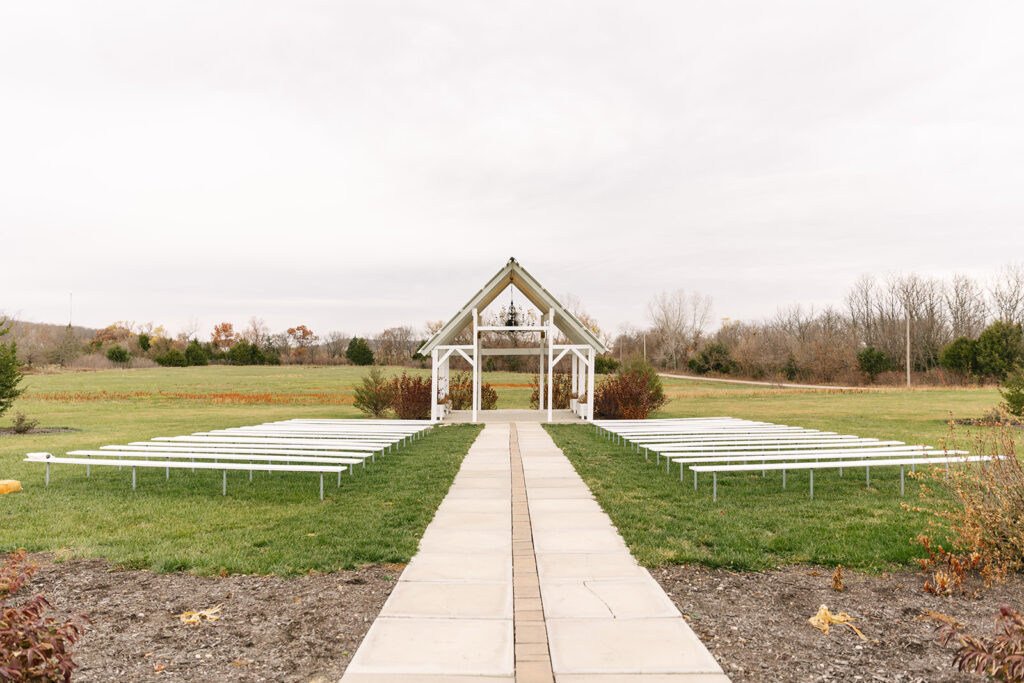
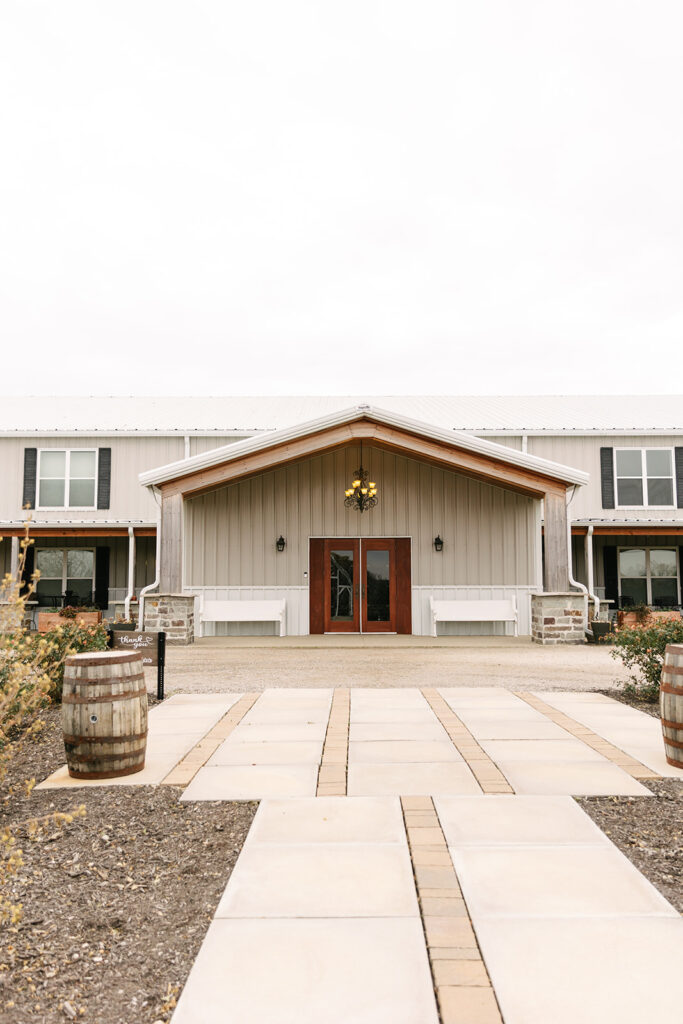
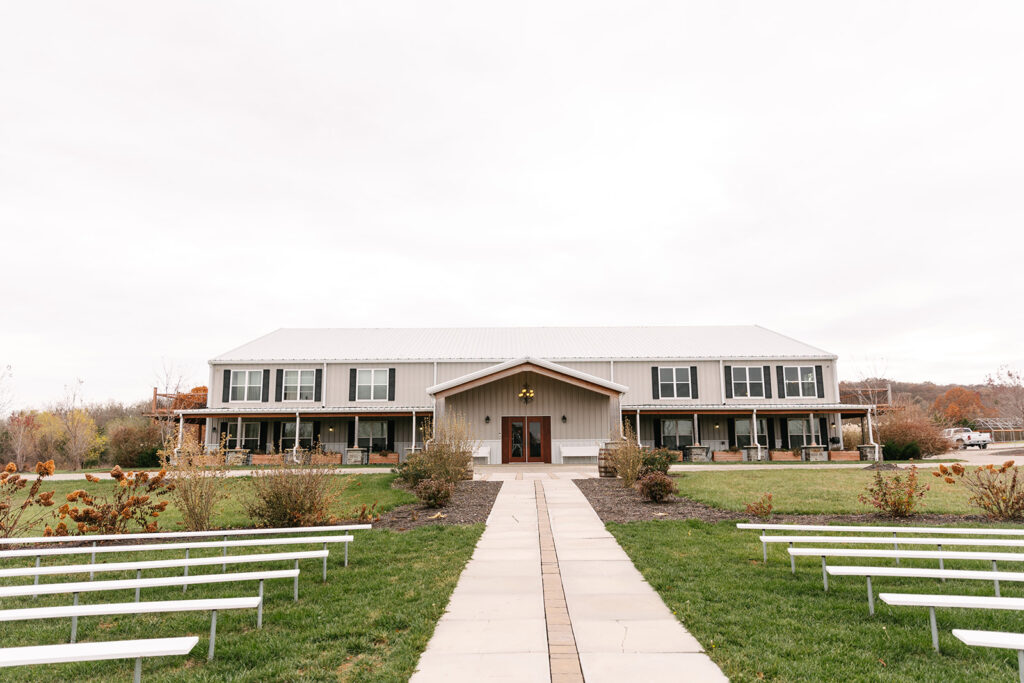
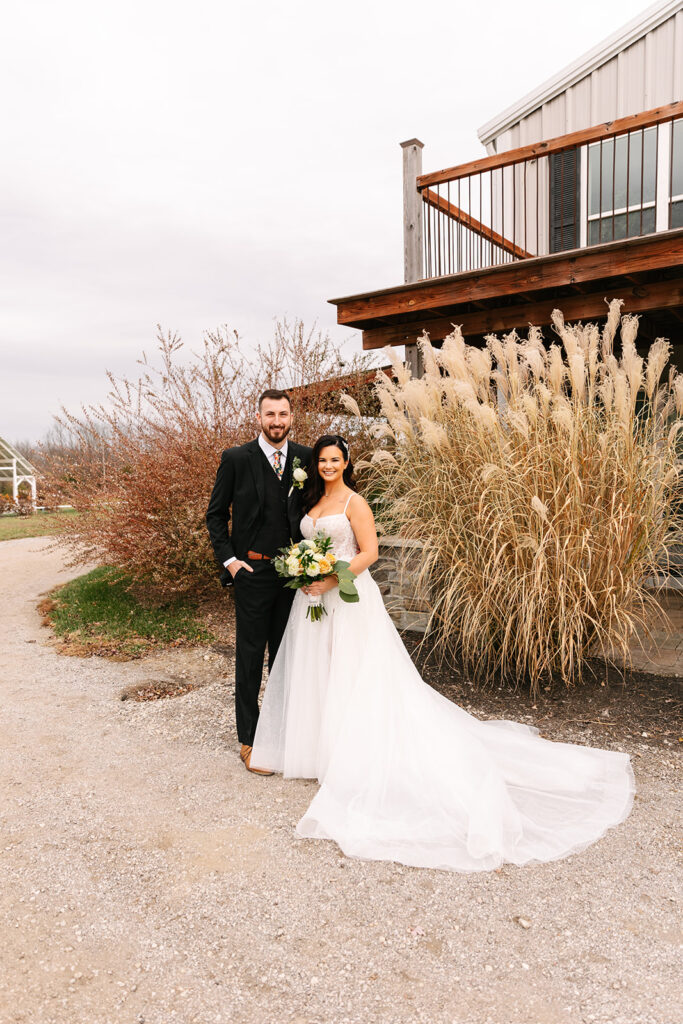
If you are searching for the Serendipity Farm and Vine wedding venue, you are likely dreaming of wide-open skies, romantic vineyard views, and refined rustic charm. The Serendipity Farm and Vine wedding venue offers exactly that… and so much more.

Nestled in the countryside, this venue blends natural beauty with thoughtful design. Rolling fields, vineyard rows, and warm wood tones create a setting that feels peaceful and elevated at the same time. As a result, couples can design a day that feels both relaxed and stunning.
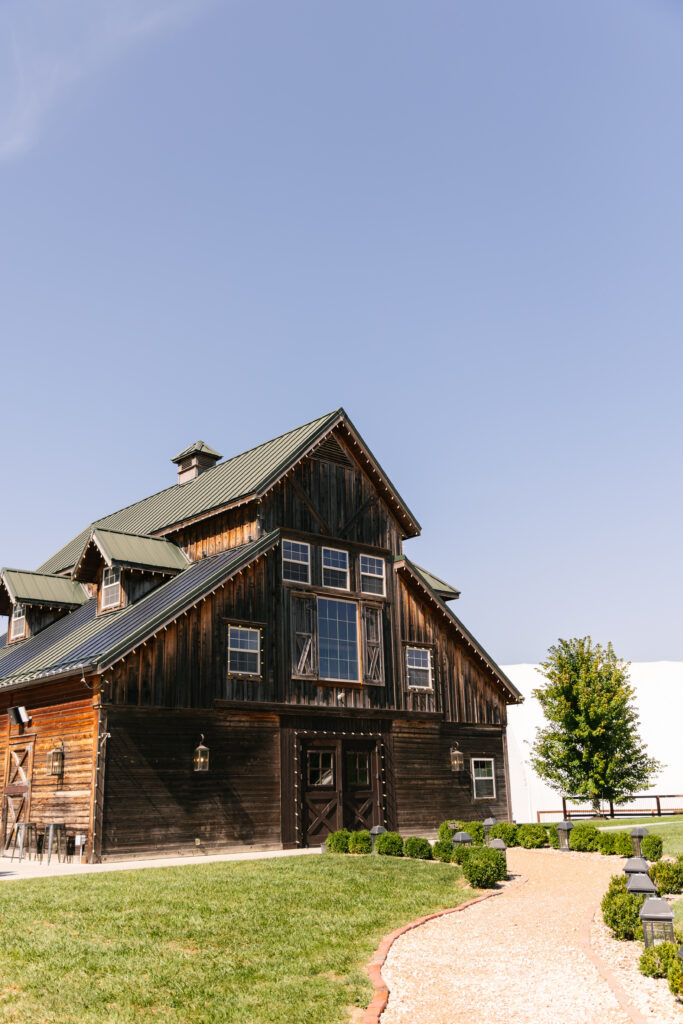
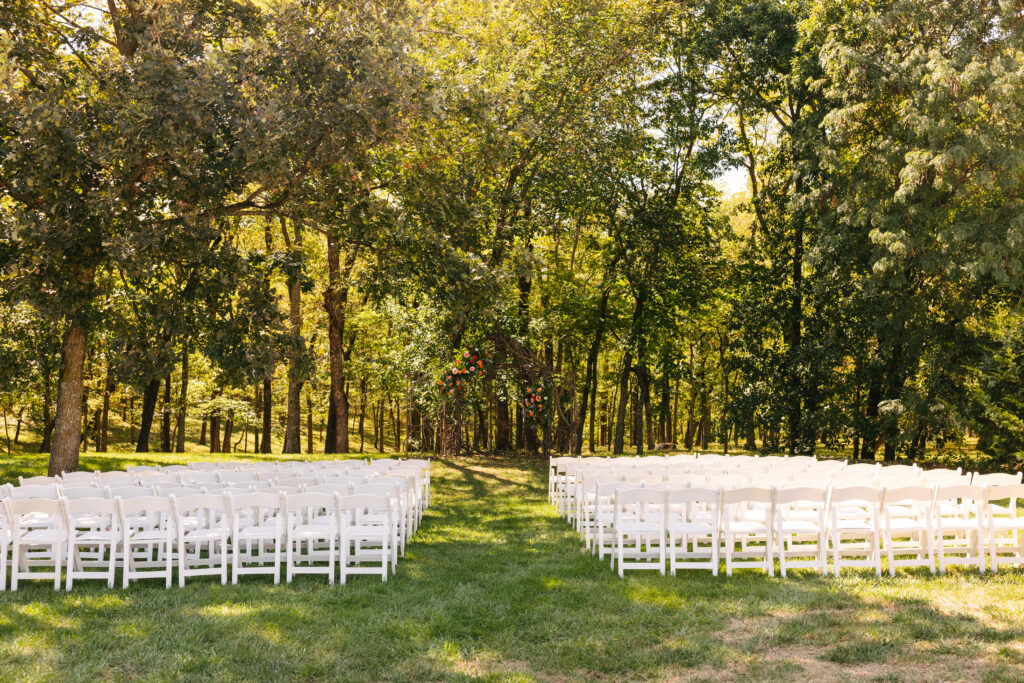
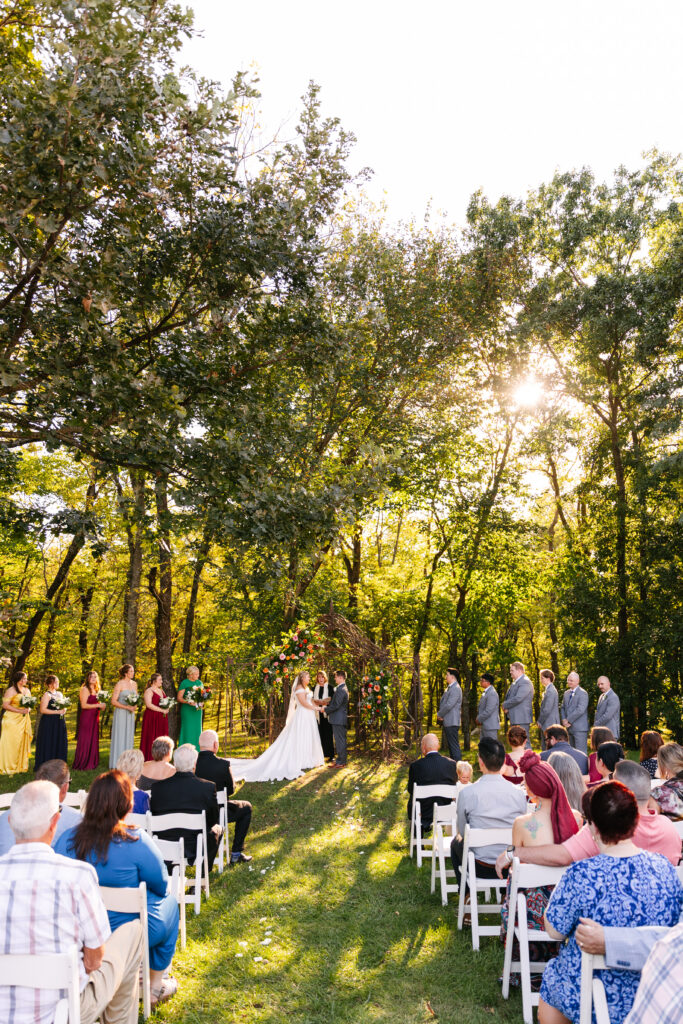
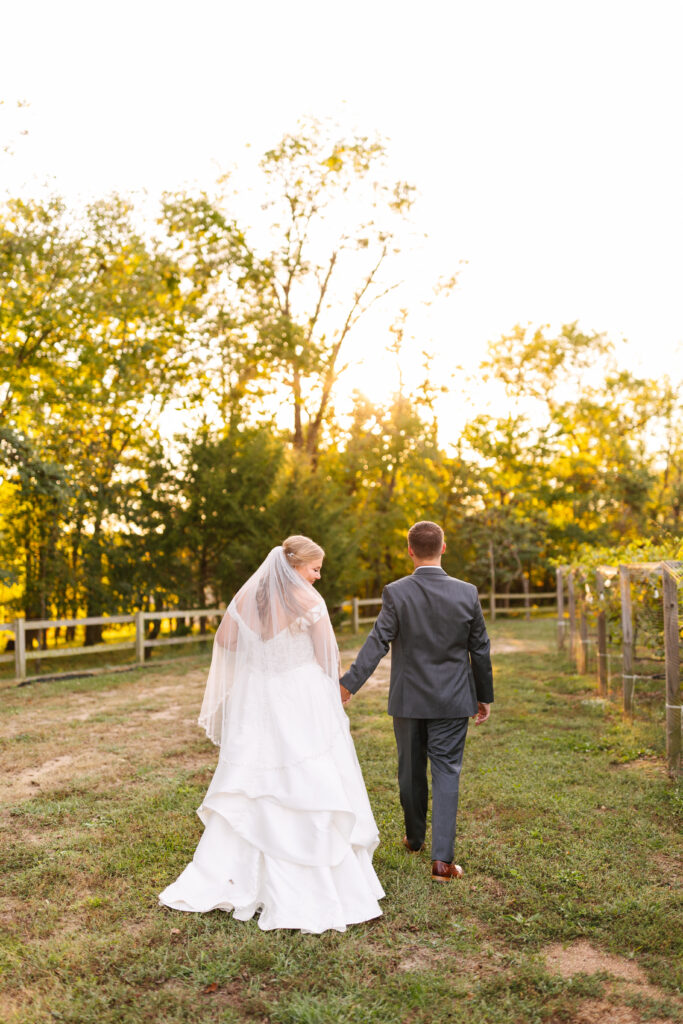
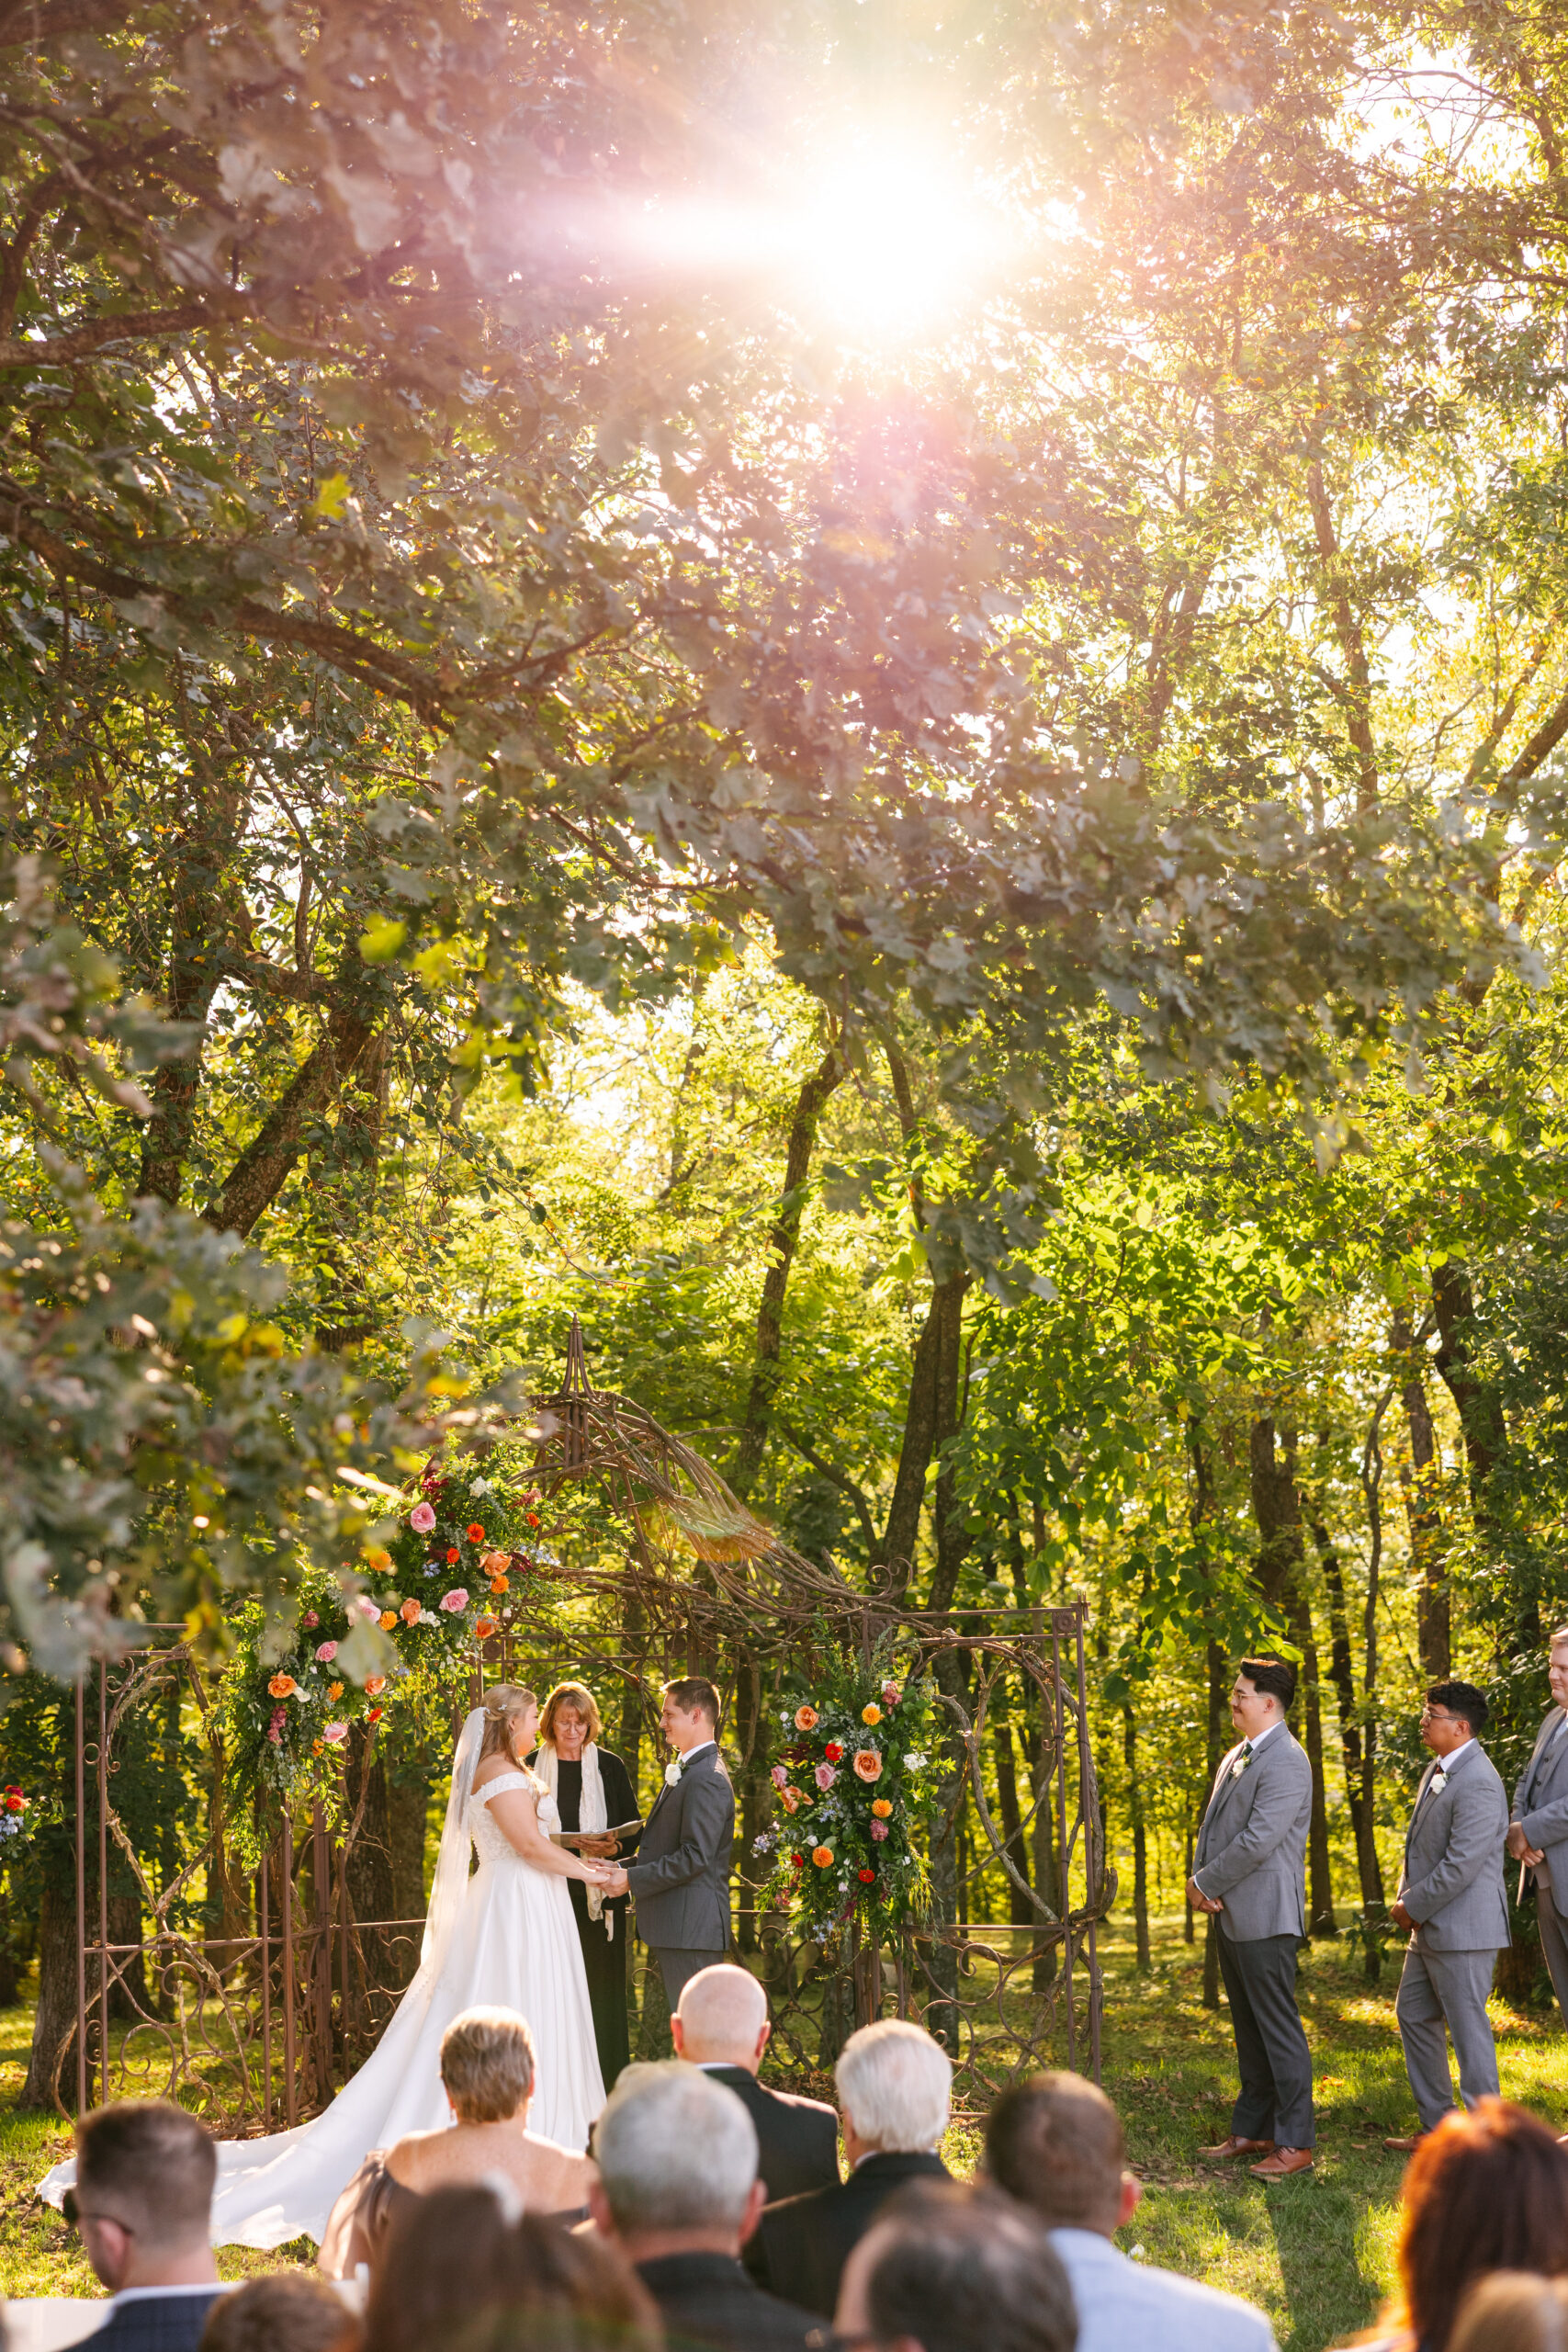
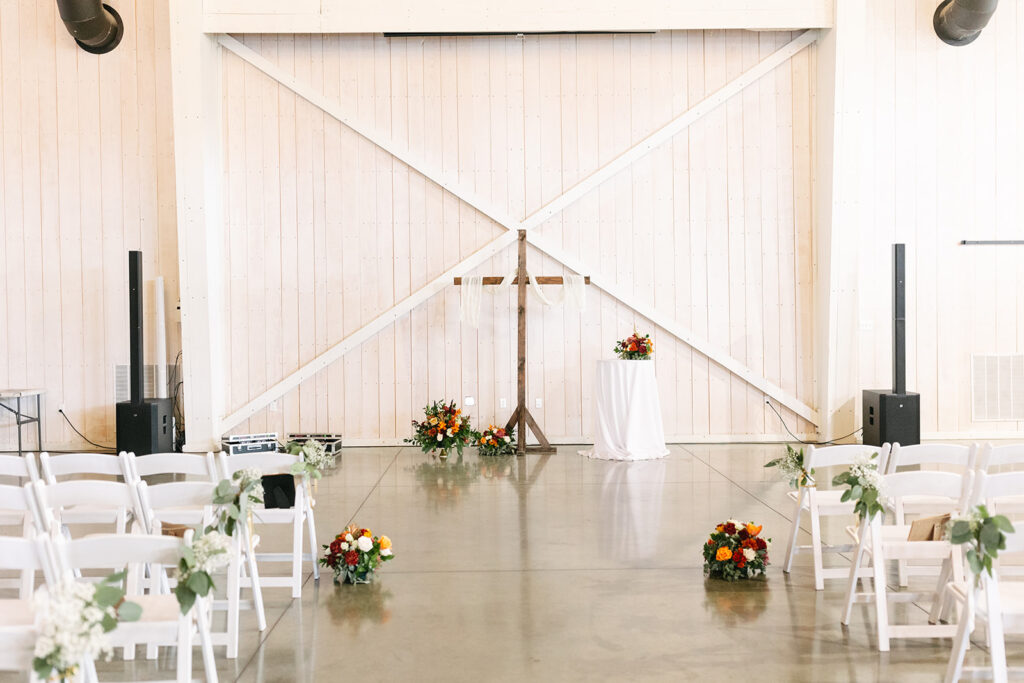
First, let’s talk about the ceremony space. Whether you choose to exchange vows overlooking the vineyard or beneath a beautifully crafted arbor, the landscape becomes your backdrop. Because the property features open skies and soft evening light, golden hour portraits feel absolutely magical.


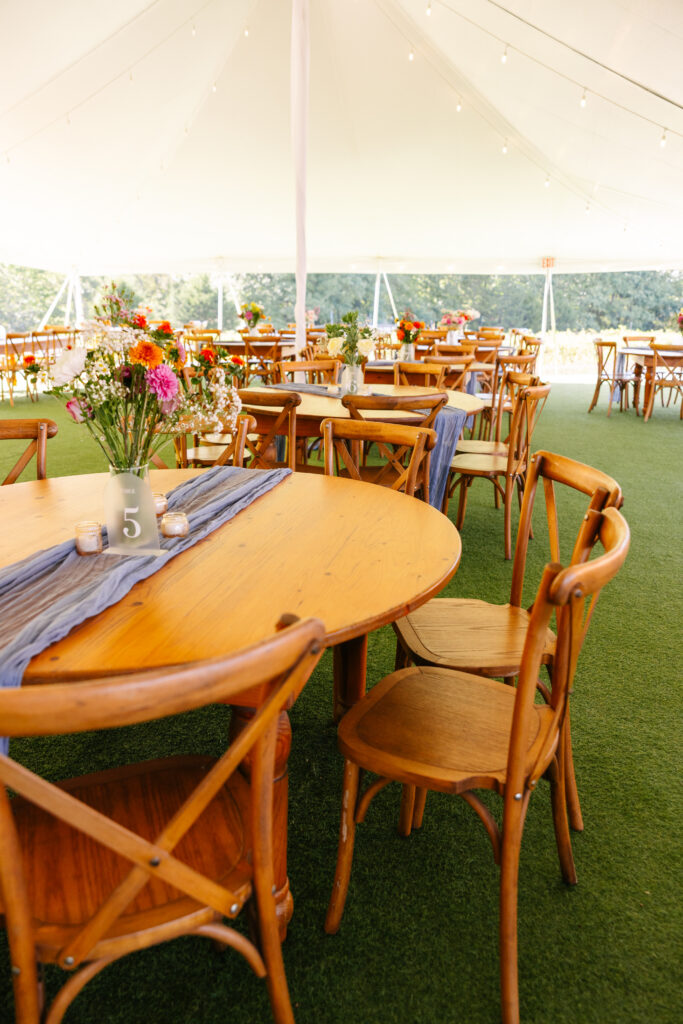
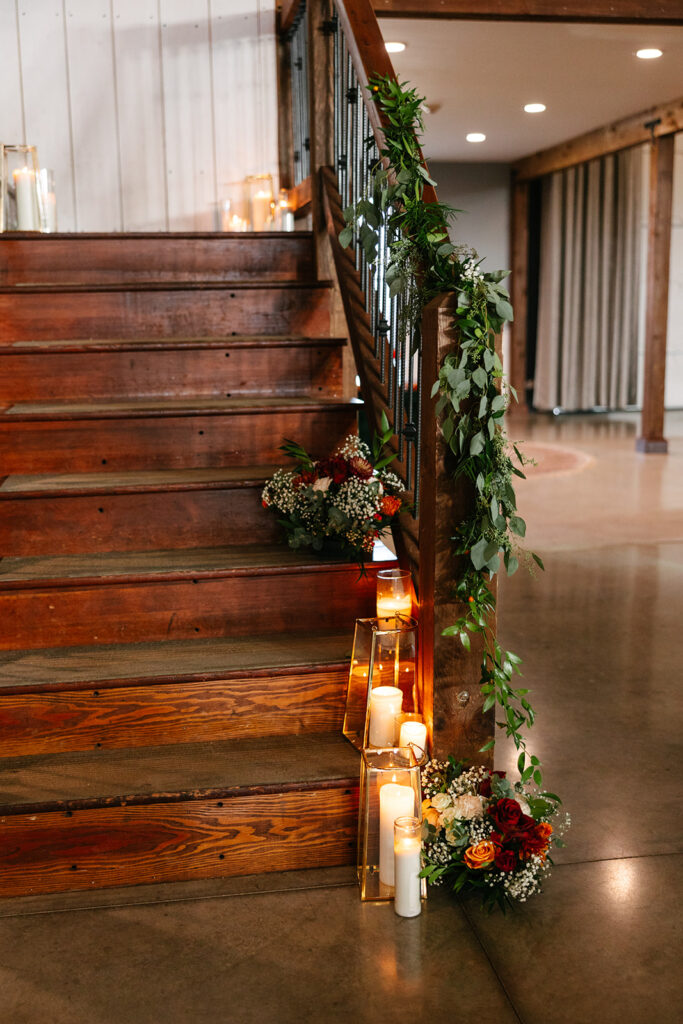
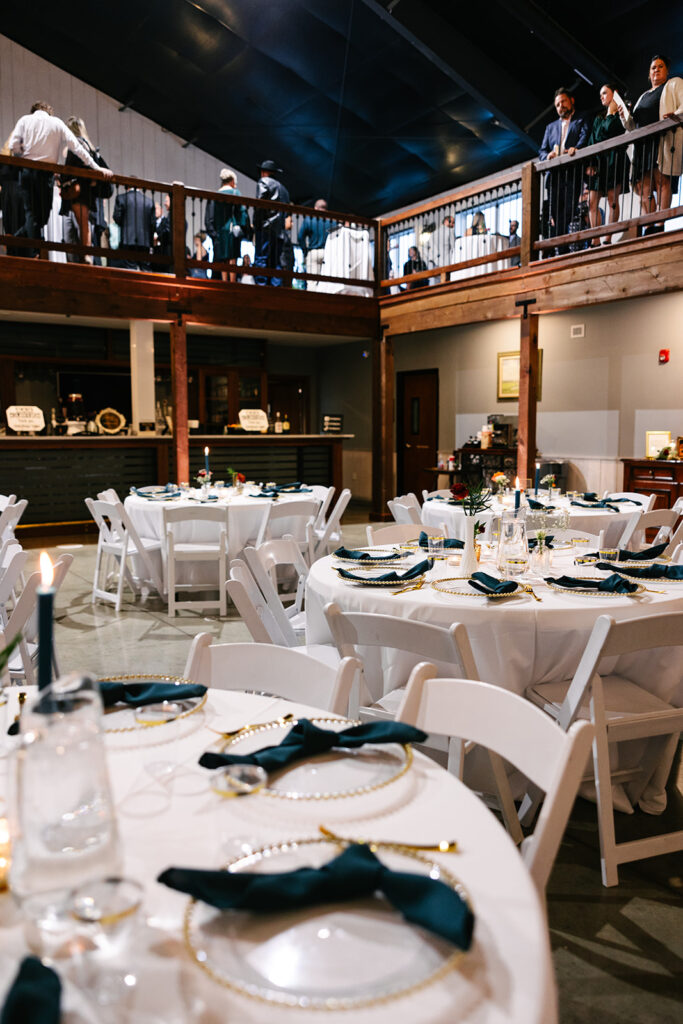
Next, the reception barn brings warmth and character. Exposed beams, elegant lighting, and neutral finishes allow couples to customize the space without overwhelming it. Additionally, the open layout makes it easy for guests to transition from dinner to dancing without losing energy.

Another reason couples gravitate toward this venue is its versatility. You can lean into rustic elegance with soft florals and candlelight. Or, you can elevate the space with modern accents and bold color palettes. Either way, the venue supports your vision instead of competing with it.


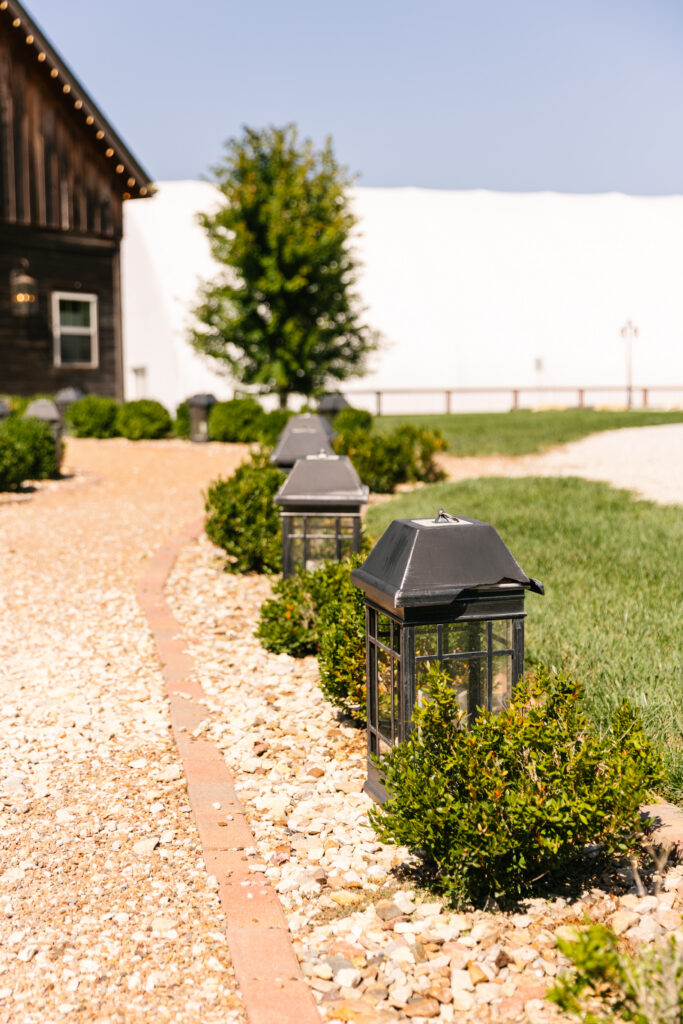
Meanwhile, the surrounding grounds offer endless portrait opportunities. Vineyard rows create depth and texture. Open fields provide dramatic sunset moments. Even simple walkway shots feel cinematic in this setting.

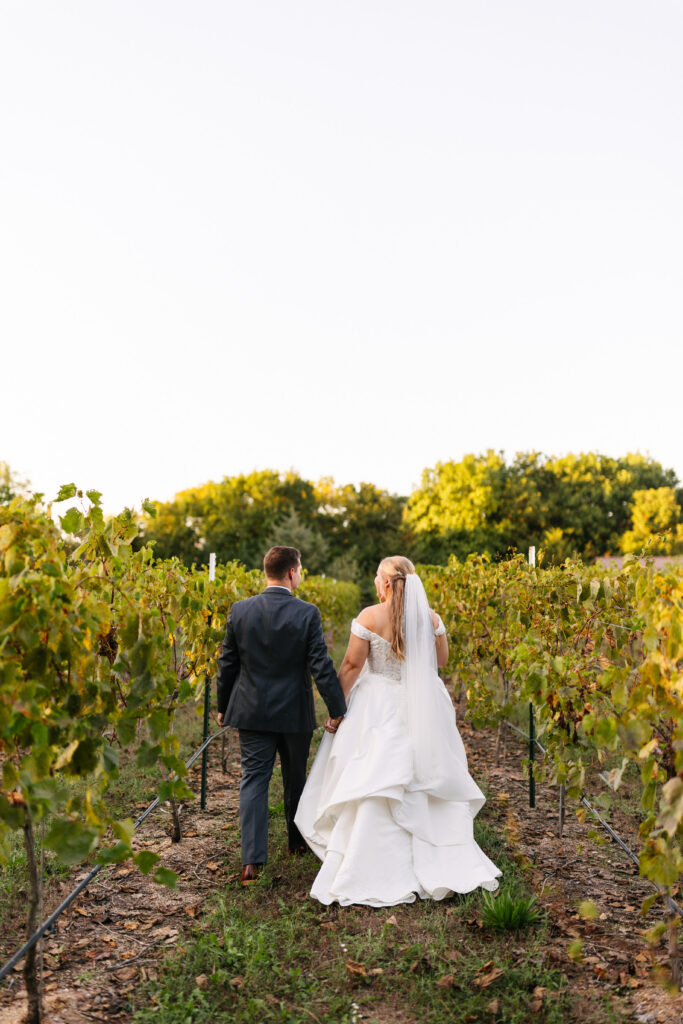
Ultimately, the Serendipity Farm and Vine wedding venue gives couples a space where romance and simplicity meet. It feels intimate without feeling small. It feels elegant without feeling formal. Most importantly, it photographs beautifully in every season.

Frequently Asked Questions
What style works best at Serendipity Farm and Vine?
Rustic-elegant, vineyard-inspired, and modern romantic styles photograph beautifully here.
Is it good for sunset portraits?
Yes. The open countryside allows for stunning golden-hour light.
Does the venue work for large guest lists?
The flexible indoor and outdoor spaces accommodate both intimate and larger celebrations comfortably.

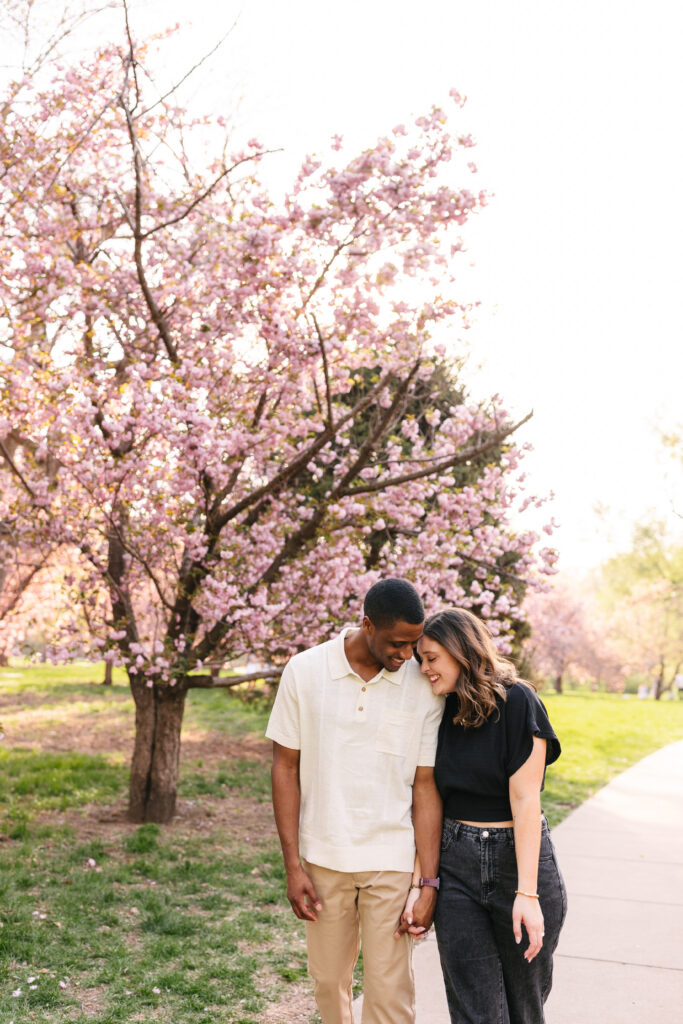
If you’re newly engaged, you may be wondering how to choose the perfect season for your engagement session. Choosing the perfect season for your engagement session can completely change the look, feel, and mood of your photographs. Here in the Midwest, every season offers something unique, which makes the decision both exciting and a little overwhelming.
Let’s break it down.
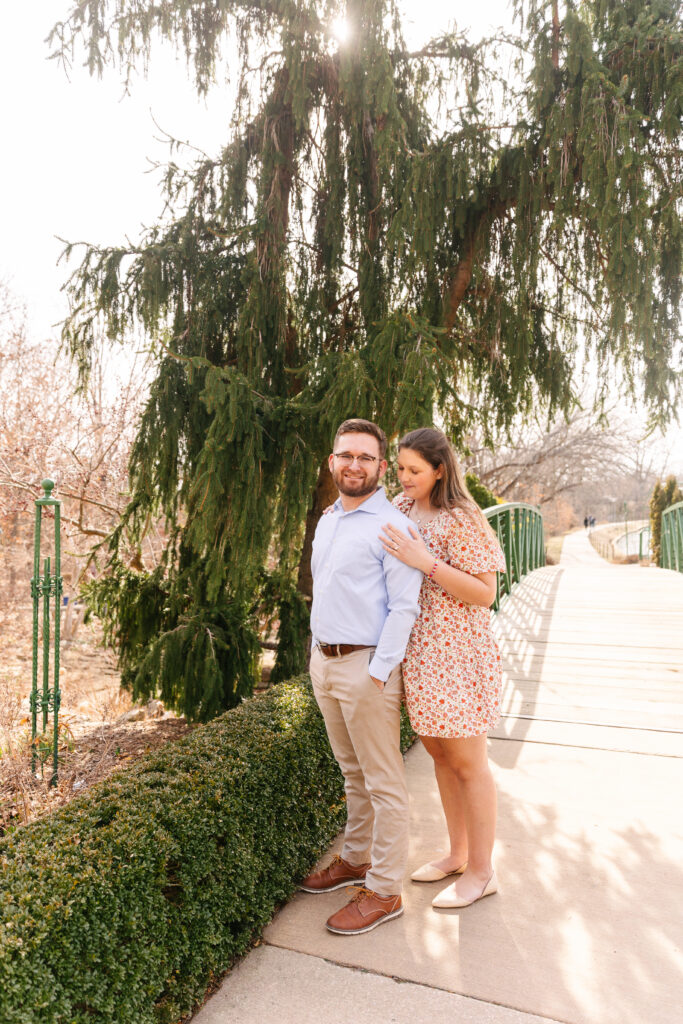
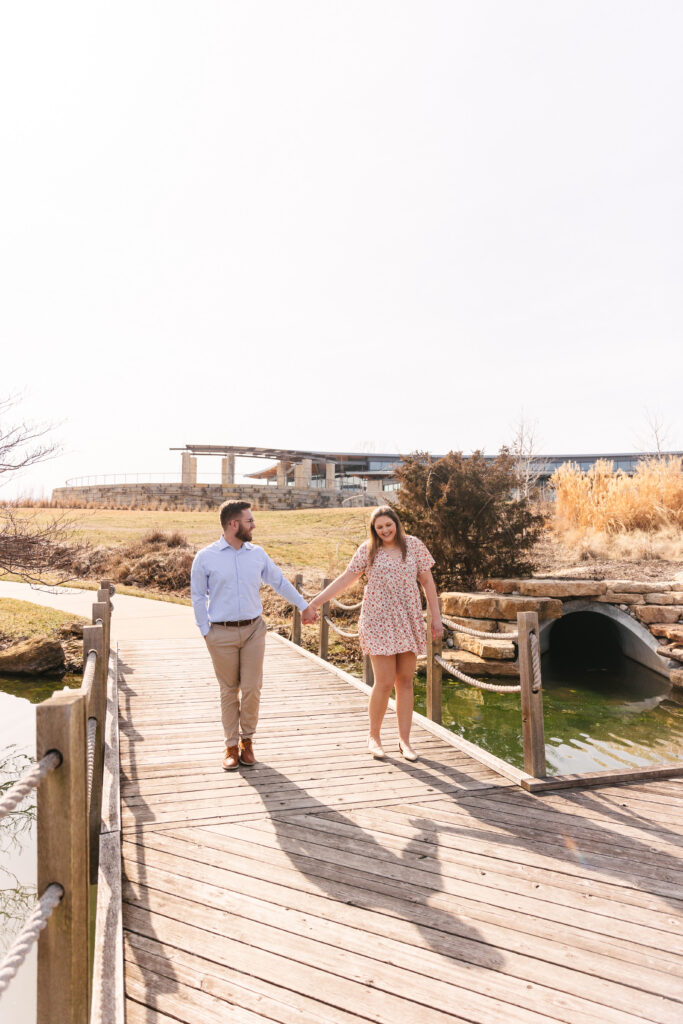
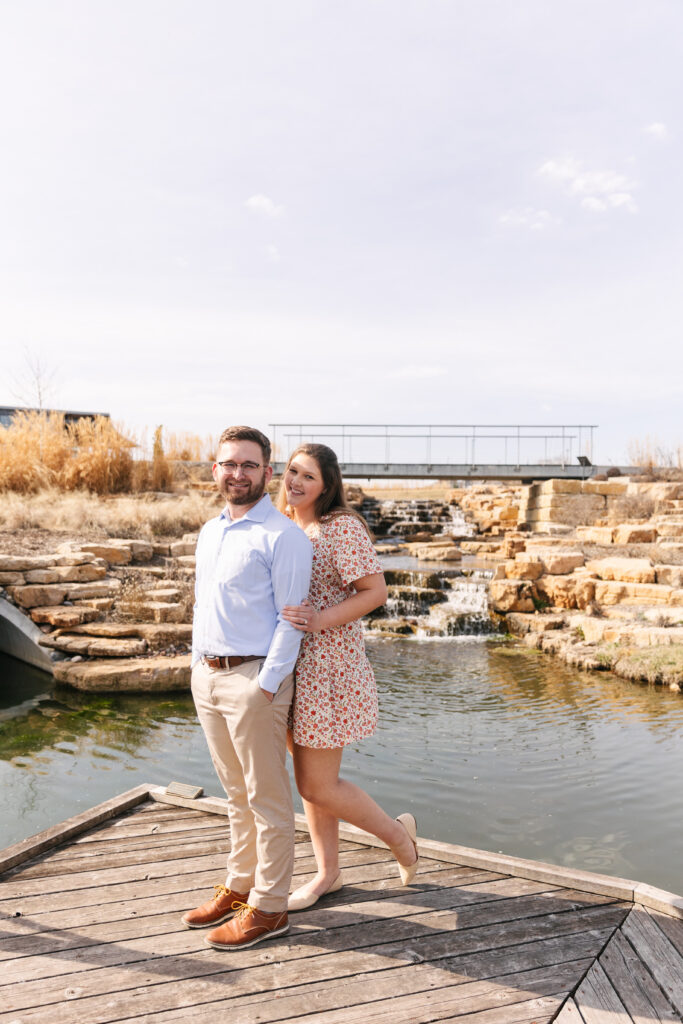
Spring sessions feel fresh and romantic. Think blooming trees, soft pastels, and comfortable temperatures. Locations like the grounds near the Nelson-Atkins Museum of Art come alive with color. However, spring weather can be unpredictable, so flexibility is key.
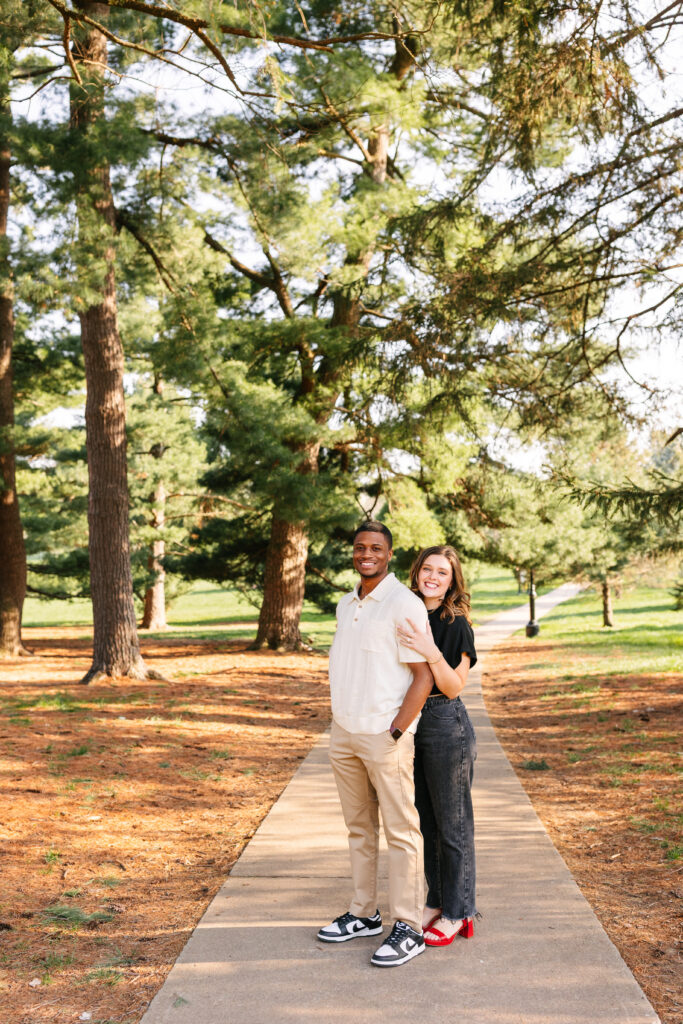
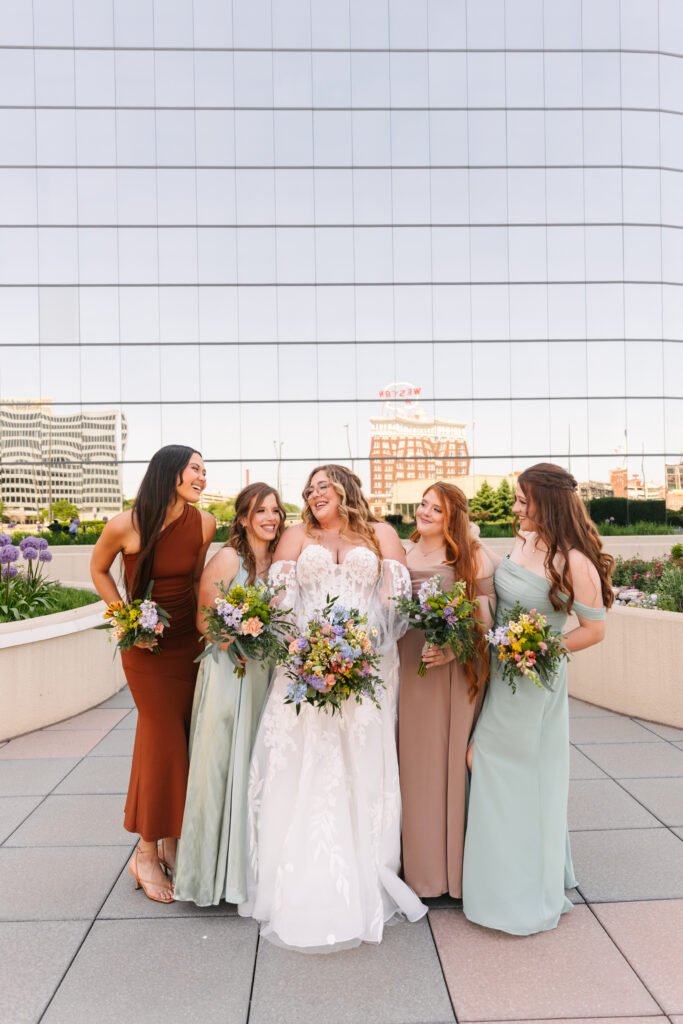
Summer offers long evenings and golden sunsets. The extra daylight gives us more time to shoot, which means more variety in your gallery. Rooftop sessions in downtown Kansas City glow beautifully during golden hour. On the other hand, we plan carefully around heat and humidity and can hit up one of the many great parks!


Fall is easily the most popular season. Rich tones, cozy outfits, and crisp air create timeless photographs. Places like Loose Park transform with vibrant foliage. Because fall books quickly, I recommend scheduling early if this is your dream look.

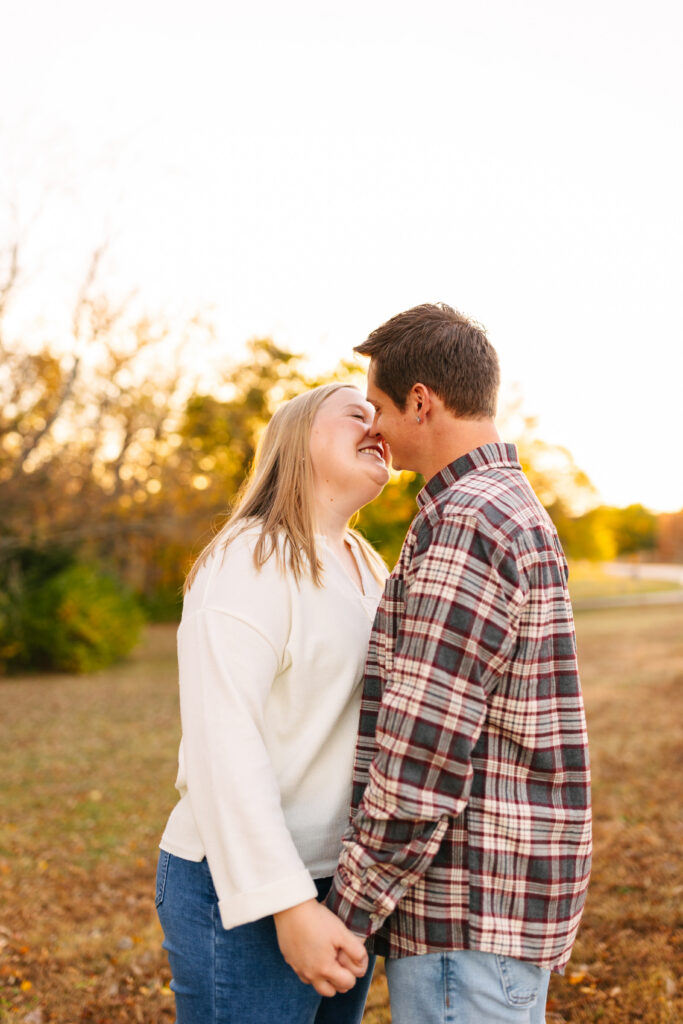

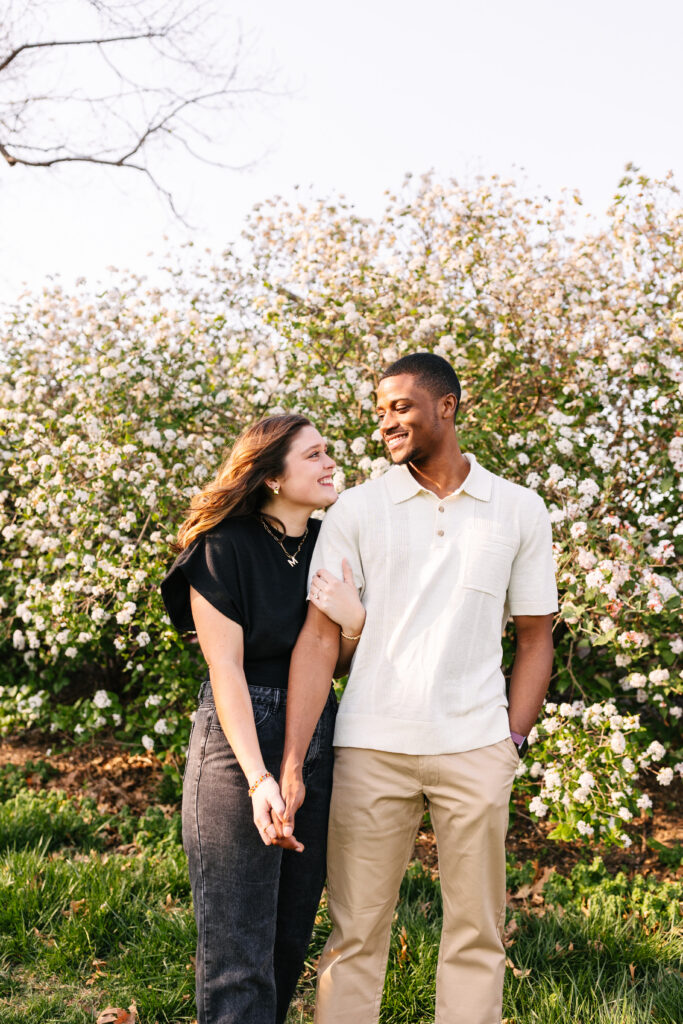
Winter sessions are underrated. Snowfall creates a romantic, quiet atmosphere that feels cinematic. Even without snow, neutral landscapes allow you to stand out. Winter sessions also offer more scheduling flexibility.
Ultimately, when deciding how to choose the perfect season for your engagement session, think about your wedding date, outfit preferences, and overall vibe. Do you love airy and floral? Warm and cozy? Bright and bold? Your engagement photographs should reflect your personality and set the tone for your wedding experience.
No matter the season, intentional planning always leads to meaningful photographs!
Frequently Asked Questions
What is the most popular season for engagement sessions in Kansas City?
Fall is the most requested season due to colorful foliage and comfortable temperatures.
When should we book our engagement session?
Book 6–9 months in advance, especially if you prefer spring or fall dates.
Can we reschedule if the weather is bad?
Yes. Flexibility ensures we capture the best possible lighting and conditions.

When it comes to planning your timeline, don’t overlook the must-have detail photographs for your wedding day. These must-have detail shots for your wedding day tell the full story long after the cake is gone and the flowers have faded. While portraits and ceremony moments matter, your details preserve the intentional choices you made.
First, your invitation suite deserves attention. Custom stationery sets the tone for your celebration. I always recommend bringing a full set, including envelopes and wax seals, for styled photographs.
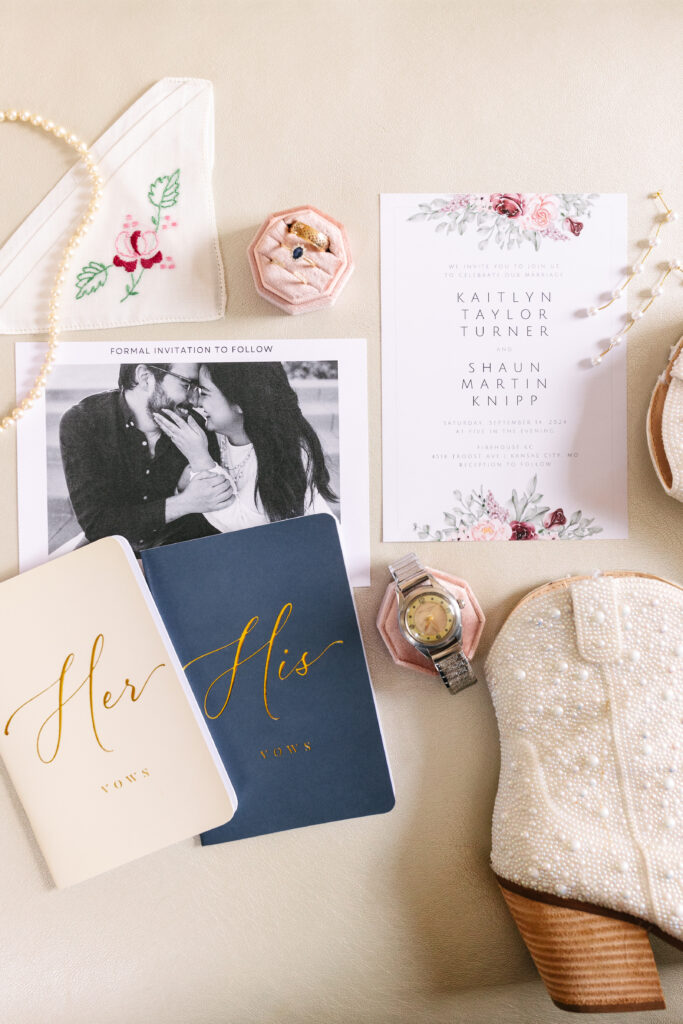
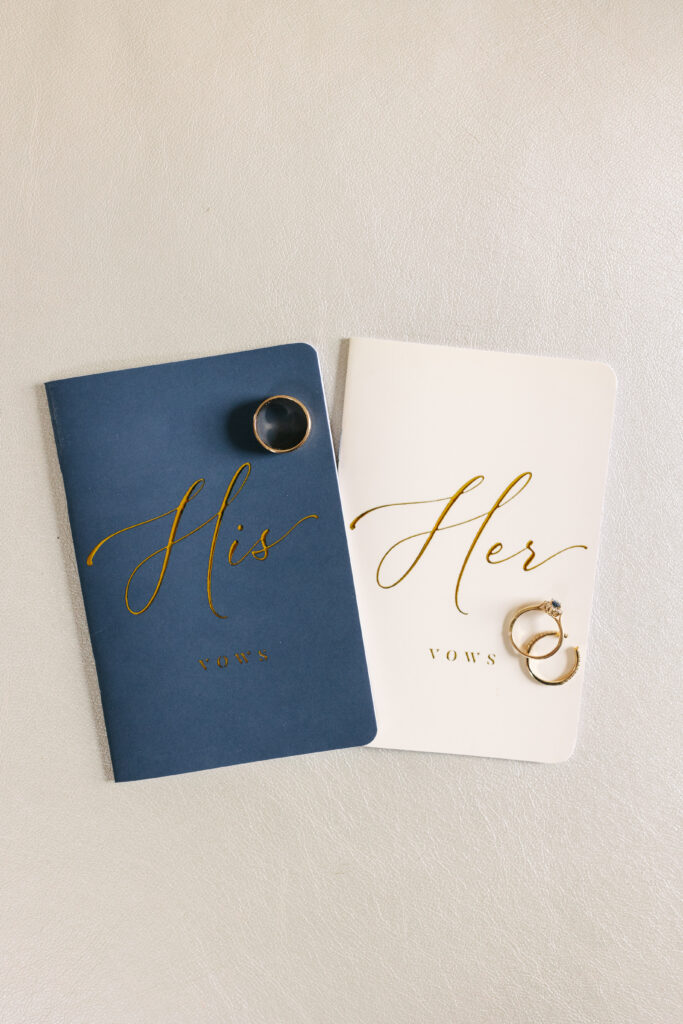
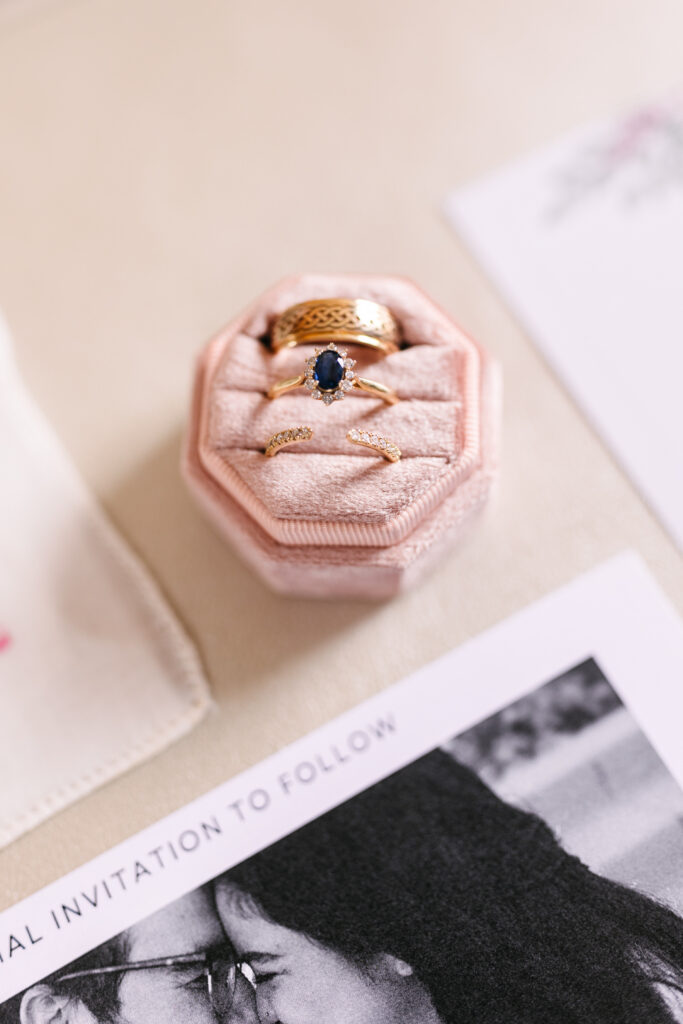
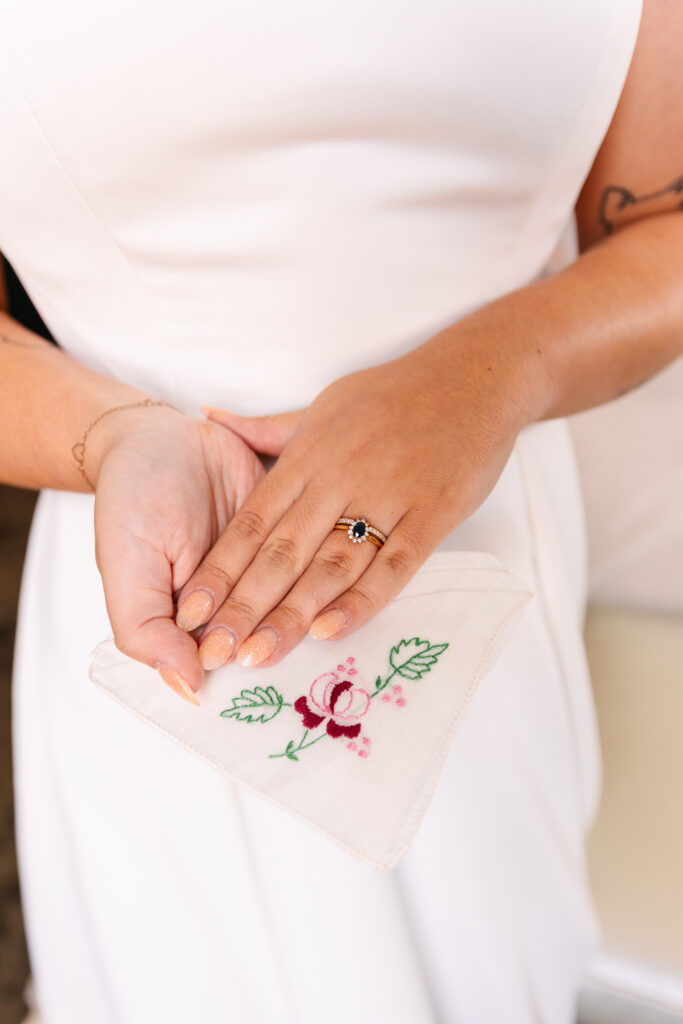
Second, your rings are non-negotiable. Close-ups of your engagement ring and wedding bands highlight craftsmanship and symbolism.

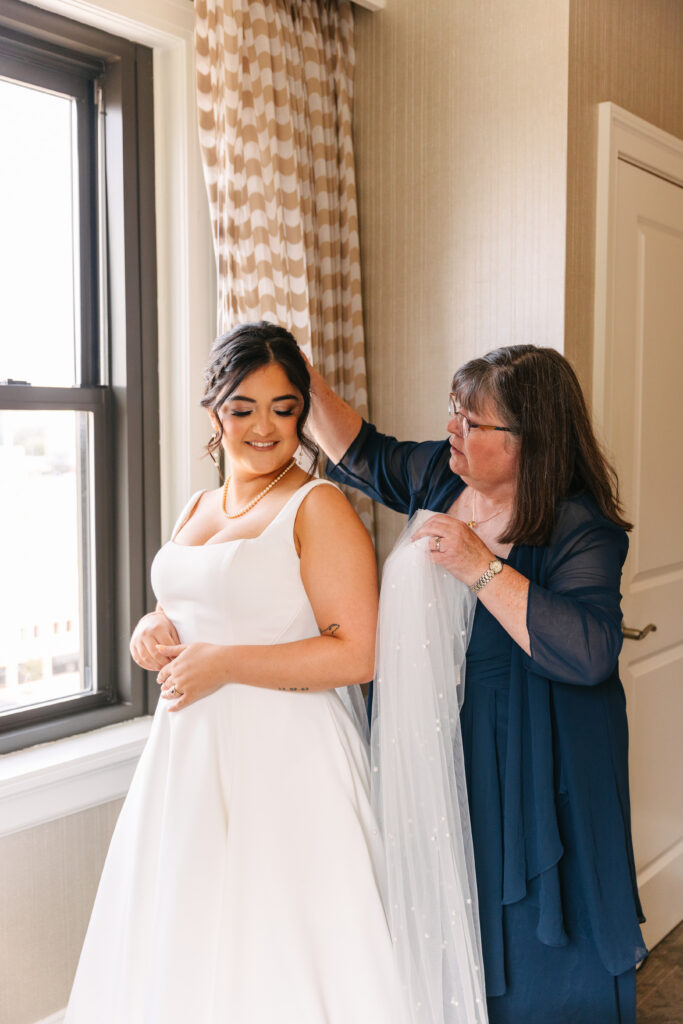
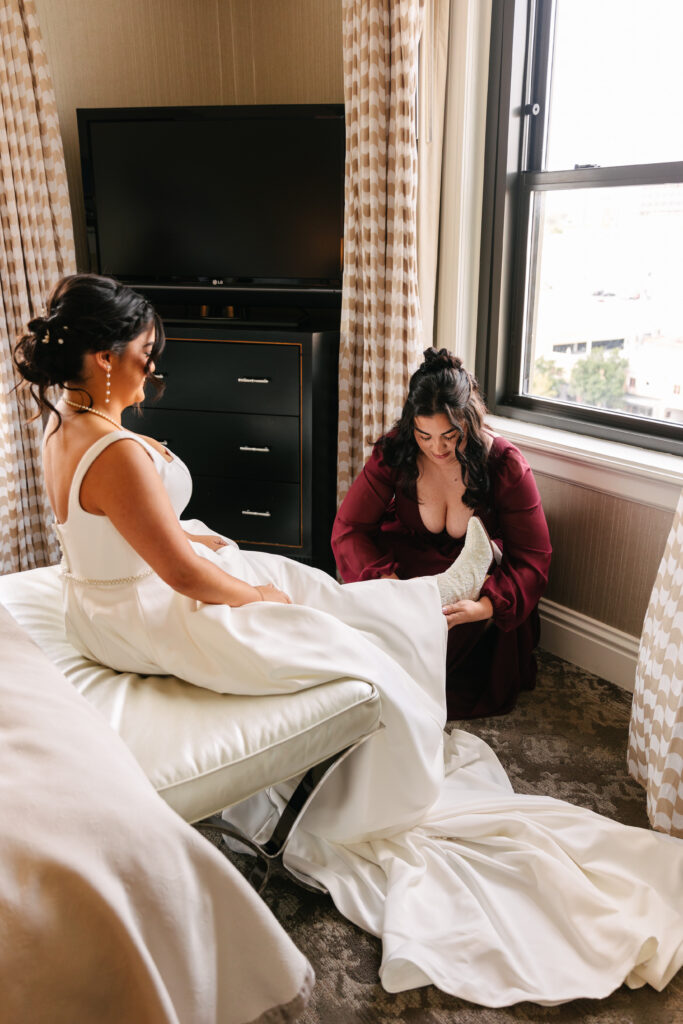
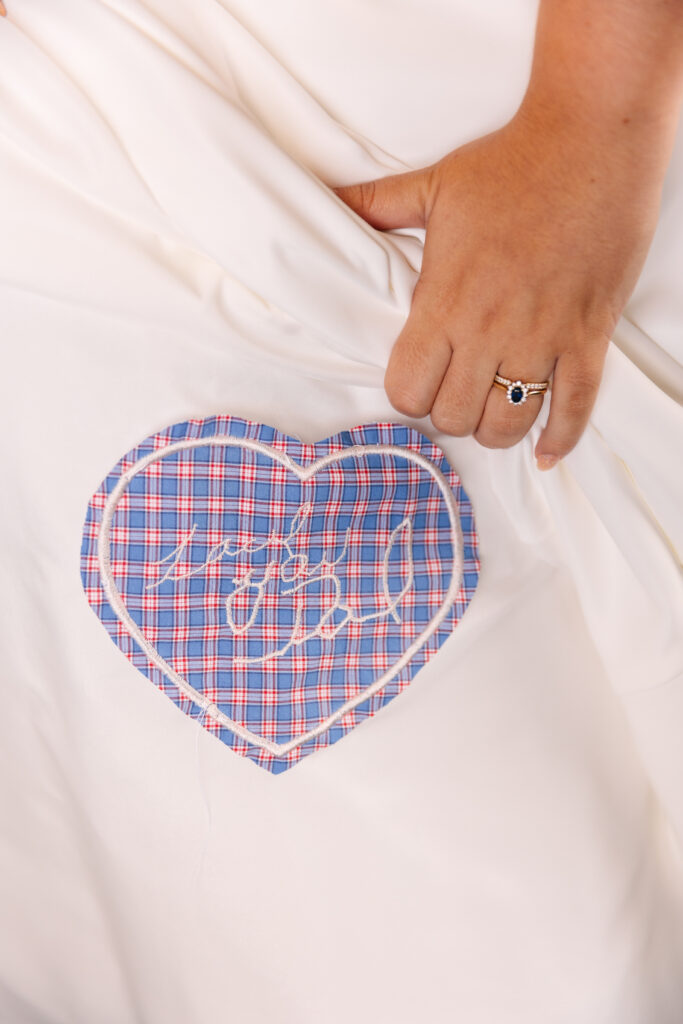
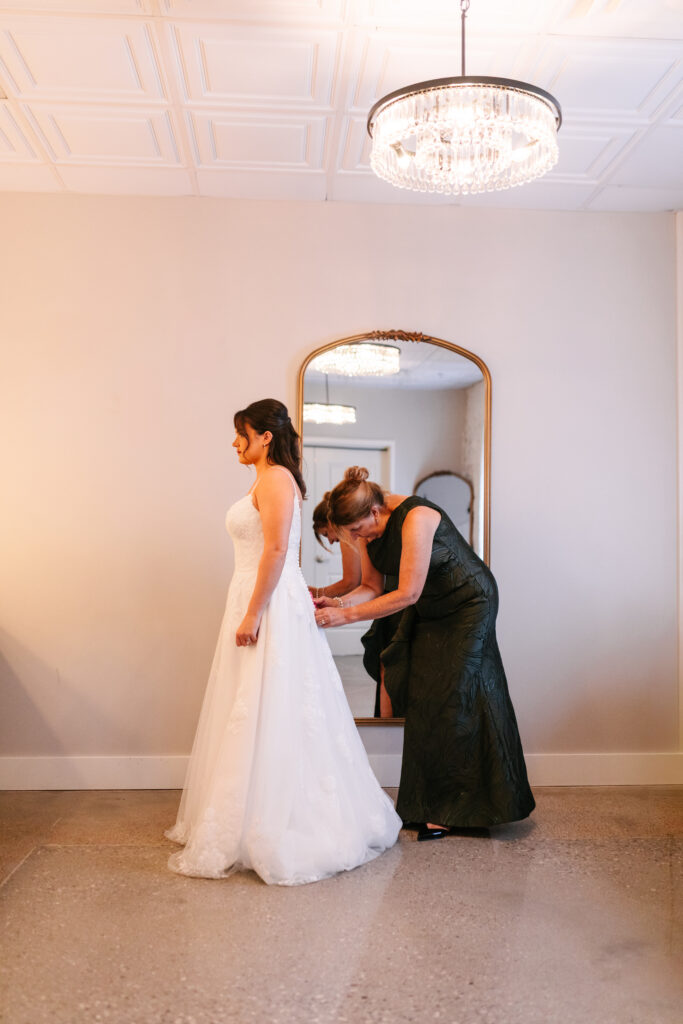
Third, your dress and veil need their own moment. Whether you hang them in a window or style them against architecture, they photograph beautifully with natural light.
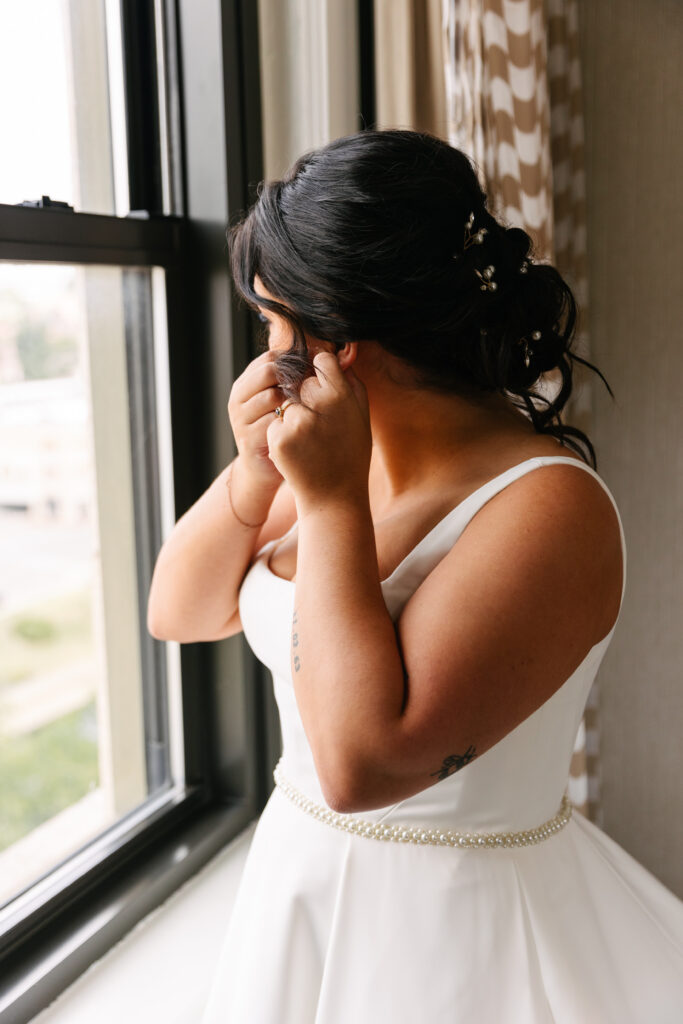

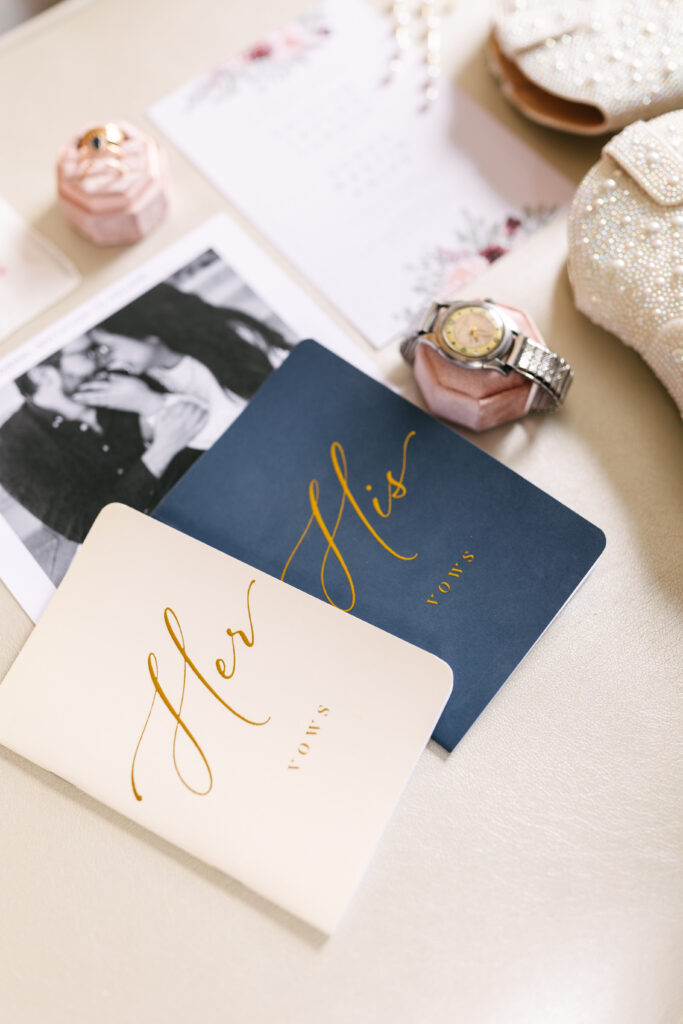
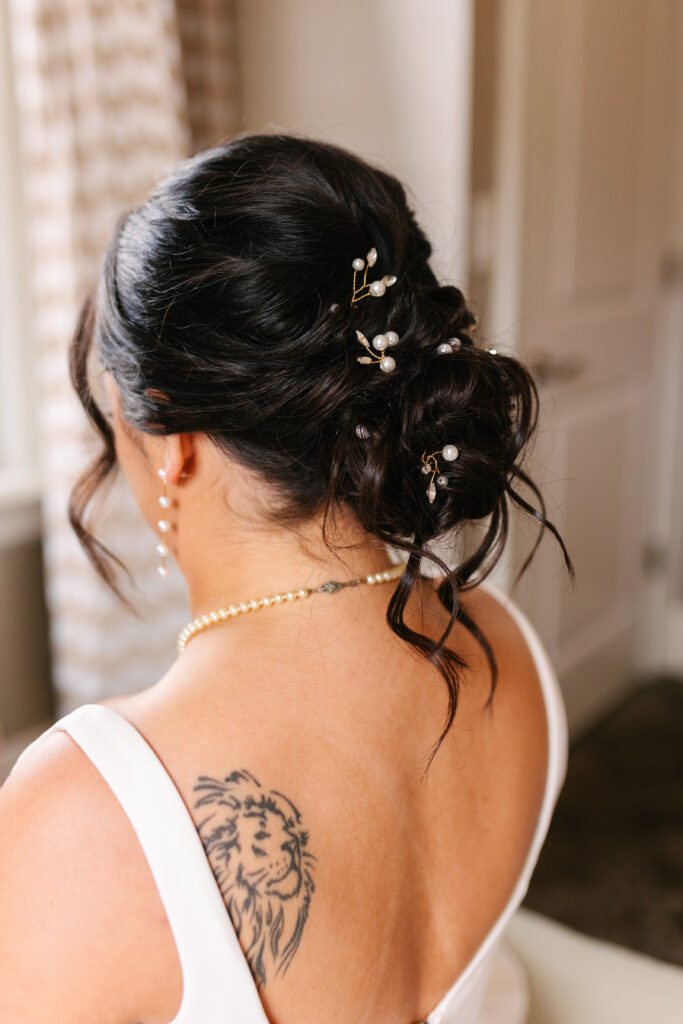
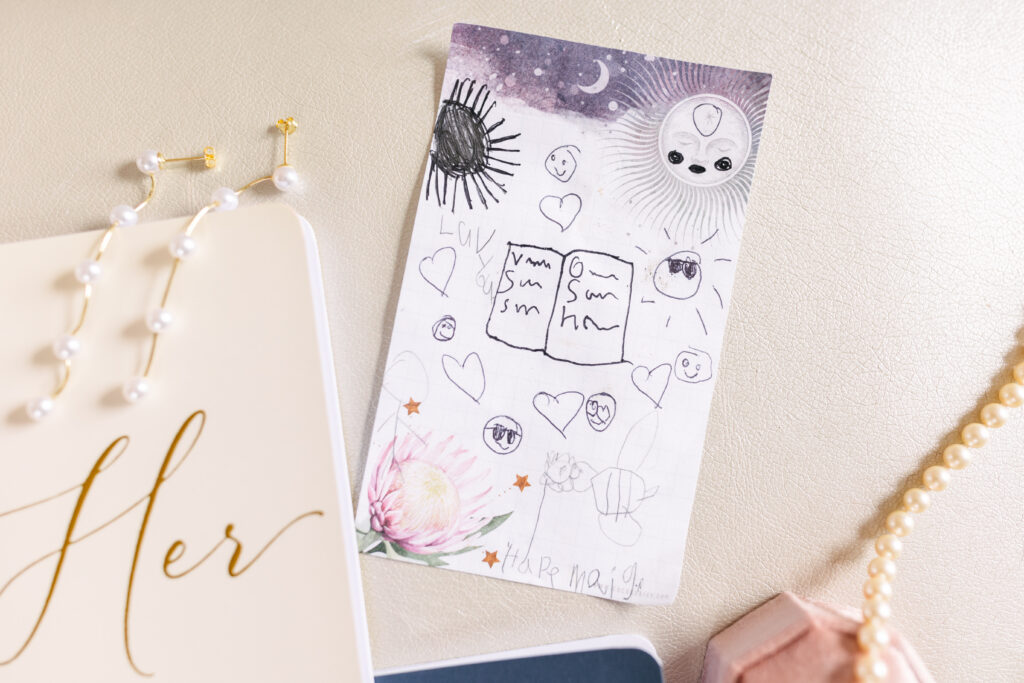
Next, don’t forget your shoes and accessories. Earrings, perfume, vow books, and heirloom pieces add depth and personality to your gallery.
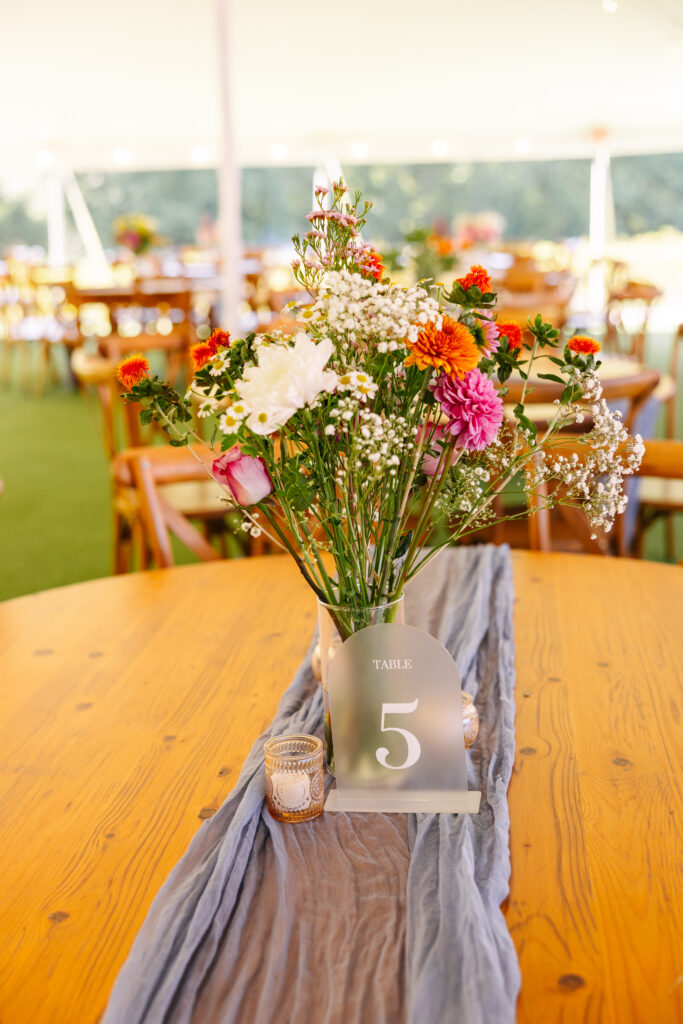
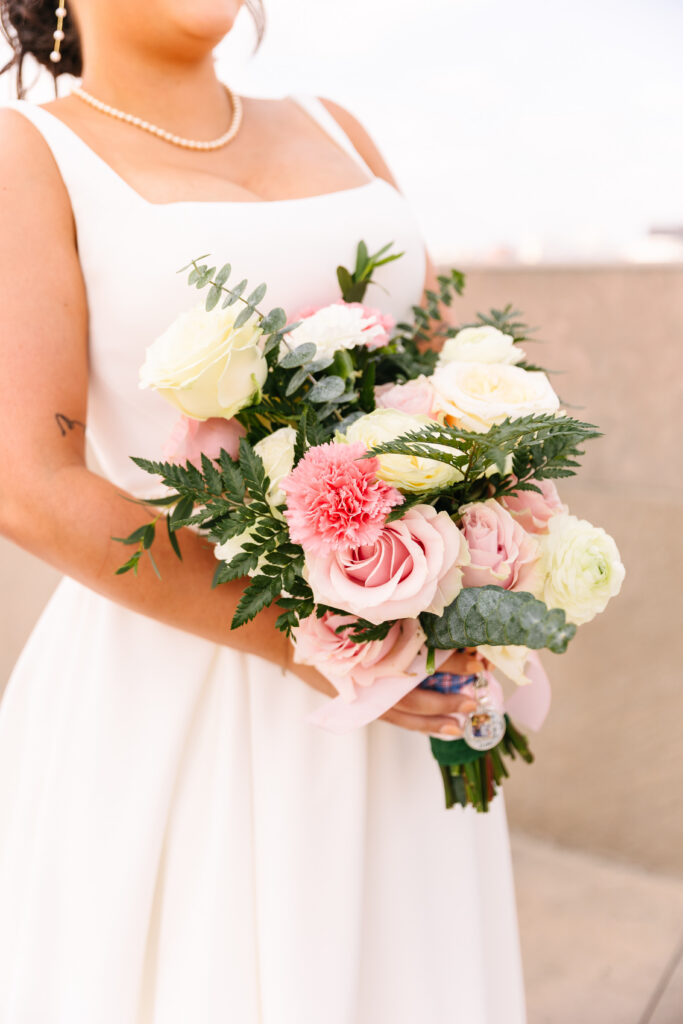
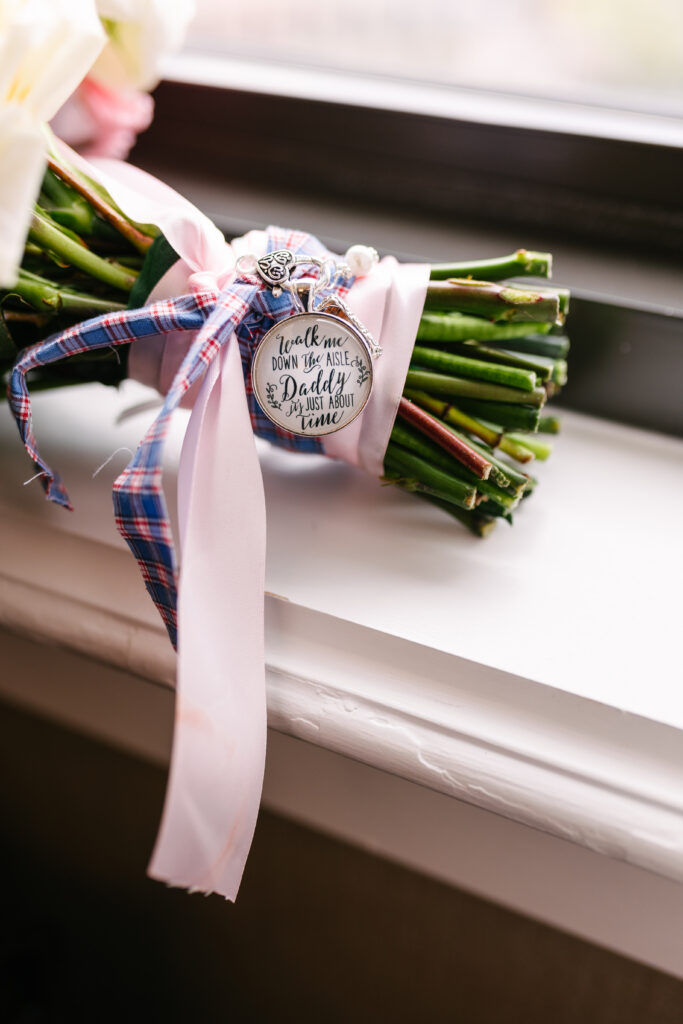
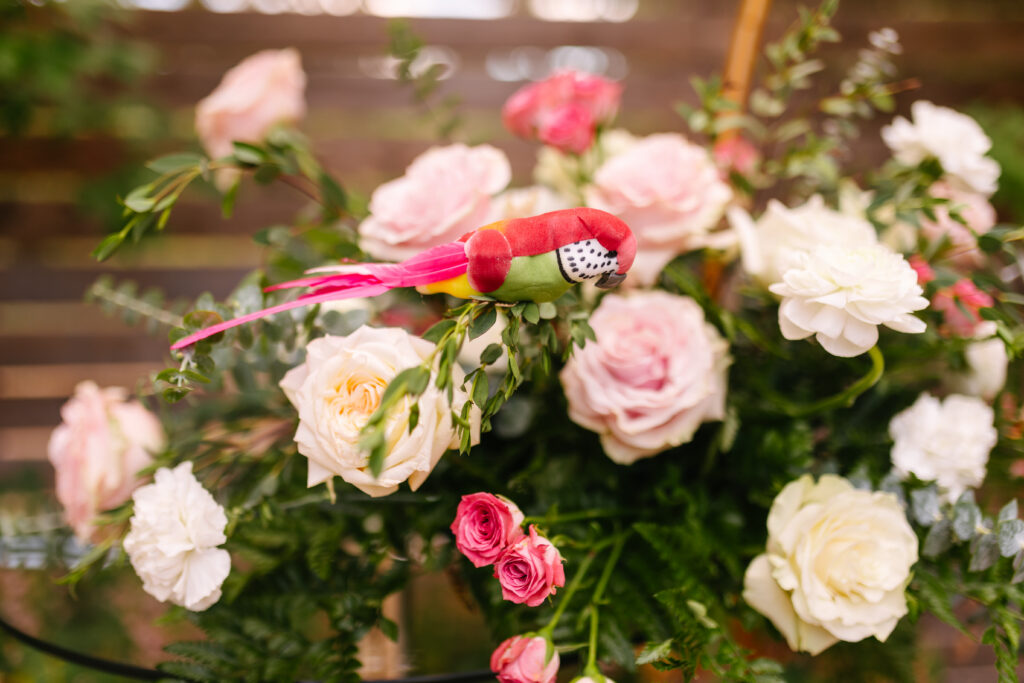
Florals are another essential detail. Bouquet close-ups and boutonniere shots showcase texture and color that tie your entire design together.

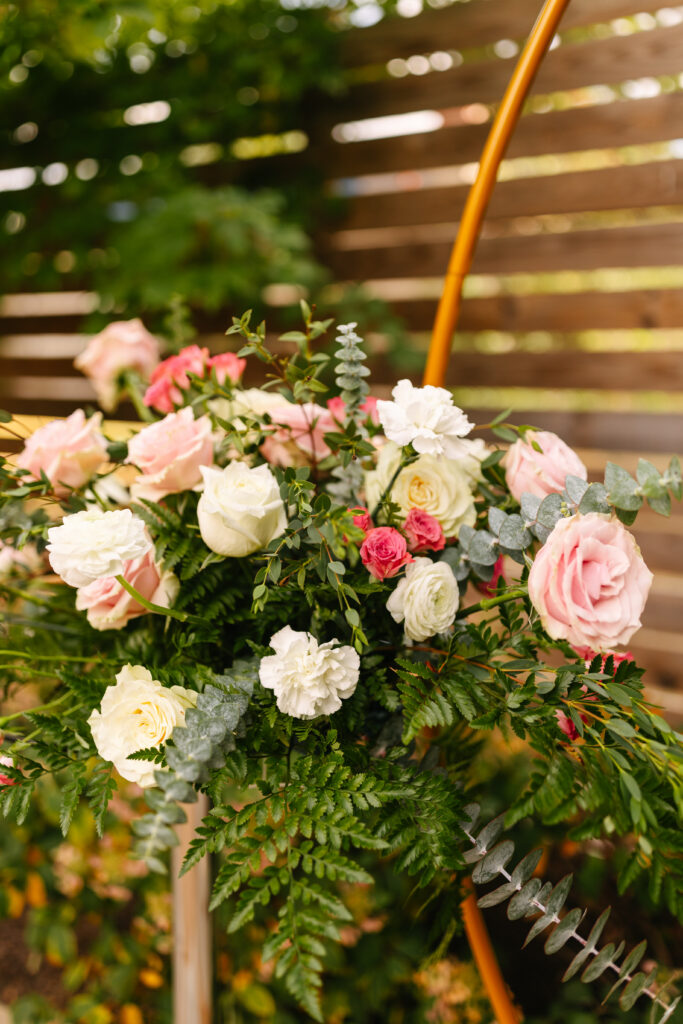
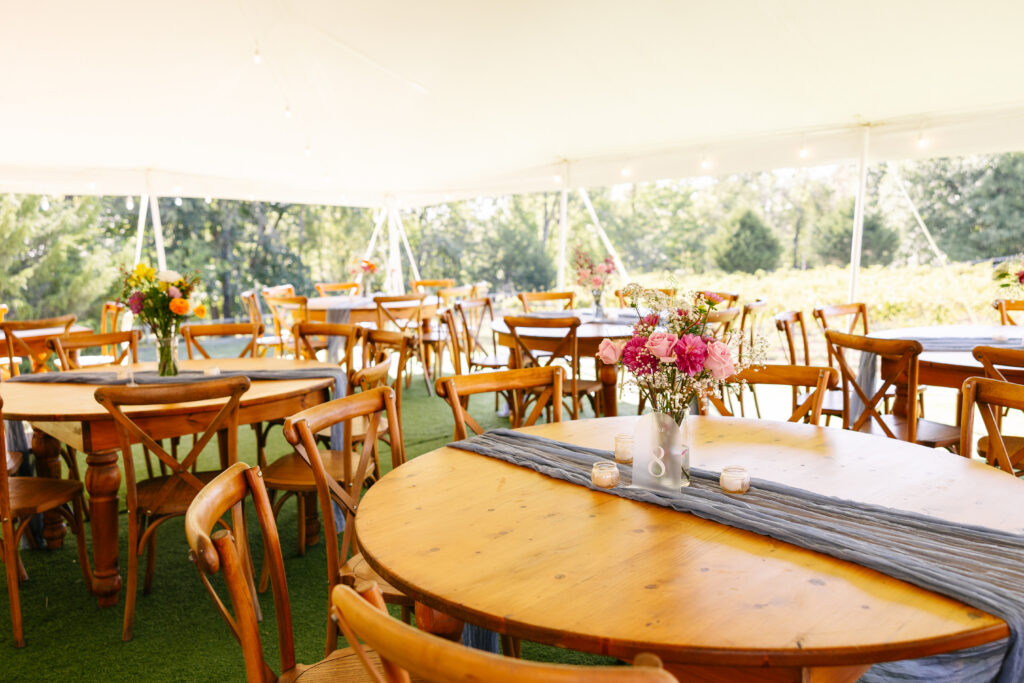
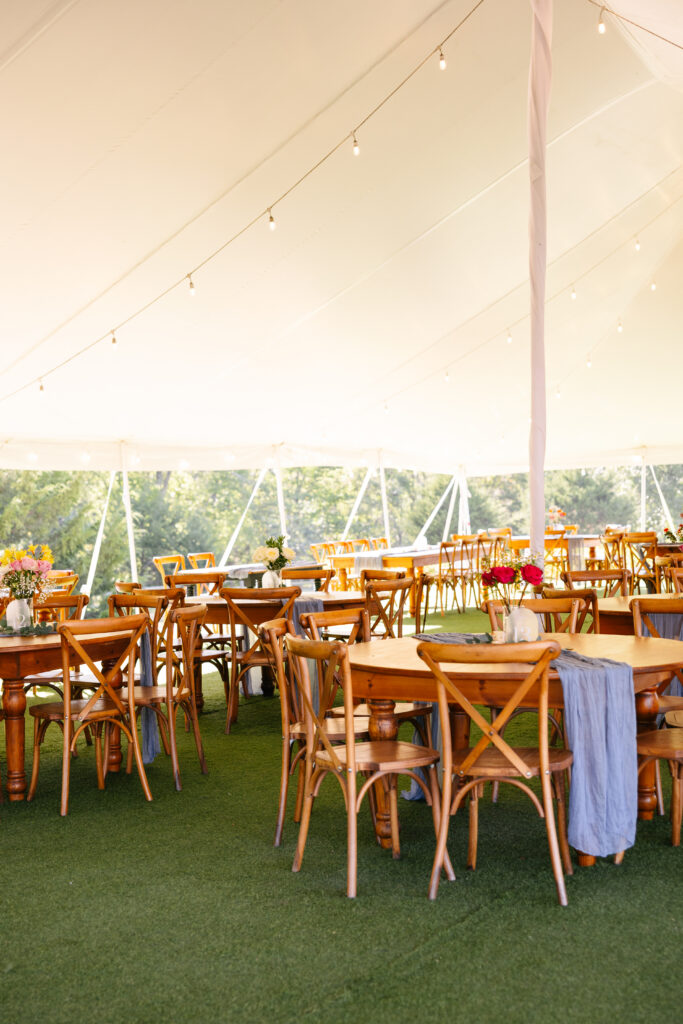
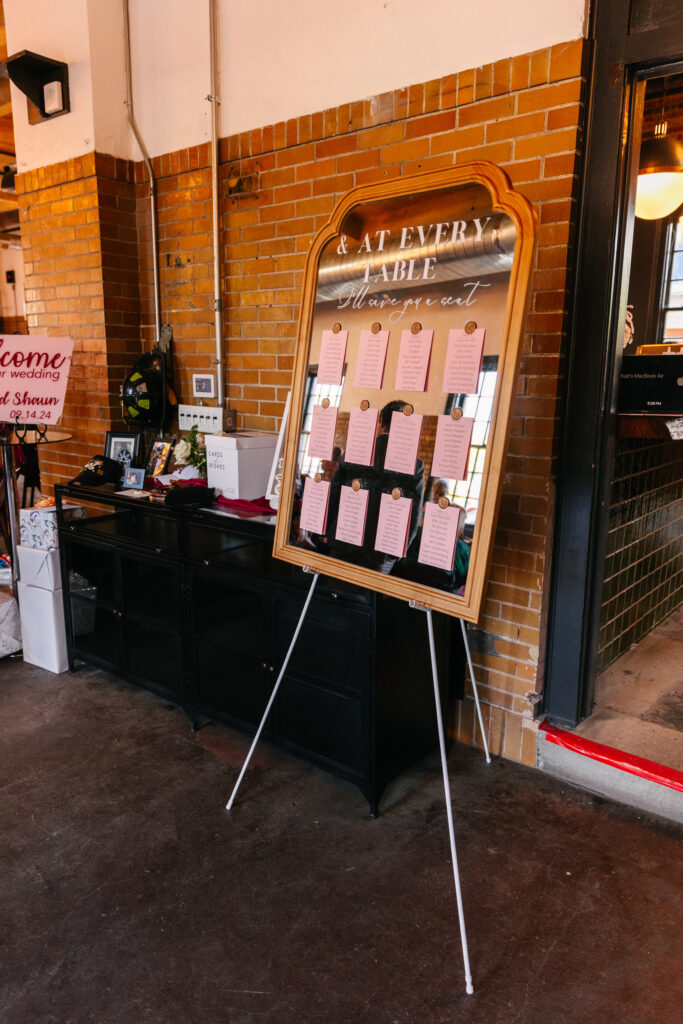
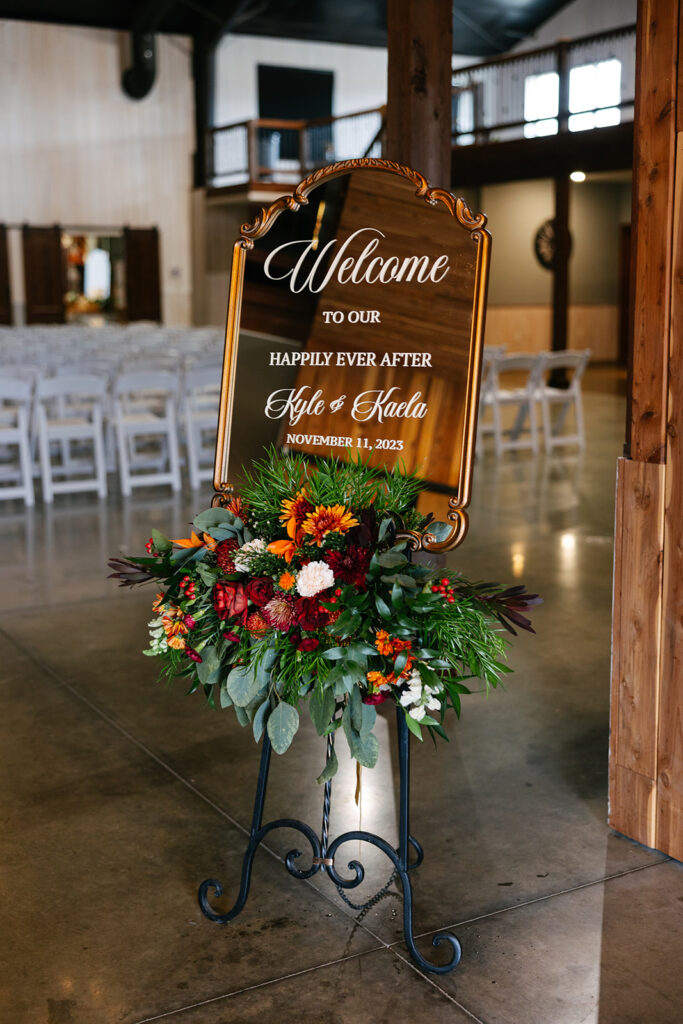
Your ceremony space also matters. Photographing the aisle, altar, and seating setup captures the special moments before the celebration begins.

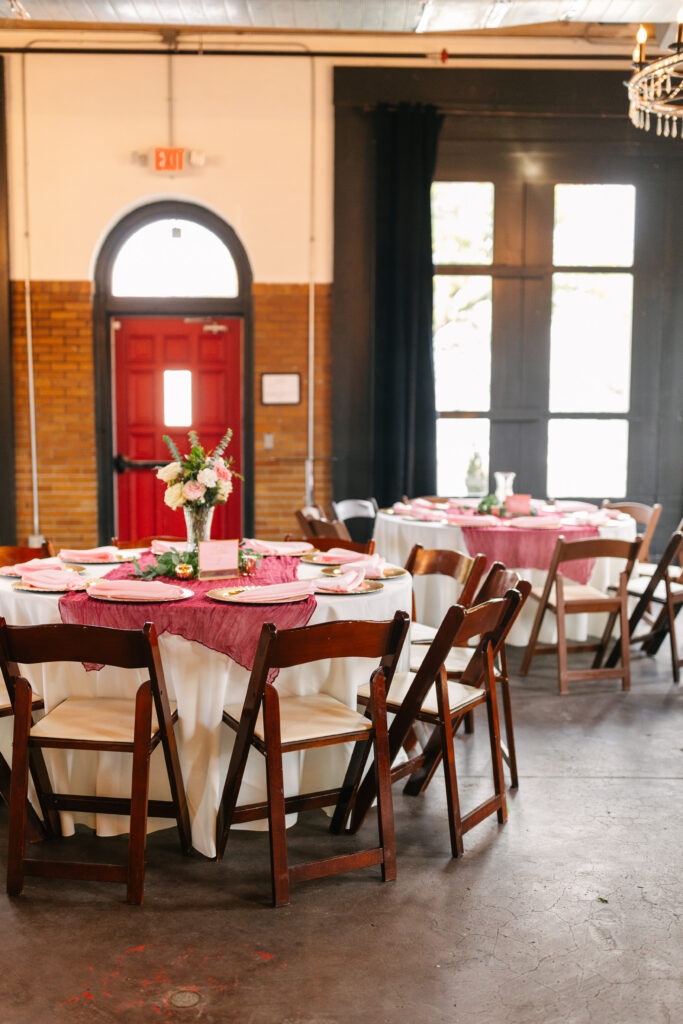
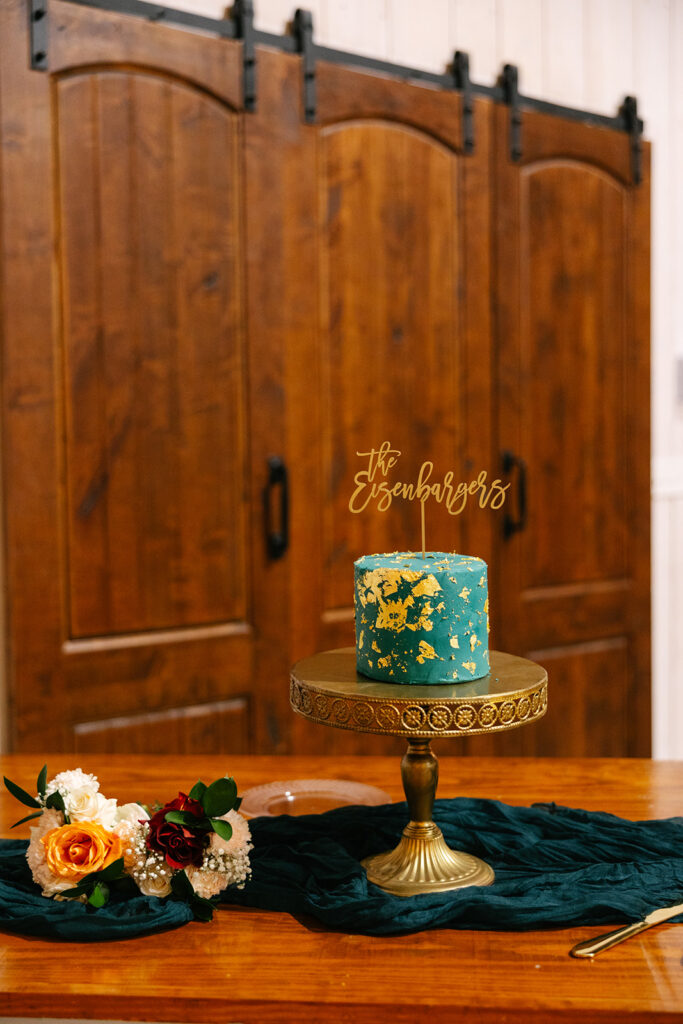
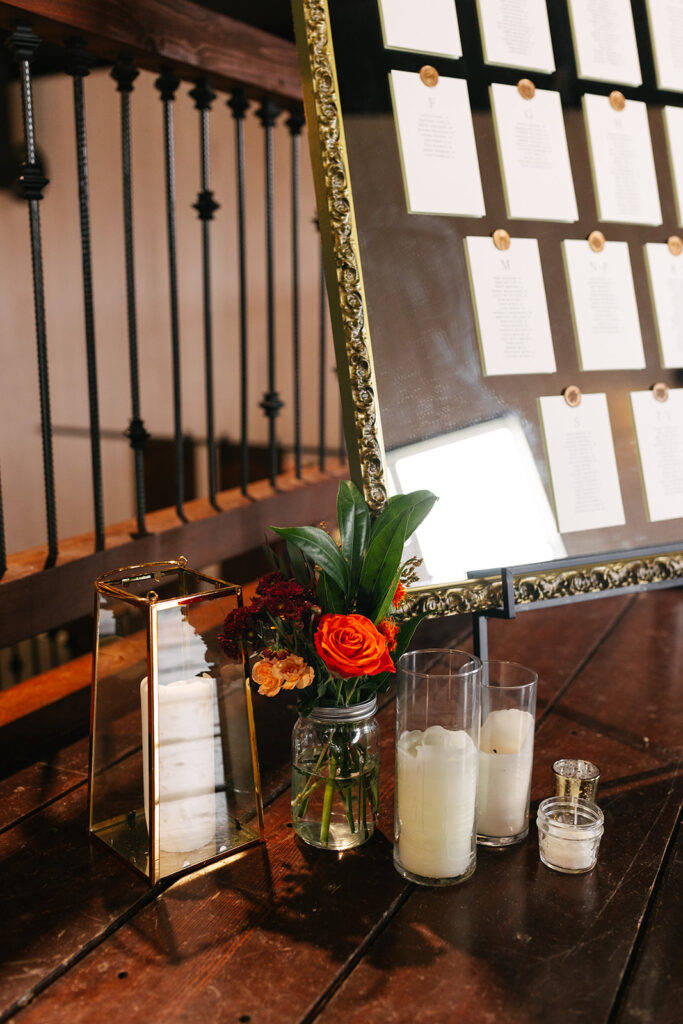
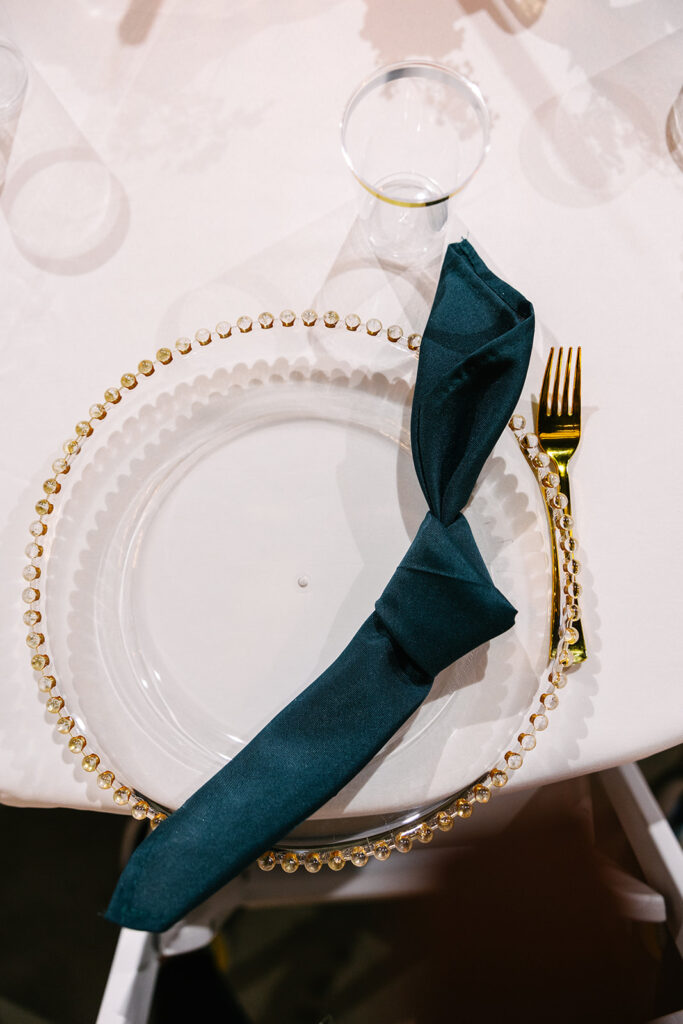
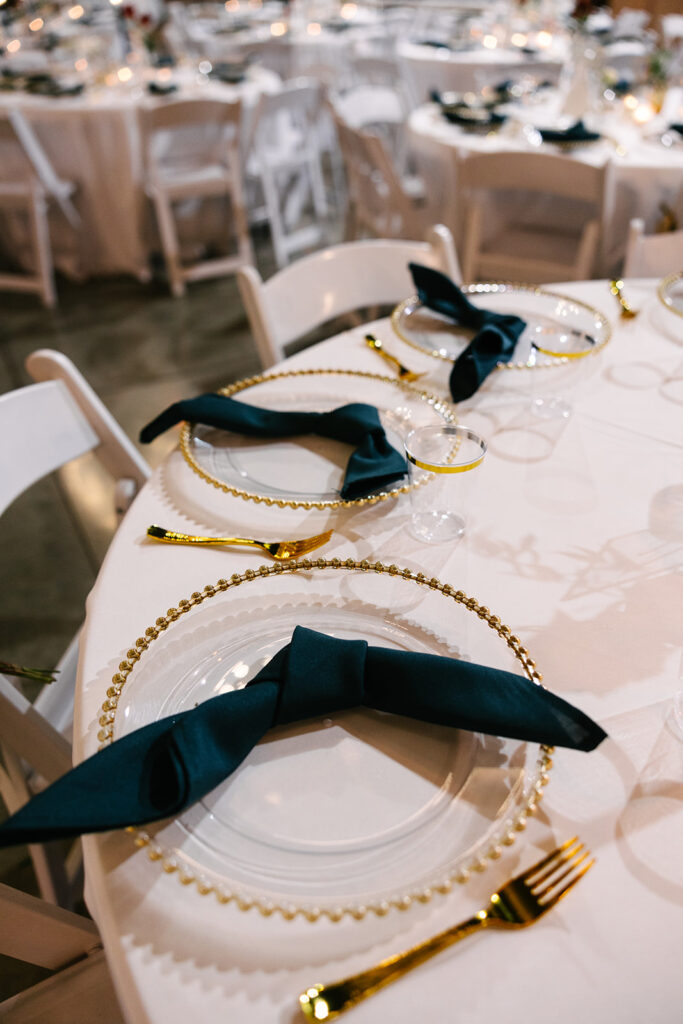
Reception details are equally important. Centerpieces, place settings, menus, and signage tell the design story of your evening.
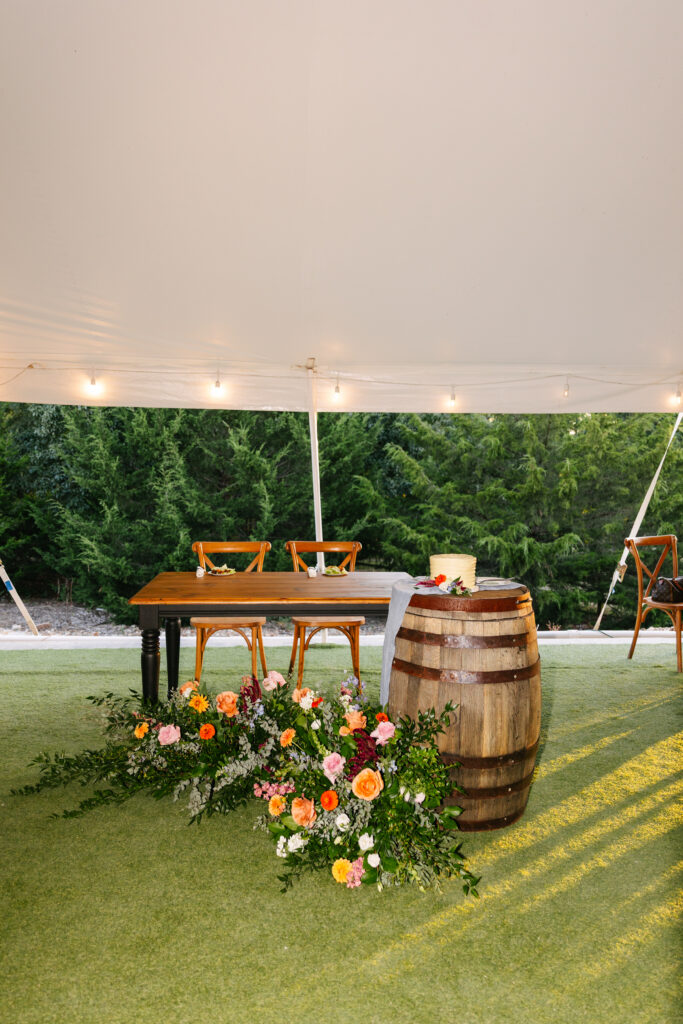
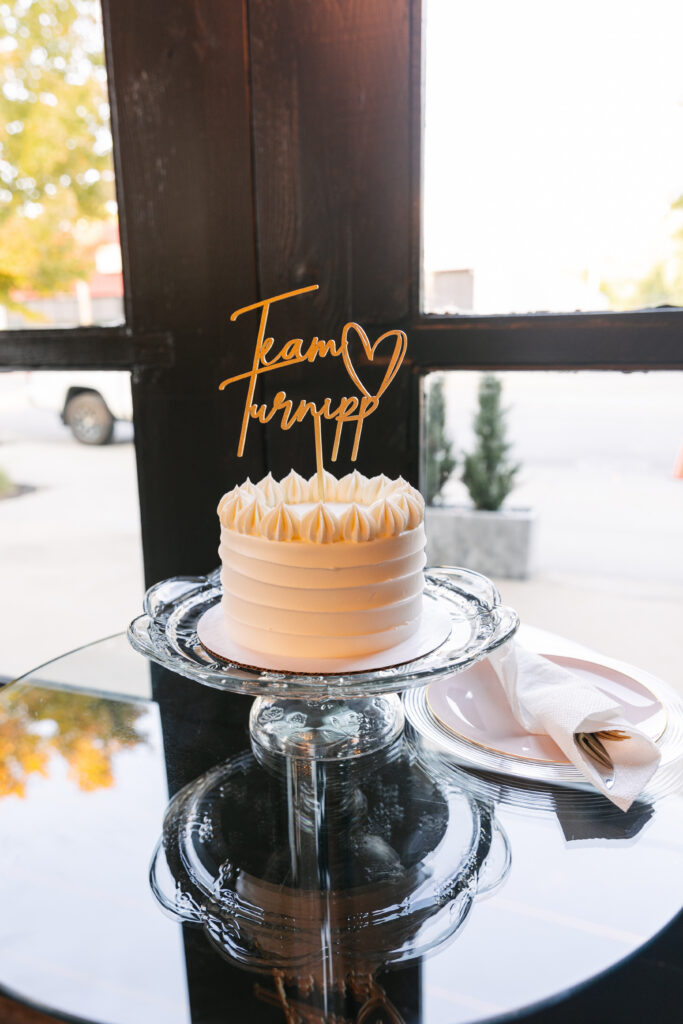
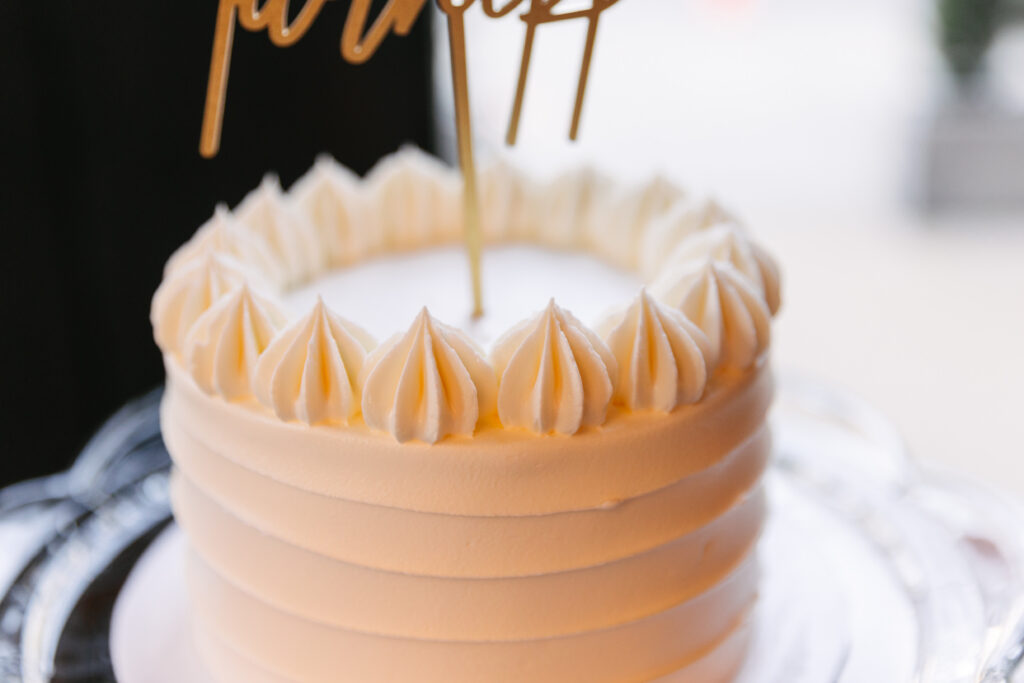
Additionally, your cake deserves its own spotlight. Whether it’s classic white or bold and modern, it reflects your style.
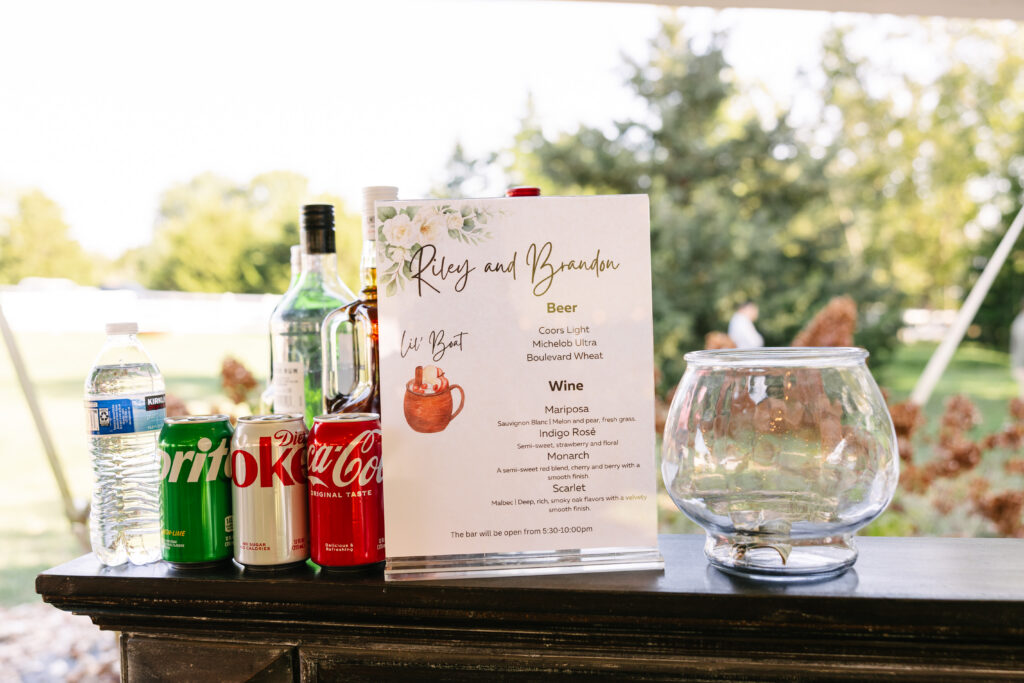
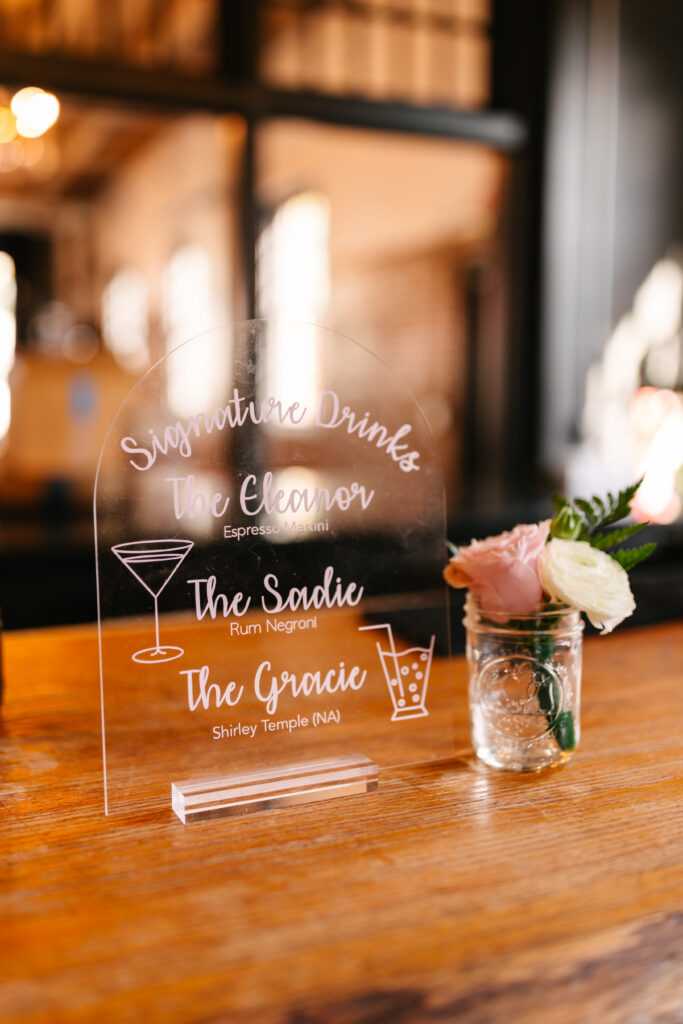
Signature drinks and bar details are increasingly popular. Custom cocktail signage or monogrammed napkins add personality and photograph beautifully.

Finally, capture meaningful heirlooms. A grandmother’s bracelet or handwritten note adds emotional weight to your story.
Ultimately, these must-have detail shots for your wedding day ensure your gallery feels complete. Years from now, you’ll remember not just how the day looked, but how thoughtfully it came together.
Frequently Asked Questions
How much time should we allow for detail photographs?
Plan for at least 30–45 minutes at the start of your photography coverage to allow intentional styling.
What should I have ready for detail photographs?
Gather your invitation suite, rings, shoes, jewelry, vow books, perfume, and any heirlooms in one box.
Do detail photographs really matter?
Yes. They preserve the design elements and meaningful choices that make your wedding unique.
As I sit down to write this 2025 year in review, I feel overwhelming gratitude. This 2025 year in review represents growth, connection, and moments I will never forget!
First, I want to say thank you. Every couple who stepped in front of my camera trusted me with something sacred. That trust means everything.
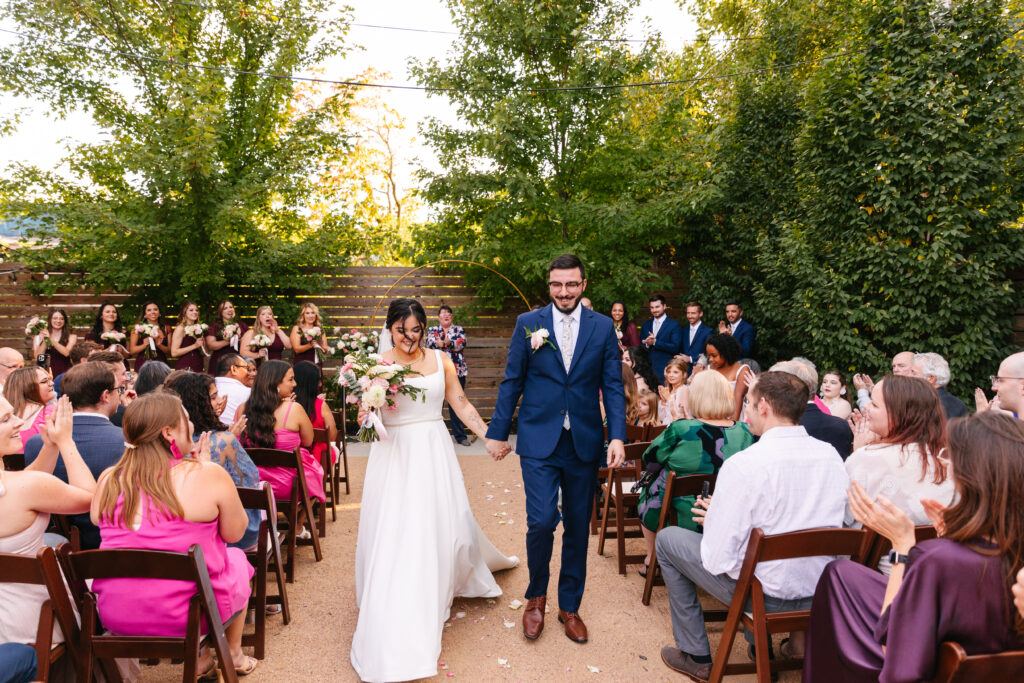
This year brought emotional first looks, tear-filled vows, and packed dance floors. I photographed quiet in-home sessions and grand celebrations across Kansas City. Each wedding reminded me why I chose this career. Not just take photographs, but to preserve memories.
One of the biggest honors of the year was my nomination for 2026 Photographer of the Year in Kansas City. That recognition reflects the support of this incredible community. Because of you, I get to do work that fills my heart!
Additionally, I saw couples lean into authenticity more than ever before. They chose meaningful details over trends. They prioritized connection over perfection. As a result, their galleries felt honest and emotional.
Throughout the year, I refined timelines, elevated styling, and focused even more on storytelling. I guided couples through wedding days that felt calm and intentional. Meanwhile, I continued to grow behind the scenes as a business owner and artist.
Most importantly, I witnessed love in its purest form. Parents held back tears. Friends cheered loudly. Couples squeezed hands before walking down the aisle. Those are the moments that matter.
Looking ahead to 2026, I feel excited and expectant. I plan to serve my couples with even more intention. I will continue creating photographs that feel timeless and true.
To my 2025 couples, thank you for choosing me. To future couples, I cannot wait to hear your story.
With love,
Nat
Frequently Asked Questions
What does being nominated for Photographer of the Year mean?
It signifies community recognition and appreciation for photographic excellence in the Kansas City area.
How can couples work with you in 2027?
Reach out through the contact page to inquire about dates, packages, and availability.
What makes your photography style unique?
I combine documentary storytelling with intentional detail work to capture genuine emotion in every moment.
If you’re newly engaged, you’re probably already searching for 2026 wedding trends, and let me tell you…2026 wedding trends are bold, intentional, and beautifully personal. Couples are moving away from cookie-cutter celebrations and leaning into weddings that feel deeply reflective of who they are. As a Kansas City wedding photographer, I’m already seeing shifts that are creative, meaningful, and honestly so fun to capture.
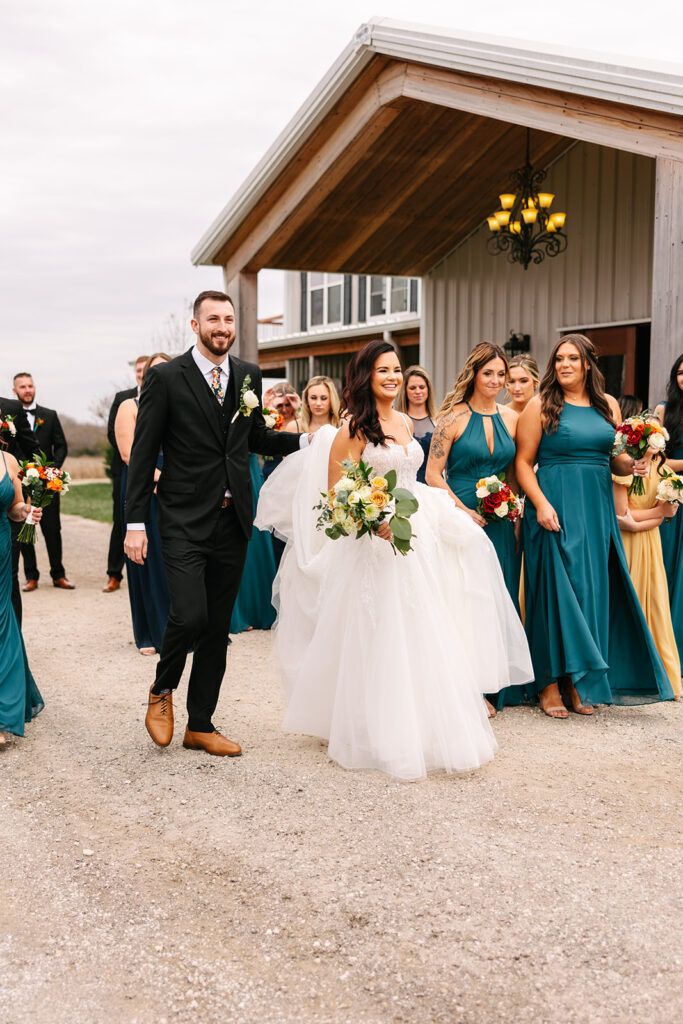
First, color is back in a big way. While neutrals had their moment, 2026 is embracing rich palettes like deep olive, warm terracotta, dusty blue, and even pops of marigold. These tones photograph beautifully in both indoor venues and outdoor Midwest settings.


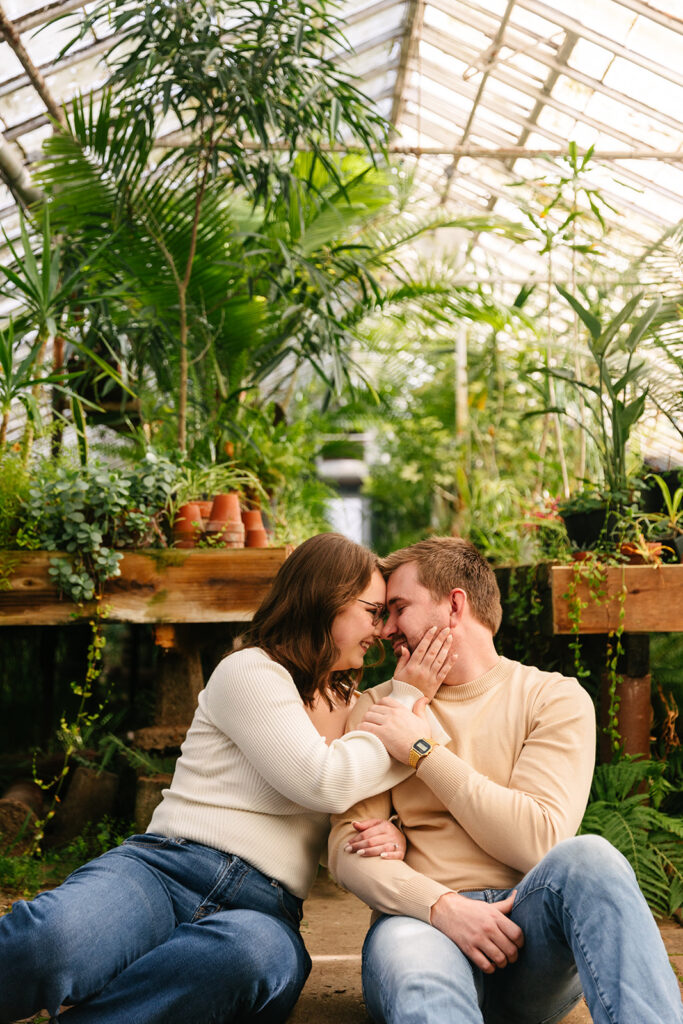
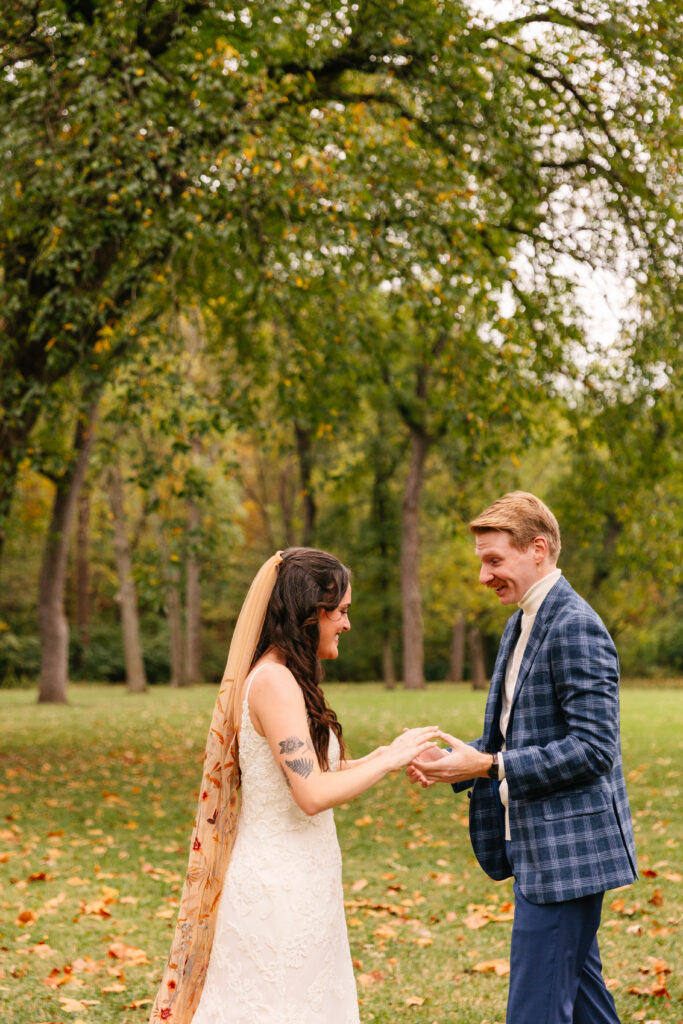
Next, intimate storytelling is taking center stage. Couples want photographs that feel documentary and unscripted. Instead of stiff poses, they’re prioritizing movement, laughter, and connection. As a result, wedding galleries feel more emotional and immersive than ever.
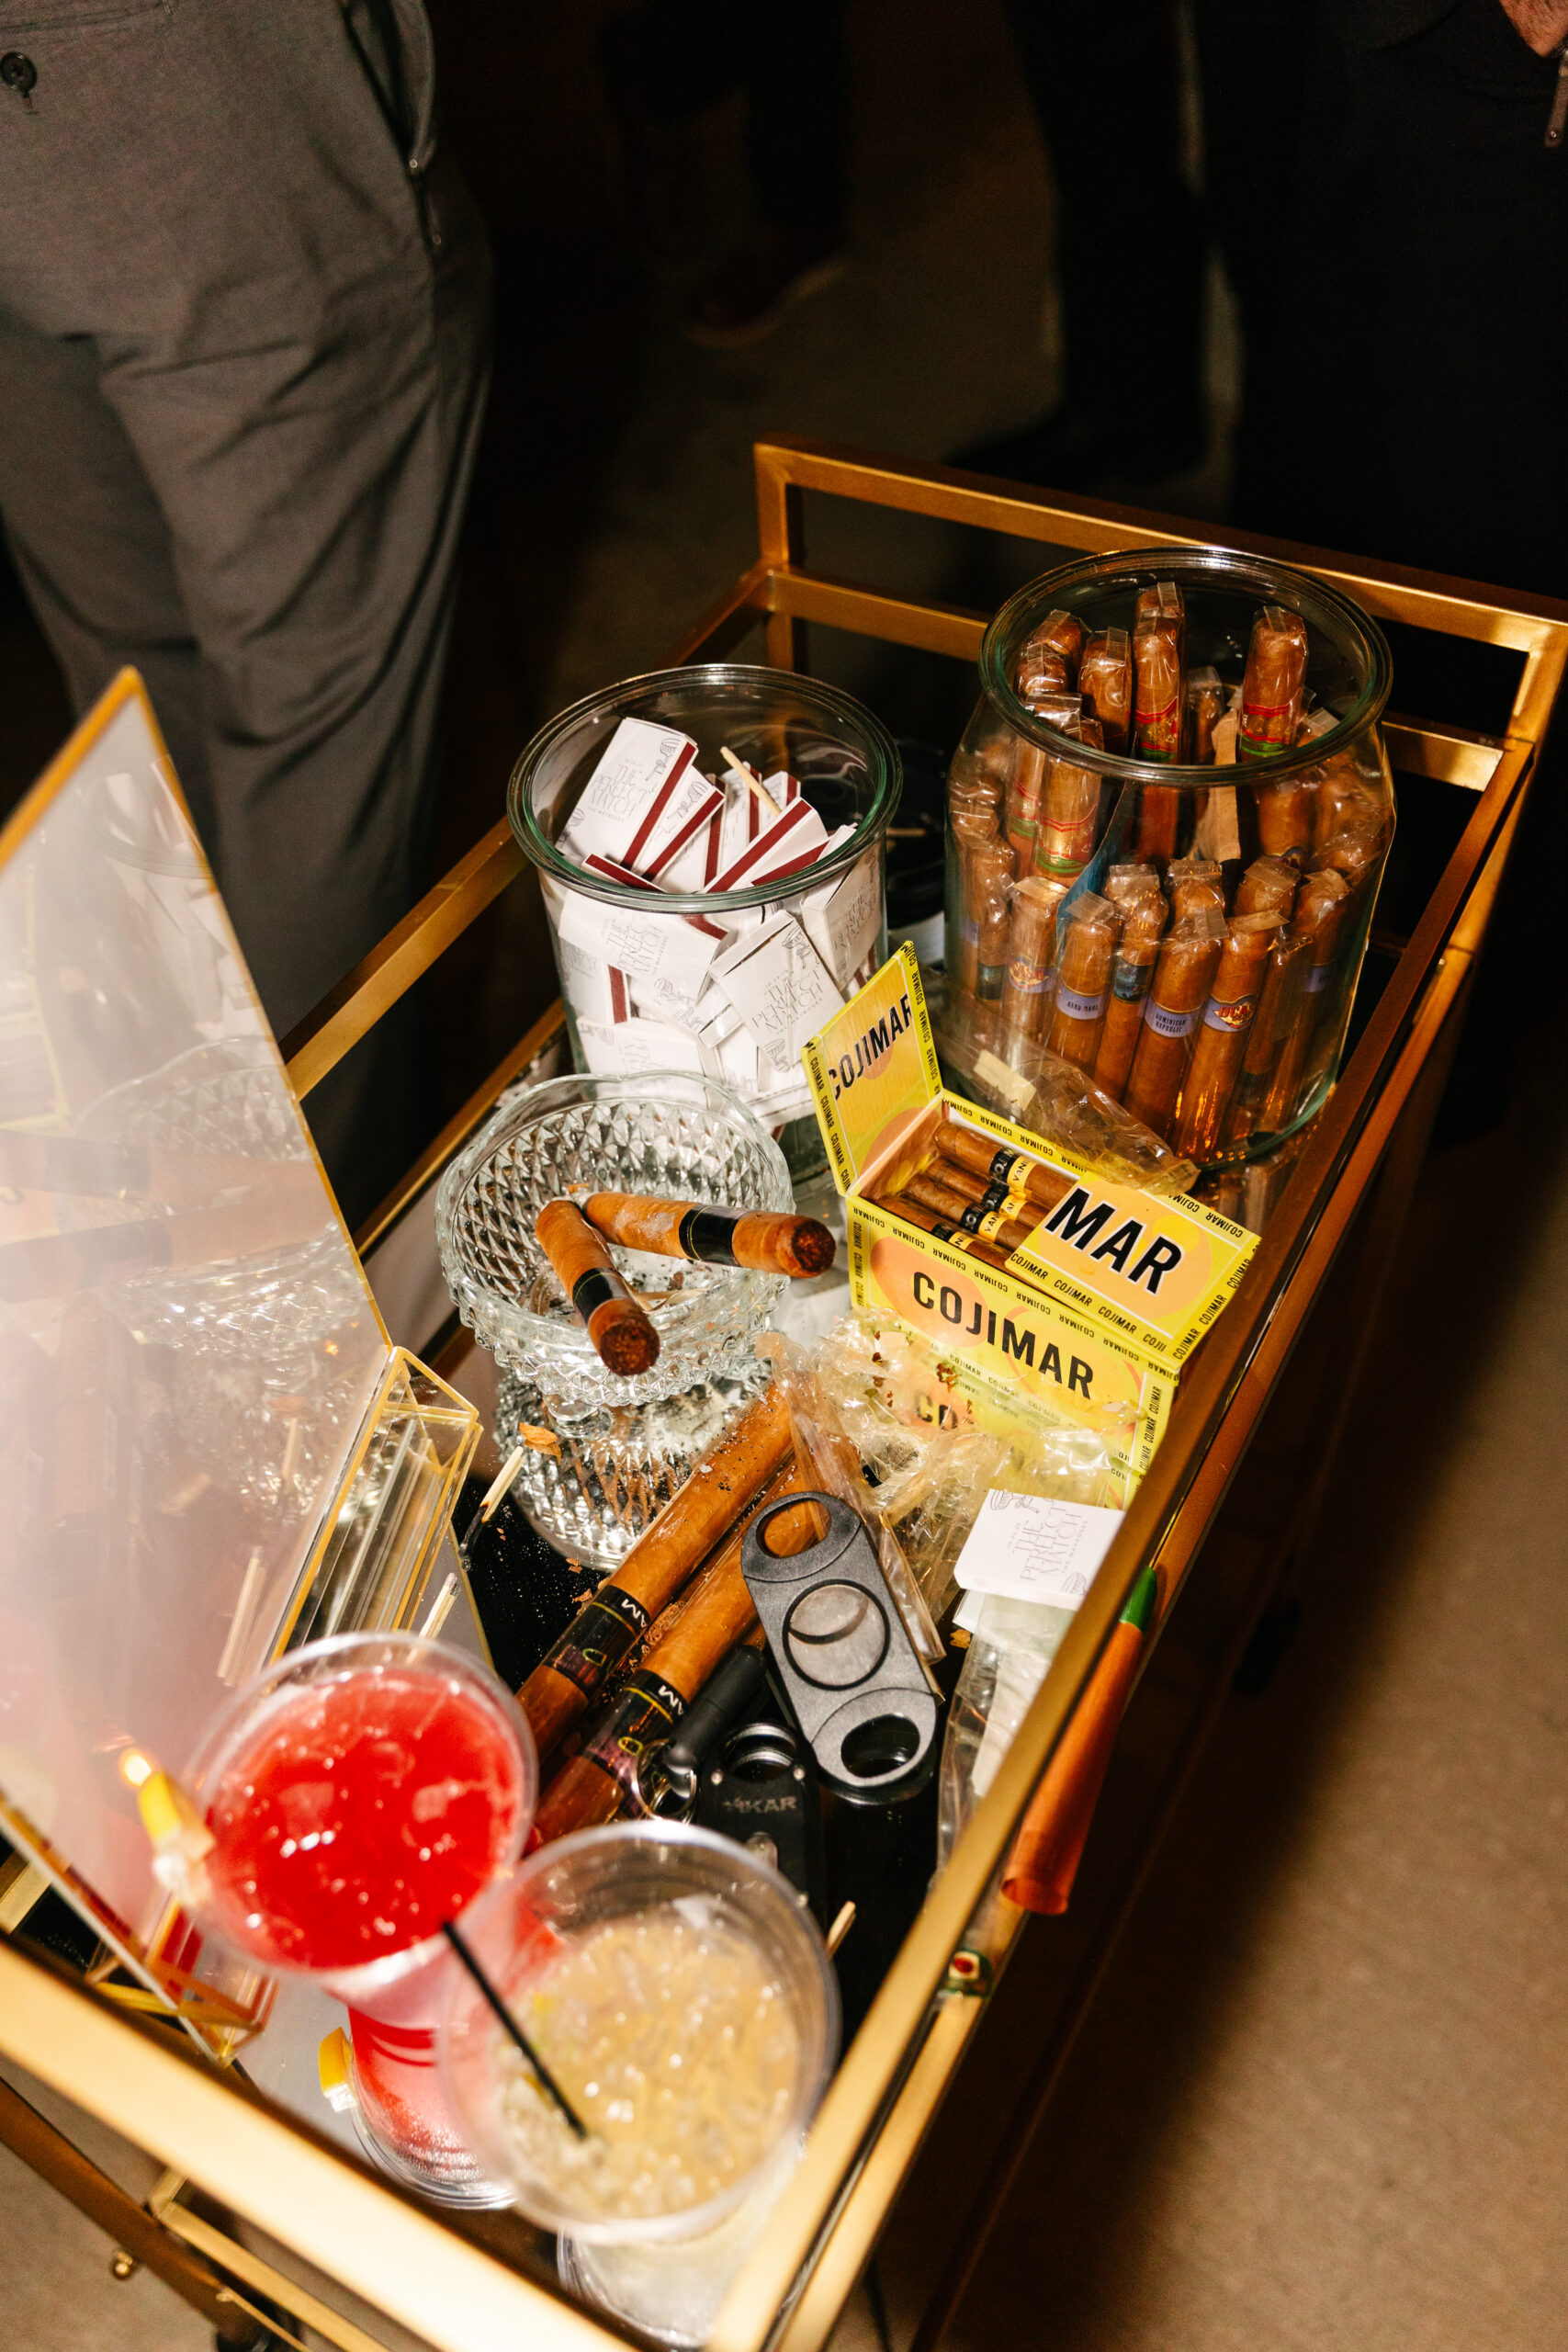
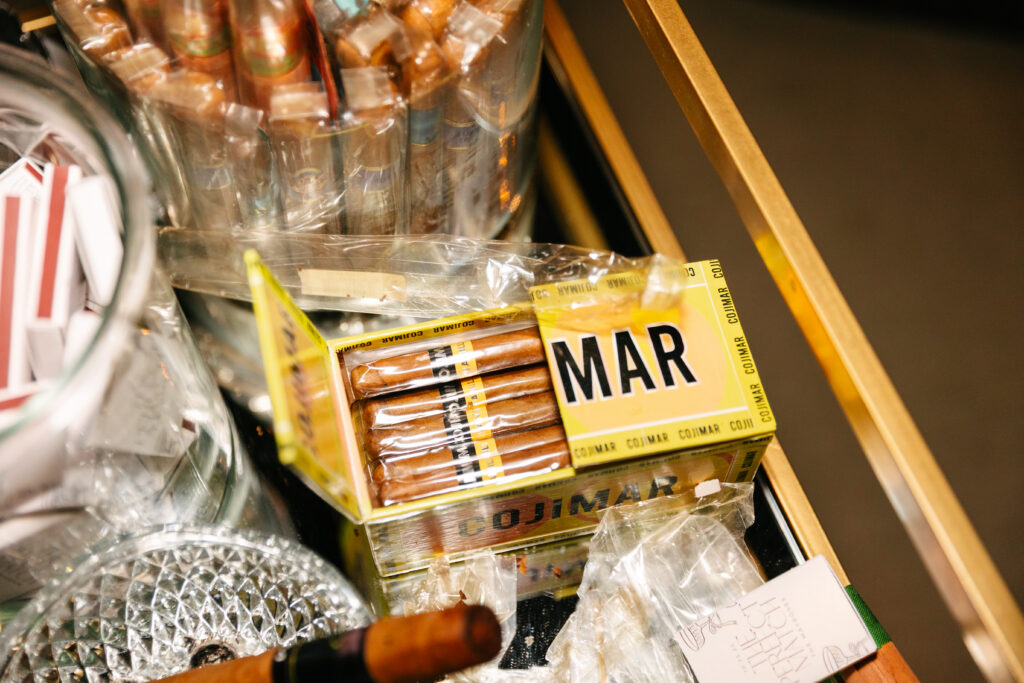
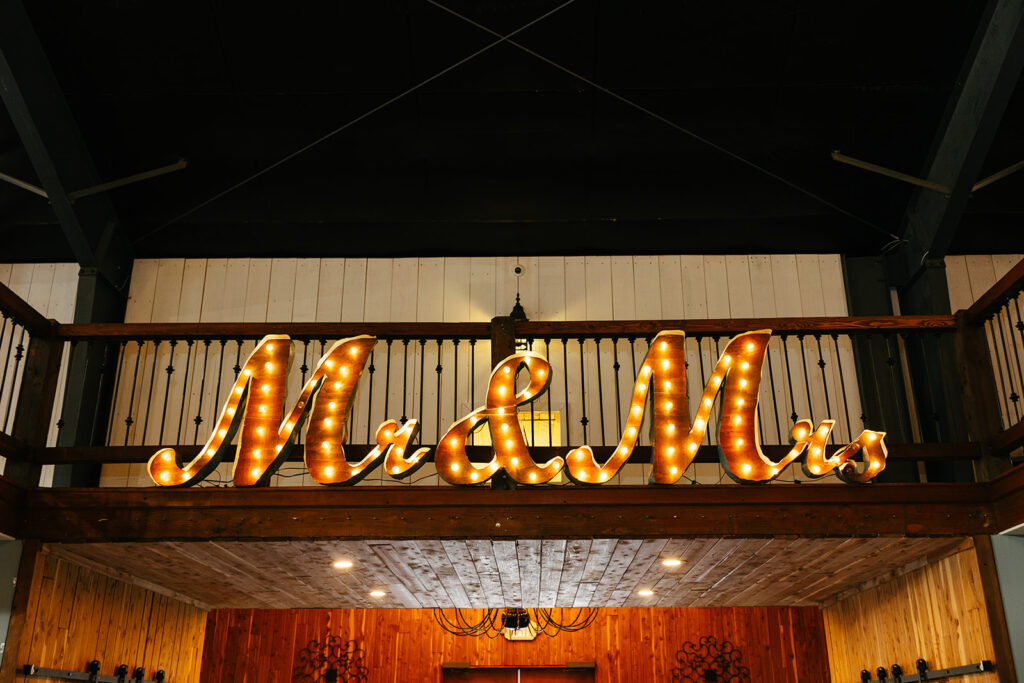
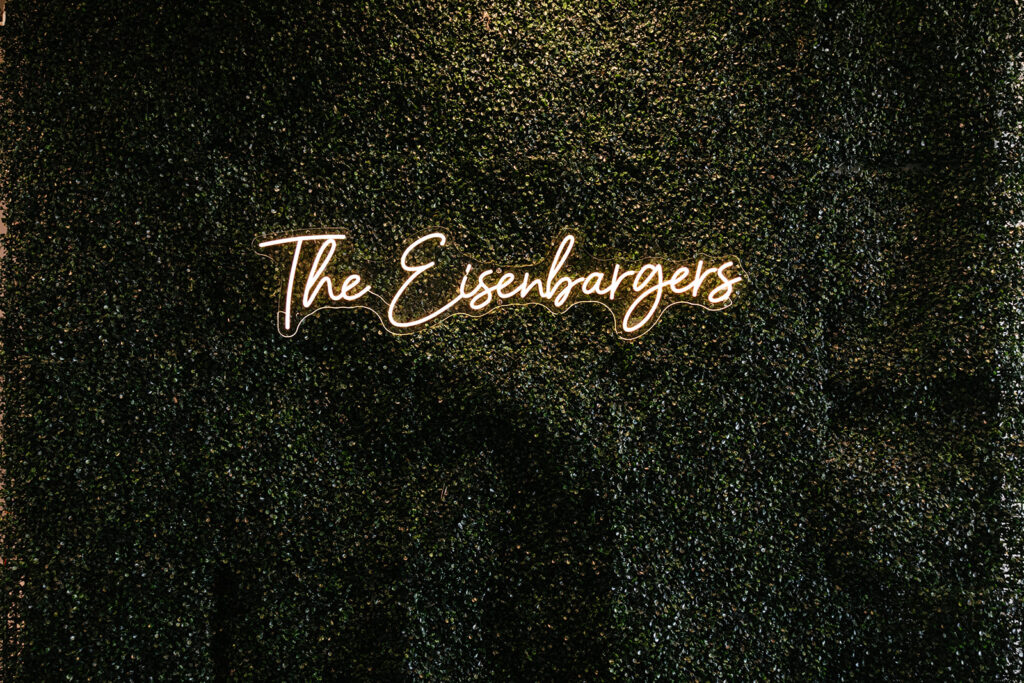
Another standout trend is immersive guest experiences. Think live painters, custom scent bars, late-night cigar carts, and interactive seating charts. These details not only wow guests, but they also create layered, storytelling-rich photographs throughout the day.


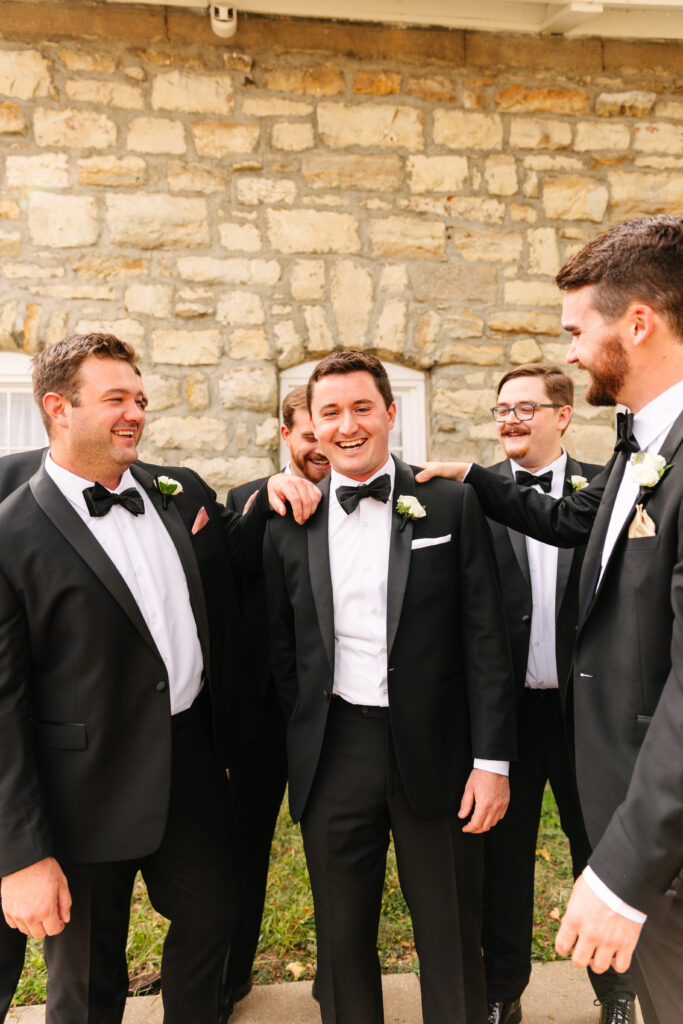
Fashion is also evolving. Brides are choosing textured fabrics, oversized bows, detachable sleeves, and dramatic veils. Meanwhile, grooms are experimenting with patterned jackets and colored suits instead of traditional black tuxedos.
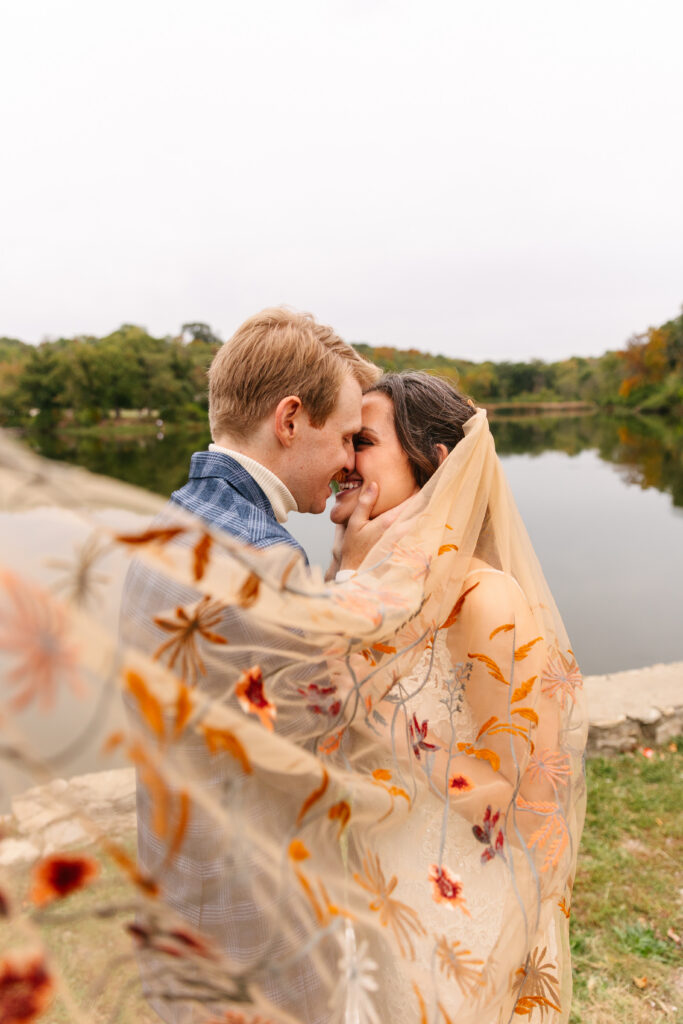

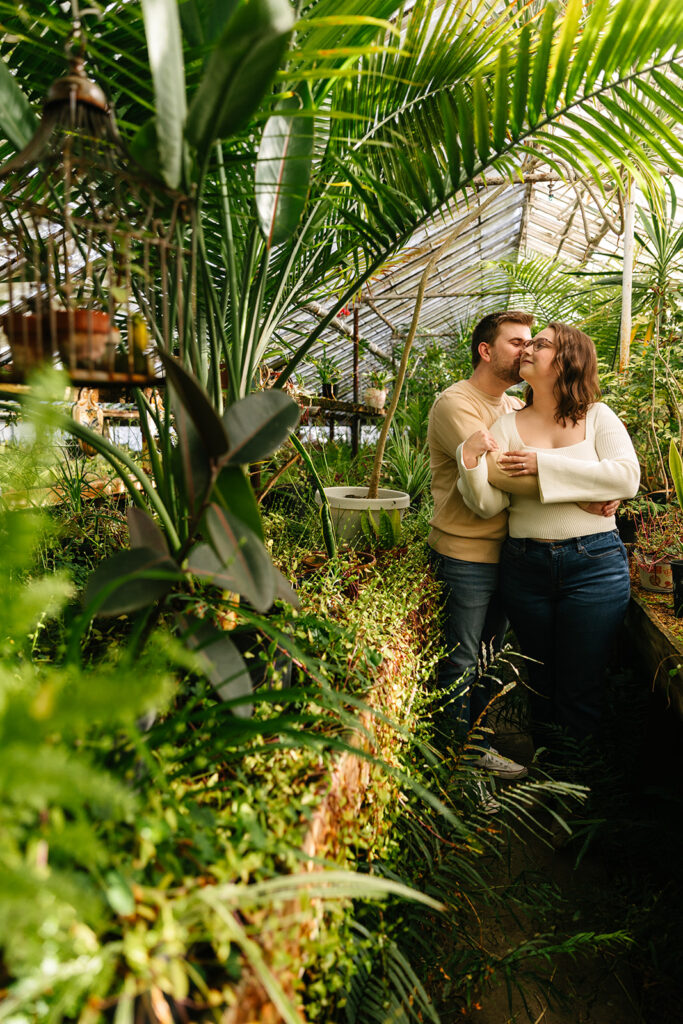
Finally, private vows and meaningful first looks continue to rise in popularity. Couples are choosing moments of calm before the ceremony, allowing them to fully experience the day instead of rushing through it.

At the heart of all 2026 wedding trends is intention. Couples want a wedding that feels like them, not a production. And honestly? That authenticity always translates into the most beautiful photographs.
Frequently Asked Questions About 2026 Wedding Trends
What colors are trending for 2026 weddings?
Earthy, saturated tones like olive, terracotta, dusty blue, and warm neutrals are leading the way.
Are big weddings still popular in 2026?
Yes, but they are more personalized and guest-focused rather than overly formal.
What photography style is trending in 2026?
Documentary-style photographs with natural movement and emotion are highly sought after.

If you’re dreaming of a wedding venue that blends sweeping outdoor views with the comfort of a luxury lodge, look no further than Deer Ridge Estate. Tucked away on 160 acres in Tonganoxie, Kansas, this breathtaking estate feels like a peaceful weekend getaway—yet it’s just a short drive from Kansas City. It’s the kind of venue where your entire celebration can unfold in one place, surrounded by nature, soft light, and gorgeous scenery in every direction.

A Setting Designed for Relaxed, Beautiful Weddings
What I love most about Deer Ridge Estate is the flexibility it offers! The property includes a stunning 10,000-square-foot lodge, peaceful outdoor ceremony spots, wide open fields, wooded trails, and a serene pond. Whether you’re planning a large wedding or something more intimate, the estate has space to match your vision without feeling overwhelming.
The atmosphere is warm, inviting, and intentionally designed. It blends rustic charm with modern comfort, giving you the best of both worlds. You get that dreamy “escape to the countryside” feeling while still having all the convenience of a well-equipped venue.
A Weekend Wedding Experience
One of the biggest perks of Deer Ridge Estate is the ability to stay right on the property. The lodge offers overnight accommodations, beautifully appointed bedrooms, and private suites that are perfect for getting ready on the wedding day.
Having everything in one place takes so much stress off your shoulders. There’s no rushing between locations, no coordinating large groups across town, and no fighting traffic on the biggest day of your life. Your wedding party can relax, get ready together, and soak in every moment from the rehearsal dinner to the morning after the celebration.
Indoor + Outdoor Spaces You’ll Love
Deer Ridge Estate offers several ceremony and reception options, each with its own charm. You can exchange vows outdoors under the trees, near the pond, or on the spacious decks. And if Midwest weather decides not to cooperate, the indoor lodge is elegant, warm, and filled with natural light—an ideal backup plan you’ll actually be excited about.
The reception space is equally flexible. You can host a cozy dinner indoors or invite more guests and spill out onto the patios and lawns. The venue can comfortably host large groups, but it still feels intimate and connected.
Photographer-Approved Beauty in Every Direction
From a photography standpoint, Deer Ridge Estate is a total dream. There are endless locations for portraits:
- golden-hour fields
- the peaceful pond and deck
- wooded paths for romantic moments
- the modern lodge interior for classic, clean images
- wide open skies and rolling landscapes
Every part of the estate feels intentional and scenic. Whether you’re shooting a first look, family portraits, sunset photos, or candids throughout the day, you’ll never run out of beautiful backdrops.
Why Couples Love Deer Ridge Estate
Over and over again, couples rave about:
- the friendly, attentive staff
- the convenience of onsite accommodations
- the beauty of the grounds in every season
- the stress-free flow the venue makes possible
- the ability to bring in their preferred vendors
- the included tables, chairs, and event essentials
- the relaxed “weekend retreat” feeling
It’s the type of place where your guests can slow down, enjoy the surroundings, and truly be present with you.

Final Thoughts: Is Deer Ridge Estate Right for You?
If you’re looking for a wedding venue near Kansas City that offers privacy, beauty, and a meaningful experience for both you and your guests, Deer Ridge Estate is absolutely worth a tour. It’s perfect for couples who want nature, comfort, and an entire weekend to celebrate with the people they love most.
With its scenic views, flexible spaces, and thoughtfully designed lodge, Deer Ridge Estate makes your wedding feel like its own little getaway—full of joy, connection, and unforgettable moments.
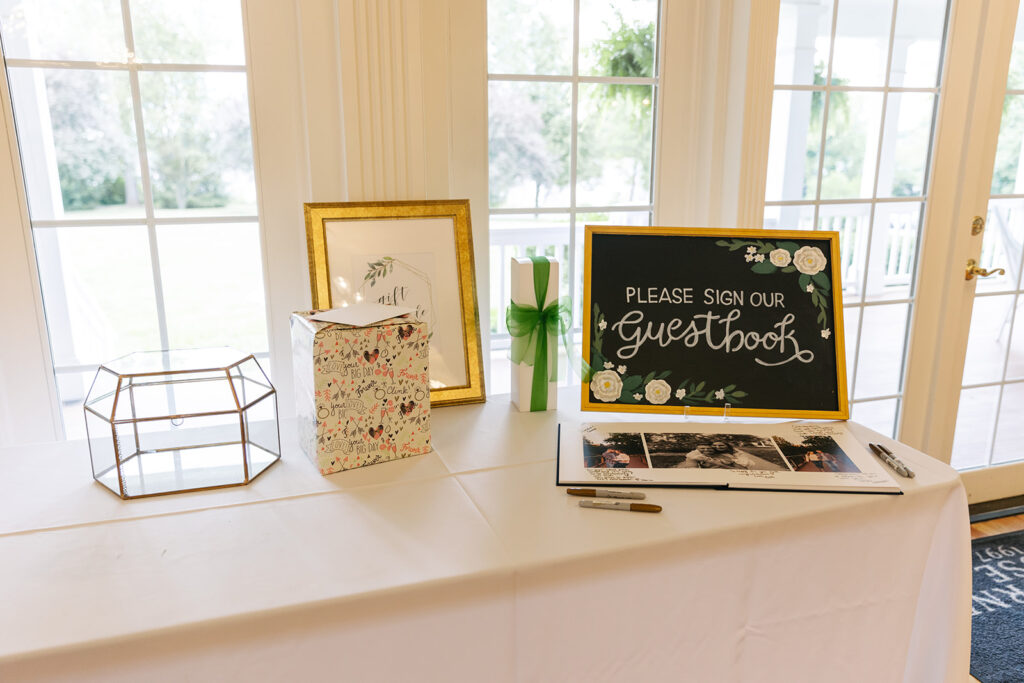
Your wedding guest book doesn’t have to be a plain notebook on a table. It can be fun, meaningful, personal, and something you’ll actually want to look at long after the day is over. As a Kansas City wedding photographer, I’ve seen so many creative guest book ideas, and today I’m sharing some of my favorites!
These ideas let your guests leave memories, stories, advice, and love in a way that feels true to you as a couple.
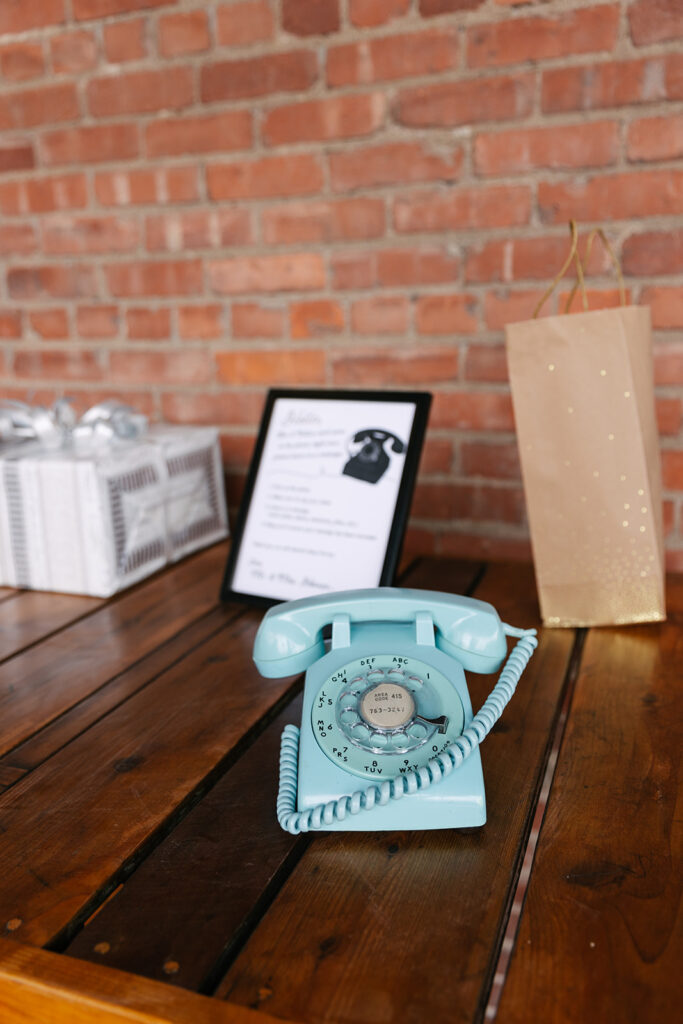
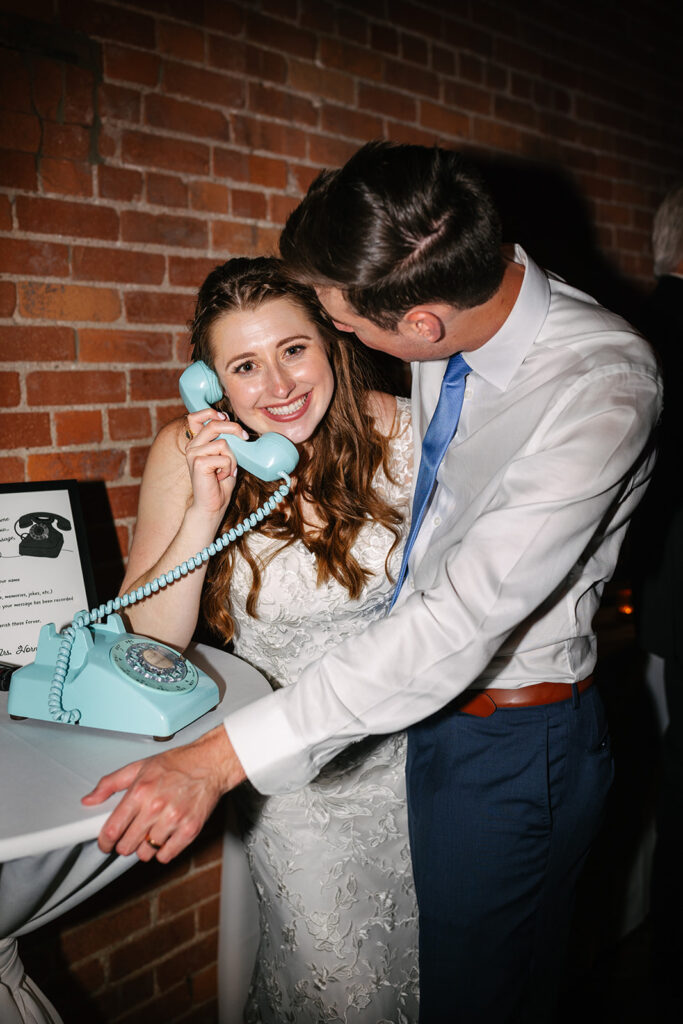
Audio Guest Books
One of the most popular modern ideas is an audio guest book. Your guests pick up a vintage-style phone and leave a sweet (or hilarious!) message. You’ll hear voices, laughter, and real emotion — and it becomes something you can listen to for years. It’s personal, unique, and honestly so fun.
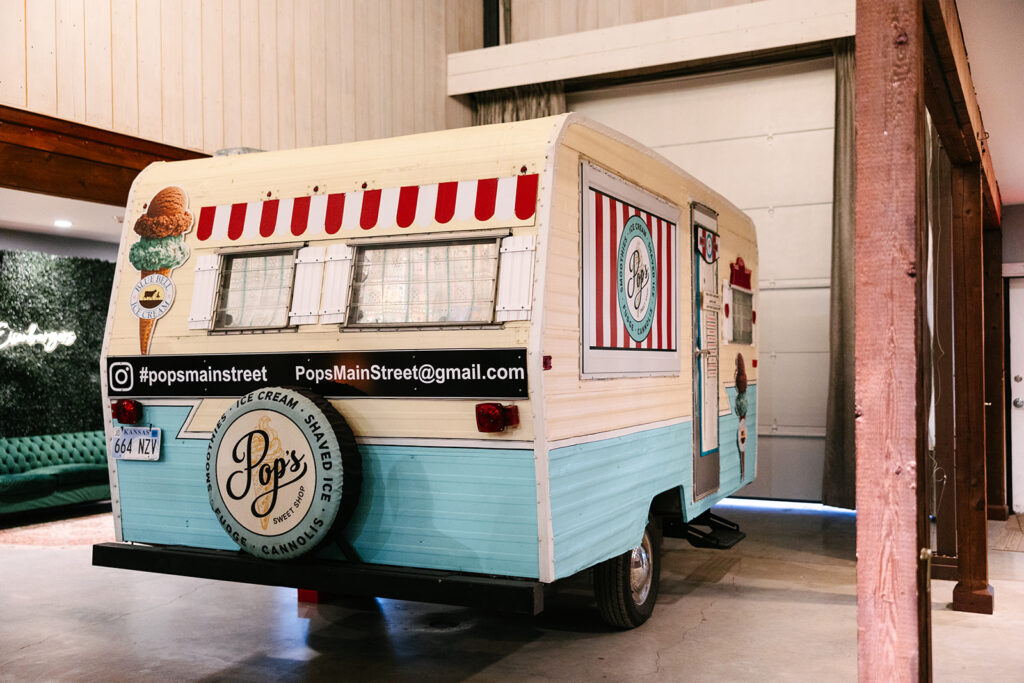
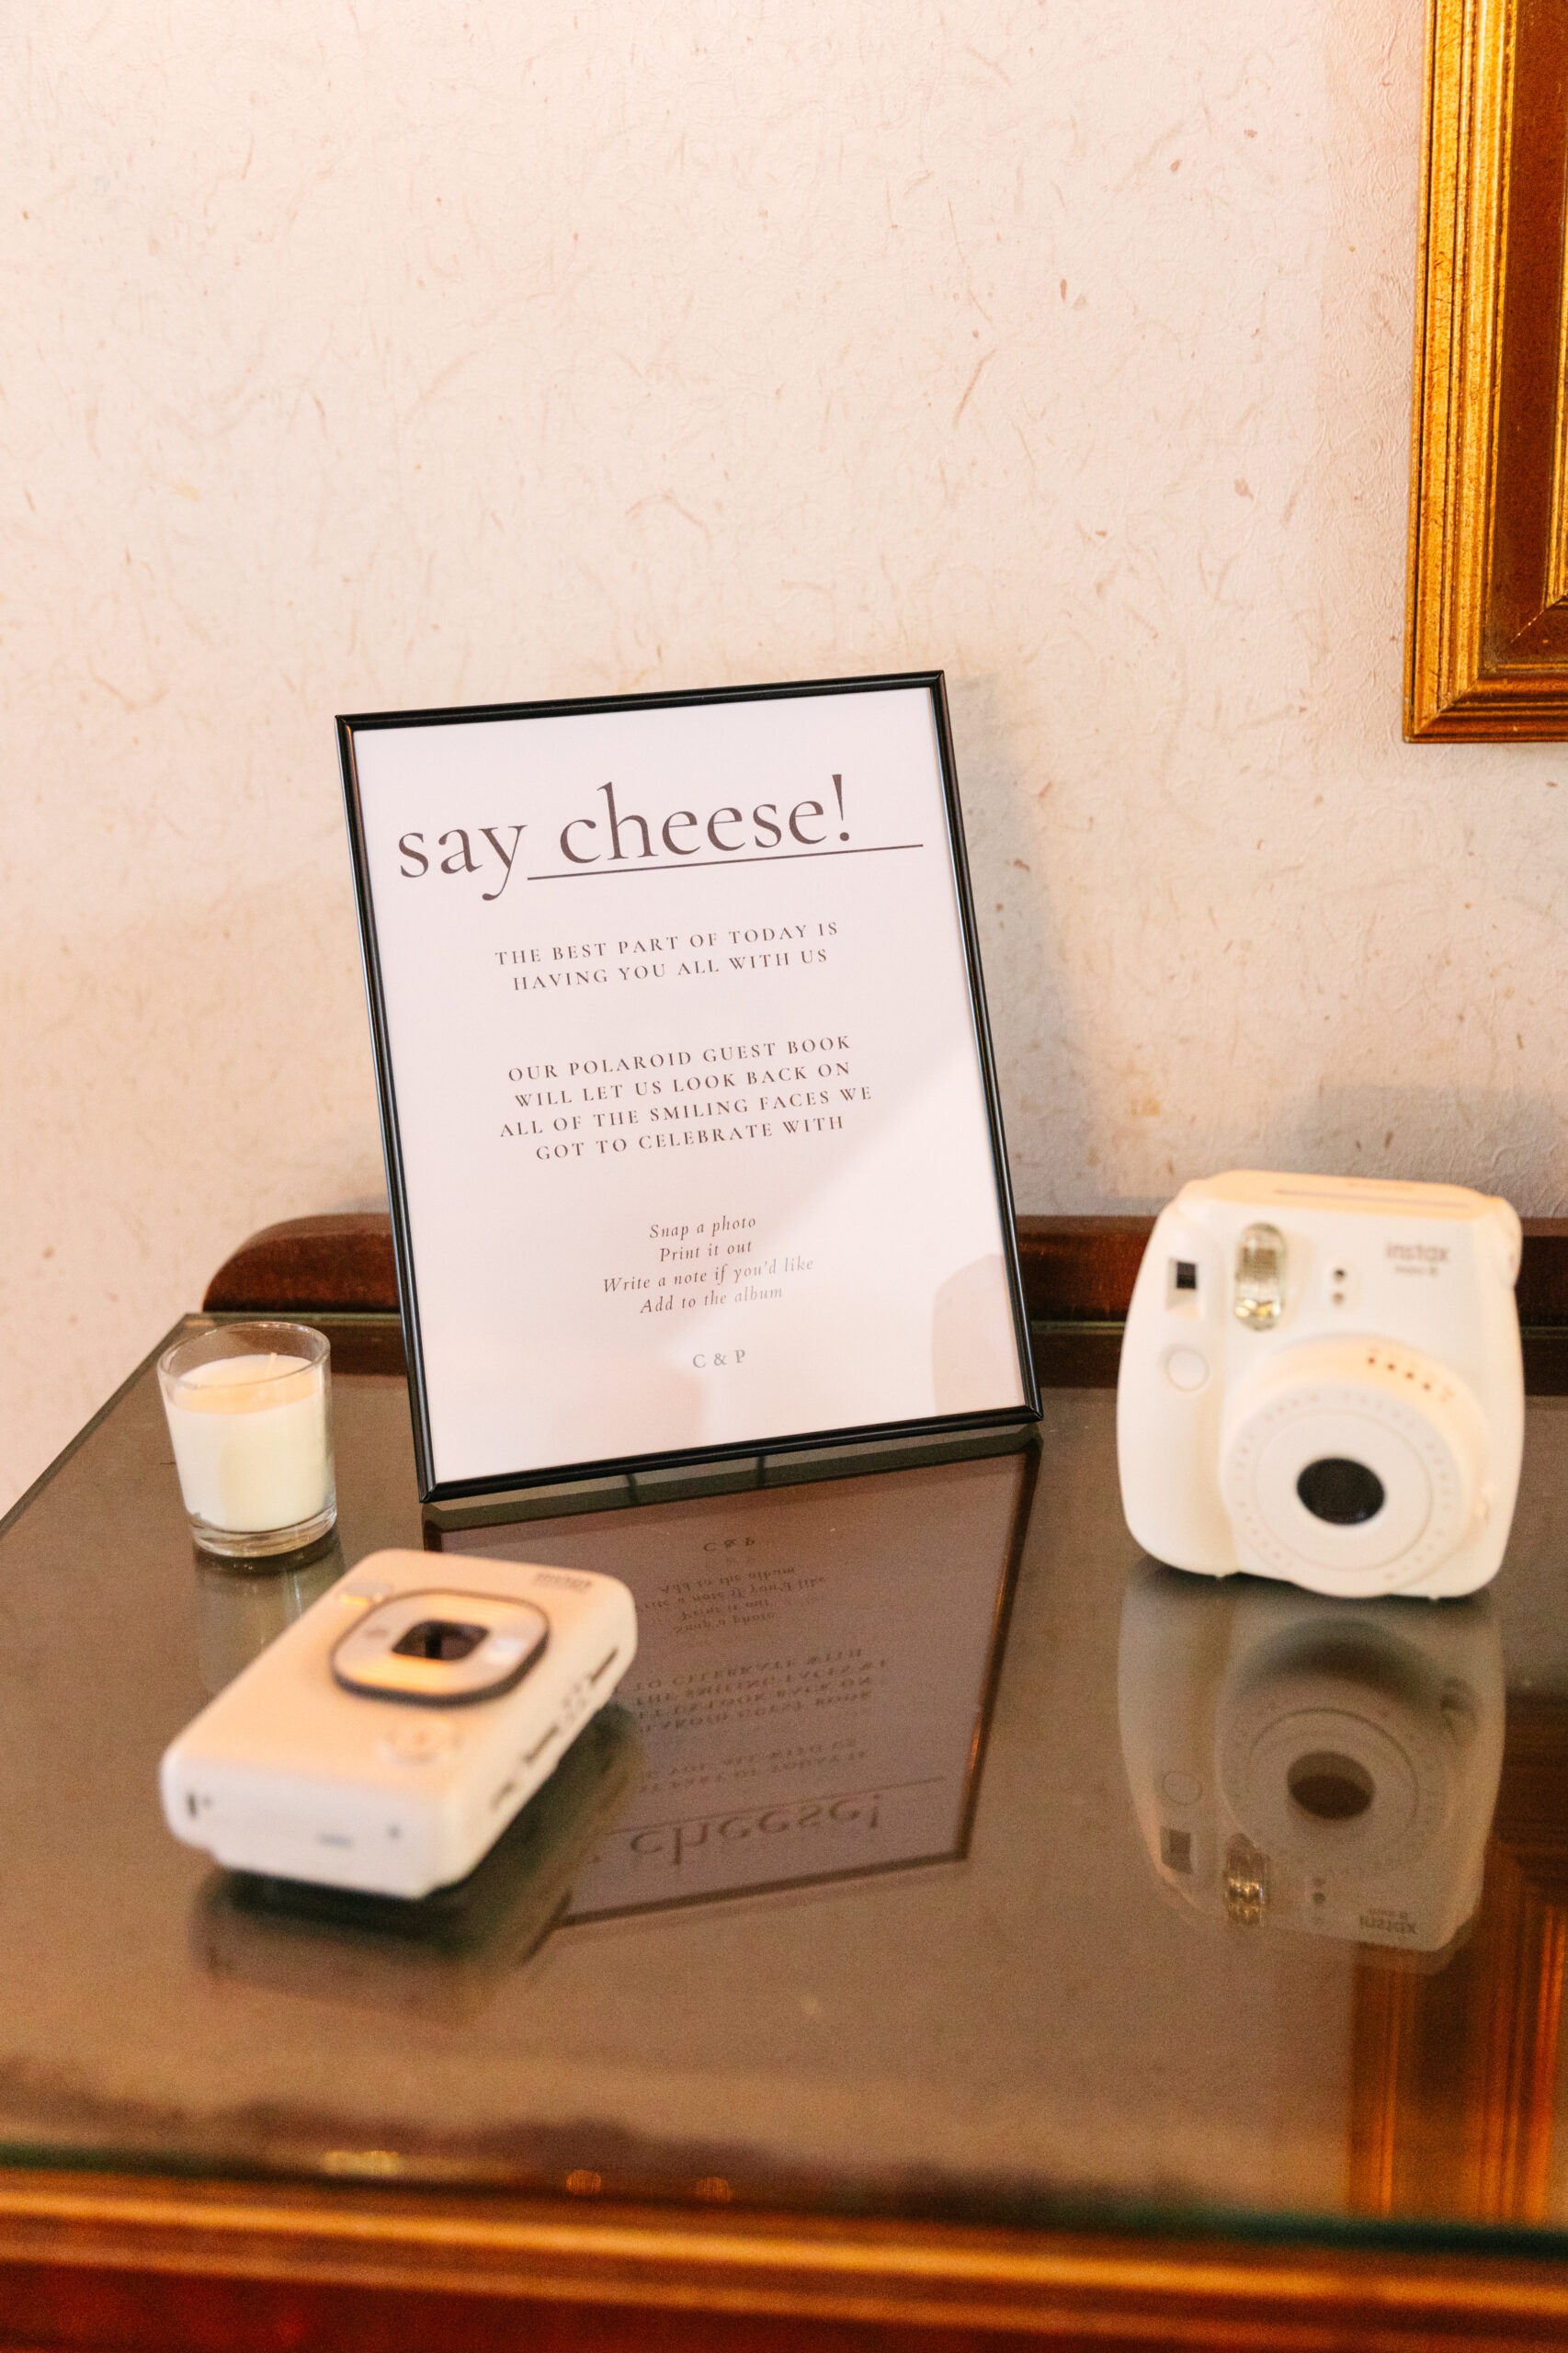
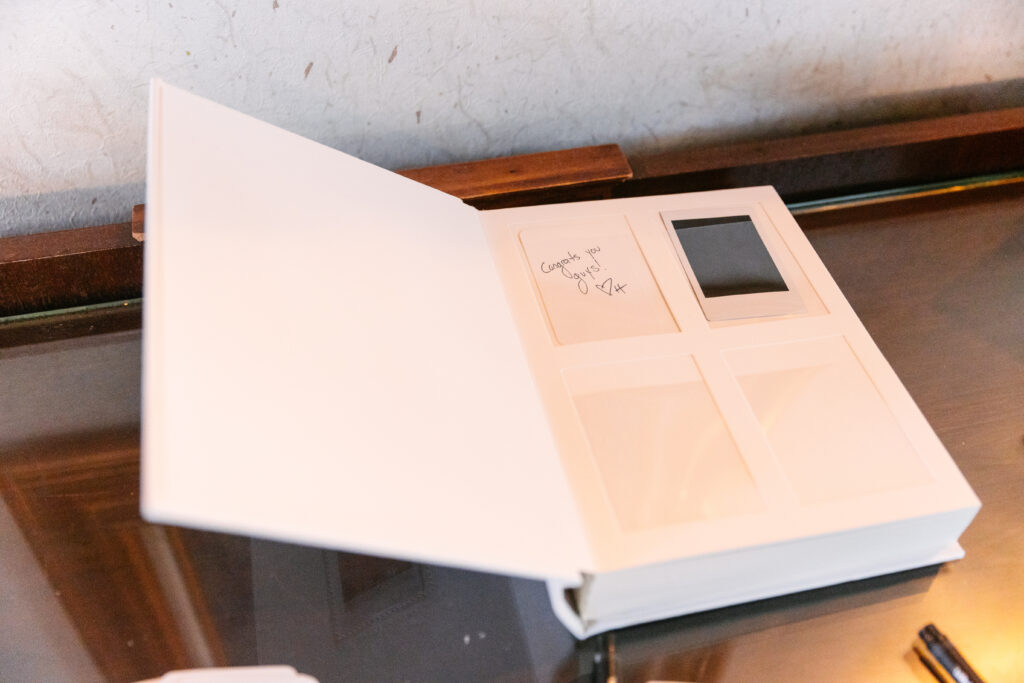
Polaroid or Photobooth Guest Books
Set out a Polaroid camera and let guests take photos of themselves throughout the night. They can tape their picture into a book and write a little message beside it. It’s candid, silly, and guaranteed to bring smiles every time you flip through the pages. You’ll end up with a mix of goofy photos and heartfelt notes.


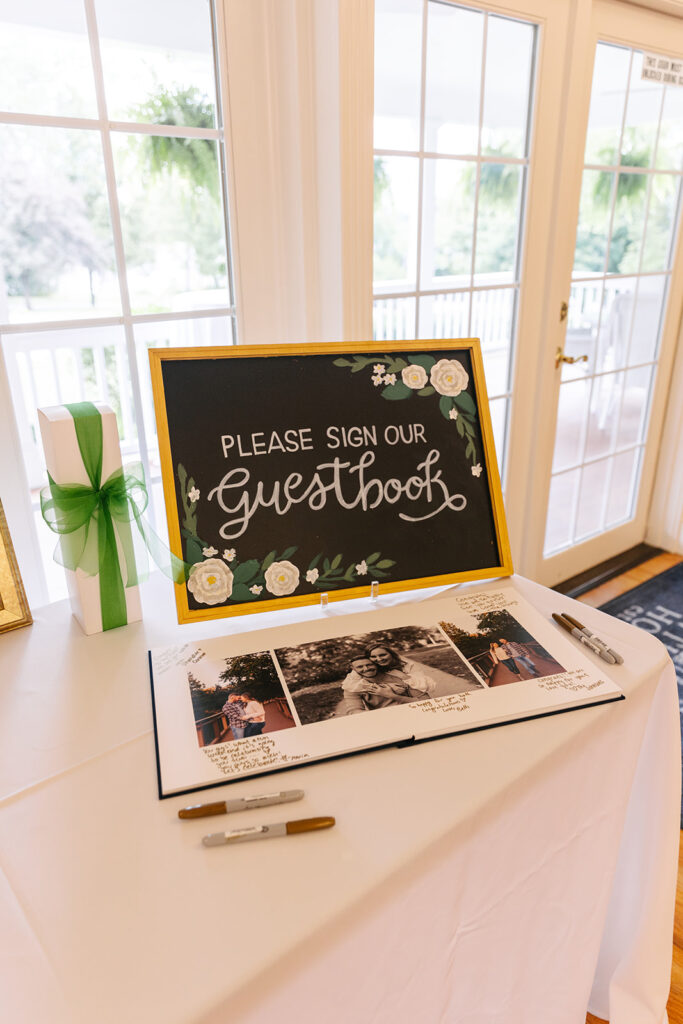
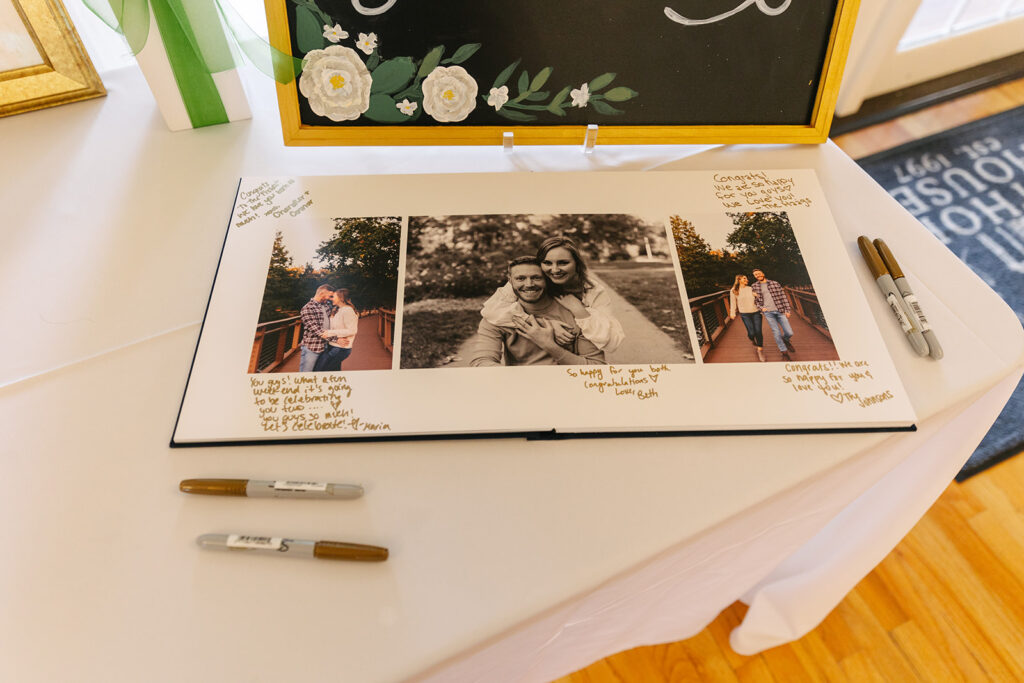
Custom Photo Books
Many couples create a guest book using their engagement photographs. It’s a beautiful way to display your images while letting guests write in the margins. The pages become filled with love and memories — and the book becomes something you’ll actually keep on your coffee table.
Signed Vinyl Records
If you’re music lovers, a vinyl guest book is perfect. Choose a few of your favorite records and let guests sign around the edges with metallic markers. Then frame them and display them in your home. It’s modern, cool, and such a fun nod to your style.
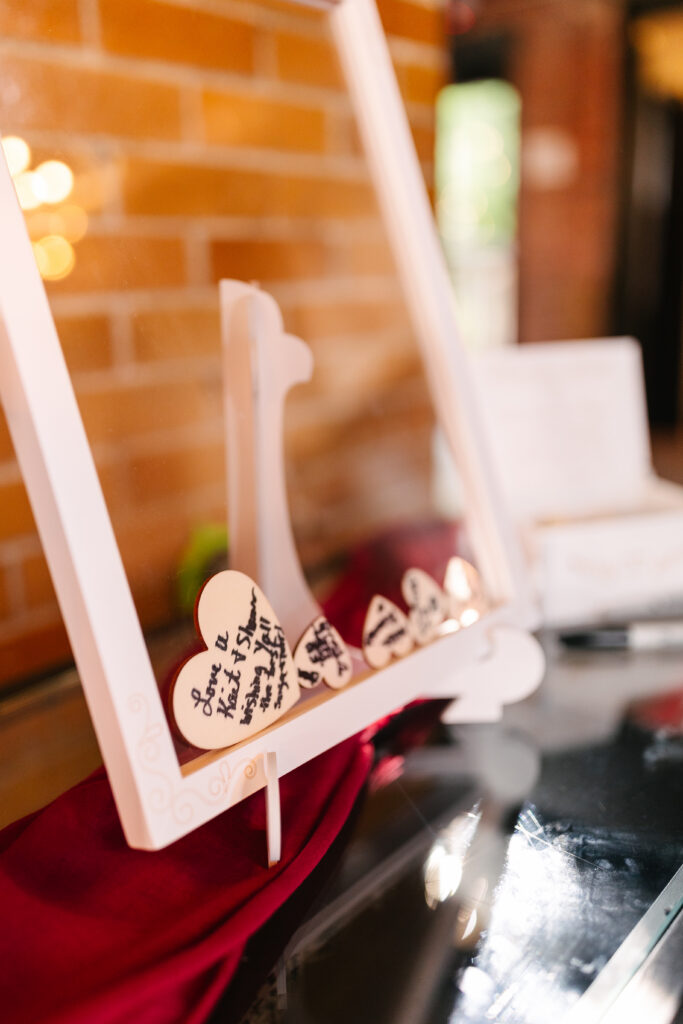
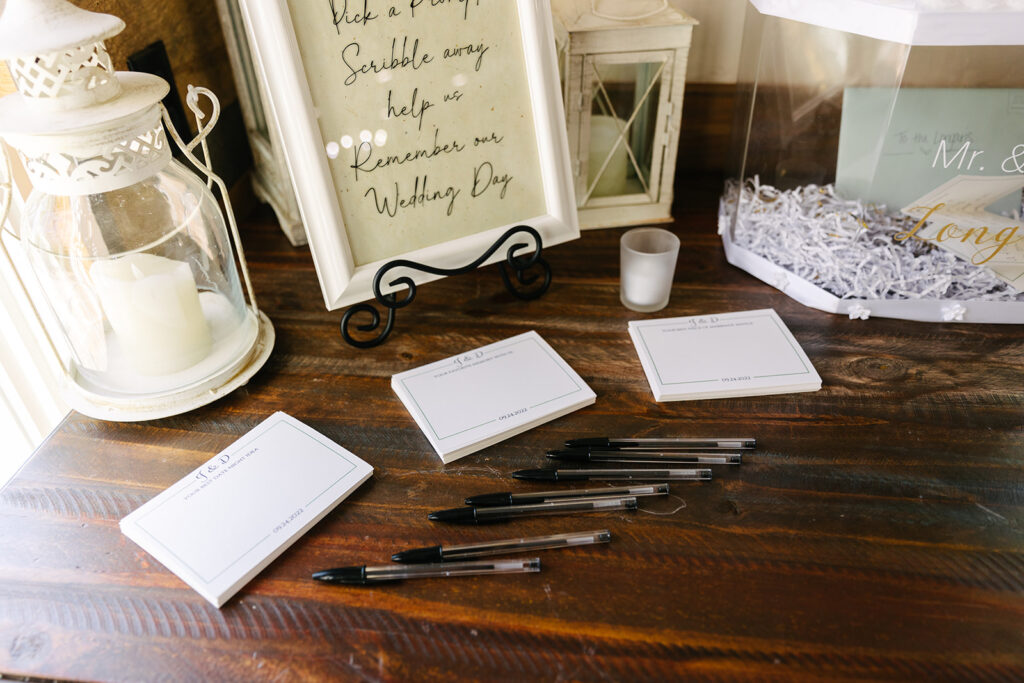
Advice & Date Jar Notes
For something simple and sweet, set out small cards and ask guests to write advice, well wishes, or future date night ideas. You can read them on your honeymoon or save them for your first anniversary. It’s a low-stress option that still feels personal.
Anniversary Wine Bottles
Interactive guest books always get guests excited. Having bottles of wine dedicated to milestone anniversaries for guests to sign are a sweet touch! You’ll get to open them later and see all the sweet notes from guests.

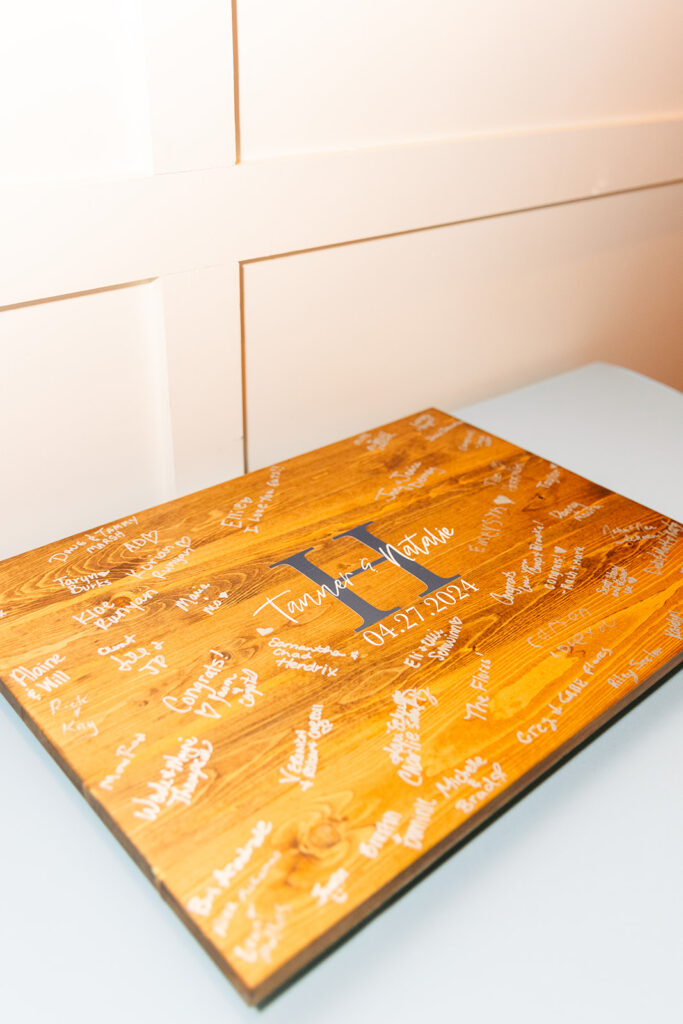
Globe or Decor Guest Books
If you love to travel, let guests sign a map, globe, or atlas. Or have them sign a frame, or piece of home decor! It looks beautiful on display and symbolizes the adventures ahead.
Make It Personal
Your guest book should feel like you. Pick something tied to your personalities, hobbies, or story. No matter which option you choose, the best guest books are the ones that make you smile years later.
If you’re planning your wedding and want more inspiration, I’m always happy to share ideas — and help you capture every special detail of your day.


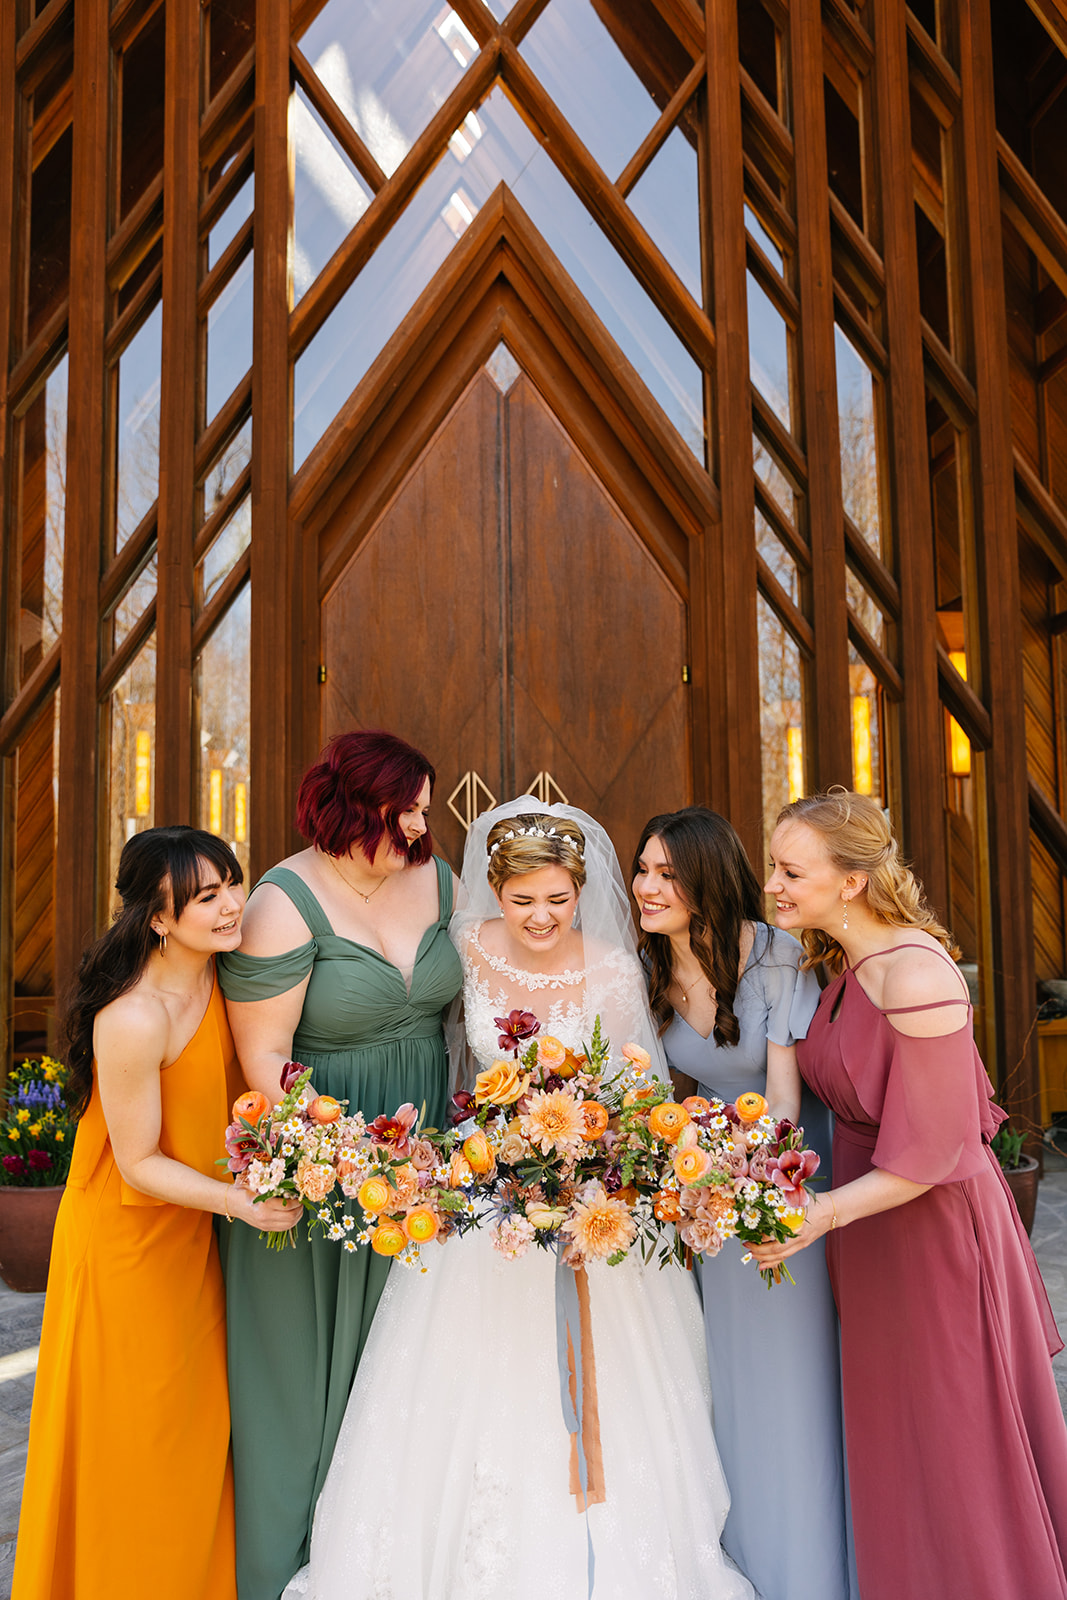
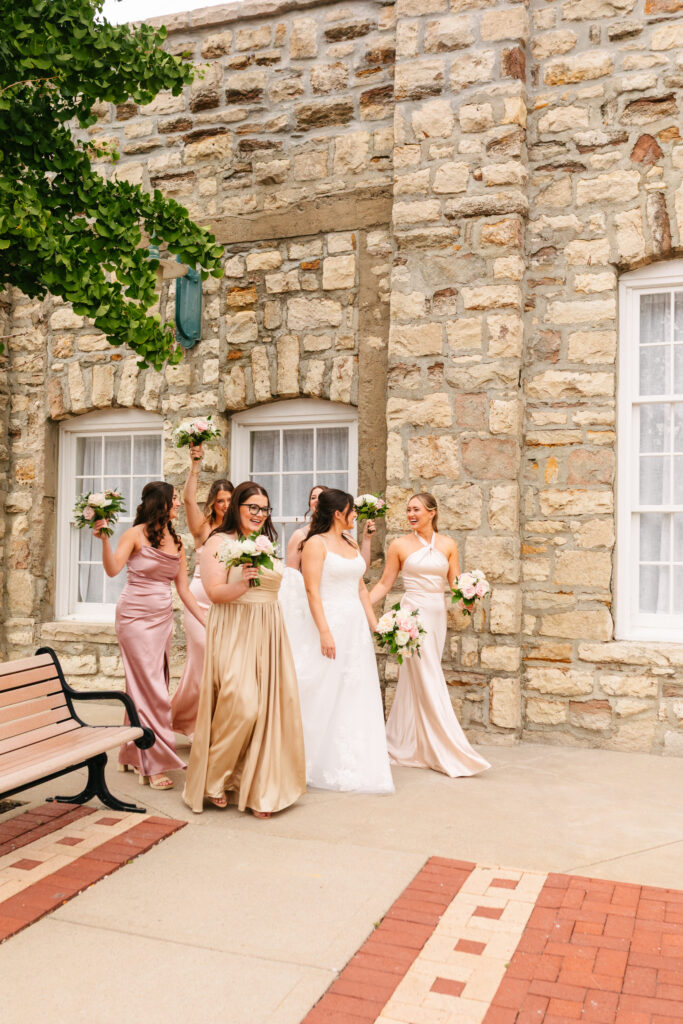
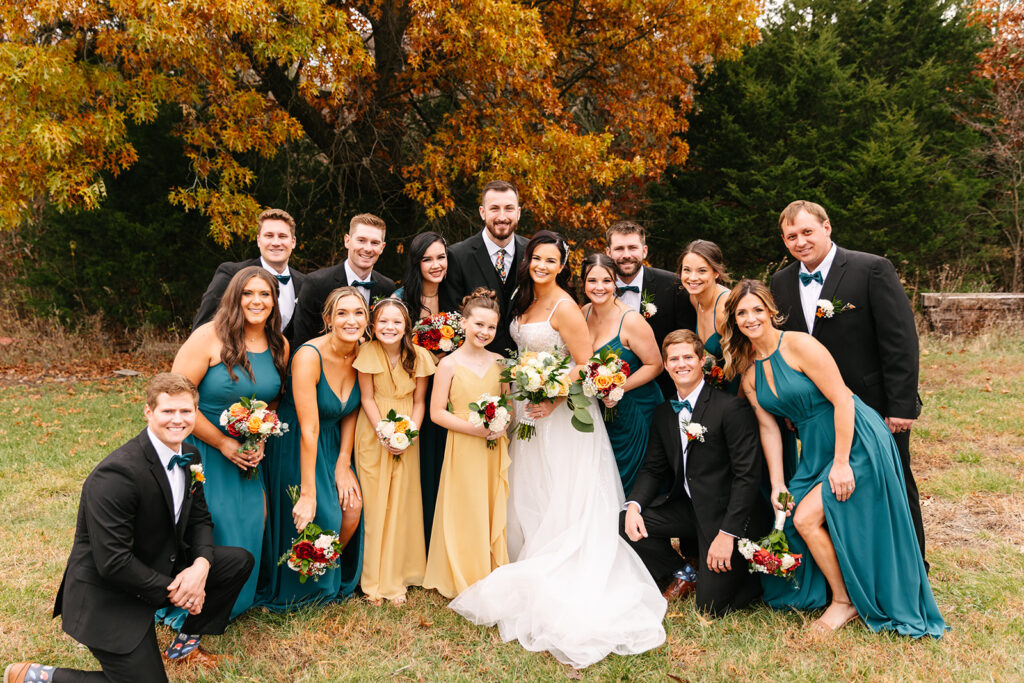
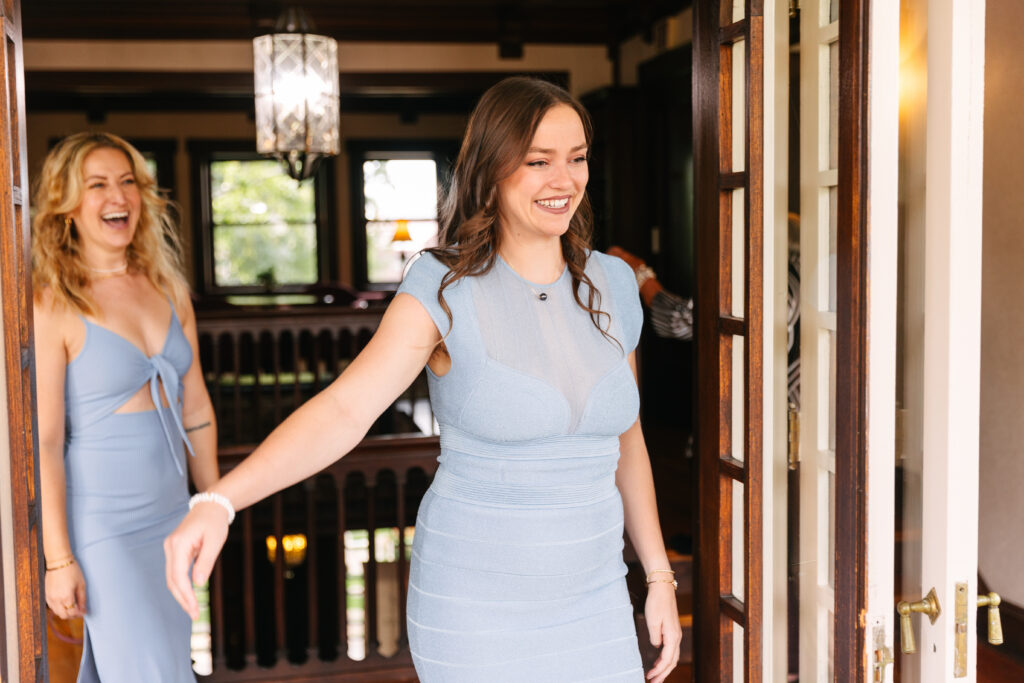
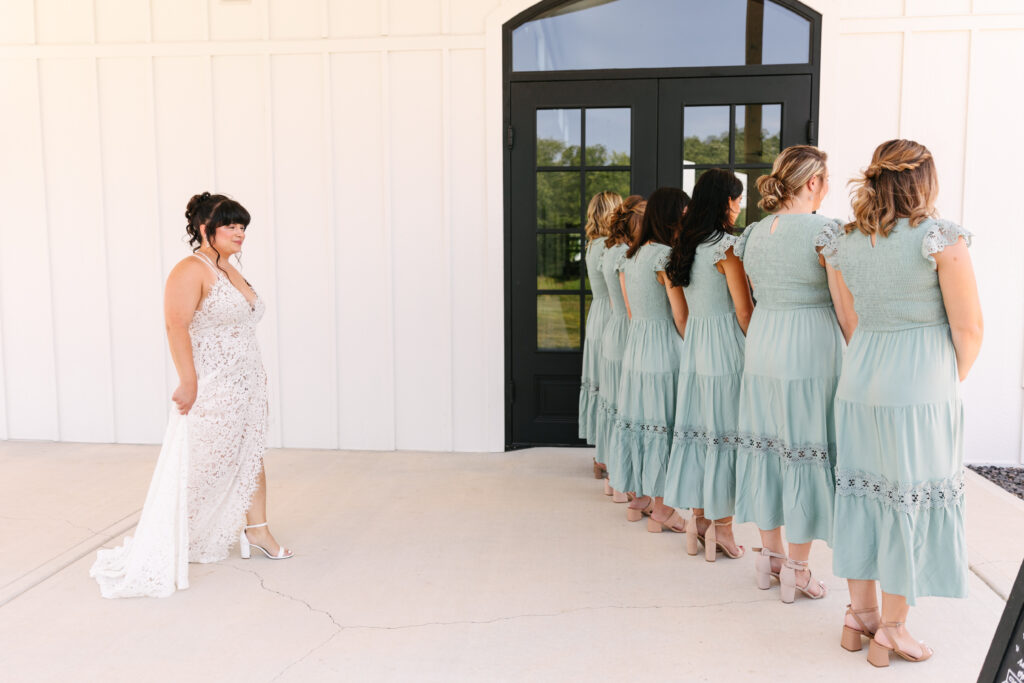
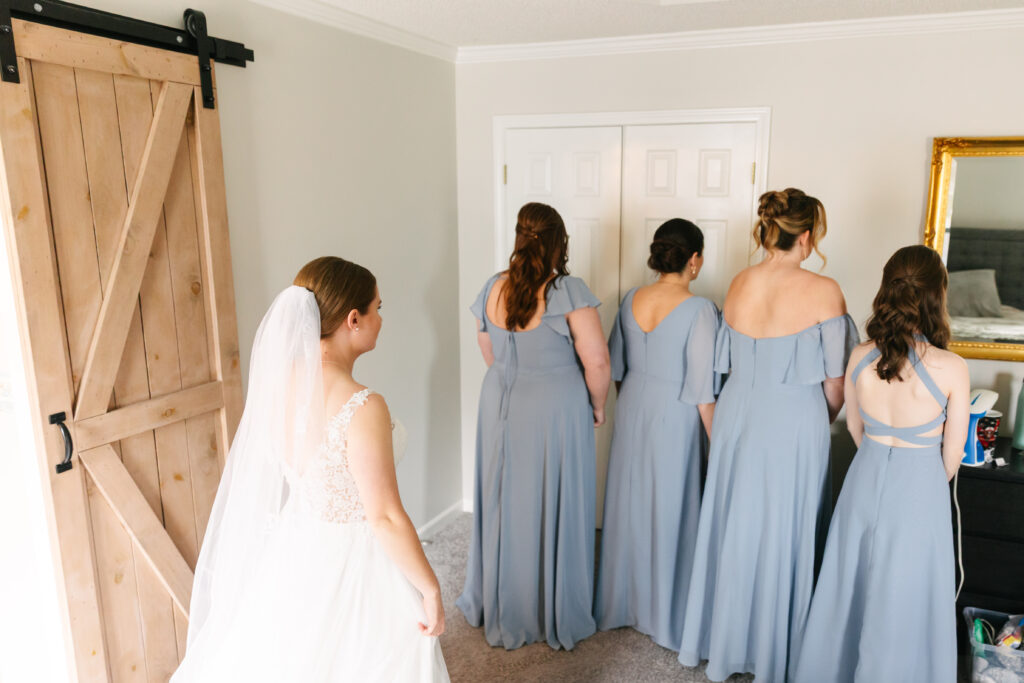
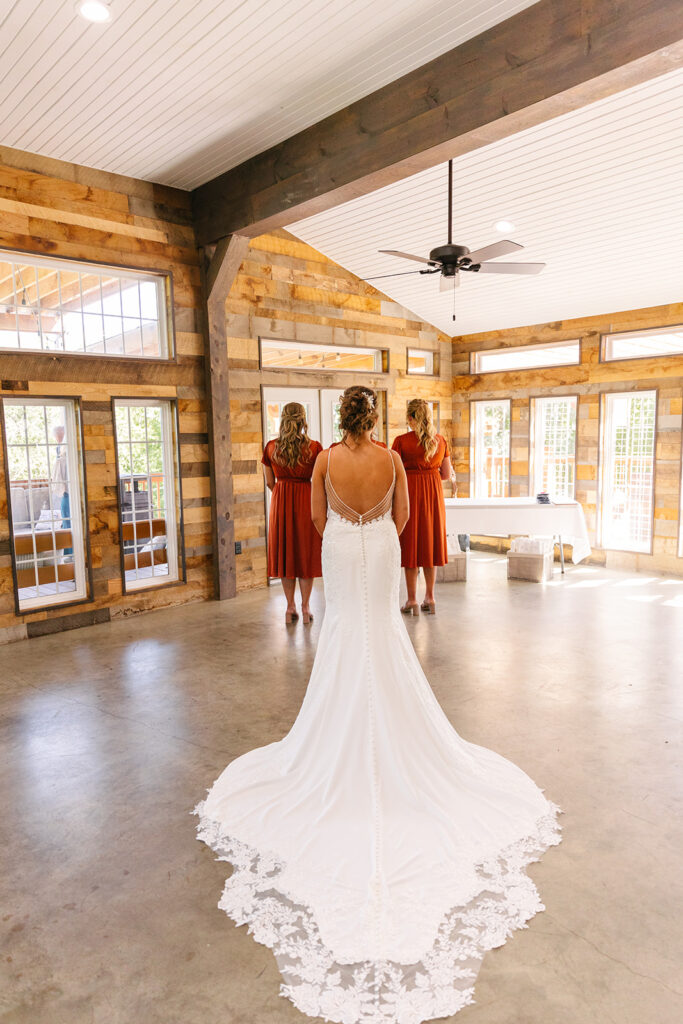
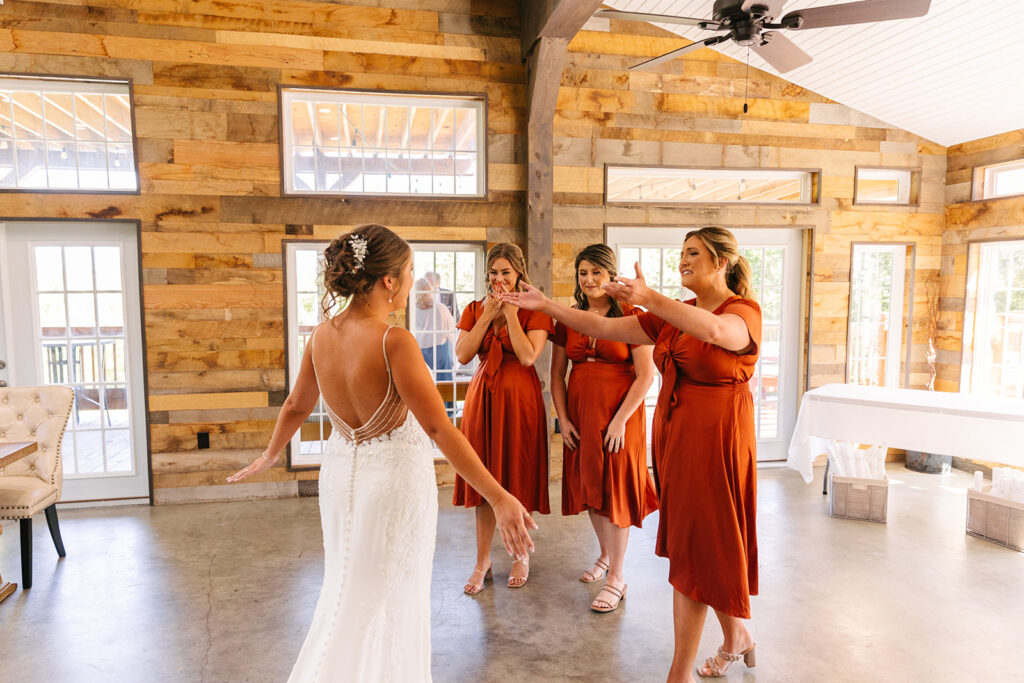
One of my favorite wedding day moments is a first look with your bridesmaids. It’s fun, emotional, and full of the kind of reactions you’ll want to remember forever. Your bridesmaids have been with you through so many parts of life — college years, late-night conversations, planning sessions, and everything in between — so letting them share in the moment you reveal your final bridal look is truly special.
If you’re building your wedding day timeline and looking for a meaningful, joy-filled moment to add, this one deserves a spot.
Why a Bridesmaid First Look Is Worth It
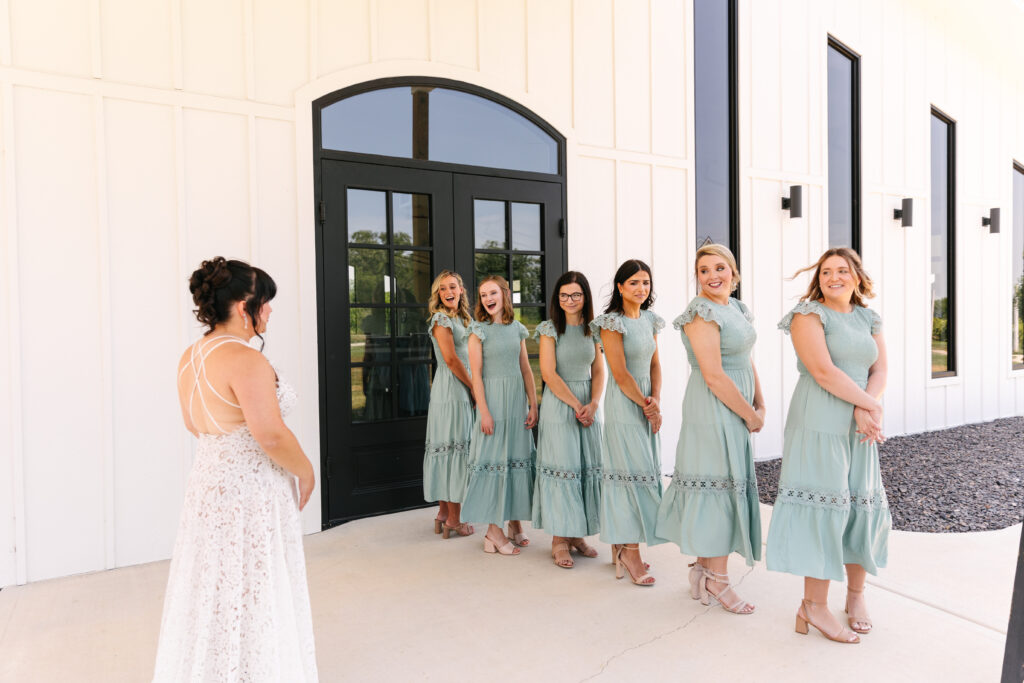
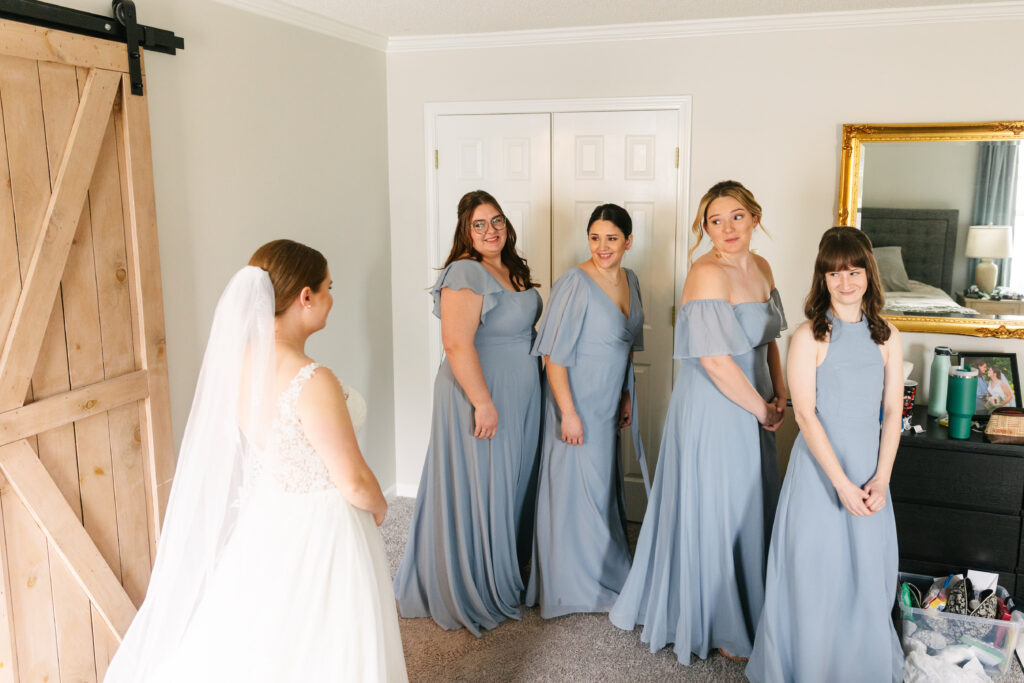
Your bridesmaids have probably seen photos of your dress and heard about every little detail, but seeing you fully ready for the first time is completely different. The reactions are priceless — the gasps, the tears, the laughter, the cheers. It’s a moment filled with so much love and pure excitement.
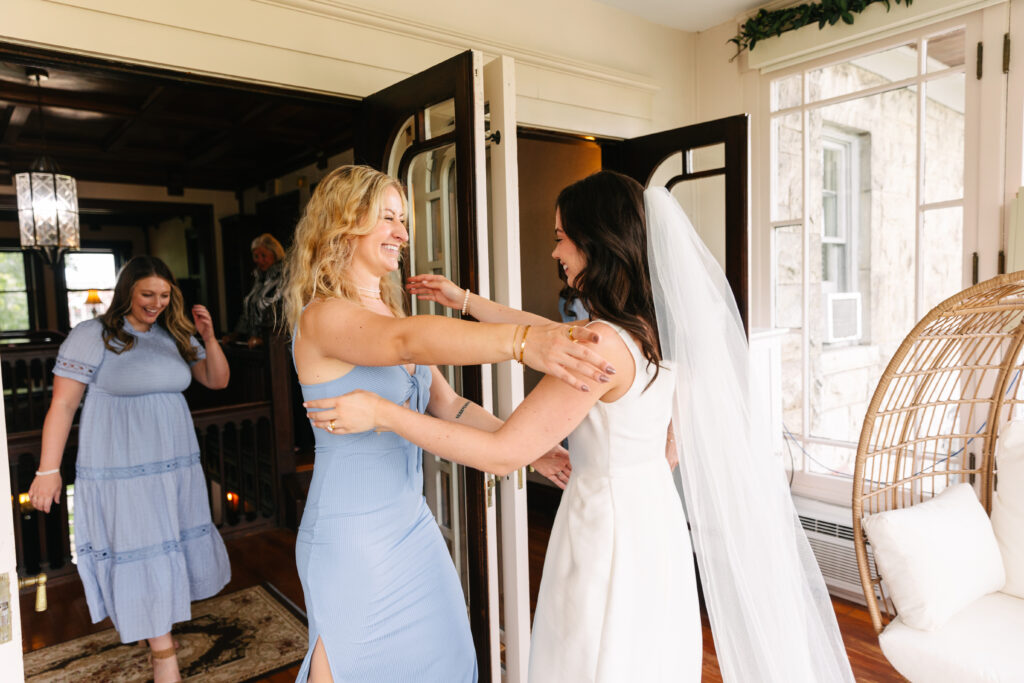
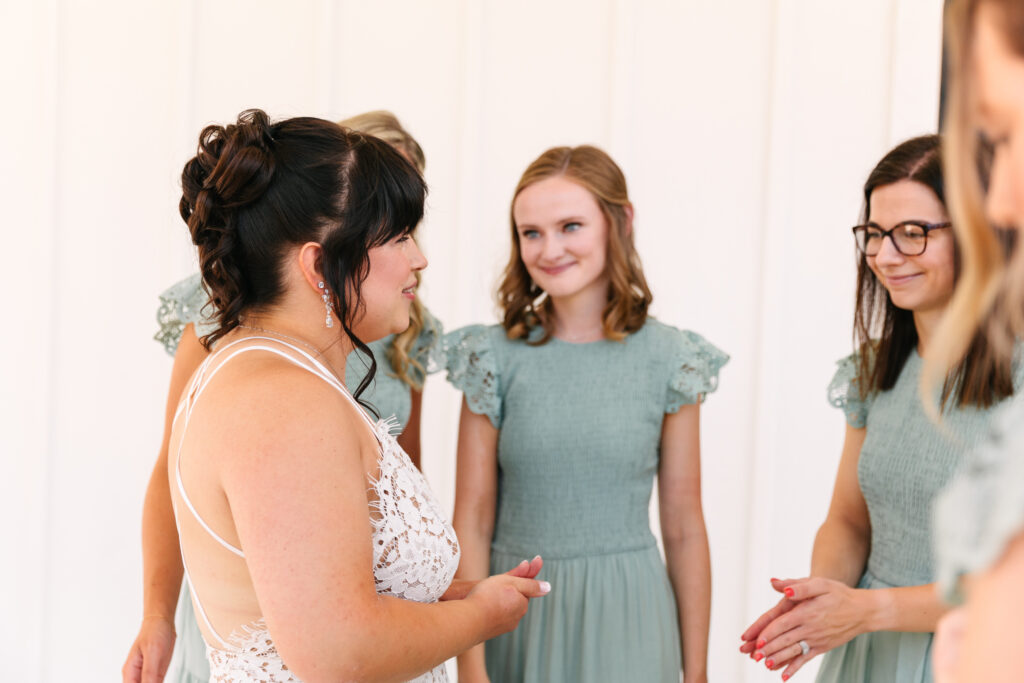
A first look with your bridesmaids also helps slow the morning down. It gives you a chance to breathe, be present, and take in all the support around you before the day speeds up.
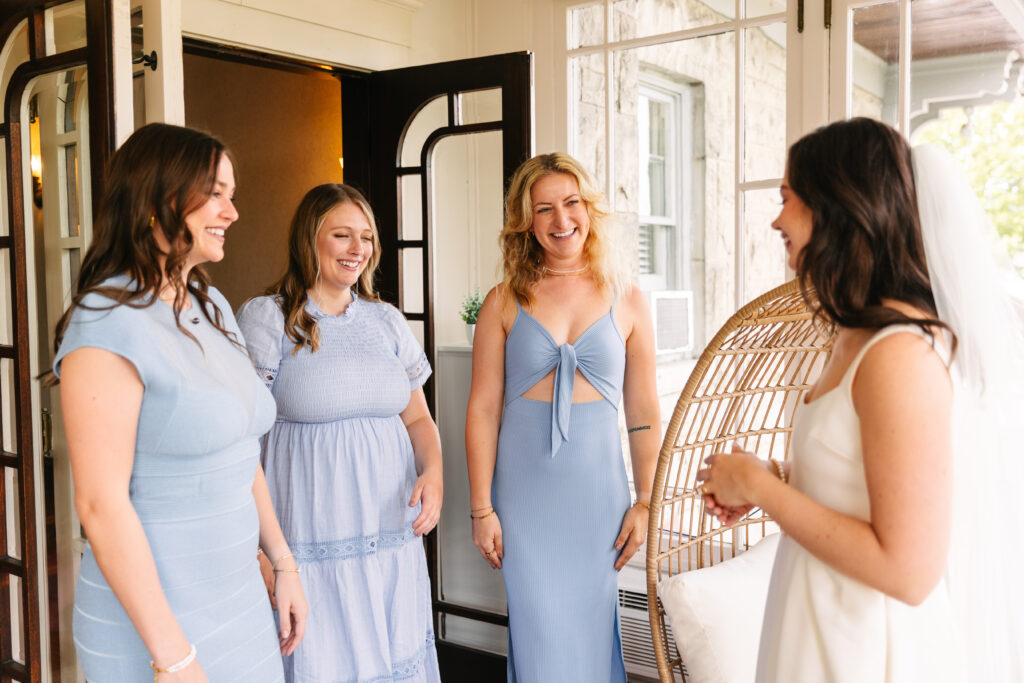
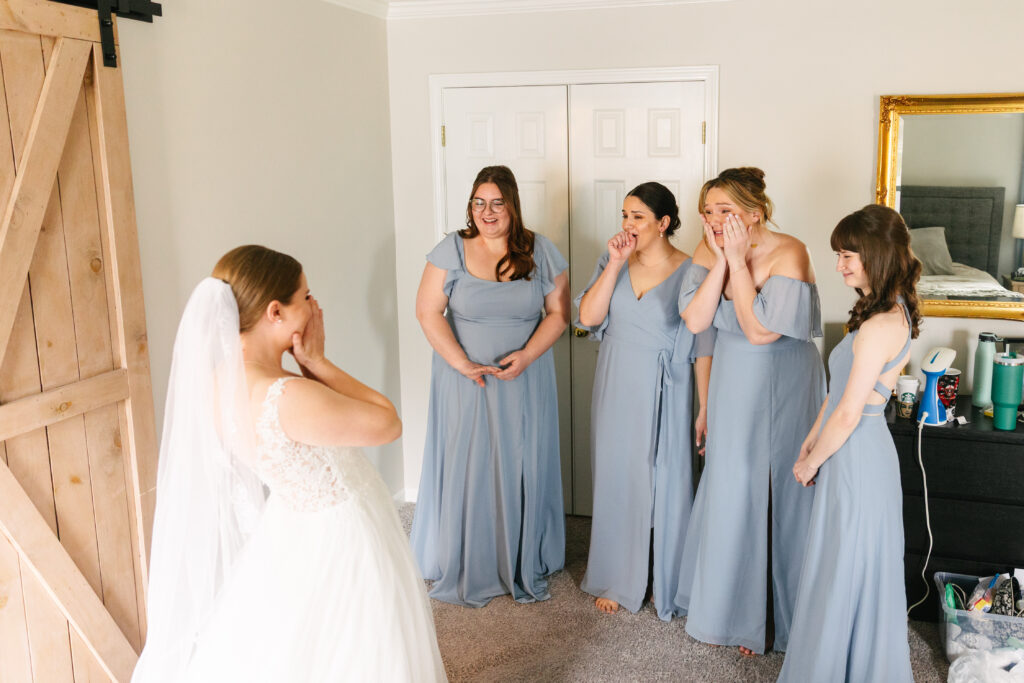
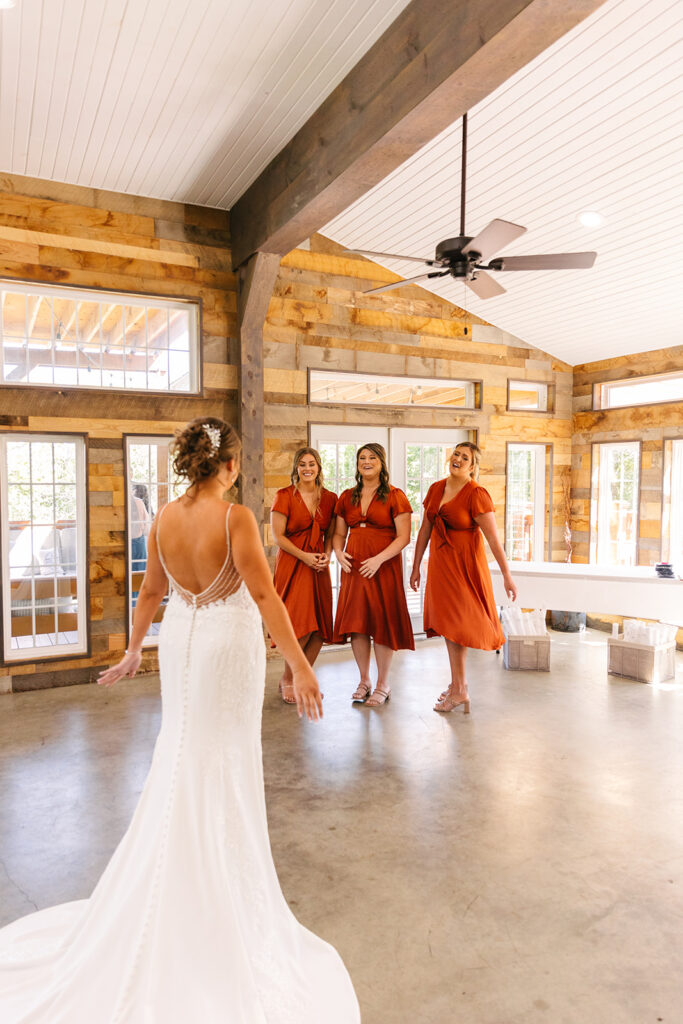
It Makes for Beautiful, Candid Photos
As a Kansas City wedding photographer, I can promise you this: these moments photograph so well. Bridesmaids never hold back, and their genuine reactions create some of the most natural images of the entire day.
You’ll get:
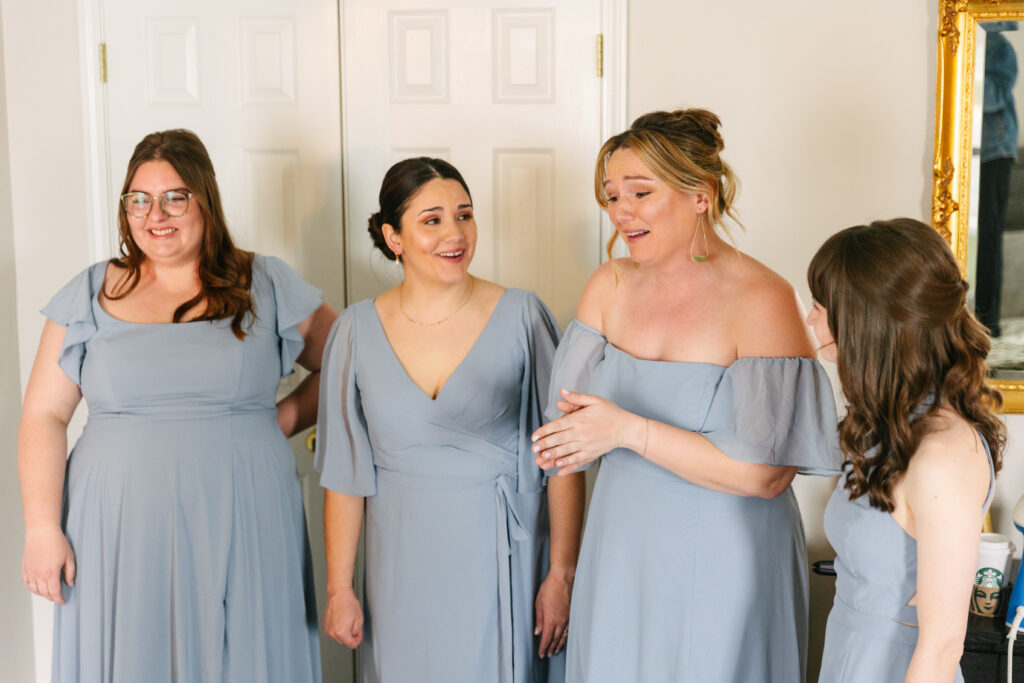
- joyful group photos
- emotional close-ups
- fun, playful shots
- a memory you can relive forever
This moment adds warmth and personality to your gallery in a way nothing else does.
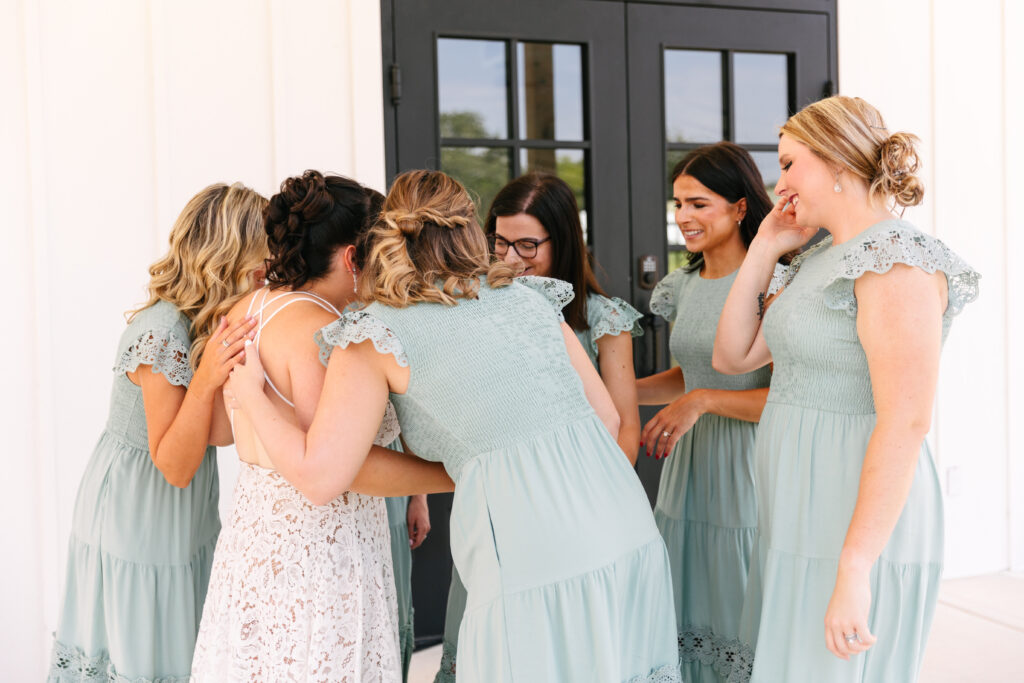
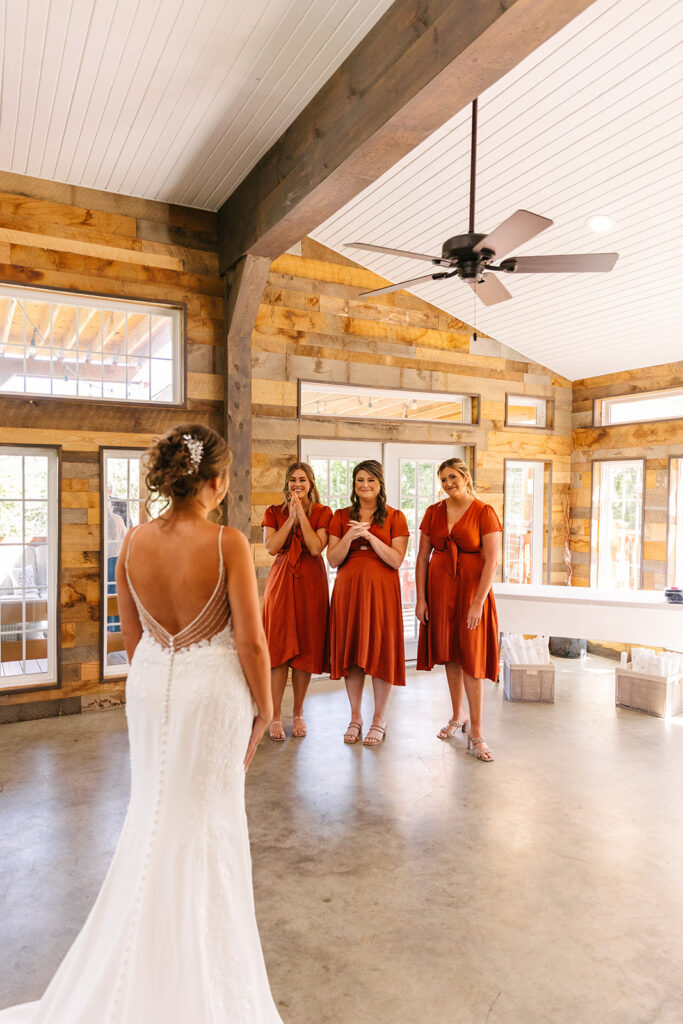
A Perfect Way to Start the Celebration
A first look with your bridesmaids also sets the tone for the rest of your wedding day. You’re surrounded by your closest friends, hyped up, smiling, and ready to walk into one of the biggest moments of your life. It’s uplifting, grounding, and so much fun.
Plus, it’s a great way to thank them for standing beside you — not just on your wedding day, but through every season of life.
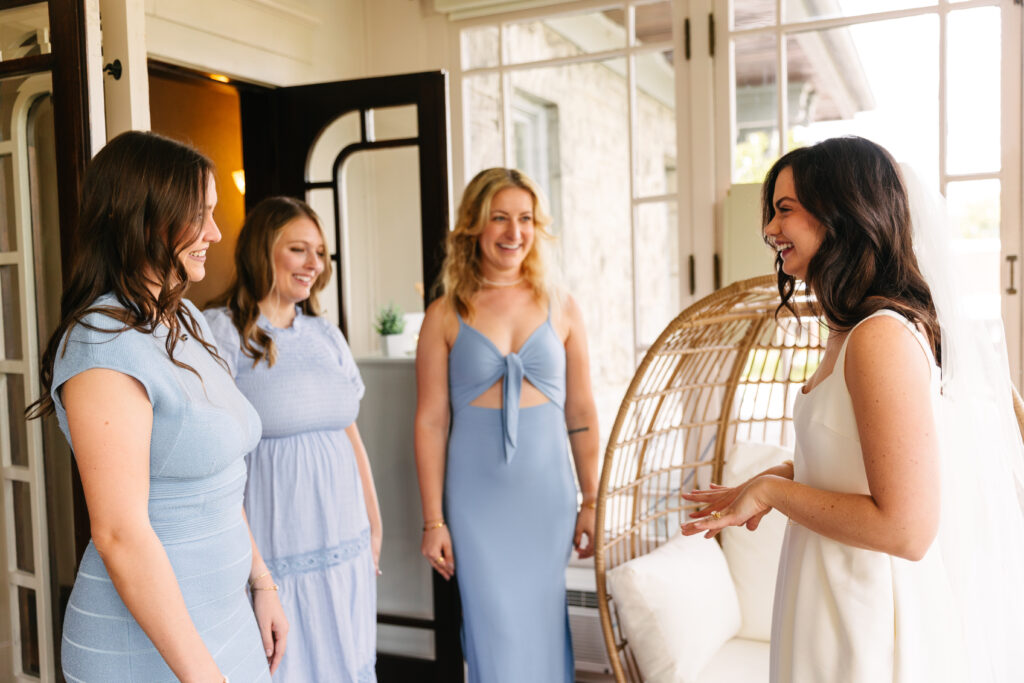
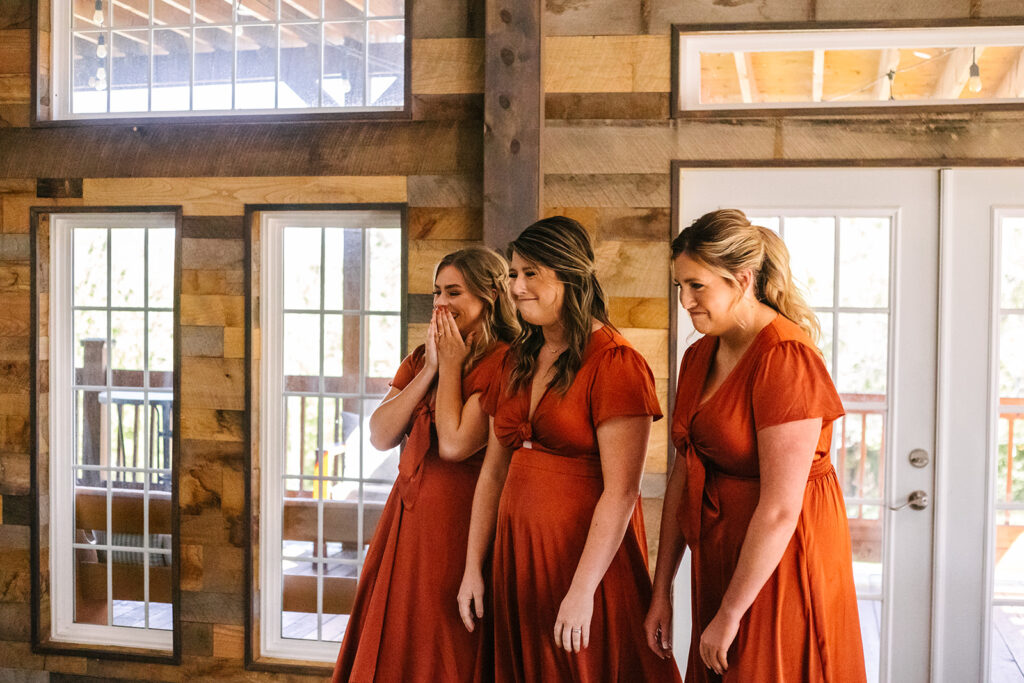
Tips for Planning a Bridesmaid First Look
To make this moment smooth and easy:
- Plan it right after you put your dress on
- Gather your bridesmaids in one room and have them face away from the doorway
- Walk in when you’re ready and let the moment unfold naturally
- Keep tissues close — someone always cries!
Adding a first look with your bridesmaids is such a sweet way to create connection, excitement, and emotion on your wedding day. It brings your favorite people together, gives you a moment to soak it all in, and adds beautiful storytelling to your gallery.
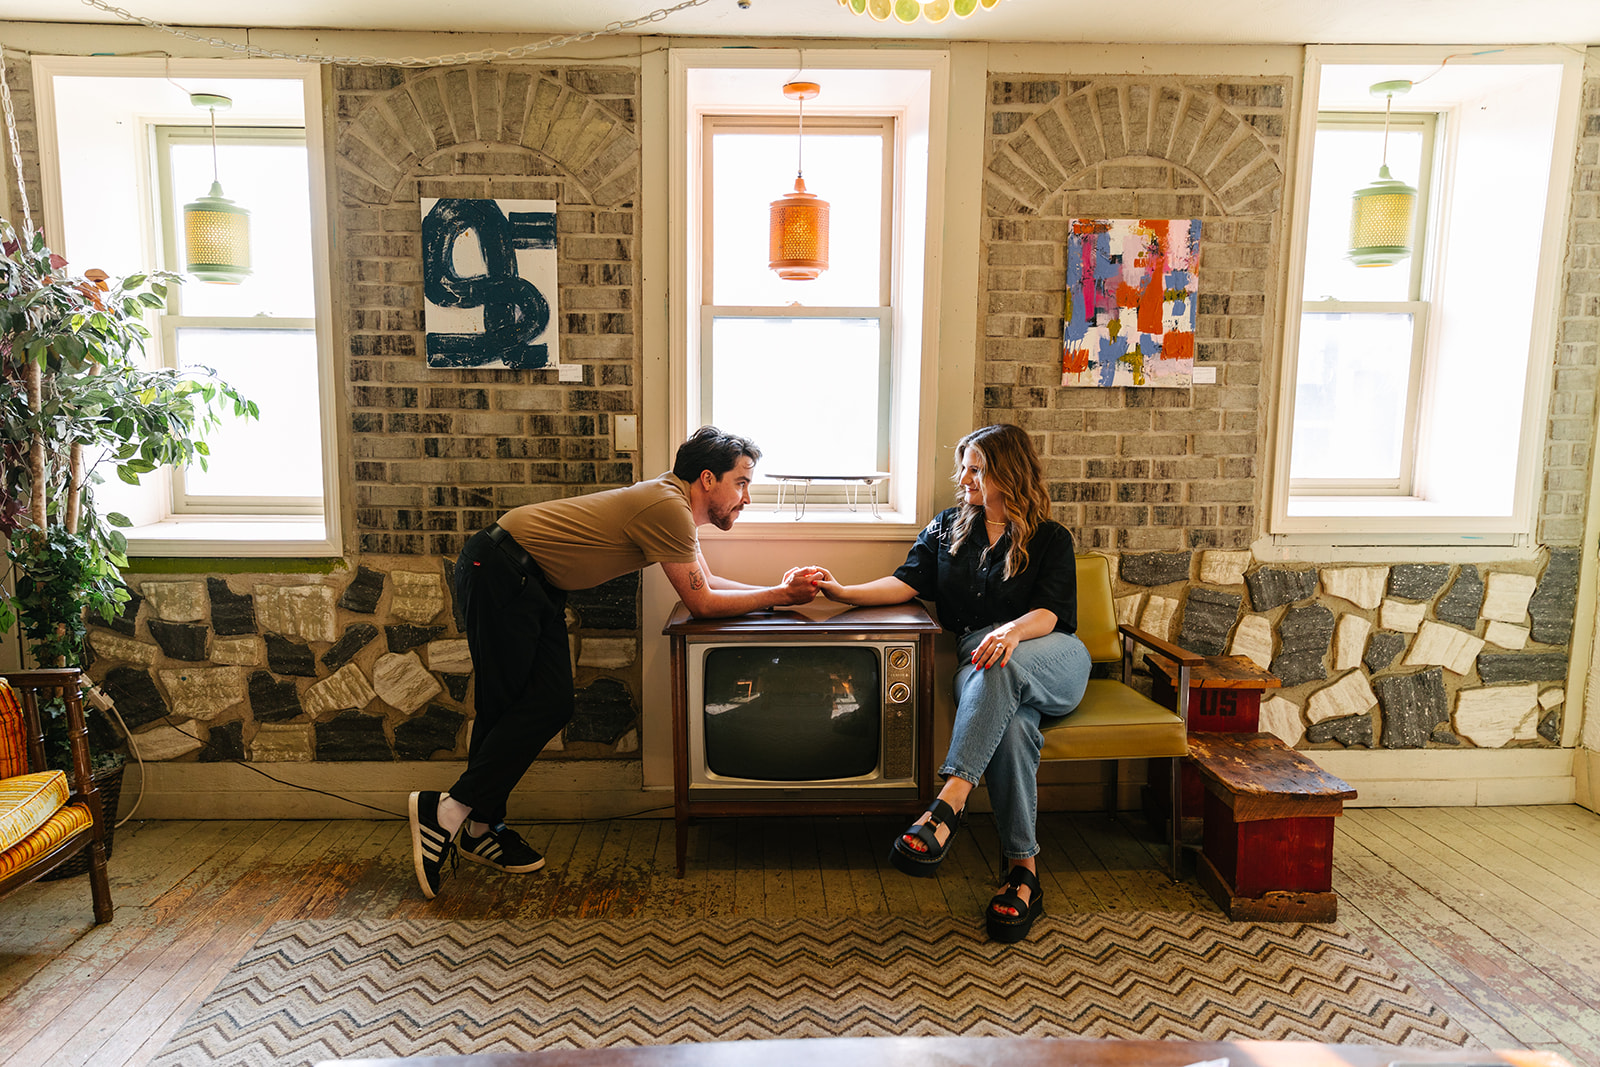
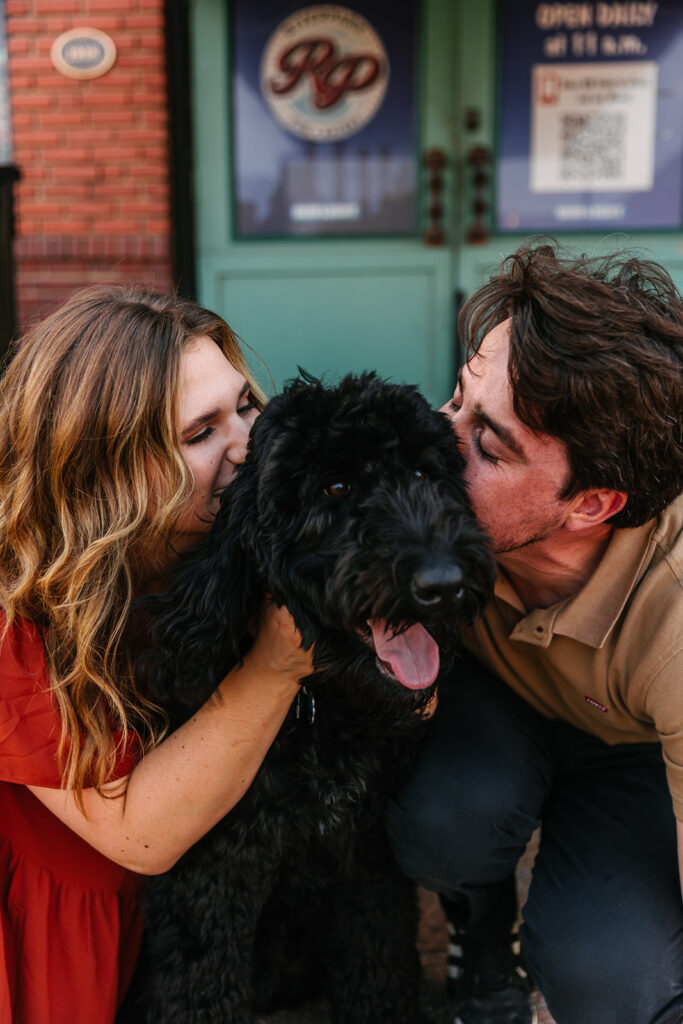
One of my favorite things about photographing couples and families in Kansas City is finding ways to make each session feel personal. Choosing meaningful locations for your session is one of the easiest and most beautiful ways to do that. Whether you’re celebrating an engagement, a new baby, an anniversary, or simply capturing this season of life, the right location can add depth, emotion, and story to your images.
Let’s talk about how to choose a spot that feels like you and how to make your session even more meaningful.
Start With Places That Matter to You
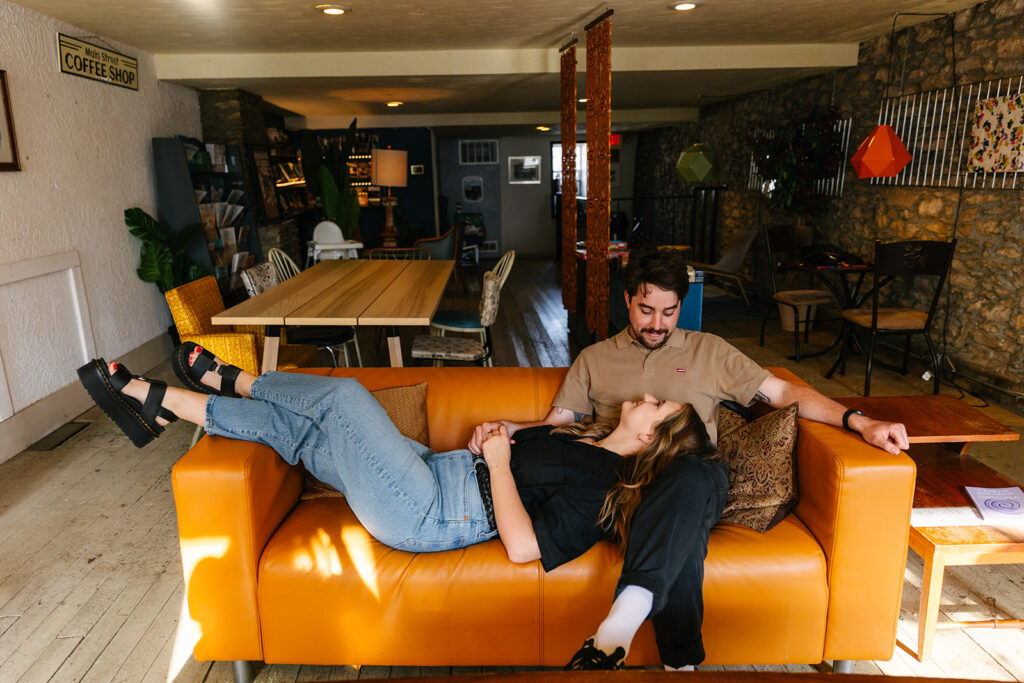
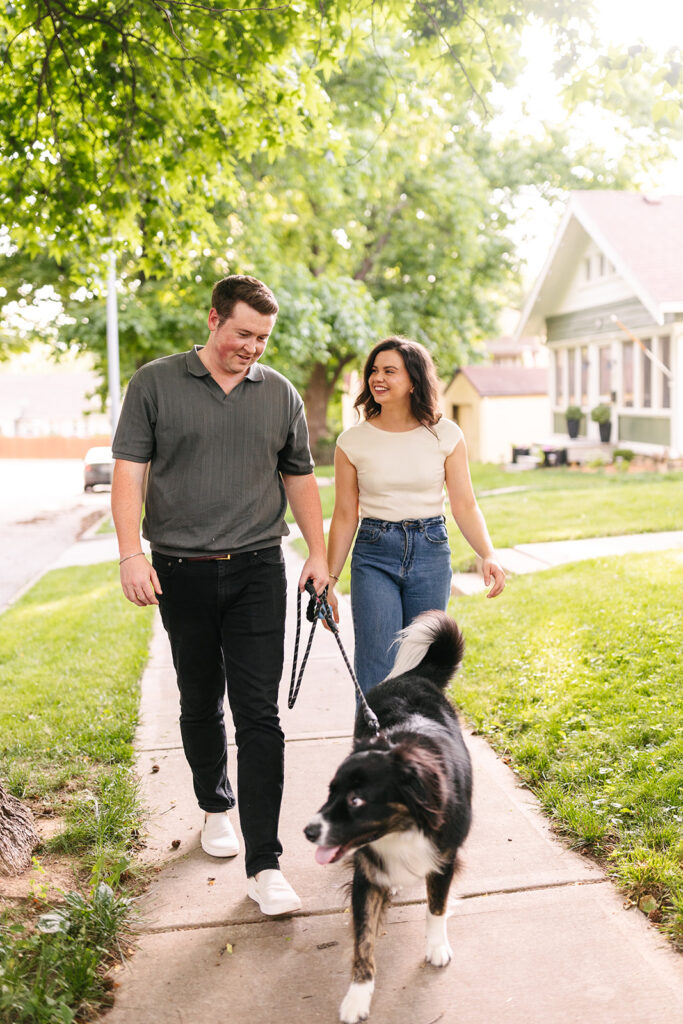
Think about the places that tell a part of your story. Maybe it’s the coffee shop where you had your first date. Maybe it’s the park where you walk your dog every morning, or the street where you take family strolls after dinner. These spots might seem simple, but they often hold the sweetest memories.
When you choose a location that has meaning, you feel more relaxed and connected — and that shows in your photographs.

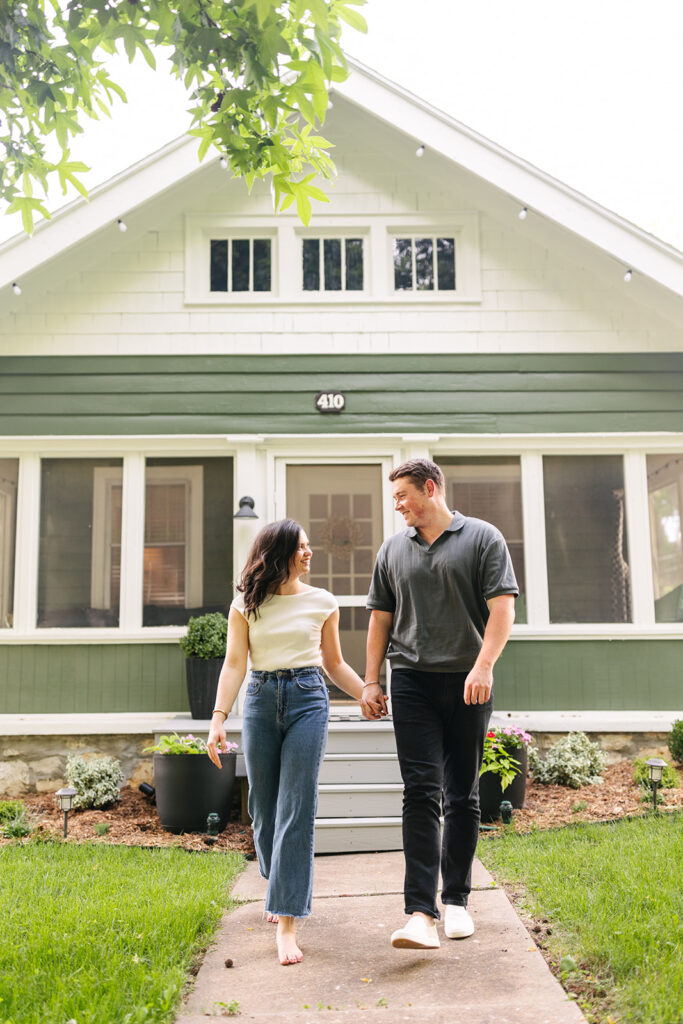
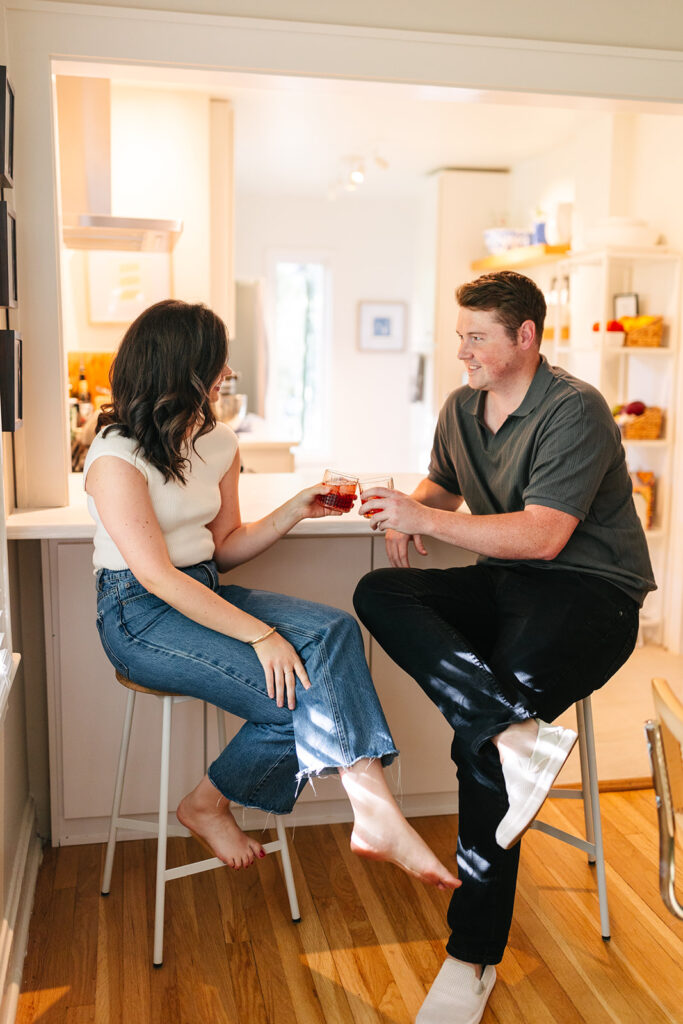
Use Your Home as a Backdrop
Your home is full of memories, and it’s one of the most meaningful locations for your session. In-home sessions capture your real life in the places where you spend the most time. Curling up on the couch, cooking together, playing with your kids, rocking your newborn — these everyday moments create warm, intimate photos you’ll love forever.

Celebrate Your Milestones Where They Happened
If you’re planning an engagement session, consider the spot where the proposal took place. For couples celebrating anniversaries, revisiting your wedding location can feel incredibly nostalgic. Even maternity sessions can be special at the place where you often walk together or the room you’re preparing for baby.
Going back to a place tied to a milestone brings out emotion in a way nothing else can.


Choose Locations That Reflect Your Personality
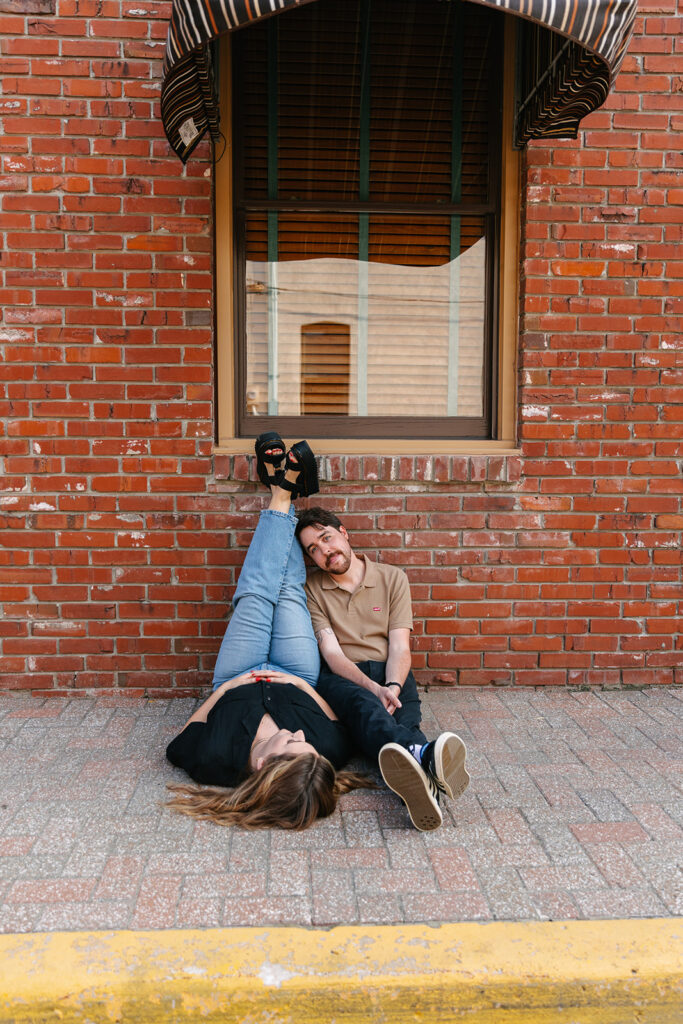
Meaningful doesn’t always have to be sentimental — sometimes it’s simply you. Love bookstores? Let’s shoot among the aisles. Obsessed with the riverfront? Let’s go. Love the skyline? Downtown KC has endless views. Your session should reflect who you are right now, and choosing a place you genuinely enjoy makes the experience fun and natural.

Blend Multiple Spots for More Storytelling
You don’t have to choose just one location. Start at your home, then visit your go-to park. Begin in the city and end in a quiet natural spot. Mixing locations lets you tell a fuller story and gives you variety in your final gallery.
Choosing meaningful locations for your session adds emotion, personality, and story to your photographs. Whether it’s your home, the place you first met, your favorite Kansas City spot, or a location that simply makes you happy, the right setting helps you feel comfortable and connected — and it shows in every image.