the blog


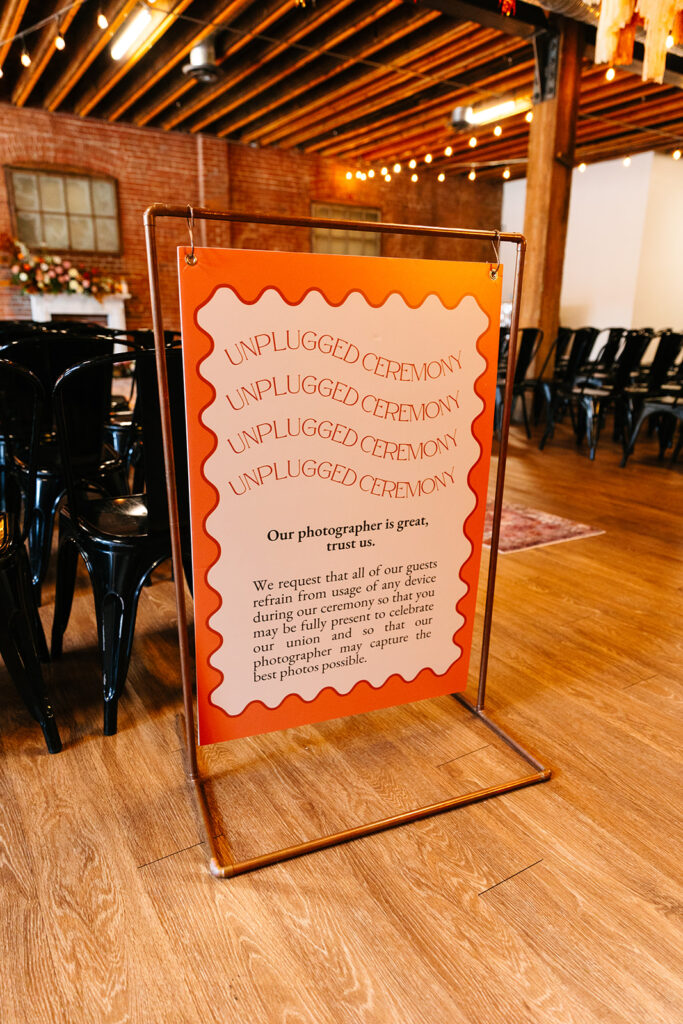
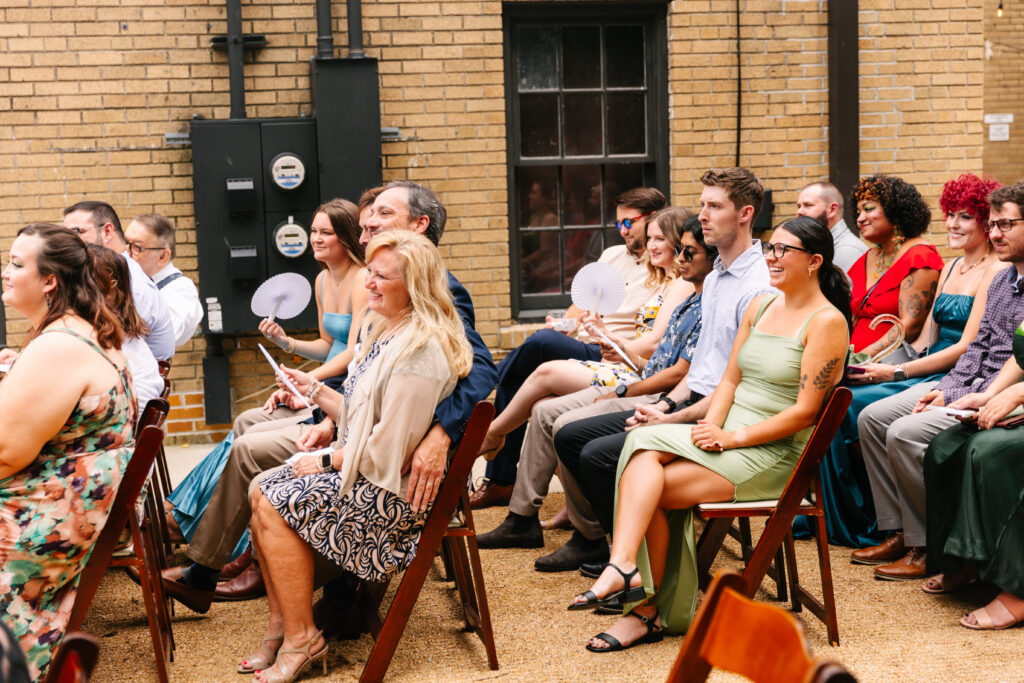
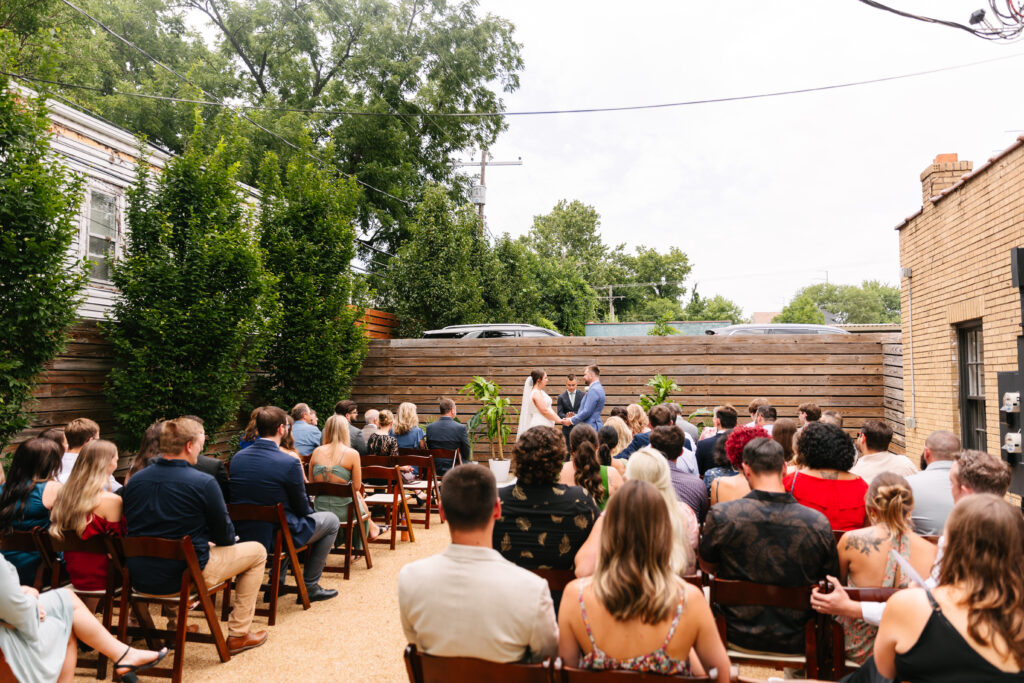
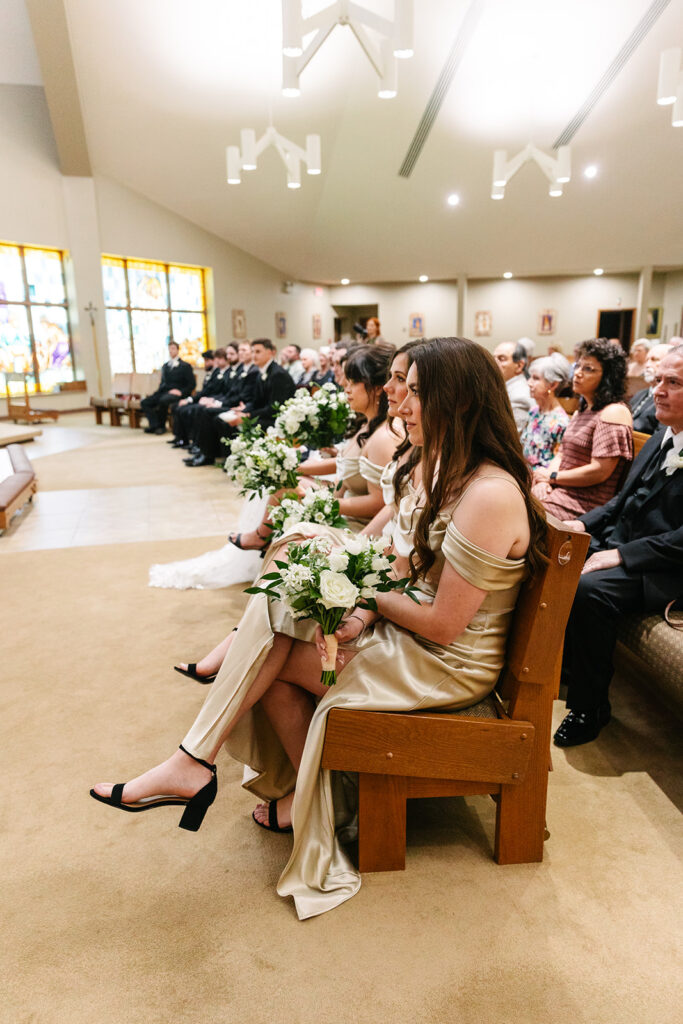
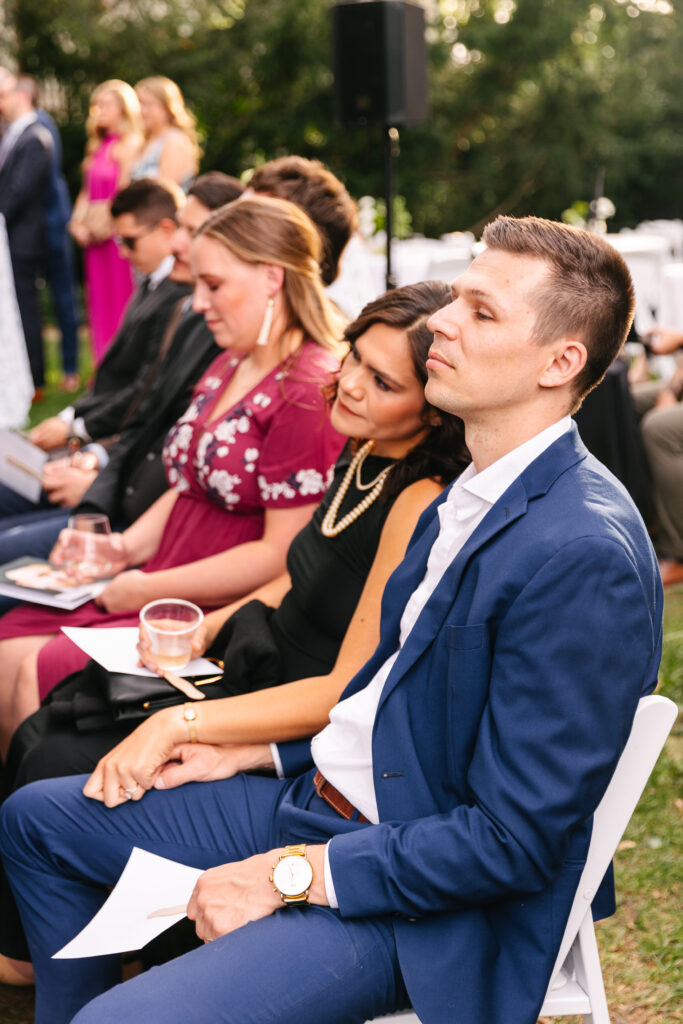
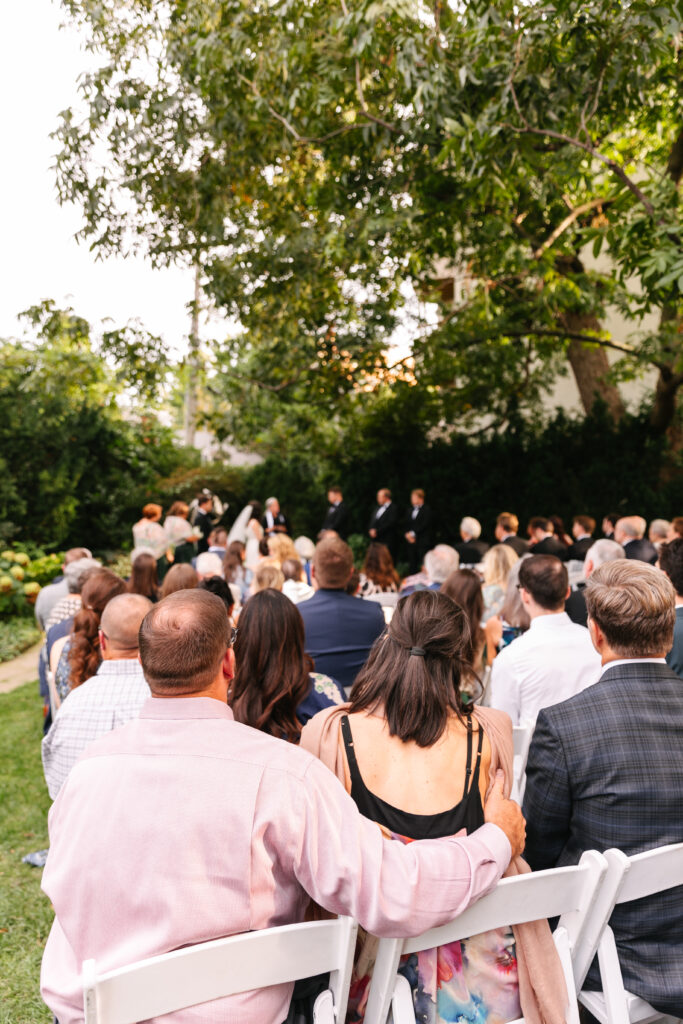
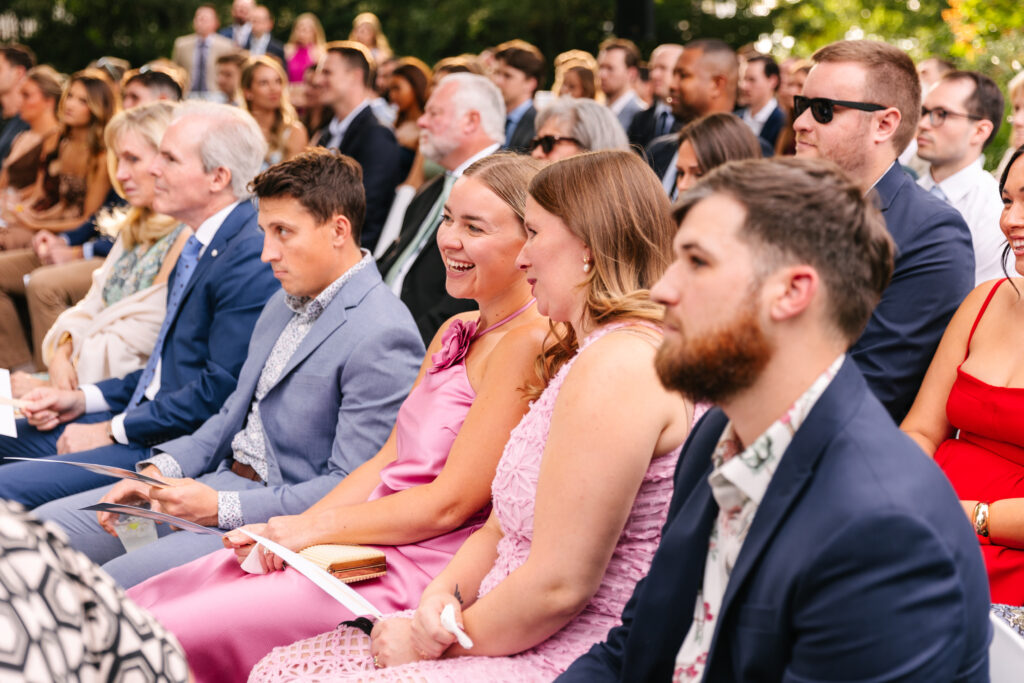
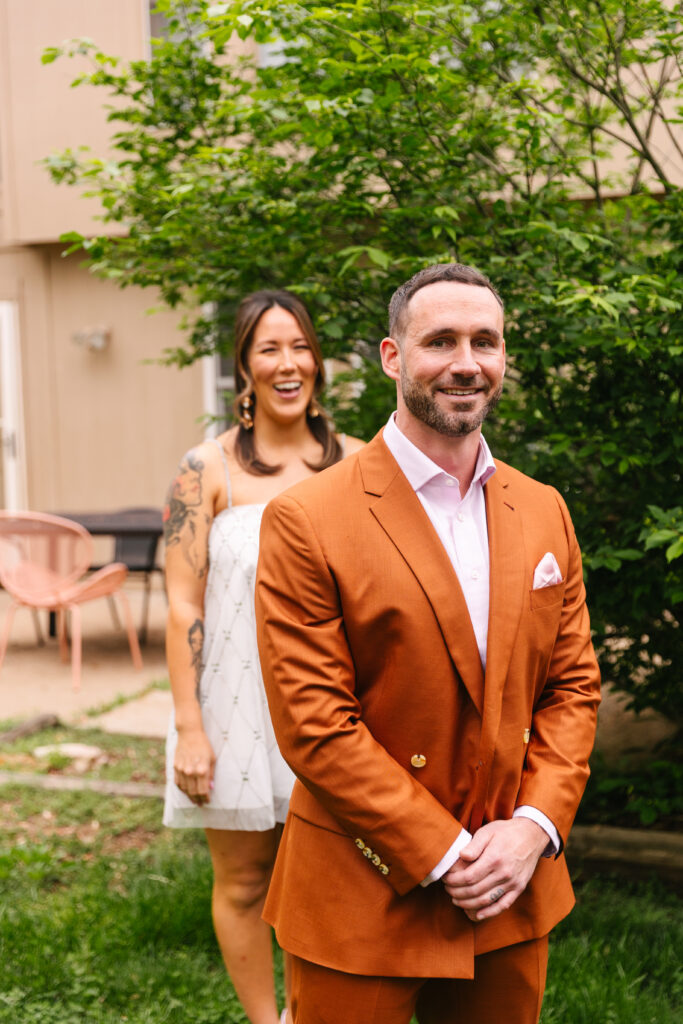
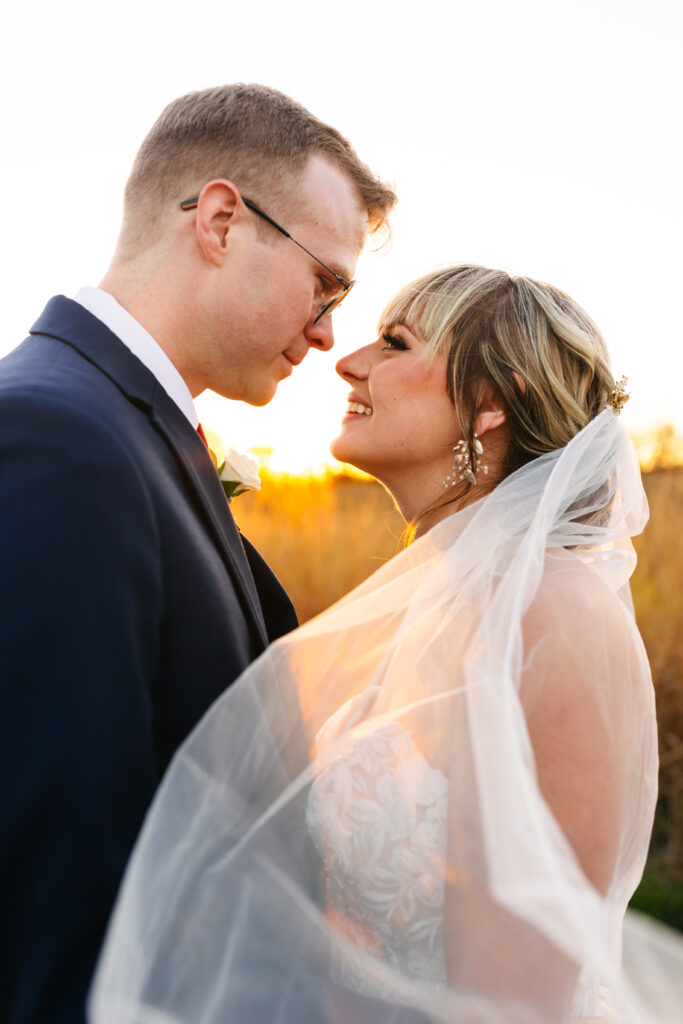
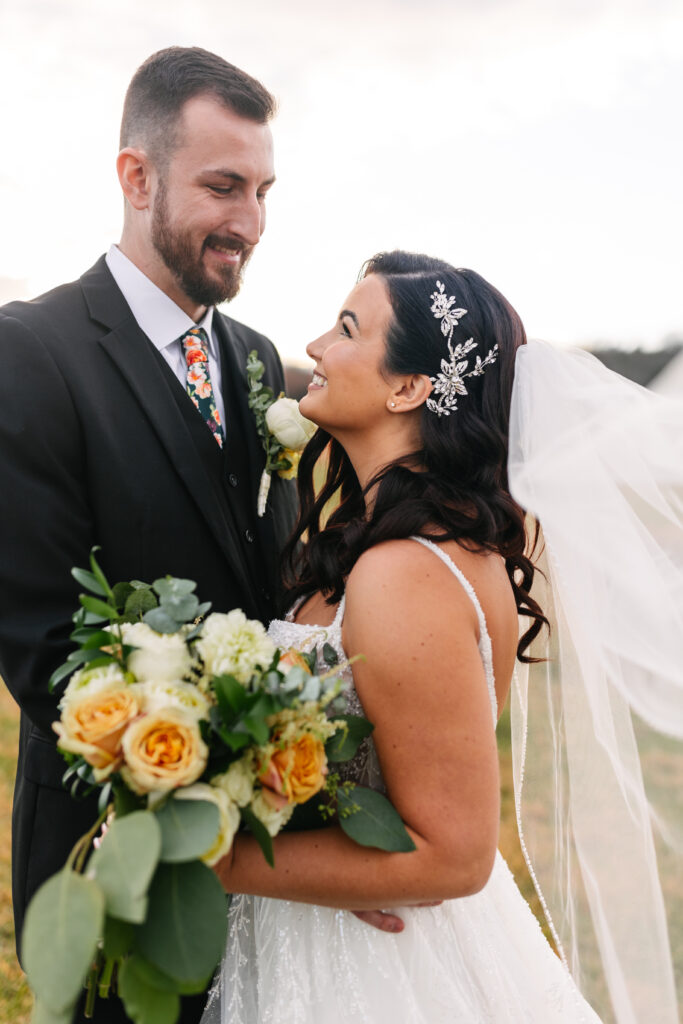
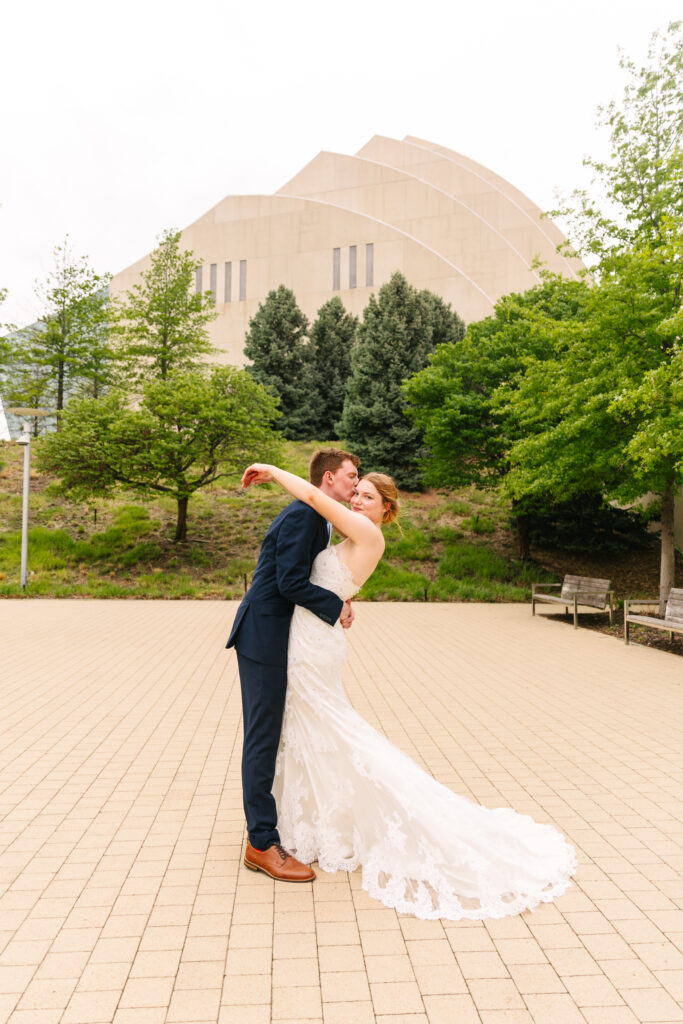
Let’s talk about something that can make a huge difference on your wedding day — an unplugged ceremony. If you haven’t heard the term before, an unplugged ceremony means asking your guests to put their phones and cameras away during your vows. As a Kansas City wedding photographer, I can confidently say this small request can make a big impact!
Be Present in the Moment
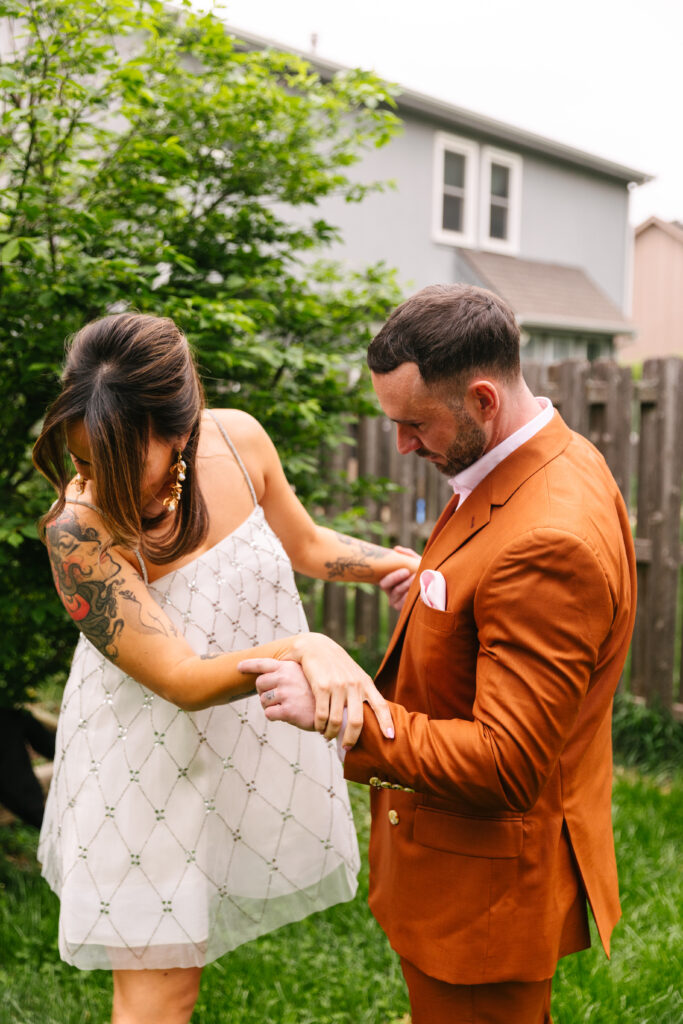
Your wedding ceremony is one of the most meaningful moments of your life. It’s the moment you look into your partner’s eyes, surrounded by your loved ones, and say “I do.” When everyone’s holding a phone instead of a hand, it changes the energy in the room. Asking guests to unplug lets them fully experience the emotion — the laughter, the tears, the love — without distraction.

Leave the Photos to the Pros
You’ve spent time choosing your wedding photographer, and it’s our job to capture every moment beautifully. When guests lean into the aisle with phones or flash unexpectedly, it can block your photos or alter the lighting. An unplugged ceremony ensures your professional photographs are clean, timeless, and focused entirely on you.
Protect the Magic of the Moment
There’s something so special about hearing gasps, laughter, and applause instead of the click of a camera. Your guests will remember the warmth of the moment far more than a blurry photo on their phone. Plus, when you receive your gallery later, you’ll have gorgeous photographs to share with everyone — ones that tell the story perfectly.

Make It Simple for Guests
If you decide on an unplugged ceremony, include a note in your program or have your officiant kindly announce it before the ceremony begins. A simple reminder goes a long way in helping everyone be present and respectful.
Your wedding day only happens once — and it deserves your full attention. Choosing an unplugged ceremony in Kansas City allows you and your guests to be truly present, creating memories that last a lifetime


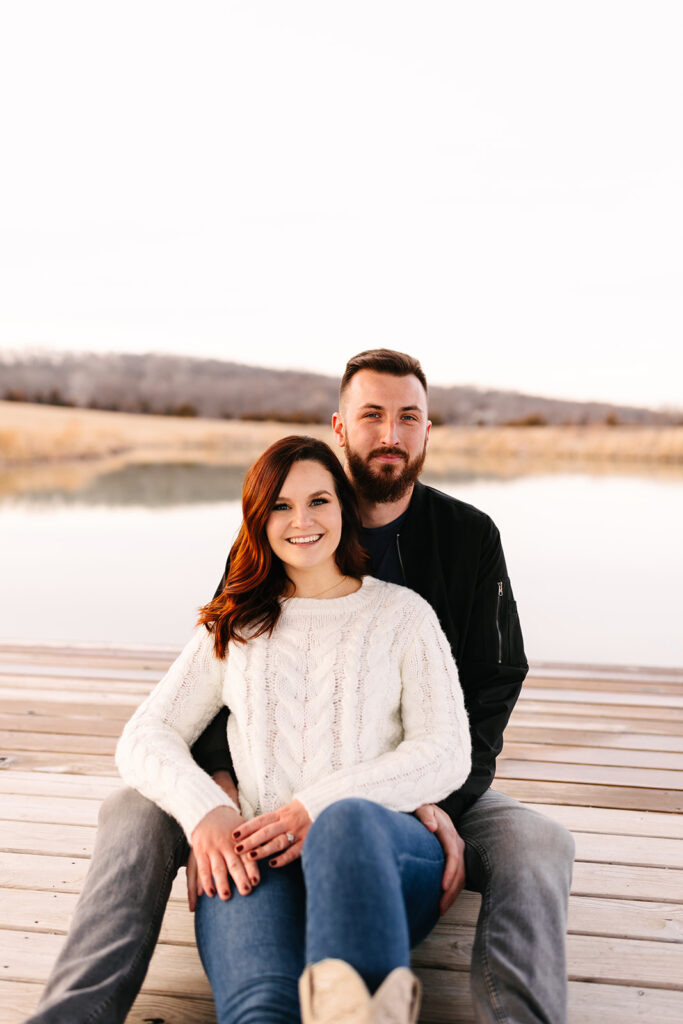
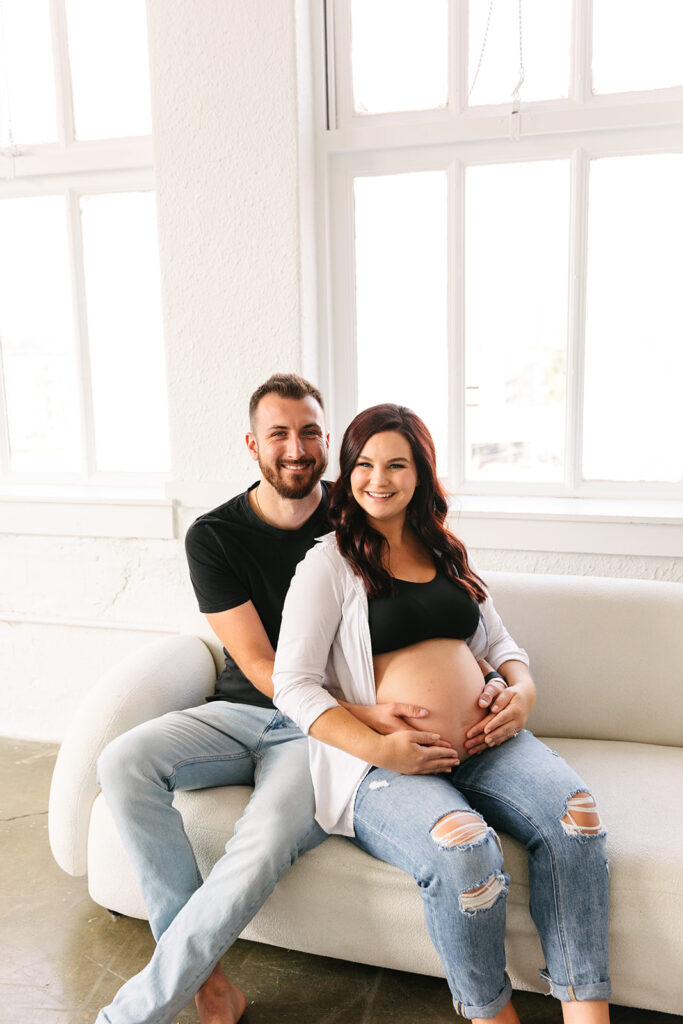
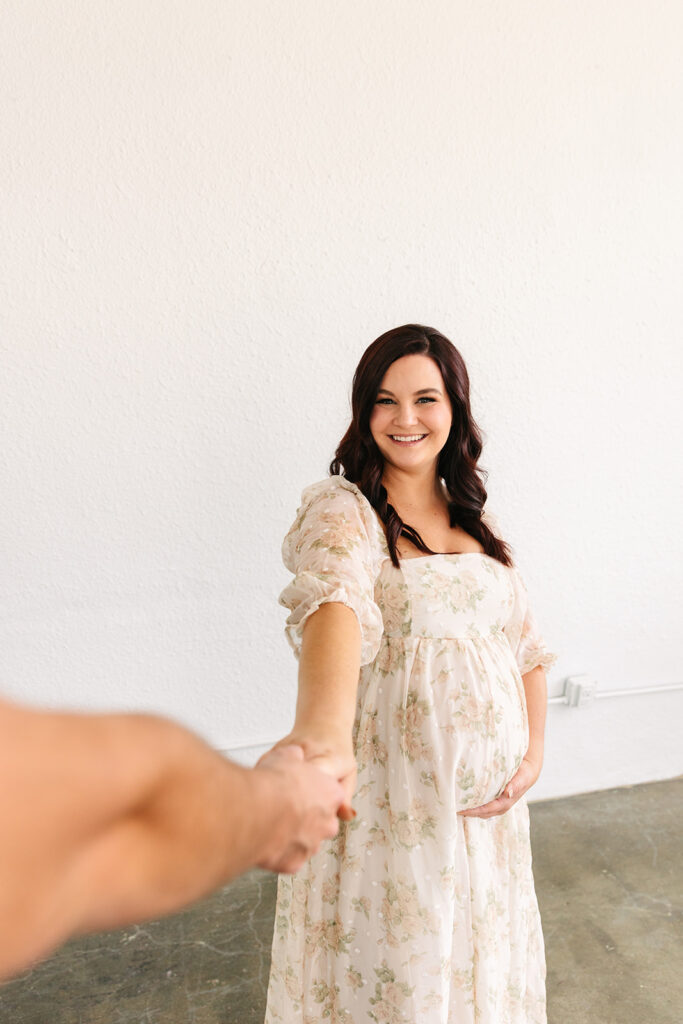
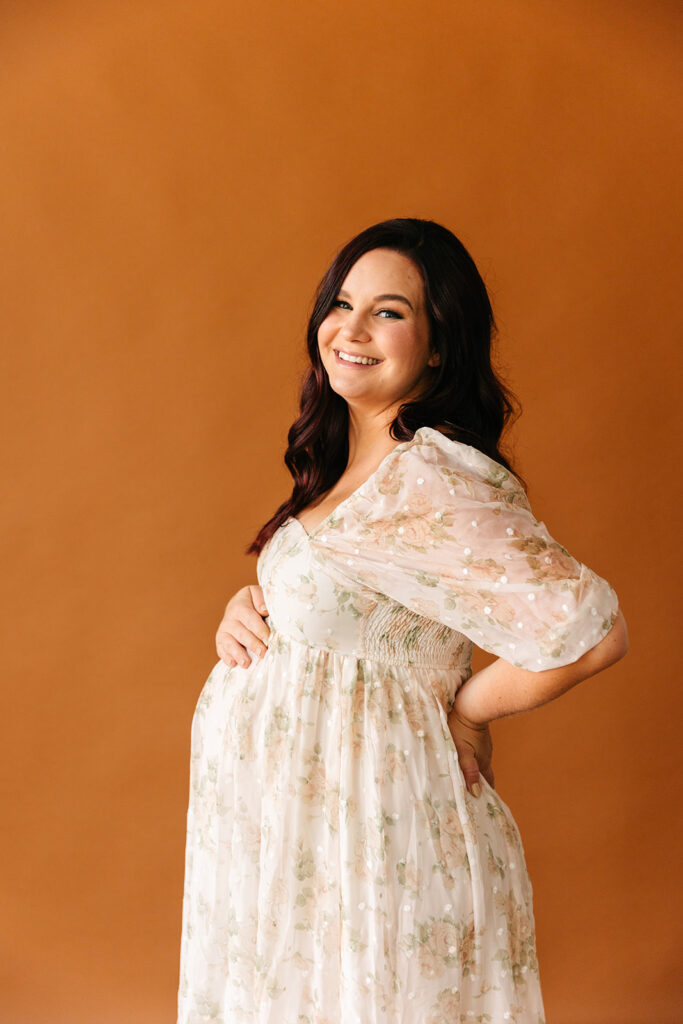
One of my favorite things about being a photographer is documenting every chapter of your story. Whether it’s a surprise proposal, a wedding day, or a cozy in-home family session, each moment is a new piece of your journey — and being invited to capture them all is such a gift.
Watching Love Grow Through the Years
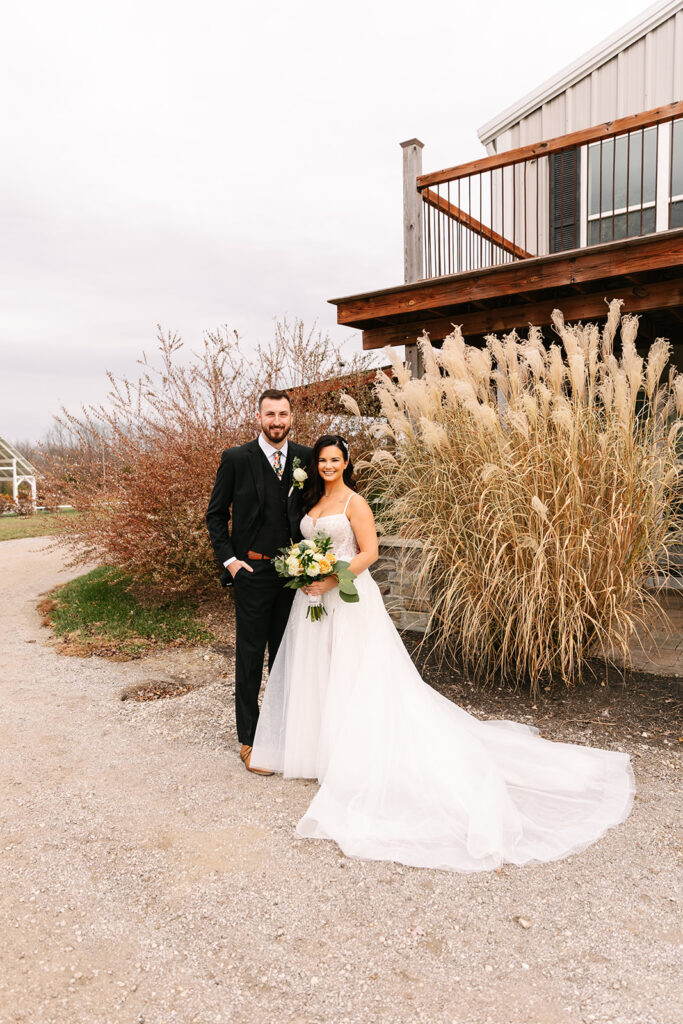
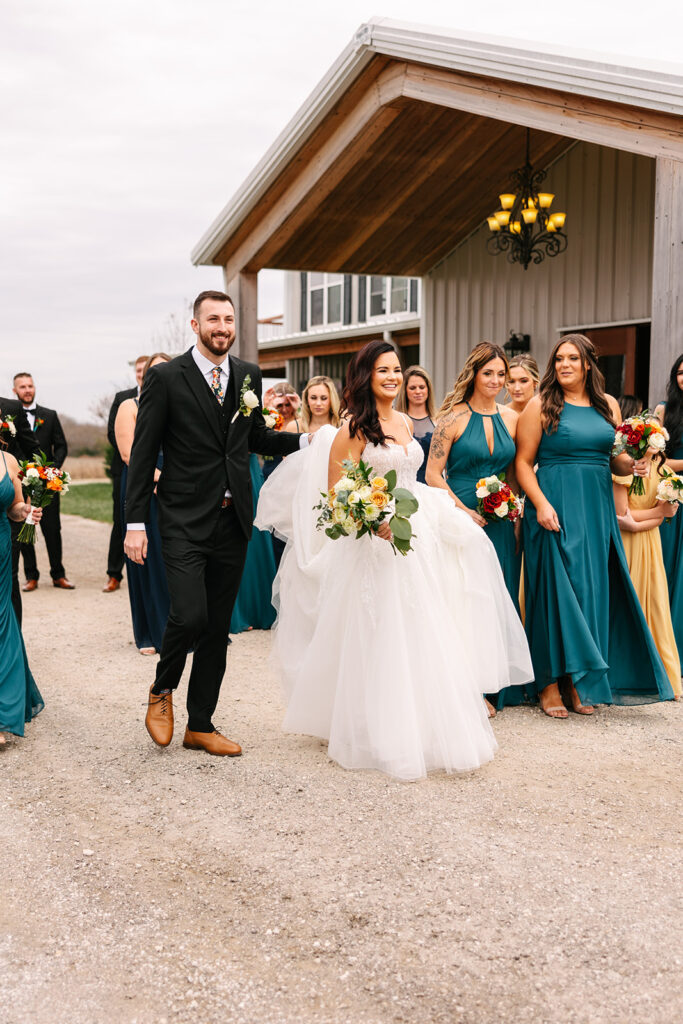
There’s something so special about seeing a couple’s story unfold over time. Maybe I first met you during your engagement session, when everything was new and exciting. Then came your wedding day — full of laughter, emotion, and those little in-between moments that make your story yours.
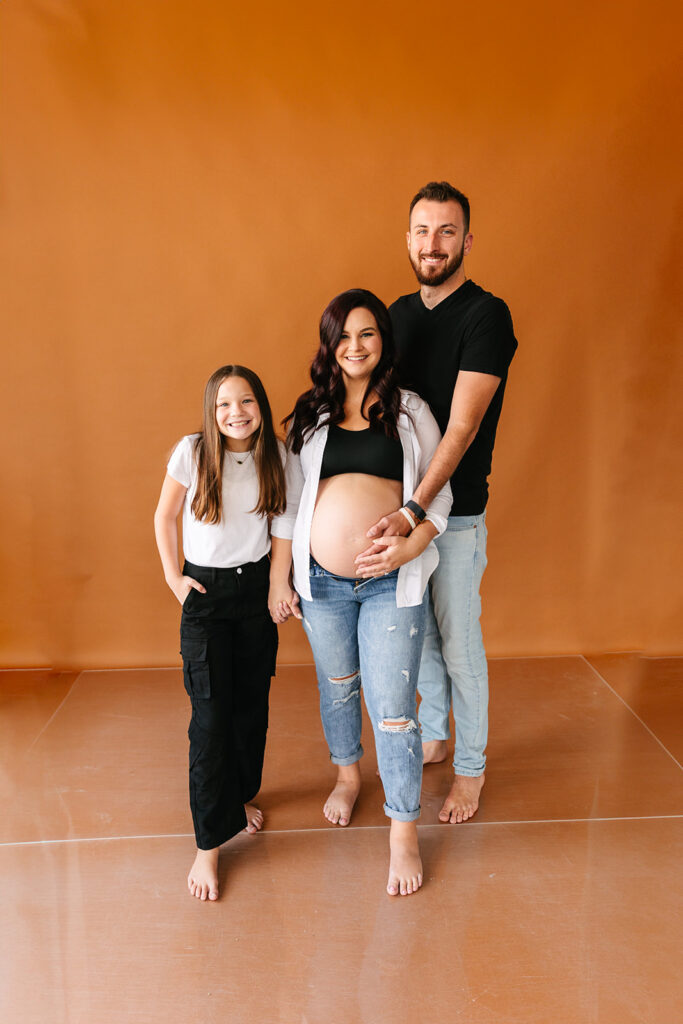
And just when I think my heart couldn’t get fuller, you call me again — this time for maternity photographs, or maybe your first newborn session. Watching the same couple grow from newly engaged to proud parents (and then to a bustling family!) is such an incredible privilege.

The Joy of Documenting Every Chapter
Nothing brings me more joy than following a couple through each phase of life. When I get to photograph your engagement, wedding, maternity, and newborn sessions — and then your family portraits year after year — it feels like being part of something bigger than a single moment.
Your story becomes part of mine, too. I get to witness the laughter, the milestones, and the quiet moments in between. And the best part? You’ll have photographs that tell your full story — from “yes” to “I do” and beyond.

Why It Matters
Photographs freeze time in the best way. They remind you where you started, how far you’ve come, and all the love you’ve built along the way. Whether it’s your anniversary, your child’s first steps, or simply a family day at home, these memories deserve to be documented with care and joy.
So, if you’re ready to keep adding to your story, I’d love to help you capture every chapter — big or small. Because your love, your growth, and your laughter are worth remembering at every stage.


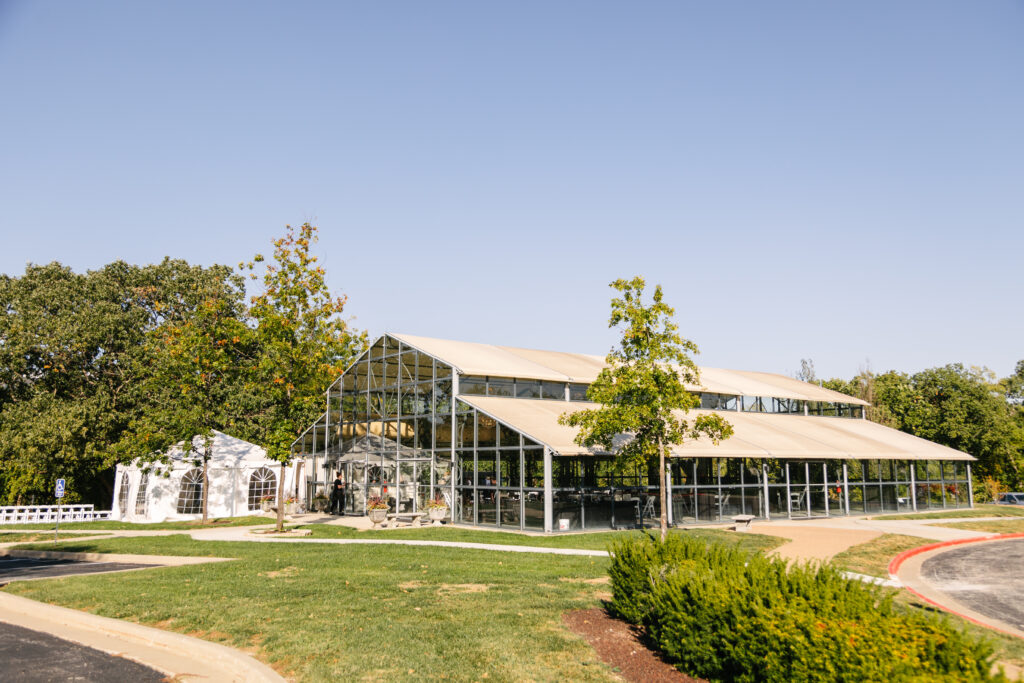
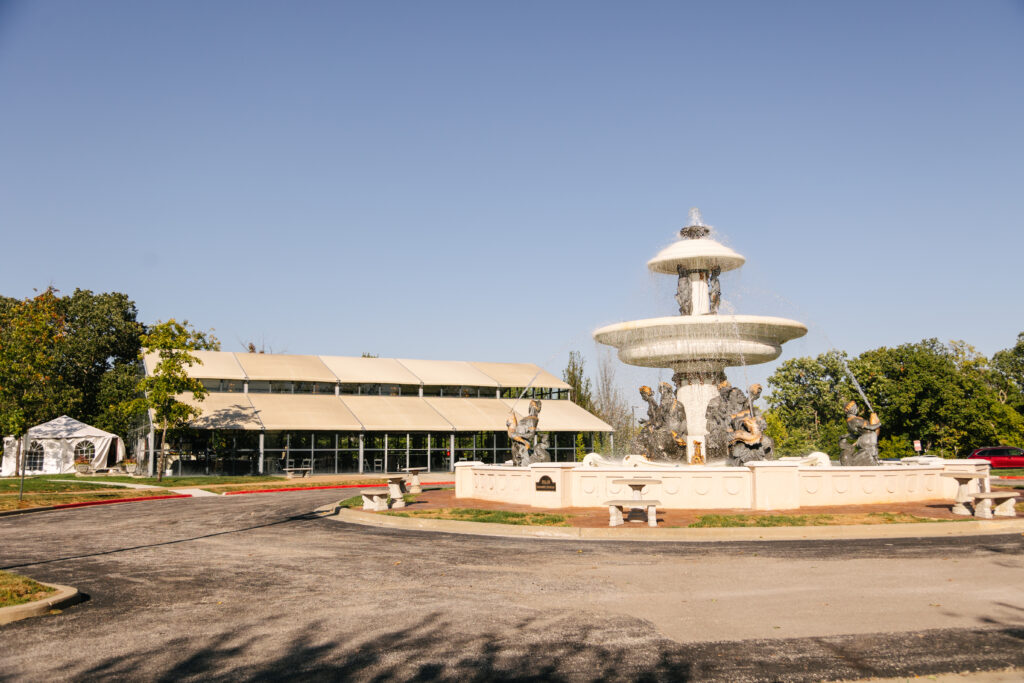
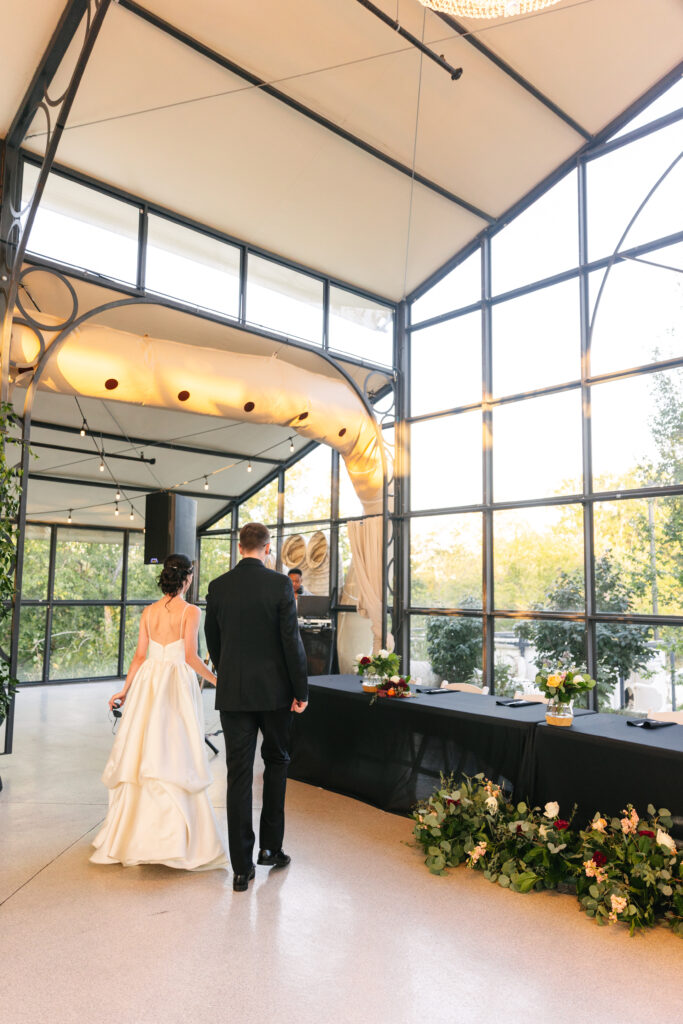
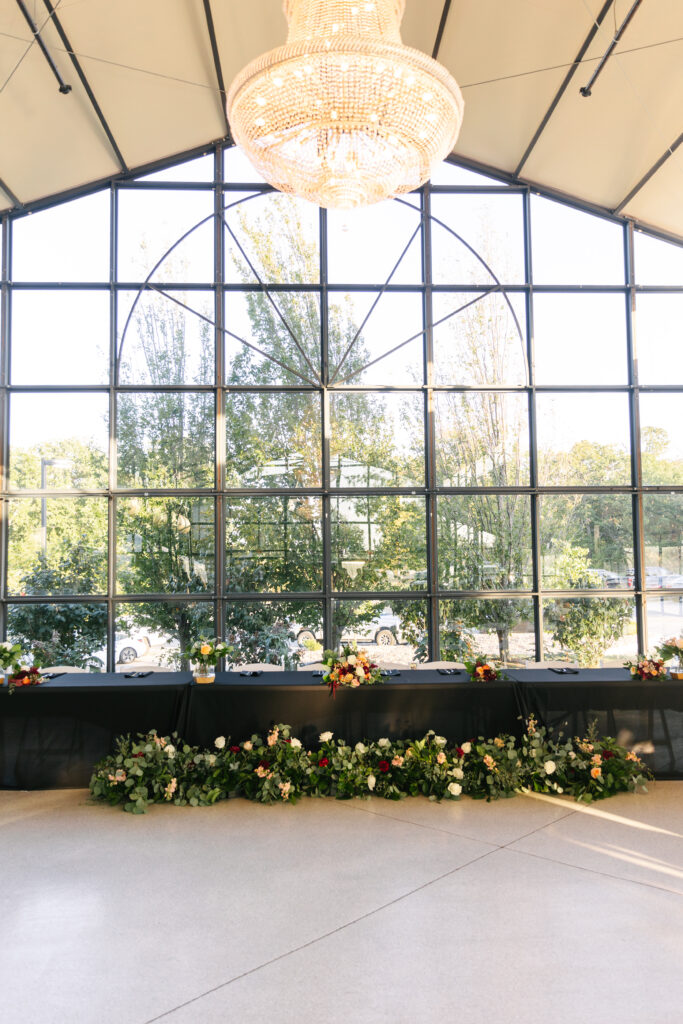
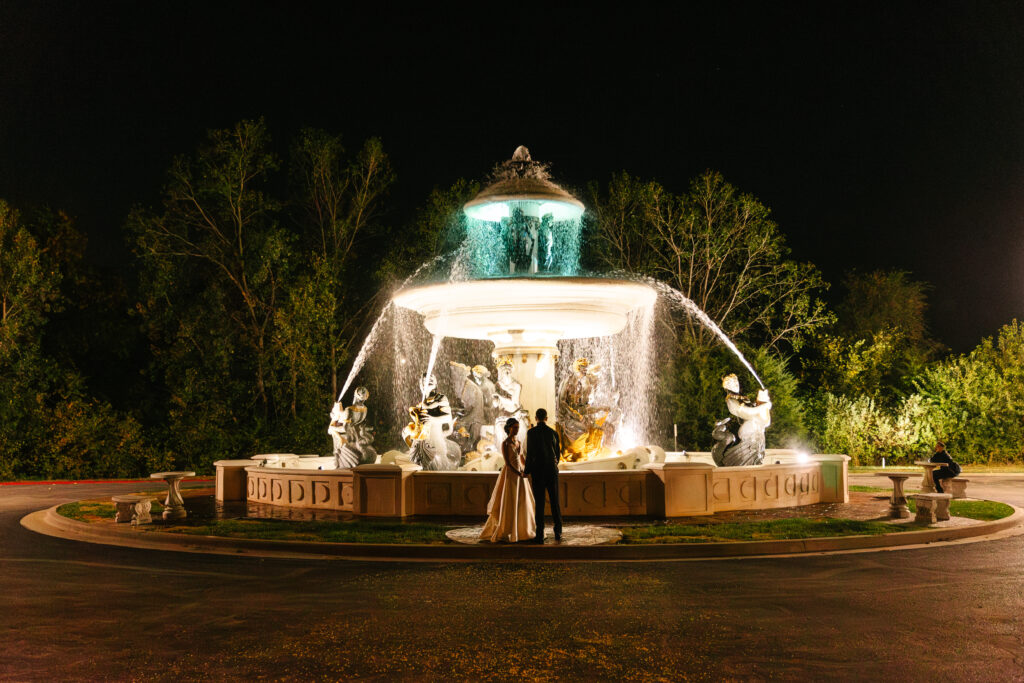
If you’re on the hunt for a wedding venue that feels like something out of a fairytale—modern, romantic, and completely one-of-a-kind—Avent Orangery Kansas City might just be the dream you didn’t know you had. As the very first all-glass greenhouse venue in the Kansas City metro, it is turning heads and setting a new standard for light-filled celebrations.
Whether you’re envisioning a sun-soaked ceremony, a candlelit dinner, or portraits that feel straight out of a European garden, Avent Orangery offers a stunning, versatile backdrop with an atmosphere all its own.

A Glimpse Into The Story
Avent Orangery is a modern gem in the heart of Kansas City, bringing minimalist architecture and natural elegance together in one breathtaking space. As KC’s first all-glass greenhouse venue, it has quickly become a favorite for couples looking for a clean, bright, and magical setting to say “I do.”

What Makes Avent Orangery Unique?
Let’s talk about the obvious: glass! The structure is entirely transparent, which means your wedding is bathed in dreamy natural light from start to finish. And right next to the venue? A 30-foot-tall Beaumont Fountain—perfect for portraits, cocktail hour, or a romantic first look.
Avent Orangery also offers two distinct outdoor options:
- A 190-seat amphitheater-style ceremony space
- A European-inspired patio dining area perfect for intimate events or cocktail hours
Inside or out, every part of the venue is designed to be beautiful and functional.


Amenities & Services
Avent Orangery keeps things simple but thoughtful. Every rental includes:
- Tables, chairs, and lighting
- Two beautifully renovated getting-ready suites inside the nearby Chateau Avalon
- Staff setup and teardown of furniture
- Open vendor policy (plus a curated preferred vendor list!)
- On-site parking and full wheelchair accessibility
- Ceremony + reception flip support
- Gorgeous chandelier and patio string lighting for evening events
Couples are welcome to bring in licensed caterers and food trucks—yes, really! While Avent doesn’t offer coordination services, they’re happy to connect you with trusted planners who know the space well.


Ideal for Weddings… and More
While weddings are the main event, the venue also welcomes private parties and corporate gatherings. With space for up to 225 guests, it works beautifully for large celebrations or more intimate affairs.
Whether you choose to host your ceremony in the greenhouse, the amphitheater, or beside the fountain, every space transitions seamlessly from ceremony to reception—with a weather backup plan built in.

Picture-Perfect Moments
From open fields and wooded backdrops to the clean lines of the greenhouse itself, Avent is a photographer’s dream. The natural light is flawless, and the variety of settings means your wedding gallery will have depth, texture, and style.
Bonus: candles and hanging installations are welcome! Just make sure open flames are enclosed in jars or vases.

Booking & What to Expect
Most couples book Avent about a year in advance, but availability is posted on their website so you can check it anytime. Pricing varies depending on the day of the week, and the venue is open from 9 AM to 11 PM. Sparklers? Totally allowed. Fireworks? Not so much.
A signed contract and initial payment are required to reserve your date. While payments are non-refundable, Avent does allow for date changes—a policy they’re happy to walk you through during your tour.
Final Thoughts from the Avent Team
When asked what advice they’d give couples considering Avent, the team said, “We value transparency. Ask ALL the questions!” Every wedding at this venue is memorable because each one reflects the couple behind it. If you’re drawn to clean lines, lush surroundings, and a space that’s beautiful on its own or dressed to the nines, Avent Orangery might be the perfect match.
Schedule a Tour
Ready to see this dreamy space in person? Head to www.aventkc.com to check availability and schedule a tour. The Avent team is ready to welcome you with open arms—and an incredible view!

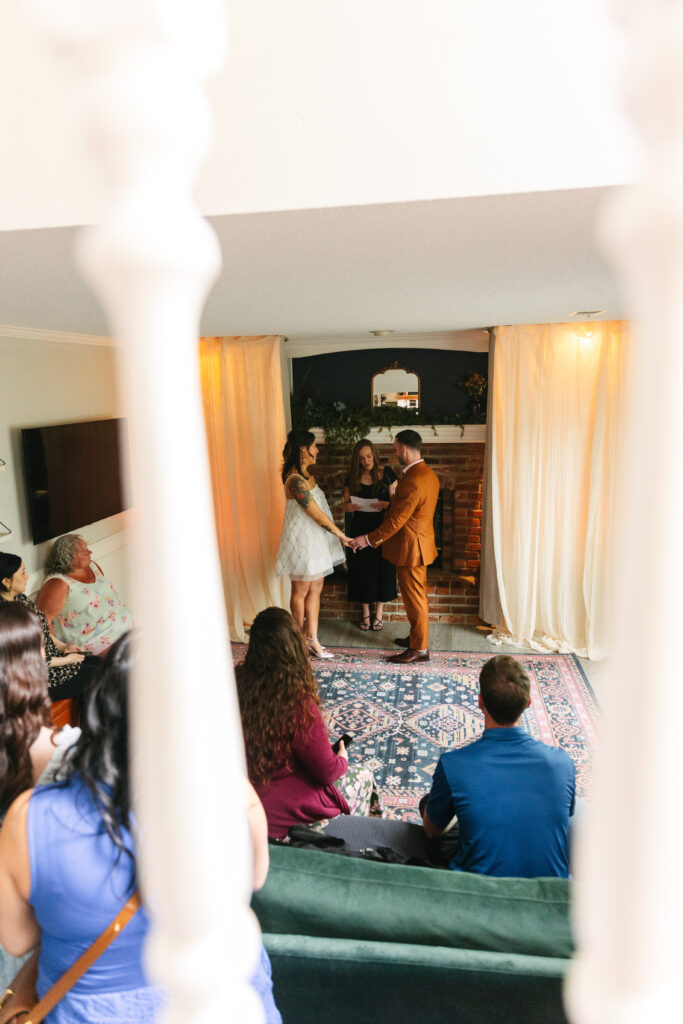
When it comes to saying “I do,” more couples are choosing a Kansas City micro wedding to celebrate their love. These intimate gatherings may be small in guest count, but they are overflowing with romance, intentional details, and major moments that will stay with you forever.
One of the biggest draws of a micro wedding is the intimacy. With fewer guests, couples can truly connect with every single person in attendance. Instead of being pulled in a hundred directions, you get to slow down and soak in the love that surrounds you. That closeness often leads to a deeper sense of meaning and joy throughout the day.
Micro weddings don’t mean you have to sacrifice the celebration either! Many couples choose to host a micro wedding ceremony and then plan a larger reception later. This way, you get the best of both worlds—the quiet, heartfelt vows in front of your closest loved ones, followed by a big party with extended friends and family. Some even choose to celebrate both on the same day, creating a seamless flow from small and intimate to large and festive.
Another perk? Micro weddings allow you to put your budget toward what truly matters to you. Whether it’s splurging on florals, booking your dream photographer, or creating a gourmet menu, having fewer guests often means more freedom to personalize your day.
At the end of the day, love is what makes a wedding unforgettable. A Kansas City micro wedding proves that you don’t need hundreds of guests to have a celebration full of laughter, tears, and joy. Sometimes, it’s the smaller moments that make the biggest impact.


If you’re planning a wedding in Kansas City (or anywhere, really!), one of the best pieces of advice I can give you is this: book your photographer early. I know—it’s tempting to wait until you’ve locked in your venue or finalized every last detail. But here’s the thing: your photographer is one of the first vendors you’ll want to secure, and here’s why.
1. We Book Up FAST
Popular wedding dates—especially spring and fall Saturdays—go quickly. Many photographers (myself included!) start booking a year or more in advance. If you’ve been eyeing a particular style or have a photographer you love, don’t wait. Reach out as soon as you have a date in mind!

2. Your Photographer Helps Shape Your Timeline
A big perk of booking early? Your photographer can help with your wedding day timeline! We’ll guide you on how long we need for portraits, when golden hour falls, and how to plan for a smooth photo flow throughout your day. The earlier we chat, the more helpful we can be in the planning process.


3. Engagement Sessions Fill Up Too
Thinking about doing engagement photos? Another reason to book your photographer early is to give yourself time to plan and schedule your session. You’ll want to avoid last-minute stress, and give yourself time to order prints, create save-the-dates, or just enjoy the process without a rush.

4. It’s One Less Thing to Worry About
Let’s be real—wedding planning is a lot. The earlier you lock in a photographer you trust, the more peace of mind you’ll have. You’ll know your memories are in good hands and you can start dreaming up your perfect gallery.


Your photographs are one of the only things you’ll have forever after the day is over. So if there’s a photographer whose work makes your heart skip a beat—reach out early and snag that date!
If you’re getting married in Kansas City and looking for a fun, detail-loving photographer who’s all about capturing the real, joyful moments—I’d love to chat!
Let’s make some magic together. ✨
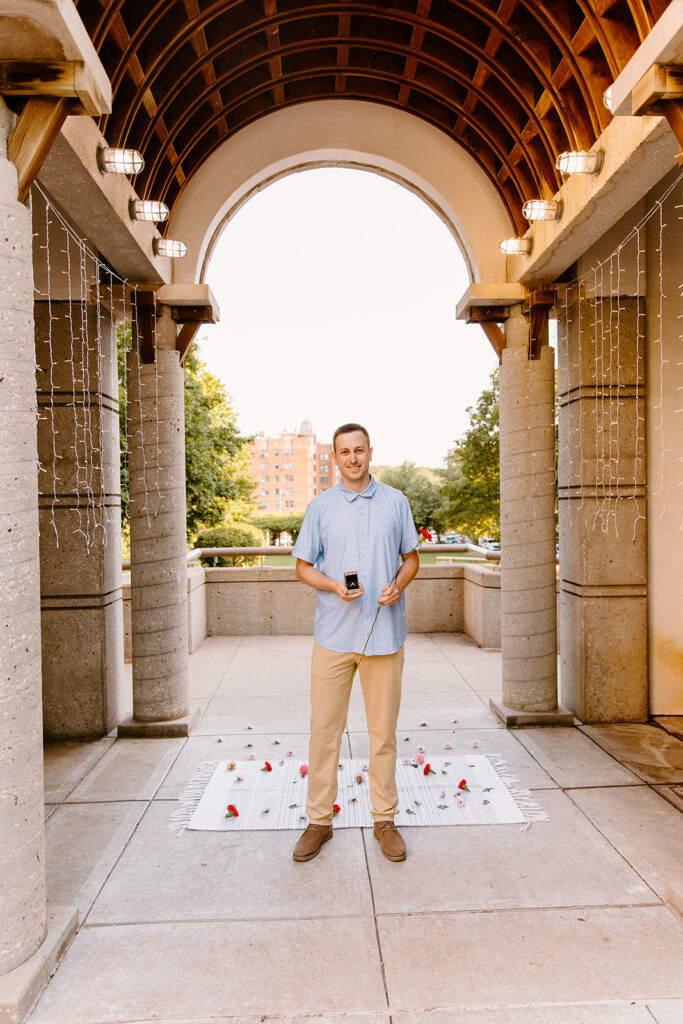
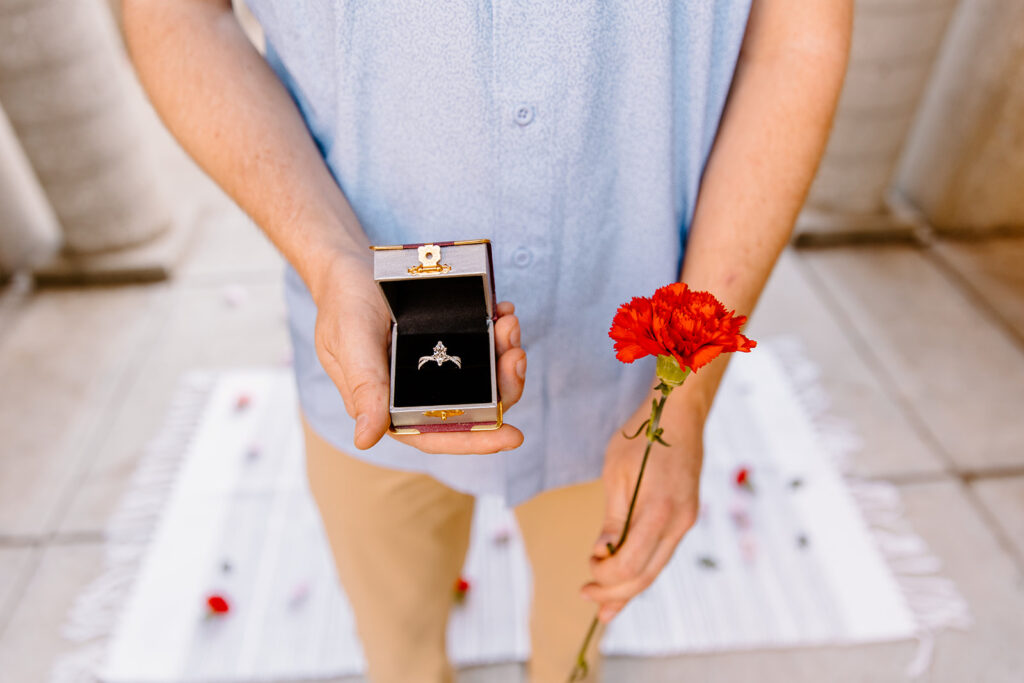
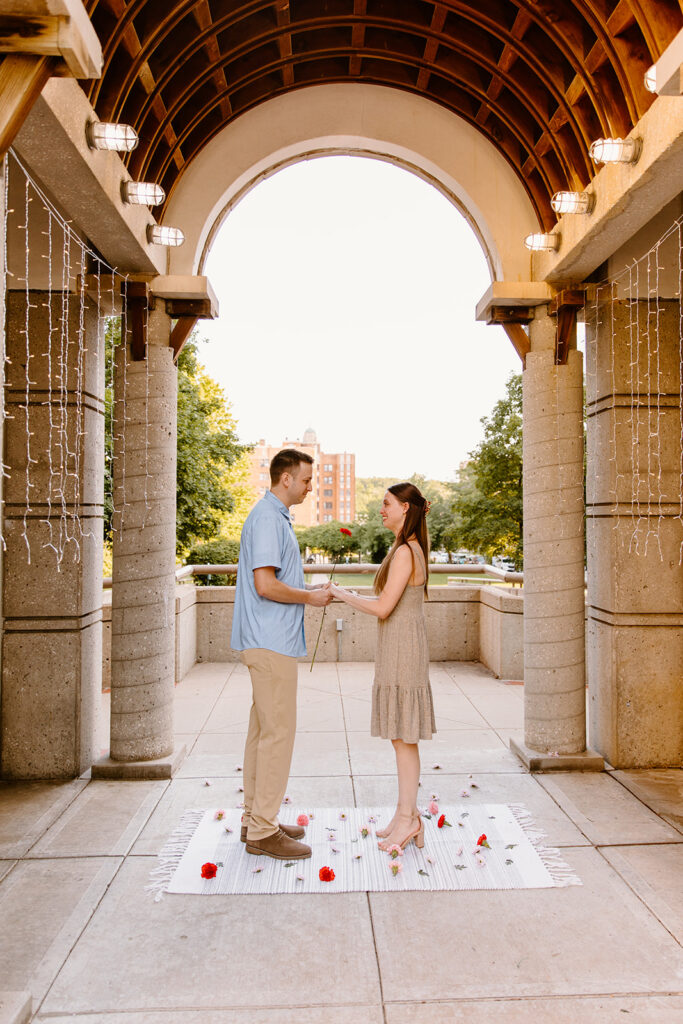
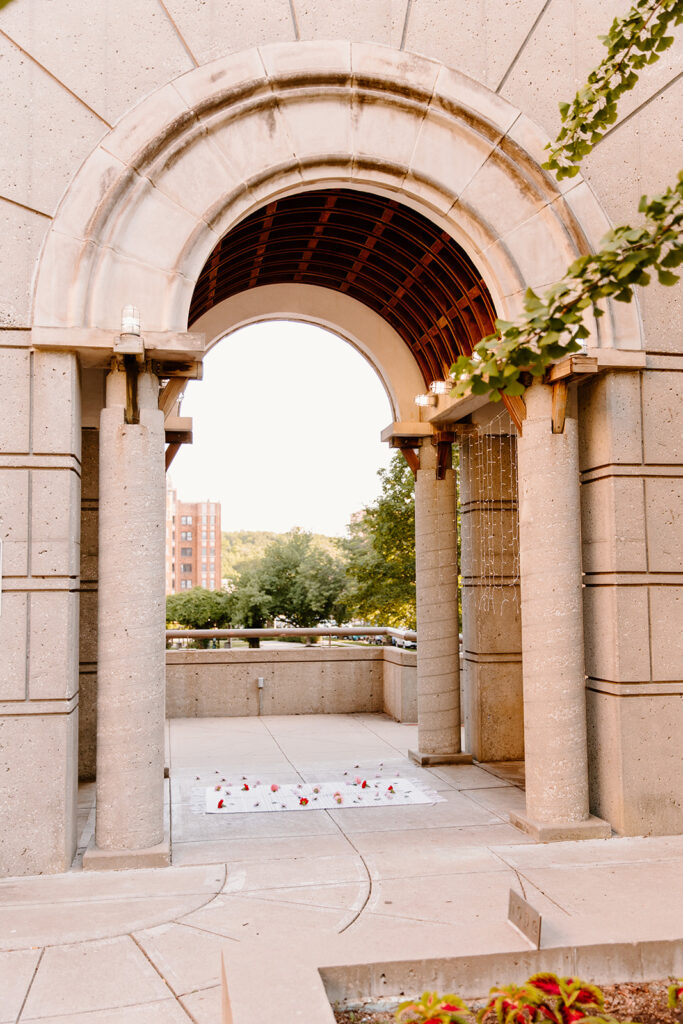
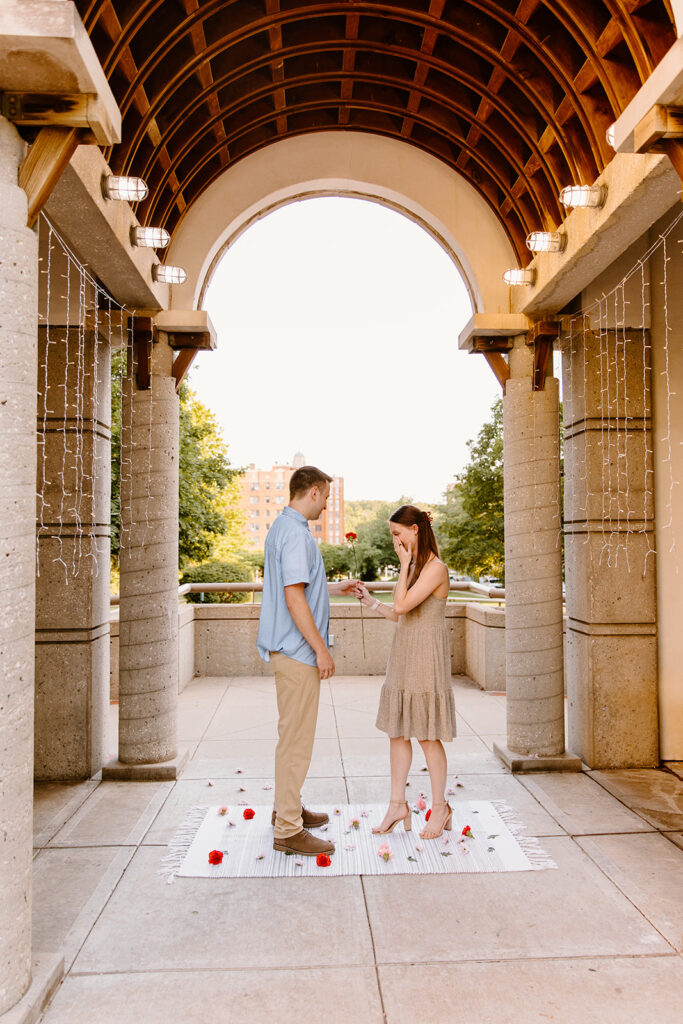
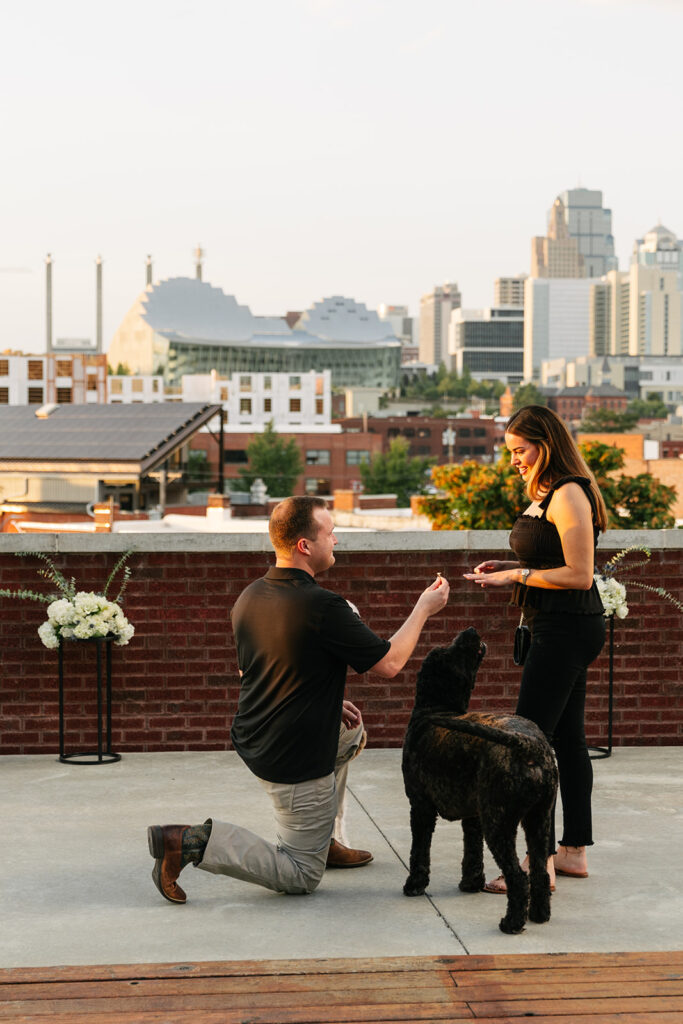
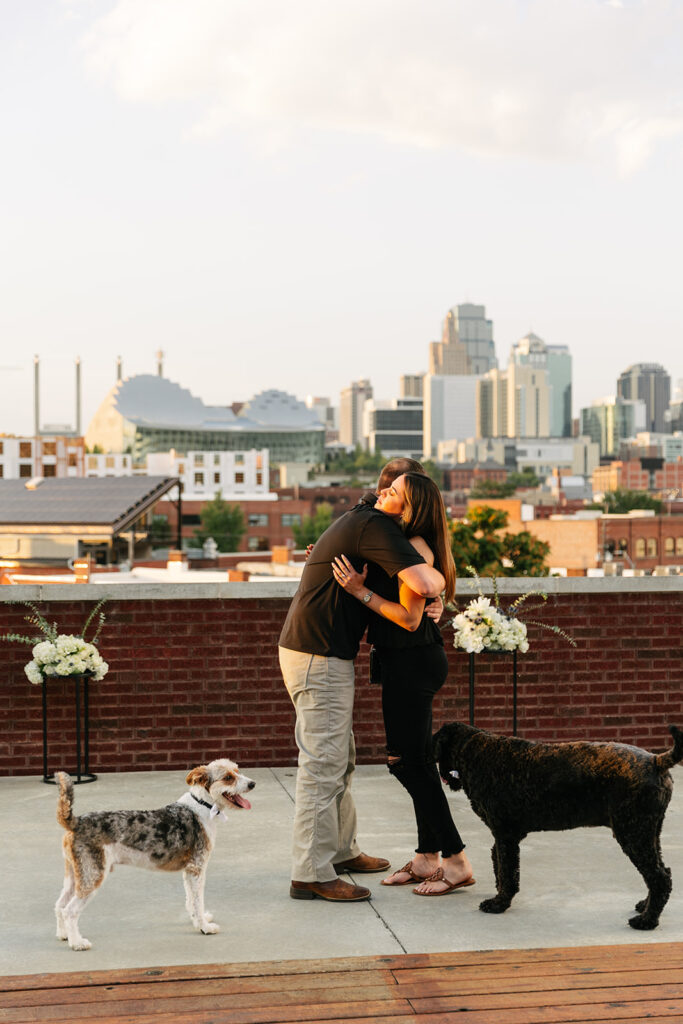
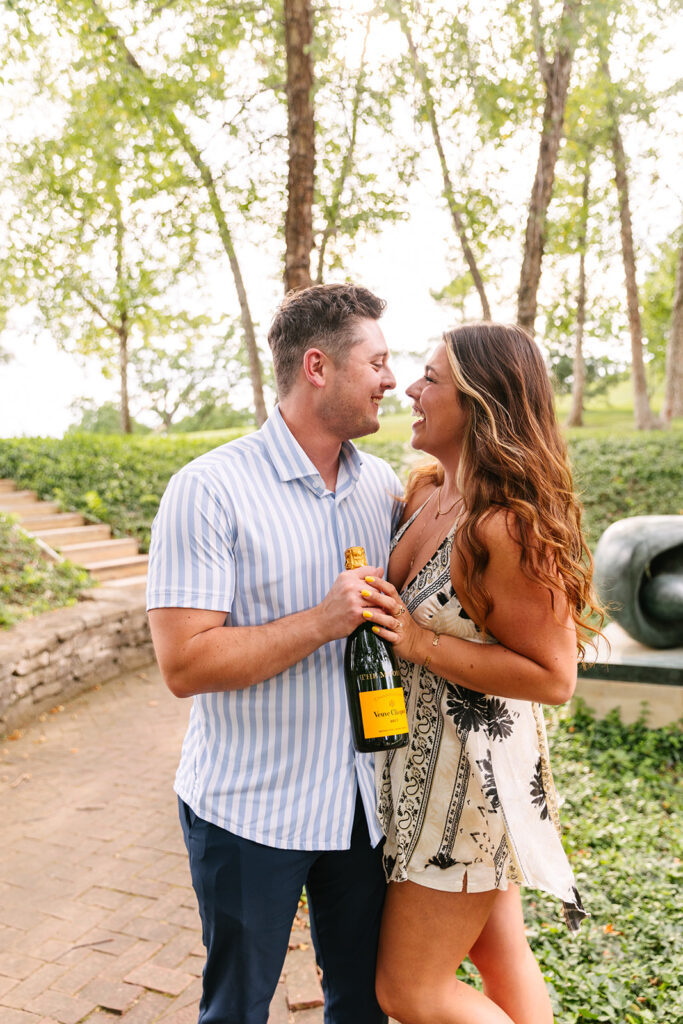
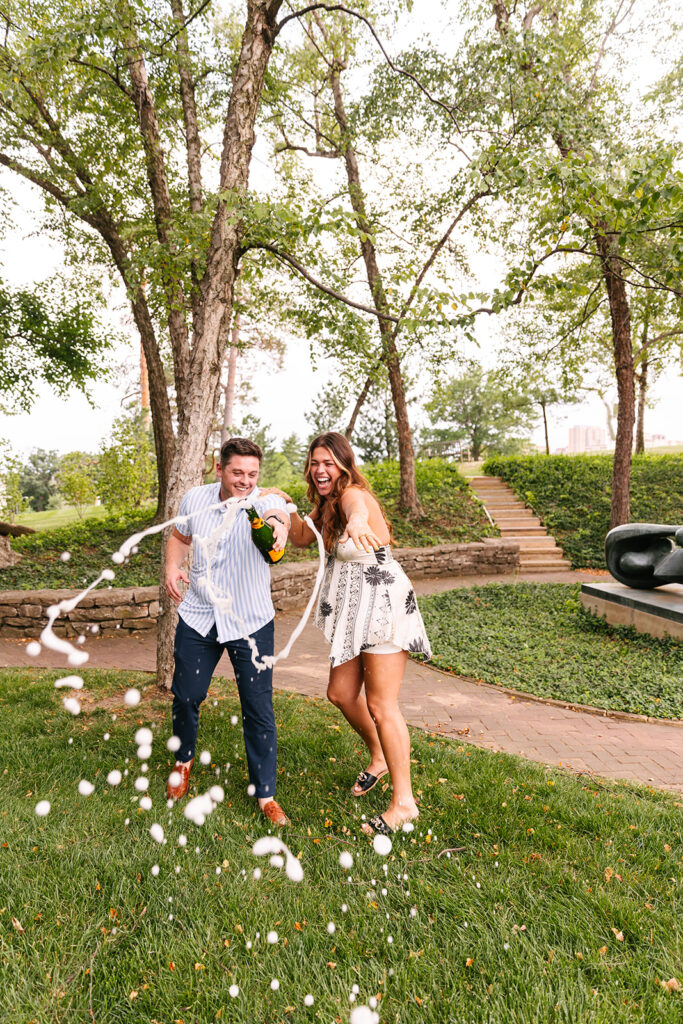
Planning a photogenic proposal is one of the most thoughtful ways to pop the question—because not only will your partner remember the moment forever, they’ll have photographs to relive it again and again. If you’re dreaming of that perfect, heart-melting reaction caught on camera, here are a few key tips to make sure the magic and the lighting are just right.
Pick the Perfect Location
Start with a location that’s meaningful to your relationship or visually stunning (bonus points if it’s both). Think: a scenic overlook, a favorite trail, the botanical gardens, or the place where you had your first date. If you’re unsure, your photographer can help you brainstorm proposal spots that photograph beautifully in any season.

Time it Right
Golden hour is always a win! Proposing during the hour after sunrise or before sunset gives you that warm, glowy light that flatters everyone. Avoid the harsh midday sun if possible. And if your partner isn’t a morning person, maybe stick with sunset!
Coordinate with Your Photographer
A professional photographer can help you map out your proposal game plan, scout the location in advance, and capture genuine reactions without giving away the surprise. Make sure to share all the details—from where you’ll walk in to where you’ll pop the question—so they can be ready to photograph the big moment without being seen (until it’s time to celebrate!).
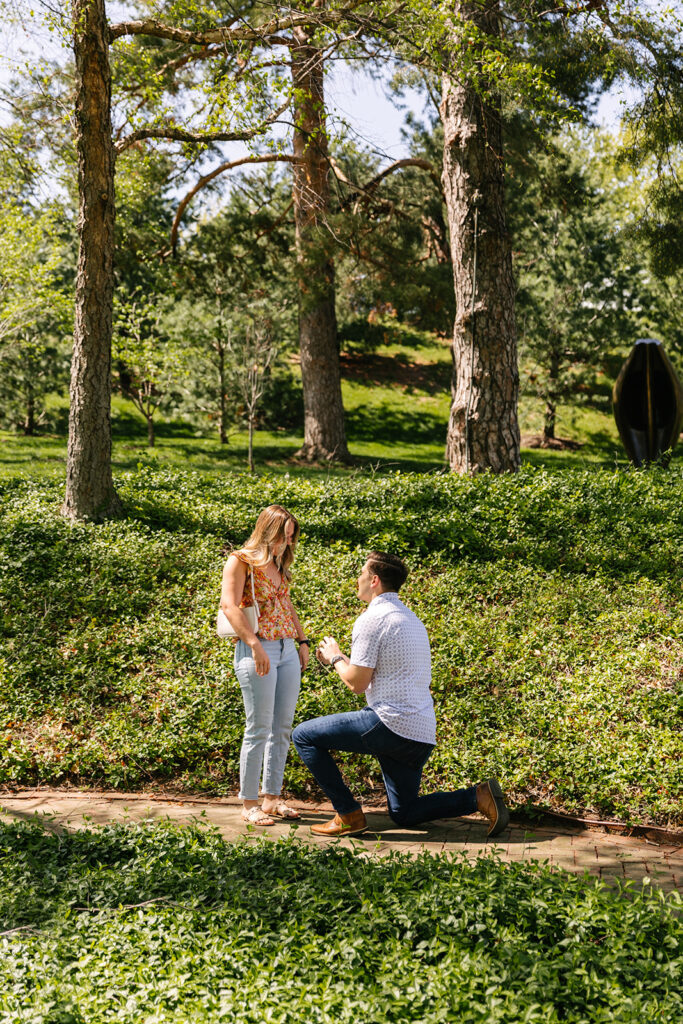
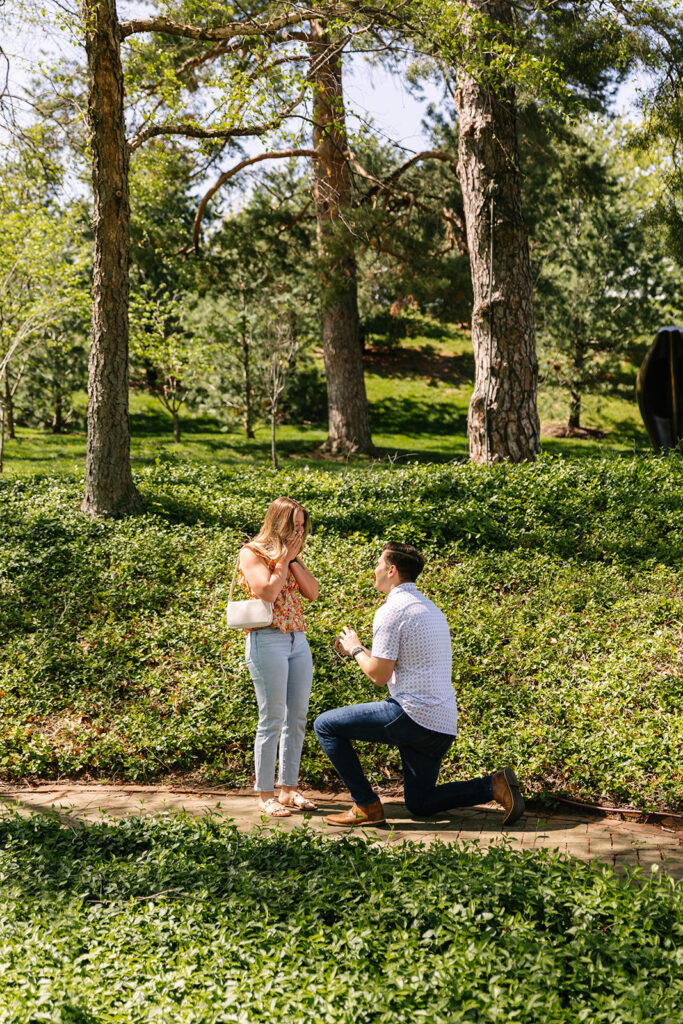

Think Through the Details
Small touches make a big impact in proposal photographs. Fresh flowers, champagne, or a handwritten note add romance and personality. If family or friends will be part of the surprise, plan when they’ll show up (and what they’ll do after the “yes!”).


Dress the Part
While this moment is meant to be genuine, it doesn’t hurt to look your best! Encourage your partner to dress up by planning a fake dinner date or outing. You’ll both feel confident and camera-ready when the moment comes.


When you’re planning a photogenic proposal, the little details matter. From lighting to location to who’s hiding behind the camera—intentional planning makes all the difference. And trust us: those emotional, joy-filled photographs will be worth every second of prep.
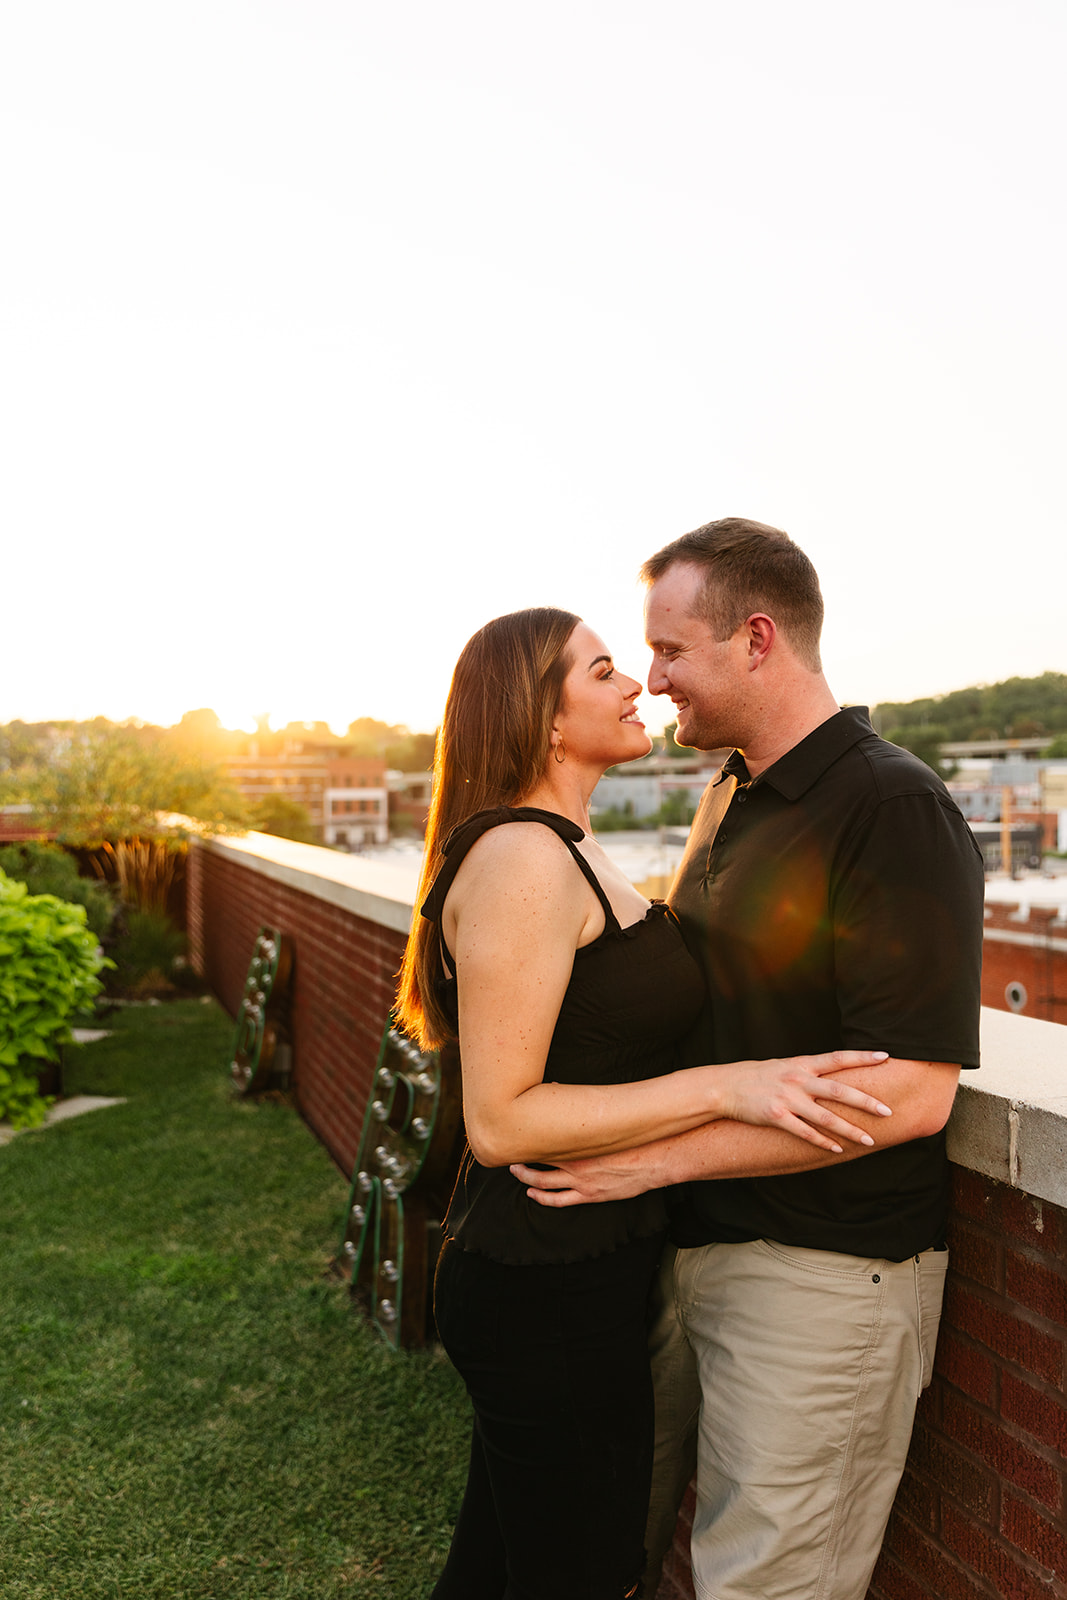
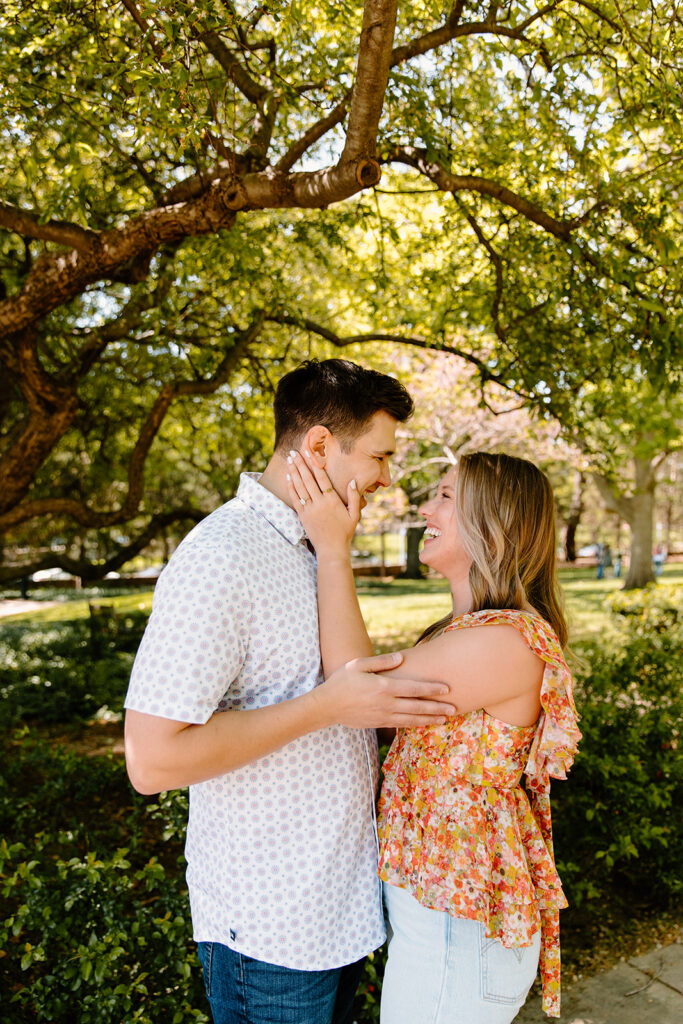
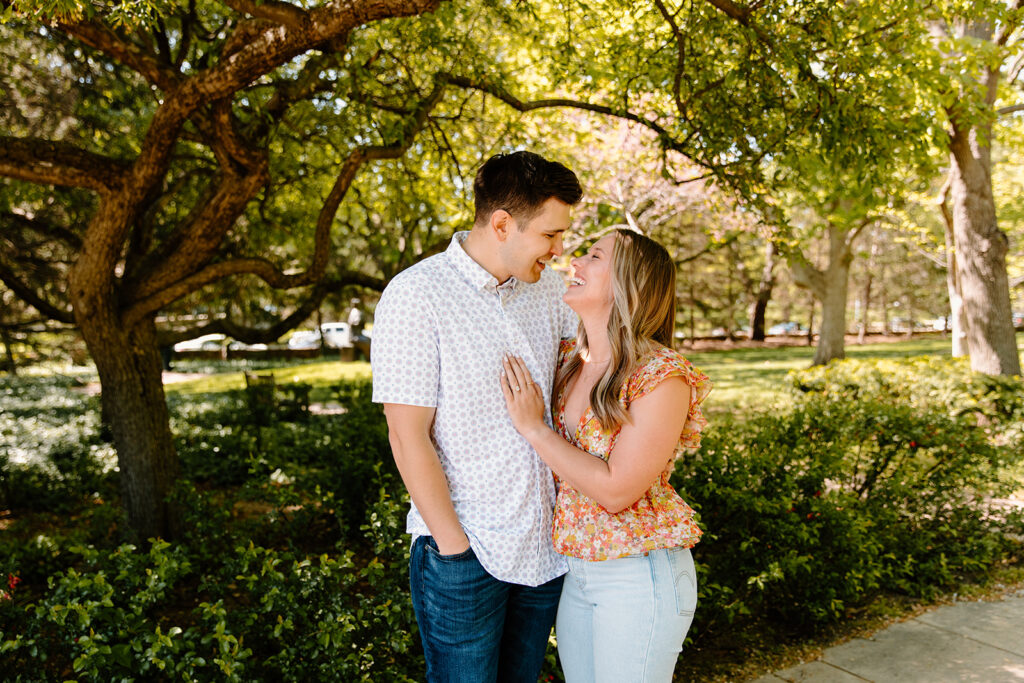
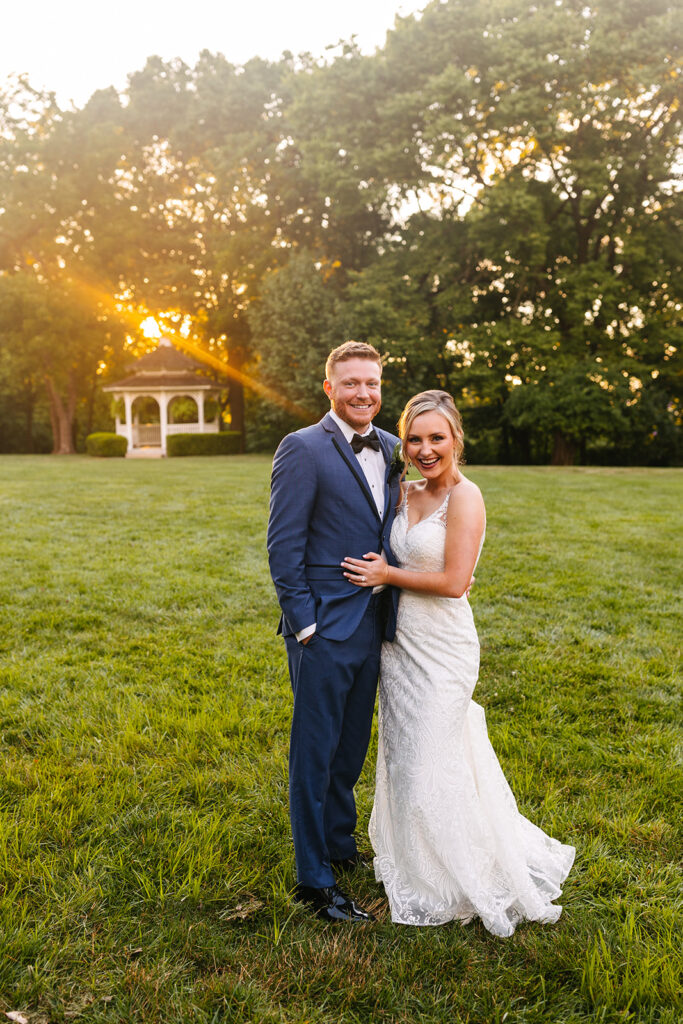
Have you ever stopped to think about how photographers use light to create emotion in your wedding photographs? At first glance, it might just seem like good timing. However, the truth is—light is one of the most important tools we use to tell your story.
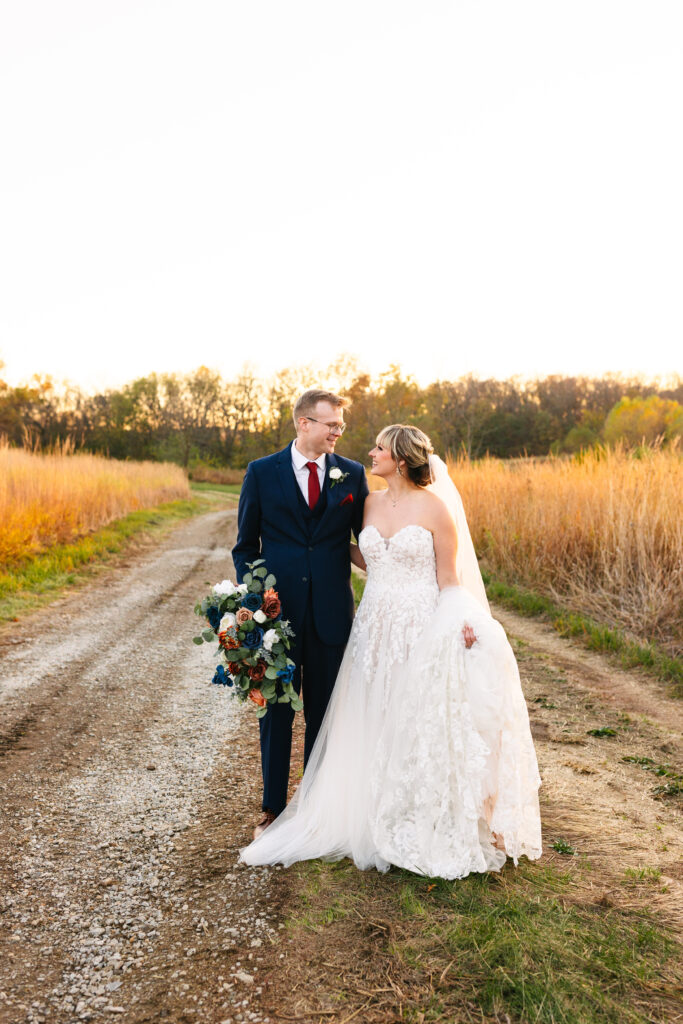
Let’s start with golden hour. This dreamy, golden glow is a favorite for many couples, and for good reason! The soft, warm light during this time of day instantly adds romance and tenderness to your images. As a result, even a simple moment—like holding hands or laughing together—feels more intimate and magical.


Not every wedding day includes clear skies and sunset portraits. But don’t worry! Photographers are trained to use all kinds of lighting to spark emotion. We often work with off-camera flash, candlelight, or ambient reception lighting to create dramatic, moody vibes. These techniques are perfect for emotional first dances, heartfelt toasts, or quiet moments between the chaos.


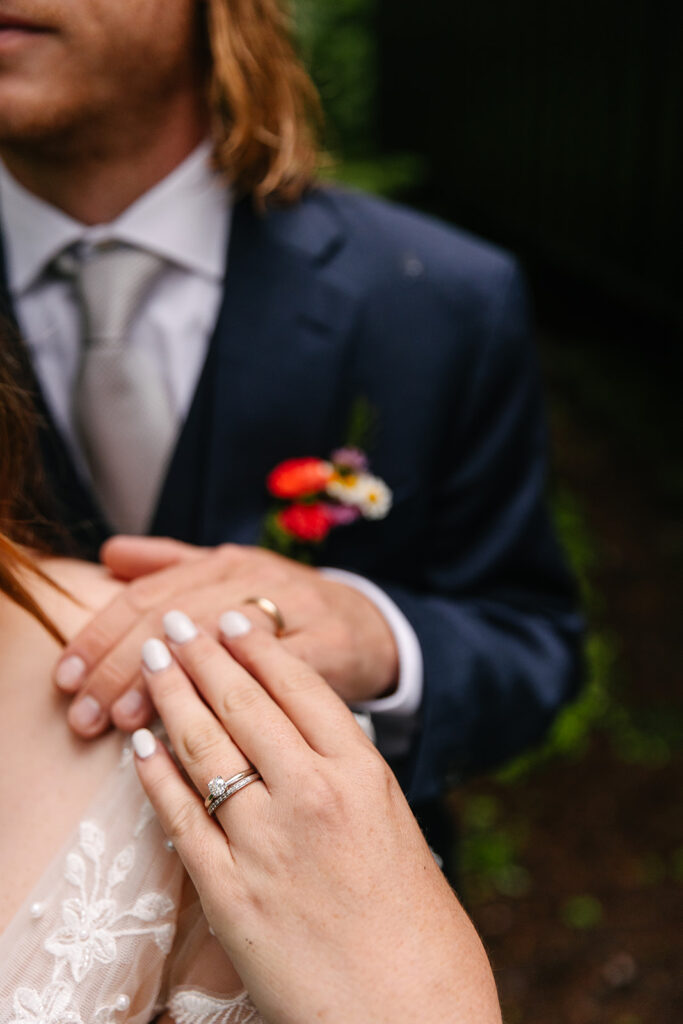

In addition, backlighting can add a completely different mood. When used intentionally, it creates glowing silhouettes that highlight movement and emotion in a breathtaking way. Think of a twirl on the dance floor or a kiss under twinkle lights. Those scenes are made even more powerful with the right backlight.

Let’s not forget about indoor spaces. Even something as simple as a sunbeam through a window can create a soft, emotional mood. Similarly, uplighting at your reception or string lights above your sweetheart table can completely shift the feel of your images—bringing warmth, celebration, or even serenity.


Ultimately, once you understand how photographers use light to create emotion, you’ll start to notice just how often it’s working behind the scenes. Light shapes the tone of each image and helps your photos feel just as real and moving as the day itself.

So, the next time you scroll through a gallery and feel something tug at your heart—that’s the power of light. And that’s exactly why we love using it to help tell your love story.re, it’s doing a lot of heavy lifting behind the scenes—just like your photographer.
If you’re dreaming of a wedding venue that brings sleek, modern design together with thoughtful amenities and an inviting atmosphere, let me introduce you to The Maverick. Located in the heart of Kansas City, this fully indoor venue was once a medical device facility—but you’d never guess it! After a complete transformation, it’s now a polished, stylish space that’s tailor-made for weddings and social events.
Whether you’re planning a romantic celebration or a lively fundraiser, The Maverick has everything you need to bring your vision to life.

A Revamped Space Built for Connection
The Maverick’s story starts with a total reinvention. What was once a medical facility has been completely reimagined and redesigned with events in mind. Today, it serves as a bright, clean canvas that can be easily styled to match any couple’s vibe—whether that’s elegant, minimal, dramatic, or colorful.
With space to host up to 250 guests, it’s ideal for everything from ceremonies and receptions to rehearsal dinners and fundraisers.


Aesthetic, Architecture, and Atmosphere
The venue boasts a modern, classic, and polished design with high-end finishes and thoughtful architectural touches. Its shiny black accents, clean lines, and custom lighting features make it feel sophisticated while still warm and welcoming.
While The Maverick is a fully indoor venue, it’s designed to bring the outdoors in. Large garage door-style windows can be opened for an airy, indoor/outdoor feel, giving you flexibility without worrying about the weather!


Thoughtful Amenities & Seamless Service
Couples love The Maverick not just for the look, but for the ease of planning and execution. The venue includes:
- Full setup, flip, and teardown services
- Spacious lounge and ready room with six individual vanity stations
- Customizable light wall and uplighting
- Dedicated on-site parking lot
- Full wheelchair accessibility
When it comes to vendors, couples are welcome to bring their own or work from The Maverick’s preferred list. And when it’s time to celebrate, you have flexible alcohol options—with one of three bar packages that make hosting a breeze. The Maverick holds its own liquor license and therefore does not allow outside alcohol or bartending services.


Ceremony, Cocktail Hour, and Reception Flow
The Maverick keeps your day flowing effortlessly! Most couples choose to host both ceremony and reception on the main level. Then, while the space is being flipped, guests can enjoy cocktail hour on the lower level, creating a smooth transition from “I do” to dancing the night away.


Photograph-Ready from Every Angle
One of the standout features of The Maverick is how photograph-friendly the space is. From the natural light pouring through large windows to the stylish prep areas, the venue was made for detail shots, first looks, and candid moments.
Plus, the structural support makes hanging installations easy, which means couples can get creative with floral or decor designs. Just be sure candles are enclosed, and you’re good to go!


Packages, Pricing & Booking Info
The Maverick offers three venue packages and three bar packages, allowing couples to choose what best fits their needs and budget. A few things to note:
- 50% deposit required on the venue fee only
- Most couples book 12 months in advance
- Flexible timing, with no strict cut-off shared—but always best to confirm based on your event timeline


An Event to Remember
While every wedding at The Maverick is special, one standout event is the Newhouse Pop-Up Fundraiser. It’s a local favorite and continues to grow each year, showcasing how versatile and community-focused this venue truly is. Venue & Event Manager Paige Hultz shares a heartfelt reminder to couples:
“Stay true to what’s important to you. It’s your day, and it’s easy to get caught up trying to make everyone else happy.”


Schedule a Tour
If The Maverick sounds like your kind of venue, we highly recommend scheduling a tour! You can reach out to Paige directly at paige@themaverickkc.com to check availability and see the space in person. It might just be the modern, light-filled venue you’ve been searching for. ✨
If you’re planning a wedding, you’ve probably heard a lot of advice. Some of it is helpful, some of it is overwhelming, and some of it… well, let’s just say you can take it or leave it. But nothing beats real couple’s advice from people who have already been through it!
Every wedding is different, but the biggest lesson? Do what makes you and your partner happy! Whether it’s focusing on the details that matter most, staying present in the moment, or rolling with the unexpected, these couples have some great wisdom to share.
Sally + Jacob: “Talk with your partner and discuss what’s truly important. For us, photography and food were the biggest priorities, so we made sure to invest in those. Decide together where you want to focus your budget and energy.”
Your wedding day should reflect your personalities. Whether it’s an epic dance party, a gourmet meal, or stunning photographs, choose what means the most to you and plan around it.

Kaela + Kyle: “Take time to be alone together throughout the day. The first look was an intimate moment I will cherish forever! The day goes by so fast—stay together at the reception and enjoy each other’s company.”
This is your day. Guests, family, and vendors will be everywhere, but don’t forget to pause and just be with your partner. Find small moments to soak it all in—those will be the ones you remember most.


Natalie + Tanner: “Find what works best for you and fight for what you want. If a detail is important to you, make sure it happens. Do your research on vendors—great vendors make planning and the wedding day so much less stressful.”
Your wedding is your vision. If something is non-negotiable, stick to it! And when it comes to vendors, having a reliable team makes all the difference. Trust me, the right people will make your day feel effortless!


Courtney + David: “We both work in hospitality and had NO idea how much planning goes into a wedding! Hiring a planner kept us organized and took the pressure off. It allowed us to actually enjoy our engagement. There are so many decisions to make, and having a guide is extremely helpful.”
A wedding planner isn’t just for extravagant events—they help keep everything on track. If you want to be fully present on your big day (without worrying about timelines and logistics), having someone to handle the details is a game-changer.
Courtney + David (Bonus Advice!): “On the day of, take it all in. We kept reminding each other, ‘take it in’—all these people are here to celebrate your love! It’s the best feeling in the world, and it goes by fast.”


Victoria + Cody: “Enjoy the day, don’t stress over little things, and just live in the moment!”


Jamie + Tanner: “Something will probably go wrong, but just go with the flow. Others won’t notice or care. Our day felt perfect, even though some details weren’t exactly as planned.”
Things might not go 100% according to plan, but that’s okay. The most important thing? You’re marrying your best friend. If you stay focused on that, everything else will fall into place.

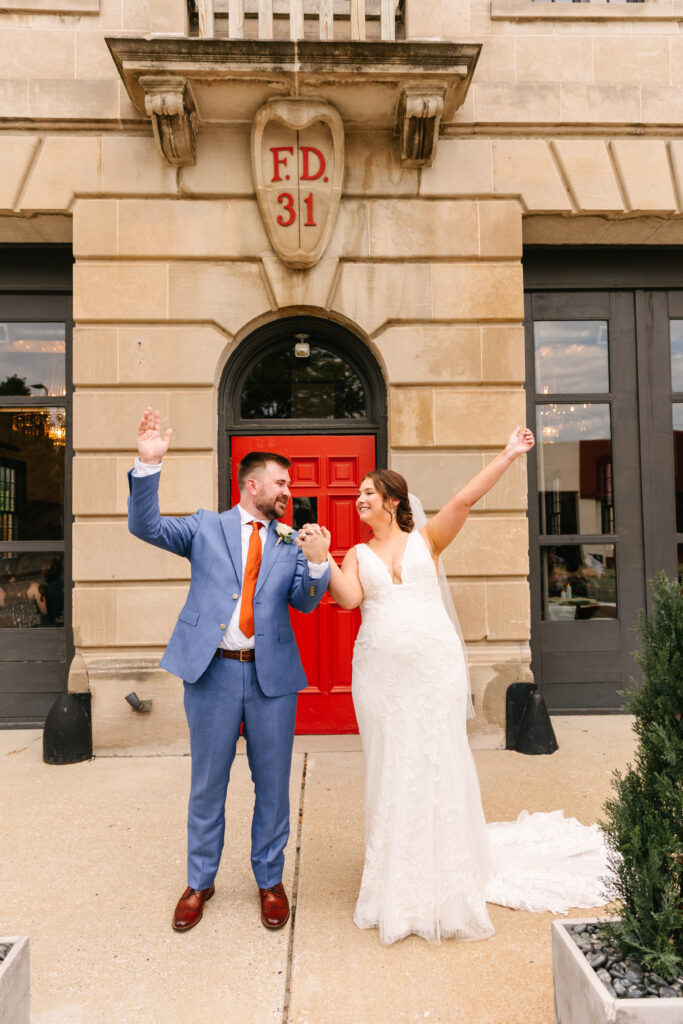


At the end of the day, your wedding is about you and your partner. There’s no right or wrong way to celebrate your love, so make decisions that feel right for you. Stay present, soak in the joy, and don’t be afraid to let go of perfection.
The best weddings aren’t flawless—they’re filled with love, laughter, and unforgettable moments. So enjoy every second. Take some of these real couple’s advice, and have the best day ever!
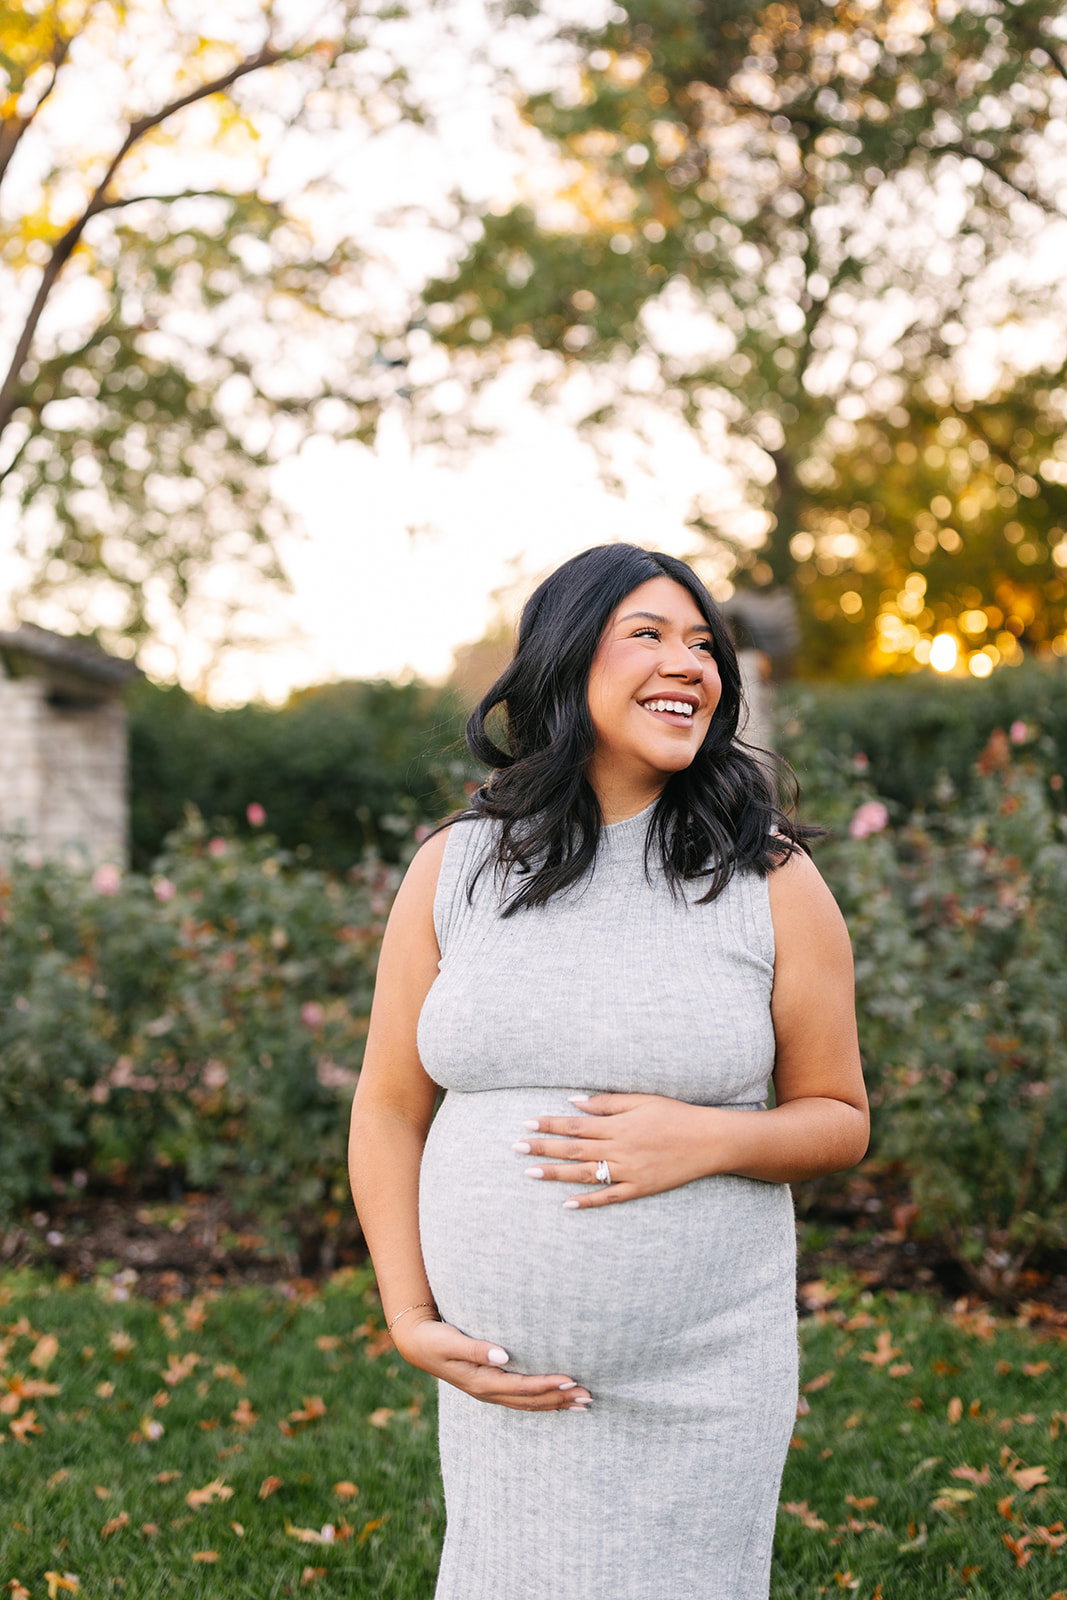
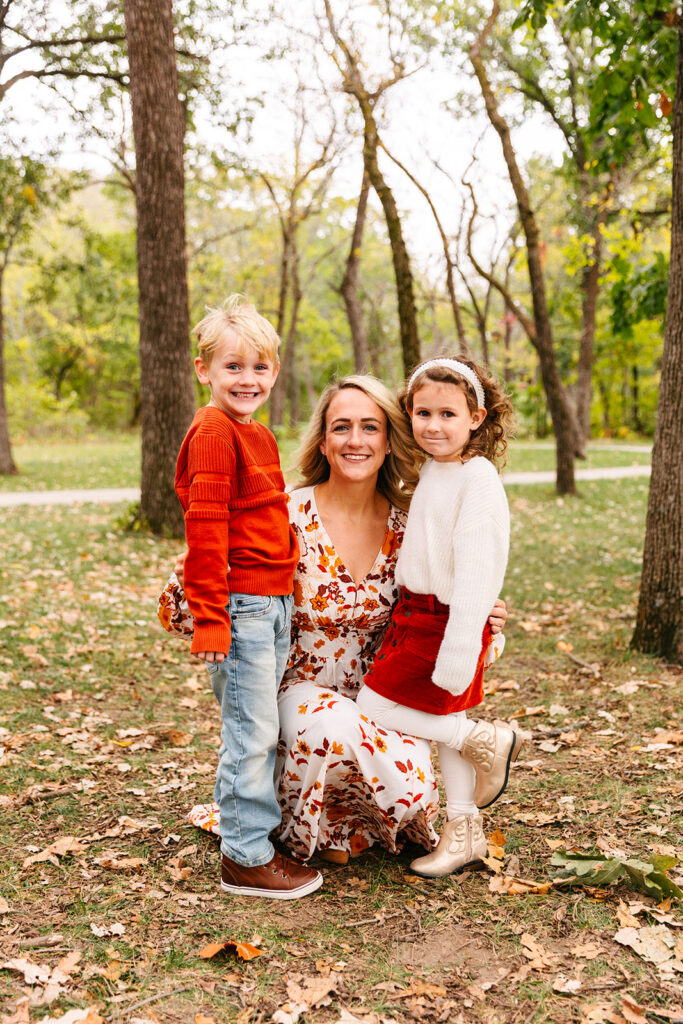
Every time I photograph a mom with her babies—whether they’re newborns or grown-up with babies of their own—I’m reminded why I love this work so much. The beauty of motherhood is messy, chaotic, and deeply moving, often all at once. And getting to freeze those fleeting moments? It’s truly an honor.
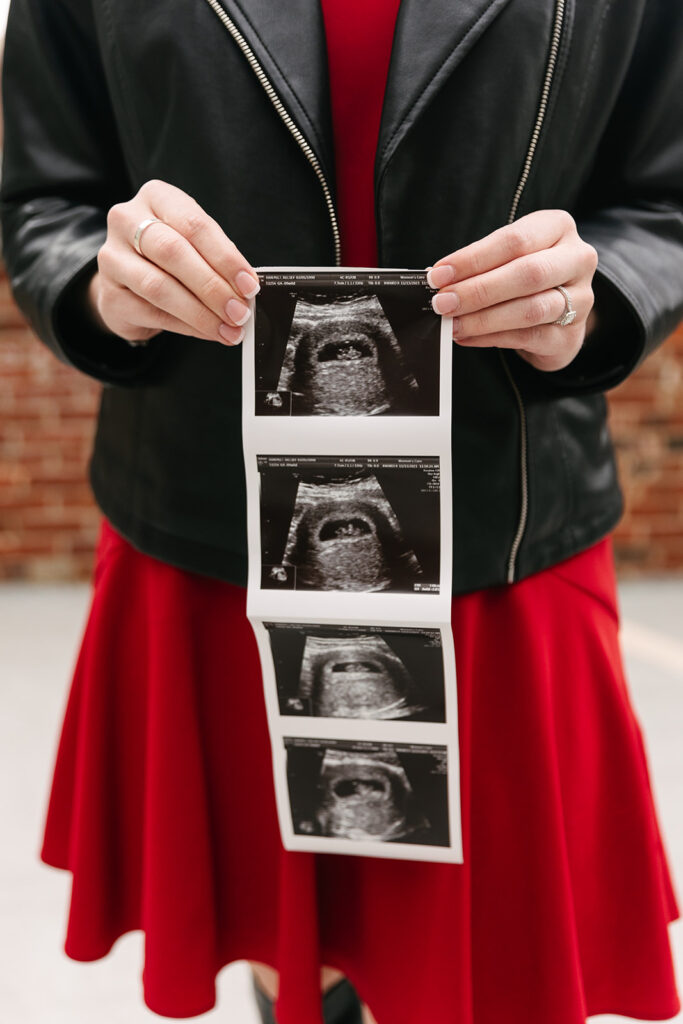
Over the years, I’ve had the joy of capturing so many different versions of motherhood. From a first-time mama cradling her newborn to a grandmother laughing with her granddaughter on her wedding day—every image tells a story that deserves to be remembered.

Some of my favorite sessions are the ones where moms let go of the pressure for everything to be perfect. When the curls are wild, the hands are sticky, and the kids are doing their thing—that’s when the magic happens. Those are the photographs that feel the most real. And let’s be honest, those are the moments you’ll treasure most later!

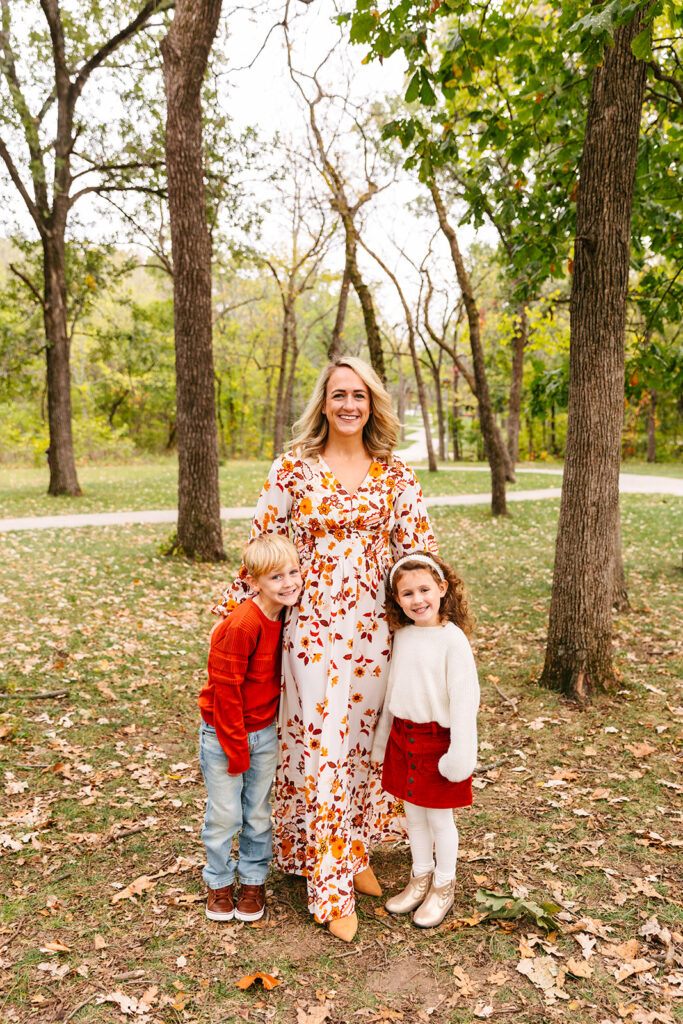

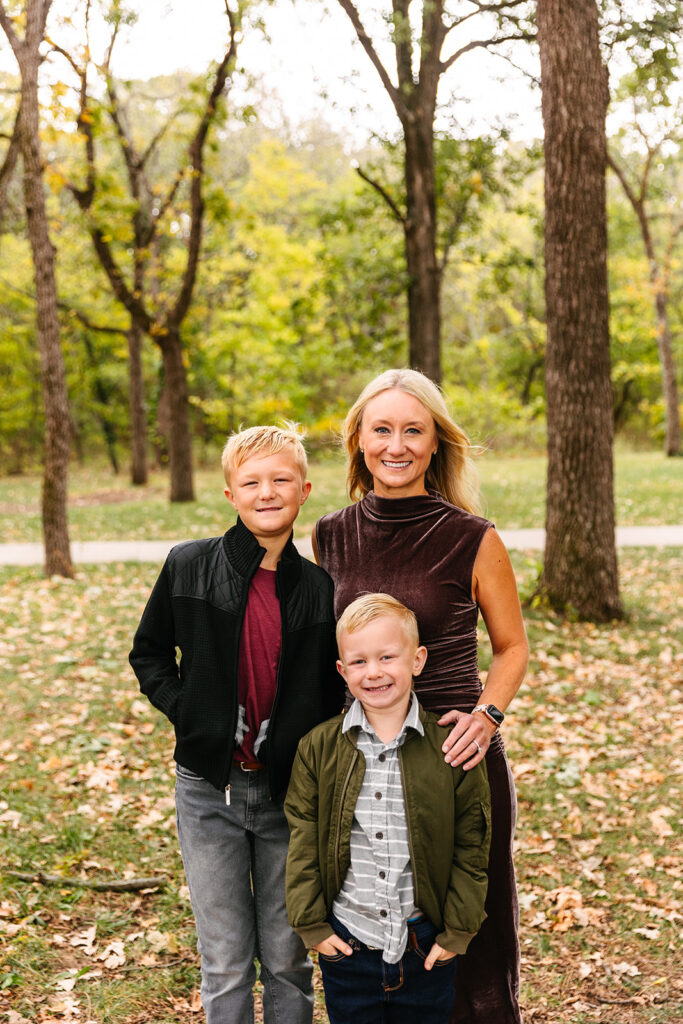
Often, moms are the ones taking the pictures, not being in them. That’s why I always encourage moms to step in front of the camera. You don’t need to wait for a special occasion. You just need to be present! Your kids will thank you for it someday.

Whether it’s a tender snuggle, a shared laugh, or a glance that says “I’ve got you,” these are the moments that matter. And on Mother’s Day, I like to take a moment to look back at those moments I’ve had the privilege of capturing. They’re quiet reminders of how powerful and personal motherhood really is.


Today, I’m raising a virtual glass to all the mamas—new, seasoned, bonus, chosen, and everything in between. Thank you for trusting me to tell your stories, frame by frame.

While we celebrate the beauty of motherhood, I also want to gently acknowledge the women for whom this day feels heavy. Whether you’re grieving, longing, navigating complicated relationships, or carrying quiet heartaches—I see you. There’s space for your story here too, and you’re not alone.
Wishing everyone a Mother’s Day filled with love, laughter, and maybe a nap.