the blog


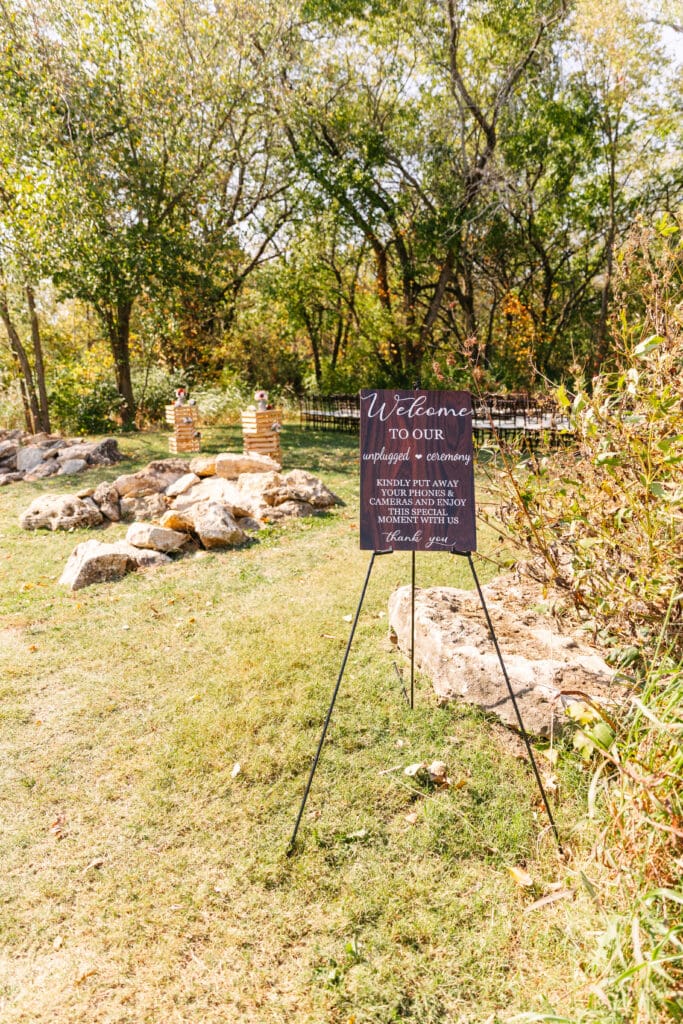
One of the biggest shifts happening in weddings right now is couples learning how to create a wedding day that feels like you instead of planning a celebration based entirely on expectations or trends. When couples focus on creating a wedding day that feels like them, the entire experience becomes more meaningful, relaxed, and memorable.
Prioritize the moments that matter most to you! Maybe that means private vows before the ceremony, a small dinner with close family, or spending extra time on the dance floor with friends. Not every wedding day needs to follow the same formula.

Think about the atmosphere you want your guests to experience. Some couples want an elegant black-tie celebration in Kansas City, while others prefer a cozy outdoor dinner under string lights. Neither option is more “correct.” The goal is creating a space that reflects your personalities and relationship.
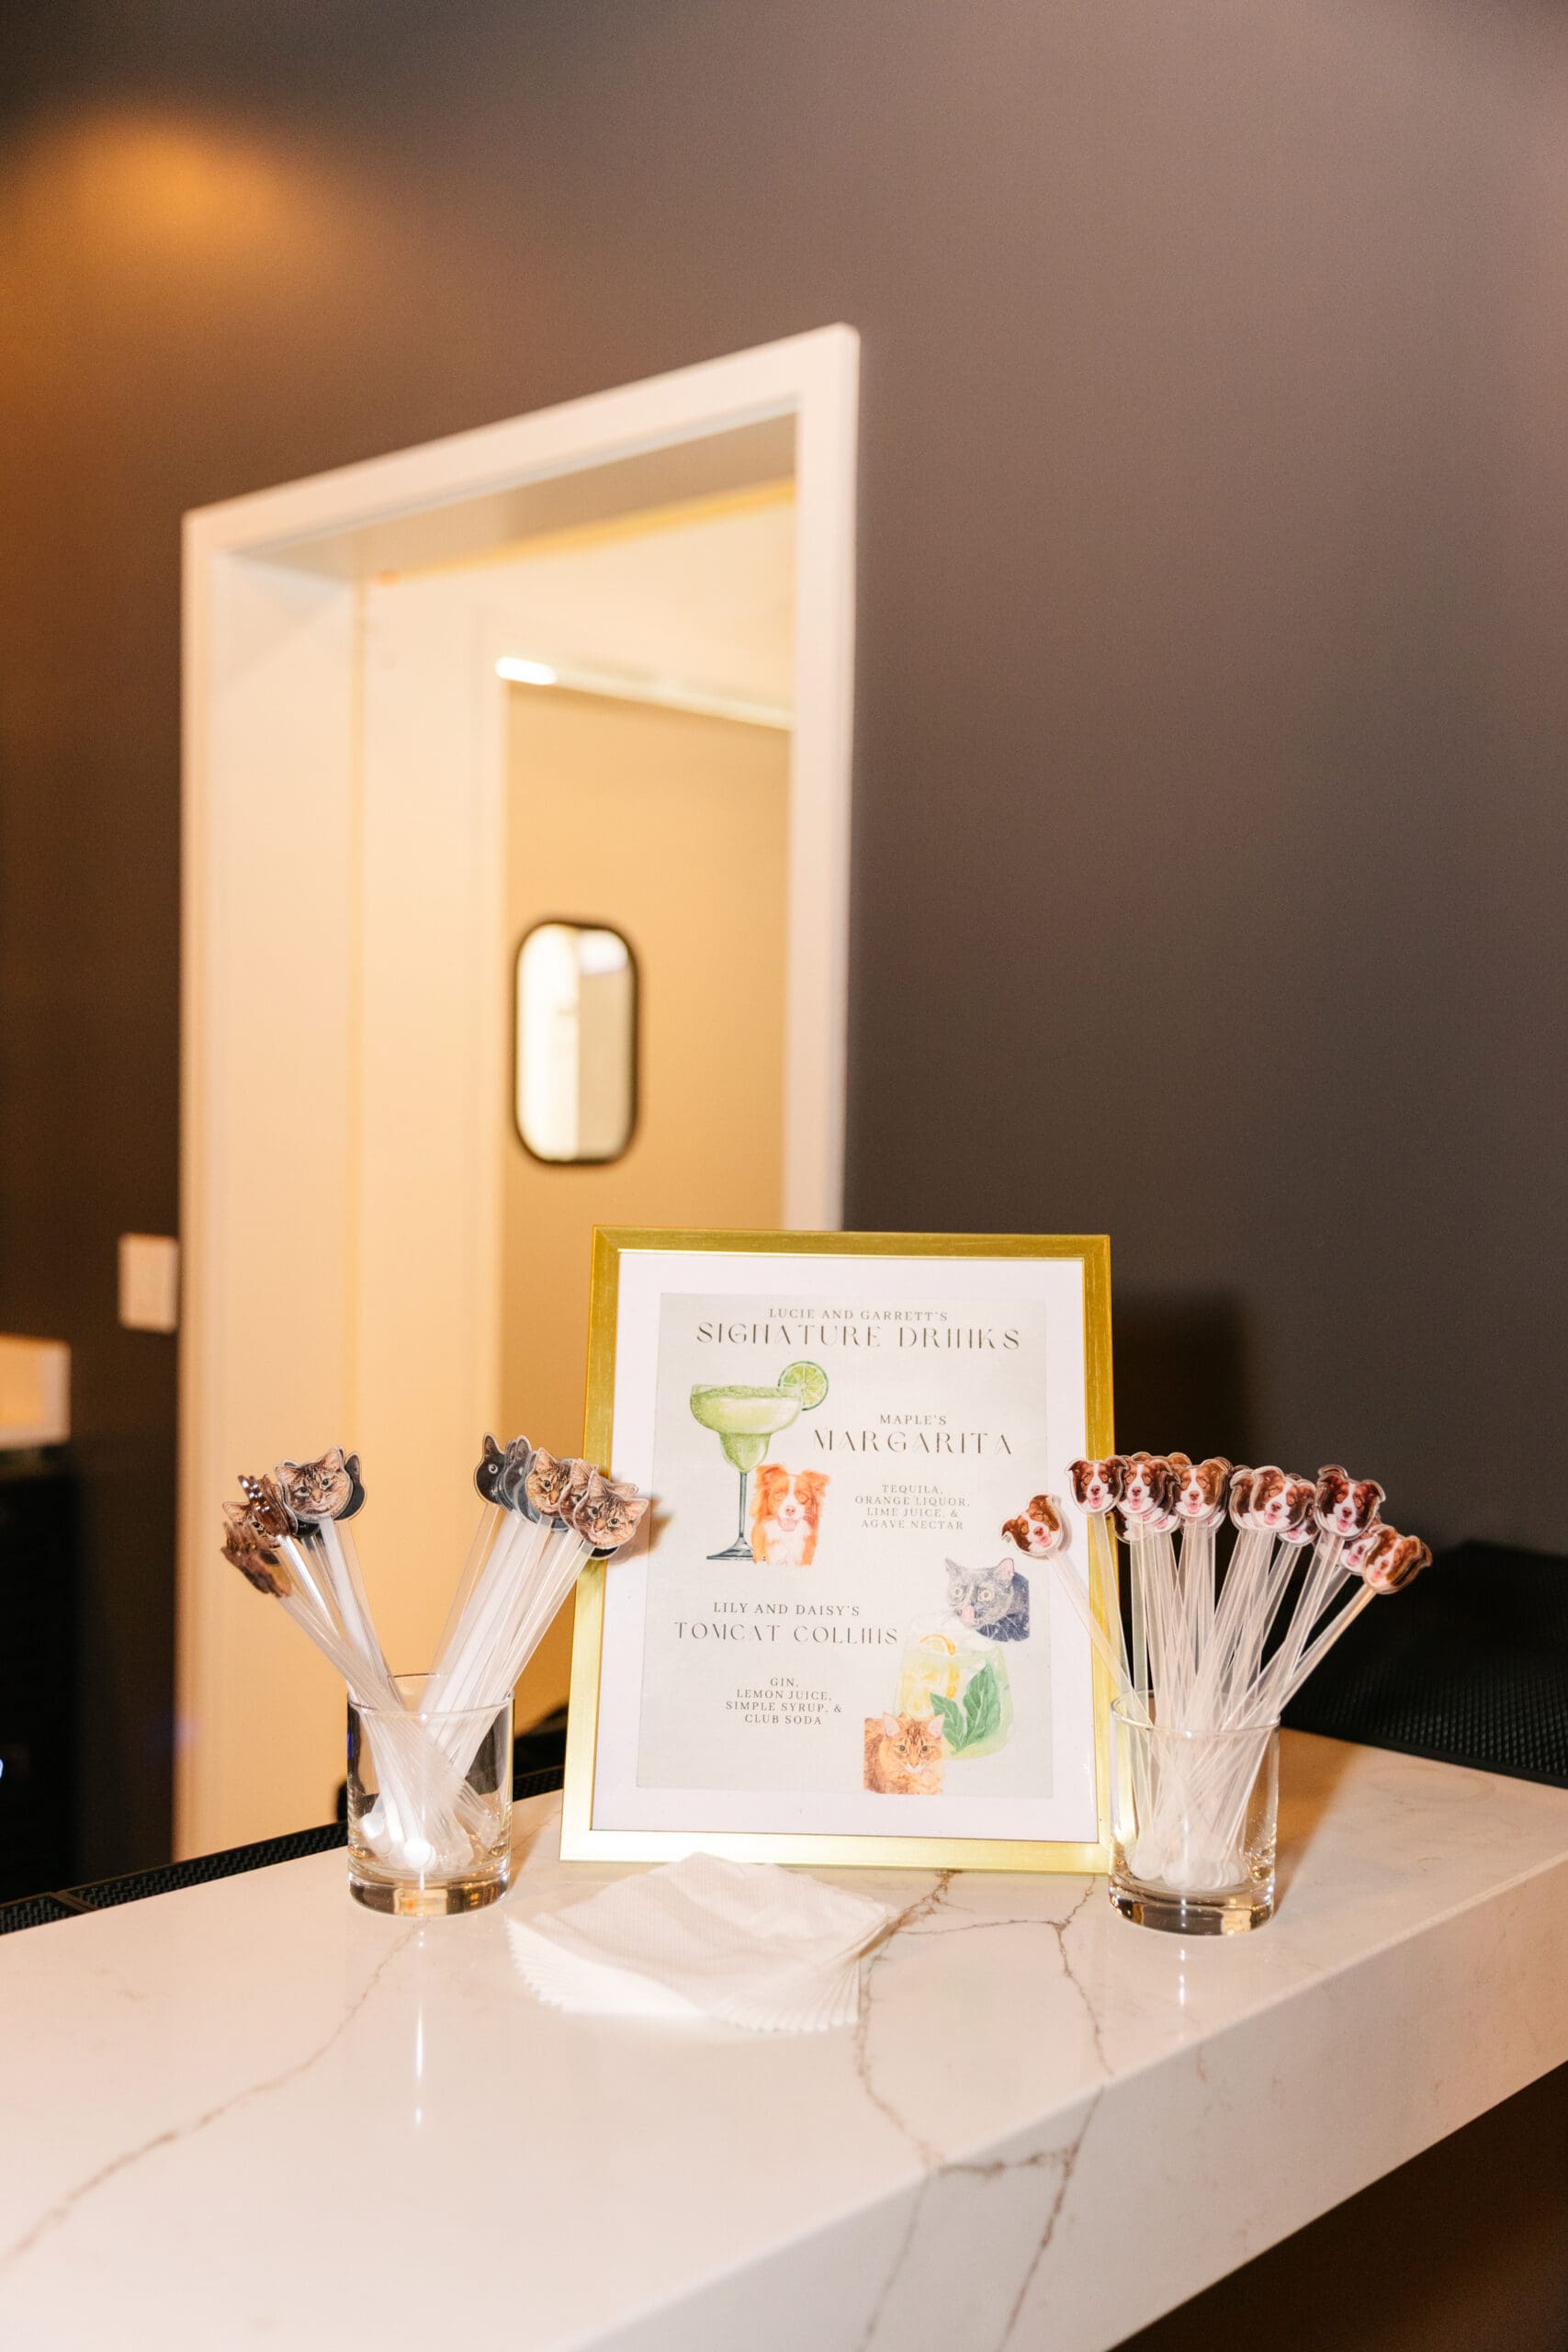
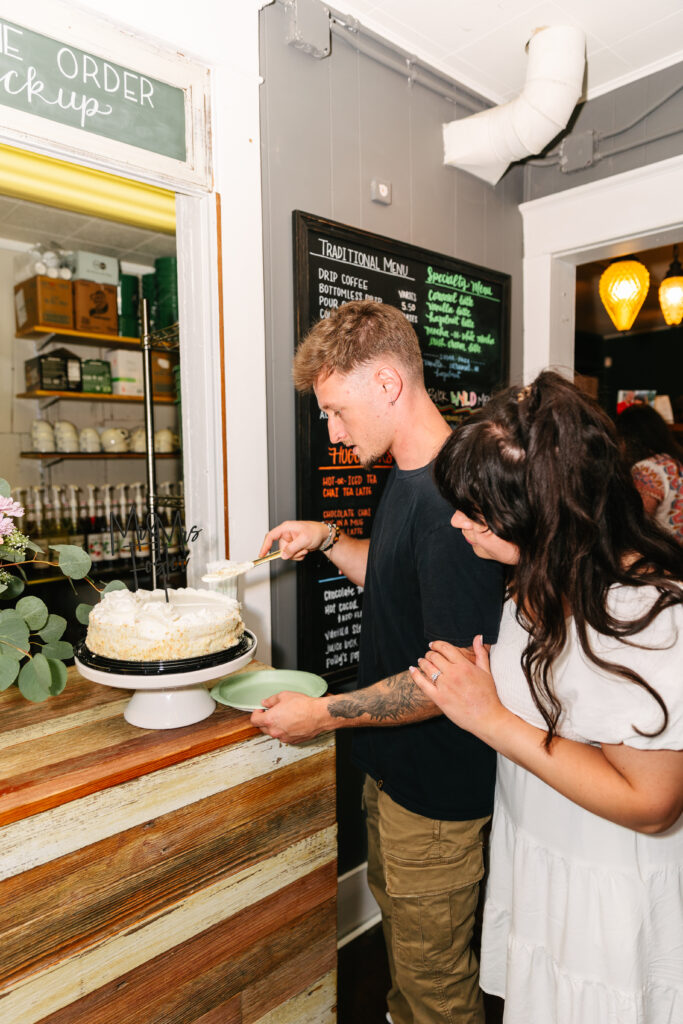
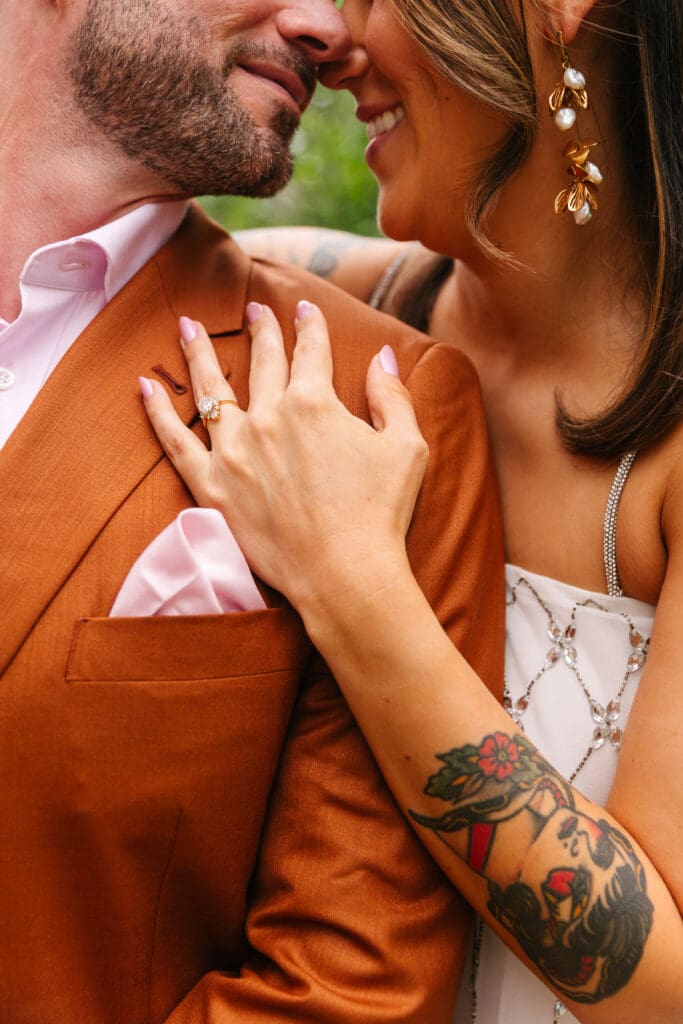
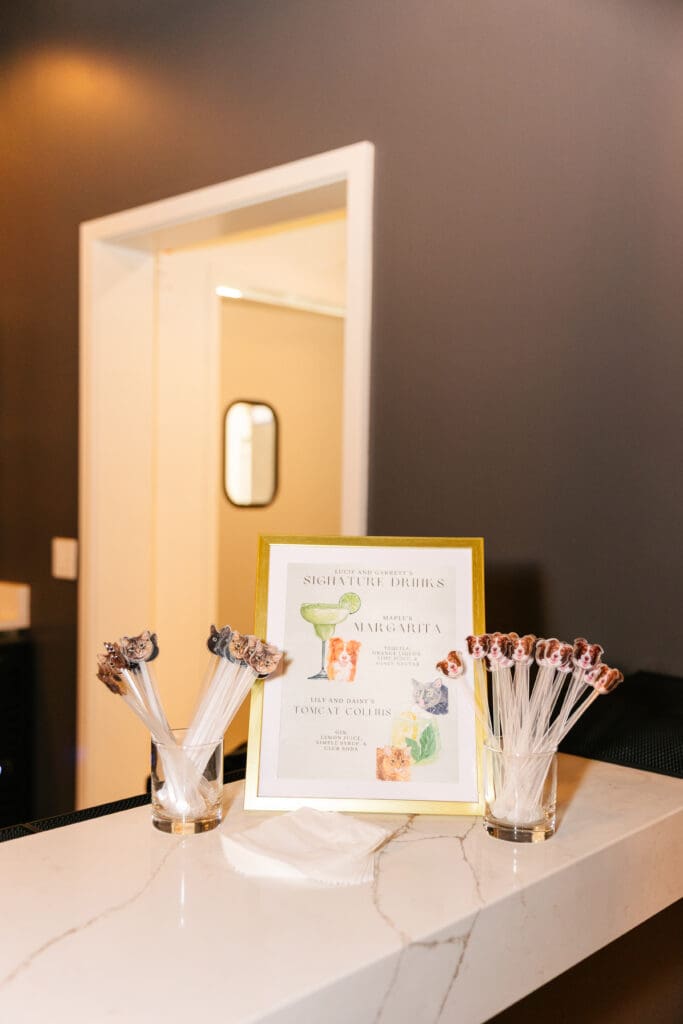
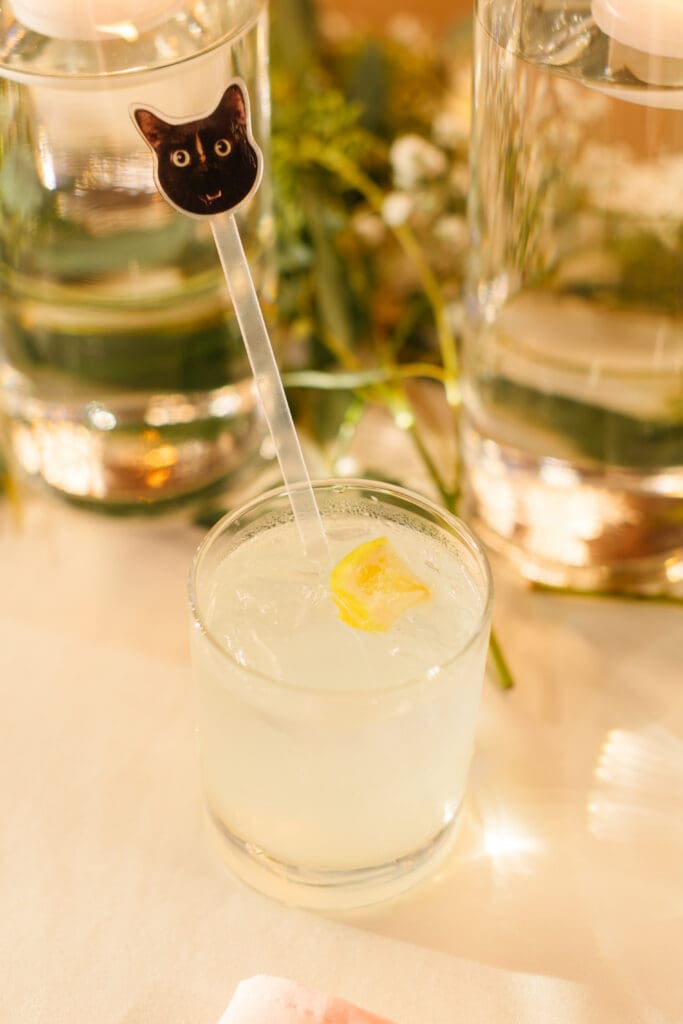
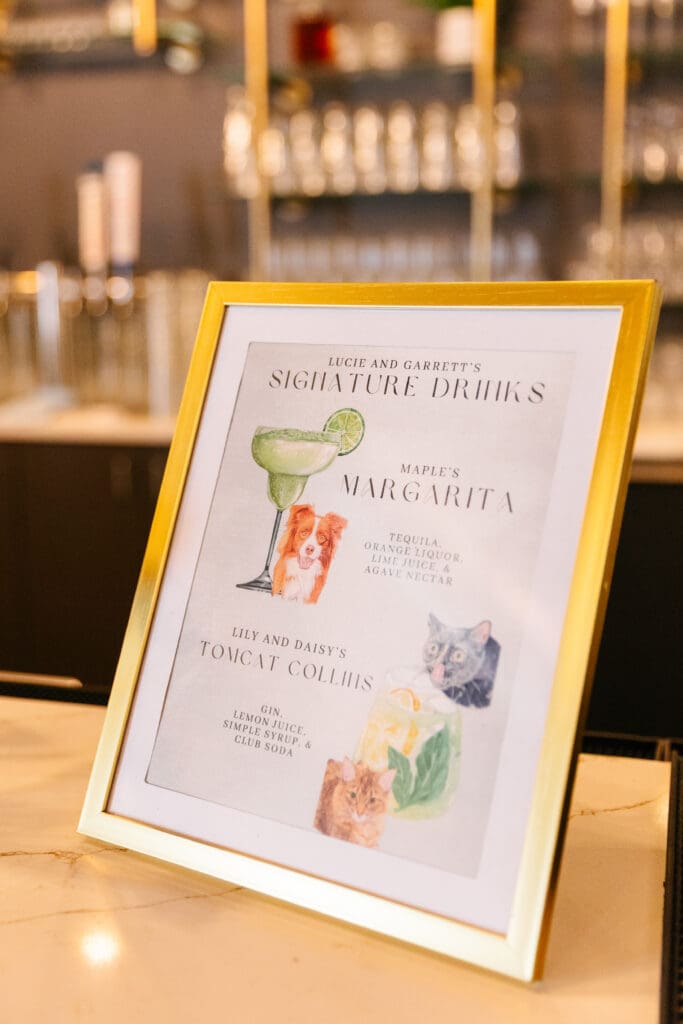
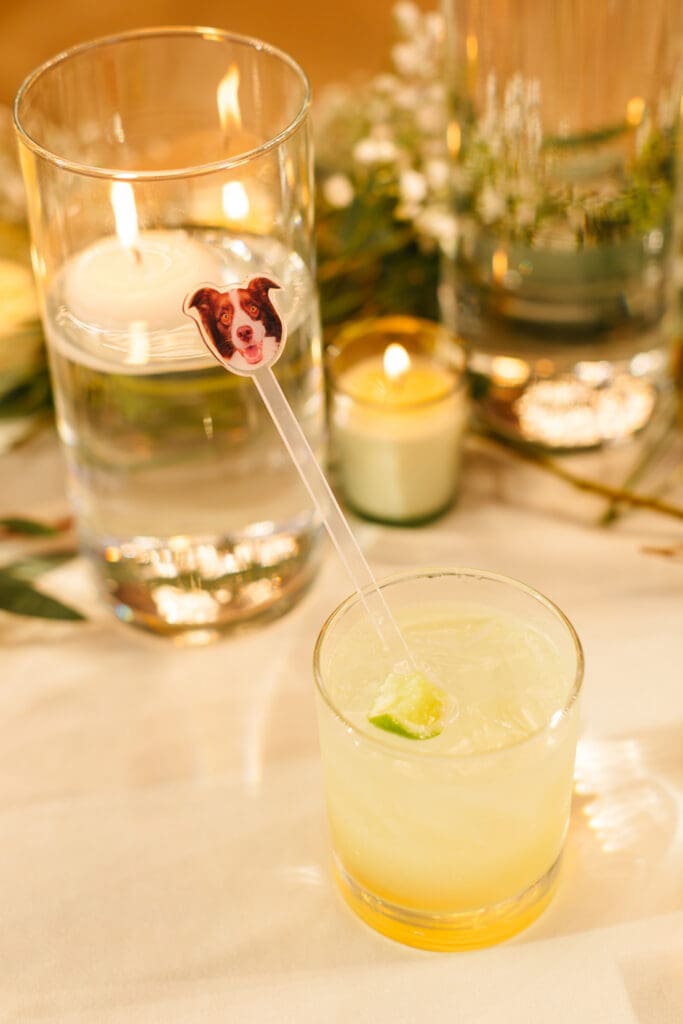
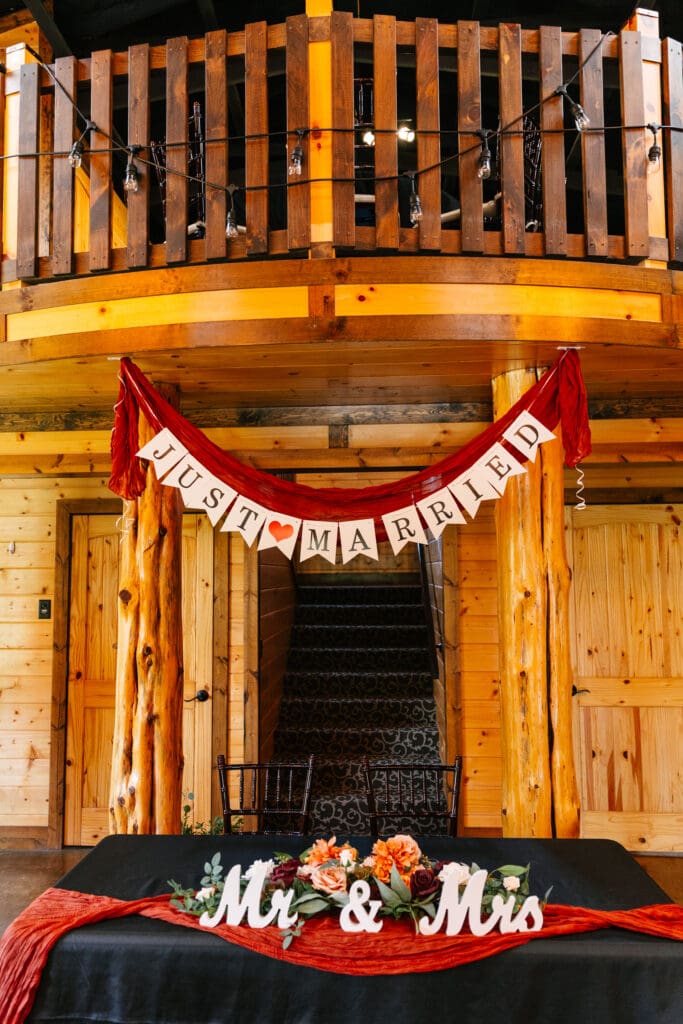
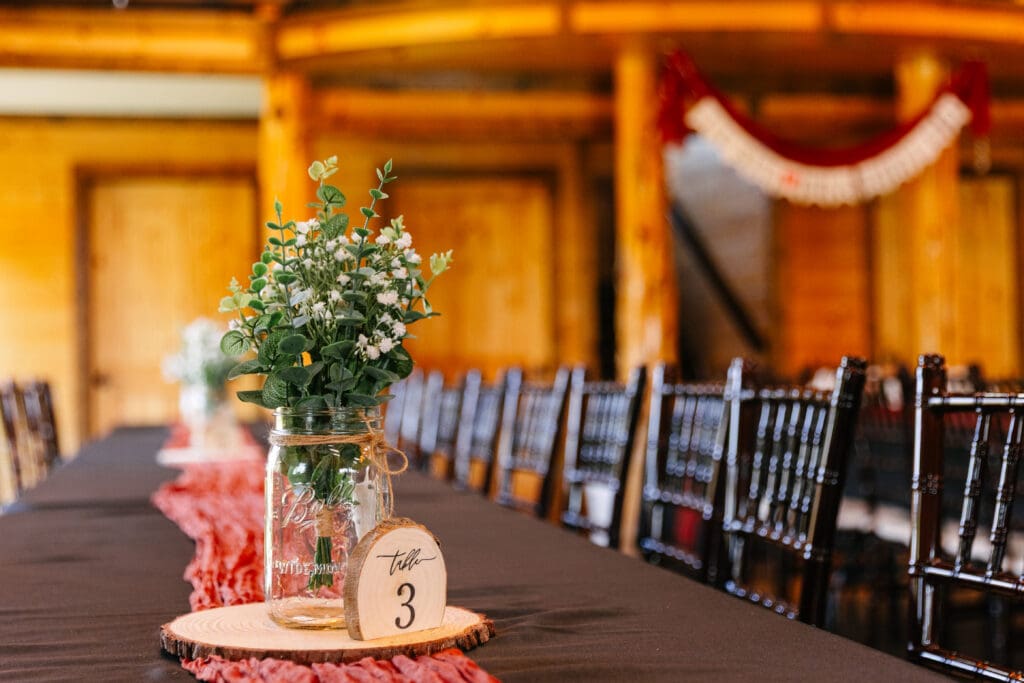
Another way to personalize your wedding day is through meaningful details. Family heirlooms, handwritten vows, favorite foods, signature cocktails, or music that tells your story all help create a celebration that feels authentic. As a result, the photographs often feel more emotional and connected, too.
Meanwhile, don’t feel pressured to include traditions that do not resonate with you. Some couples skip large bridal parties. Others choose private ceremonies followed by relaxed celebrations later. Your wedding day should support the experience you want to have, not simply meet outside expectations.
Most importantly, remember that your guests will remember how the day felt. Genuine connection, joy, and intentional moments always leave a stronger impression than perfectly following trends. At the end of the day, the most beautiful weddings are the ones that reflect the couple at the center of them.
Frequently Asked Questions:
Meaningful details, intentional traditions, and a relaxed timeline all help create a personalized wedding experience.
Authentic weddings focus on connection, meaningful moments, and details that genuinely reflect the couple.
Not at all. Many couples are choosing celebrations that better reflect their personalities and priorities!

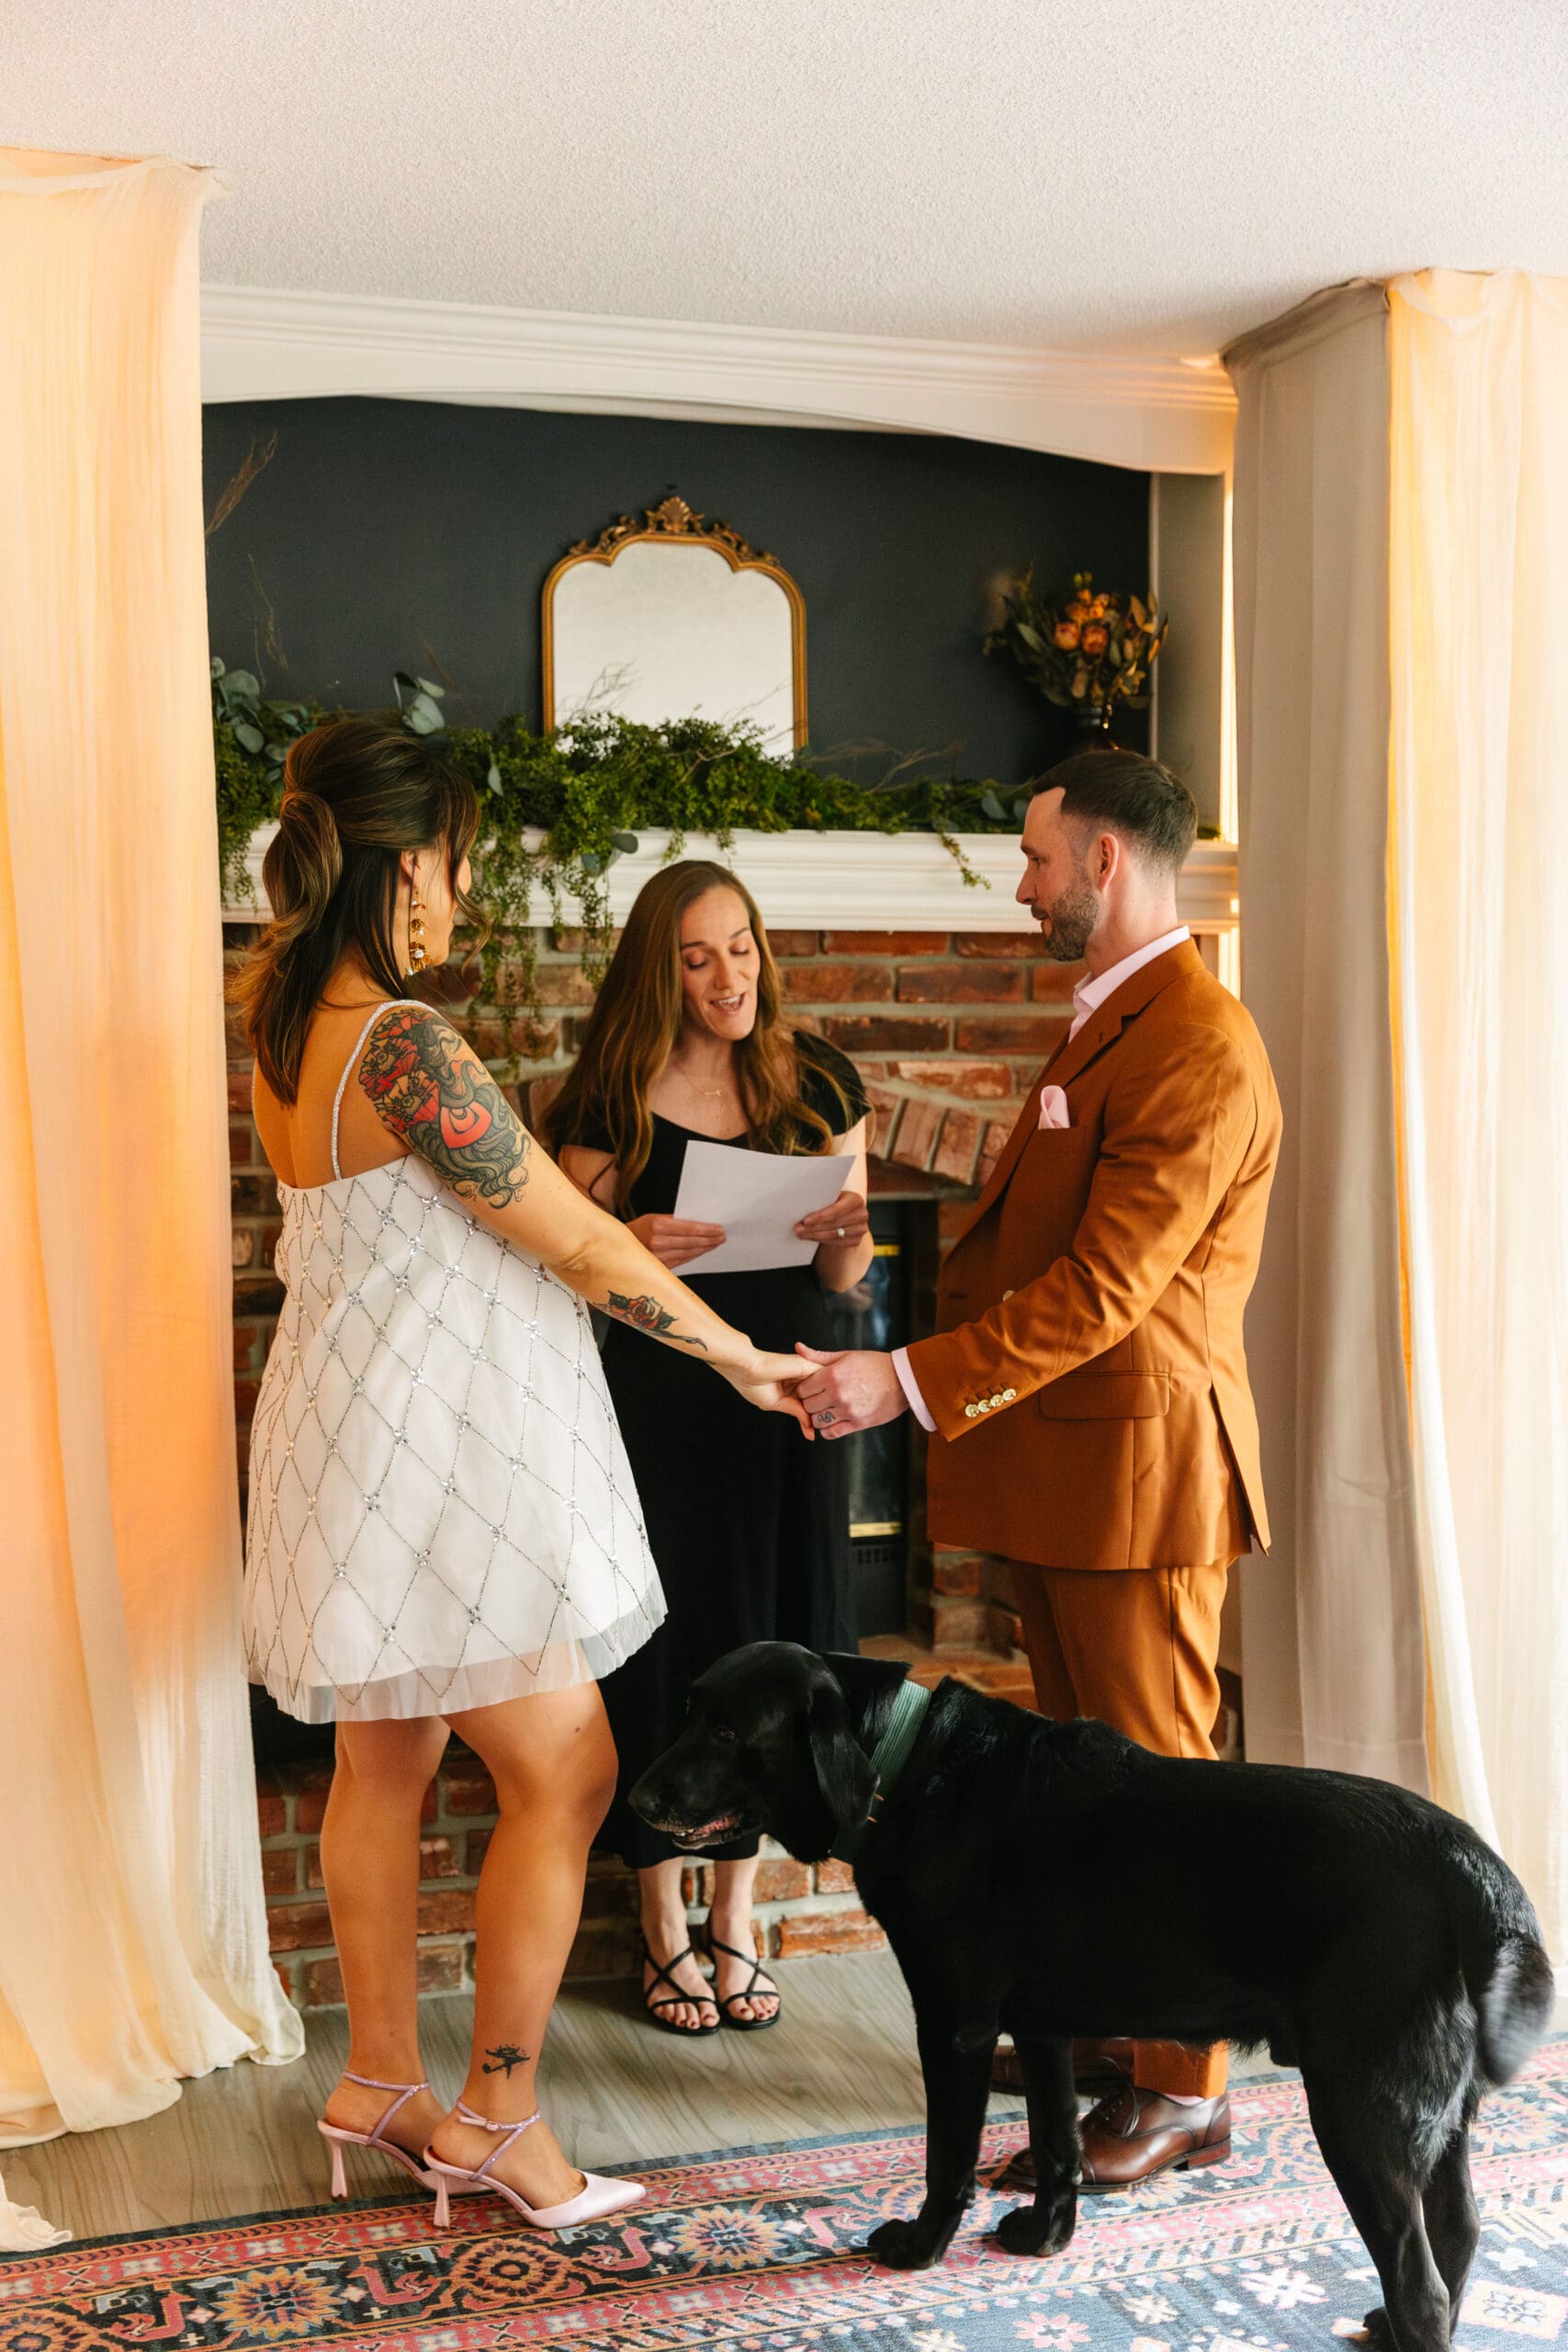
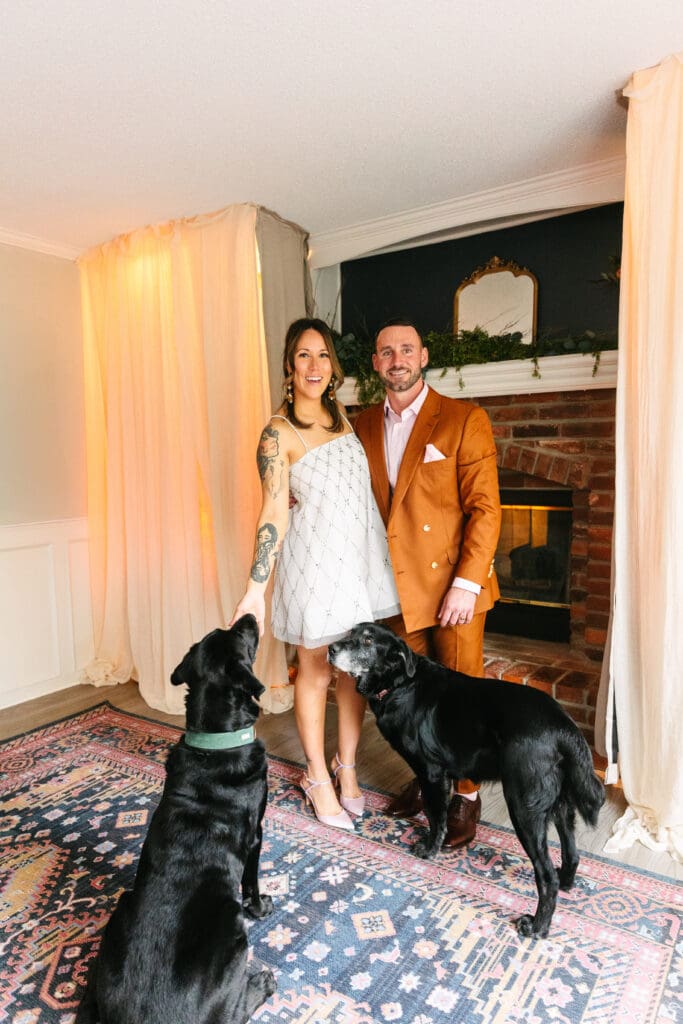
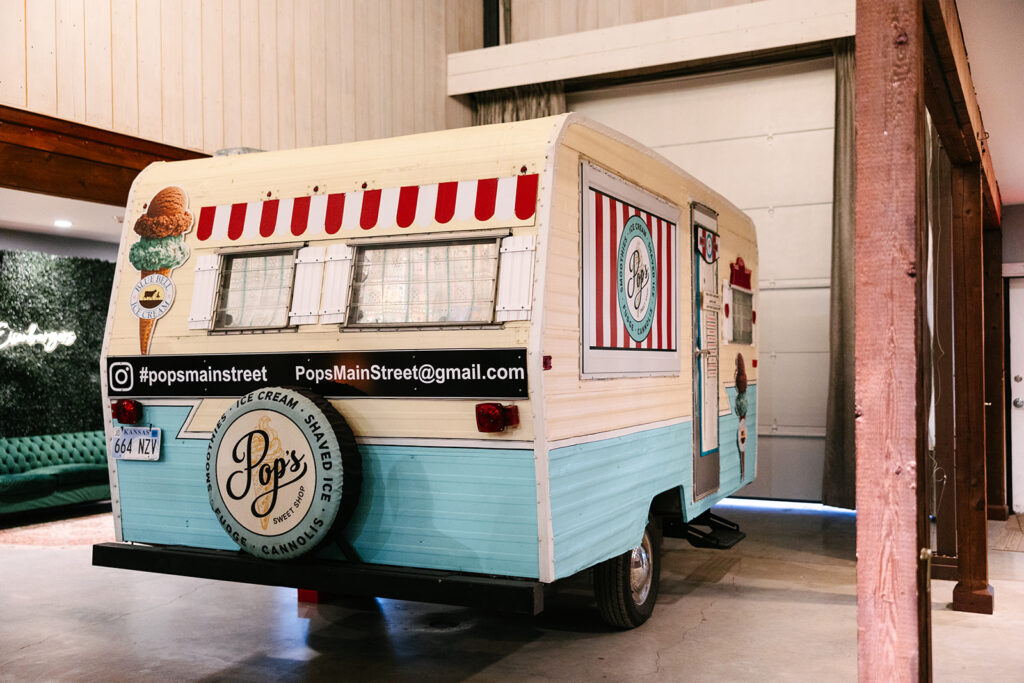
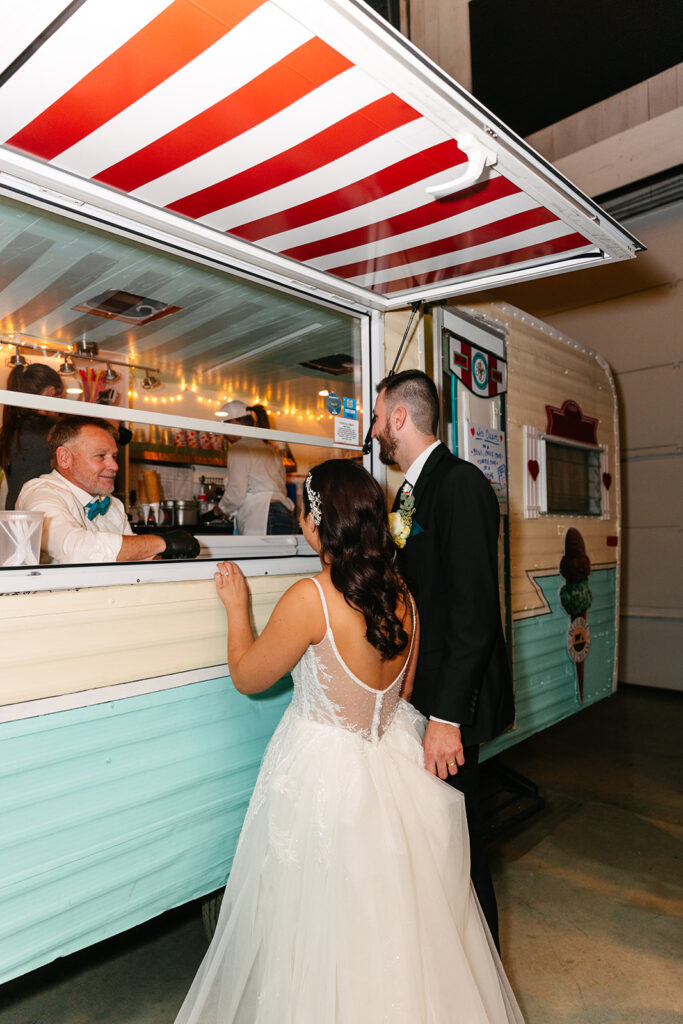
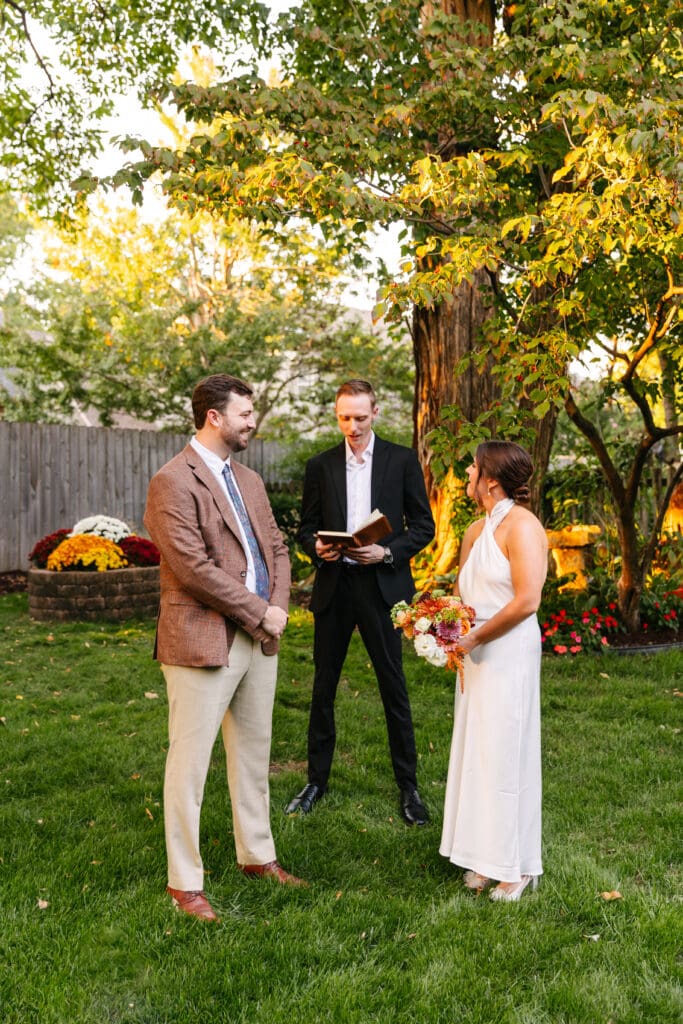
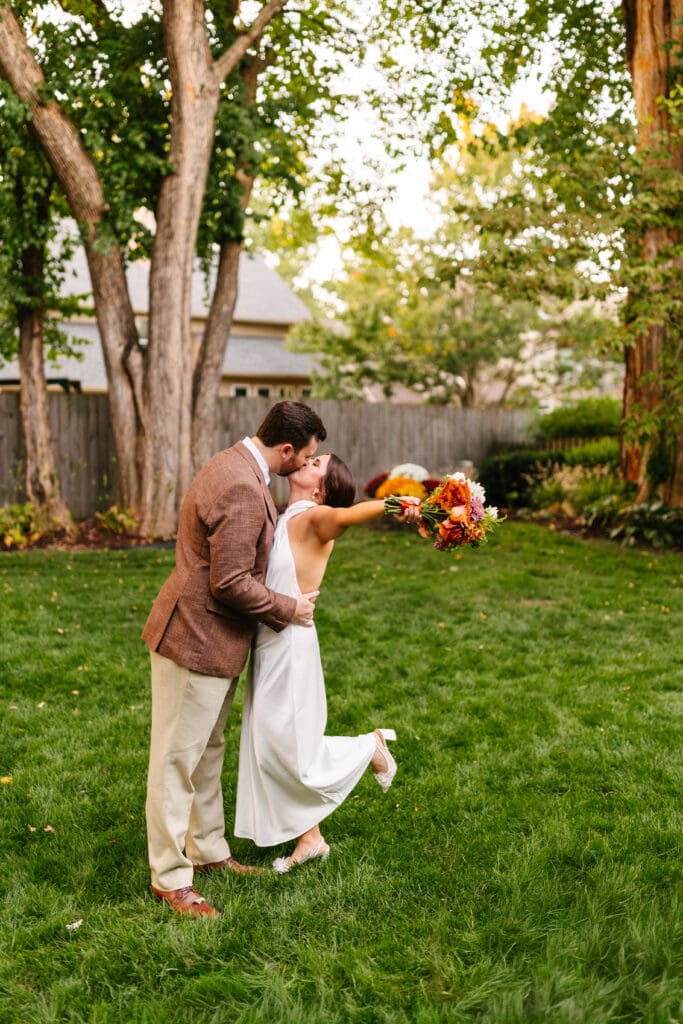
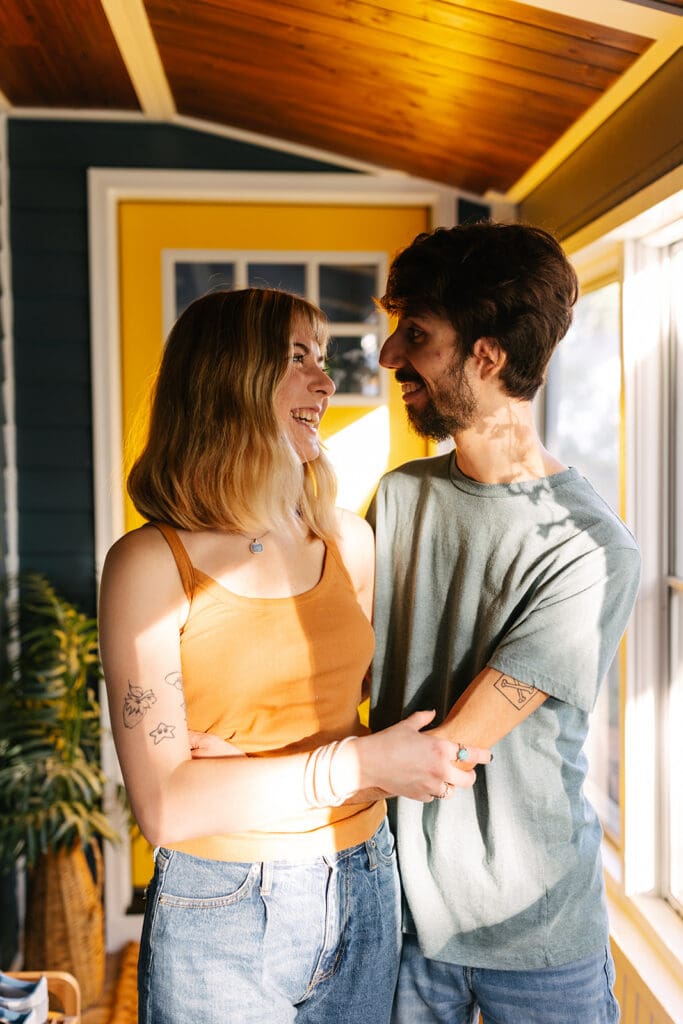
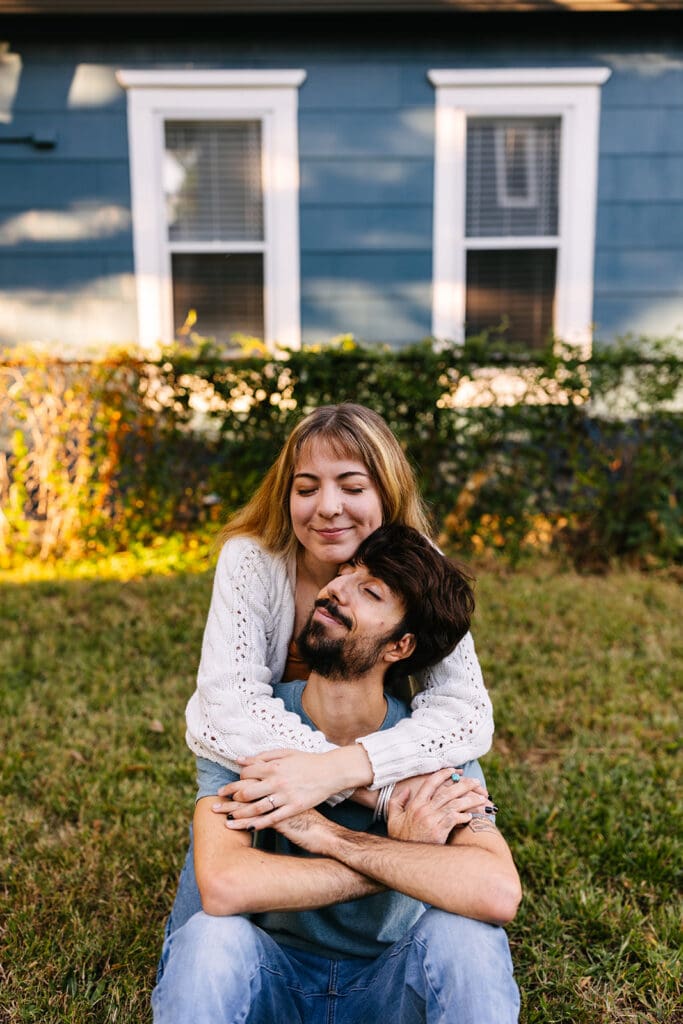
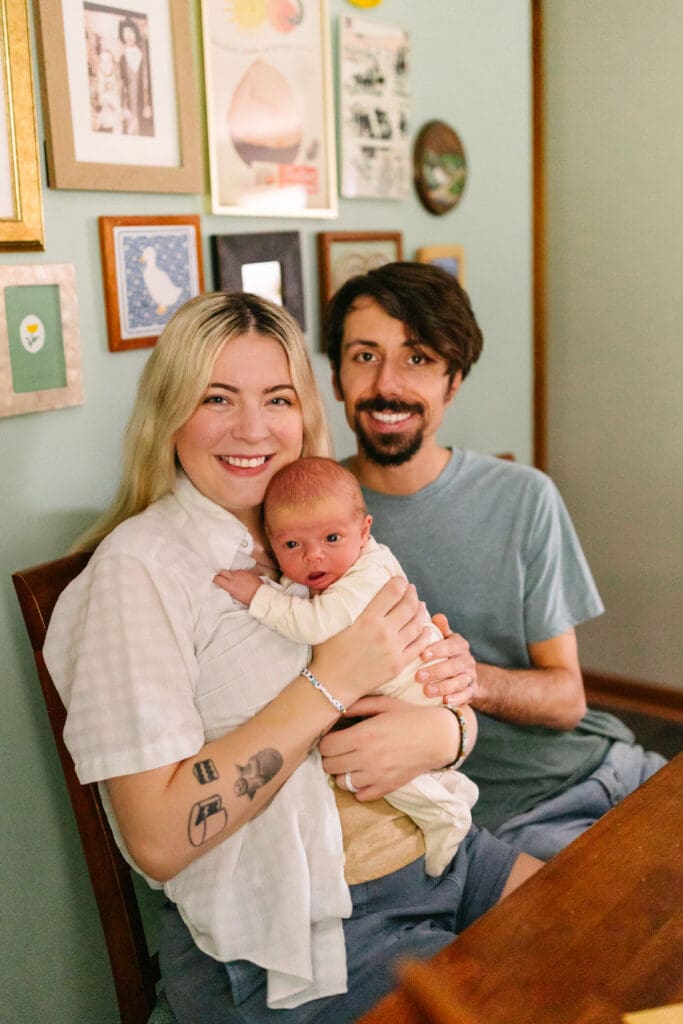
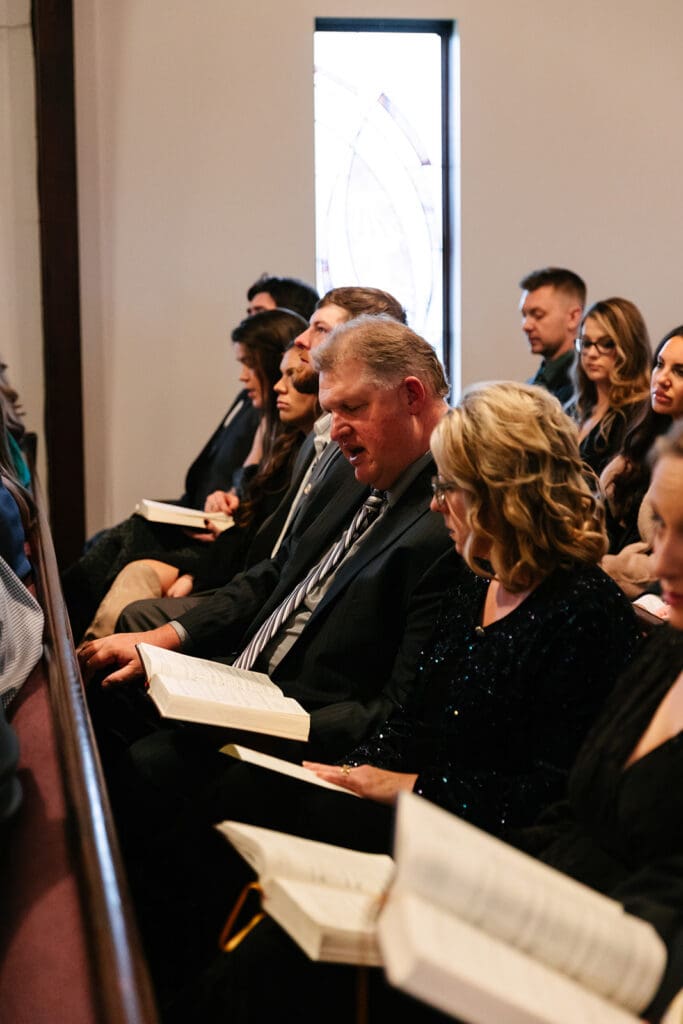
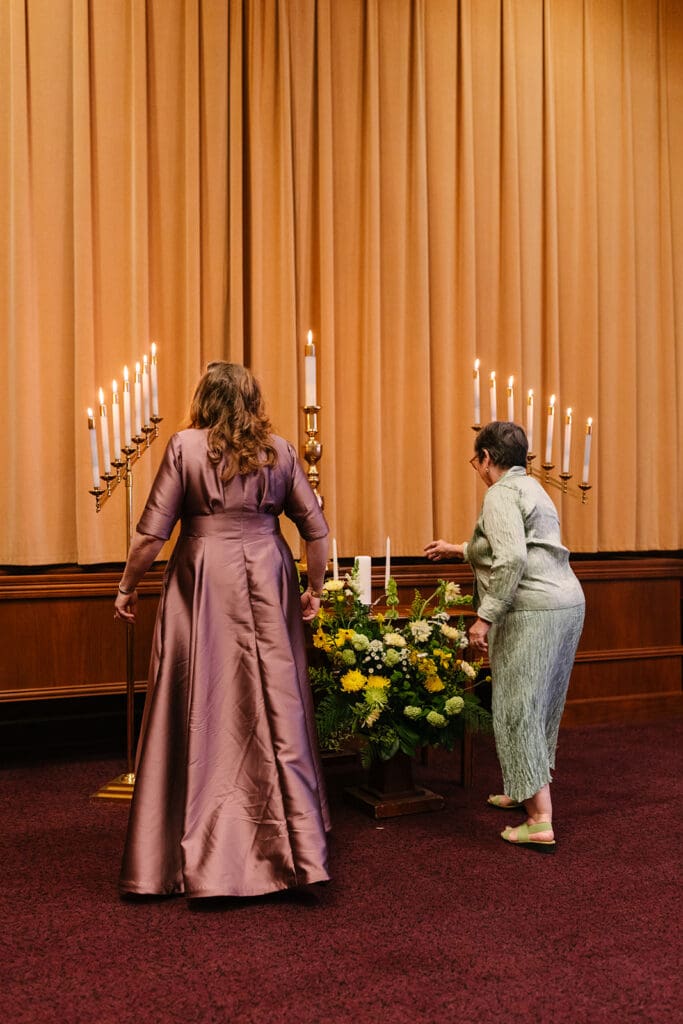
There is something incredibly meaningful about intimate at-home weddings. More couples are embracing at-home weddings as a way to create celebrations that feel personal, relaxed, and deeply connected to the people around them.
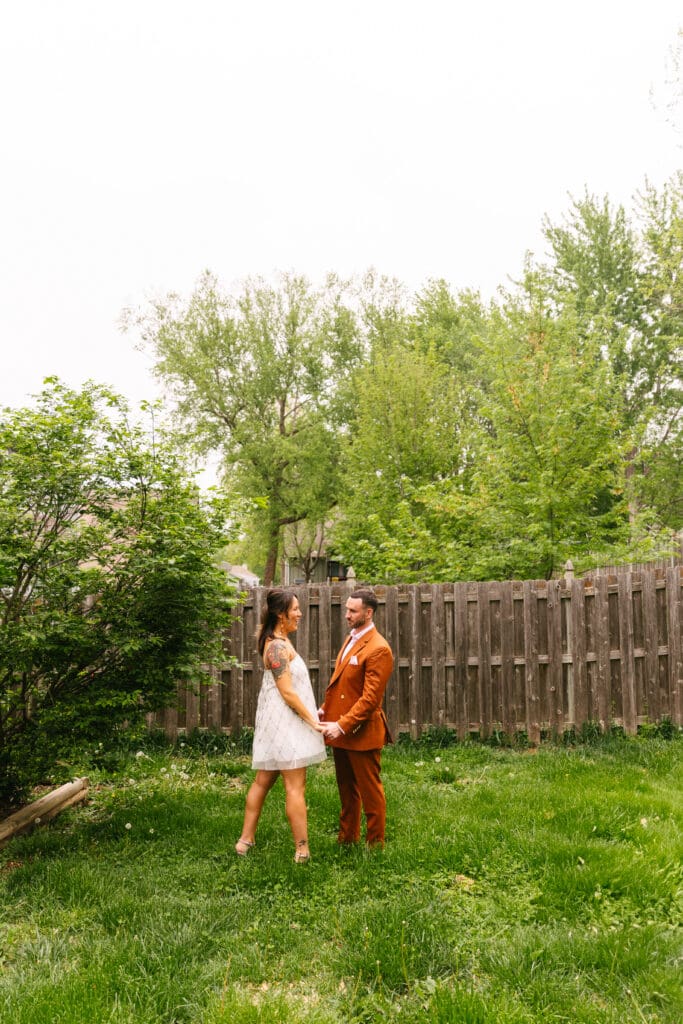
Instead of focusing on large productions or packed timelines, these weddings prioritize presence and authenticity. As a result, the day often feels emotional in the best possible way.
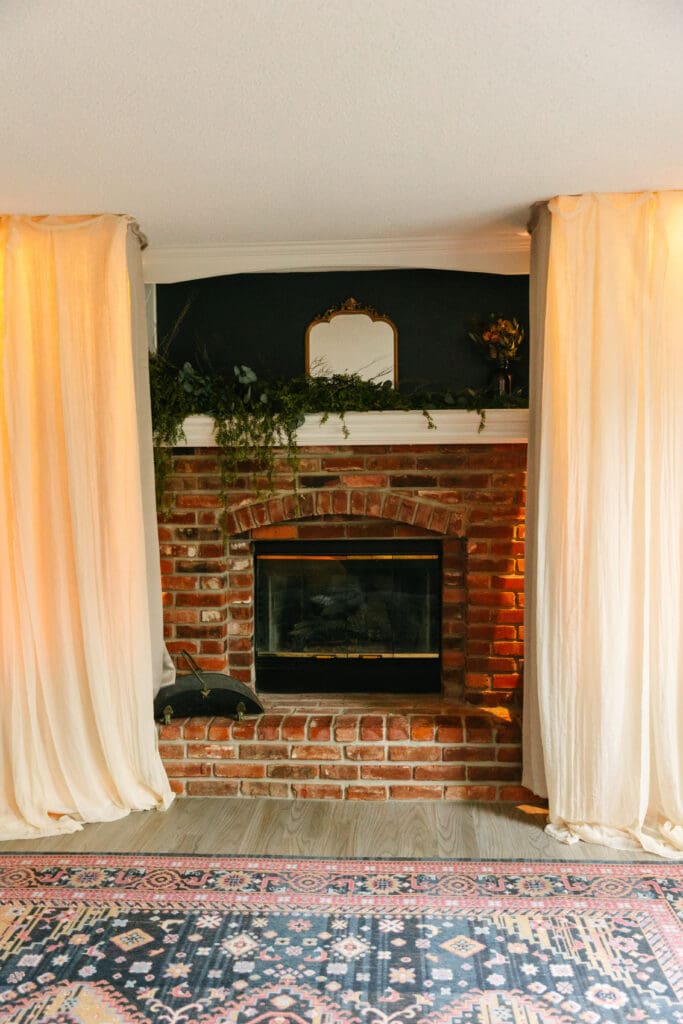
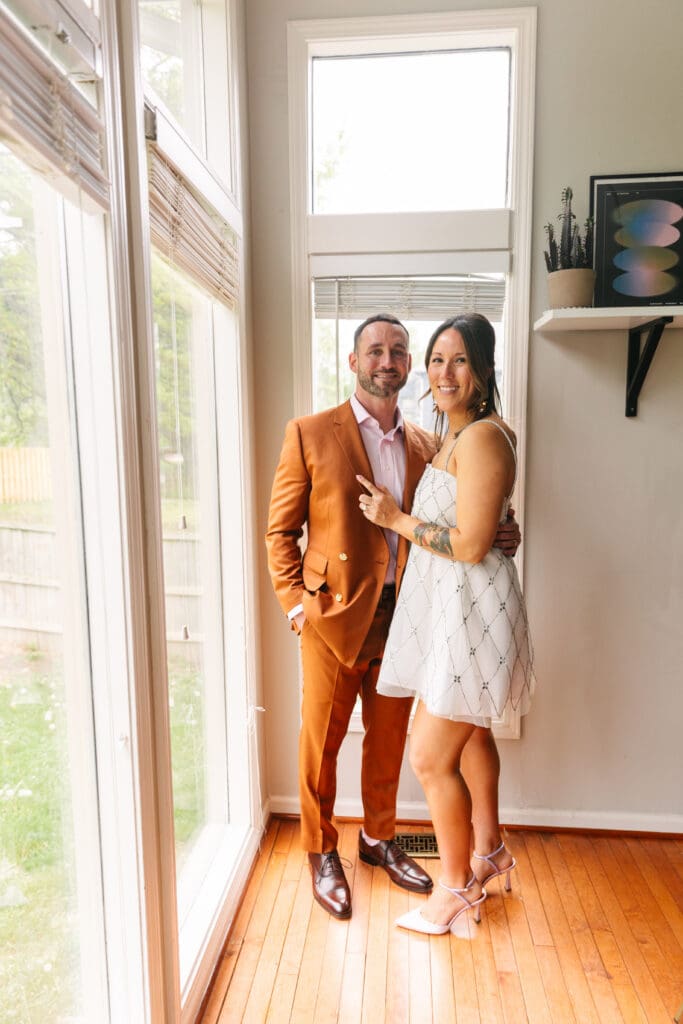
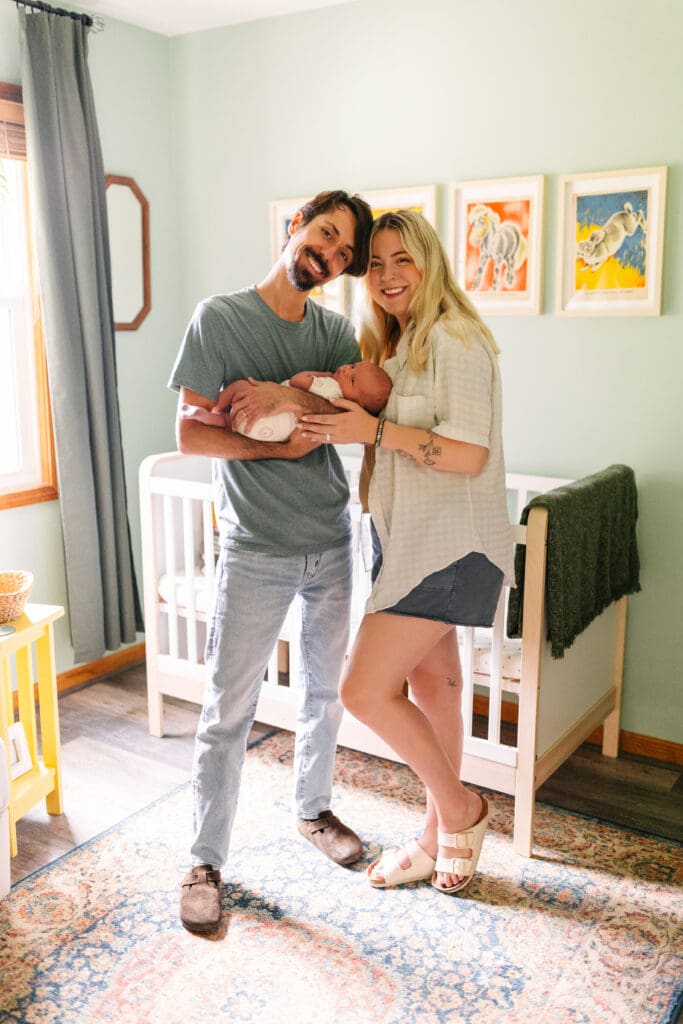
First, at-home weddings naturally create comfort. Couples get ready in familiar spaces, exchange vows surrounded by meaningful memories, and celebrate in places that already hold significance in their lives. Because of that, the day often feels less stressful and more intentional.
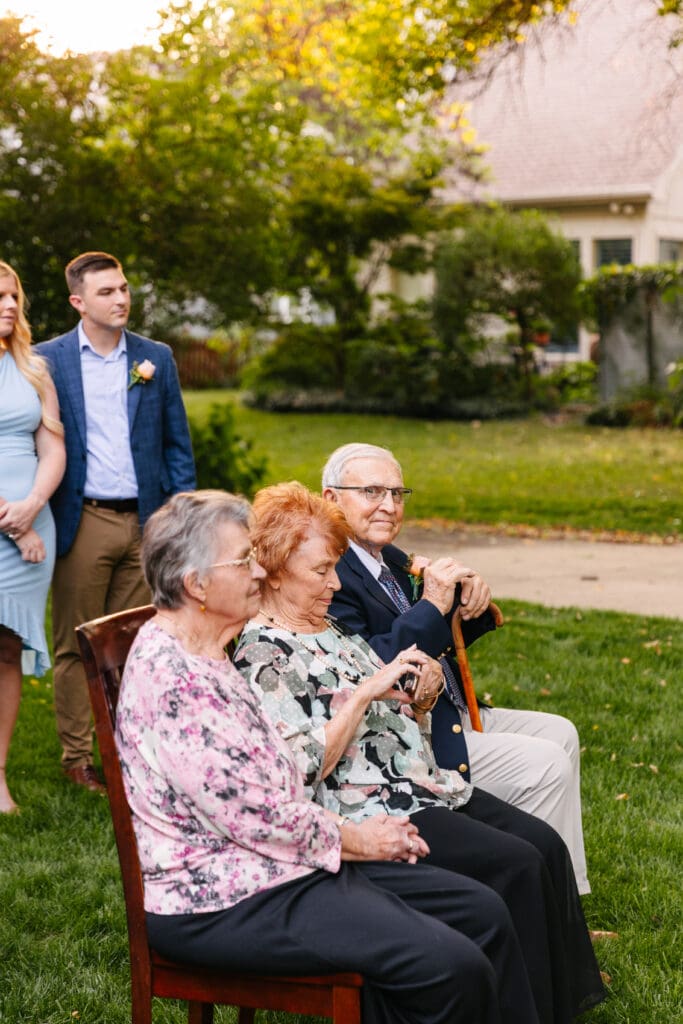

Smaller guest counts allow couples to spend more quality time with the people they love most. Rather than rushing through conversations, they can slow down and truly experience the celebration together.
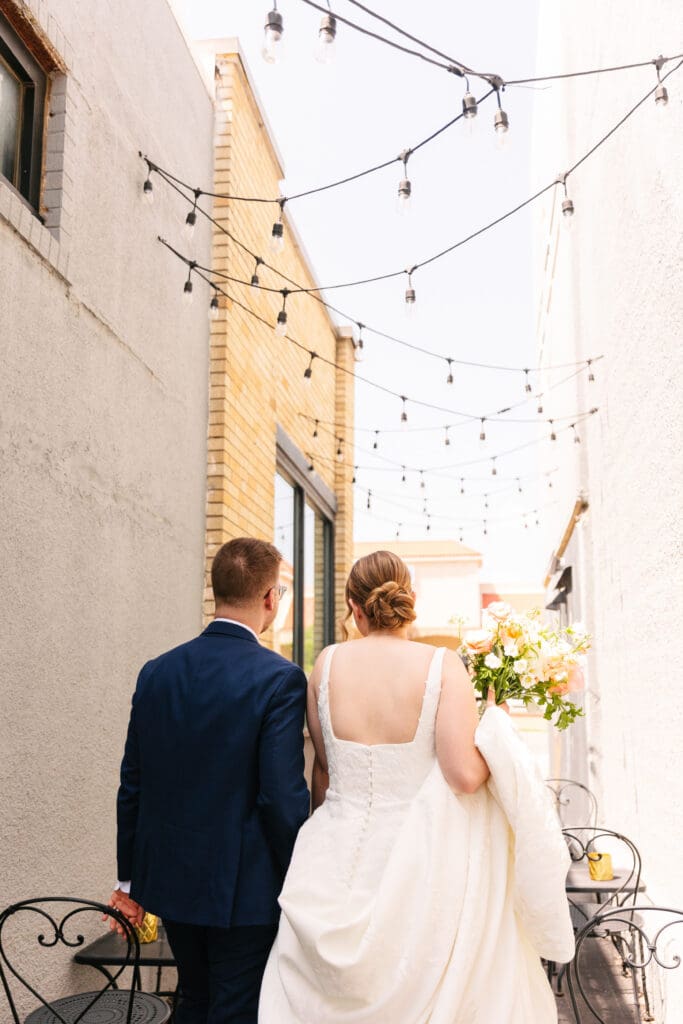
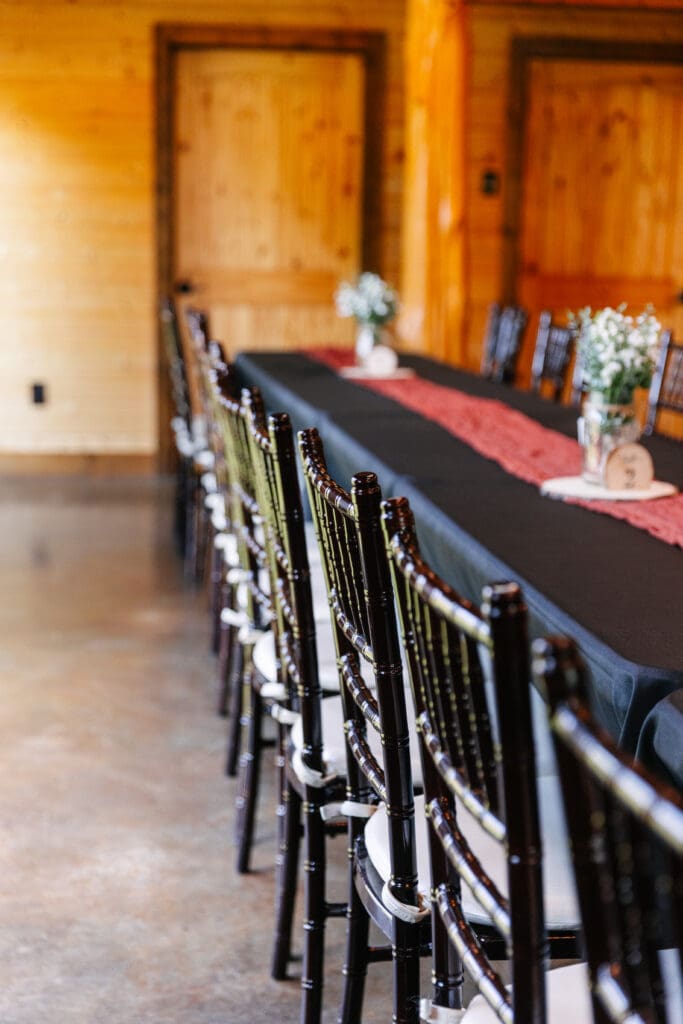
Another reason couples love intimate weddings is the flexibility they provide. Some couples transform backyards into elegant dinner-party receptions with candlelight and string lights. Others keep things simple with family-style dinners and heartfelt toasts. Either way, the atmosphere feels deeply personal.
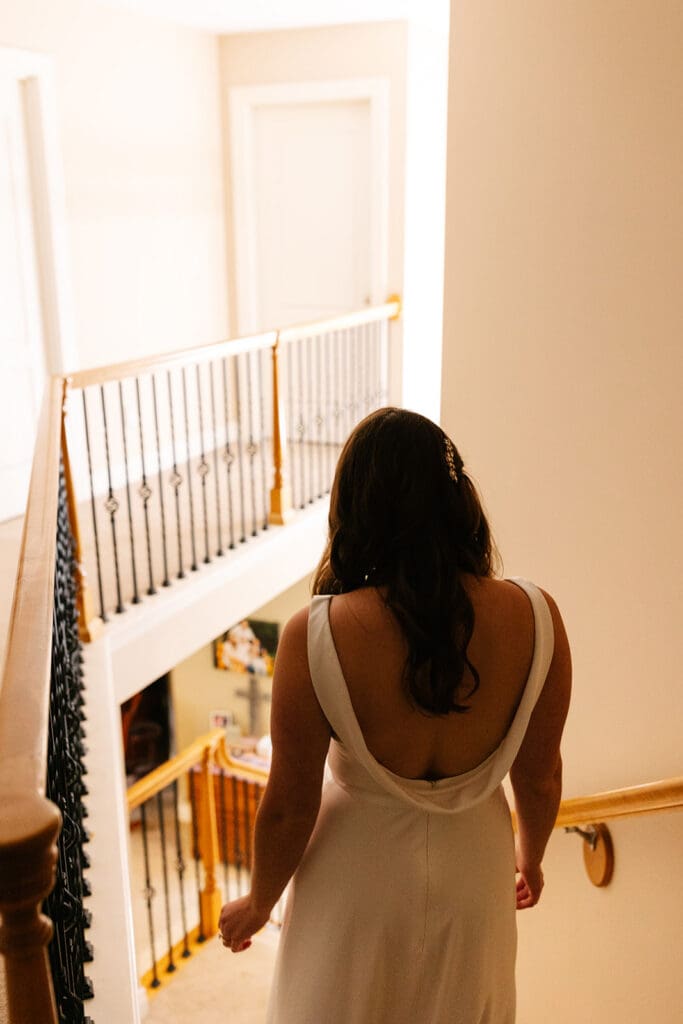
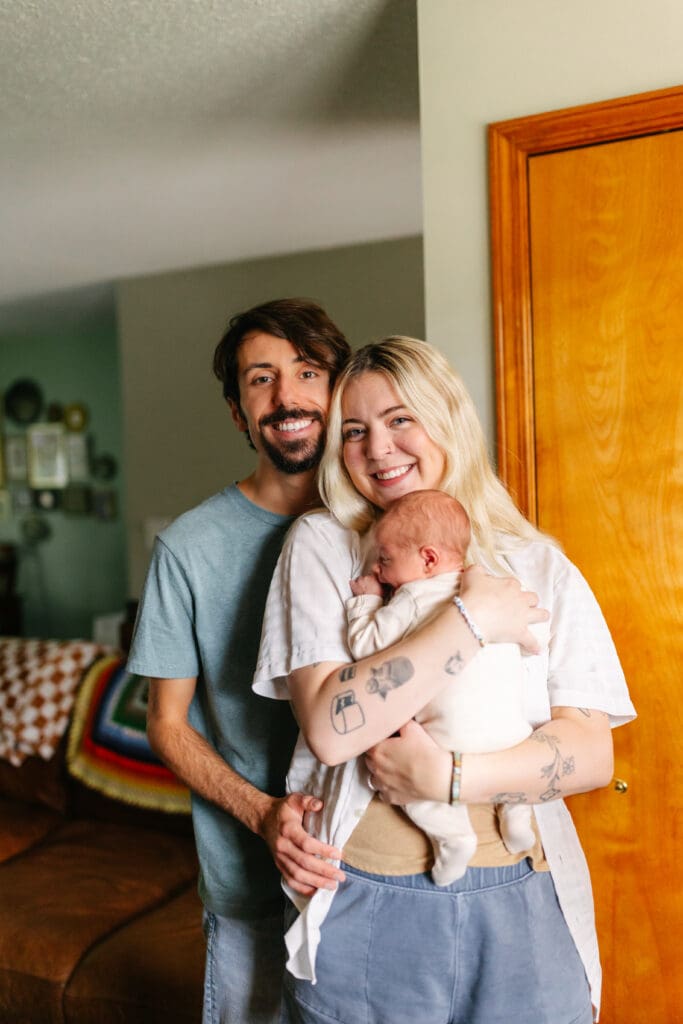
From a photography standpoint, intimate at-home weddings create beautiful storytelling opportunities. Personal details, family heirlooms, and emotional interactions naturally become part of the gallery. Consequently, the photographs feel authentic and connected to the couple’s real life.
Most importantly, intimate weddings remind couples that a meaningful celebration does not need to feel extravagant. Sometimes the most beautiful wedding days happen in the places that already feel like home.
Frequently Asked Questions:
Yes! Many couples are choosing intimate at-home weddings because they feel more personal, relaxed, and meaningful.
Absolutely! Familiar spaces, natural interactions, and meaningful details create emotional, storytelling-rich photographs.
100%, yes! Intimate weddings often feel incredibly elevated because couples can focus intentionally on meaningful details and experiences.
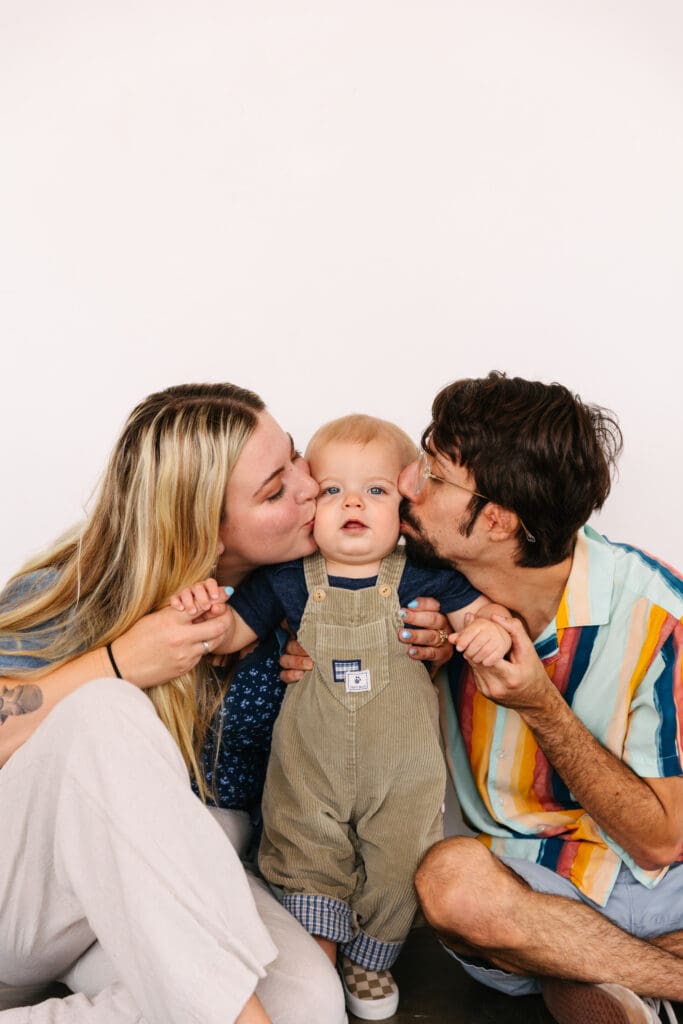
When thinking about professional photographs, weddings and engagements usually come to mind first. However, many people are discovering the value of milestone sessions long before and after the wedding. The value of milestone sessions goes far beyond updated photographs! These sessions preserve connection, growth, and the quiet beauty of every season of life.

Milestone sessions document everything from graduation to growing families. They celebrate the life your building and capture the sweet moments you don’t want to forget!
First, milestone sessions create intentional time and space to remember the present. Life gets busy quickly between work, routines, and family responsibilities. Because of that, many people love having a reason to slow down. These sessions often feel relaxed!
Additionally, milestone sessions help tell a fuller story over time. Maybe your first session takes place downtown in Kansas City. Then, you capture your engagement and wedding. A few years later, you return with children or celebrate another milestone together. Those photographs become part of your family legacy!
Another reason people love milestone sessions is the freedom they provide. Unlike a wedding day, there is no strict timeline or pressure. You can choose meaningful locations, wear outfits that feel authentic, and simply enjoy being present! As a result, the photographs often feel natural and genuine.
Most importantly, your journey deserves to be celebrated and remembered! Love continues to grow and evolve over time. Milestone sessions simply create space to honor that journey together.

Frequently Asked Questions:
Many people schedule sessions near their anniversary date, but it can be for any meaningful season!
Not at all. Life deserves to be celebrated and documented!
Not at all. Every year of marriage deserves to be celebrated and documented!
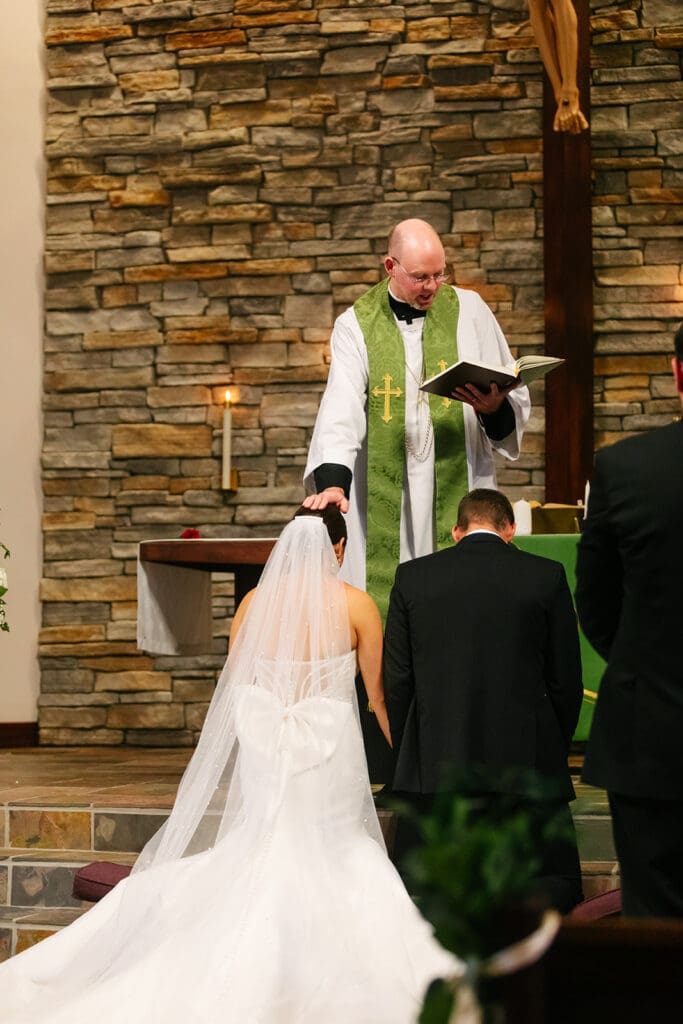
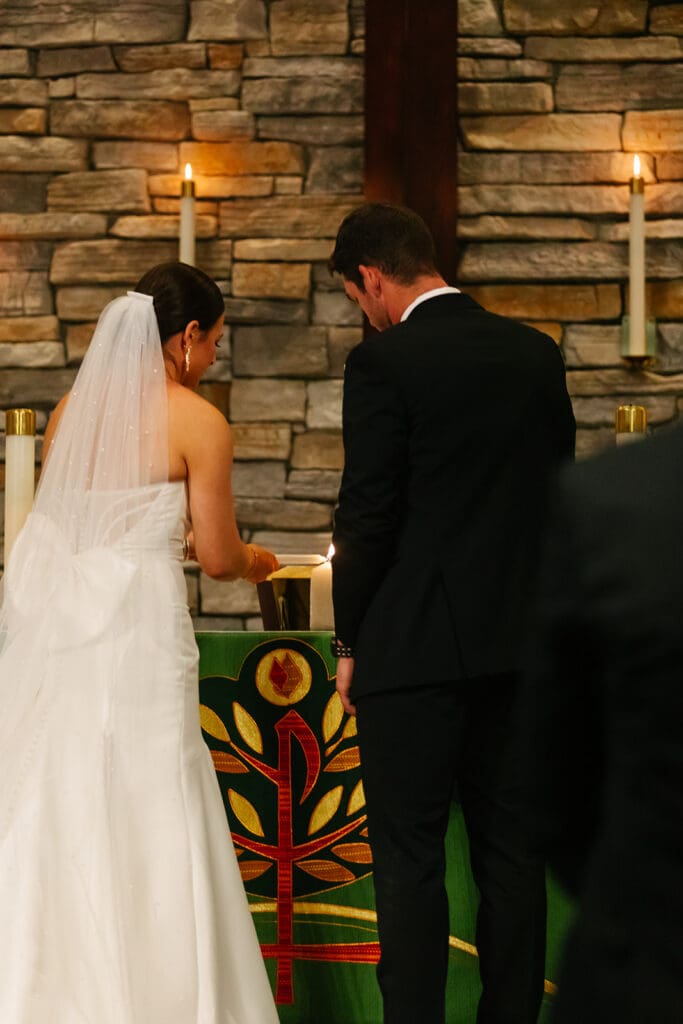
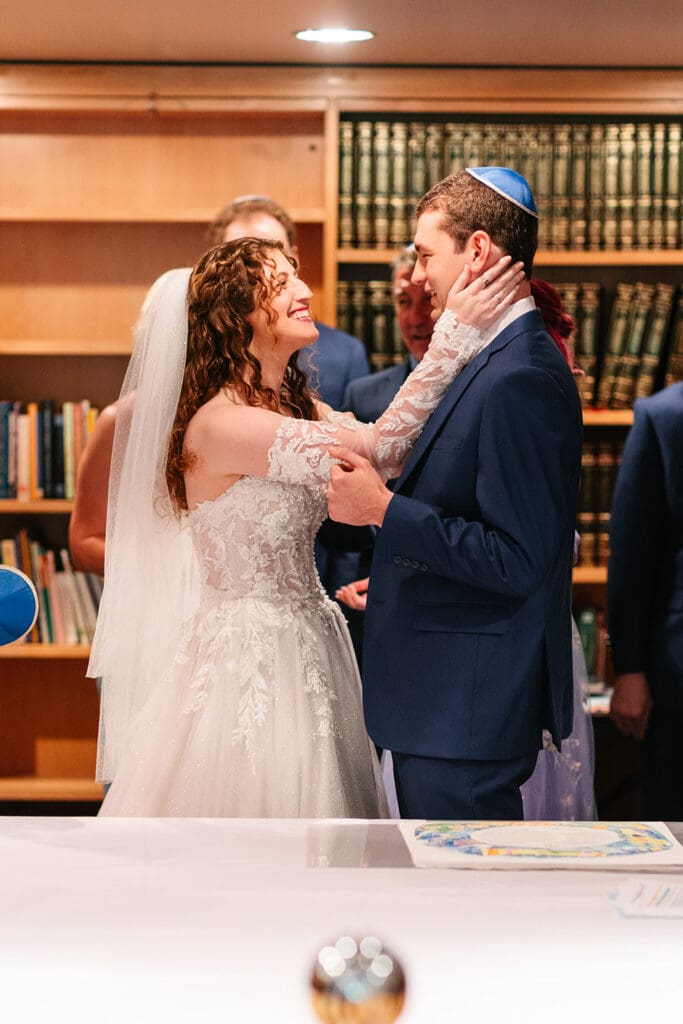
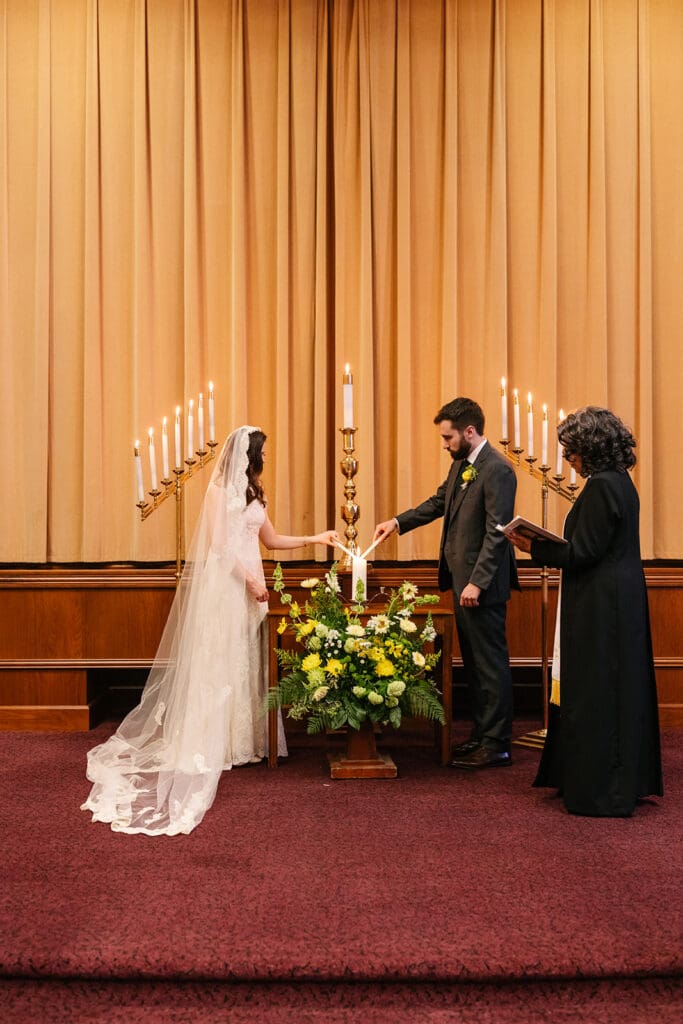
One meaningful part of wedding photography is incorporating cultural traditions into your wedding photography in a way that feels authentic and intentional. Every couple brings unique backgrounds, stories, and family traditions into their wedding day! Because of that, incorporating cultural traditions into your wedding photography creates images that feel deeply personal and emotionally rich.
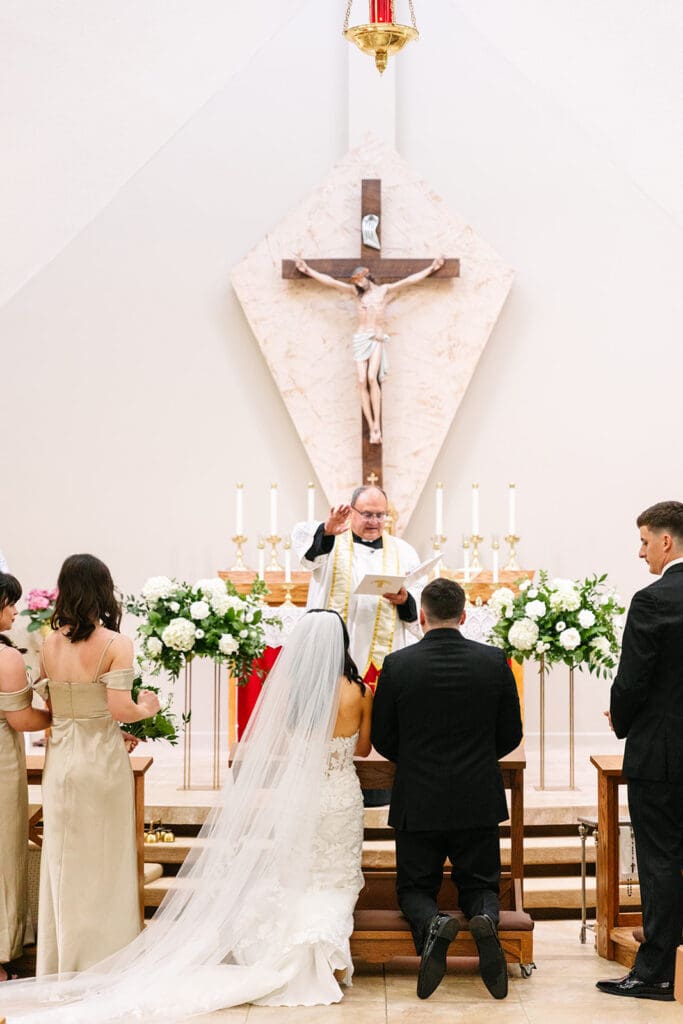
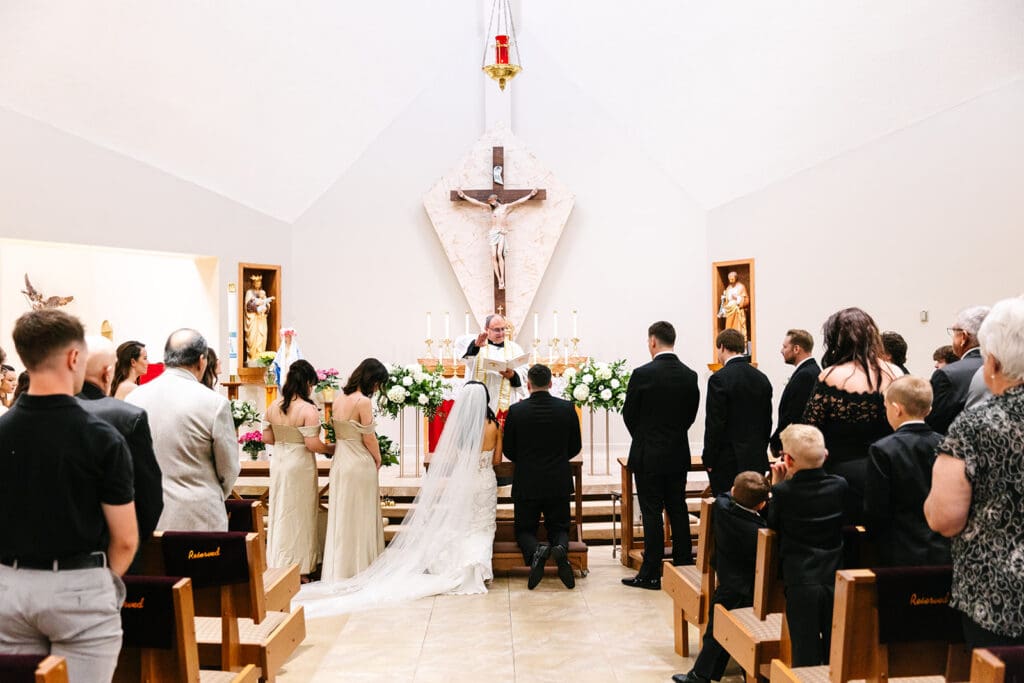
Wedding traditions often carry generations of meaning. Whether it is a tea ceremony, breaking the glass, a money dance, handfasting, or traditional family attire, these moments deserve thoughtful documentation. Additionally, they often become some of the most emotional and memorable parts of the entire celebration.
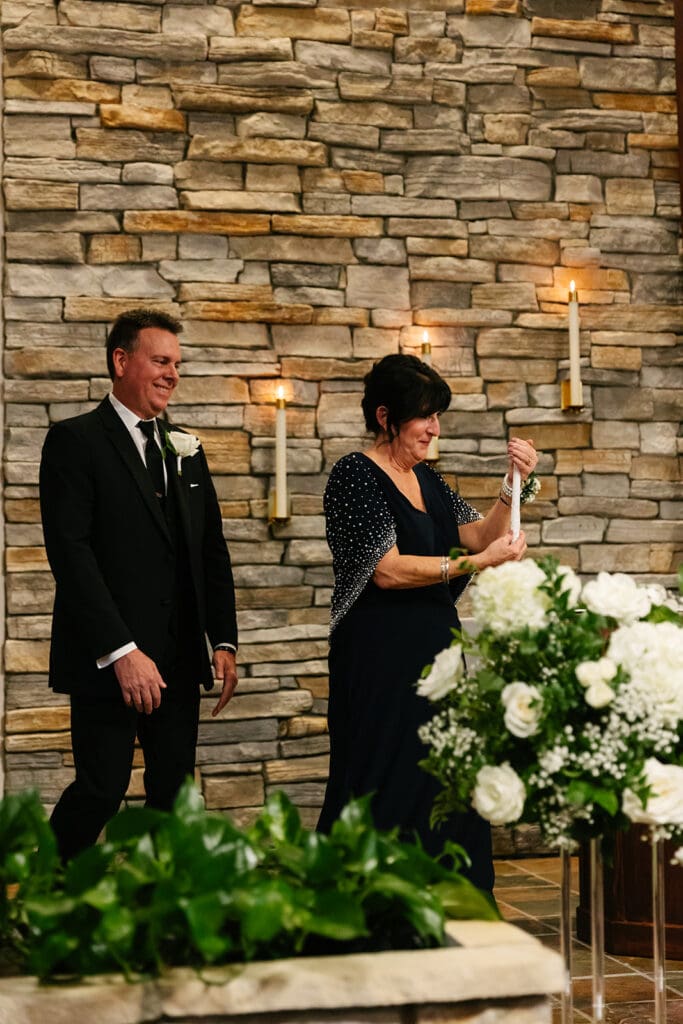
First, communication matters! Before the wedding day, I always encourage couples to share important traditions and explain what each moment means to them. As a result, I can photograph those traditions intentionally rather than simply reacting in the moment. Understanding the significance behind each event helps preserve the emotion attached to it.
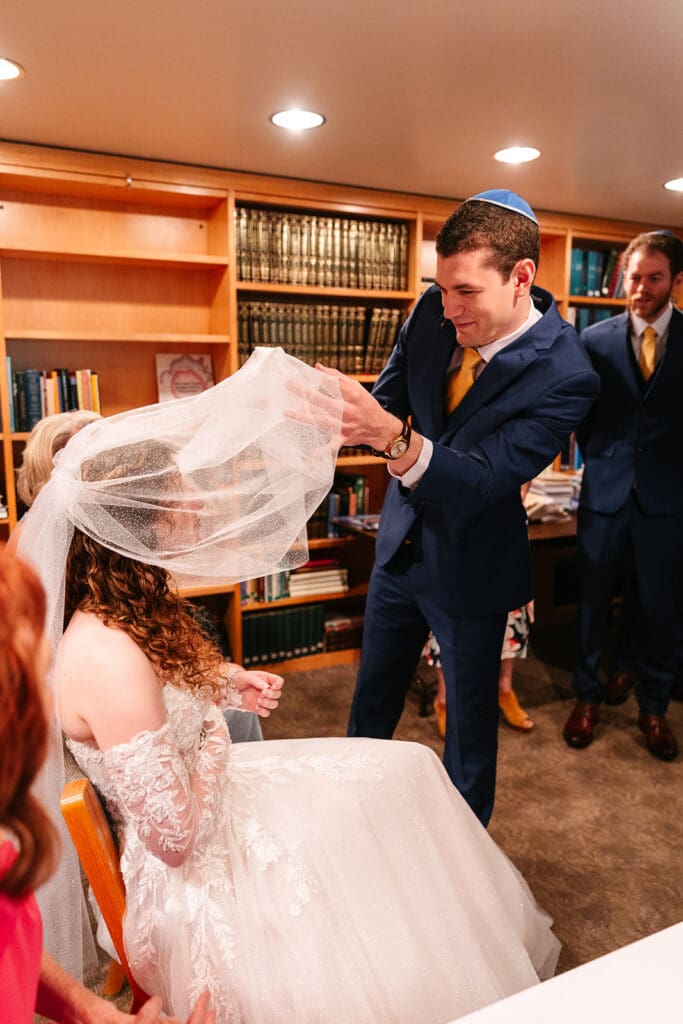
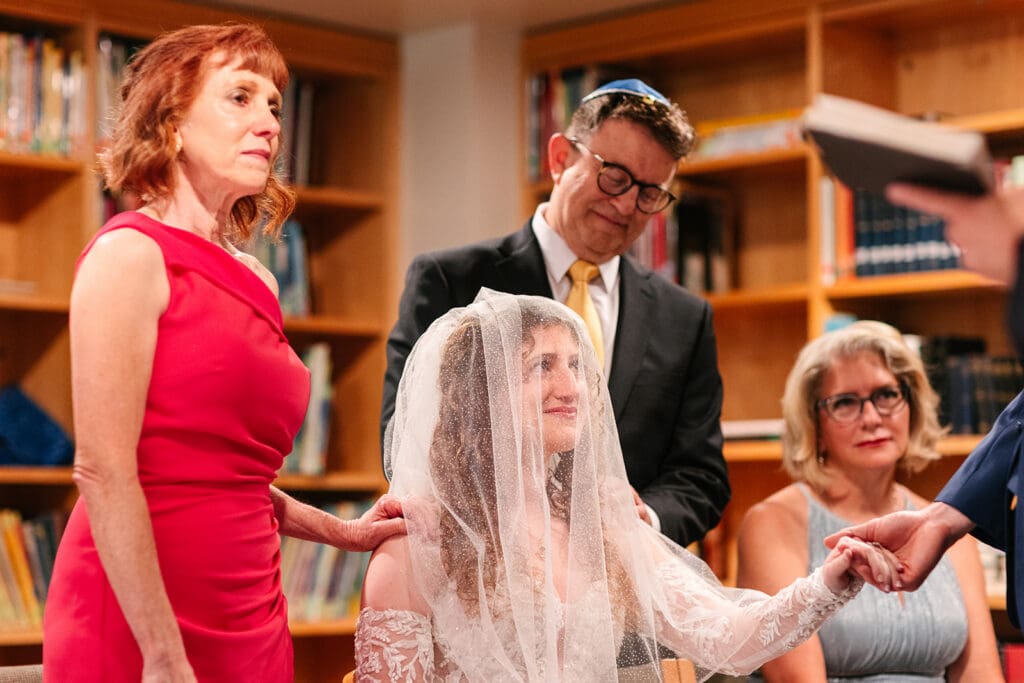
Next, timing plays a huge role. Cultural traditions sometimes happen quickly or involve multiple family members at once. Building space into the timeline ensures those moments never feel rushed. This also allows family members to fully participate and stay present during meaningful parts of the day!

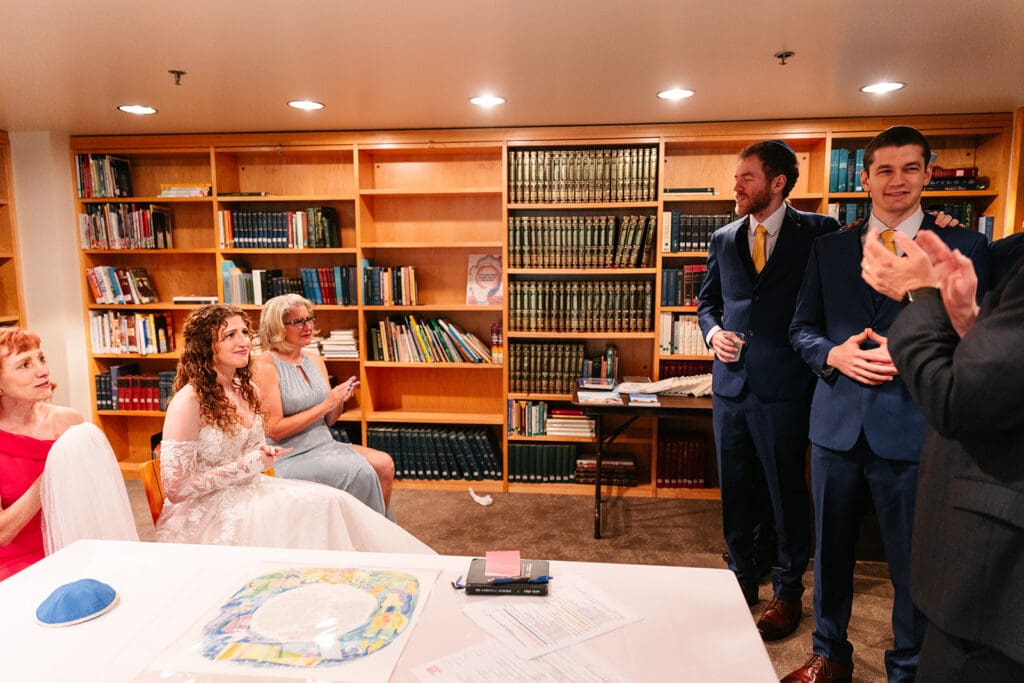
Incorporating cultural traditions into your wedding photography allows future generations to look back and understand where they came from. These images become more than wedding photographs, they become family history. Most importantly, your wedding day should reflect who you are! Traditions do not have to follow a single format or fit perfectly into modern trends. Instead, they should feel meaningful to you and your families.
Frequently Asked Questions:
Cultural traditions preserve family history, heritage, and meaningful emotional moments throughout the wedding day.
Yes! Sharing the meaning and timeline of traditions helps ensure they are photographed intentionally and respectfully.
Absolutely. Many couples blend modern wedding styles with meaningful cultural traditions in a way that feels personal and authentic!
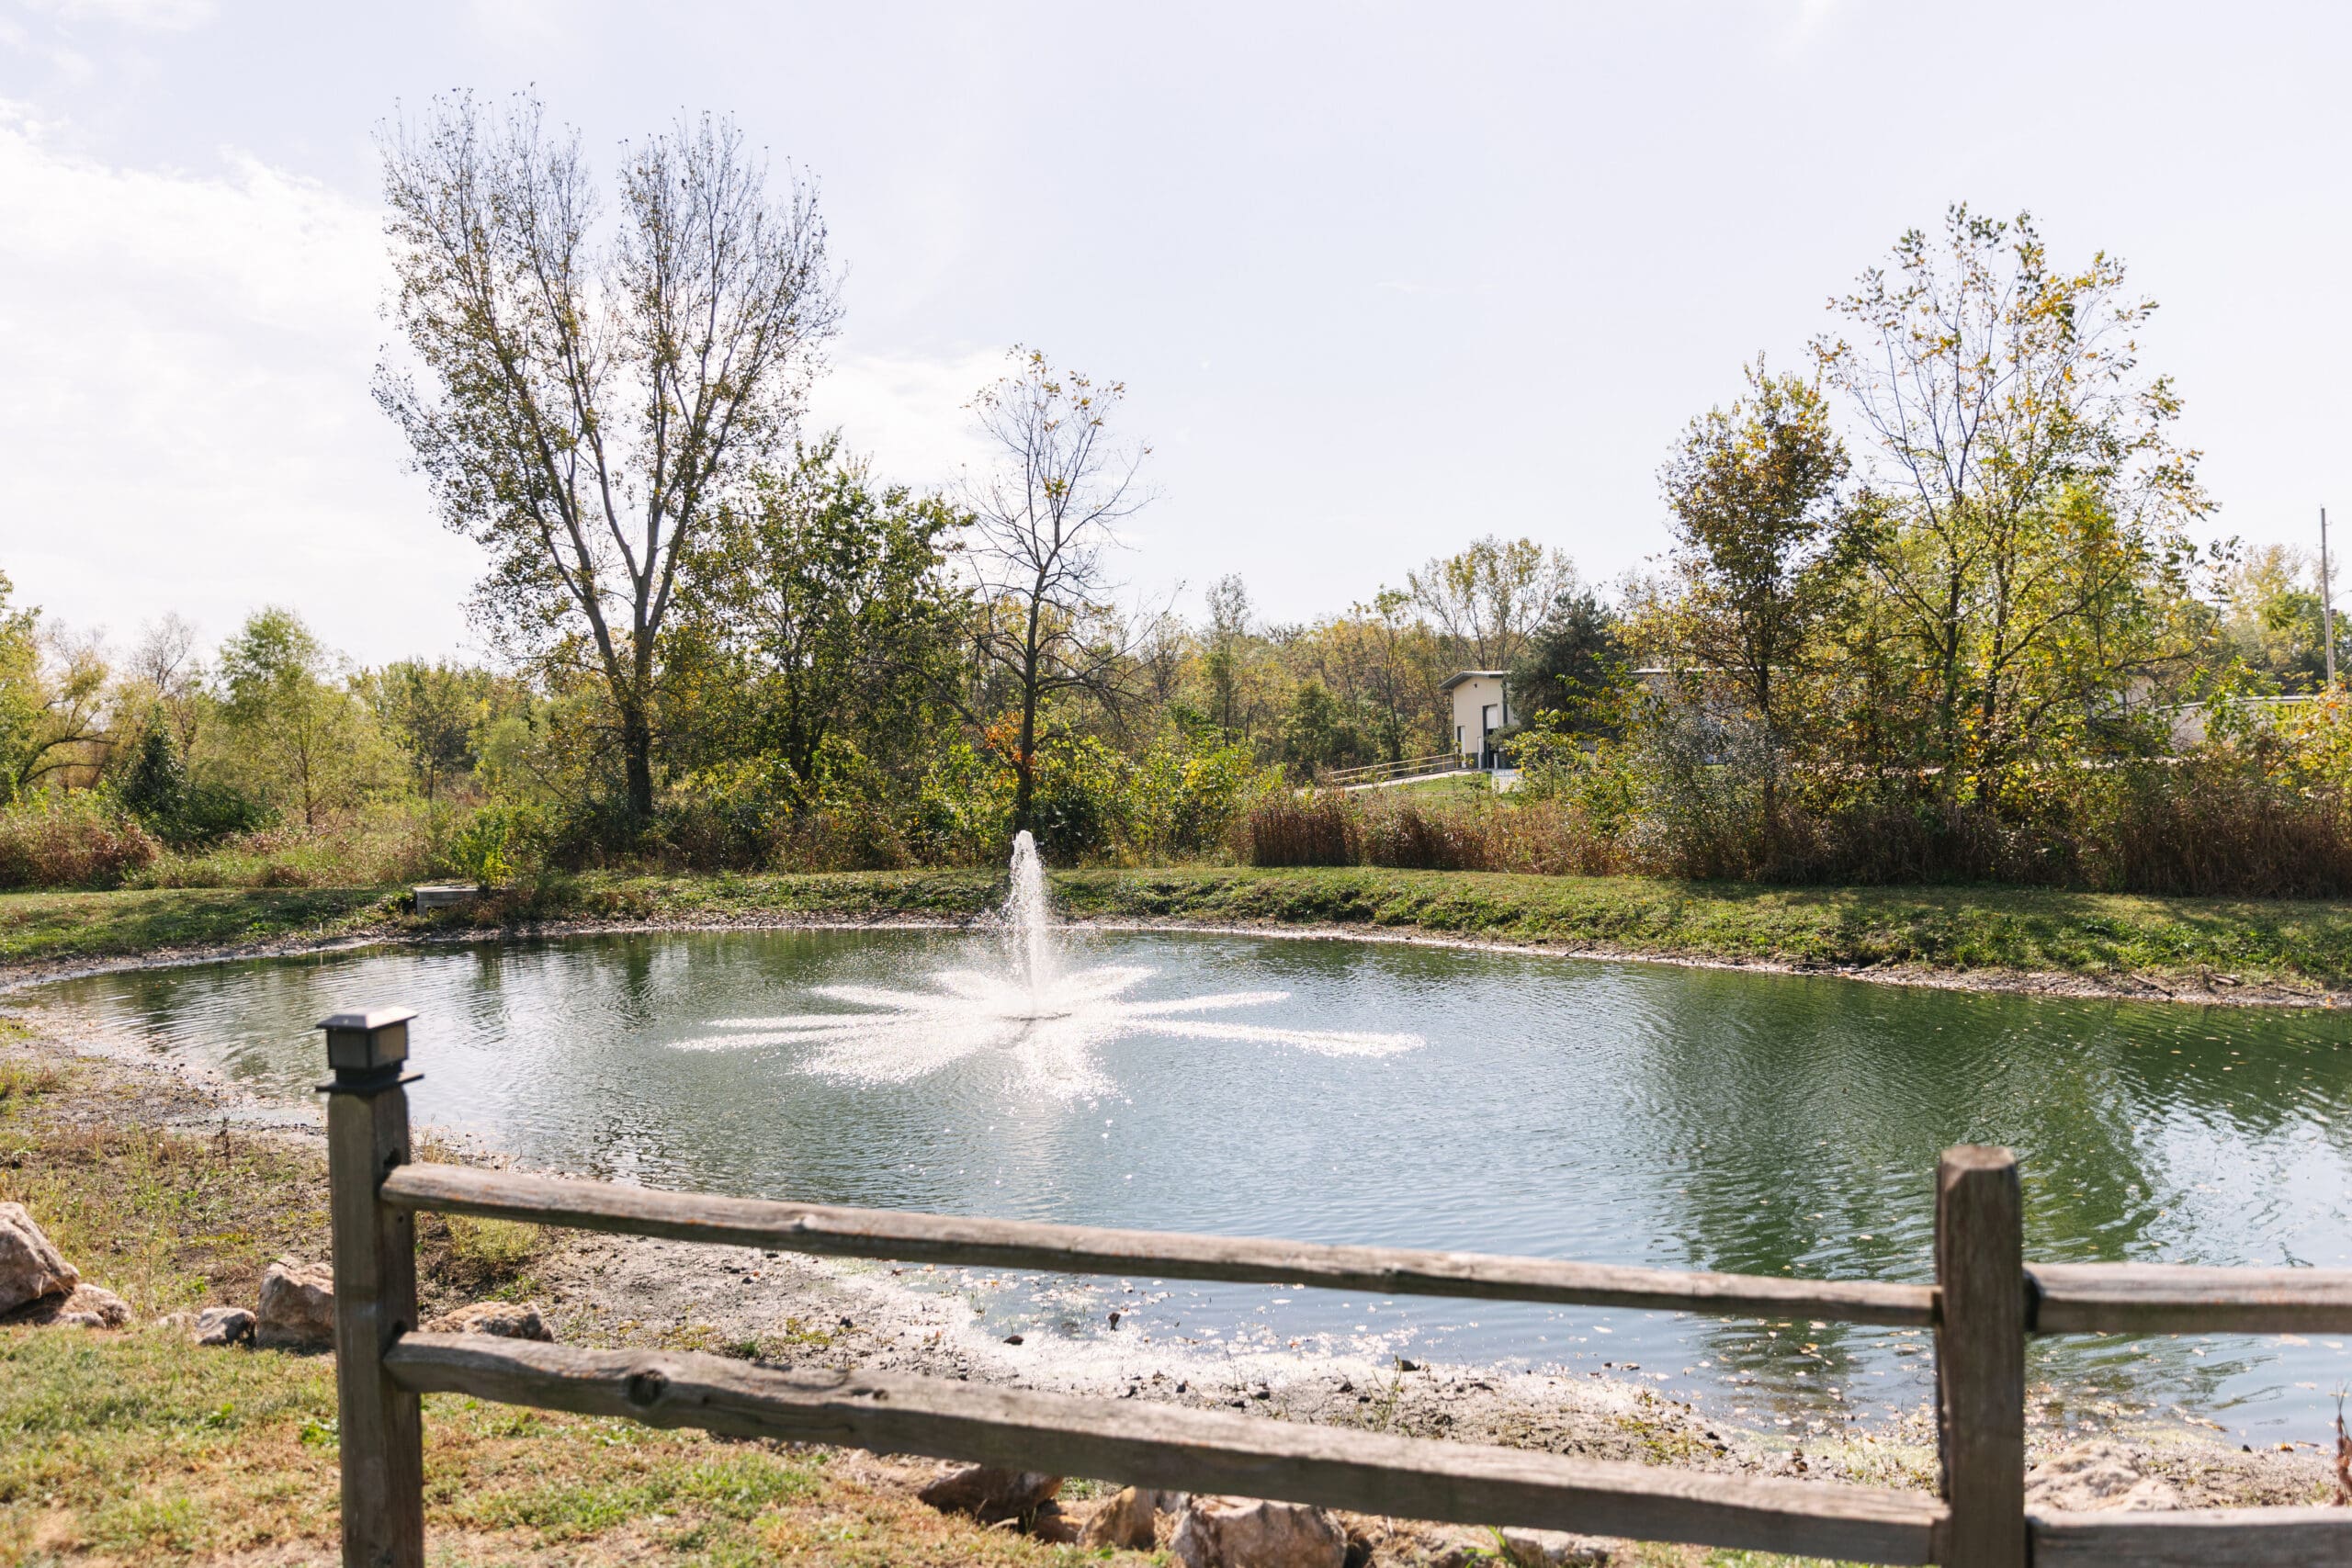
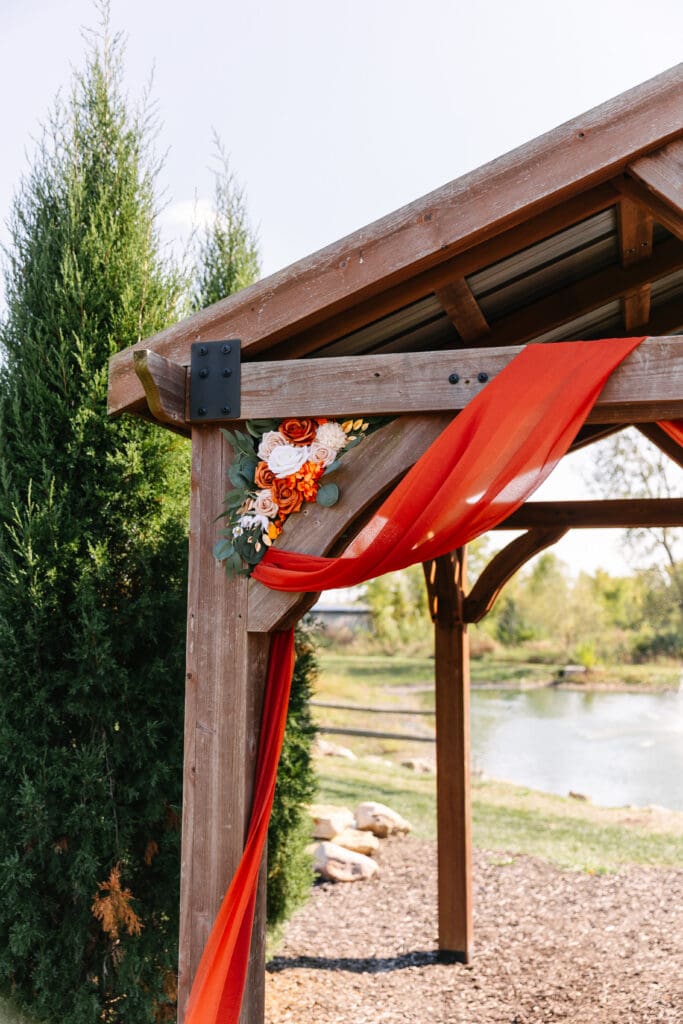
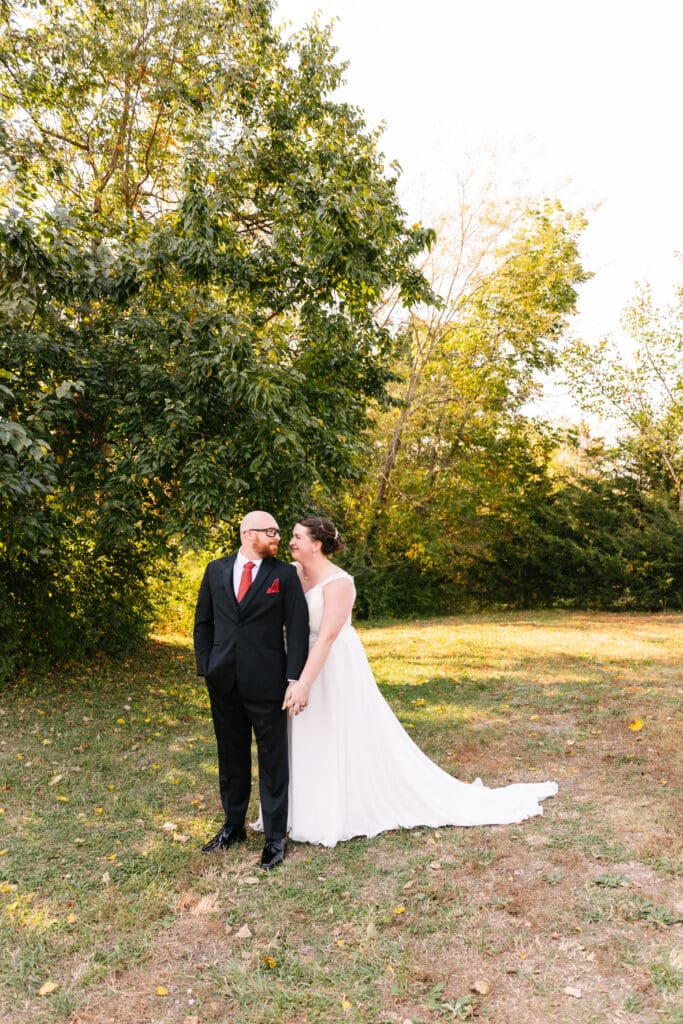
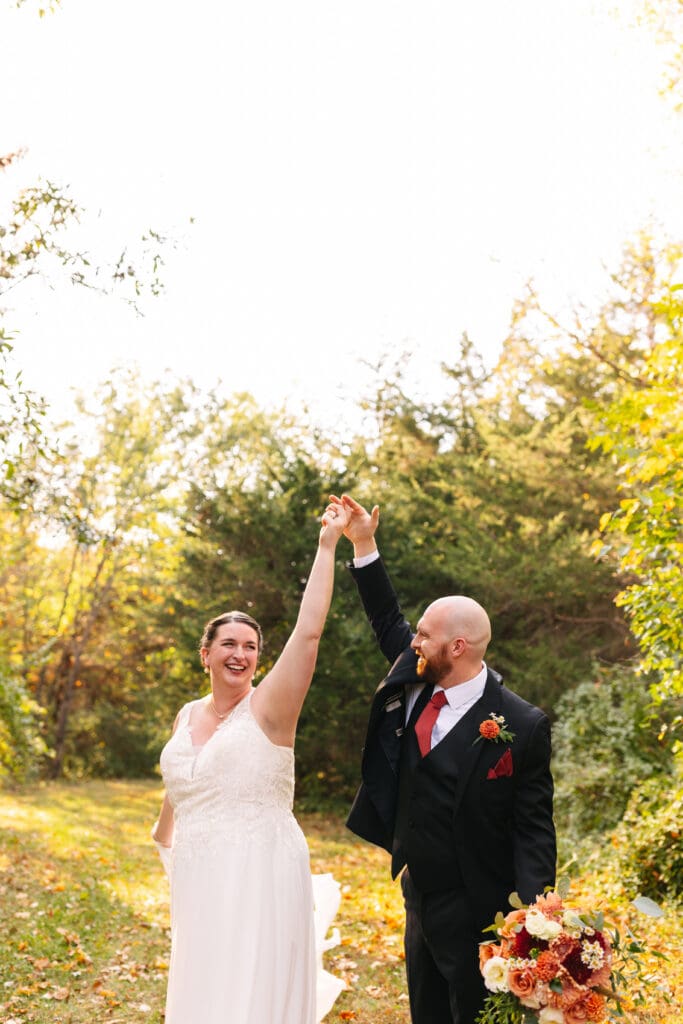
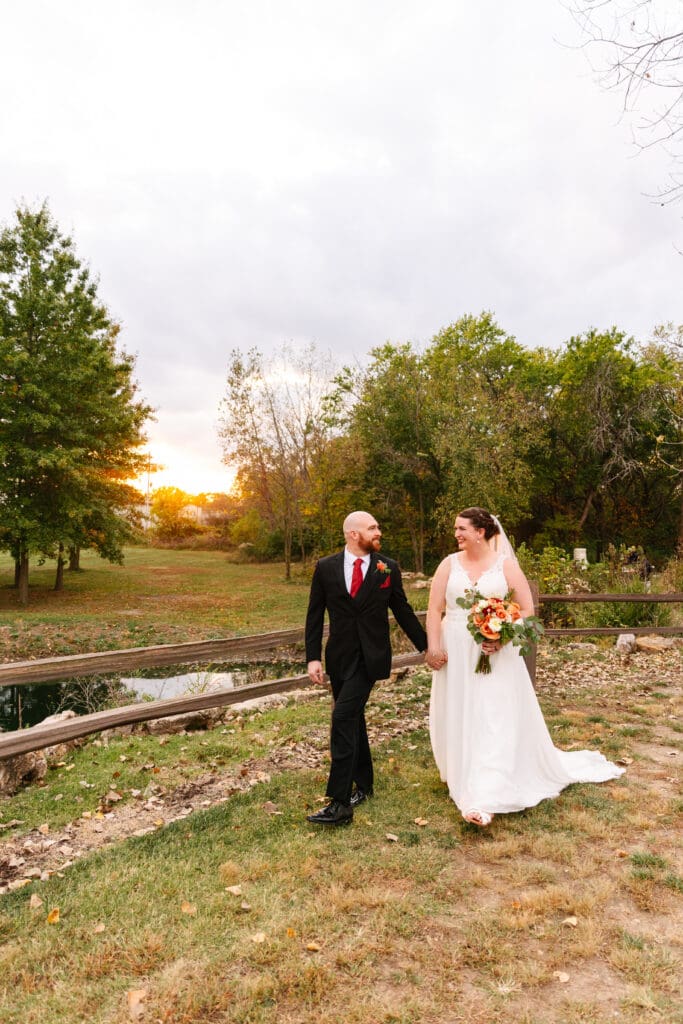
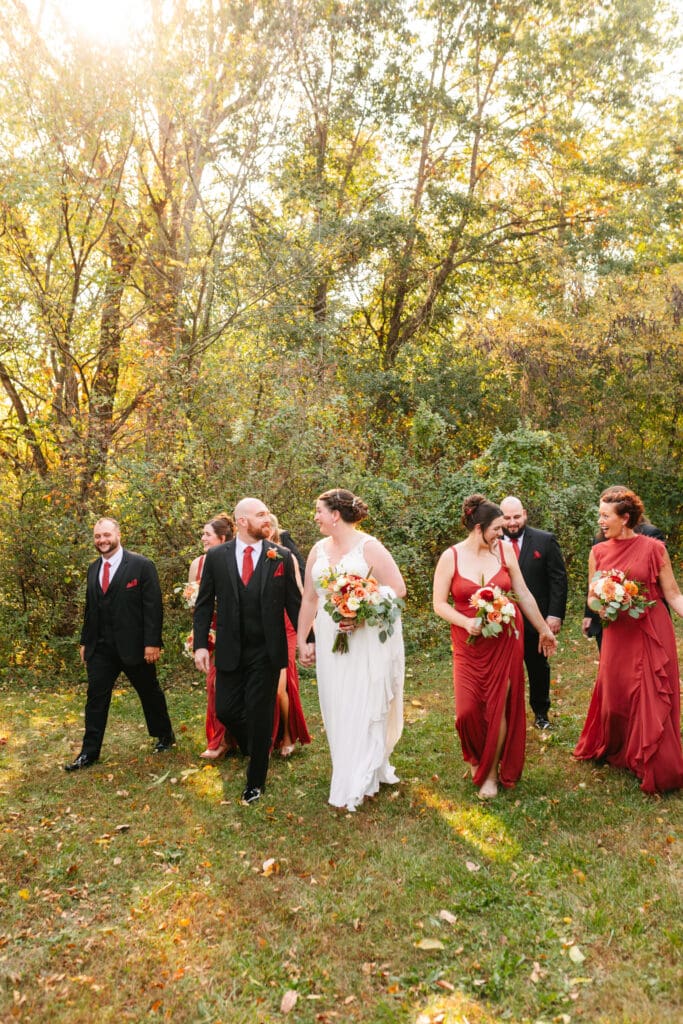
The Dogwood Gardens venue is perfect for couples dreaming of a romantic outdoor wedding. Located near Kansas City, it offers beautiful gardens, peaceful scenery, and timeless charm. The venue feels private and relaxing from the moment you arrive. Lush greenery, winding paths, and blooming flowers create a beautiful setting for wedding photographs. Every part of the property feels soft, elegant, and inviting.


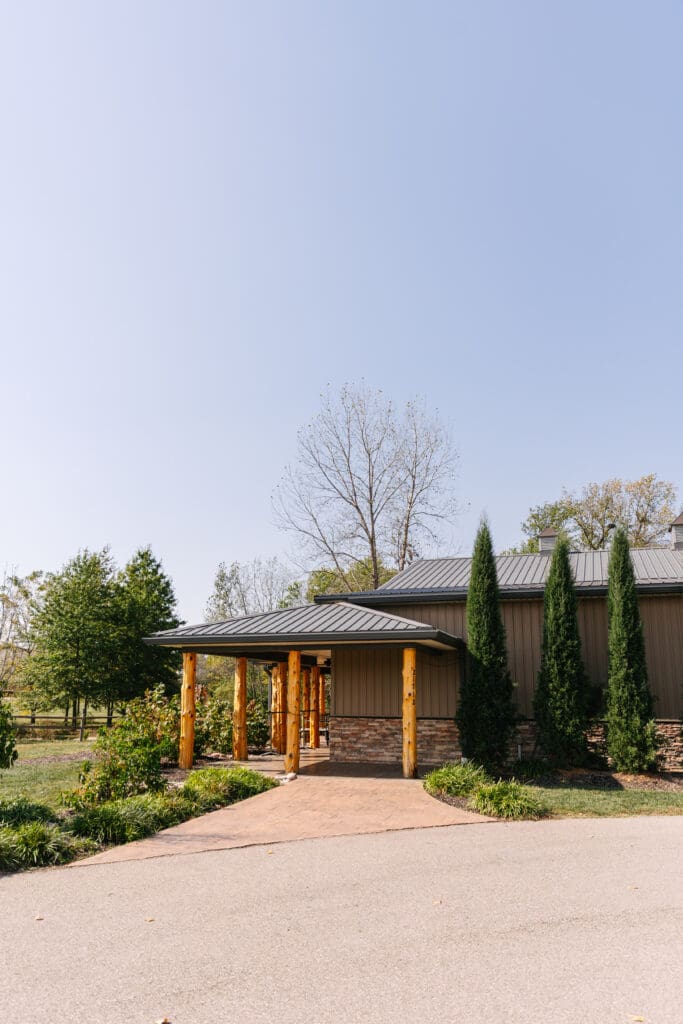
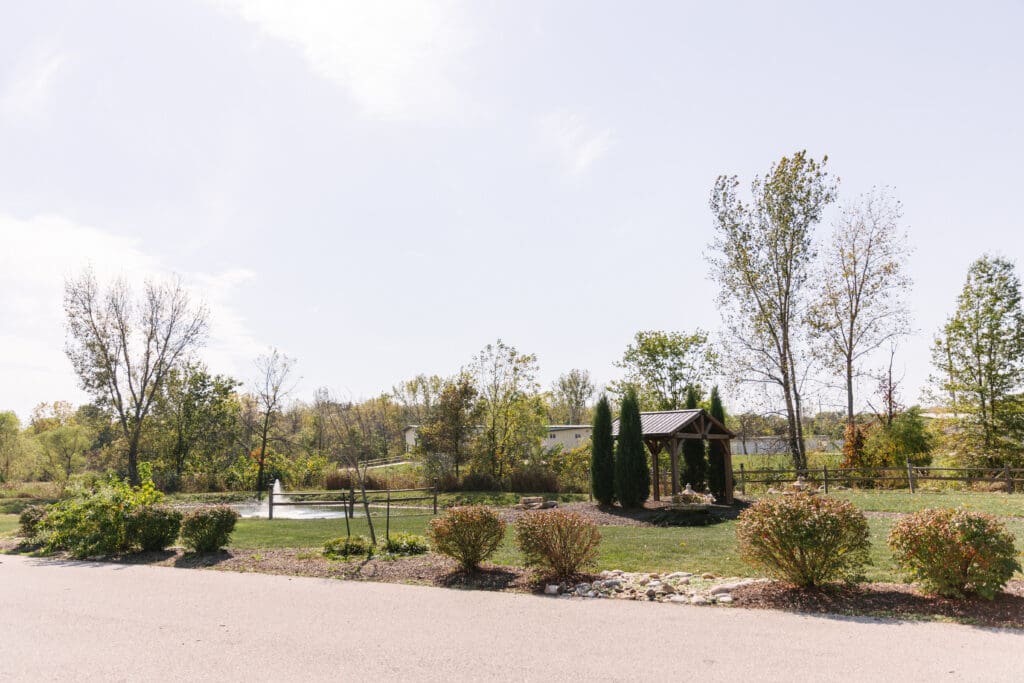
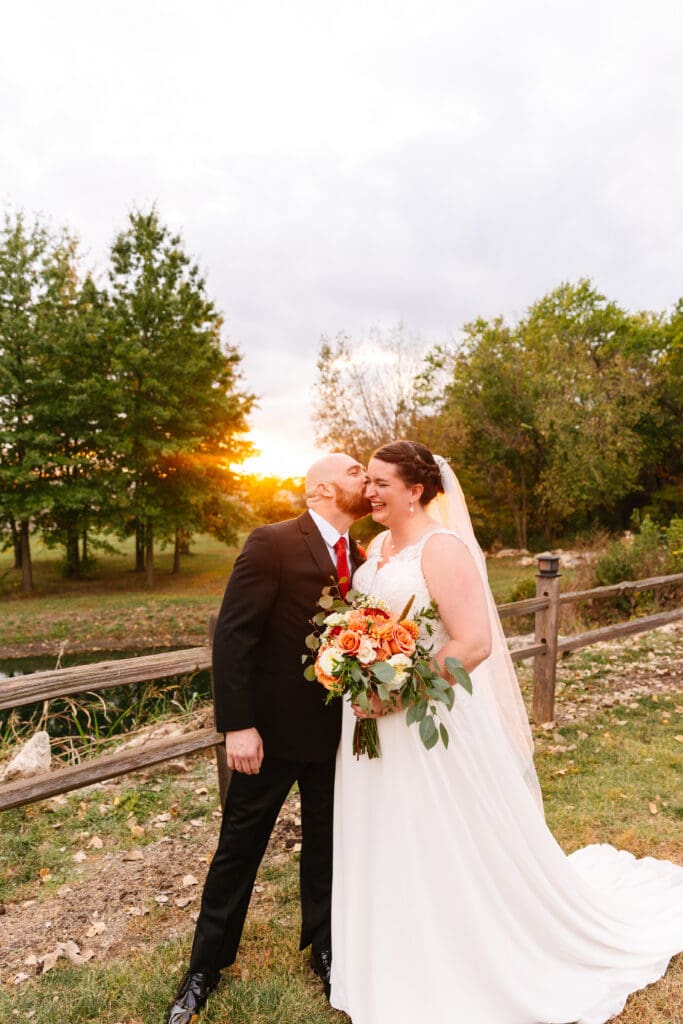
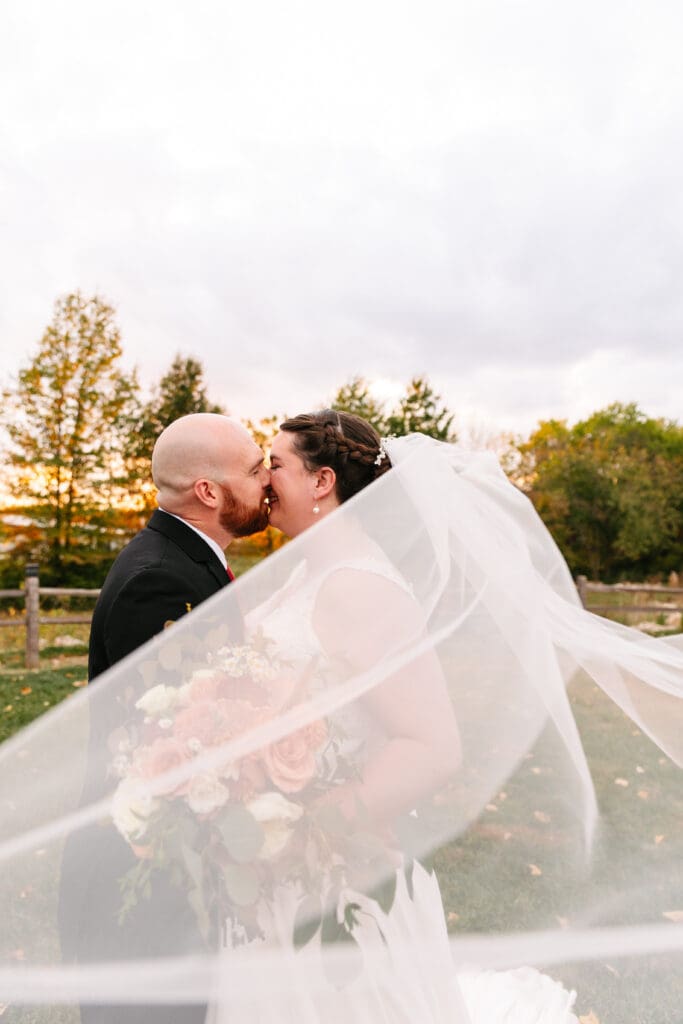
One of the best things about this venue is its natural beauty. Couples do not need a large amount of décor because the venue already feels stunning on its own. Spring weddings look fresh and colorful, while Fall weddings glow with warm golden light. The ceremony spaces feel intimate and romantic. Guests can enjoy the peaceful atmosphere while couples exchange vows surrounded by nature. The property also offers countless portrait locations for timeless wedding photographs.
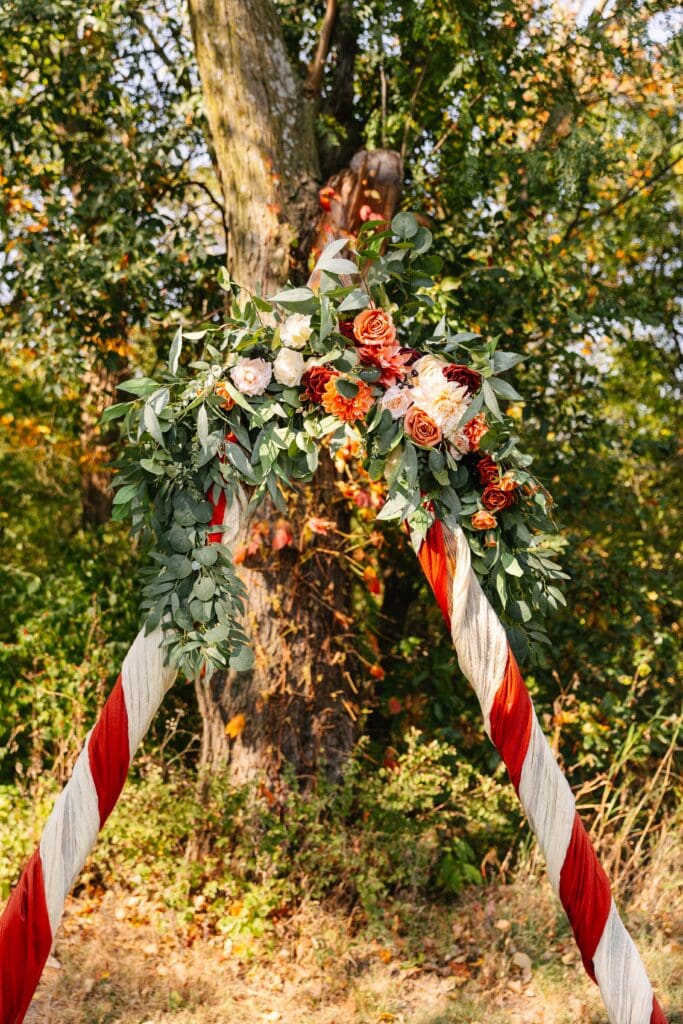
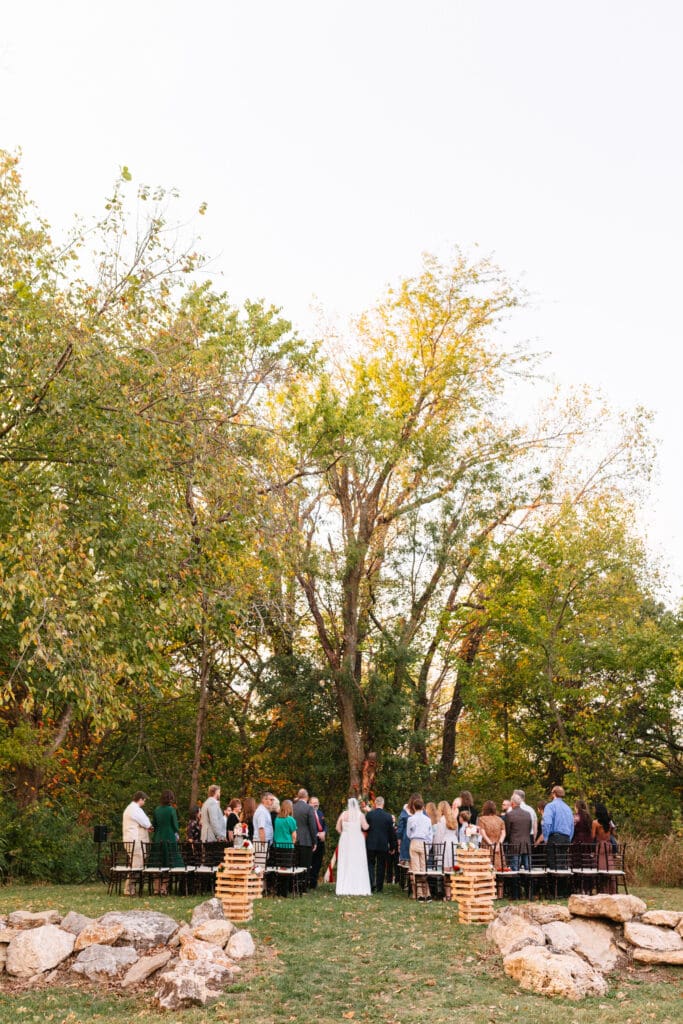
Golden hour at the venue is especially beautiful. The warm sunlight filters through the trees and creates dreamy lighting for newlywed portraits. It is the perfect setting for soft, romantic images that feel timeless. As a Kansas City wedding photographer, venues like this are always exciting to photograph! Every corner of the property offers beautiful backdrops and natural light.

If you are searching for a romantic outdoor wedding venue near Kansas City, this one is definitely worth adding to your list!


Frequently Asked Questions:
Couples love The Dogwood Gardens for its intimate atmosphere, natural beauty, and the romantic golden hour lighting throughout the property.
It is located near Kansas City and provides couples with a secluded garden venue feel while still being conveniently accessible for guests.
It offers a peaceful outdoor setting filled with lush gardens, natural beauty, and romantic ceremony spaces that create a timeless wedding atmosphere.

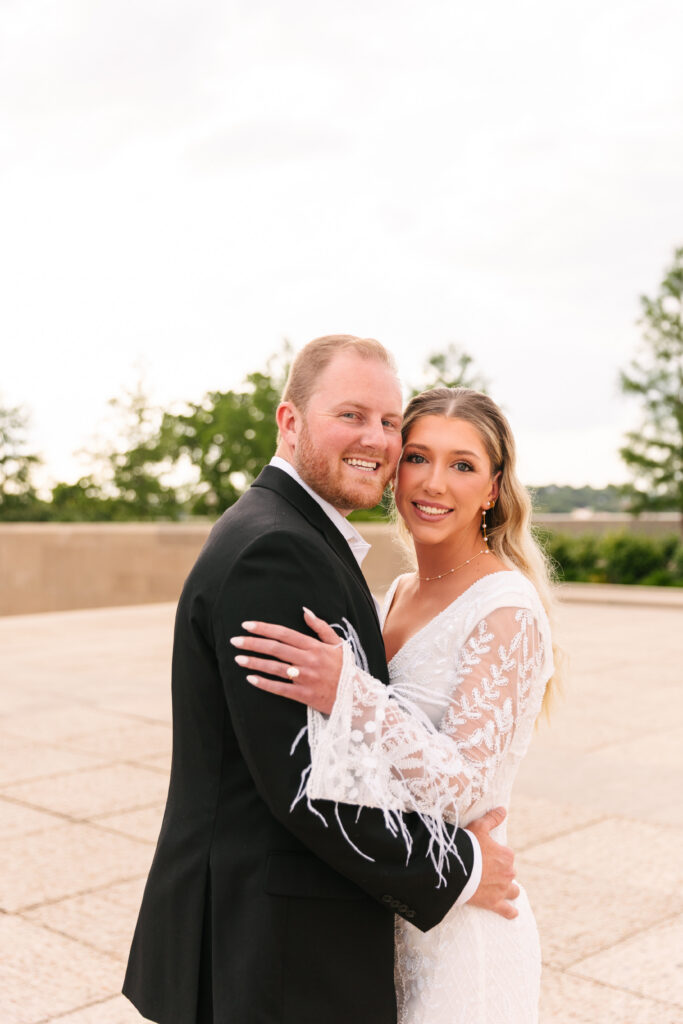
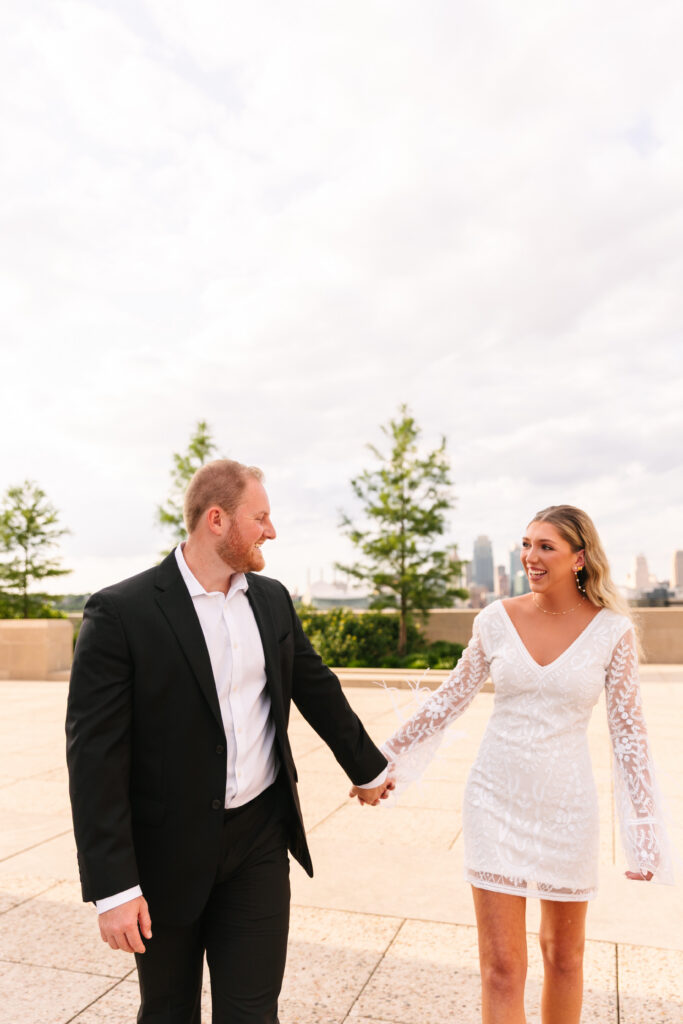
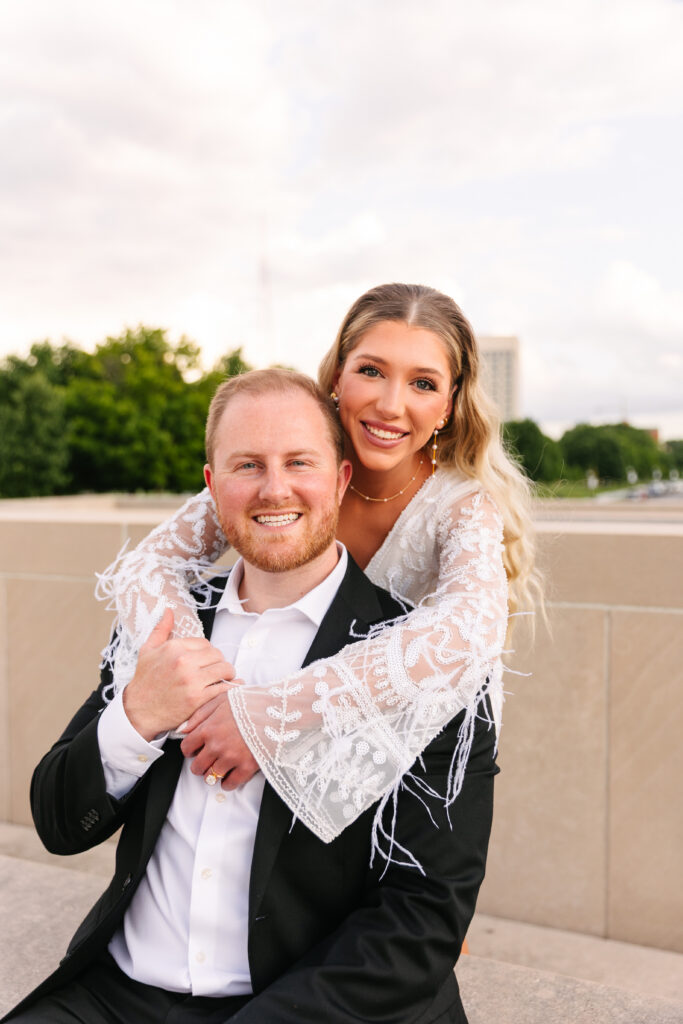
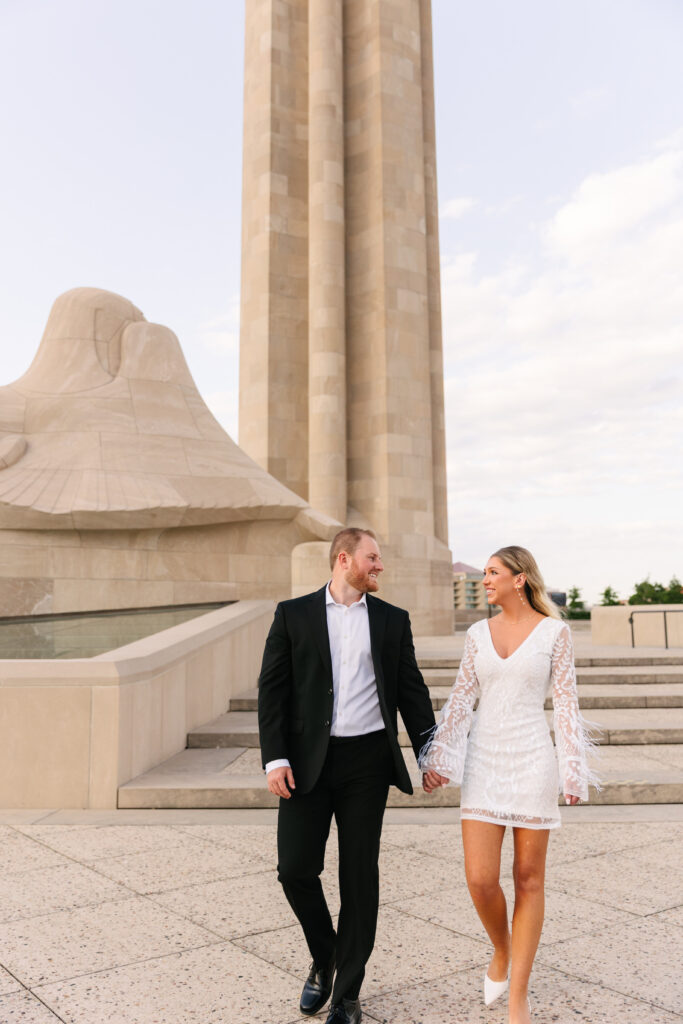
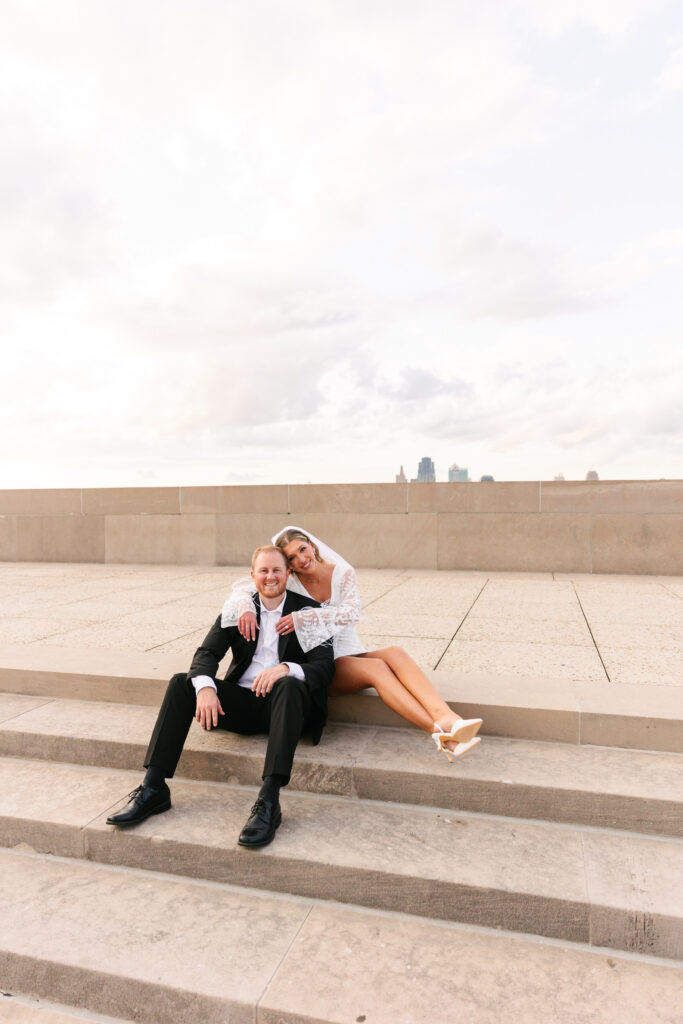
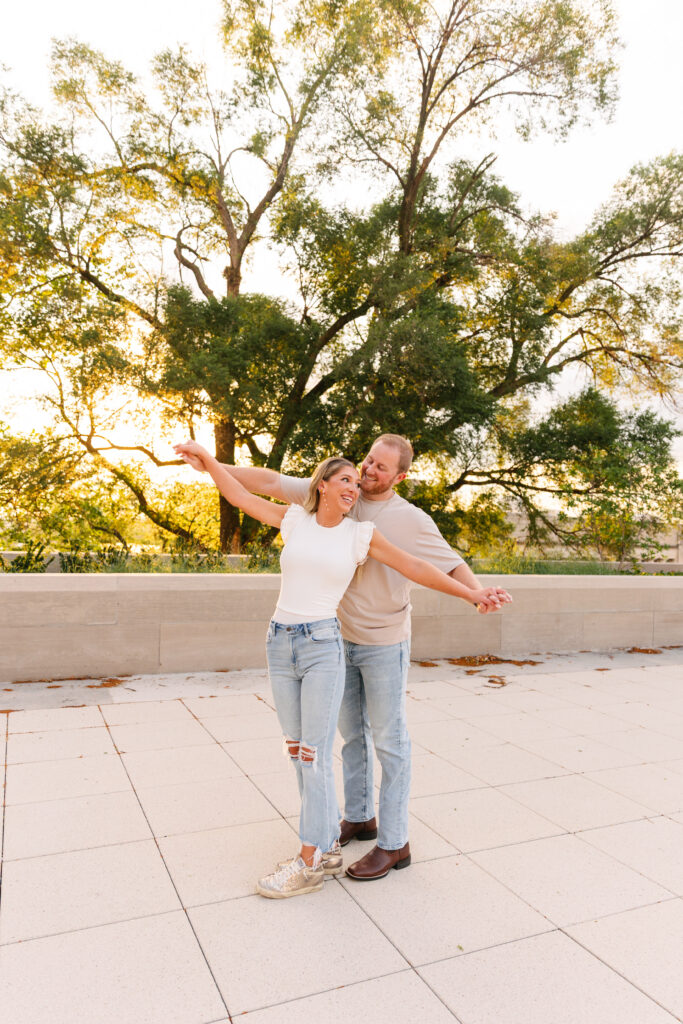
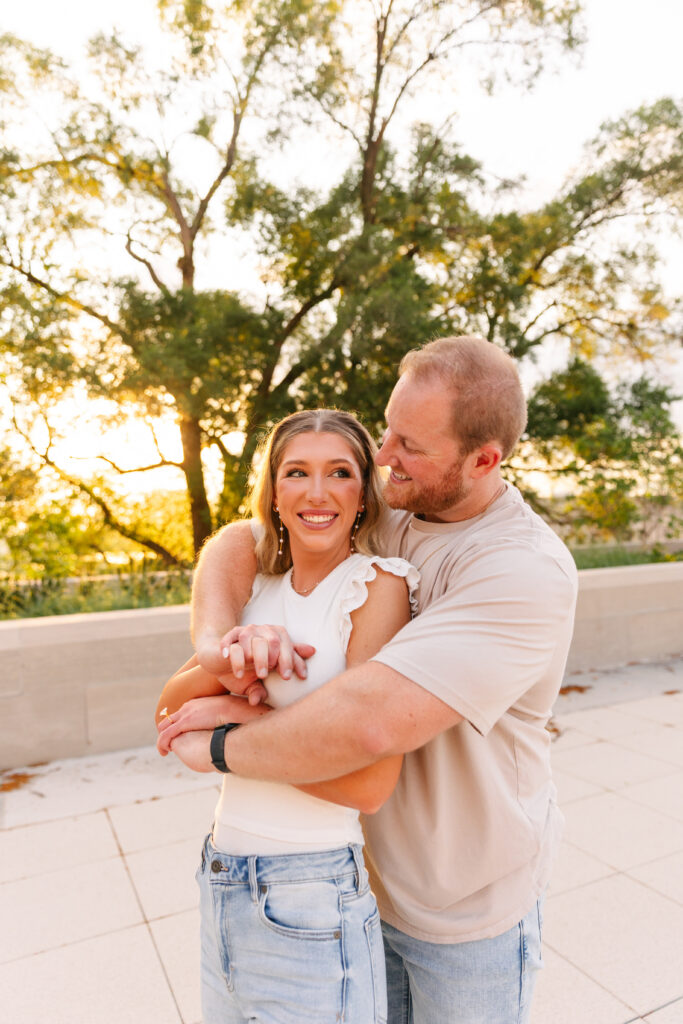
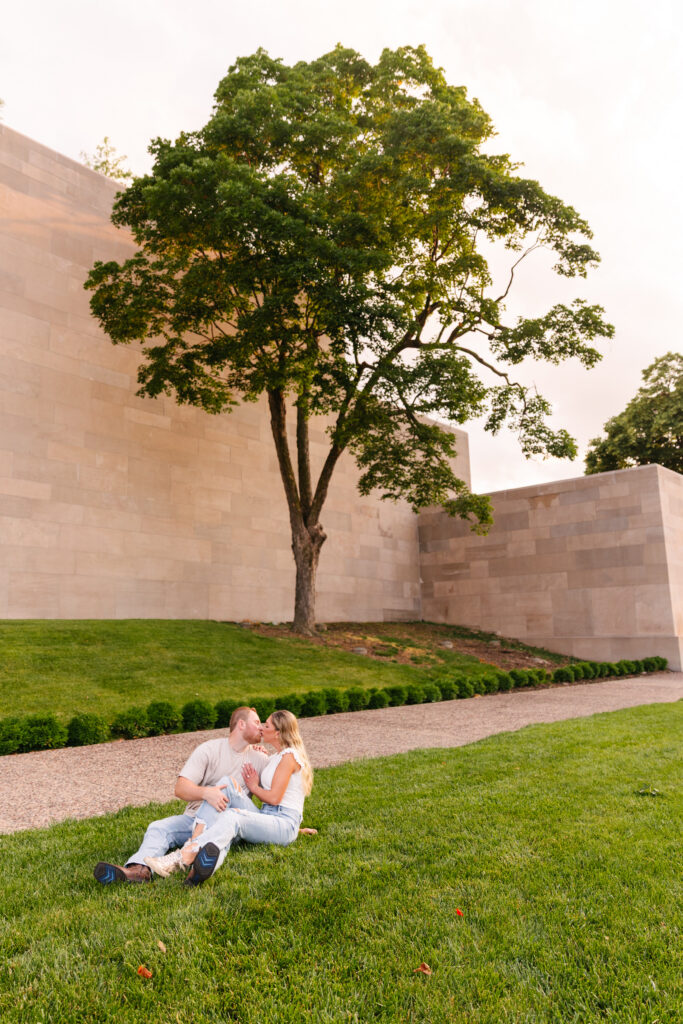
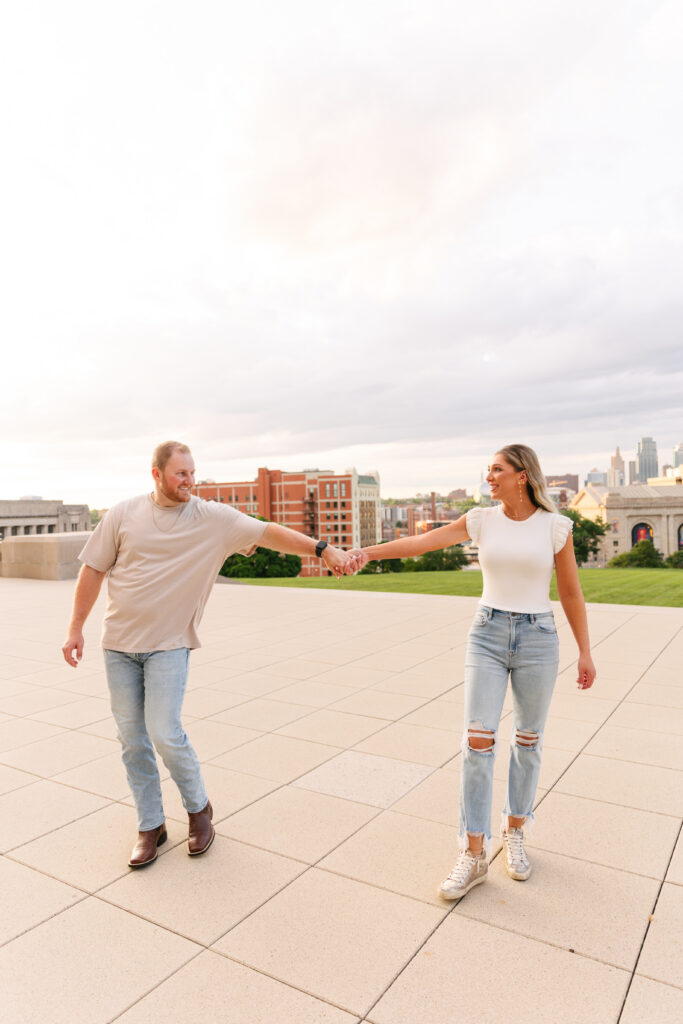
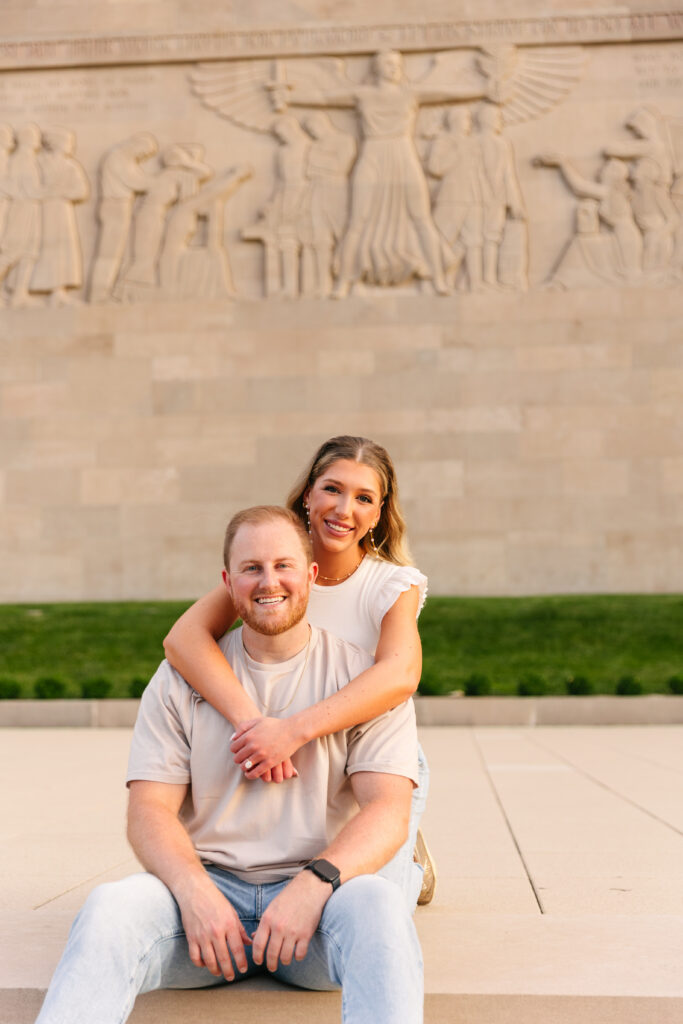
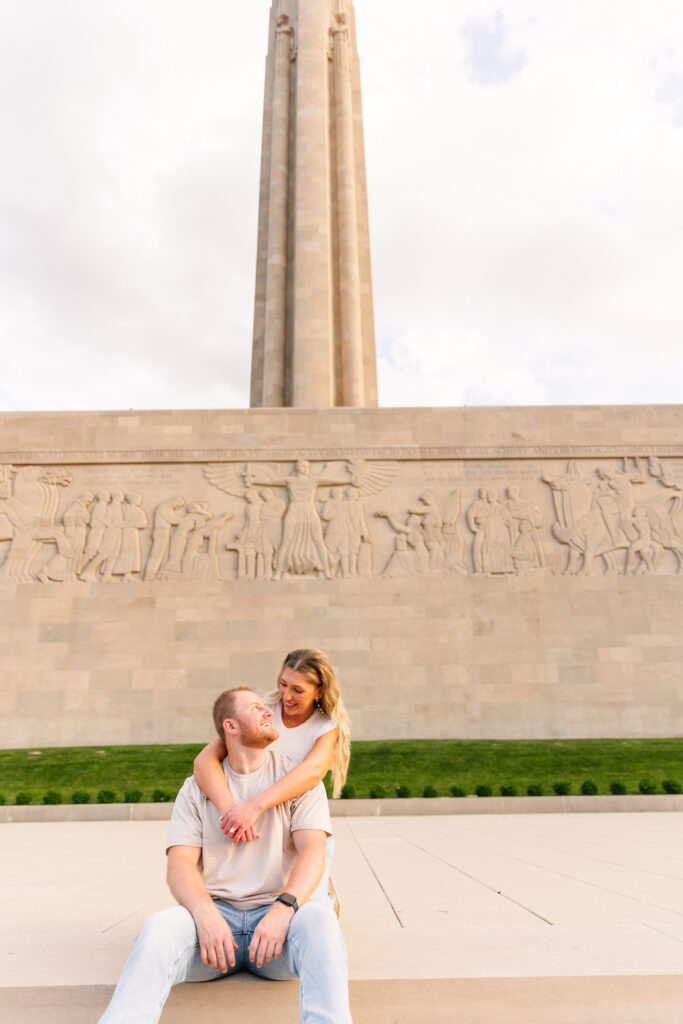
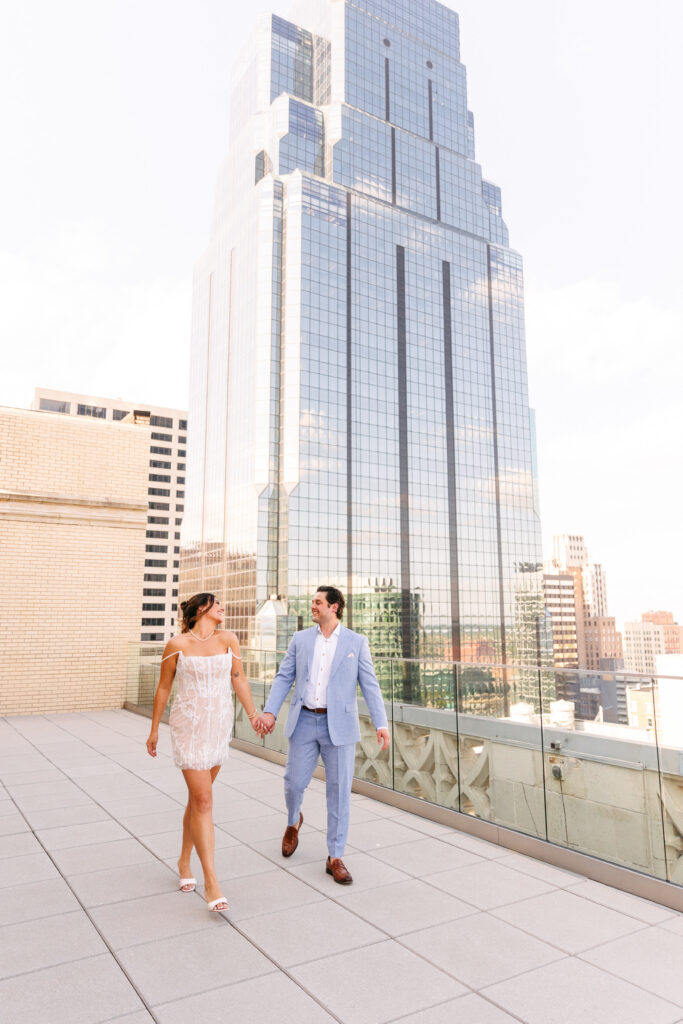
There is a reason the Nelson-Atkins Museum of Art engagement session remains one of the most requested experiences in Kansas City. The architecture is timeless. The rooftop terrace overlooks the skyline. The South Lawn glows at sunset. And when couples fully lean into the setting like Ally and Logan did, it becomes magic.
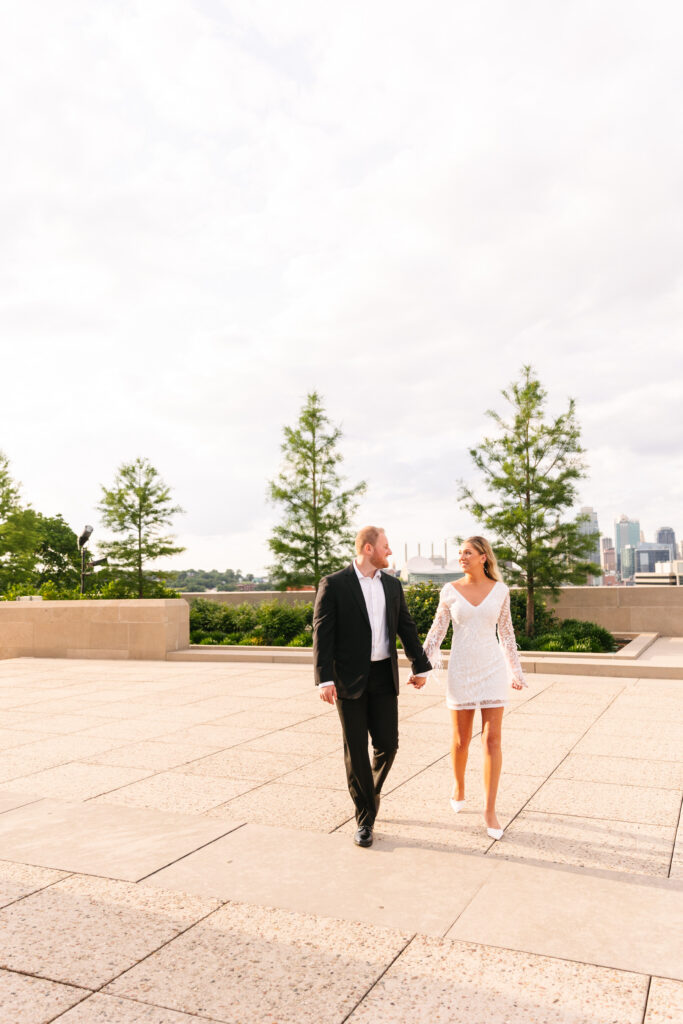
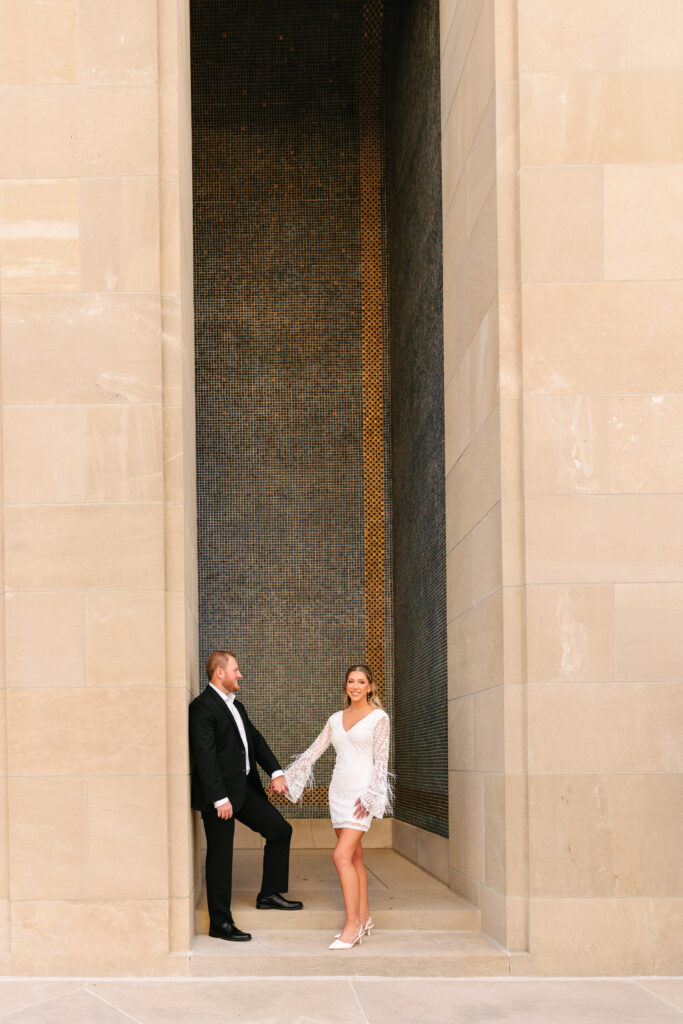
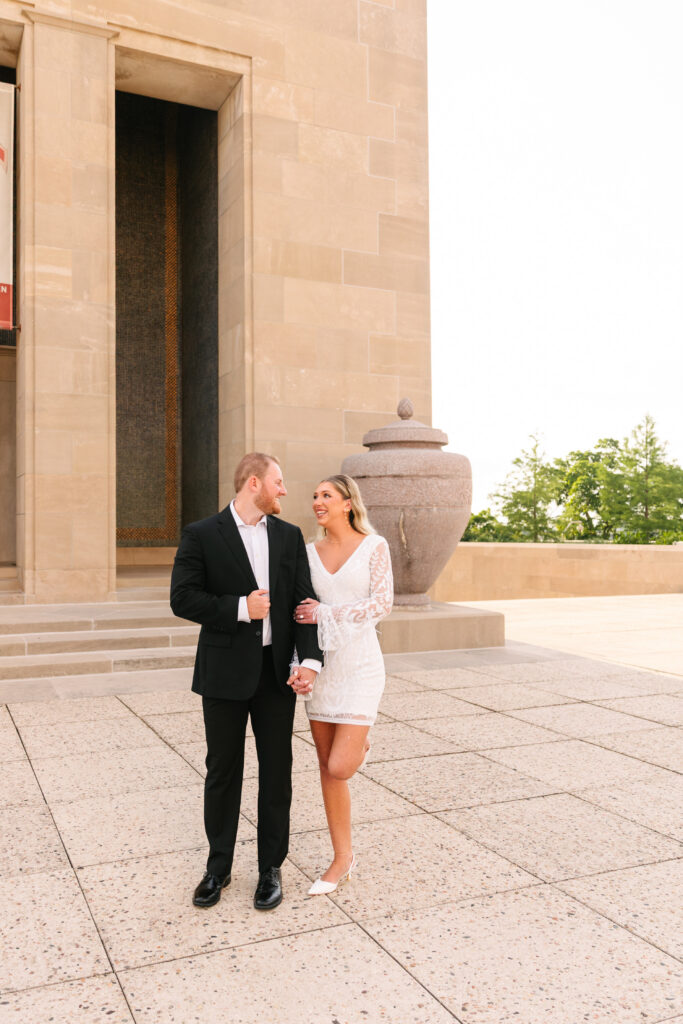
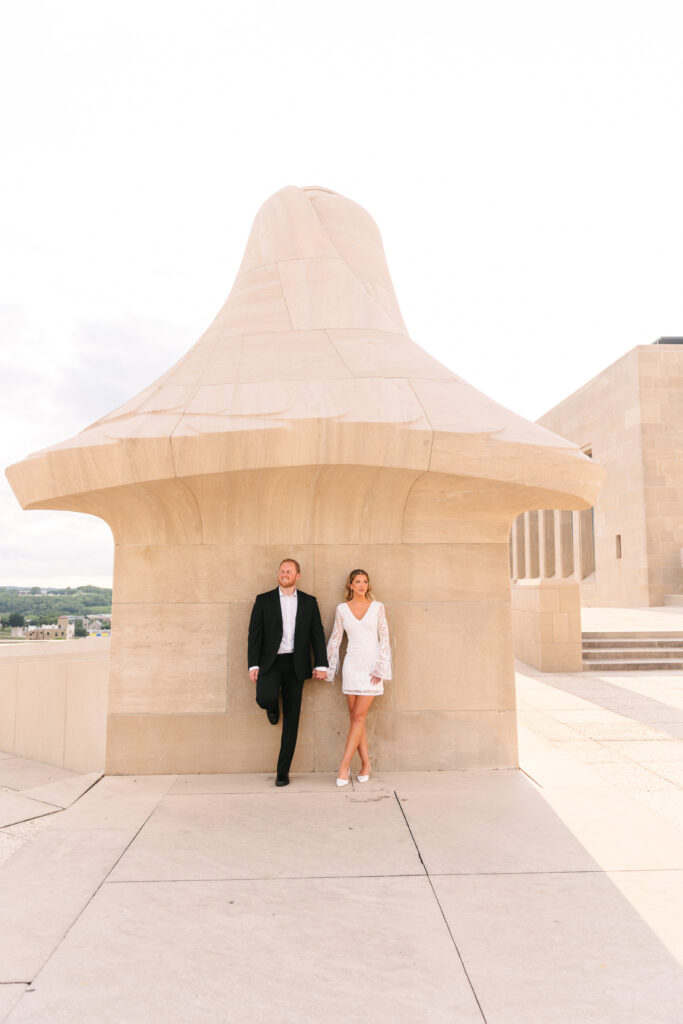
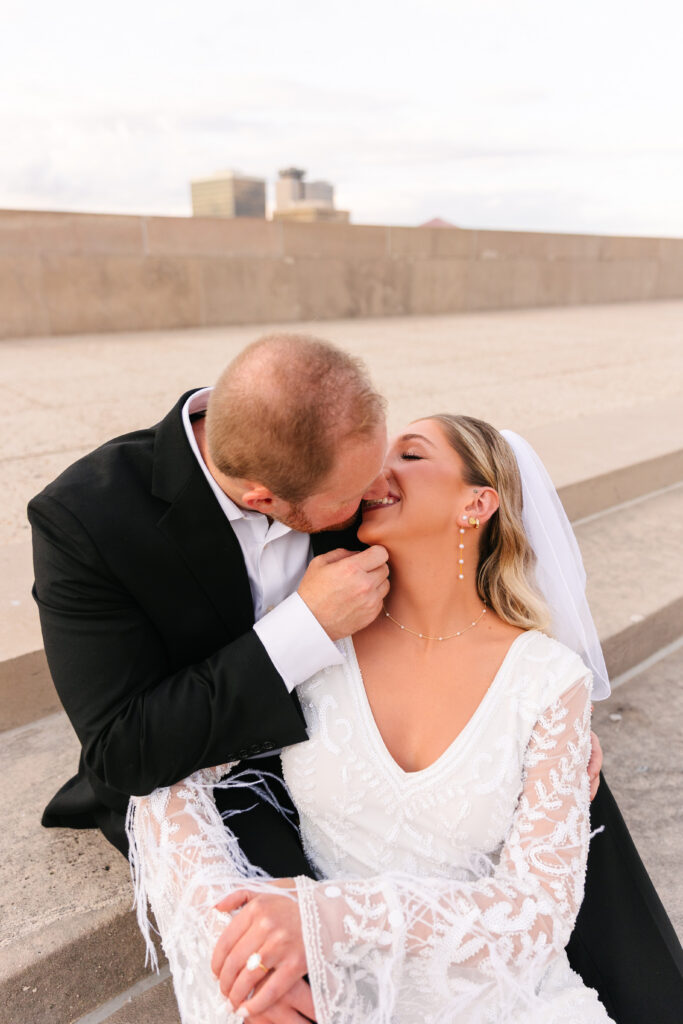
We started their session on the rooftop terrace, where clean lines and open sky create a modern, editorial feel. Ally wore a stunning white dress with dramatic sleeves that moved beautifully in the breeze, while Logan kept it classic in a black suit. Together, they looked effortlessly elevated against the neutral stone backdrop and skyline views.
The rooftop terrace offers something unique, it feels private and expansive all at once. The soft city skyline in the distance gives just enough urban texture without overwhelming the romantic atmosphere. It is refined without feeling stiff.
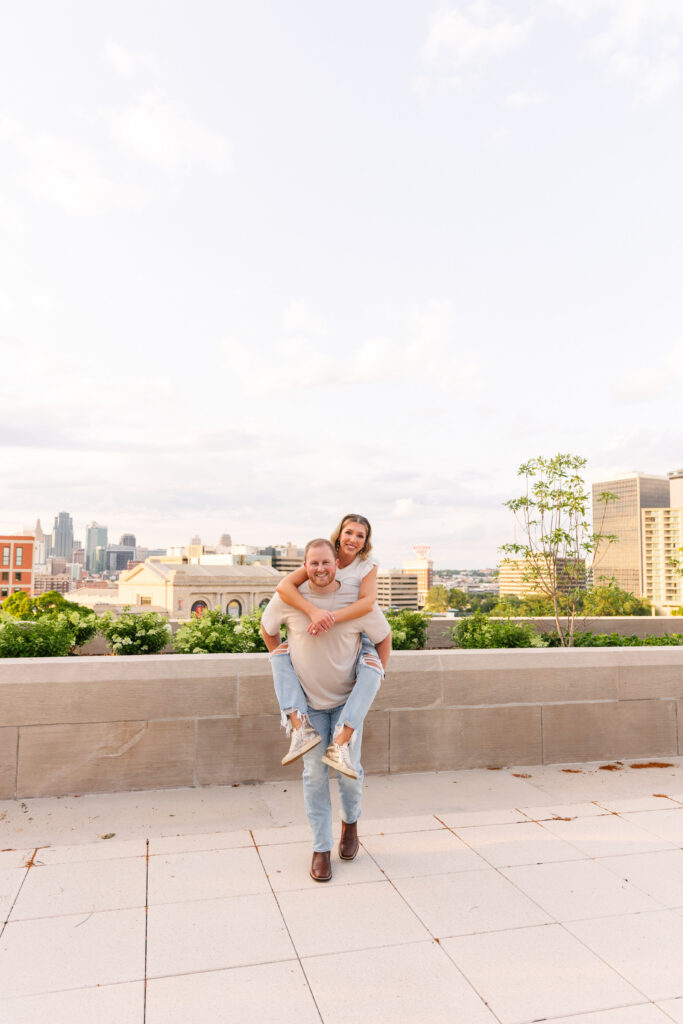
After soaking in those rooftop portraits, we transitioned down to the South Lawn for a completely different vibe. Outfit change. Golden light. Relaxed energy.
This is what I love most about photographing engagement sessions at the Nelson-Atkins, you can capture two entirely different aesthetics in one location.
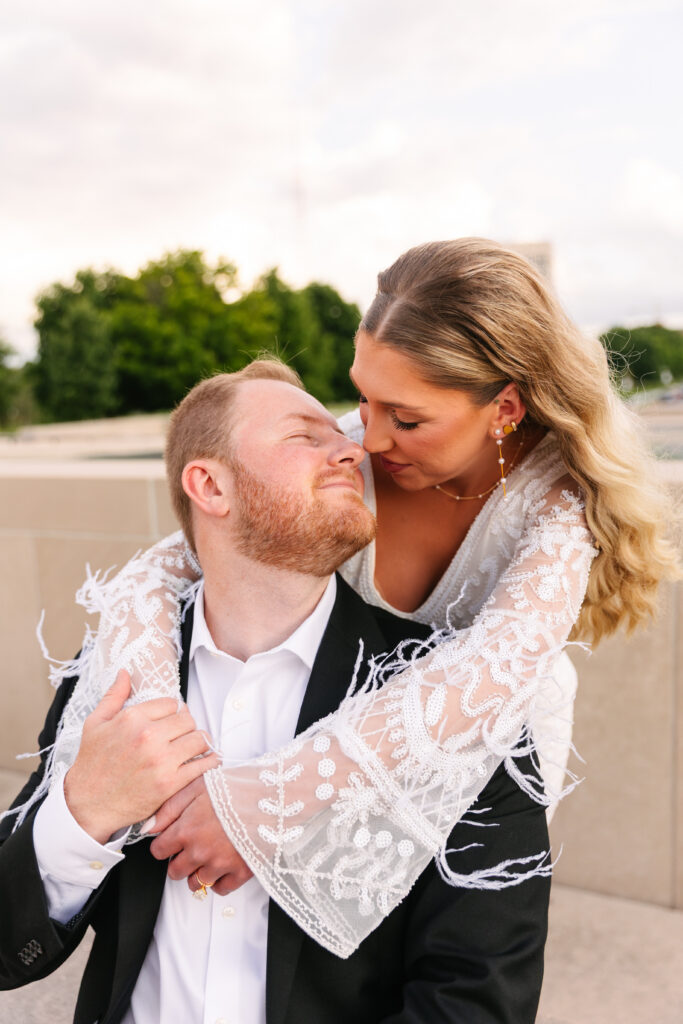
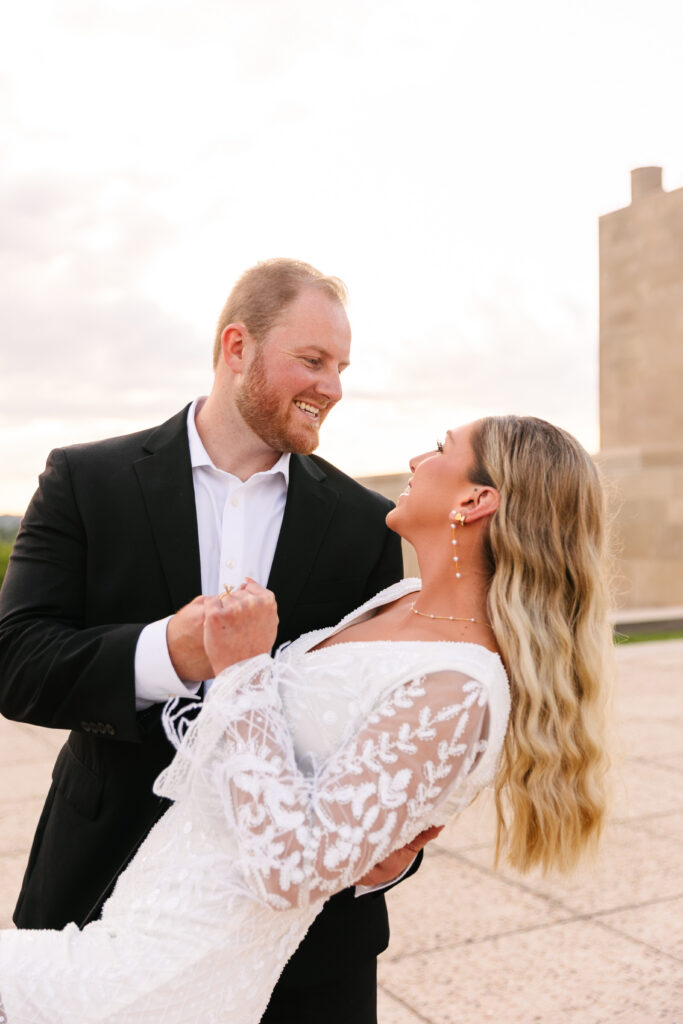
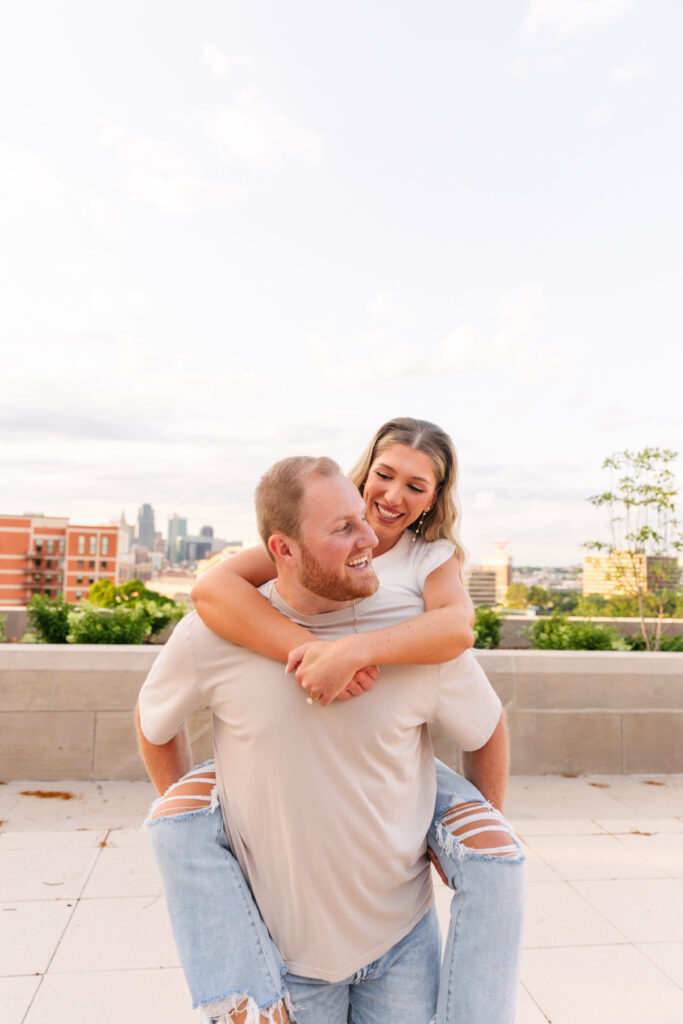
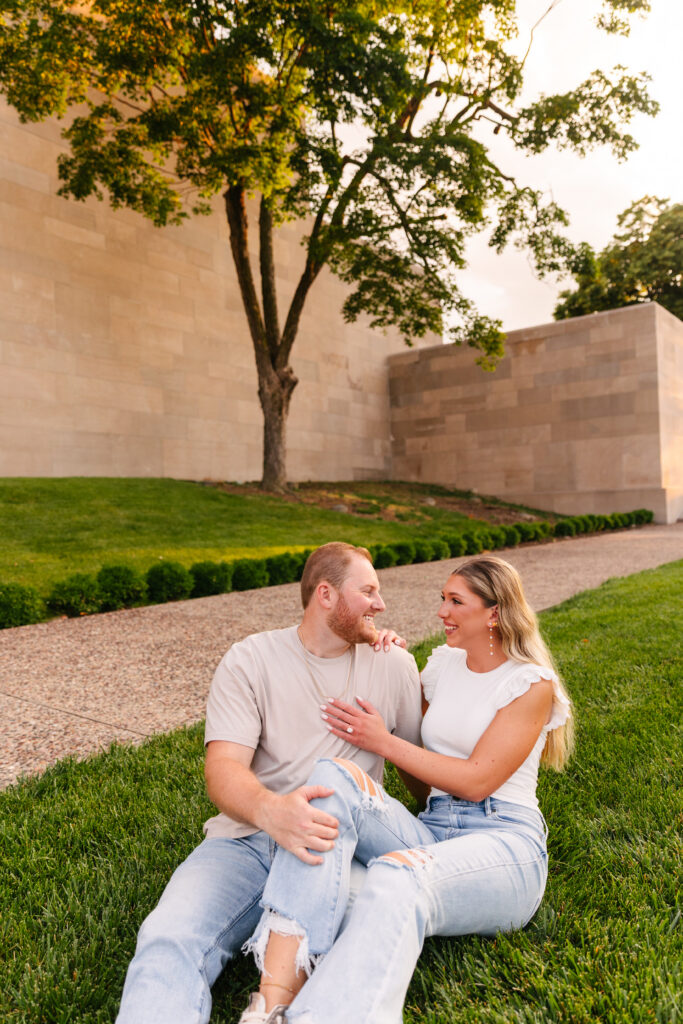
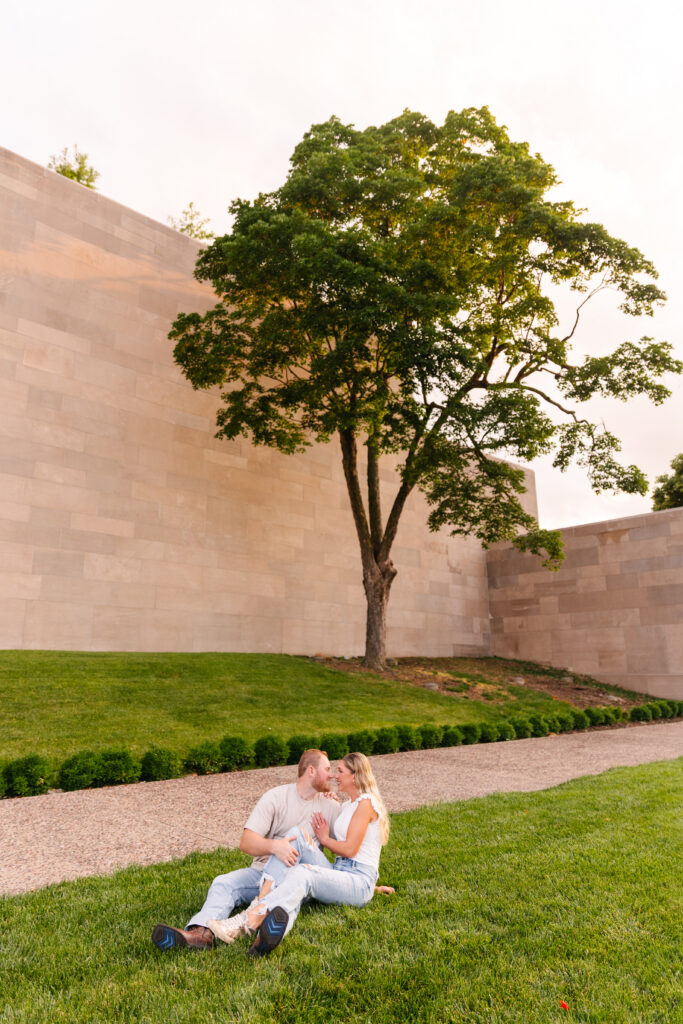
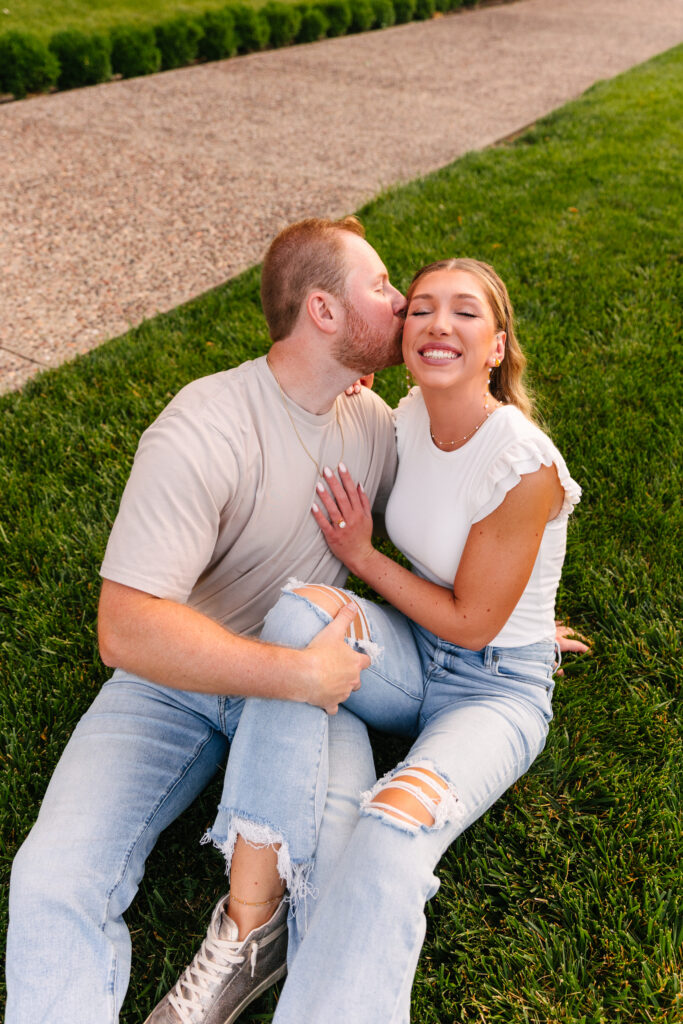
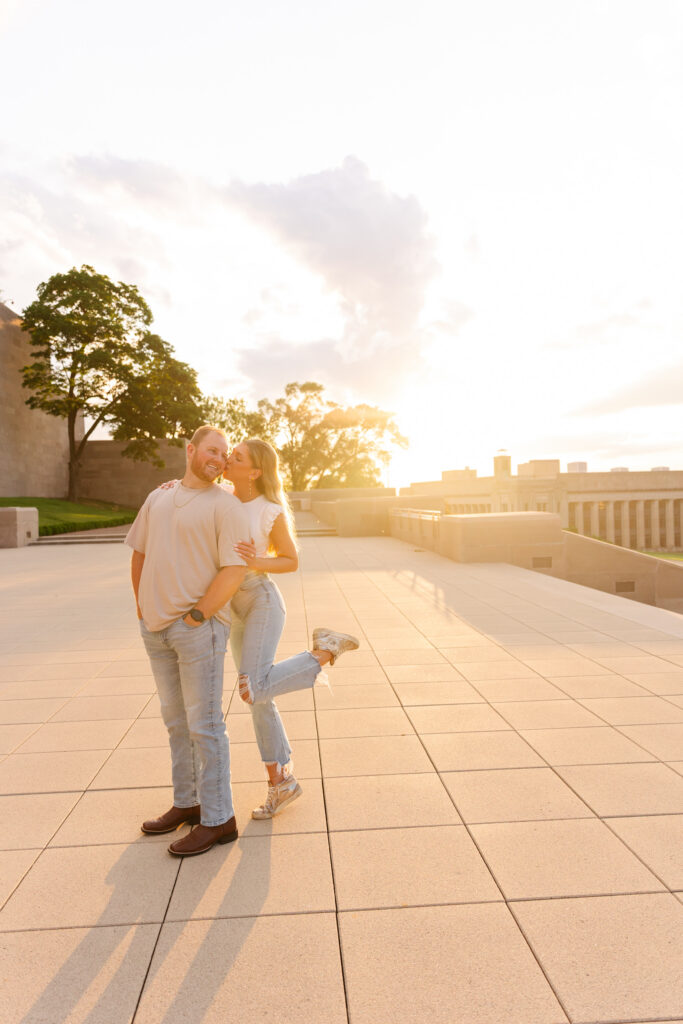
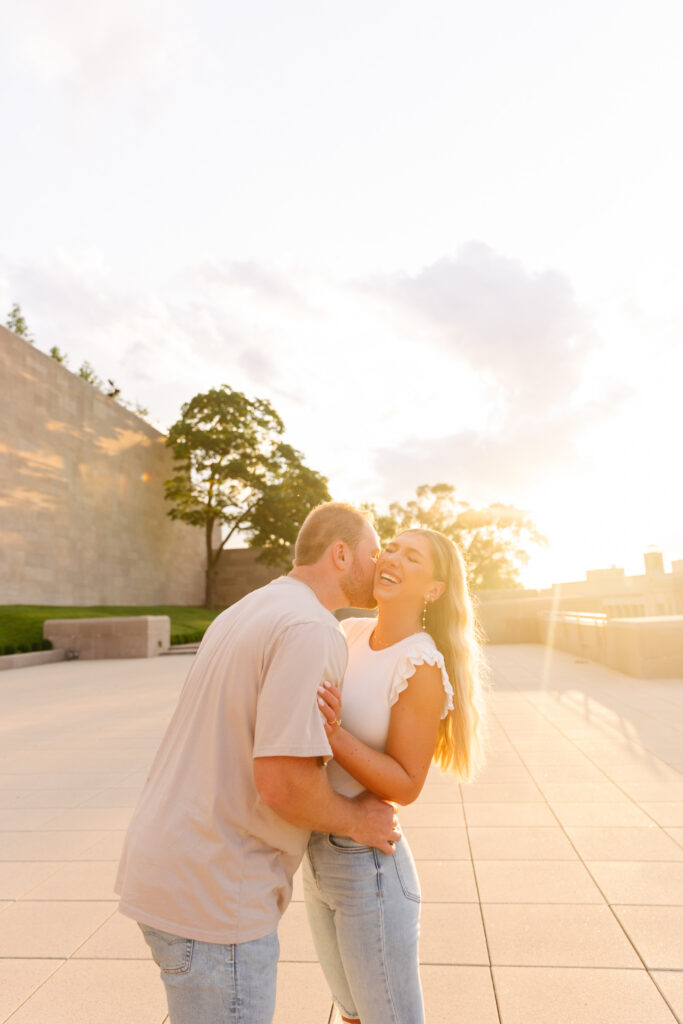
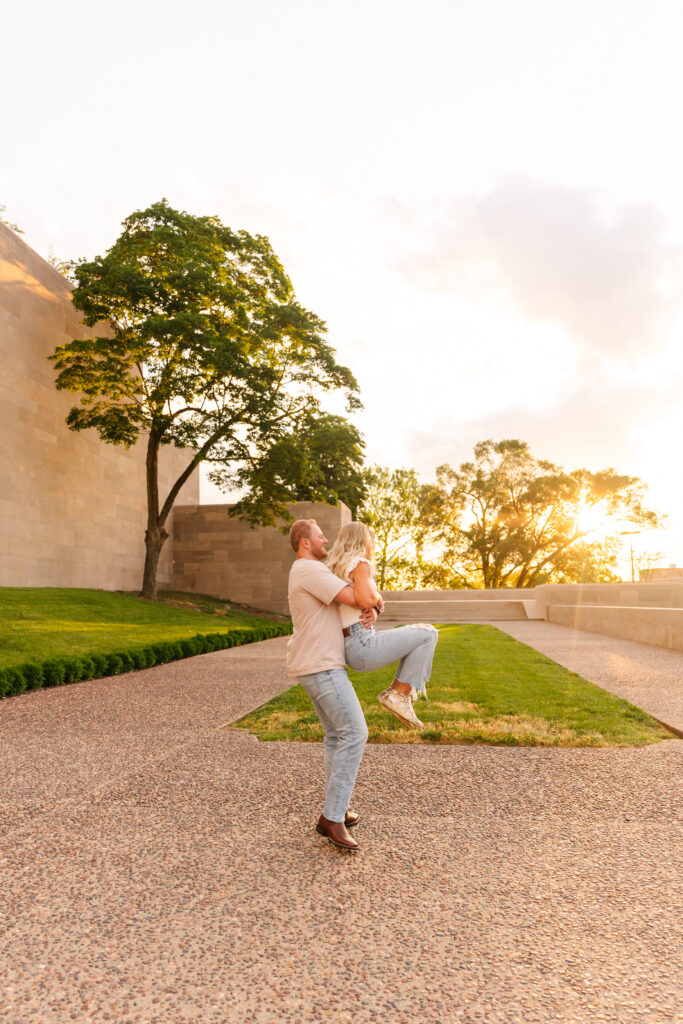
On the South Lawn, Ally and Logan traded formal elegance for something more playful and intimate. Bare grass beneath them. A single tree catching the last light of the day. The warm glow wrapping around them as they laughed and leaned into each other.
The South Lawn at sunset feels soft and cinematic. The stone walls reflect warmth. The sky opens wide. And couples naturally relax into the moment.
Ally and Logan brought the perfect balance of sophistication and fun to their session. From rooftop romance to laid-back golden hour cuddles, their engagement session told a full story, stylish, joyful, and completely them.
The Nelson-Atkins Museum of Art continues to be one of Kansas City’s most versatile engagement locations, especially when couples want variety without traveling to multiple spots.
And honestly? Watching these two move from polished rooftop portraits to barefoot-in-the-grass energy felt like the perfect preview of a marriage that will hold both elegance and ease.
Frequently Asked Questions
Is the rooftop terrace at the Nelson-Atkins good for engagement photos?
Yes. The rooftop terrace provides clean architectural lines, skyline views, and a modern aesthetic.
What time is best for engagement photos at the Nelson?
Golden hour near sunset creates the most flattering light, especially on the South Lawn.
Can you do multiple outfit changes at the Nelson?
Absolutely. The variety of backdrops makes it ideal for both formal and casual looks in one session.


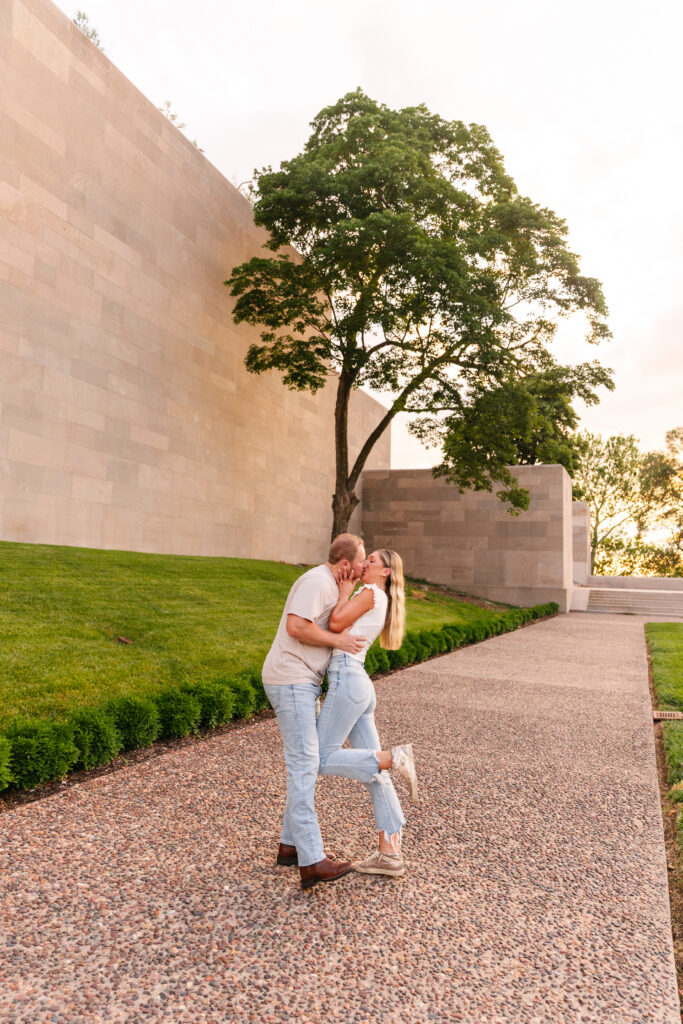
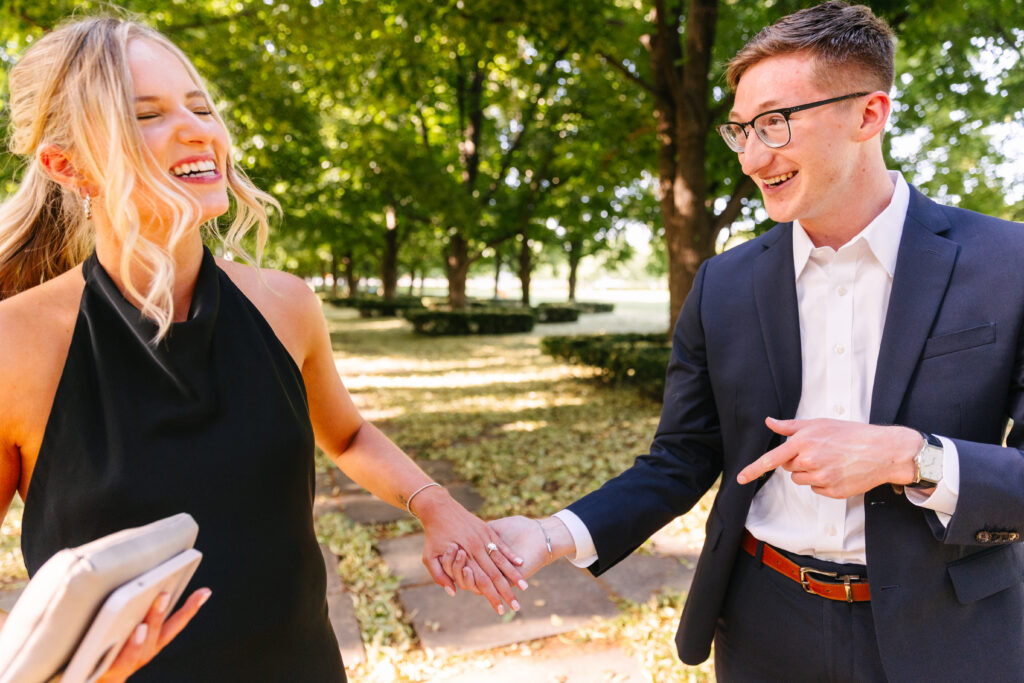
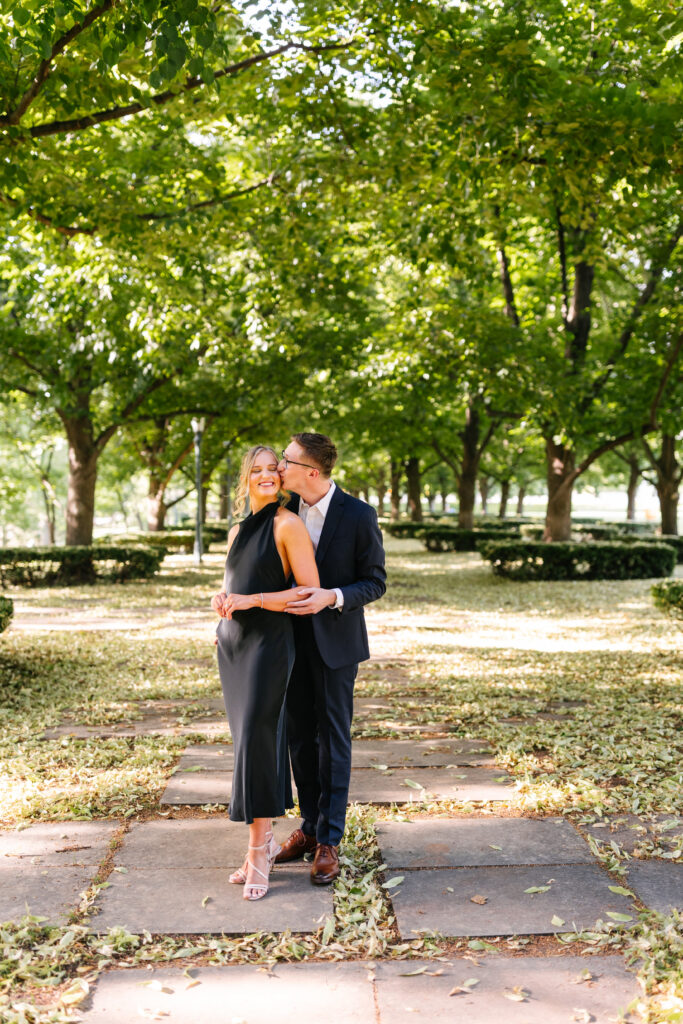
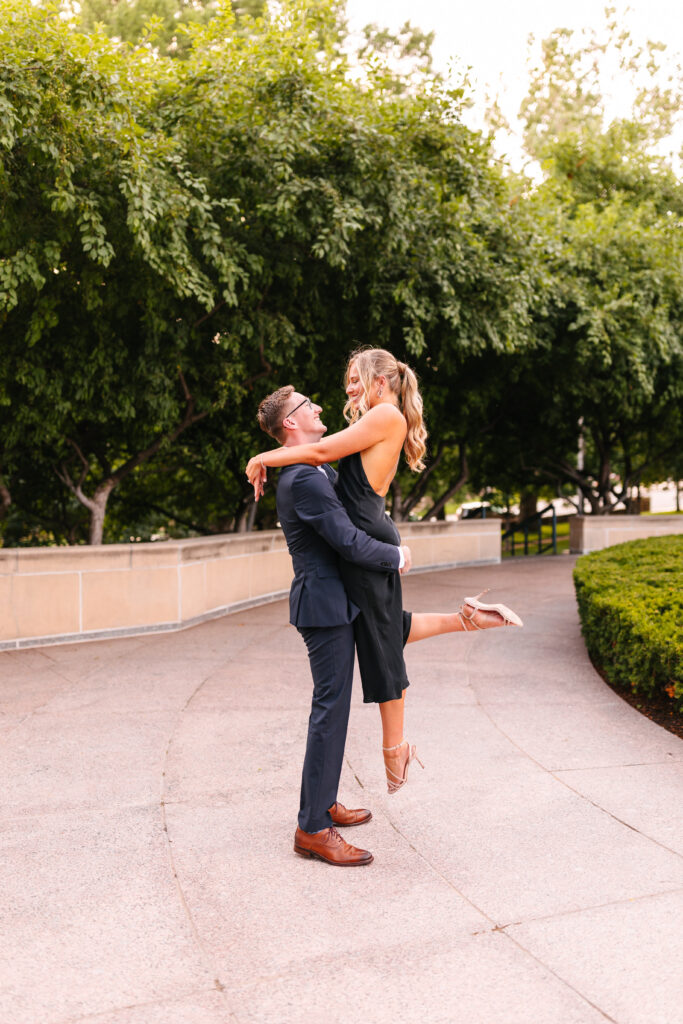
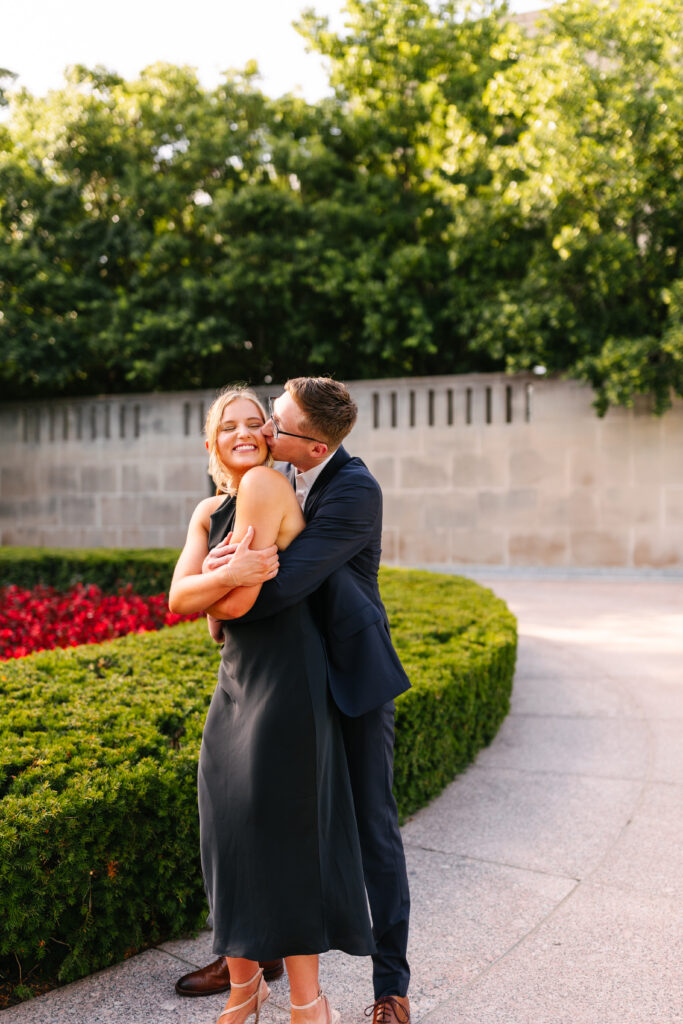
There is something timeless about a Nelson-Atkins Museum of Art proposal, especially near the South Lawn where the light stretches long and soft across the stone walkways.
Josie and Ethan’s proposal felt effortless and elegant from the very beginning!
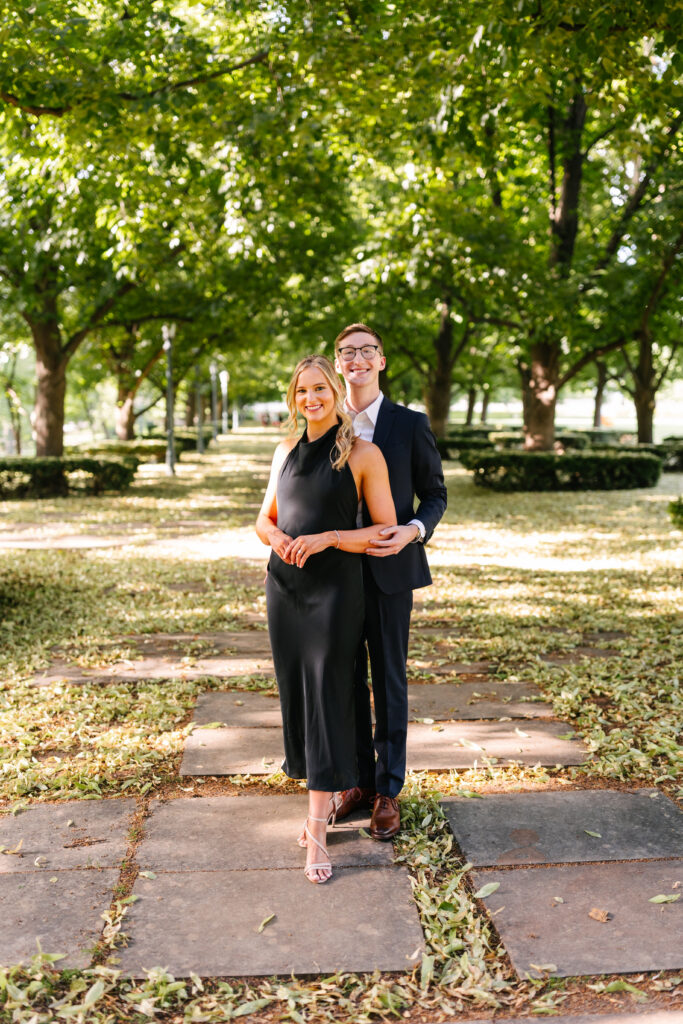
The Nelson-Atkins is one of the most iconic spots in Kansas City, and for good reason. The grand architecture, manicured hedges, tree-lined paths, and open lawn create a setting that feels both refined and romantic. When golden hour hits, everything glows.
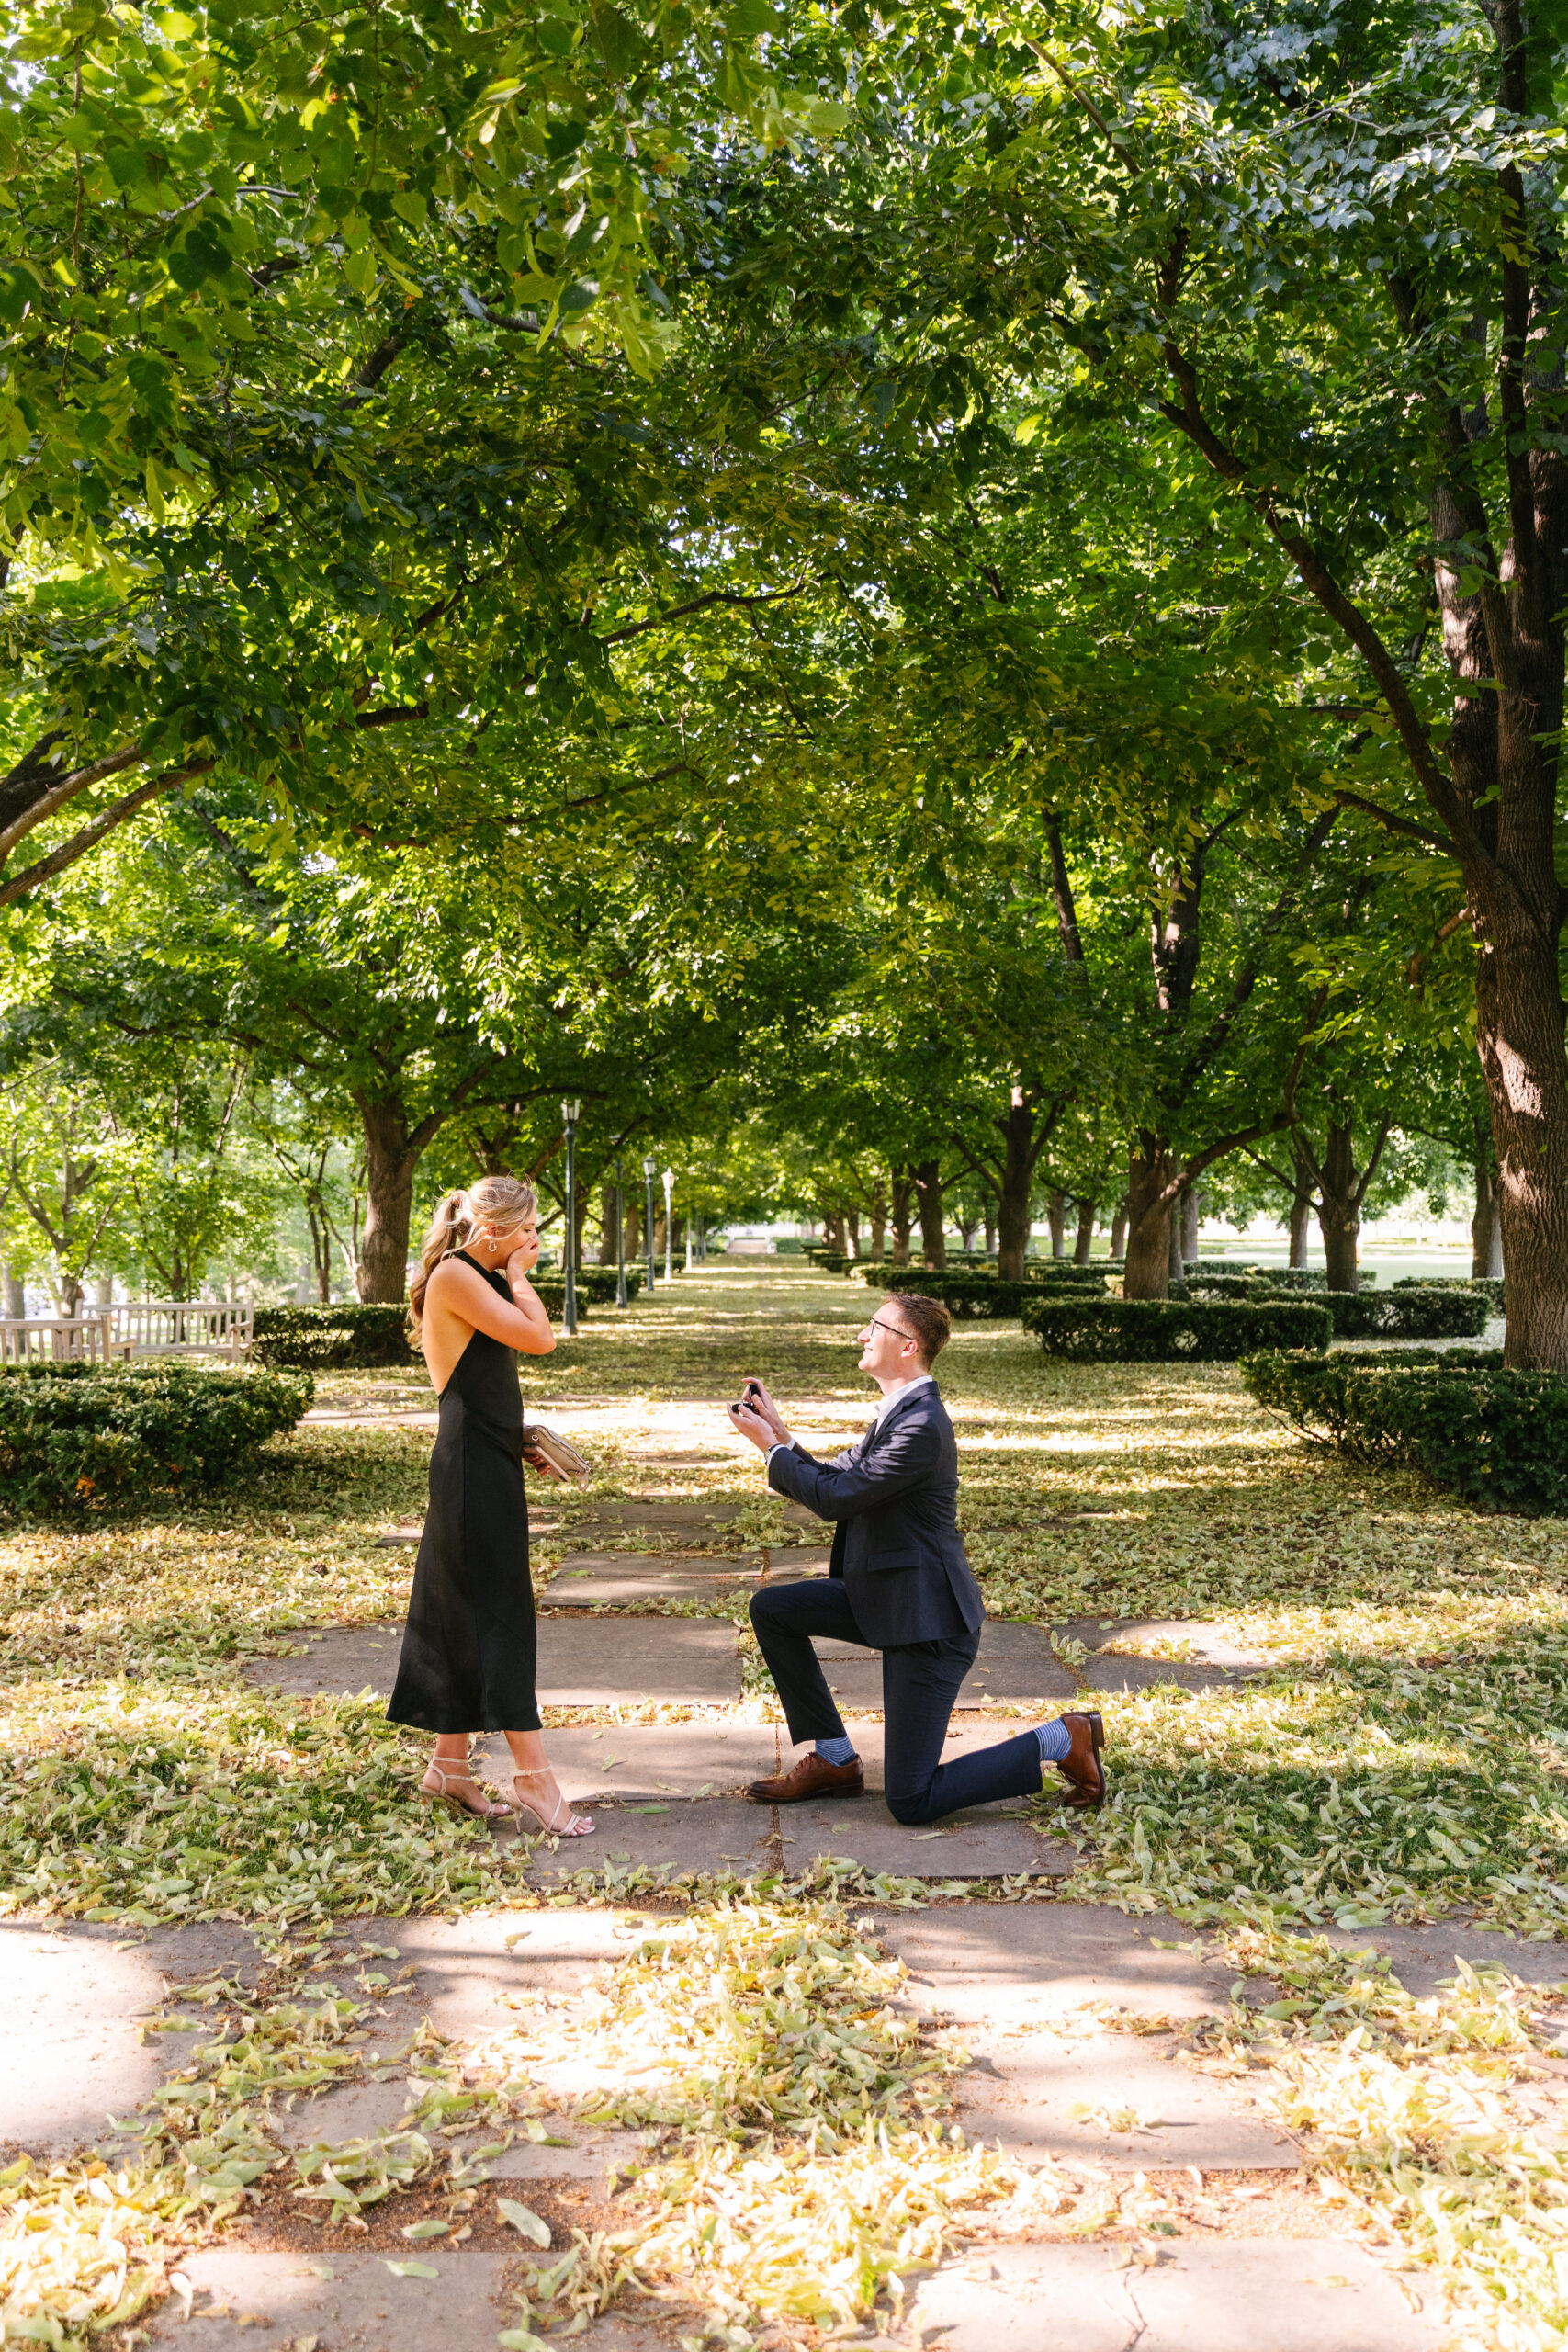
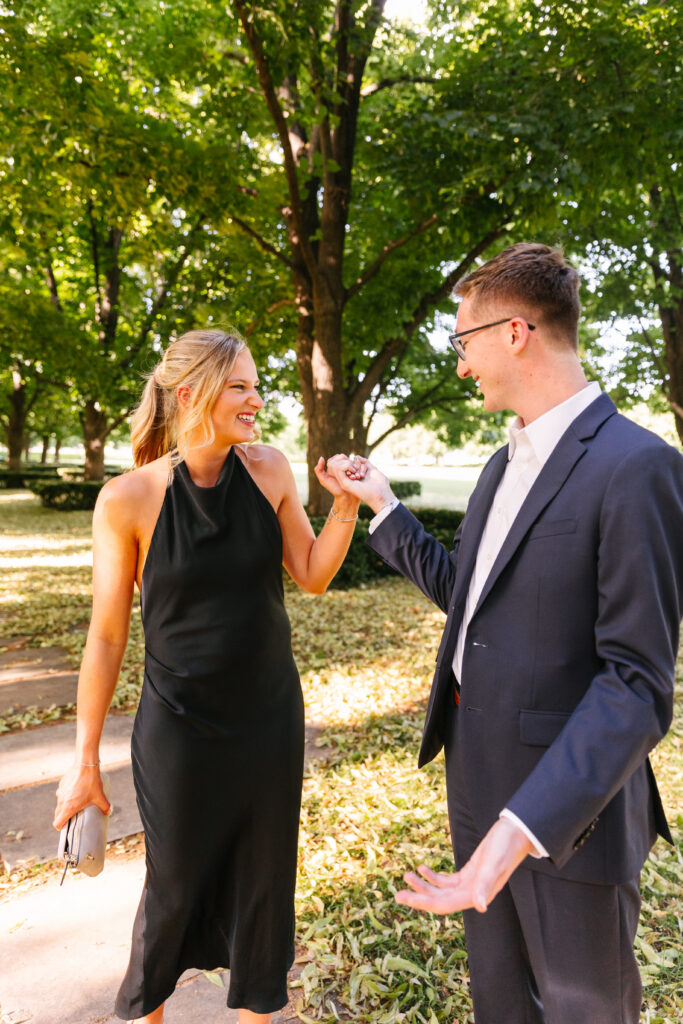
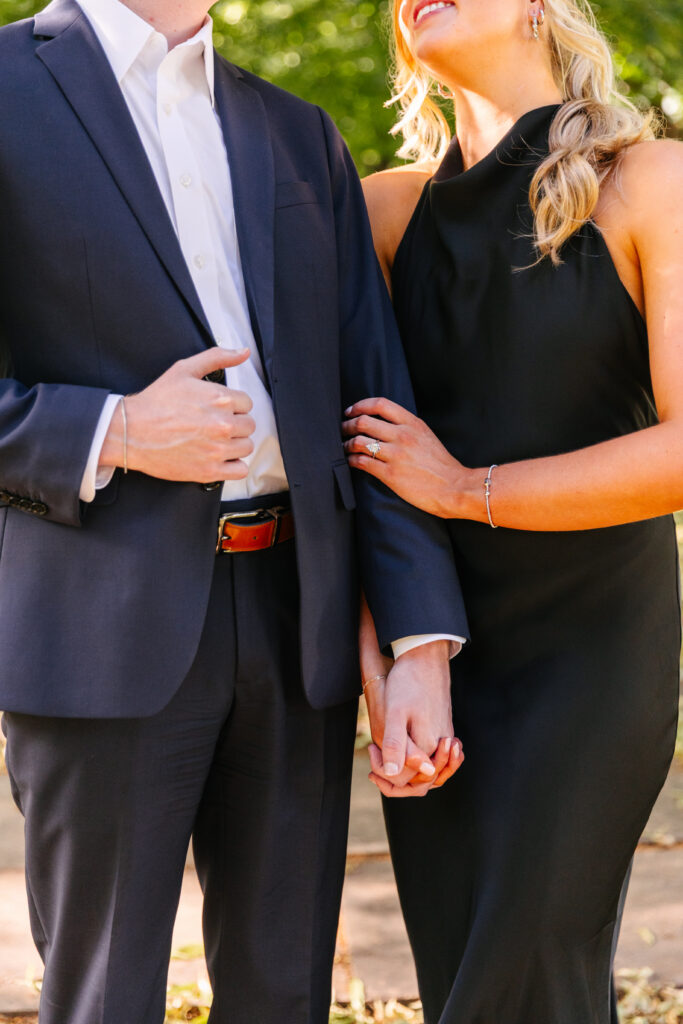
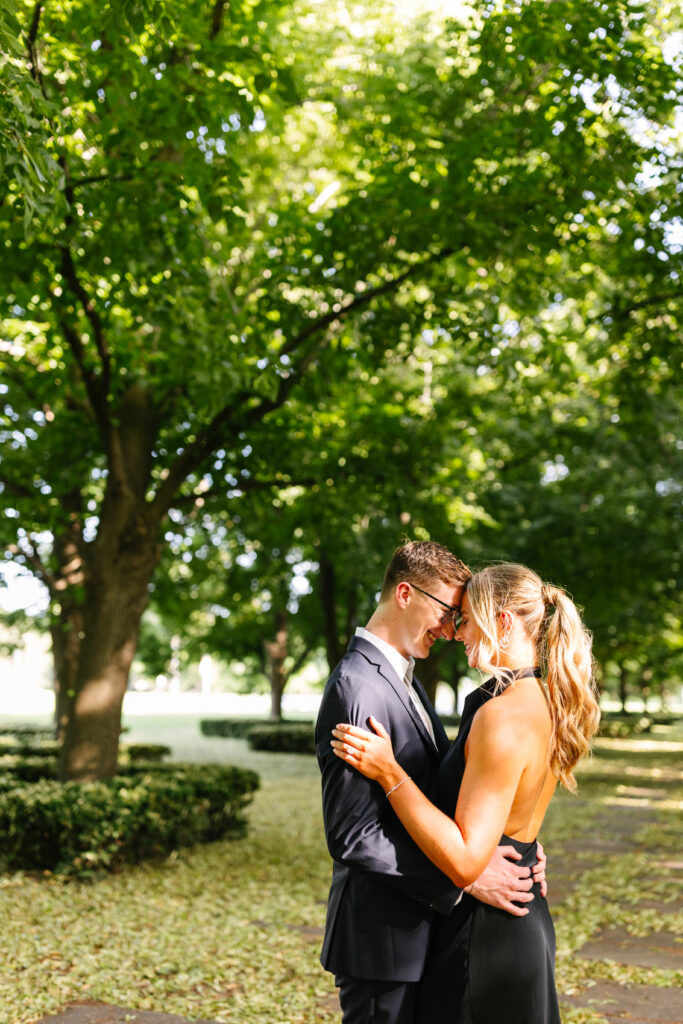
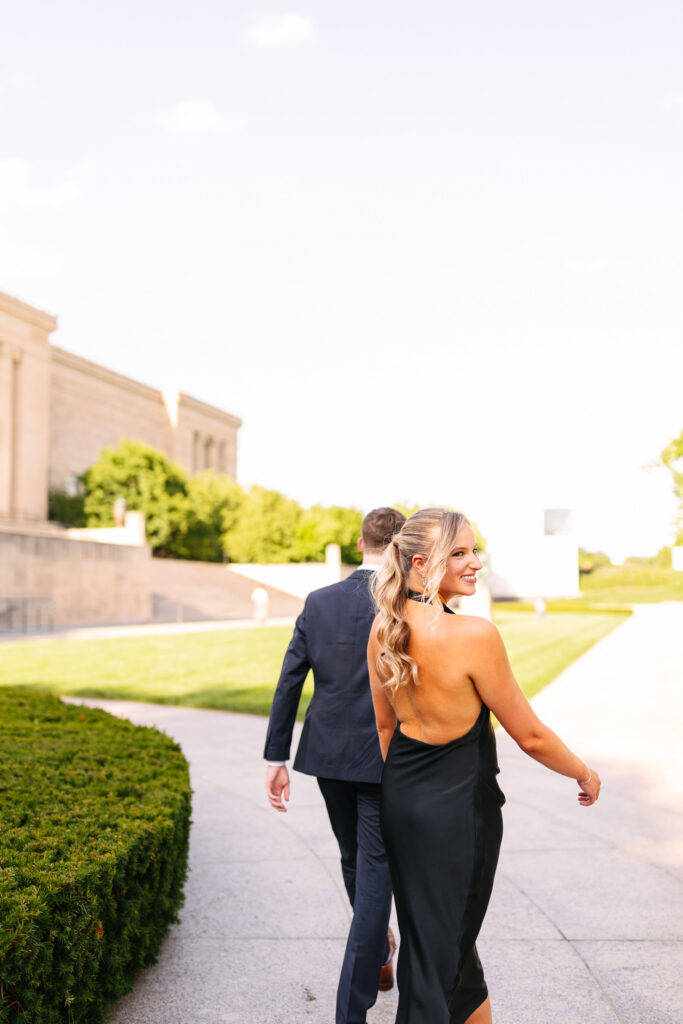
Ethan chose a quiet corner near the South Lawn, tucked just enough away to feel intimate, surrounded by beautiful trees. Josie, in a sleek black dress that perfectly complemented the scenery, had no idea what was coming.
And then it happened.
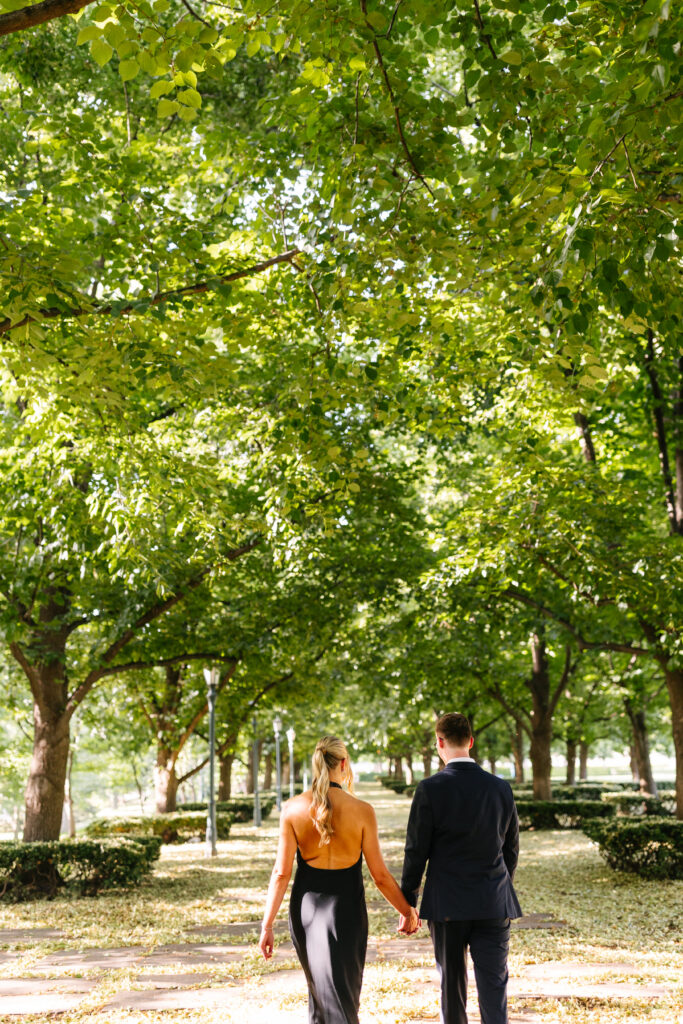
One moment they were walking hand in hand beneath the trees, and the next, Ethan was down on one knee. The look on Josie’s face said everything… surprise, joy, and that immediate, overwhelming yes!
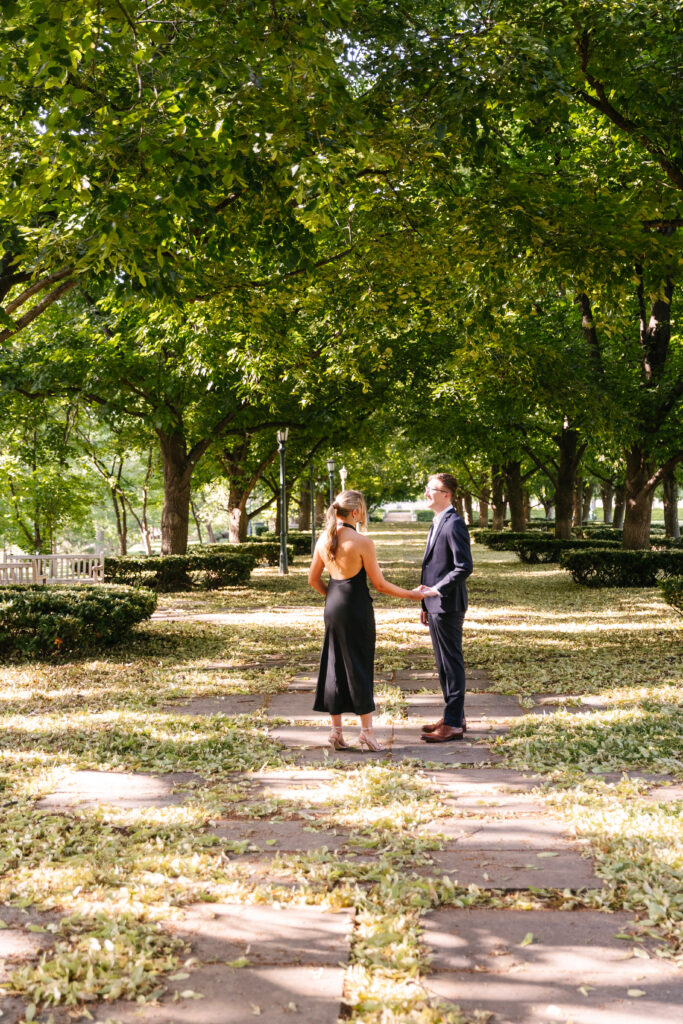
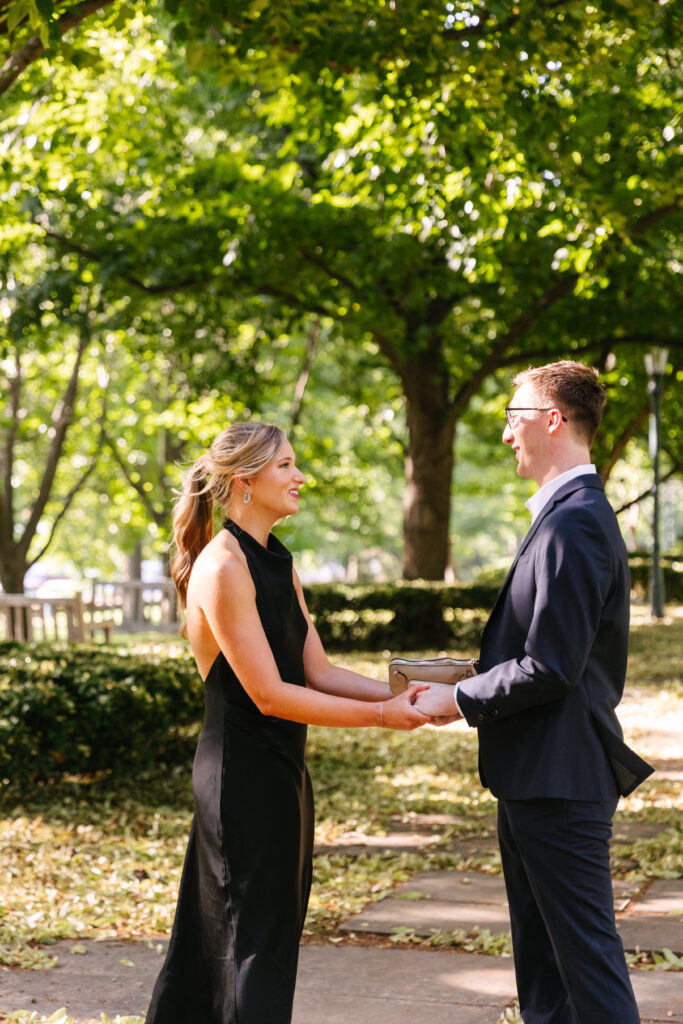
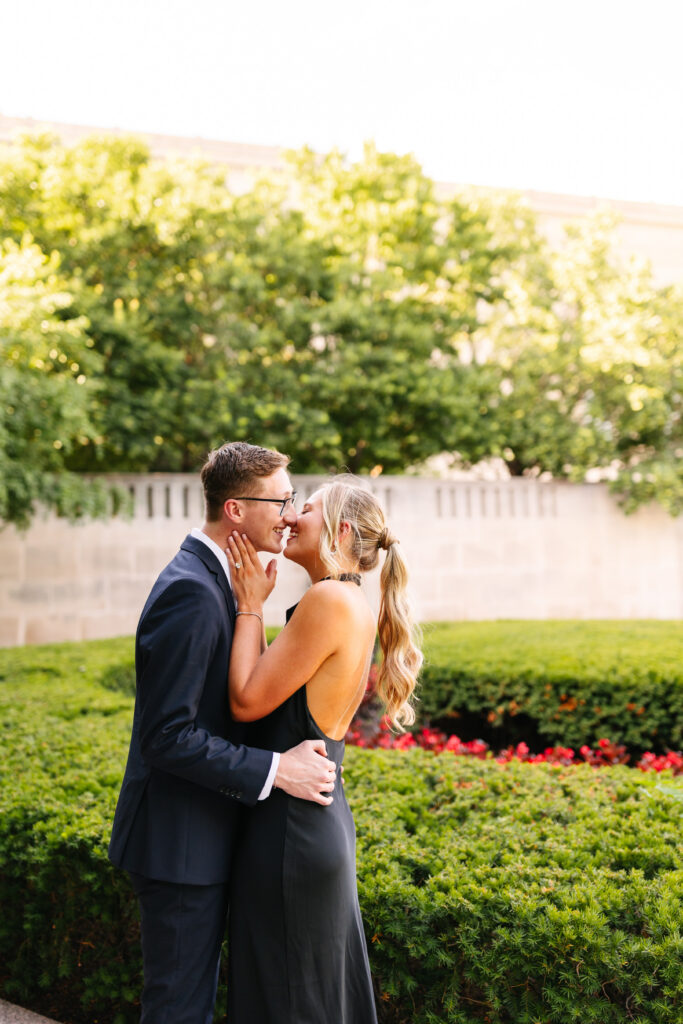
After the proposal, we wandered through some of the museum’s most beautiful spots. The carved doors, the structured hedges, the long pathways dusted with leaves. Every location felt like it was made for them!
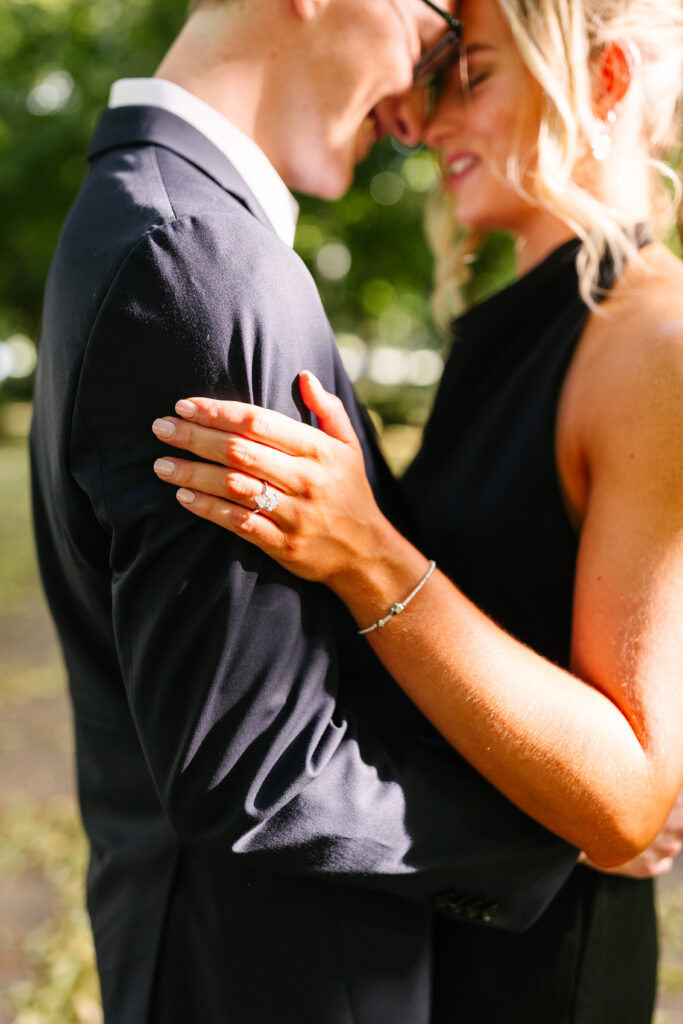
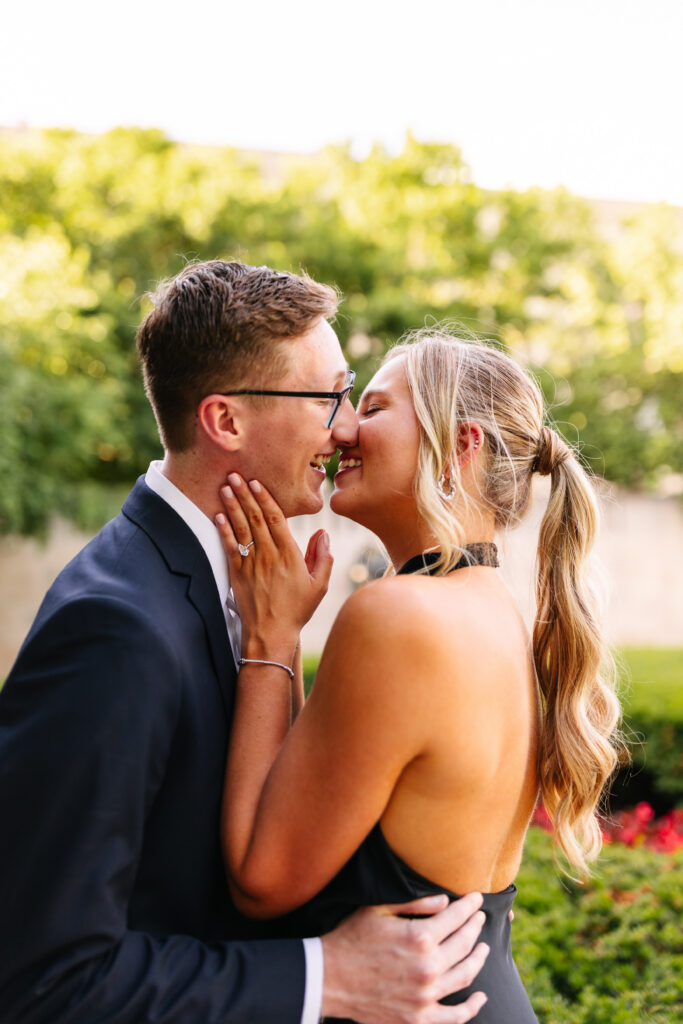
What I loved most about this Nelson-Atkins Museum of Art proposal was how natural it felt. There was no rush. No performance. Just the two of them soaking it in. Laughing. Holding hands a little tighter than before.
The South Lawn continues to be one of my favorite proposal locations in Kansas City because it offers space, privacy, and elegance all at once. Whether couples want something grand or something quiet, it delivers both.
Josie and Ethan’s proposal was proof that sometimes the simplest plans, beautiful location, golden light, heartfelt intention, create the most unforgettable moments.
And honestly? Watching them walk away hand in hand afterward felt like the perfect beginning!
Frequently Asked Questions
Is The Nelson-Atkins Museum of Art a good proposal location?
Yes. The South Lawn offers stunning architecture, greenery, and privacy, making it ideal for proposals.
What time is best for a Nelson-Atkins proposal?
Golden hour (about an hour before sunset) provides the most flattering light and fewer crowds.
Do you need a permit for proposal photos at The Nelson-Atkins?
Permits may be required depending on the setup and photography plans, so it is always best to check in advance.


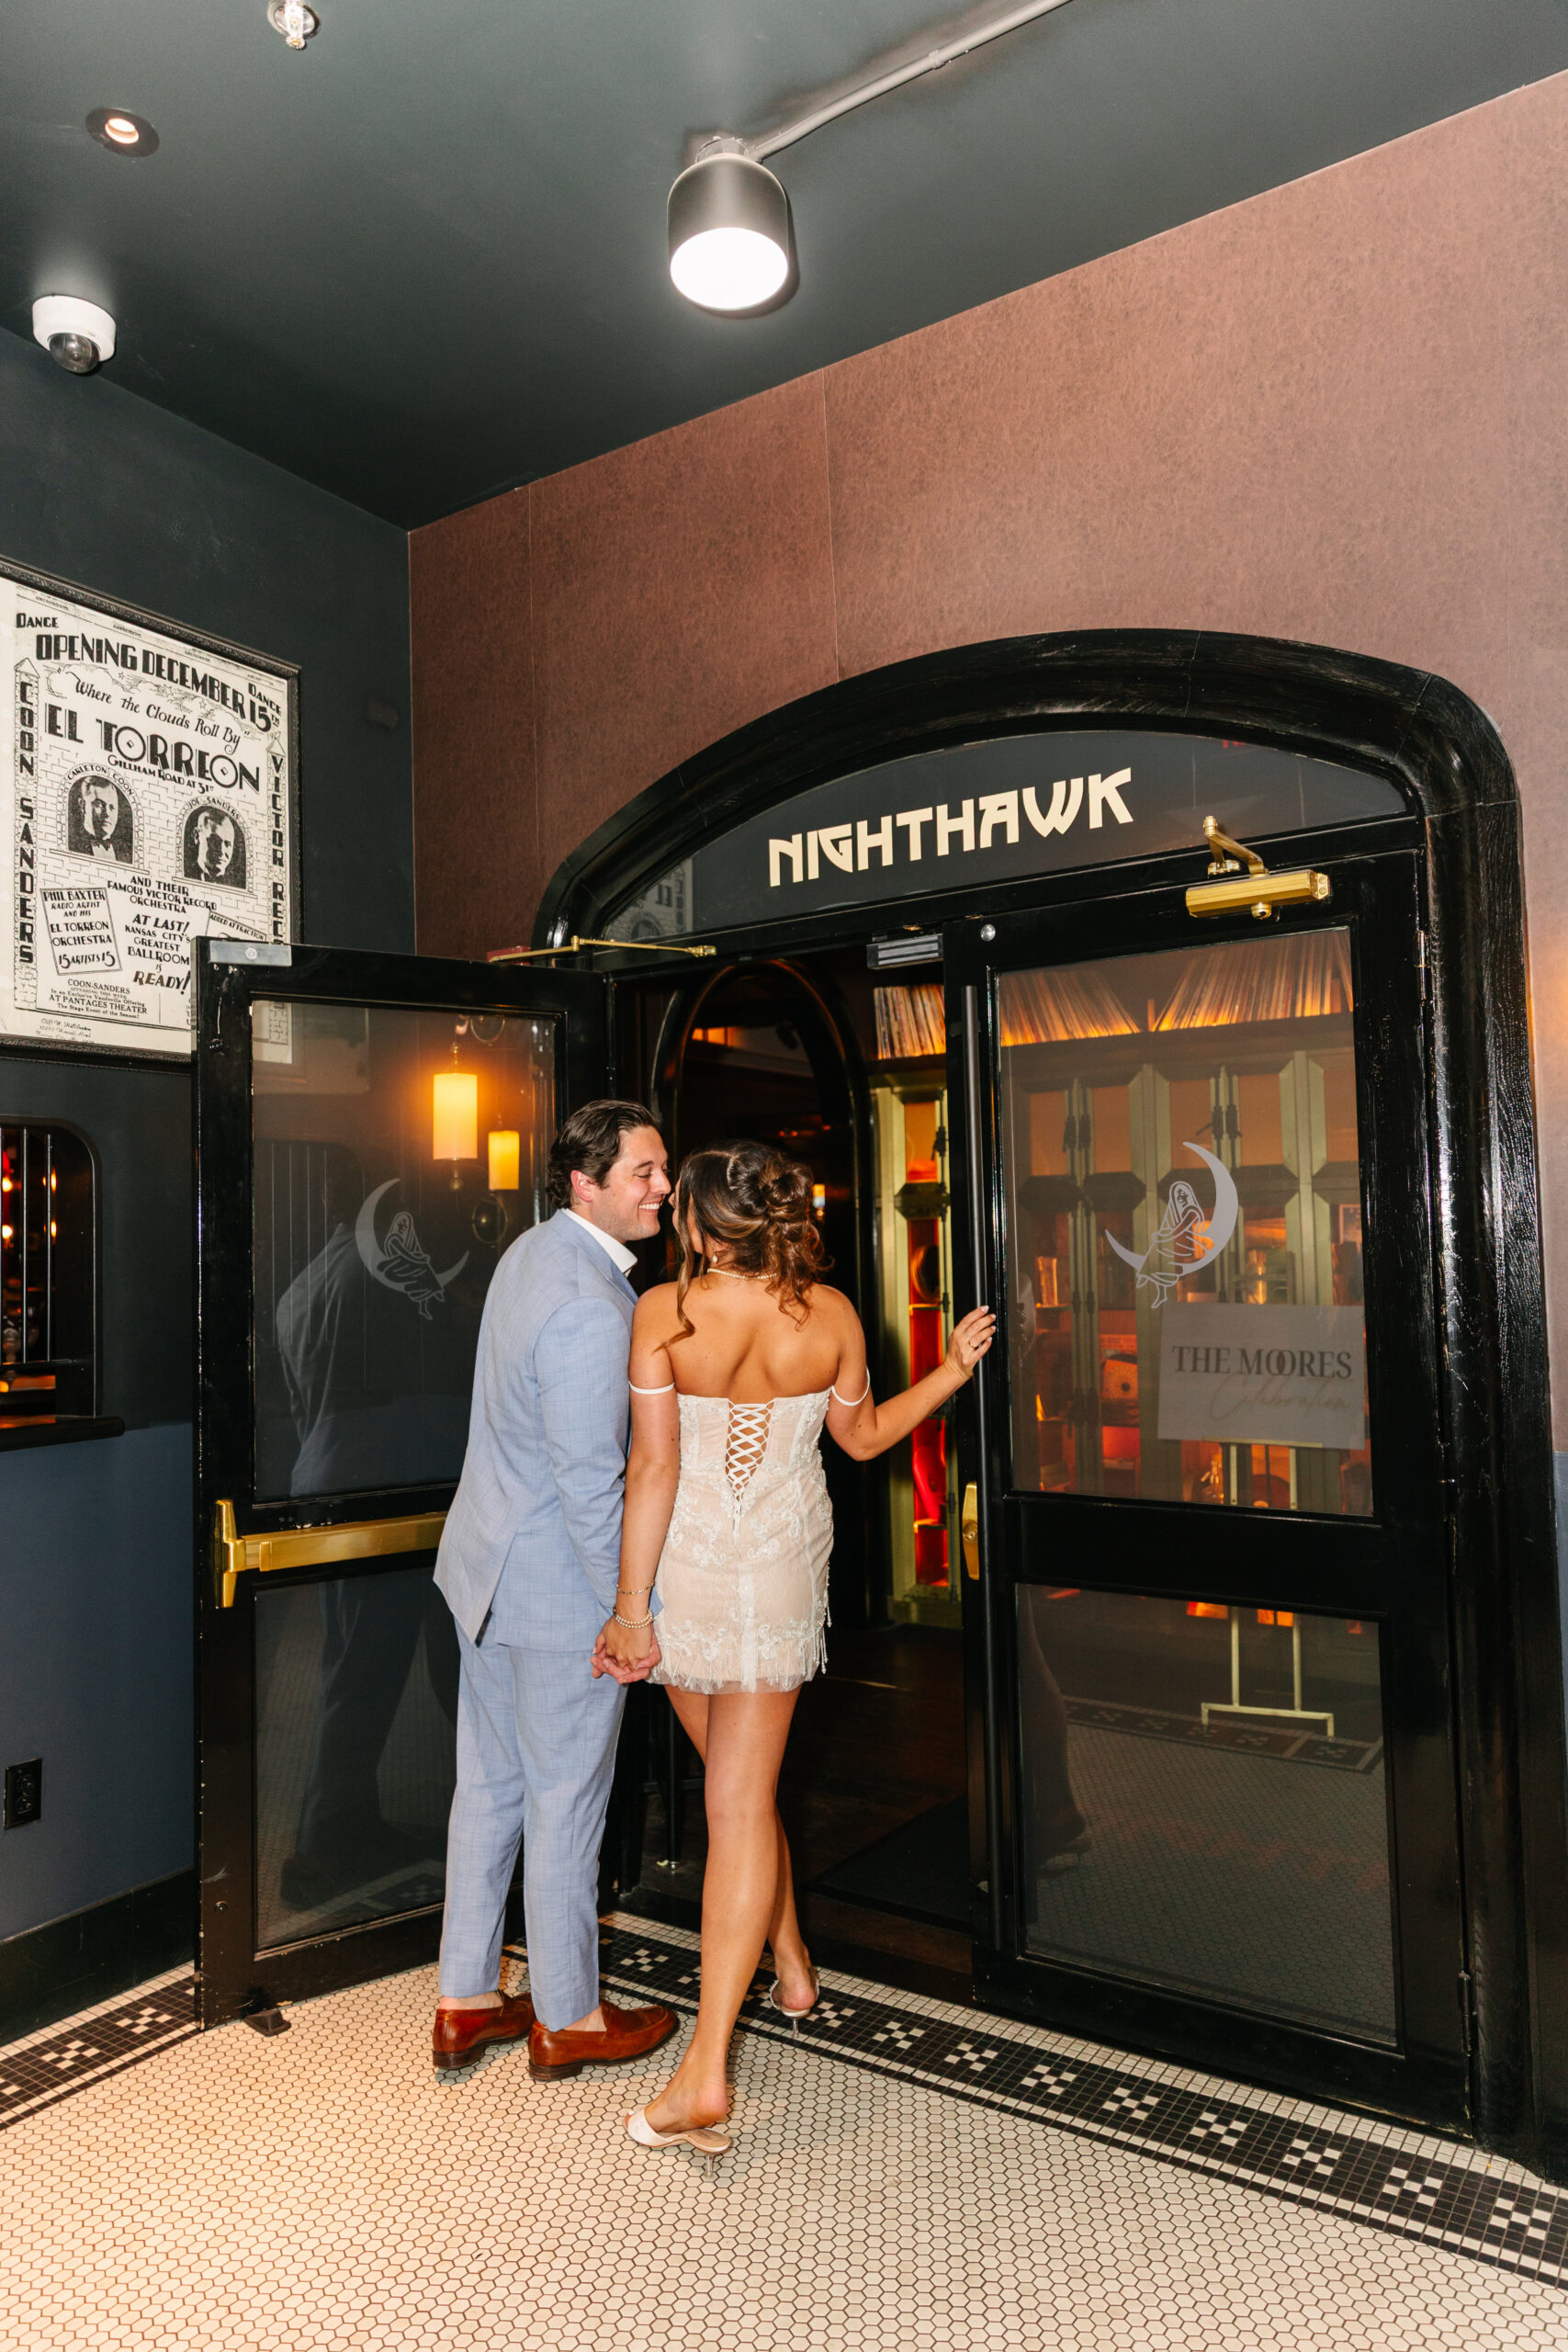
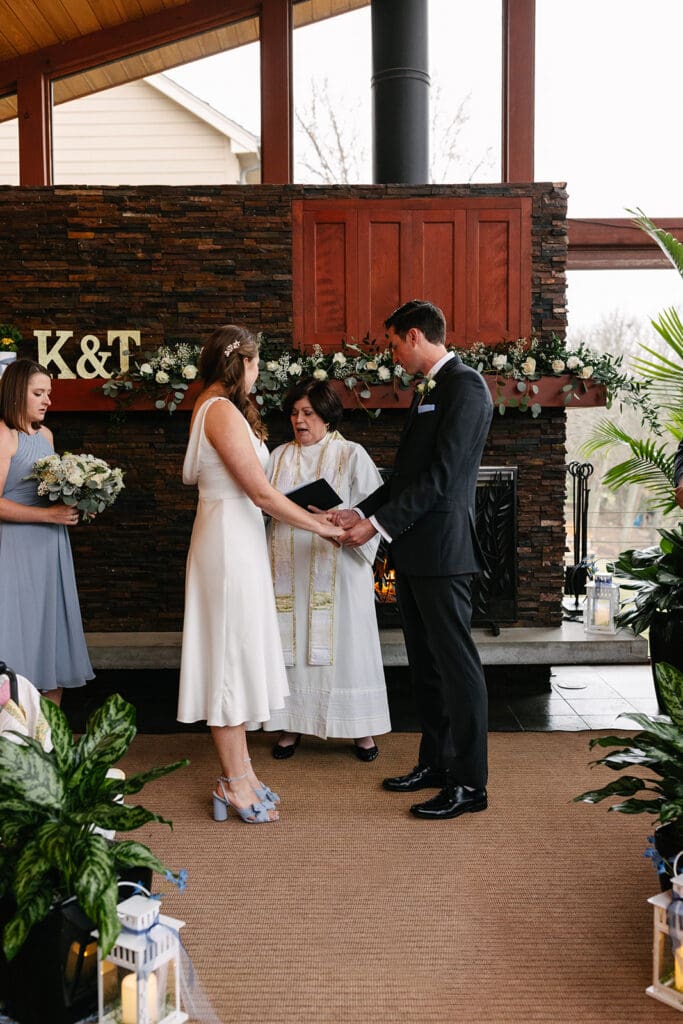
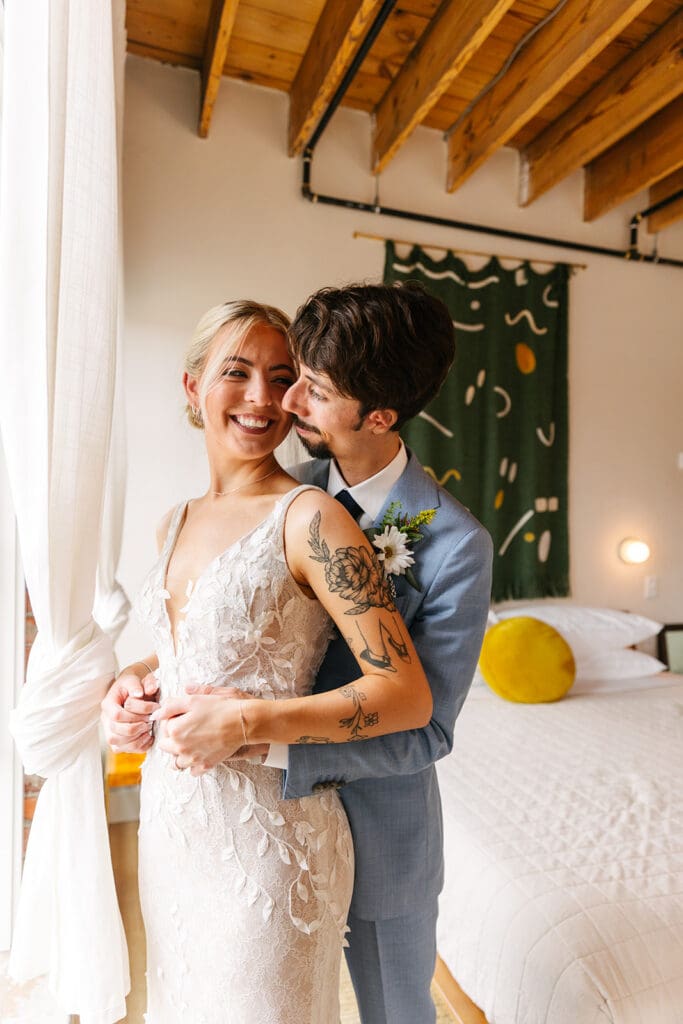
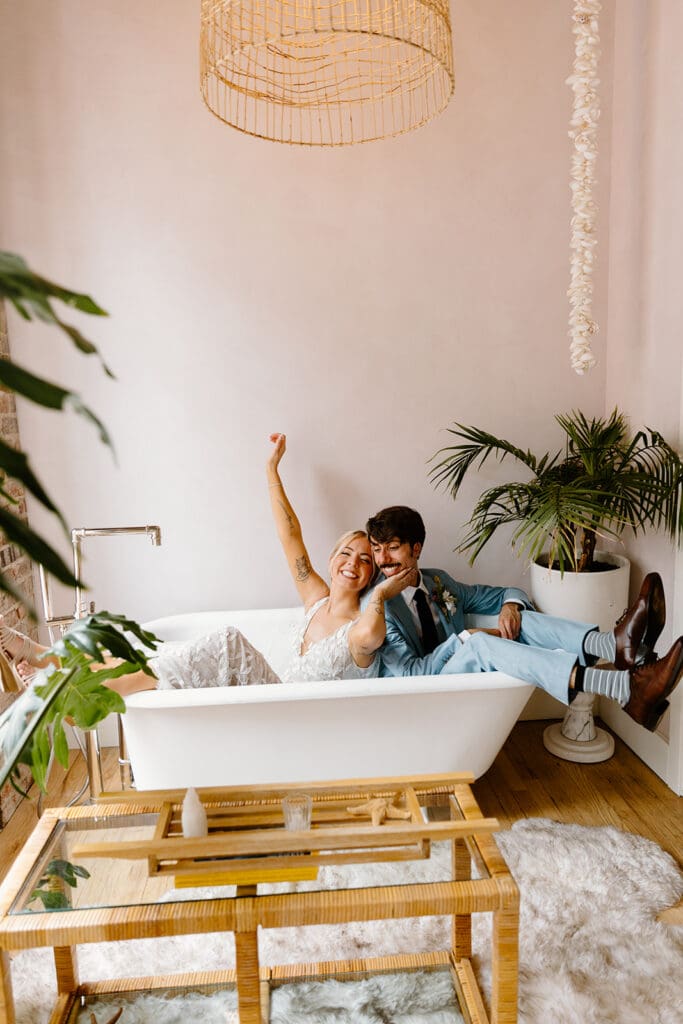
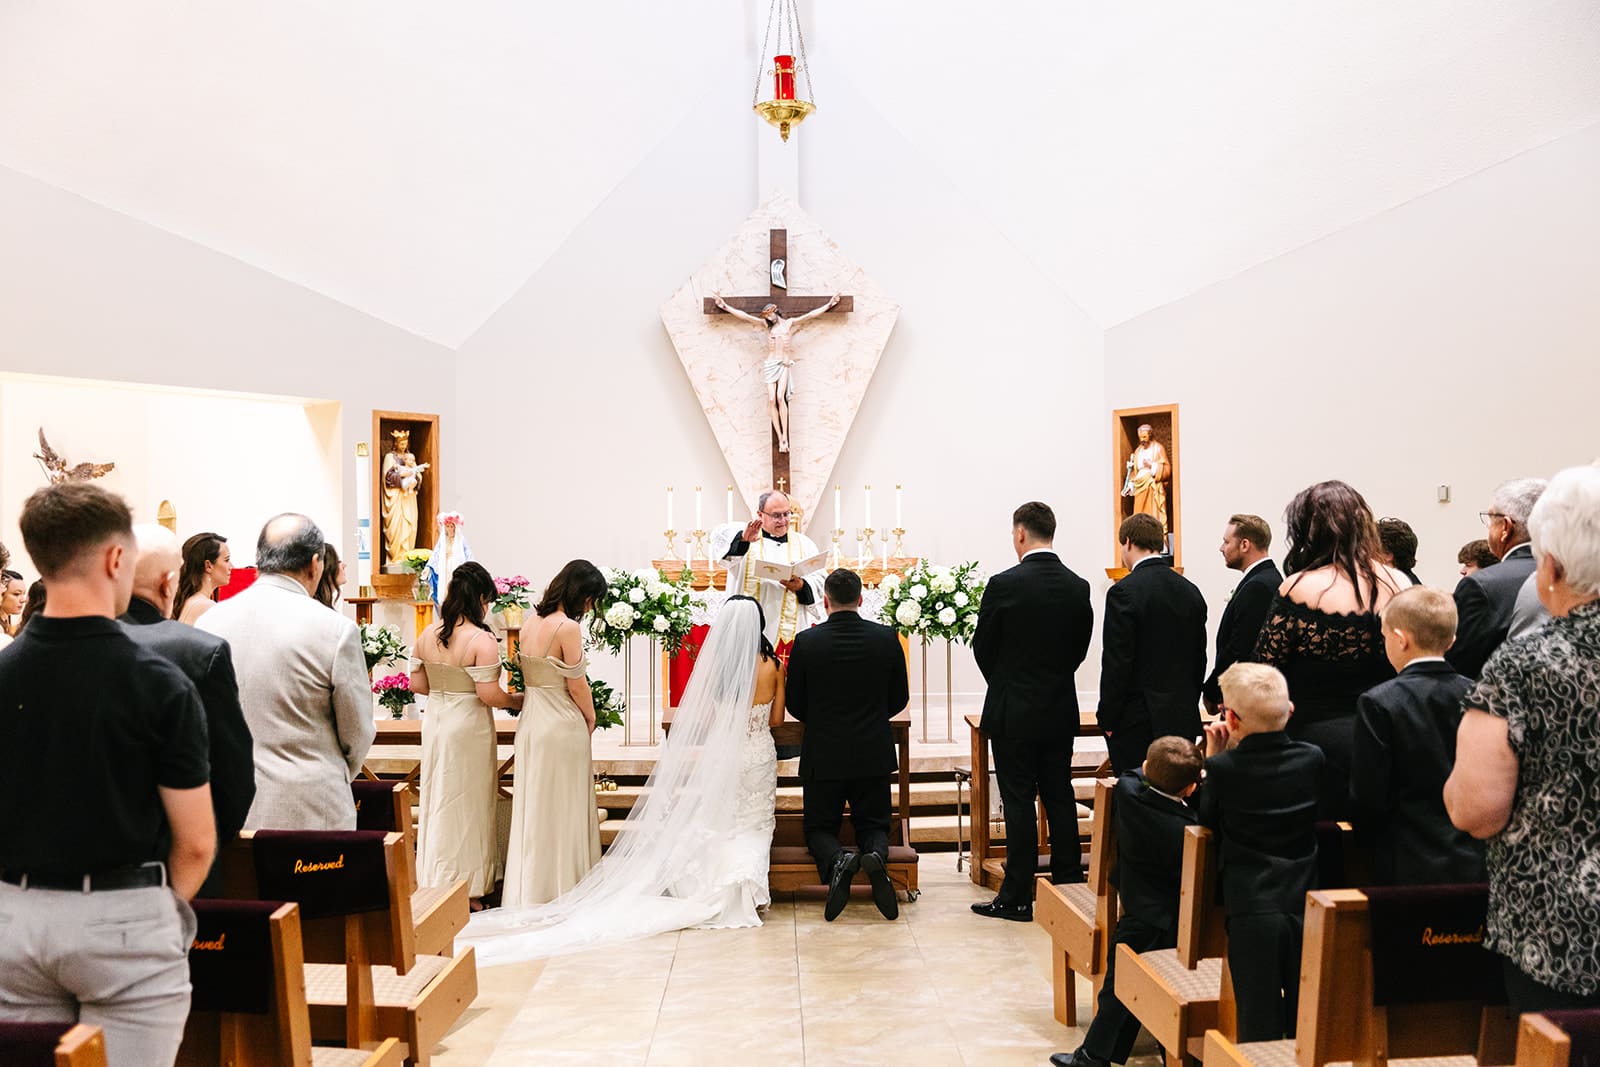
Anne and Logan’s Nighthawk at Hotel Kansas City wedding celebration was the perfect example of how modern couples are redefining wedding traditions. Instead of hosting a large ceremony and reception on the same day, they chose a private ceremony first. Later, they gathered their favorite people for an unforgettable Nighthawk at Hotel Kansas City wedding celebration.
And honestly? It was magic!
More and more couples are embracing this approach. First, they exchange vows in an intimate setting with immediate family. Then, at a later date, they host a celebration focused entirely on connection, cocktails, and dancing. Because the pressure of a full ceremony timeline is removed, the reception becomes relaxed and intentional.
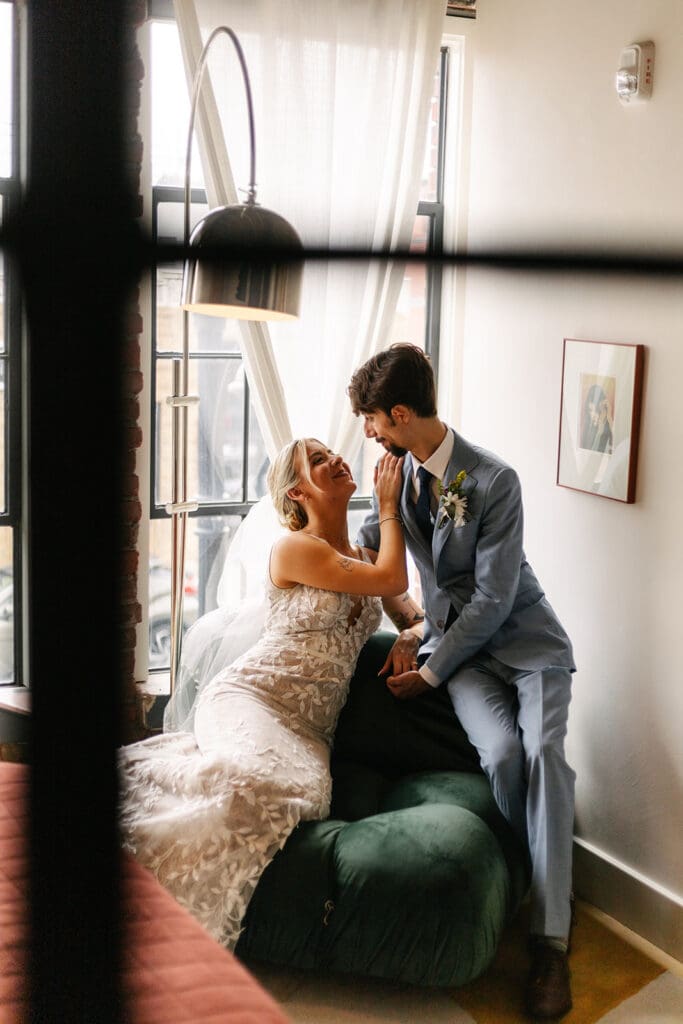
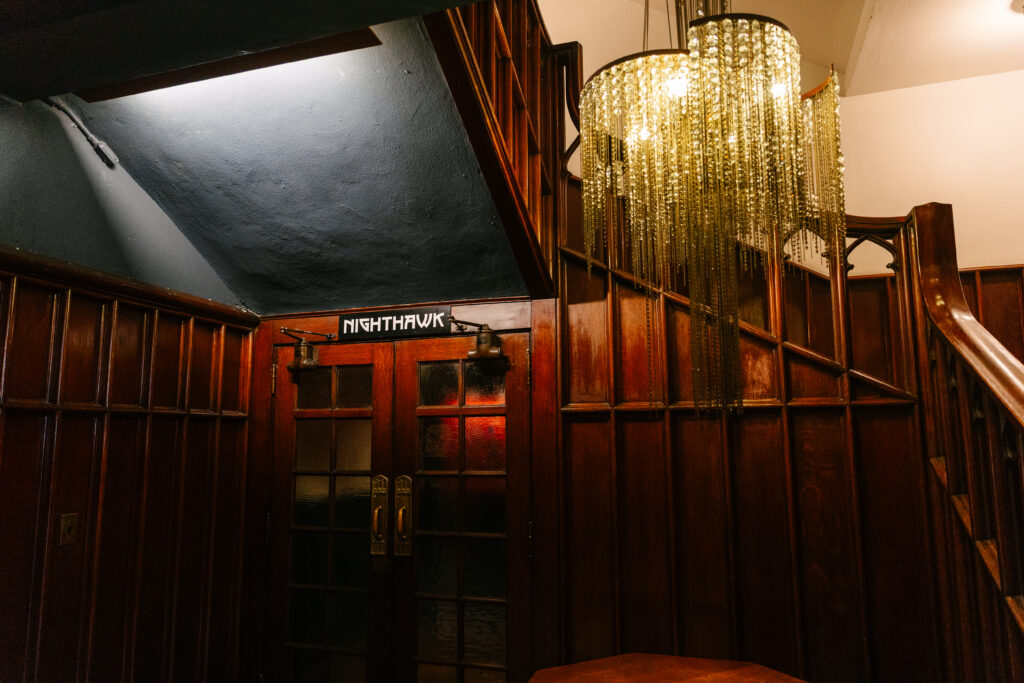
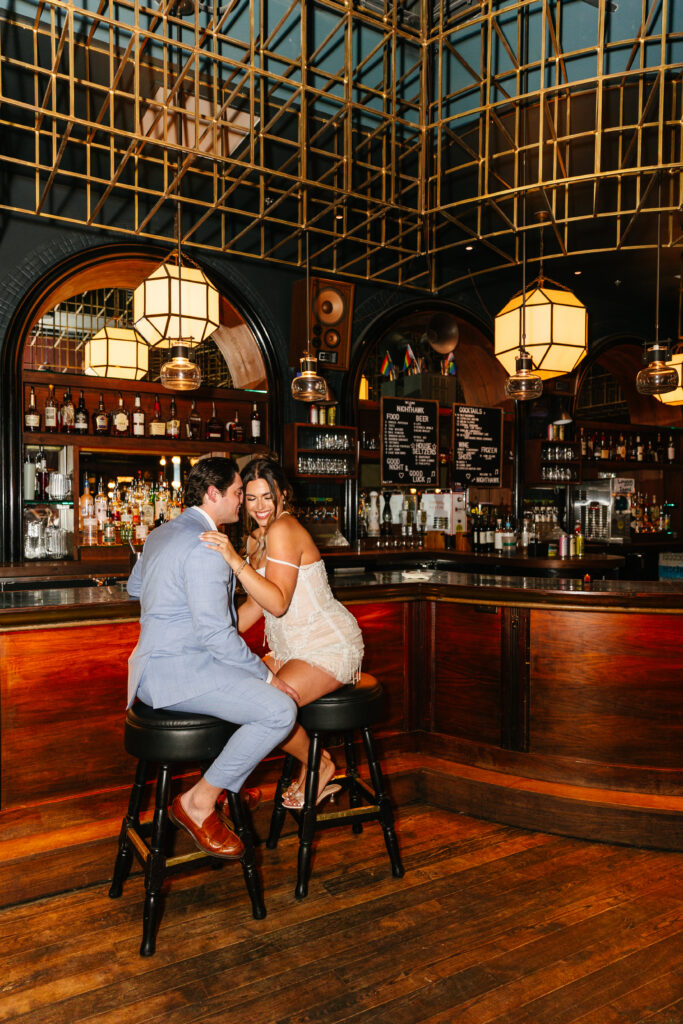
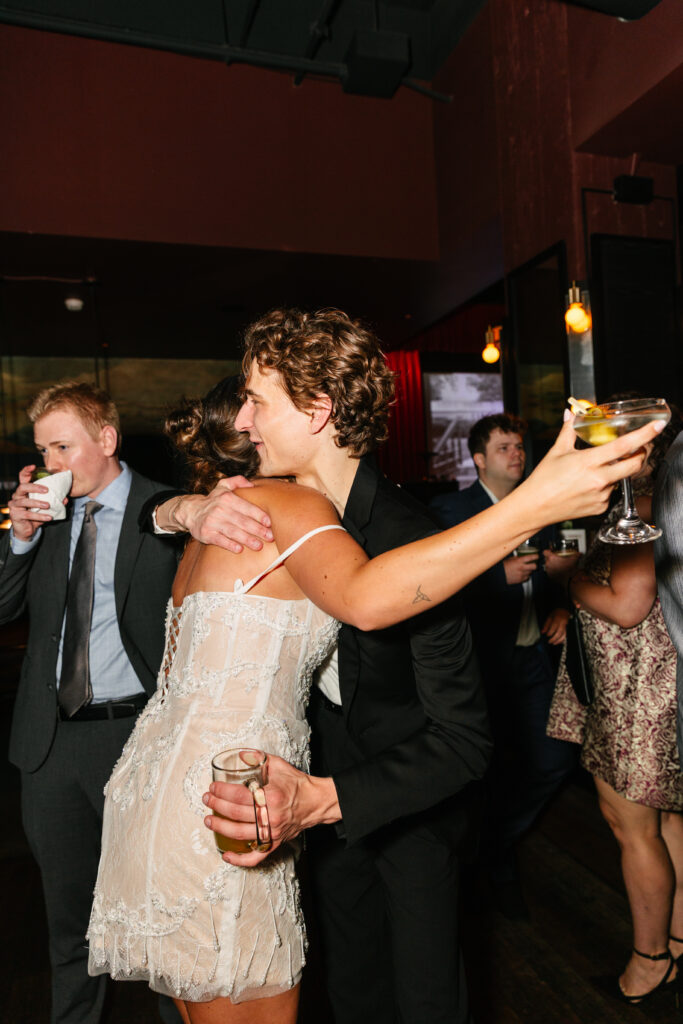
The Nighthawk at Hotel Kansas City offers a moody, elevated atmosphere that feels timeless. Dark emerald walls, warm wood accents, and statement lighting create a dramatic backdrop. As a result, every photograph feels cinematic and refined.
Anne stunned in a modern, short bridal dress that perfectly matched the sophisticated vibe. Meanwhile, Logan’s light blue suit added a fresh contrast against the rich interior tones. When they toasted at the bar beneath glowing pendant lights, the moment felt intimate and celebratory all at once.
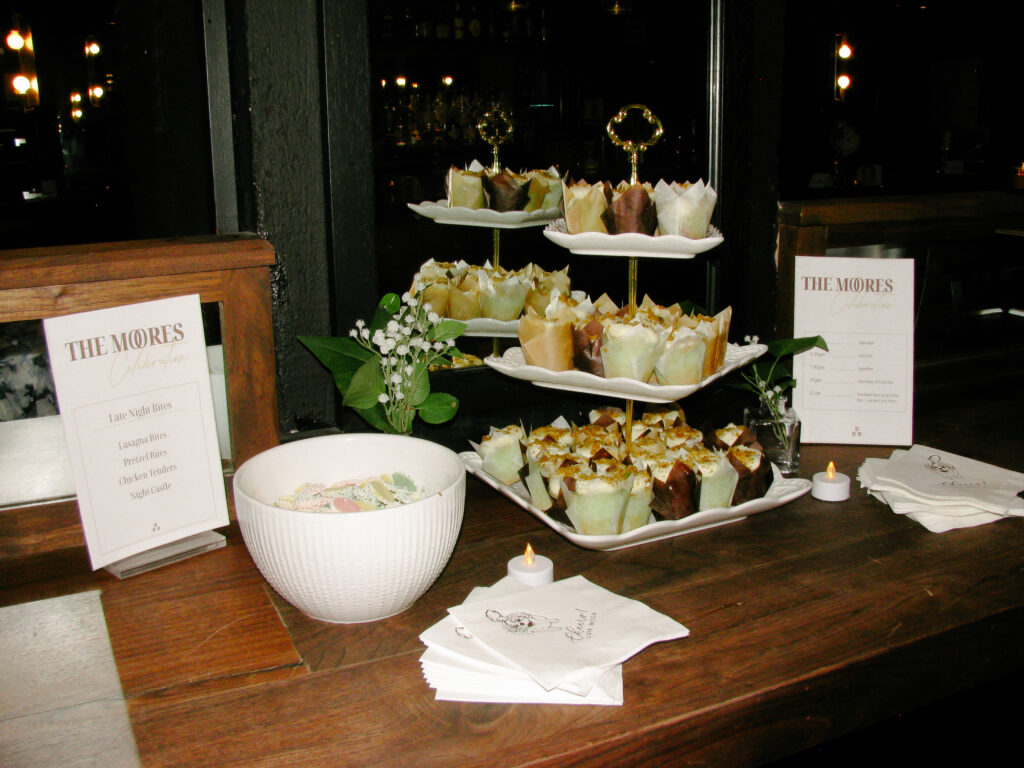
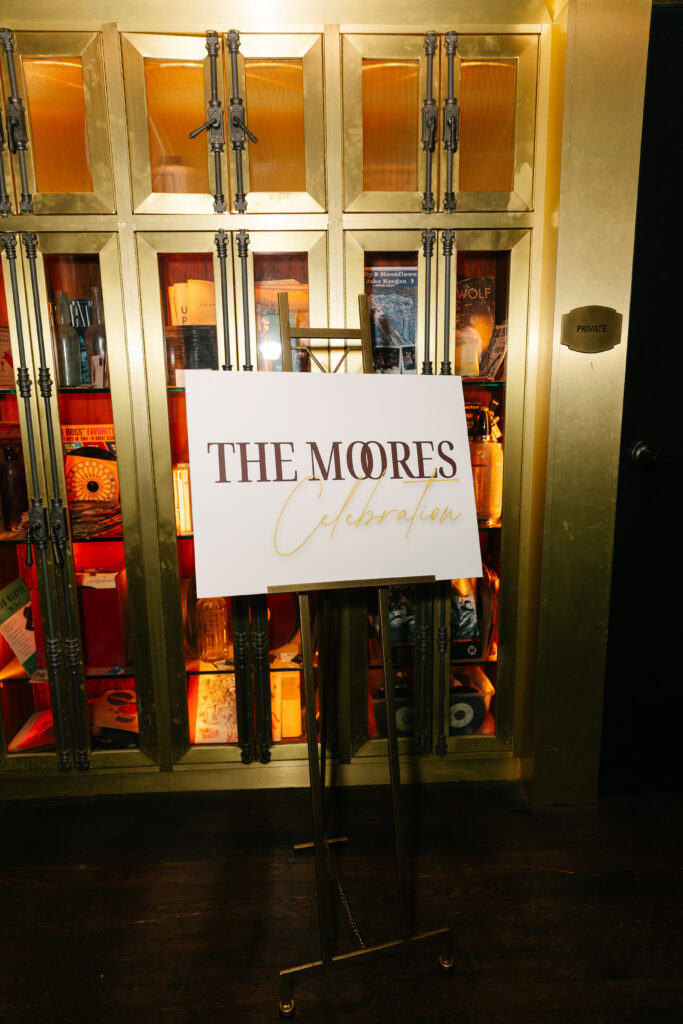
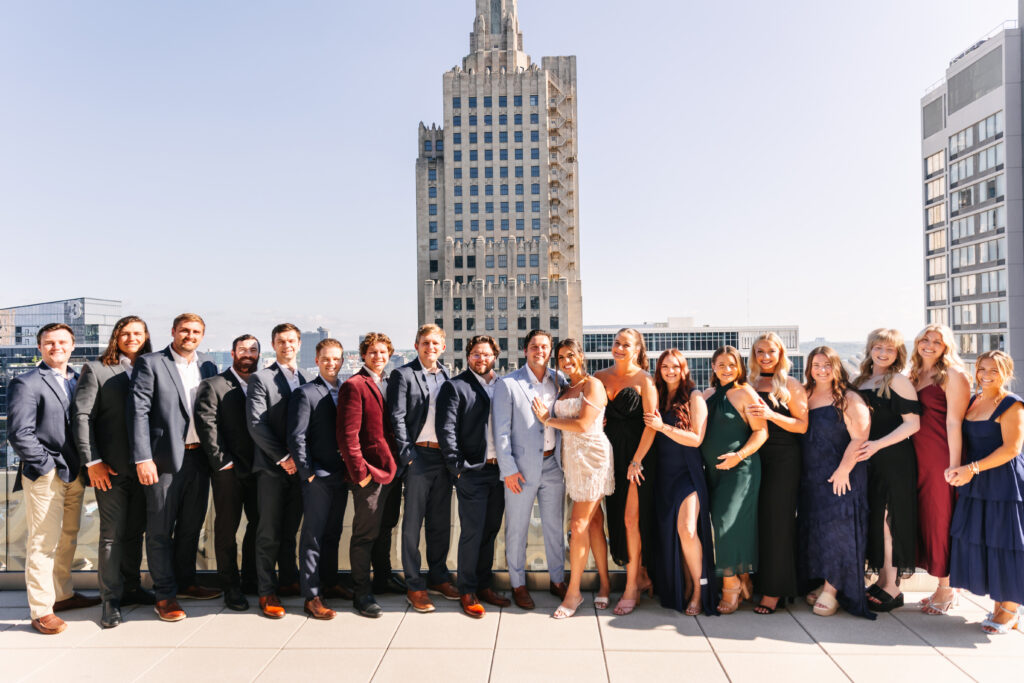
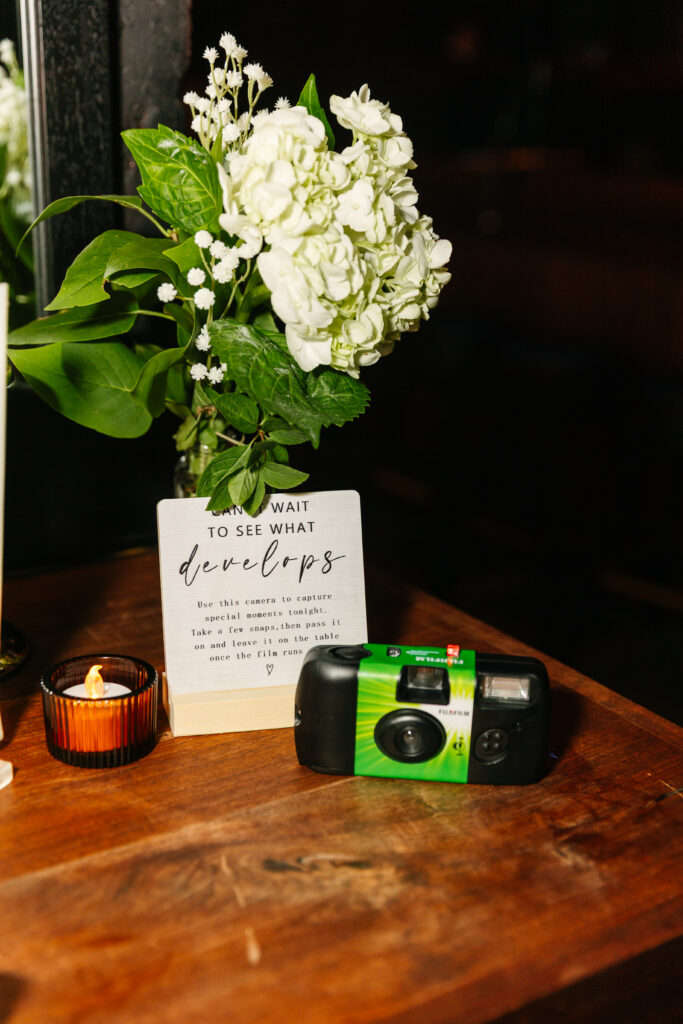
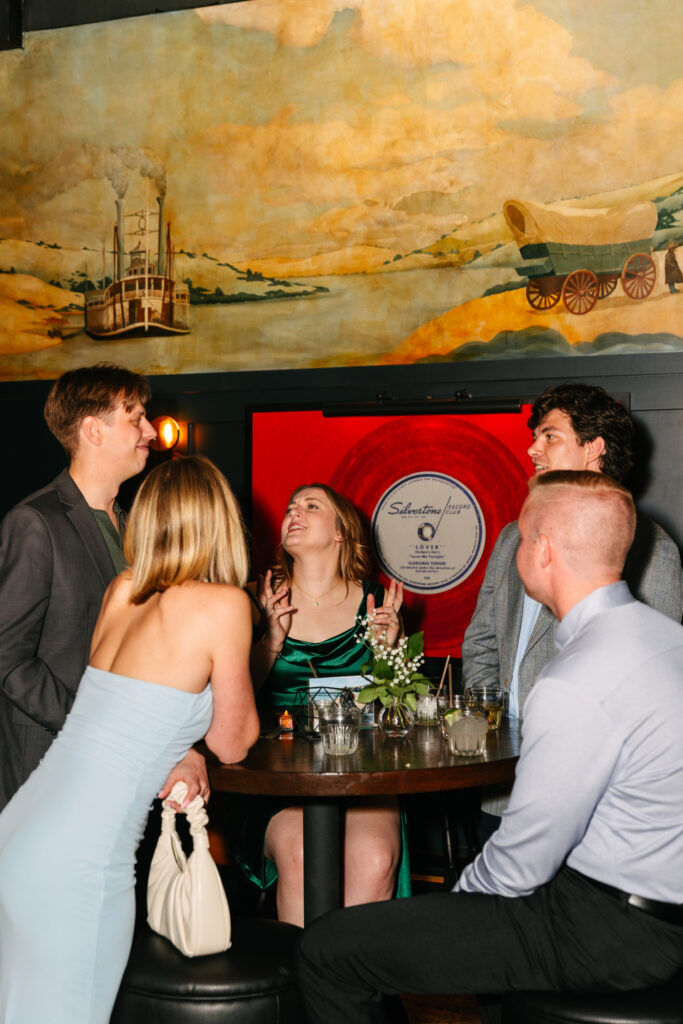
Additionally, their reception details reflected thoughtful intention. From the welcome table with framed photographs to soft candlelight and florals, each element contributed to the overall ambiance. Because the event centered on celebration rather than logistics, guests relaxed immediately. Conversations lingered. Laughter echoed.
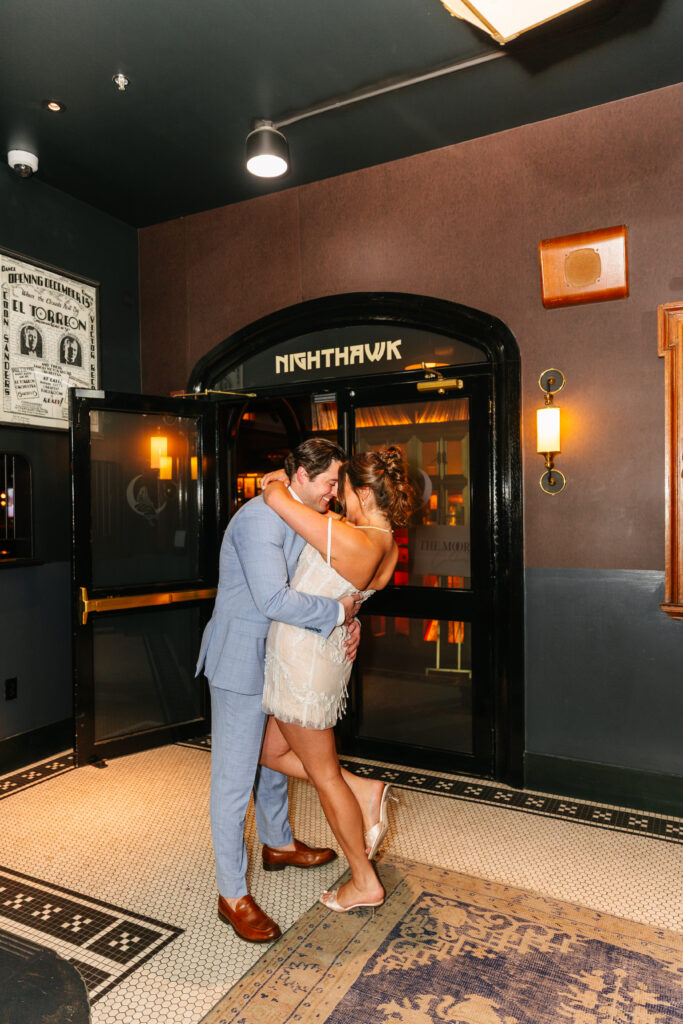
One of my favorite moments happened just outside the Nighthawk doors. The two of them slipped away for a quiet embrace, completely absorbed in each other. Those in-between moments often tell the truest story.
Choosing a small private ceremony followed by a later celebration allows couples to experience both intimacy and grandeur. They get the sacred quiet exchange of vows. Then, they get the party!
Anne and Logan proved that there is no single “right” way to celebrate a marriage. Instead, there is only what feels right for you. And this Nighthawk celebration felt perfectly, unapologetically them.
Frequently Asked Questions
Is it common to have a private ceremony and later reception?
Yes. Many couples now choose intimate ceremonies first, then host larger celebrations at a later date.
Is The Nighthawk good for wedding receptions?
Absolutely. The moody interior and refined design create a stylish, cocktail-style celebration space.
Does Hotel Kansas City work well for modern weddings?
Yes. The venue blends historic architecture with elevated, modern interiors.


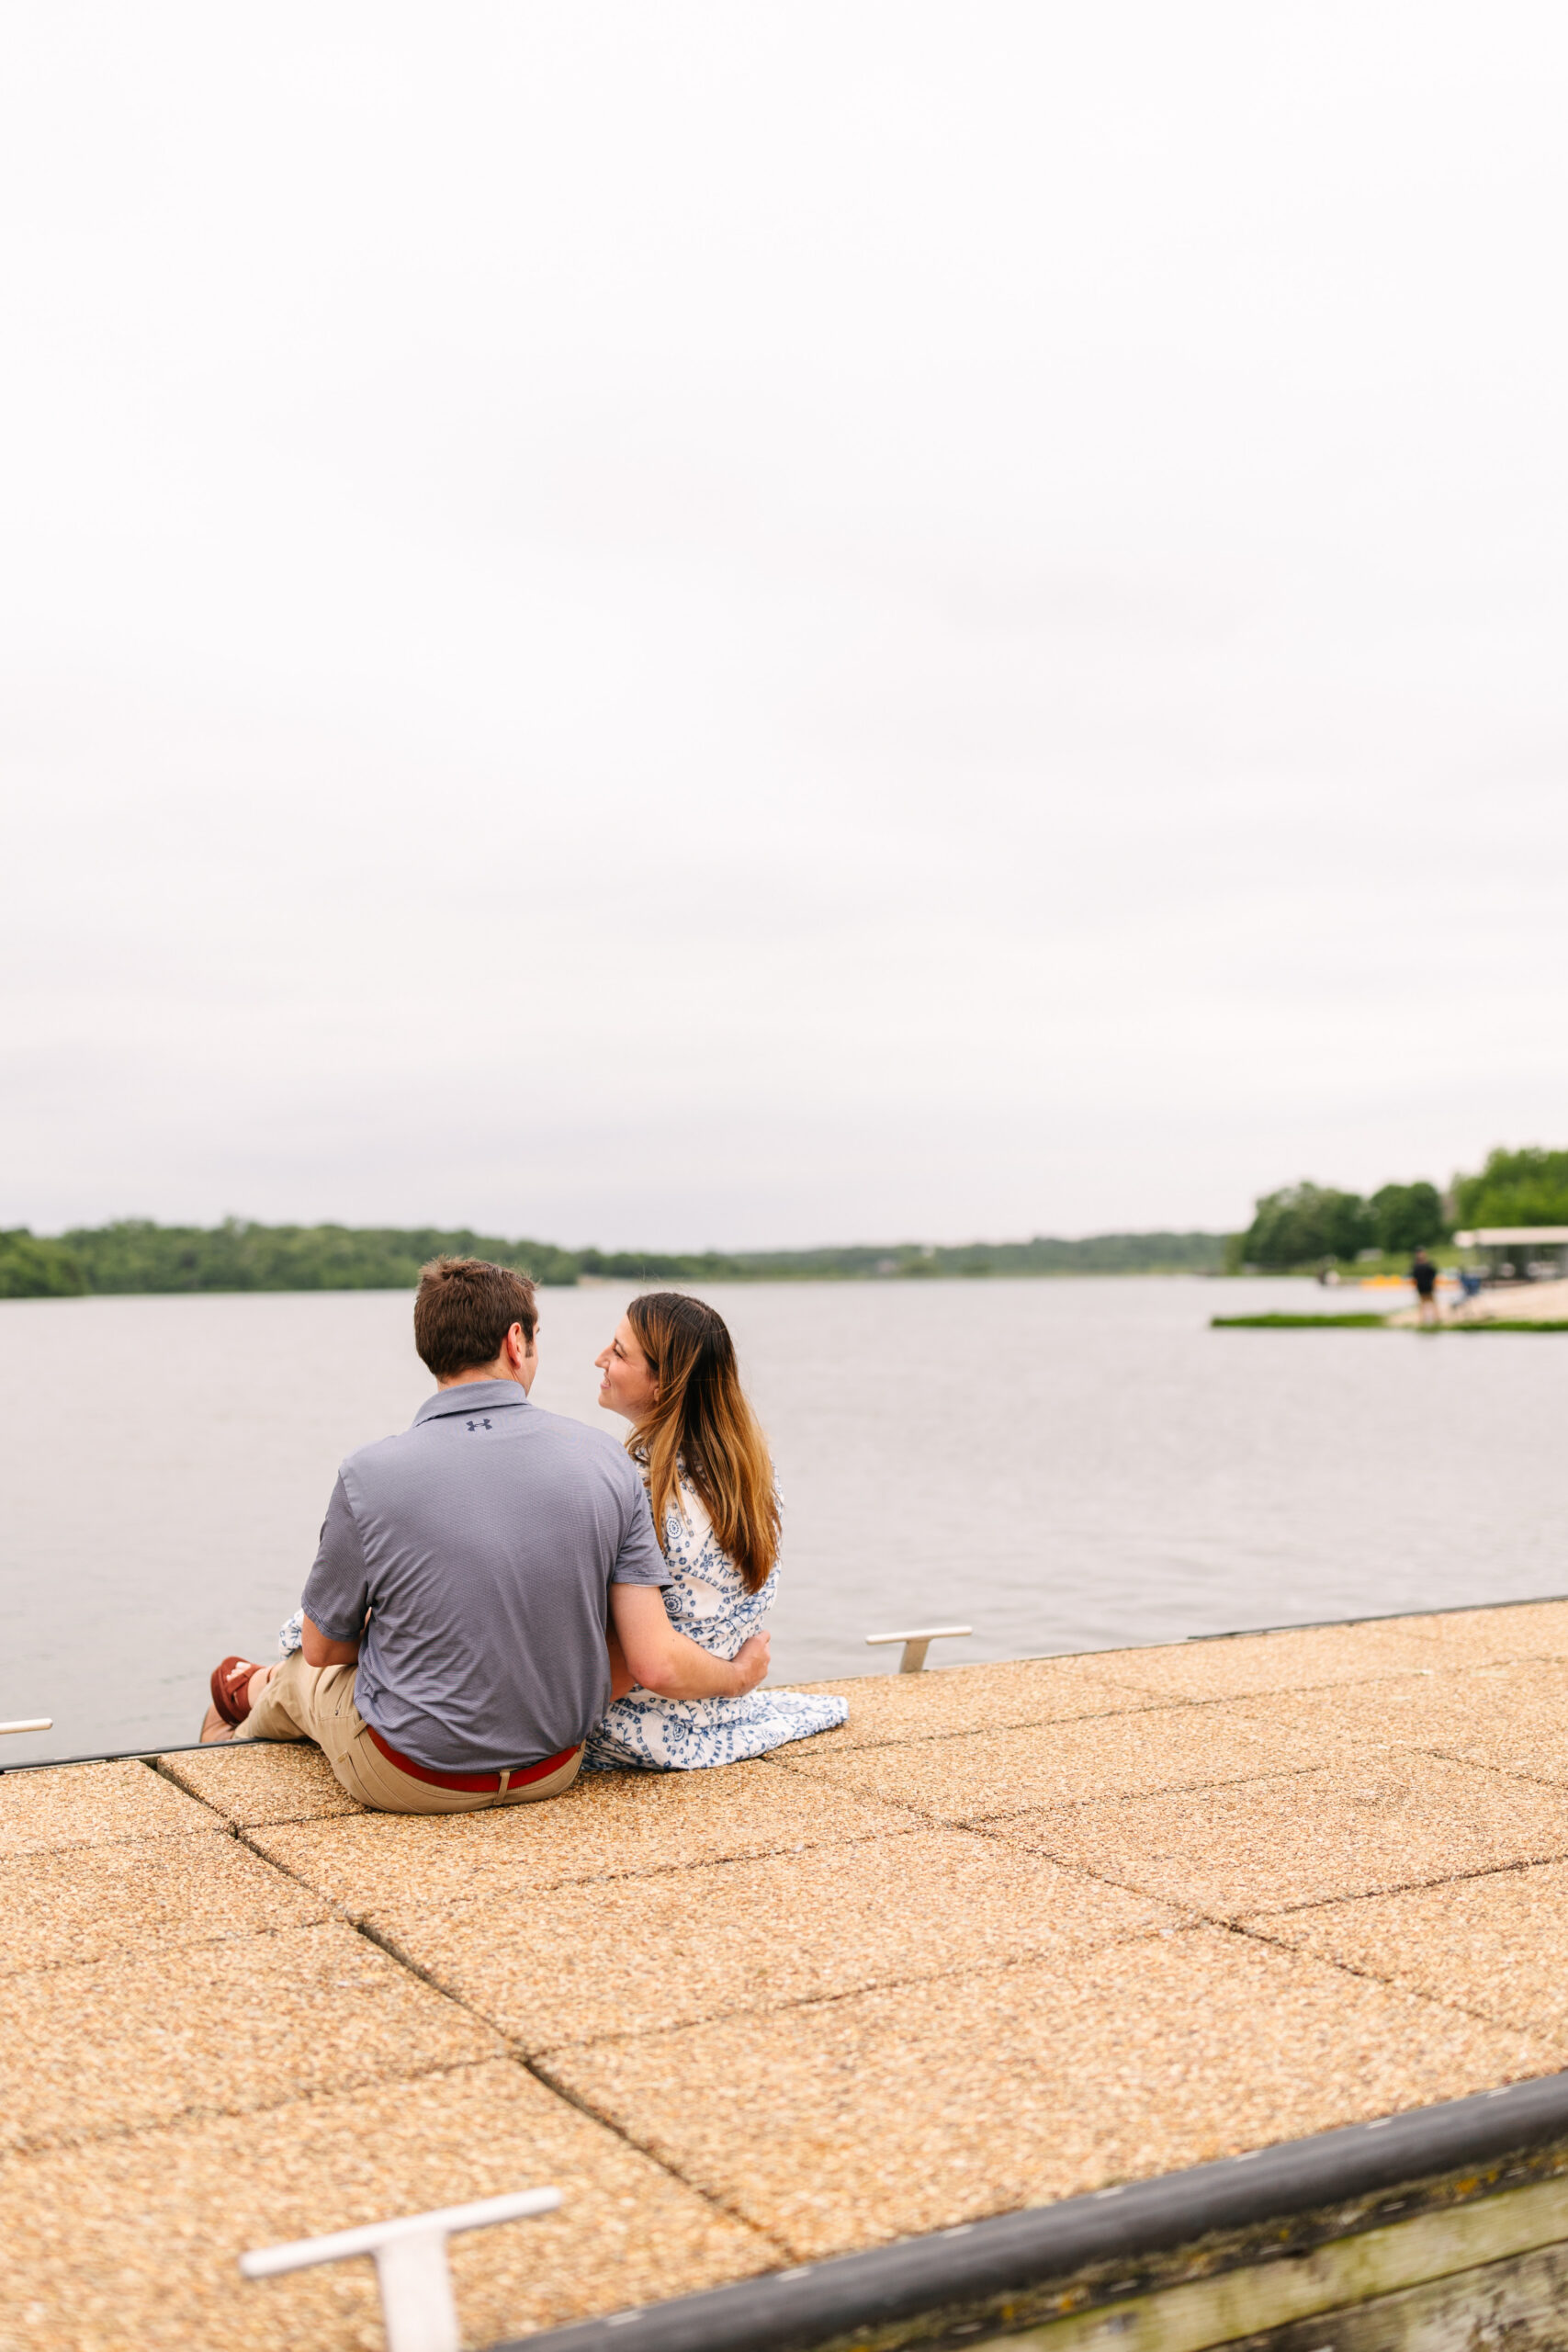
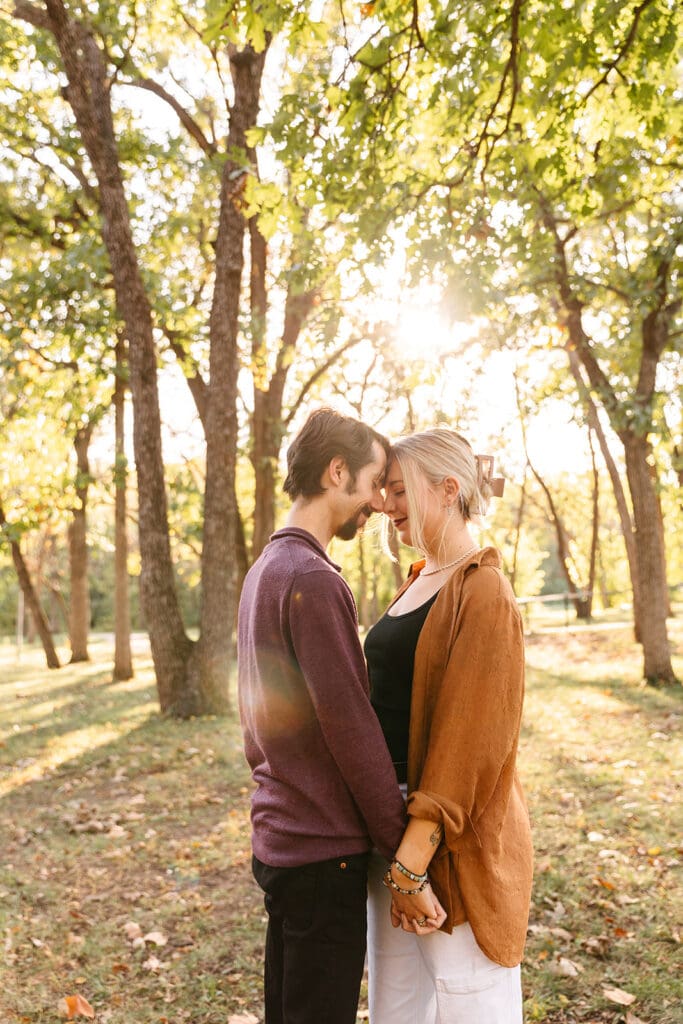
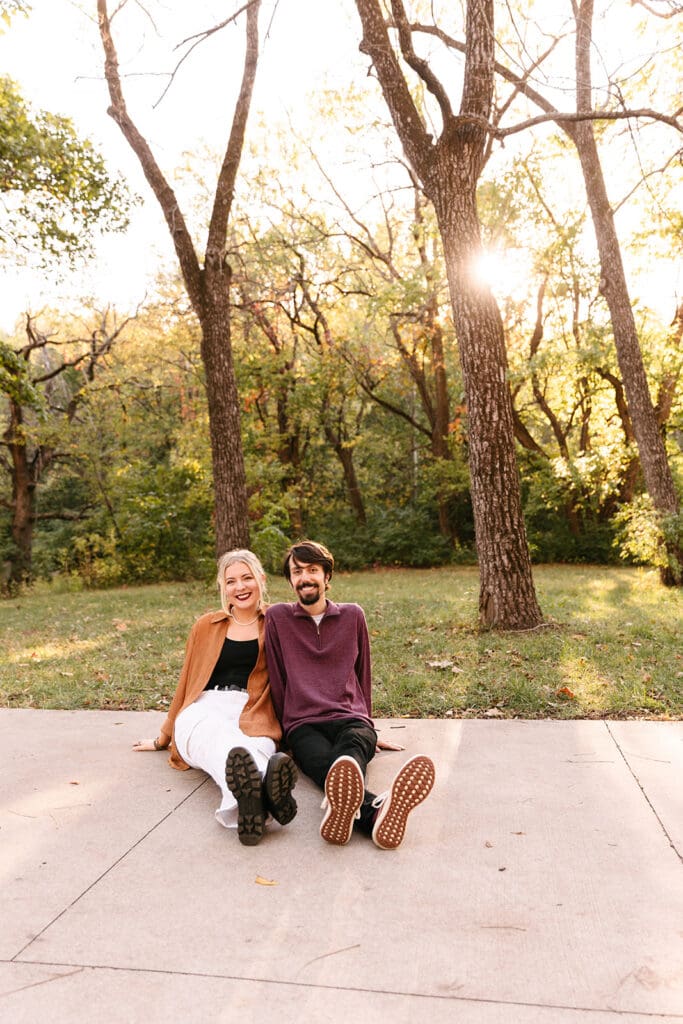
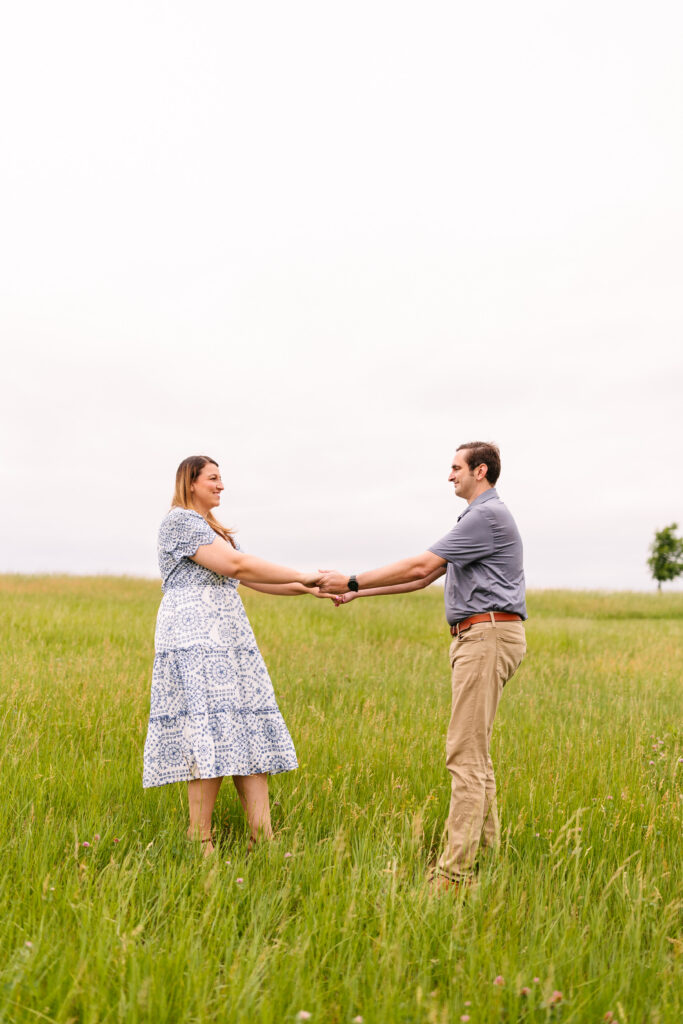
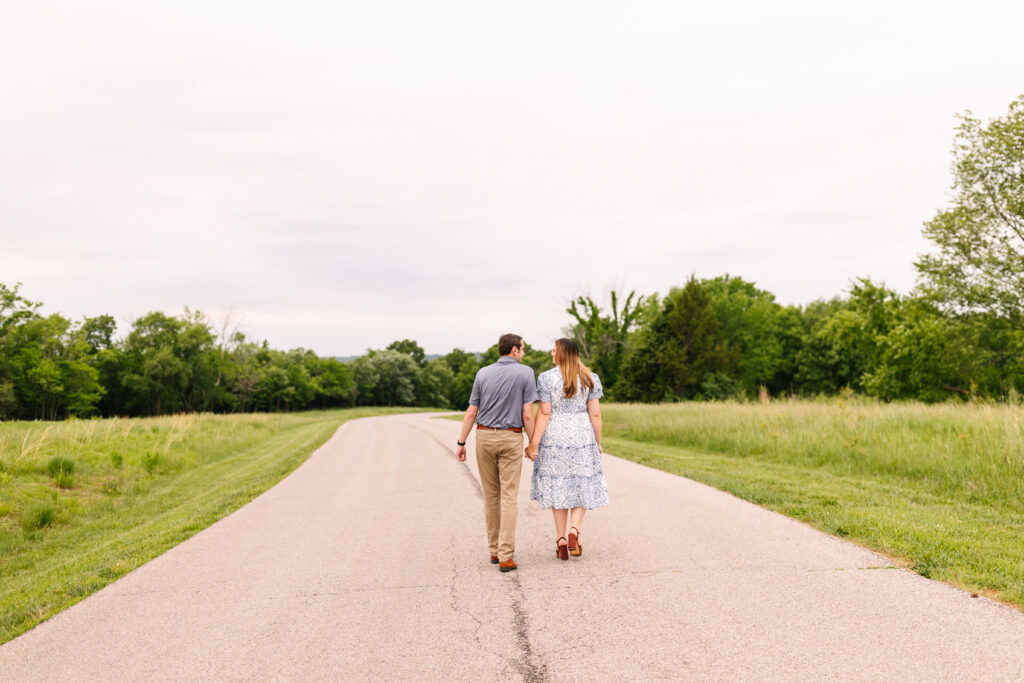
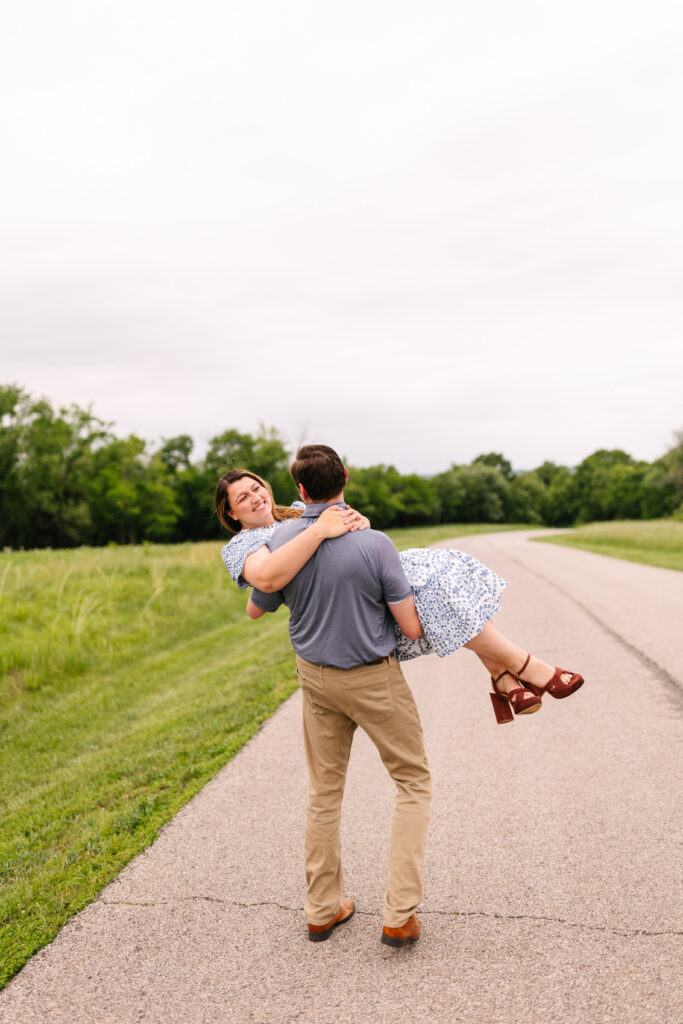
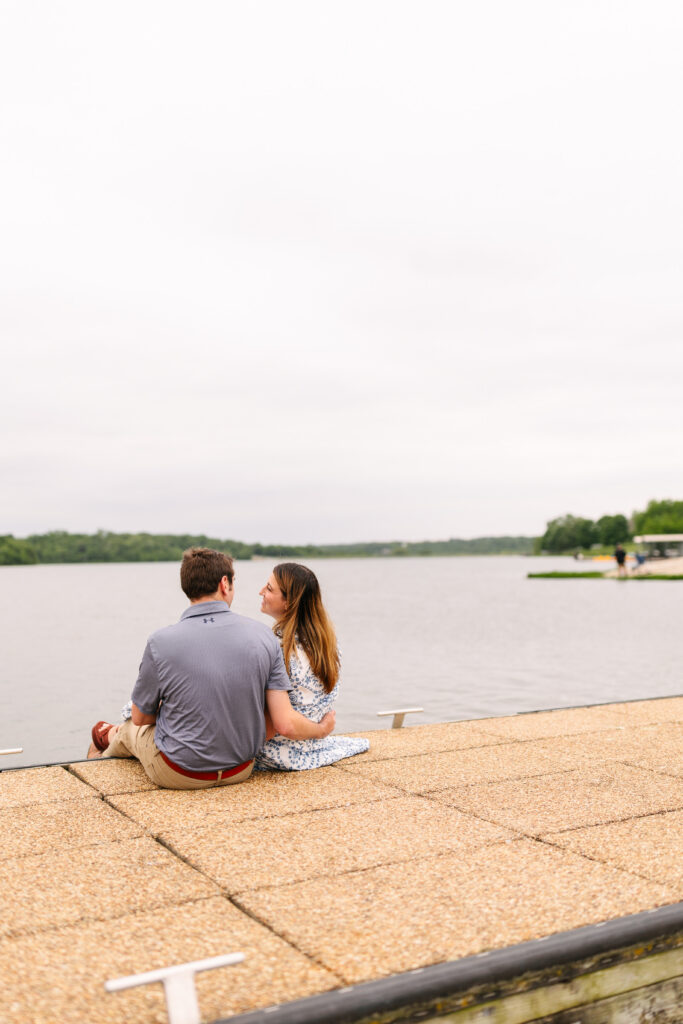
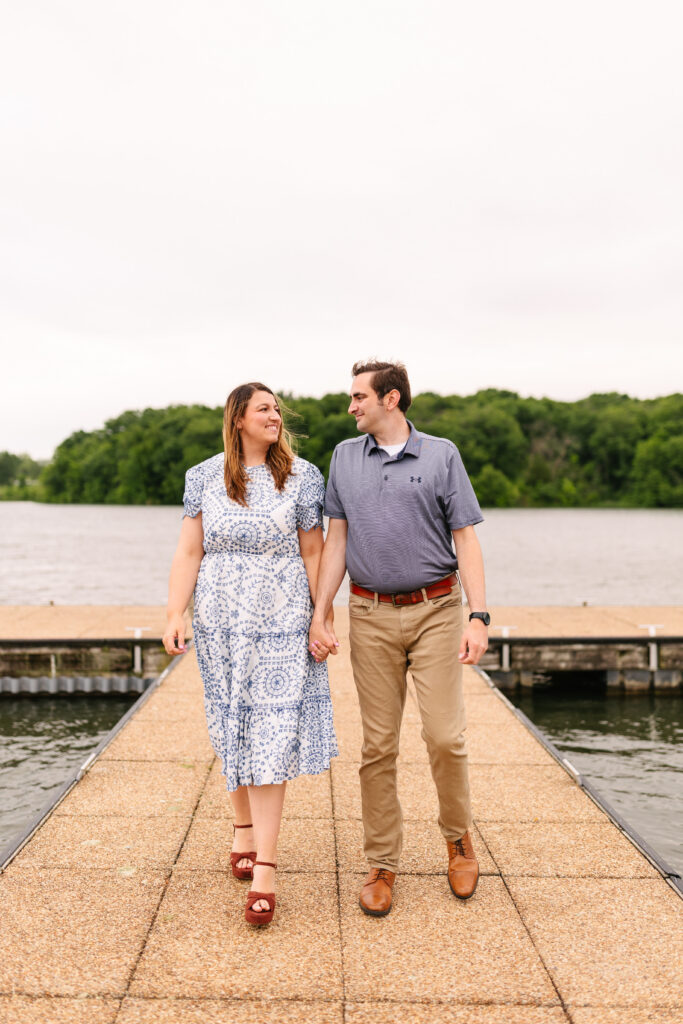
This Heritage Park engagement session with Emily and Jason was the perfect mix of playful and peaceful. From the start, their Heritage Park engagement session felt relaxed, natural, and completely centered around their connection!
Located in Olathe, Heritage Park offers wide-open fields, winding paths, and beautiful lakeside views. Because the park includes both paved walkways and waterfront docks, couples get variety without traveling between locations. As a result, every gallery feels dynamic while still cohesive.
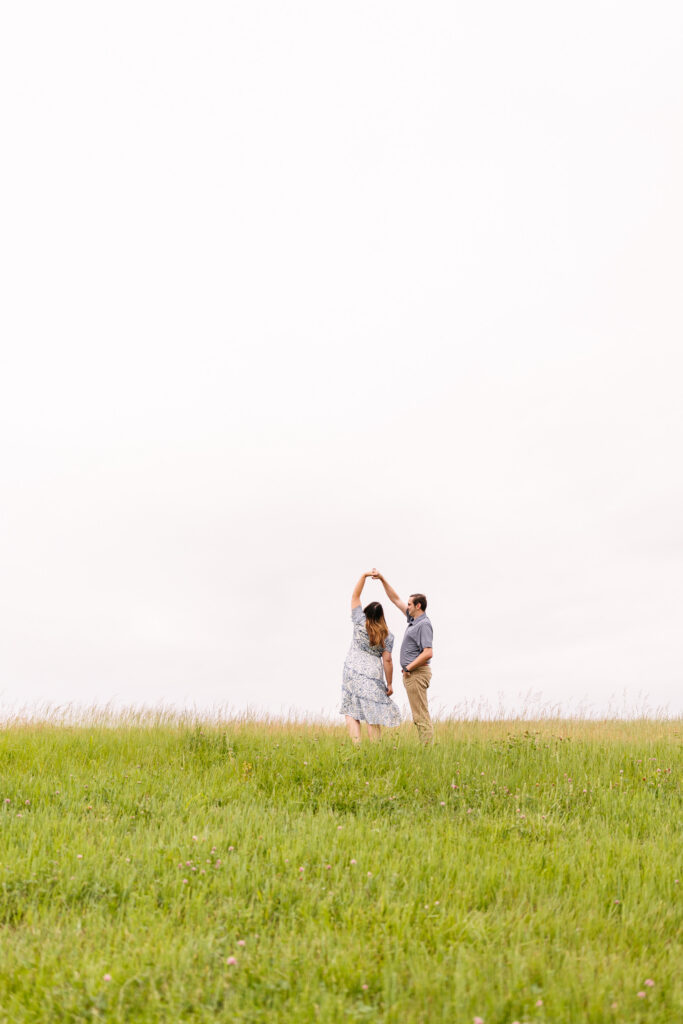
First, we began in the open roadway area surrounded by greenery. The overcast sky created soft, even light. Jason pulled Emily close, and she laughed effortlessly… that playful energy carried through the entire session!
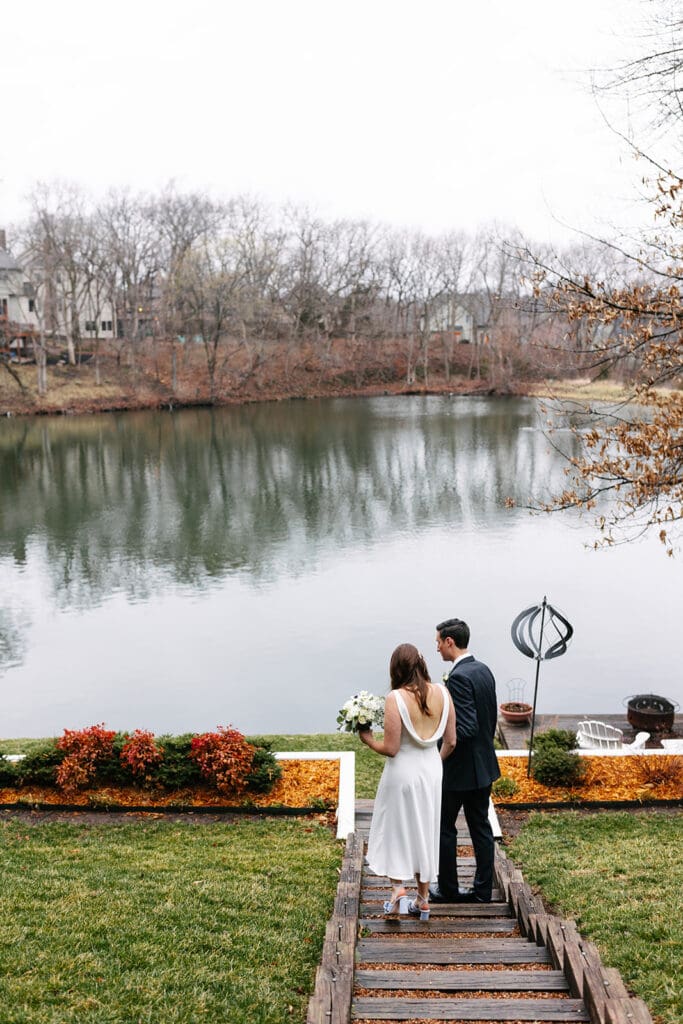
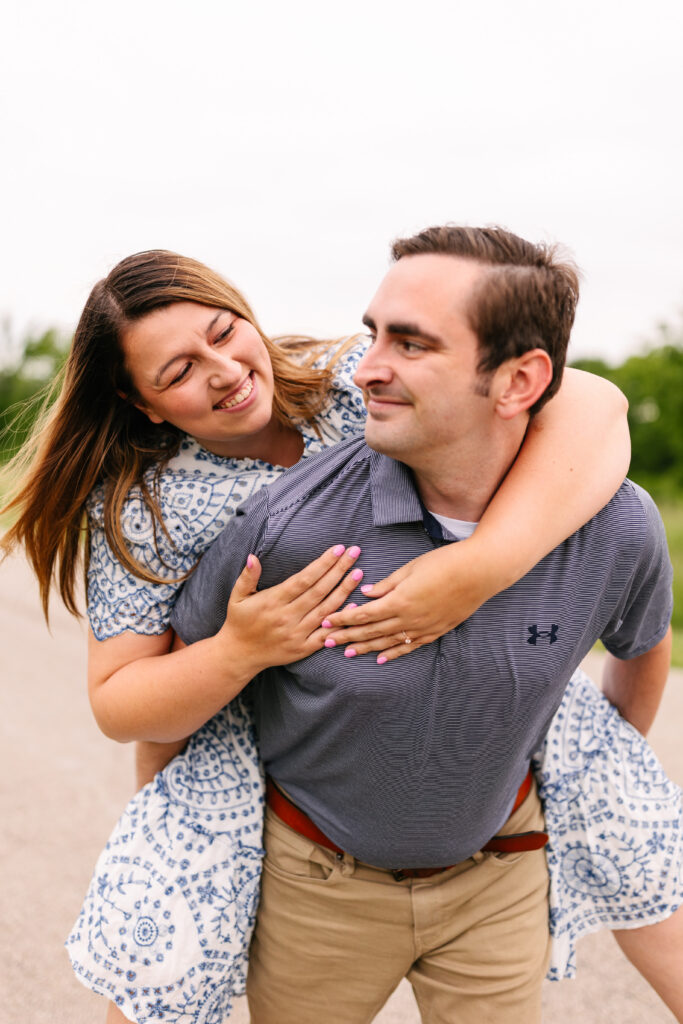
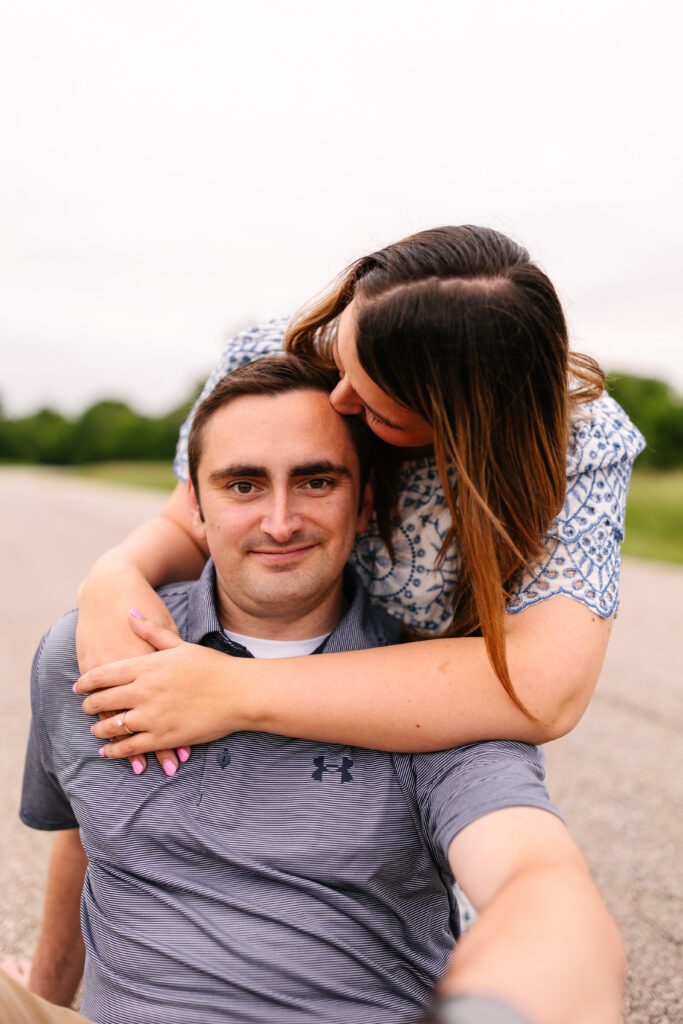
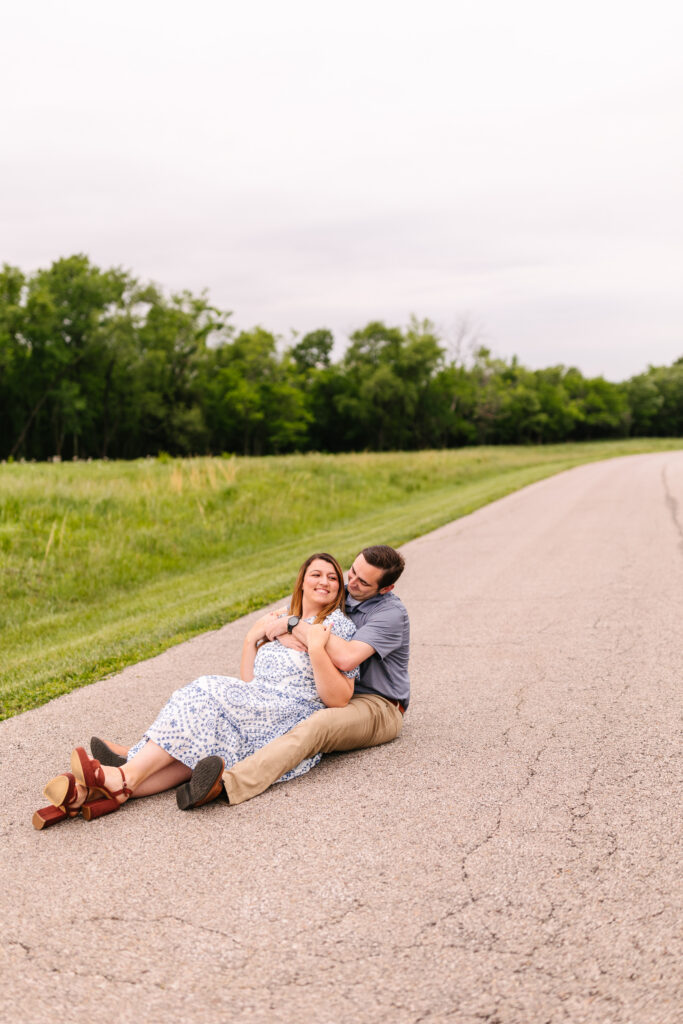
Next, we moved toward the dock by the water. The lake added depth and texture to the background, while the gentle breeze gave Emily’s dress beautiful movement. One of my favorite parts of the evening happened when they sat together at the edge of the dock. The setting felt quiet and intimate.
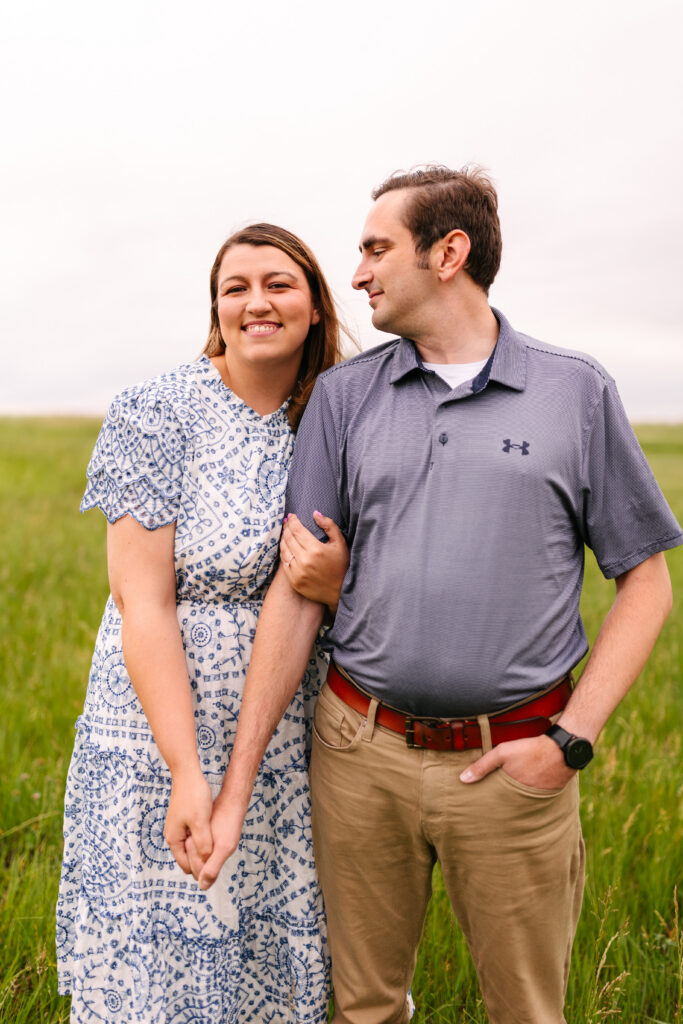
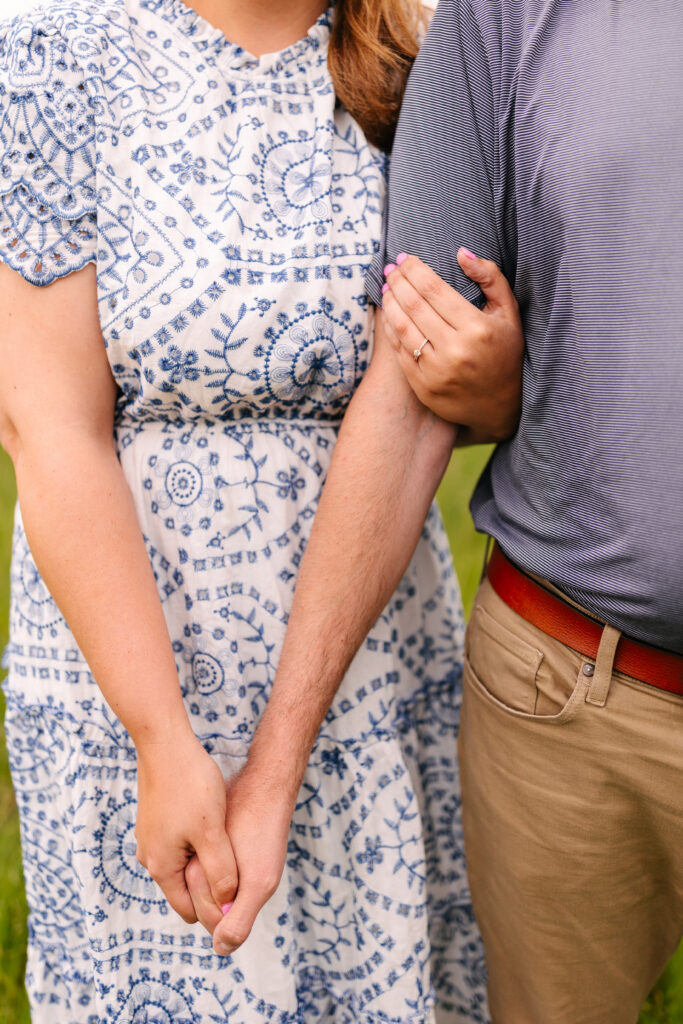
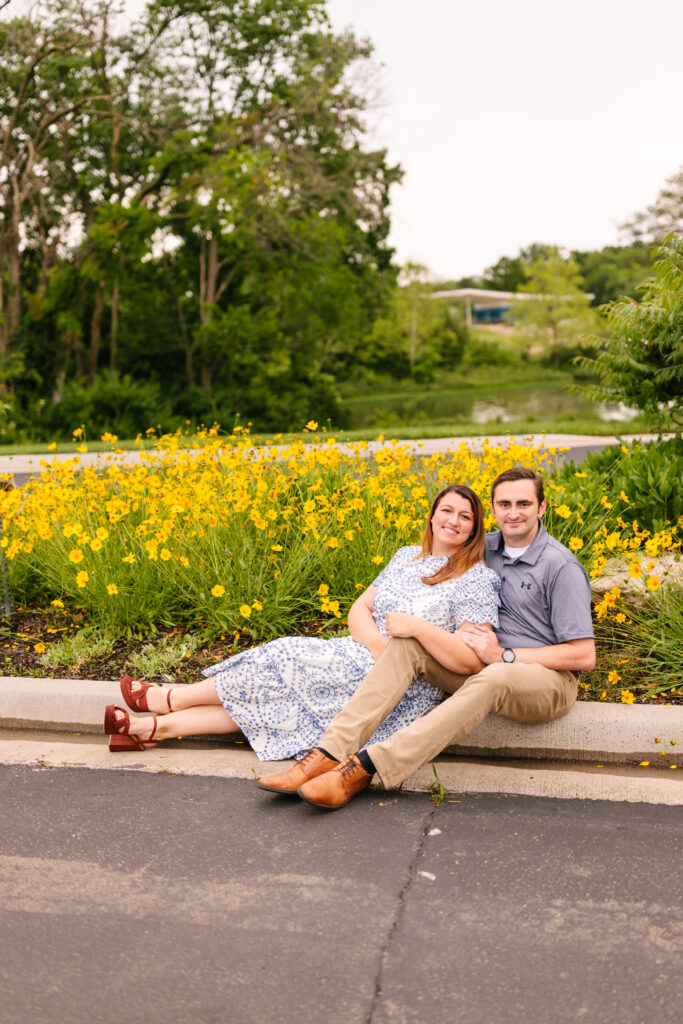
Their outfit choices complemented the setting perfectly! Soft blues and neutrals paired beautifully with the green landscape and muted sky. Because of that intentional styling, the entire session feels cohesive.
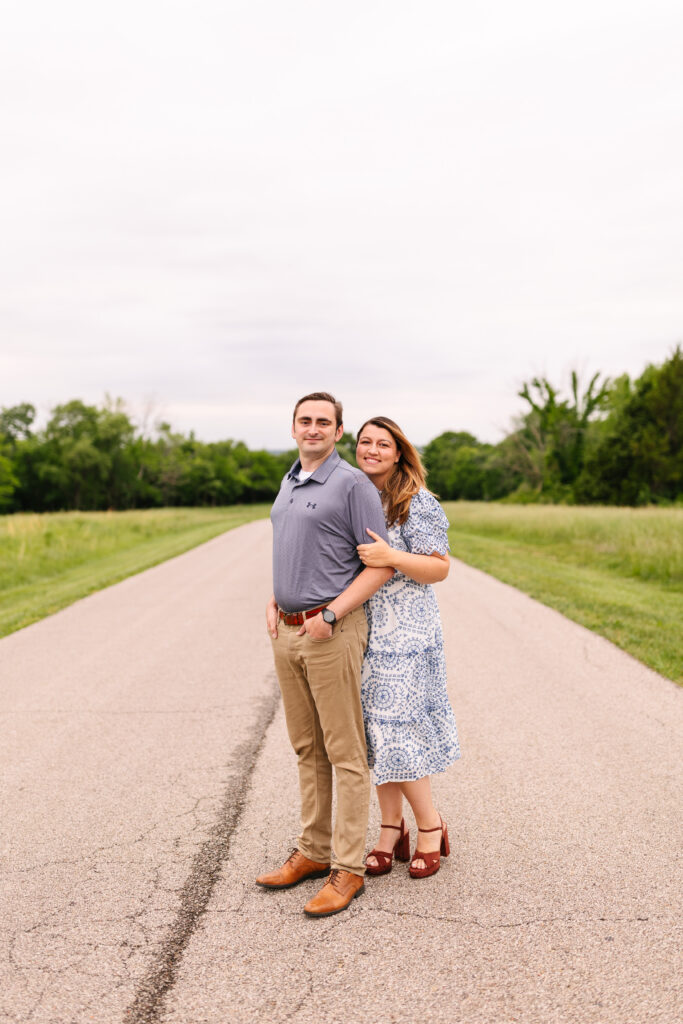
Heritage Park proved to be a great Olathe engagement session location. It offered open space, lakeside charm, and flexibility for different posing styles. Most importantly, it allows couples to relax and simply enjoy being together!
Emily and Jason’s session wasn’t about dramatic poses or elaborate setups. Instead, it captured the simple joy of two people who genuinely love being side by side.. which is exactly what engagement sessions should capture!
Frequently Asked Questions
Is Heritage Park a good location for engagement photos?
Yes. Heritage Park offers lakeside views, open fields, and multiple scenic backdrops in one convenient location.
When is the best time for a Heritage Park engagement session?
Late afternoon or early evening provides the softest light, especially near the water.
What should couples wear for a lakeside engagement session?
Soft neutrals, blues, and earth tones photograph beautifully against greenery and water.

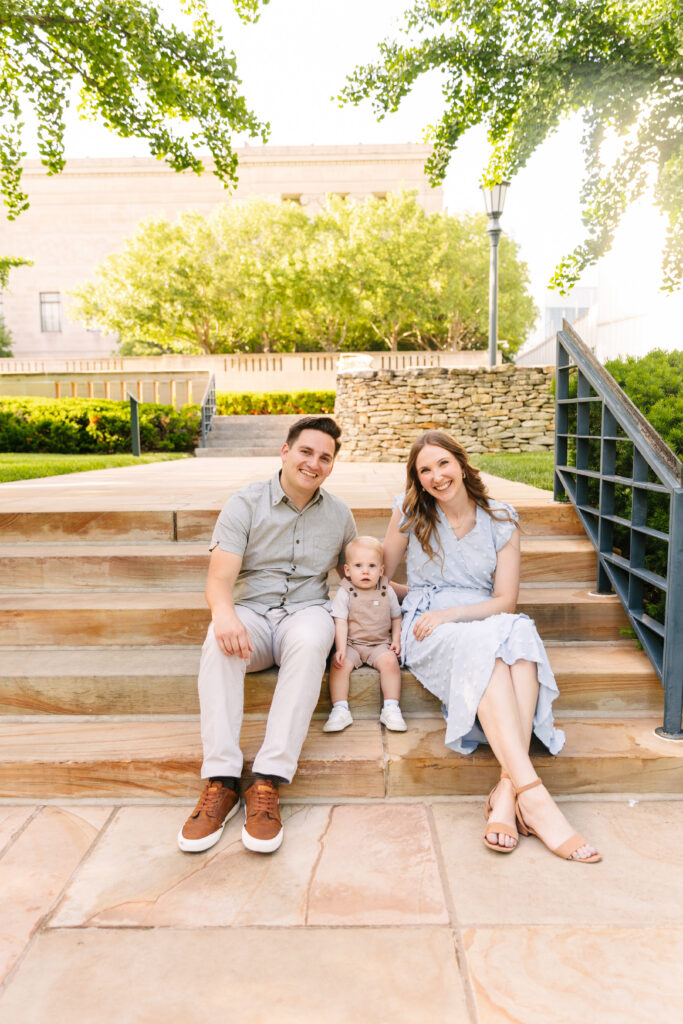
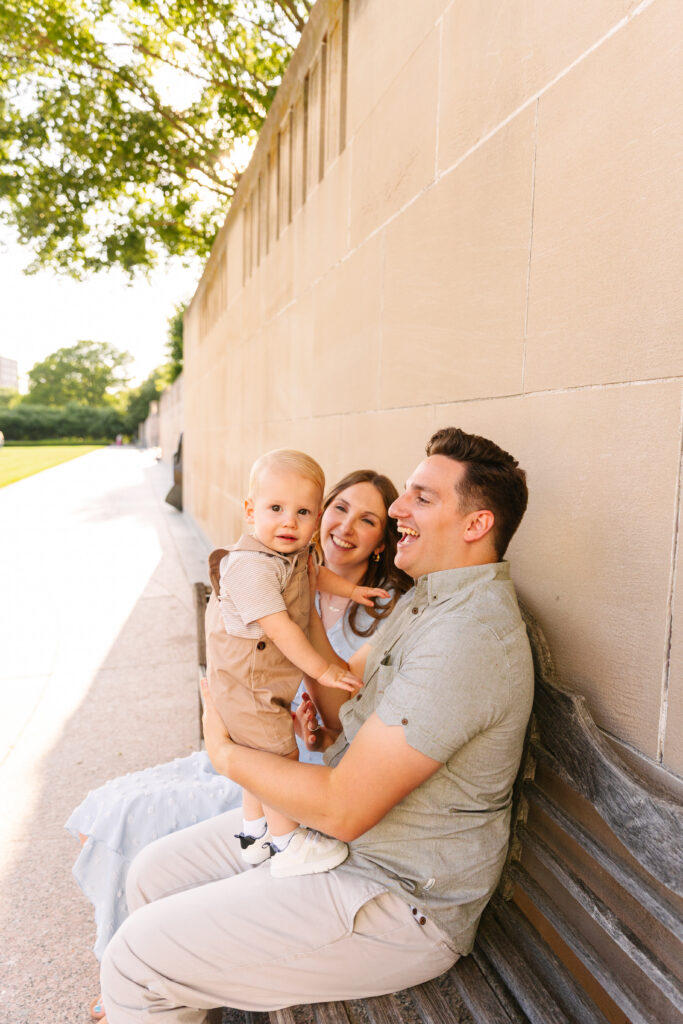
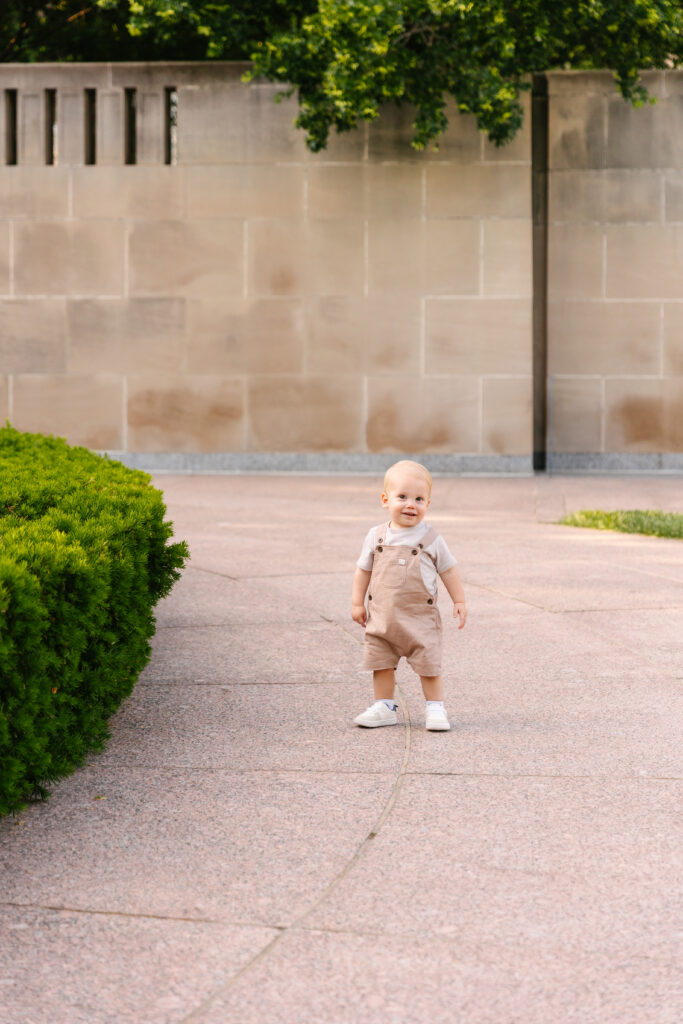
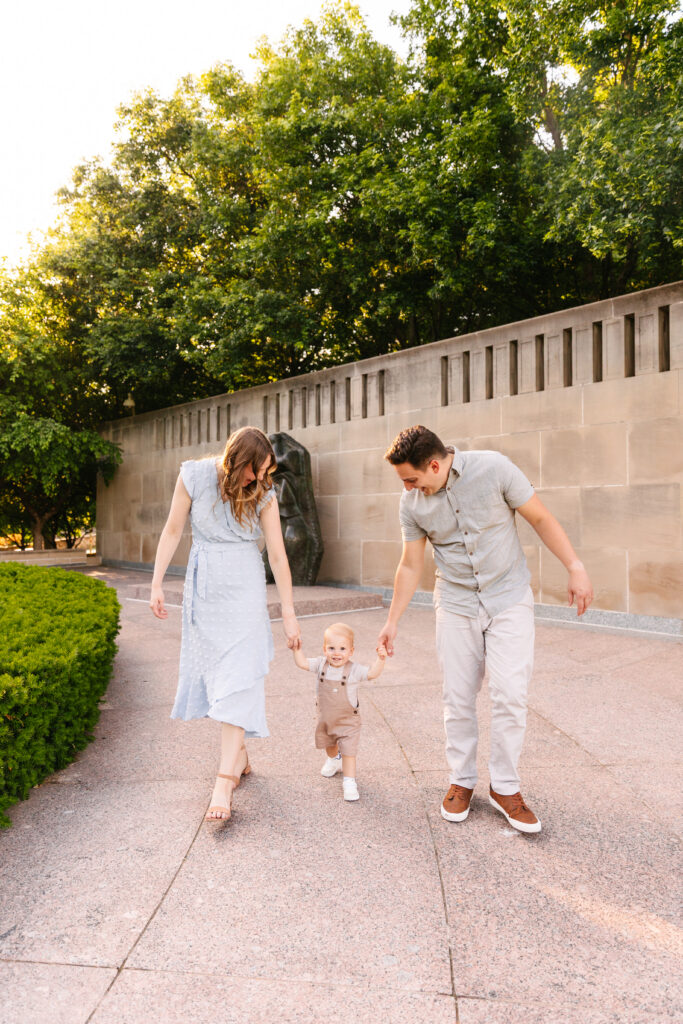
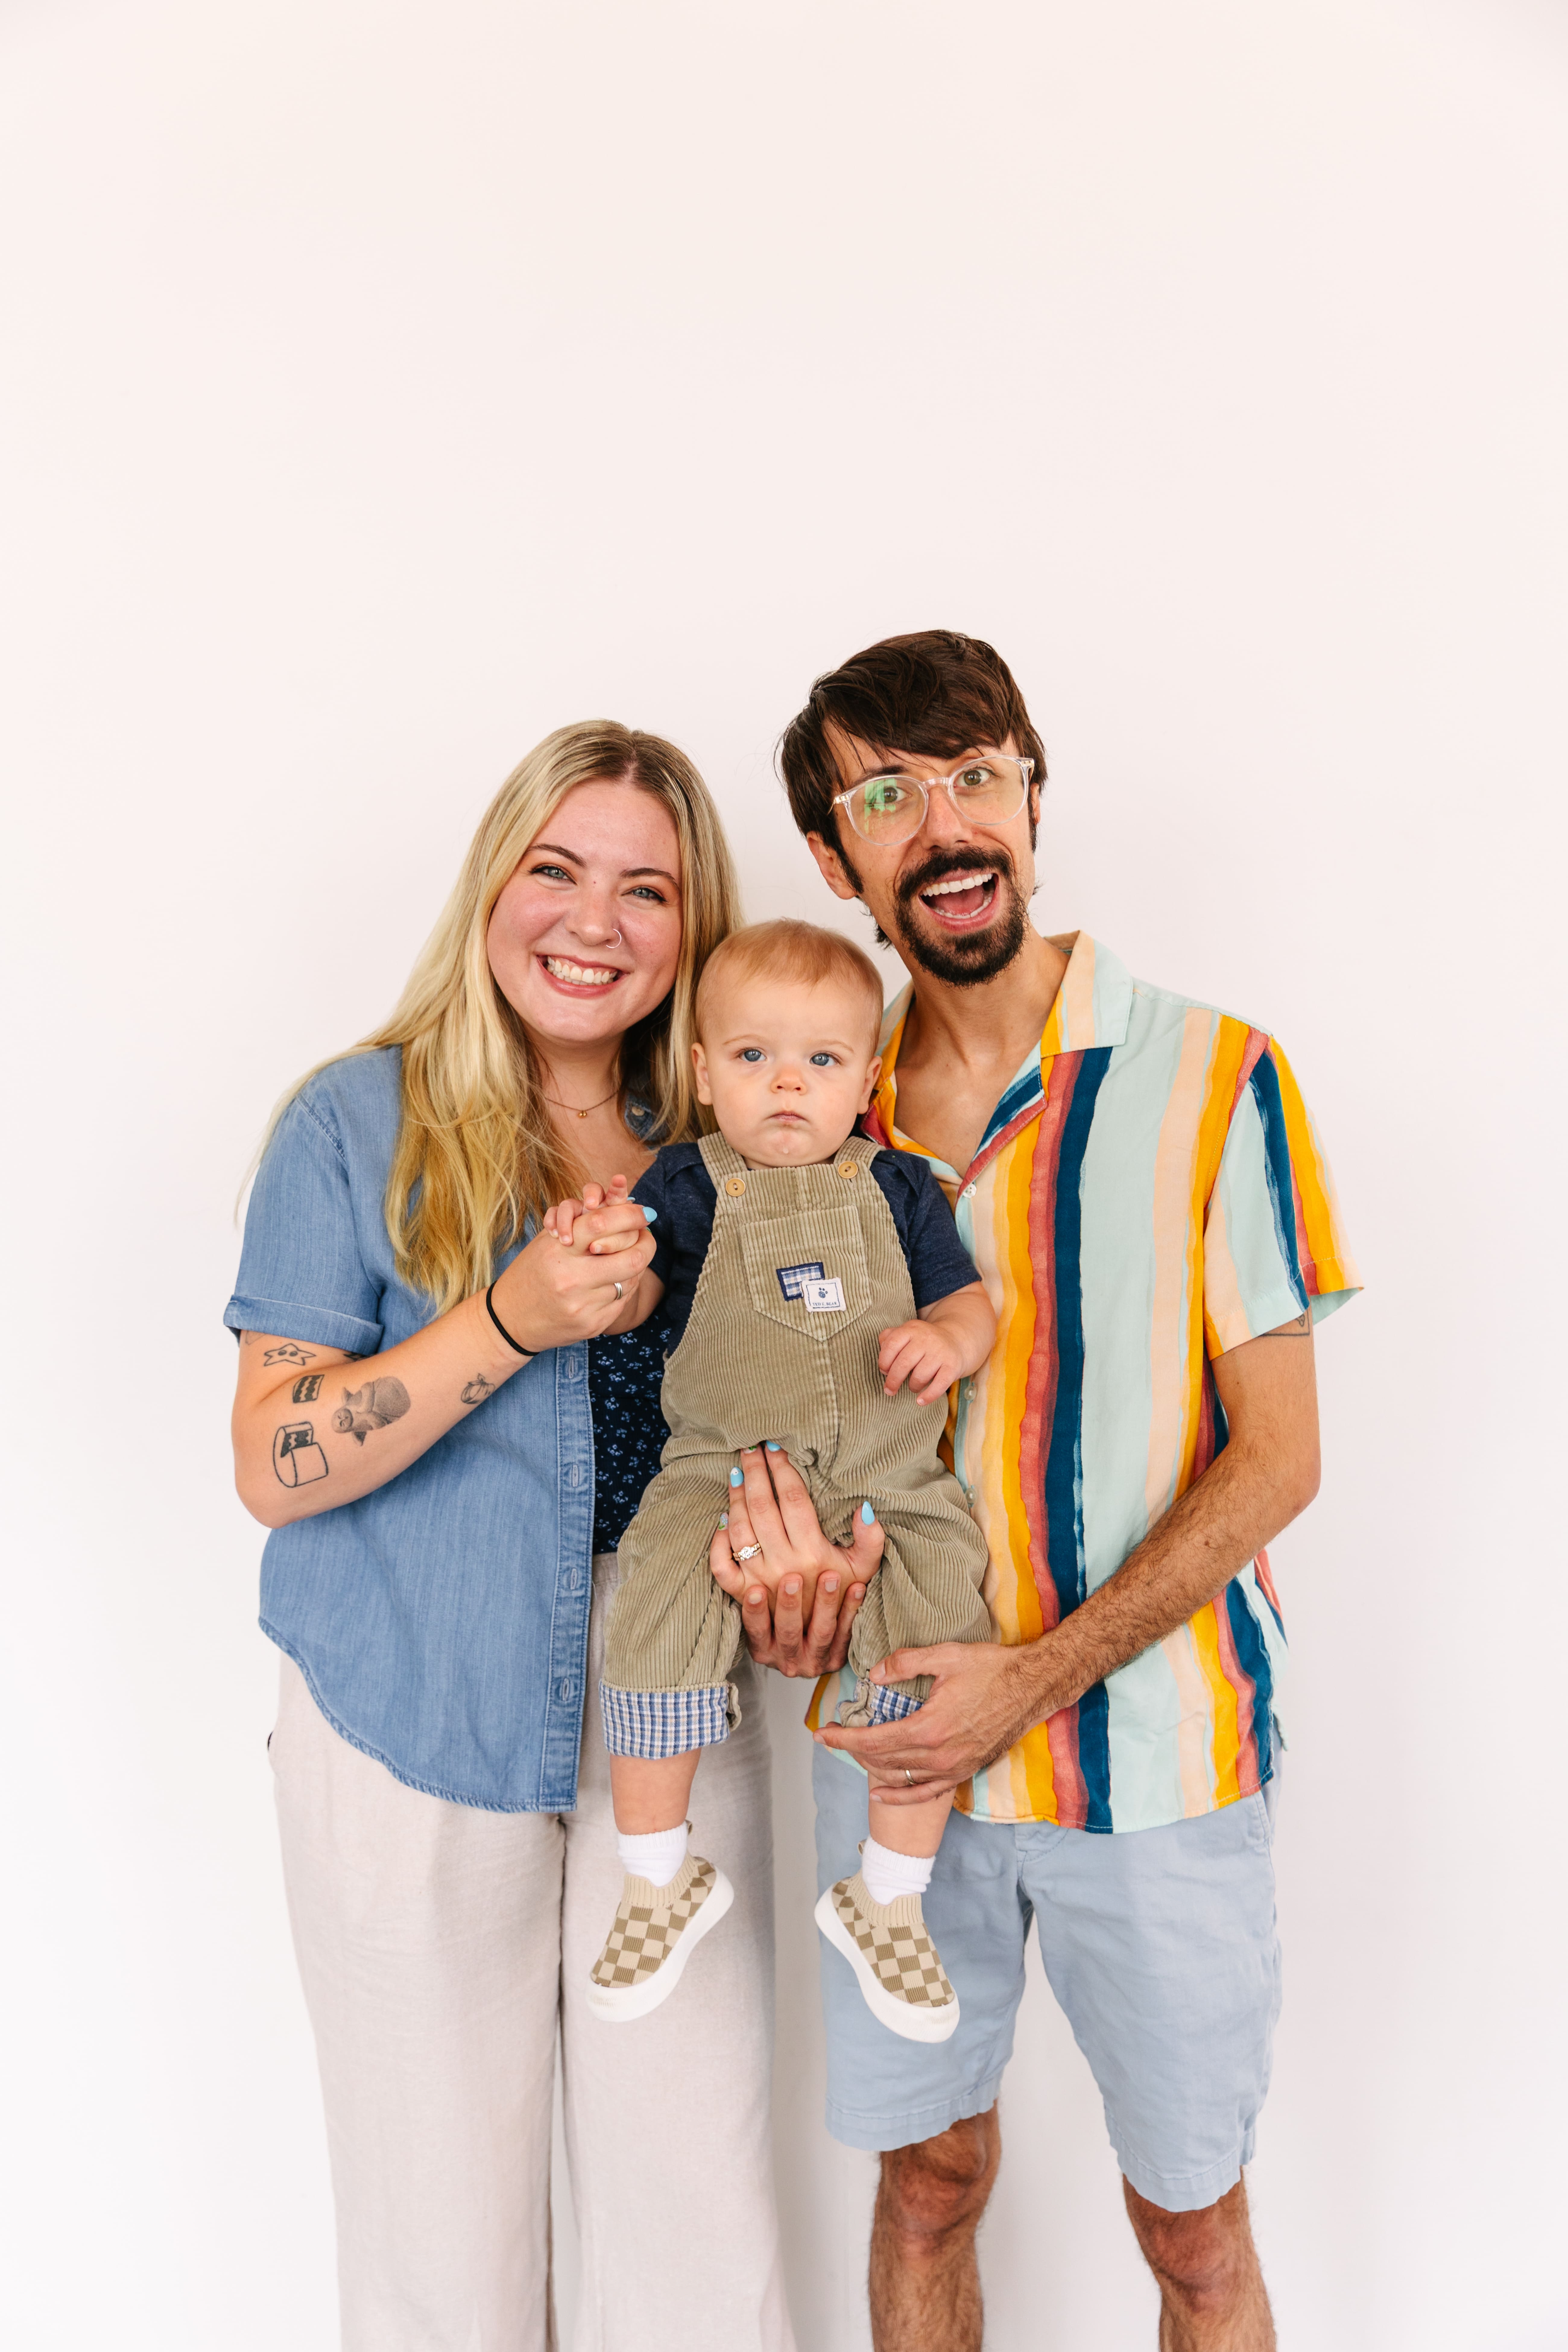
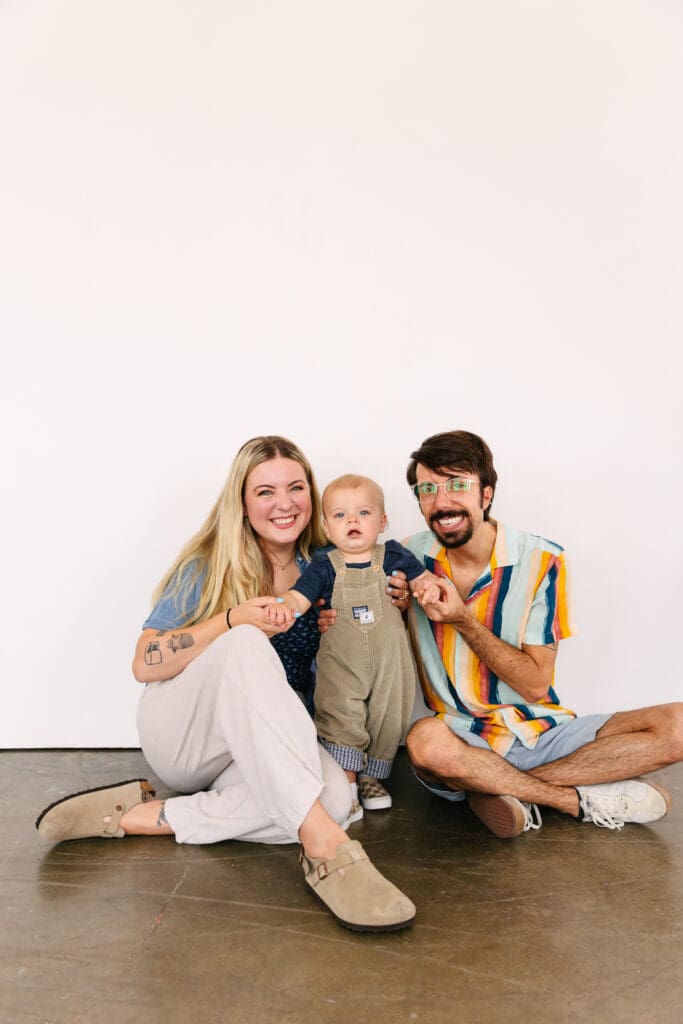
This Nelson-Atkins Museum of Art family session with the Martinez family was full of sunshine, laughter, and the sweetest toddler smiles. From the very beginning, this Nelson-Atkins Museum of Art family session centered around their adorable little boy and the joyful season of life they are in right now!
May at the Nelson-Atkins Museum of Art brings lush greenery, vibrant florals, and warm golden light. Because the museum grounds offer both structured architecture and soft garden spaces, families get variety without ever needing to change locations. As a result, the entire gallery feels cohesive and timeless.
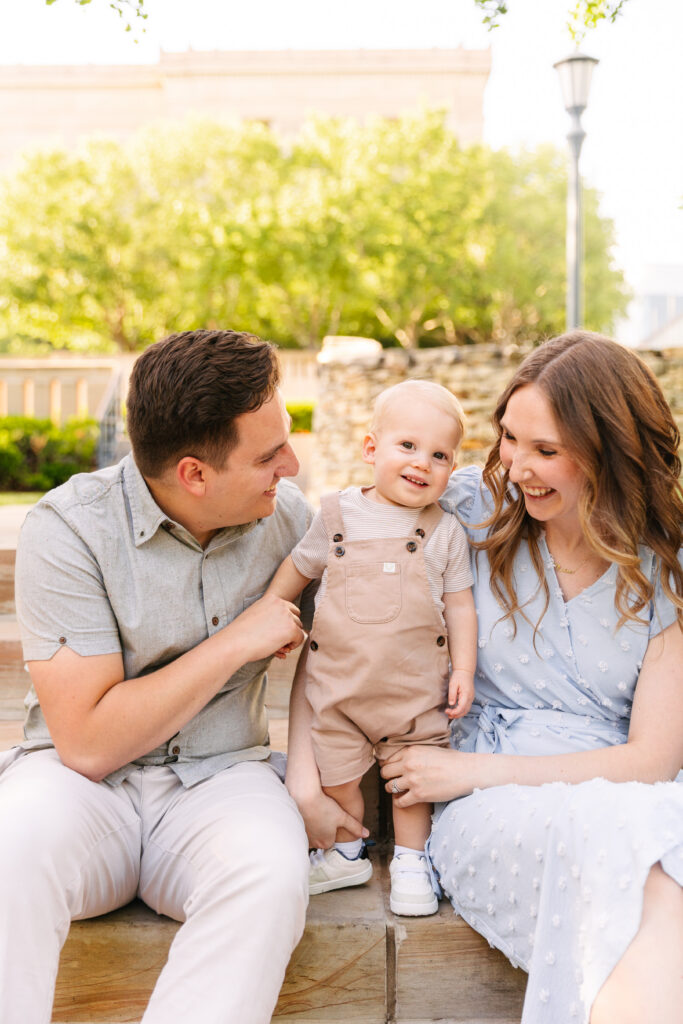
First, we started on the stone steps, where their son sat proudly between mom and dad. He looked curious and content, taking everything in. Meanwhile, mom and dad couldn’t stop smiling at him. Those simple seated portraits created a classic, polished look while still feeling natural.
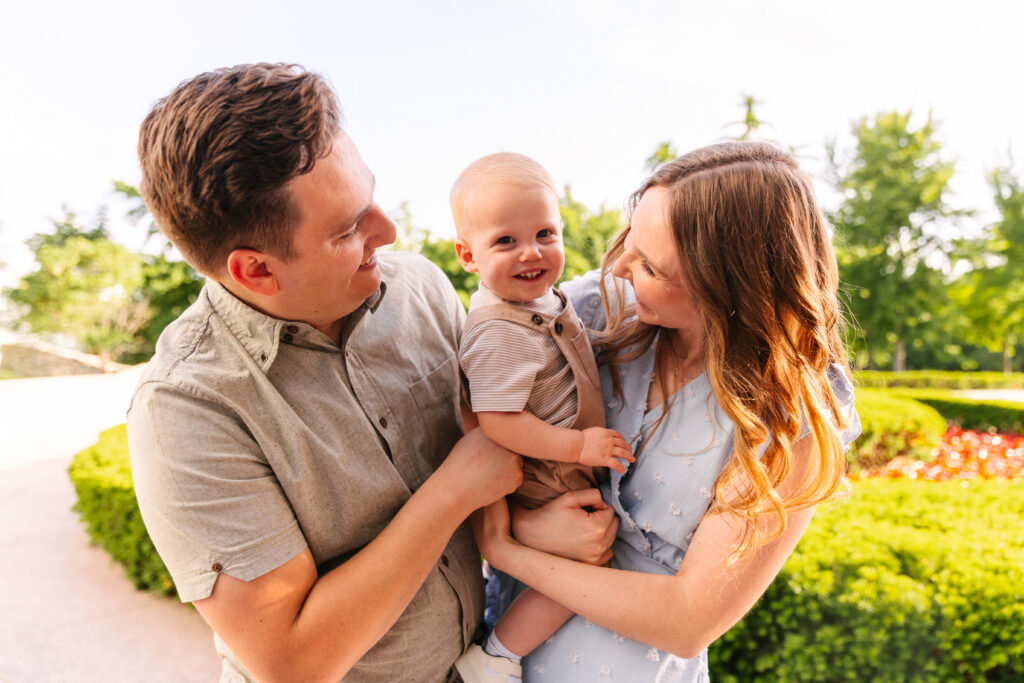
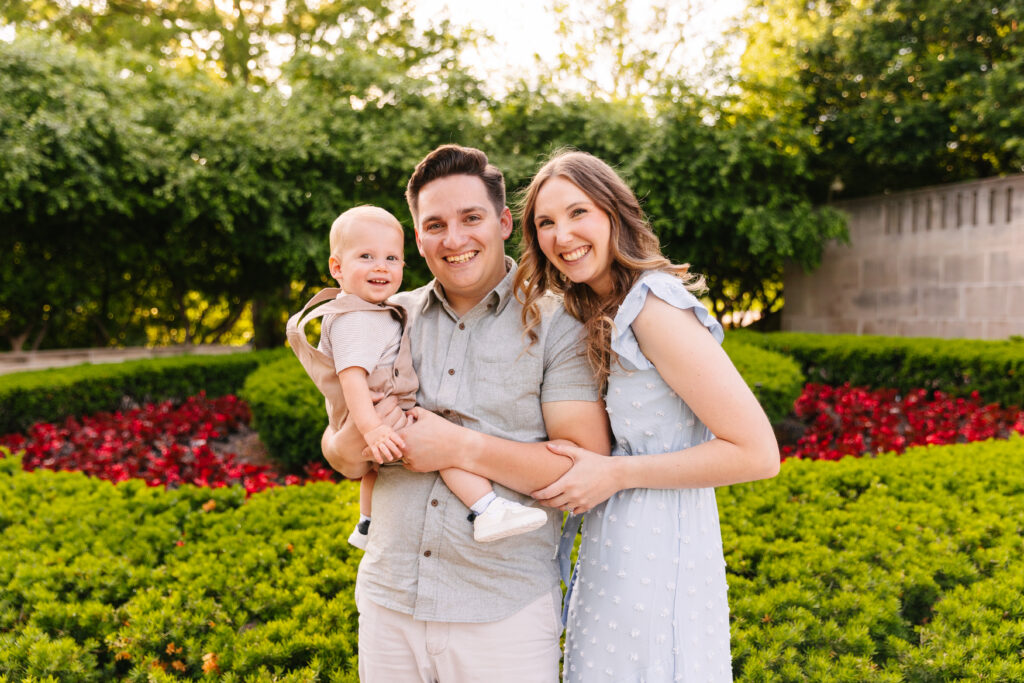
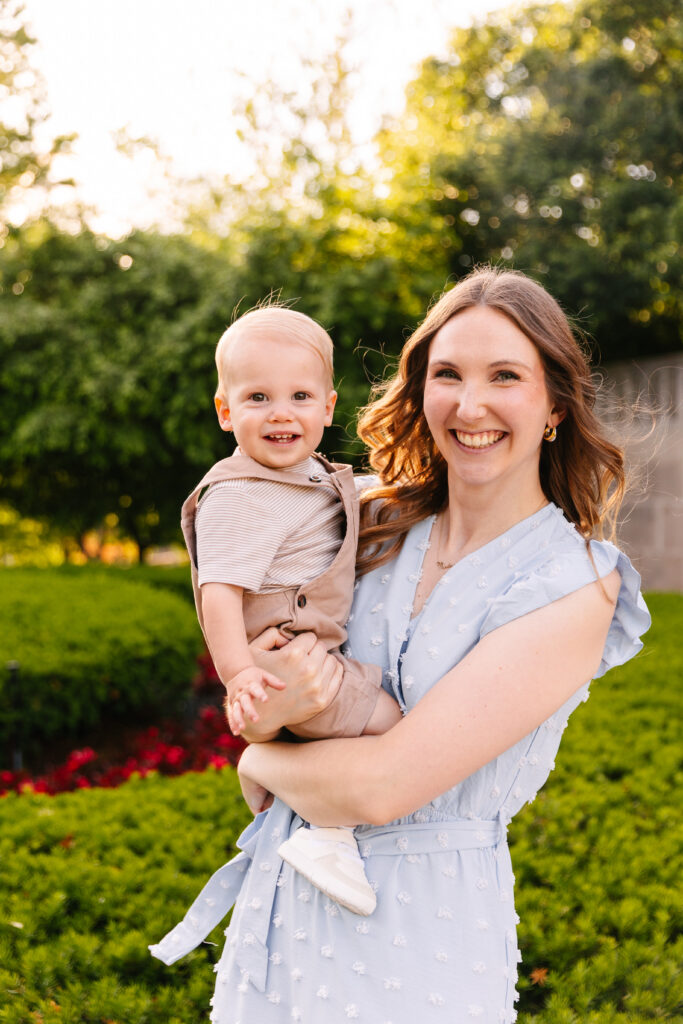
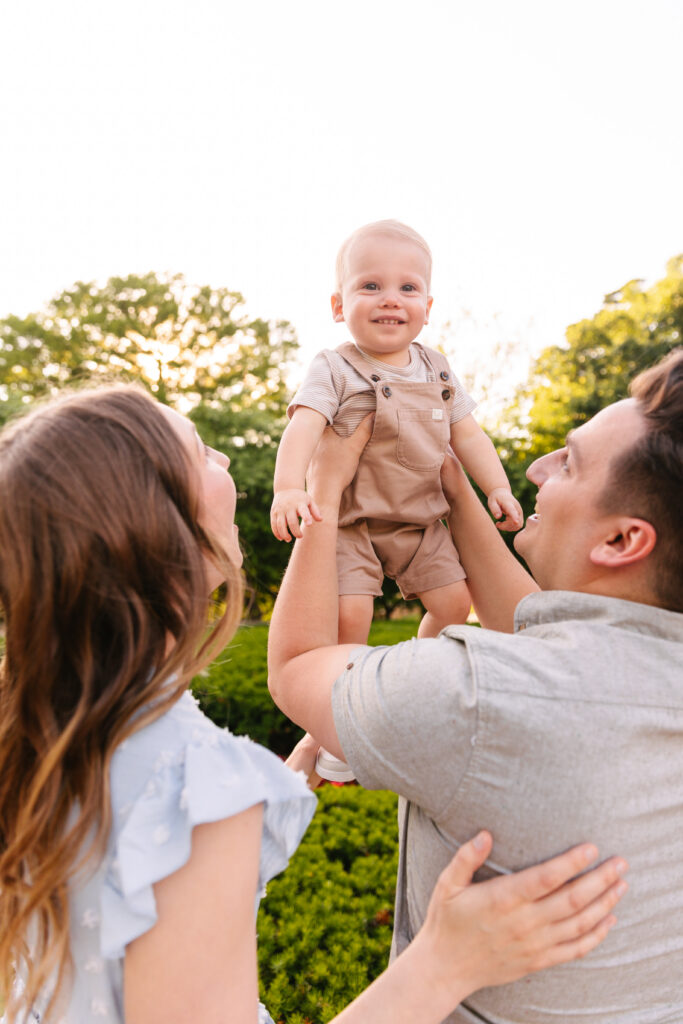
Next, we moved into the gardens, where bright red blooms popped against the green hedges. Dad scooped him up, and instantly, we saw those big baby grins. Because he felt comfortable and safe in their arms, his personality shined through. That’s always the goal during a family session… connection first, perfection second.
Additionally, their wardrobe choices complemented the location beautifully. Soft blues and neutrals paired effortlessly with the museum’s stone and the vivid May landscaping. Consequently, every image feels light, fresh, and seasonally perfect.
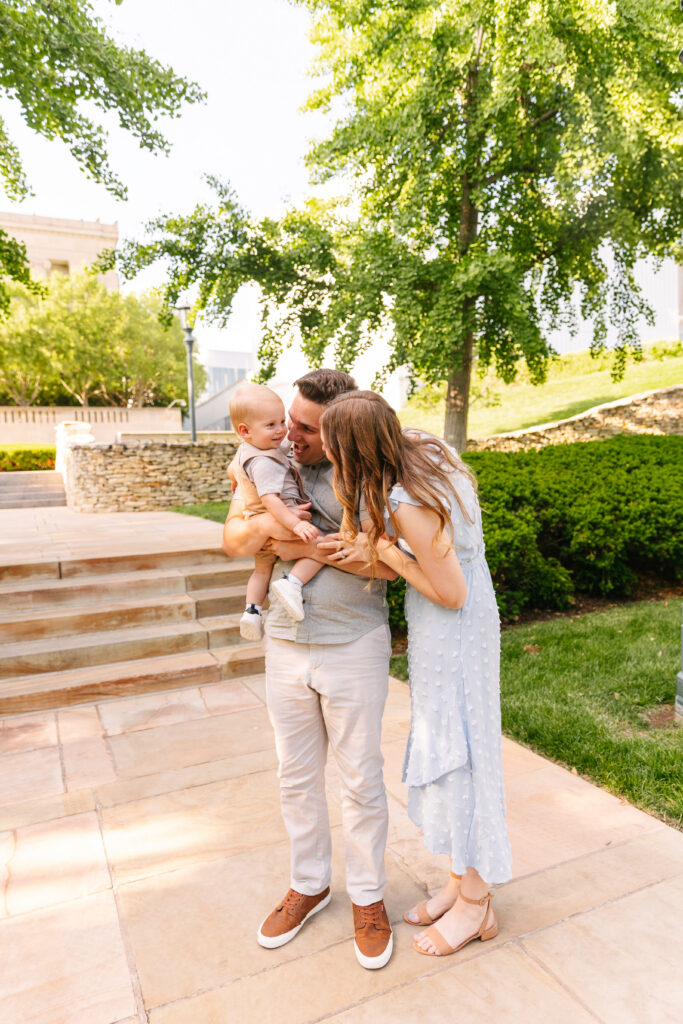
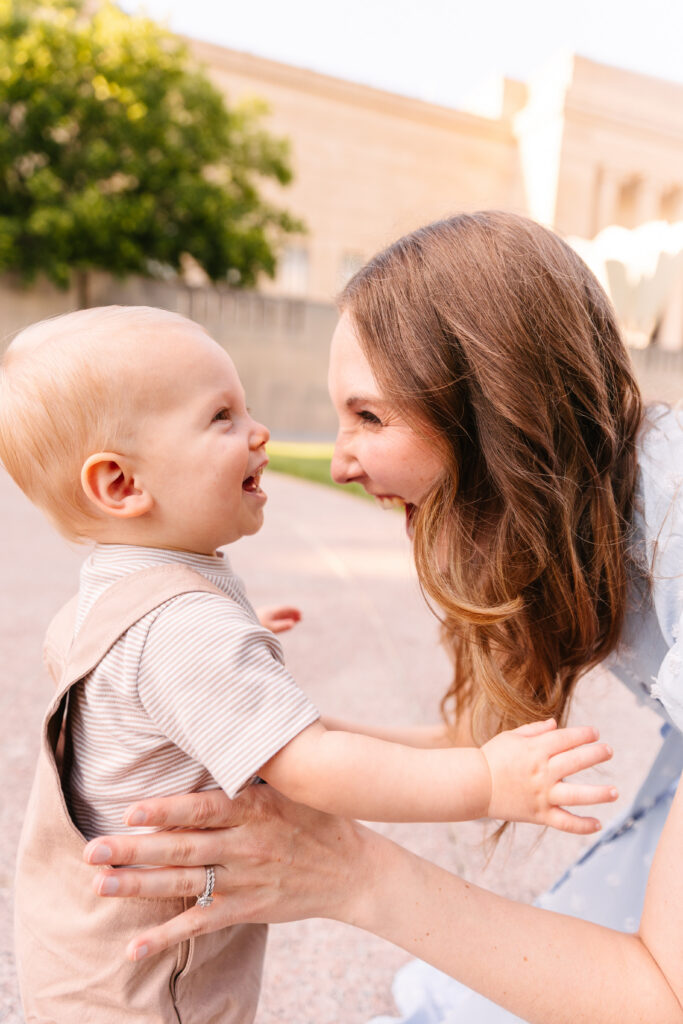
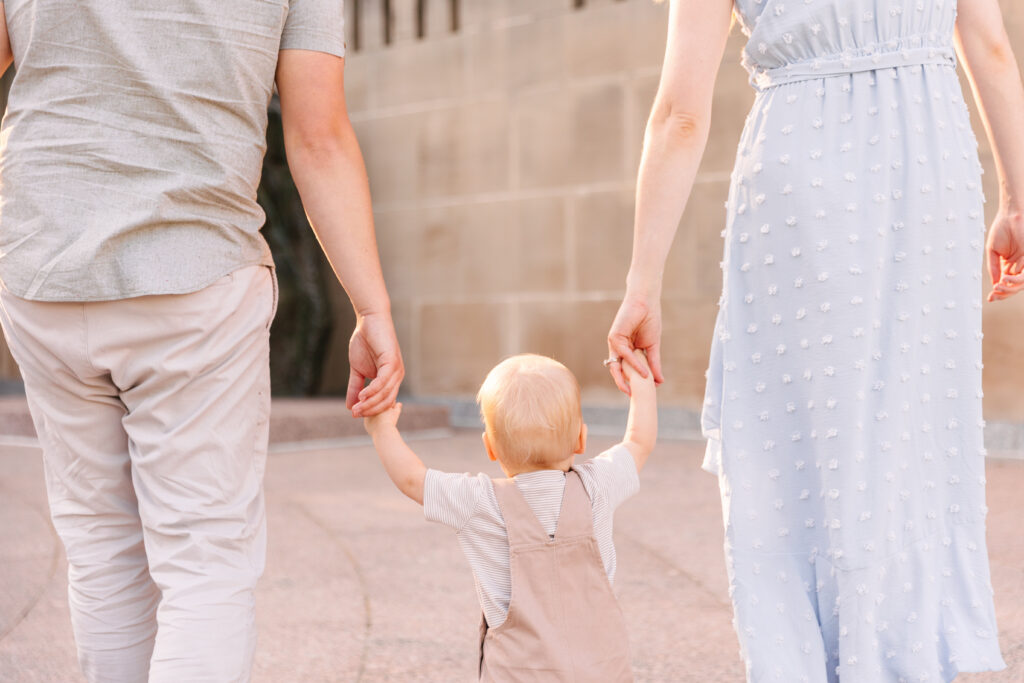
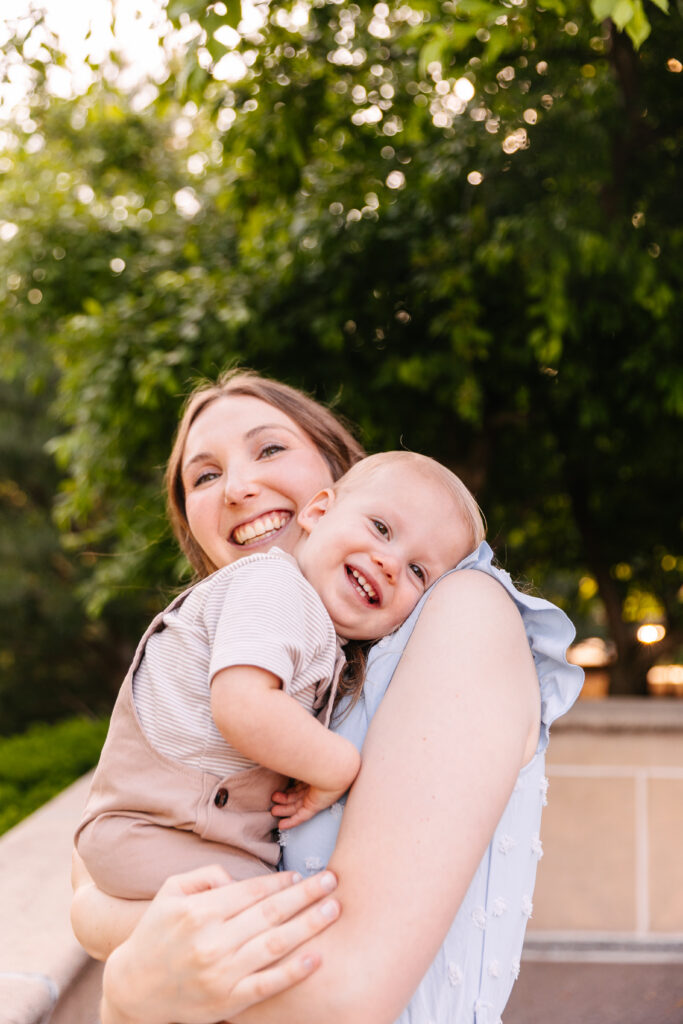
One of my favorite moments happened when the little guy ran into mom’s arms for a big hug. He giggled and squeezed her tight around the neck! Those are the in-between frames that parents treasure most, not just the posed smiles, but the genuine joy.
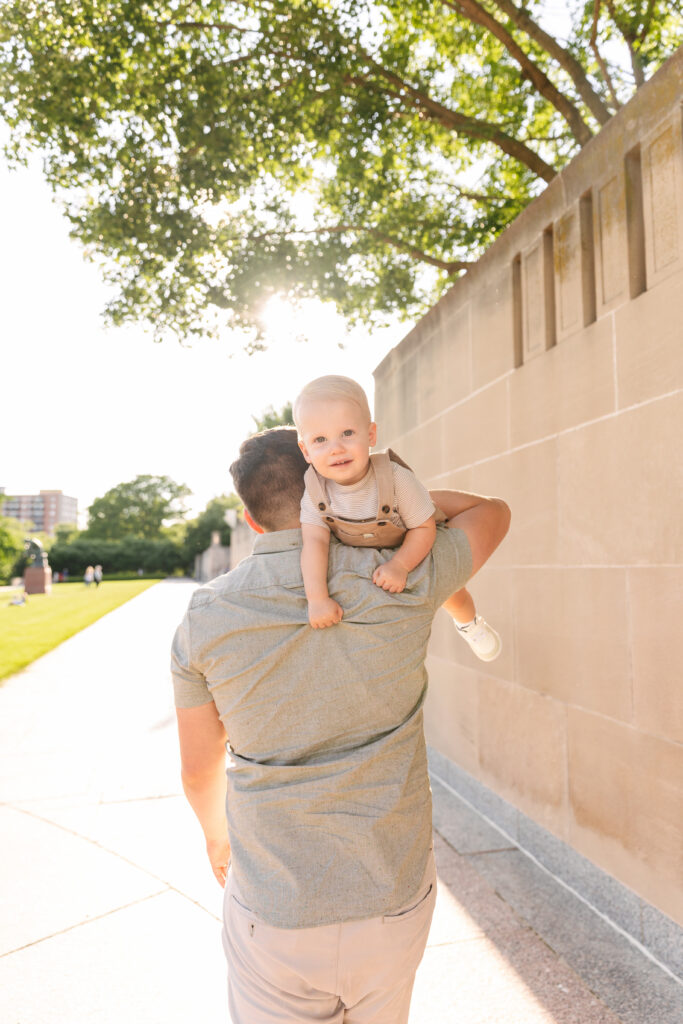
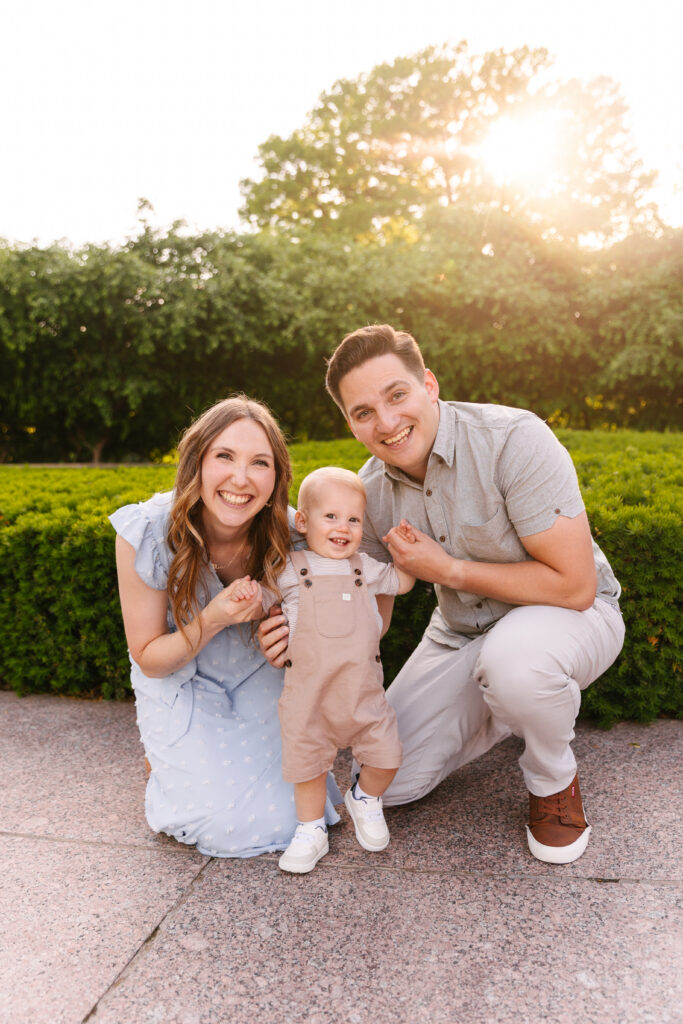
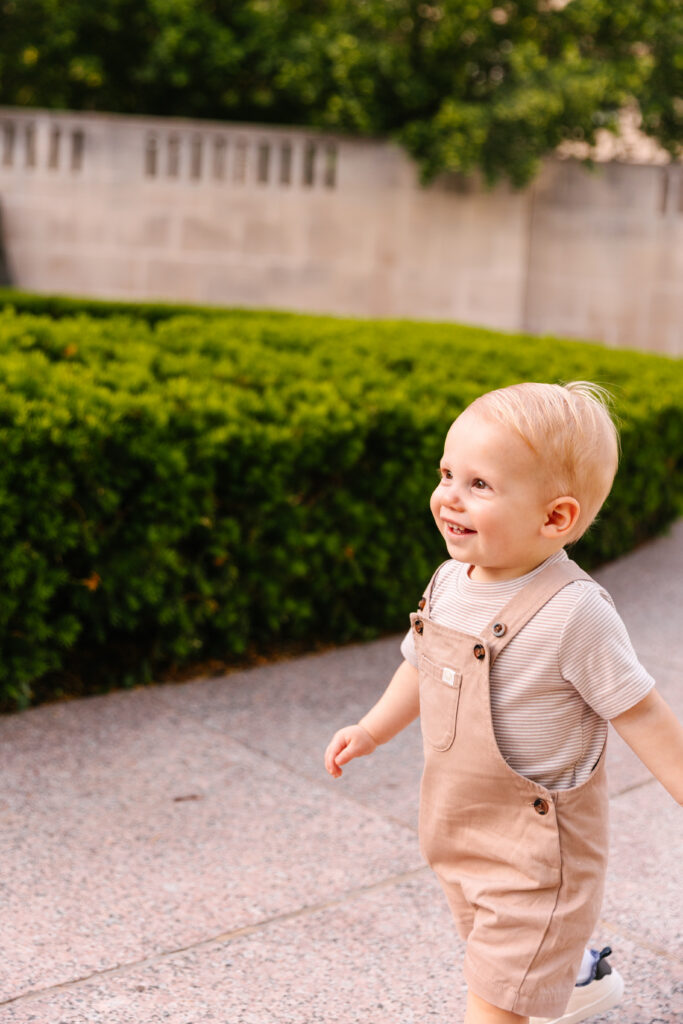
The Nelson continues to be one of my favorite Kansas City locations for families with young children. It offers open space to move, clean backdrops for portraits, and glowing light as the sun begins to set.
Most importantly, this session preserved a fleeting season. Their little boy may not stay this small for long. However, these photographs will always remind them of this bright May evening and the love that surrounds him.
Frequently Asked Questions
Is The Nelson-Atkins Museum of Art good for baby or toddler sessions?
Yes. The open lawns and structured gardens provide safe, beautiful spaces for young children.
When is the best time for a Nelson family session?
Late spring evenings offer soft light and vibrant landscaping.
What should families wear for this location?
Soft neutrals and pastels photograph beautifully against the stone architecture and greenery.