the blog


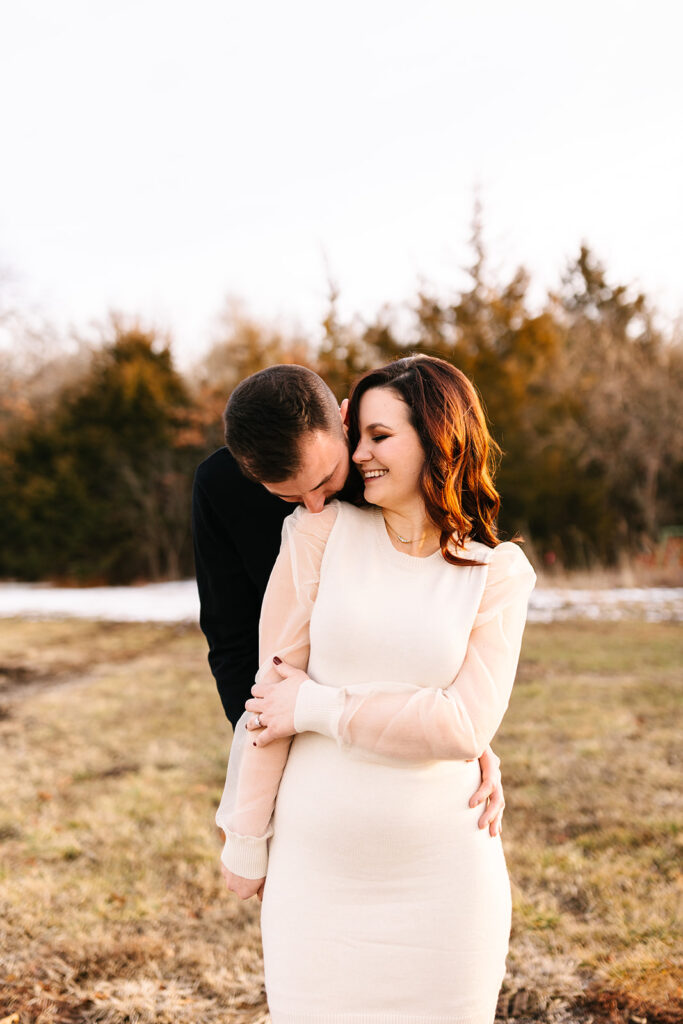
One of my favorite things about photographing couples and families in Kansas City is finding ways to make each session feel personal. Choosing meaningful locations for your session is one of the easiest and most beautiful ways to do that. Whether you’re celebrating an engagement, a new baby, an anniversary, or simply capturing this season of life, the right location can add depth, emotion, and story to your images.
Let’s talk about how to choose a spot that feels like you and how to make your session even more meaningful.
Start With Places That Matter to You
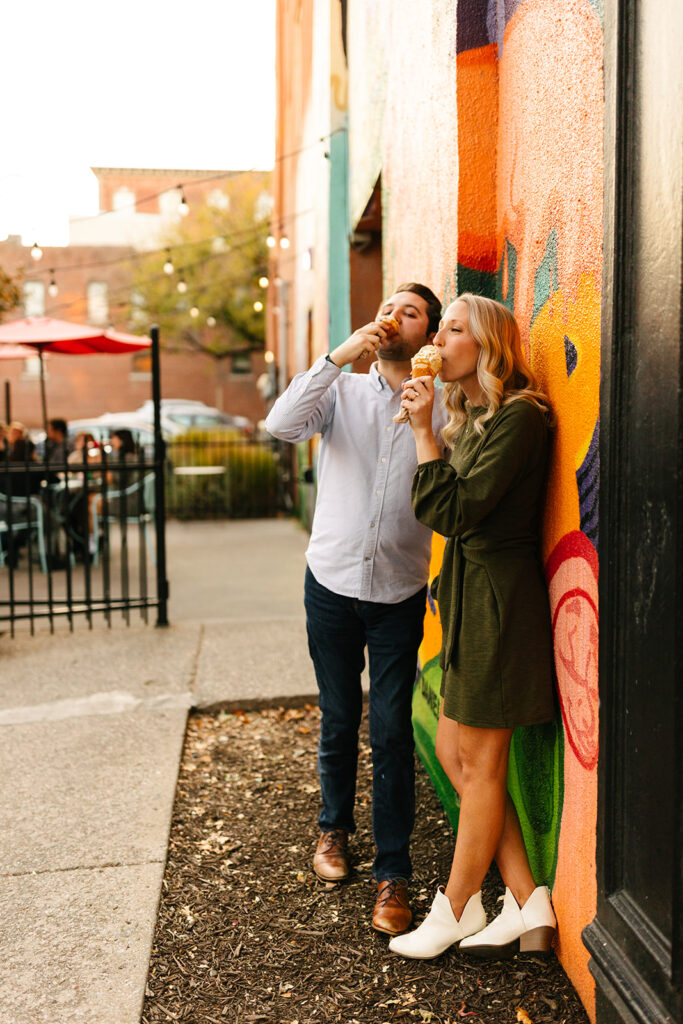
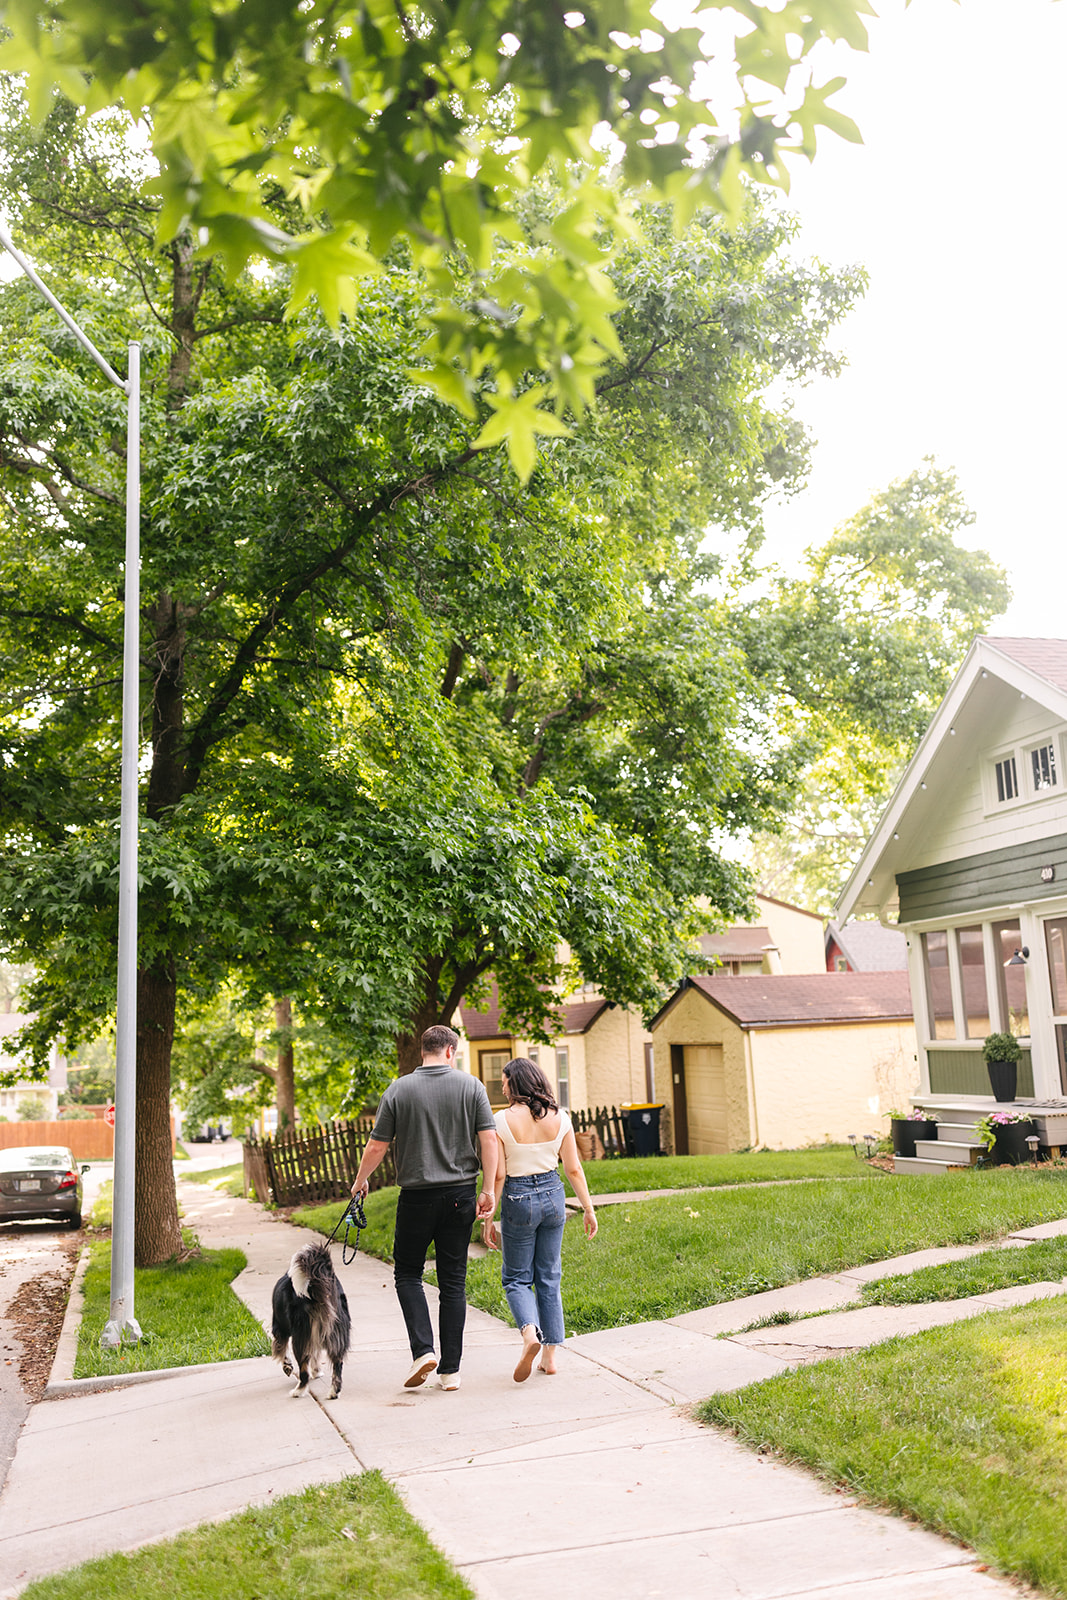
Think about the places that tell a part of your story. Maybe it’s the coffee shop where you had your first date. Maybe it’s the park where you walk your dog every morning, or the street where you take family strolls after dinner. These spots might seem simple, but they often hold the sweetest memories.
When you choose a location that has meaning, you feel more relaxed and connected — and that shows in your photographs.


Use Your Home as a Backdrop
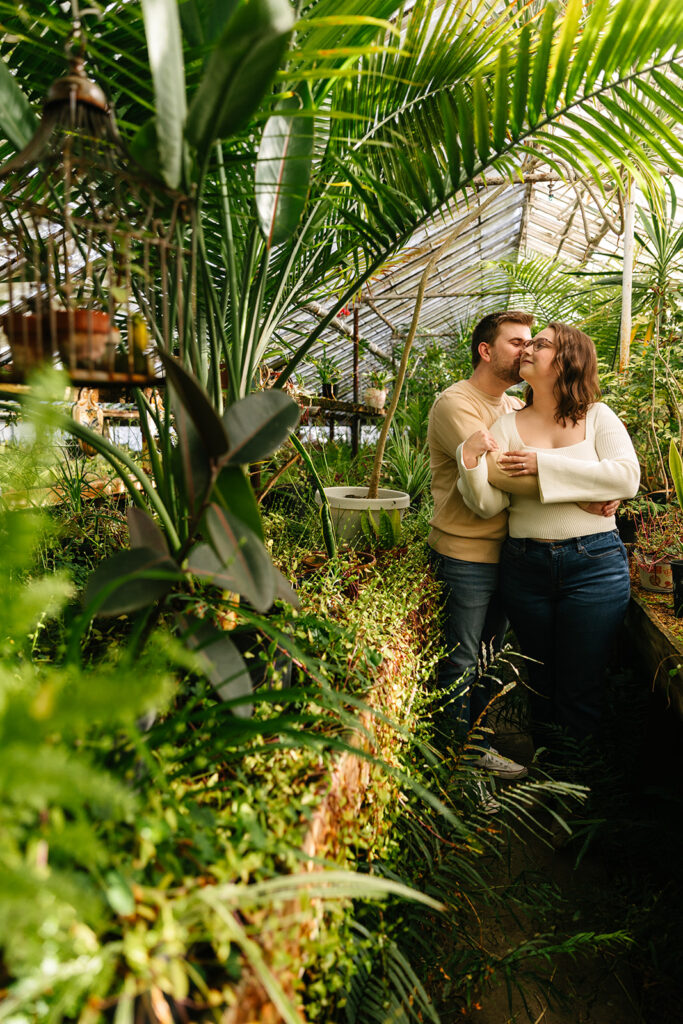
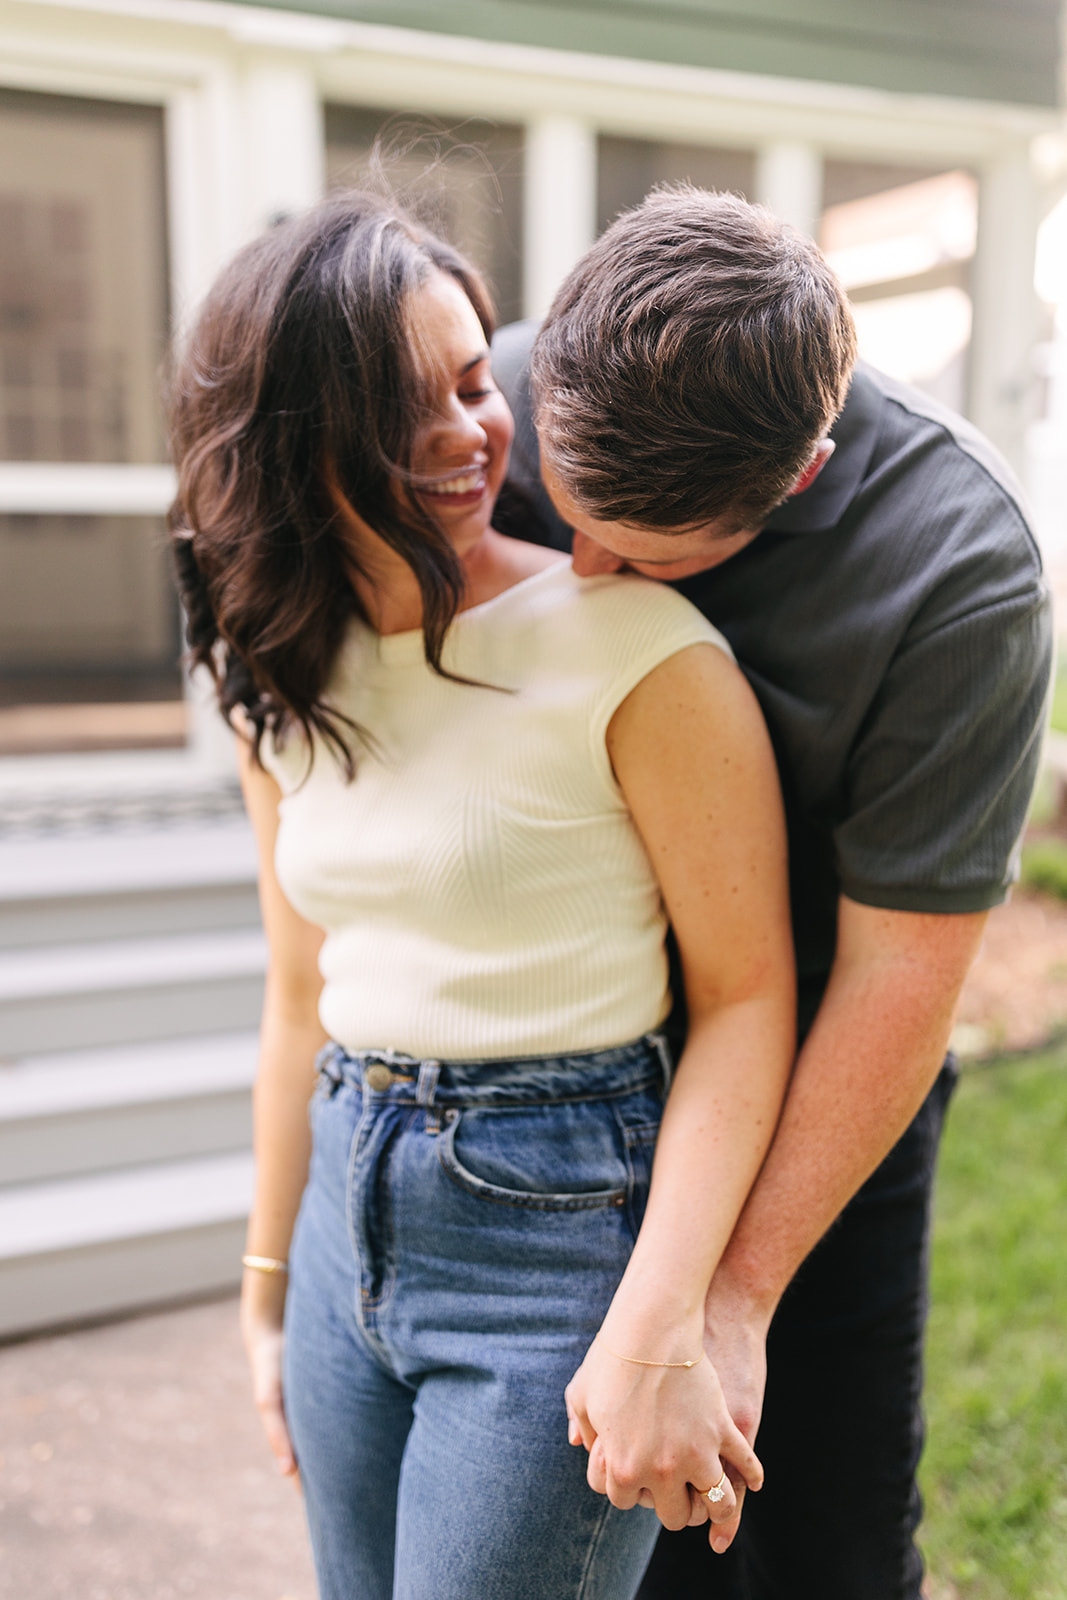
Your home is full of memories, and it’s one of the most meaningful locations for your session. In-home sessions capture your real life in the places where you spend the most time. Curling up on the couch, cooking together, playing with your kids, rocking your newborn — these everyday moments create warm, intimate photos you’ll love forever.


Celebrate Your Milestones Where They Happened
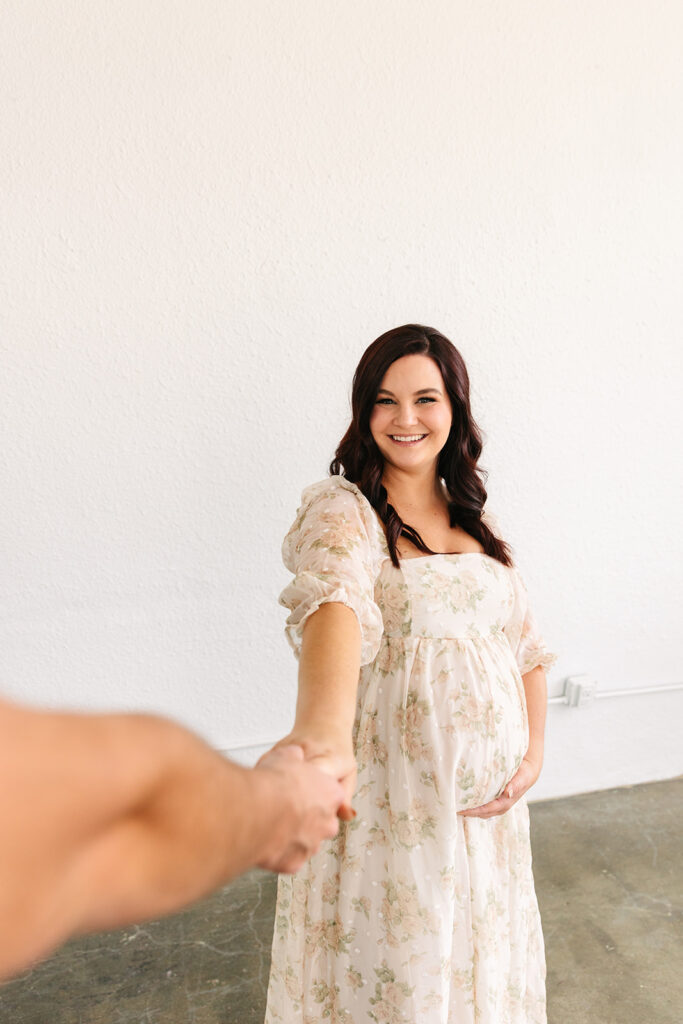
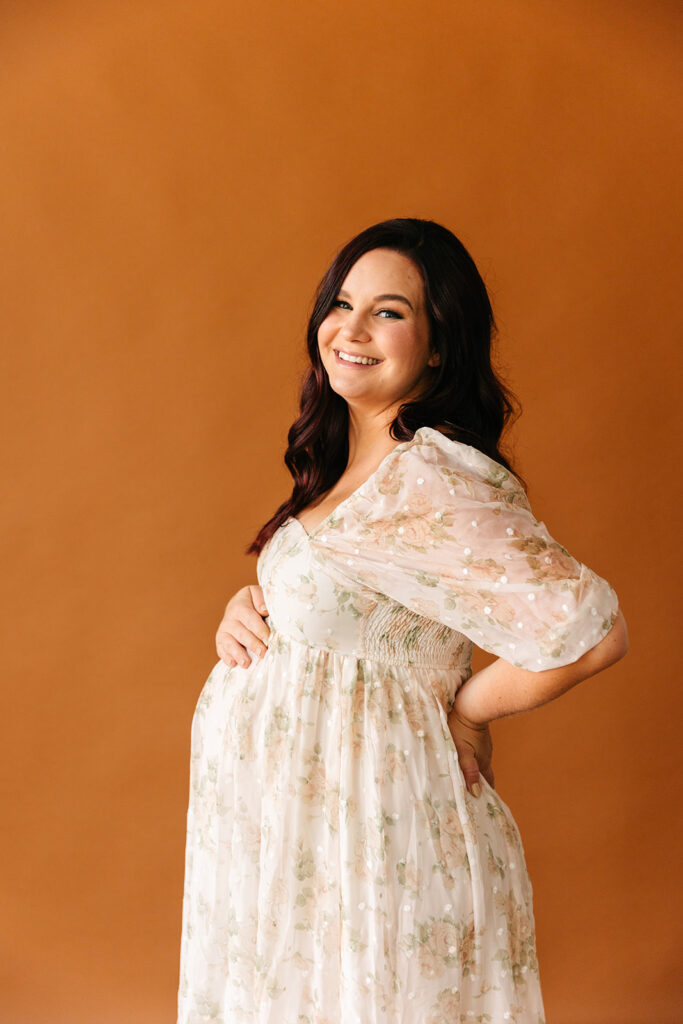
If you’re planning an engagement session, consider the spot where the proposal took place. For couples celebrating anniversaries, revisiting your wedding location can feel incredibly nostalgic. Even maternity sessions can be special at the place where you often walk together or the room you’re preparing for baby.
Going back to a place tied to a milestone brings out emotion in a way nothing else can.


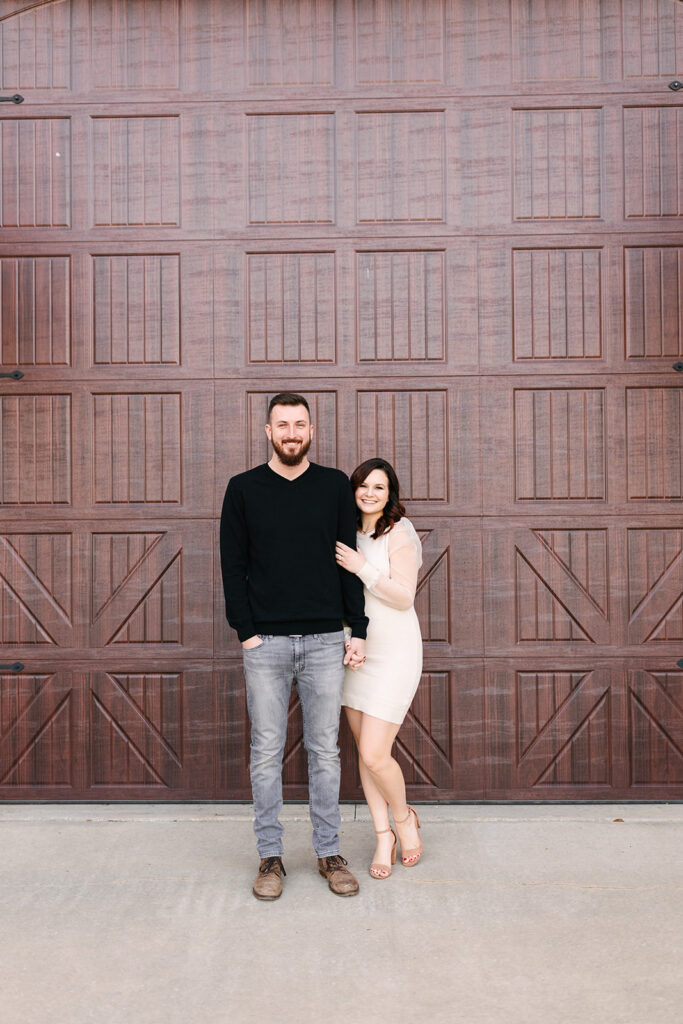
Choose Locations That Reflect Your Personality
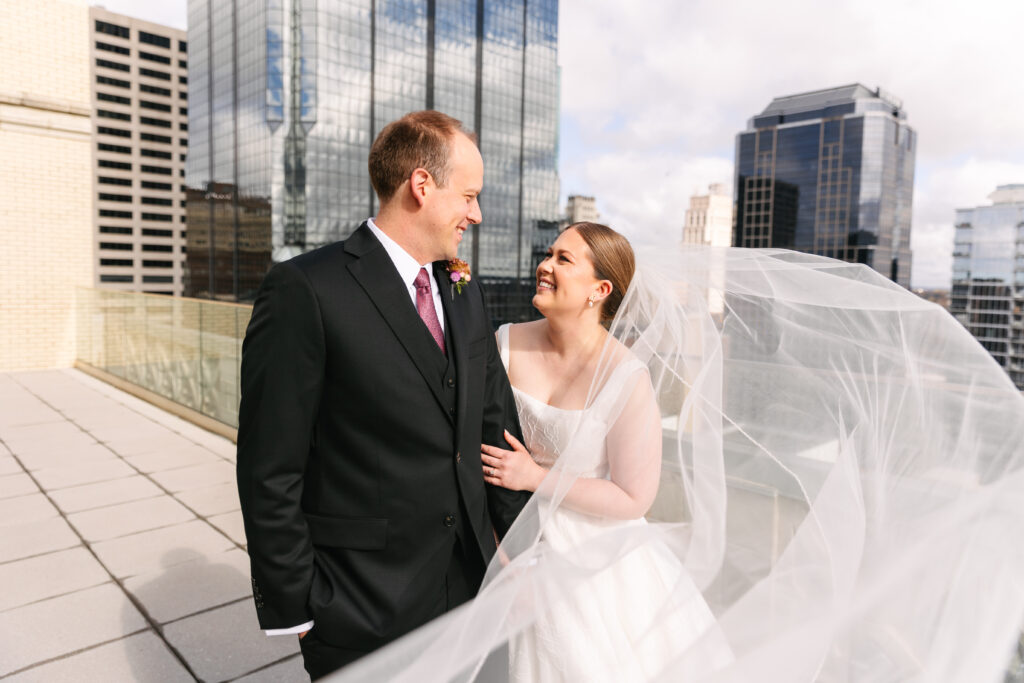
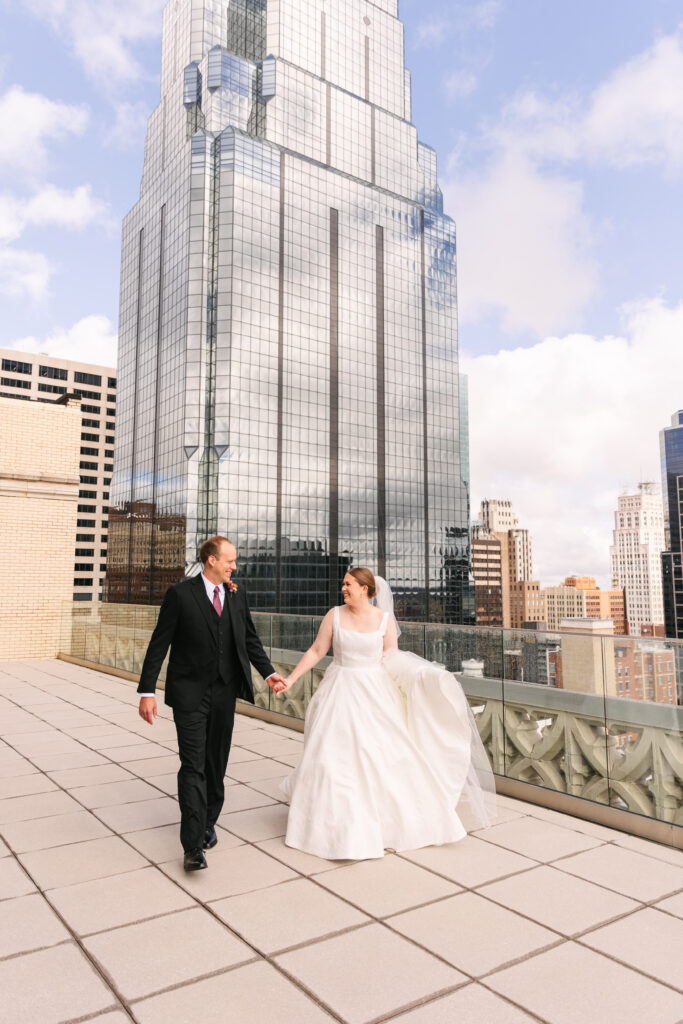
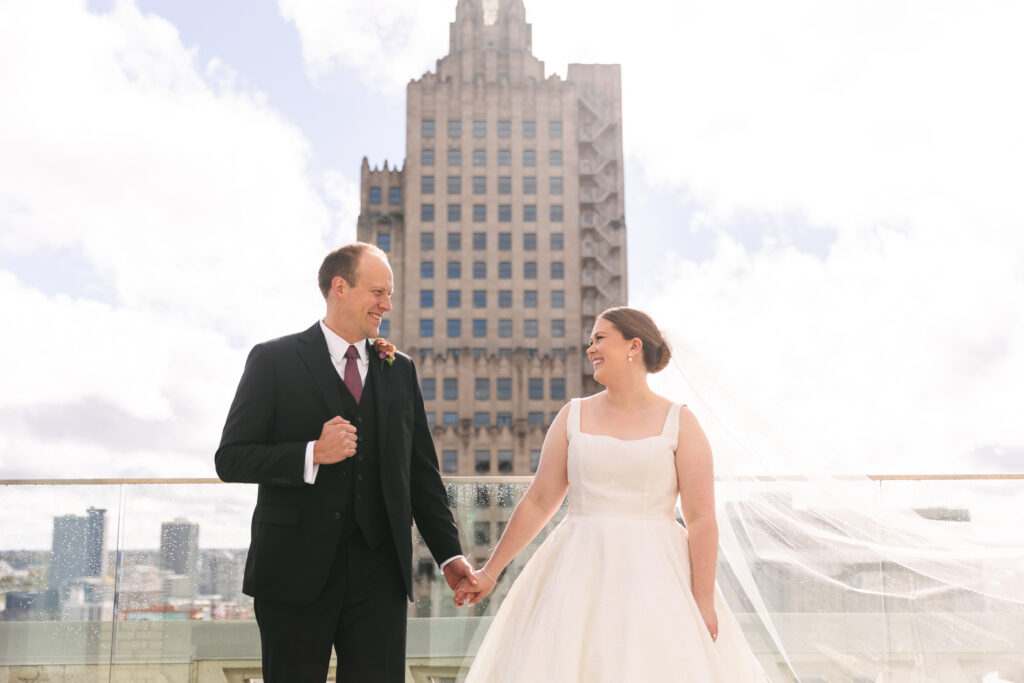
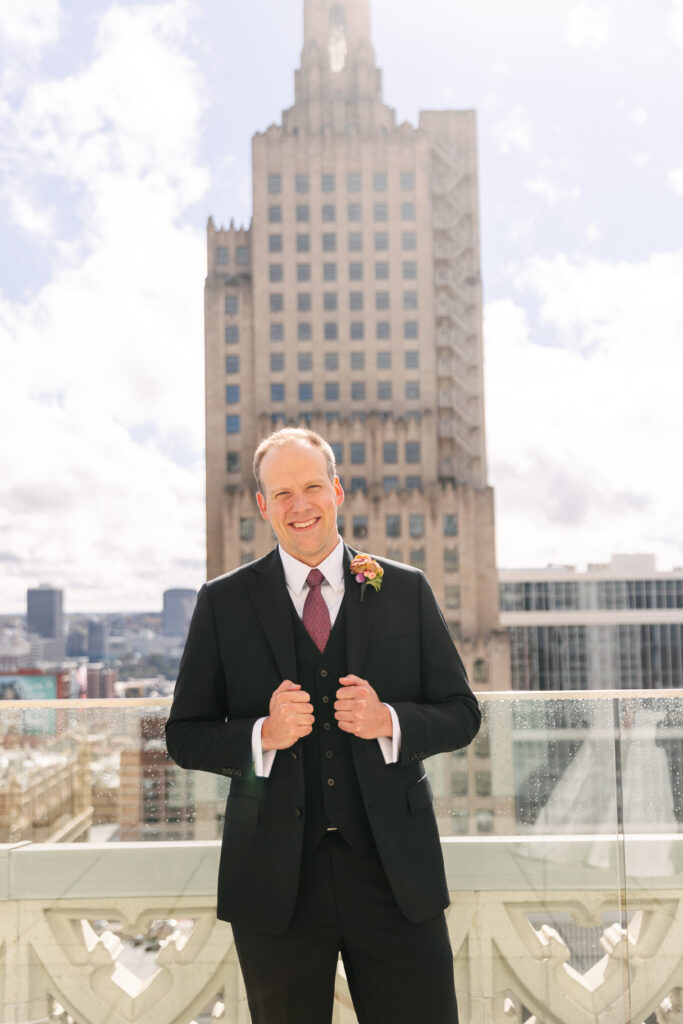
Meaningful doesn’t always have to be sentimental — sometimes it’s simply you. Love bookstores? Let’s shoot among the aisles. Obsessed with the riverfront? Let’s go. Love the skyline? Downtown KC has endless views. Your session should reflect who you are right now, and choosing a place you genuinely enjoy makes the experience fun and natural.


Blend Multiple Spots for More Storytelling
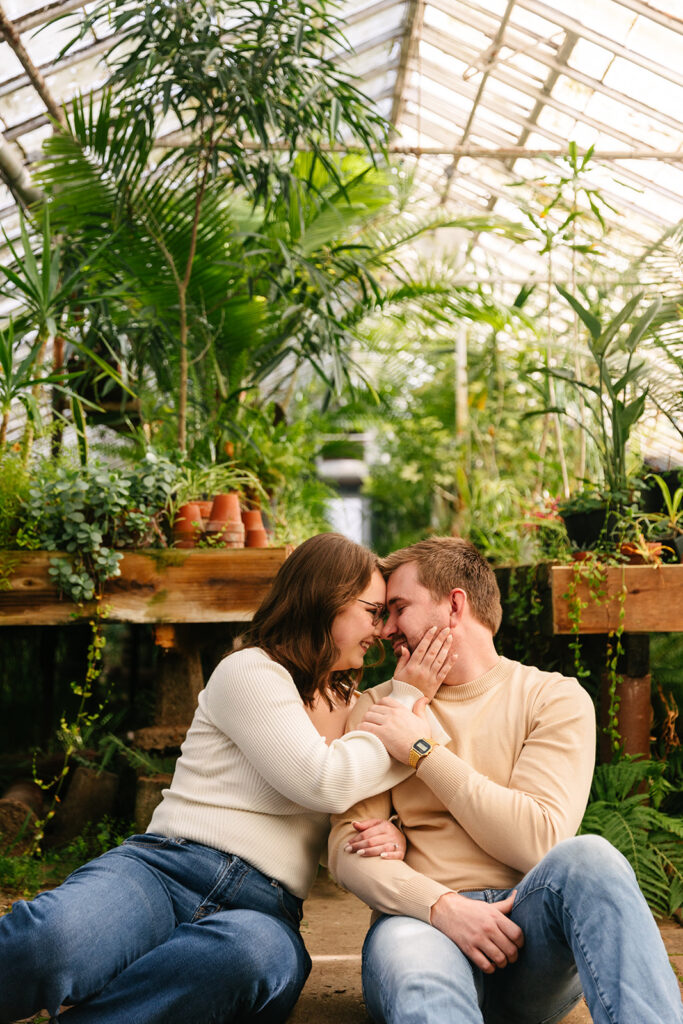
You don’t have to choose just one location. Start at your home, then visit your go-to park. Begin in the city and end in a quiet natural spot. Mixing locations lets you tell a fuller story and gives you variety in your final gallery.
Choosing meaningful locations for your session adds emotion, personality, and story to your photographs. Whether it’s your home, the place you first met, your favorite Kansas City spot, or a location that simply makes you happy, the right setting helps you feel comfortable and connected — and it shows in every image.


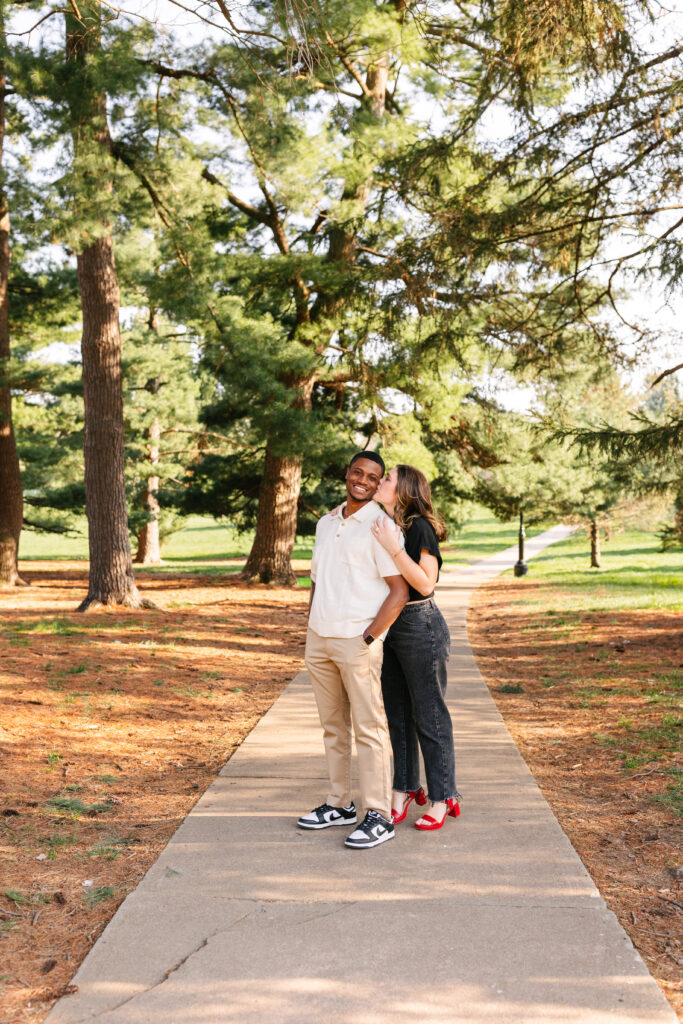
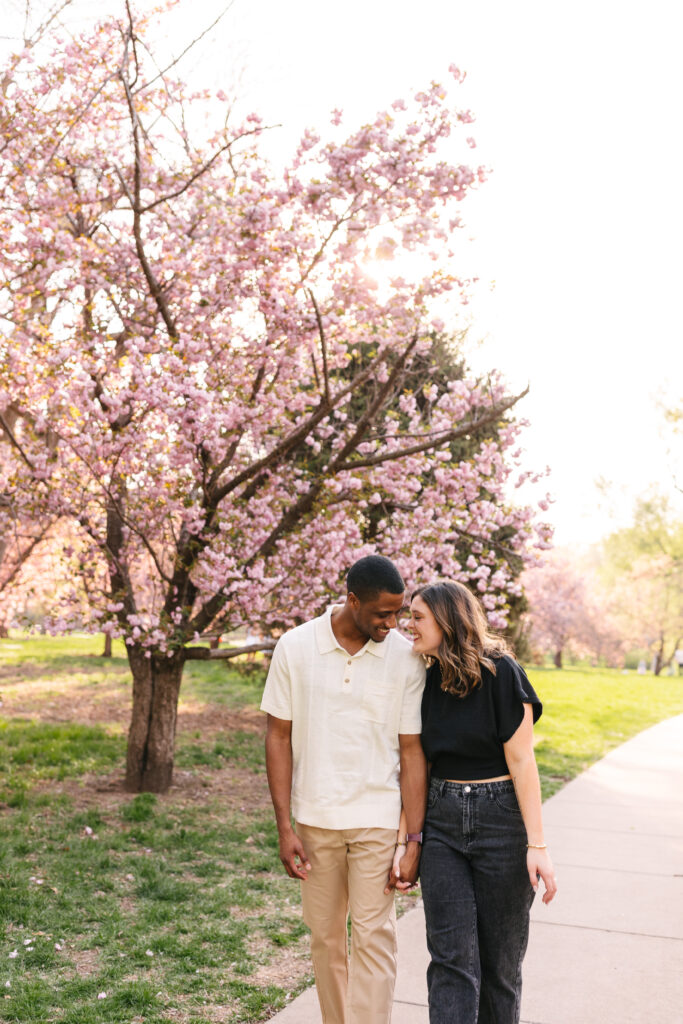
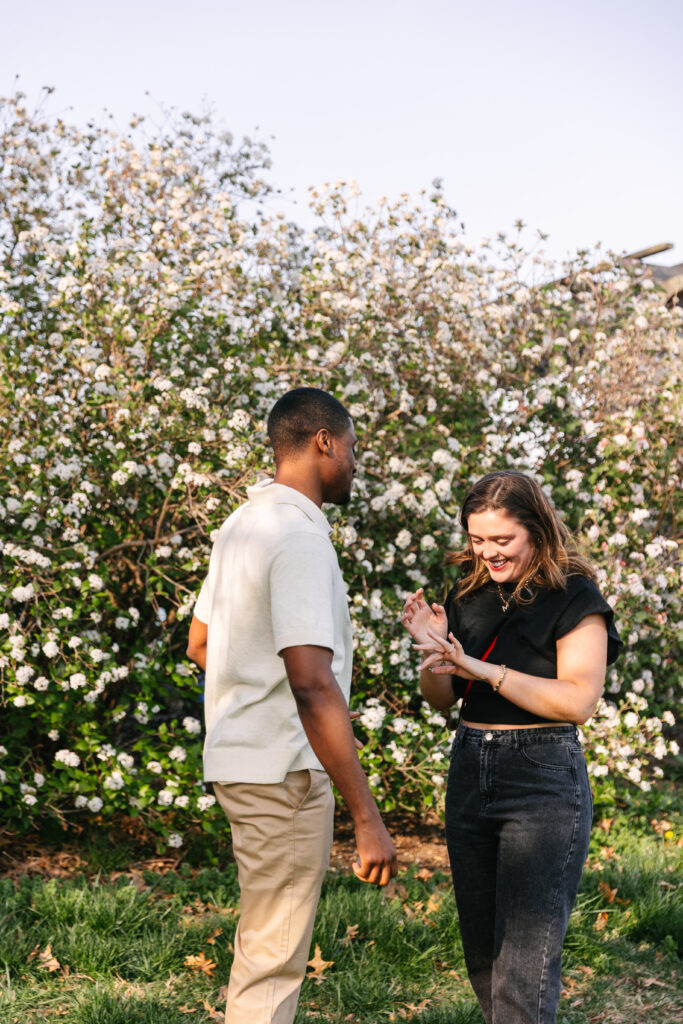
Spring in Kansas City is pure magic, and Molly and Jordan’s romantic Loose Park proposal was a the perfect spring afternoon! The sunshine, the blooming trees, the soft afternoon breeze—everything aligned perfectly for the sweetest “yes!” surrounded by fresh blossoms and golden light. Loose Park is always beautiful, but spring transforms it into something extraordinary. The cherry blossoms explode with color, the paths feel peaceful and intimate, and every corner becomes a picture-perfect backdrop. It’s no wonder Jordan chose this spot for such an important moment.
A Joy-Filled Walk That Turned Into a Forever Moment
We started the session with a casual walk through the park so Molly wouldn’t suspect a thing. They laughed, held hands, and soaked in the warm spring air. The sun filtered softly through the trees, giving us the dreamiest glow. Molly had no idea what was coming—and her happiness radiates in every single photograph.
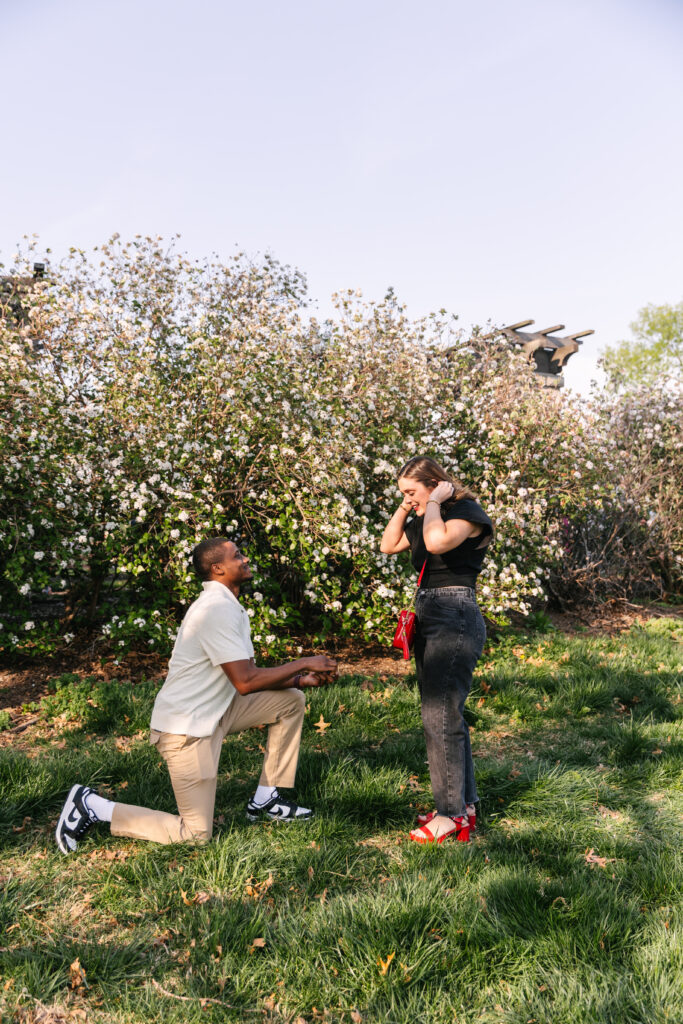
The Proposal Under the Blossoms
When we reached a quiet corner near the blooming trees, Jordan took a deep breath, dropped to one knee, and everything changed.
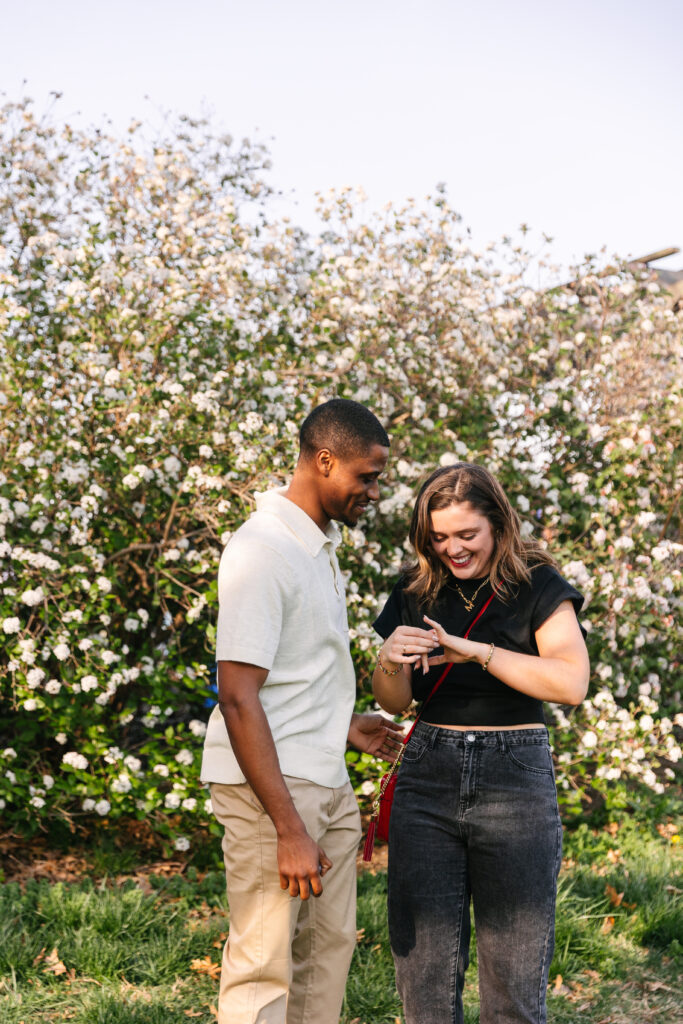
Molly’s reaction was priceless—hands to her face, eyes wide, a huge smile that said everything. There’s something so special about photographing that exact second when someone realizes their life is about to change. It’s raw, emotional, and impossible not to feel right alongside them.
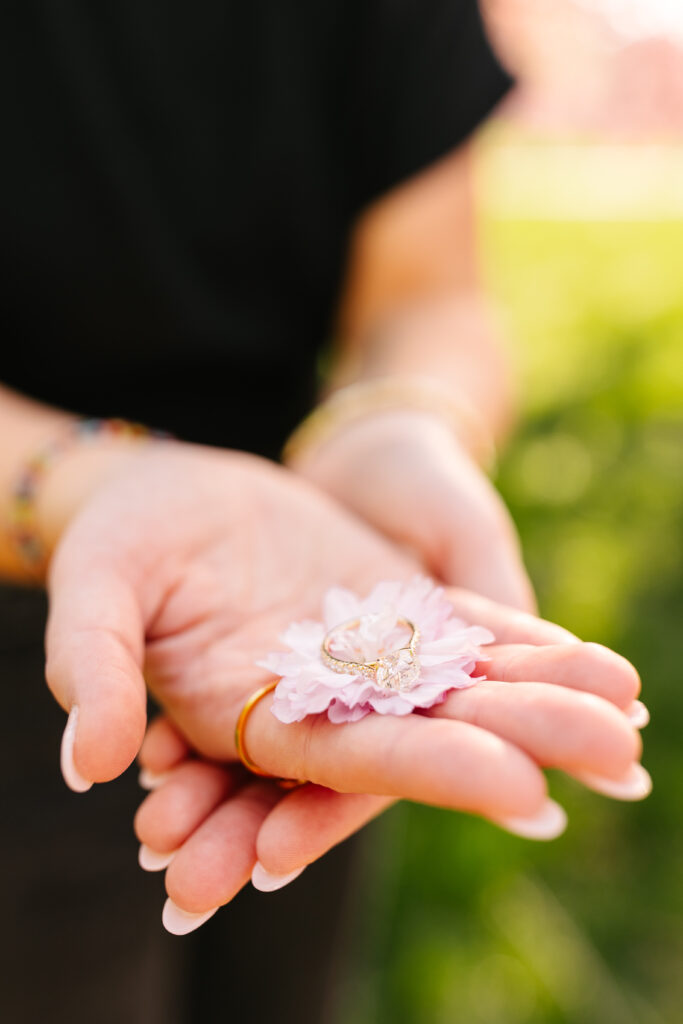
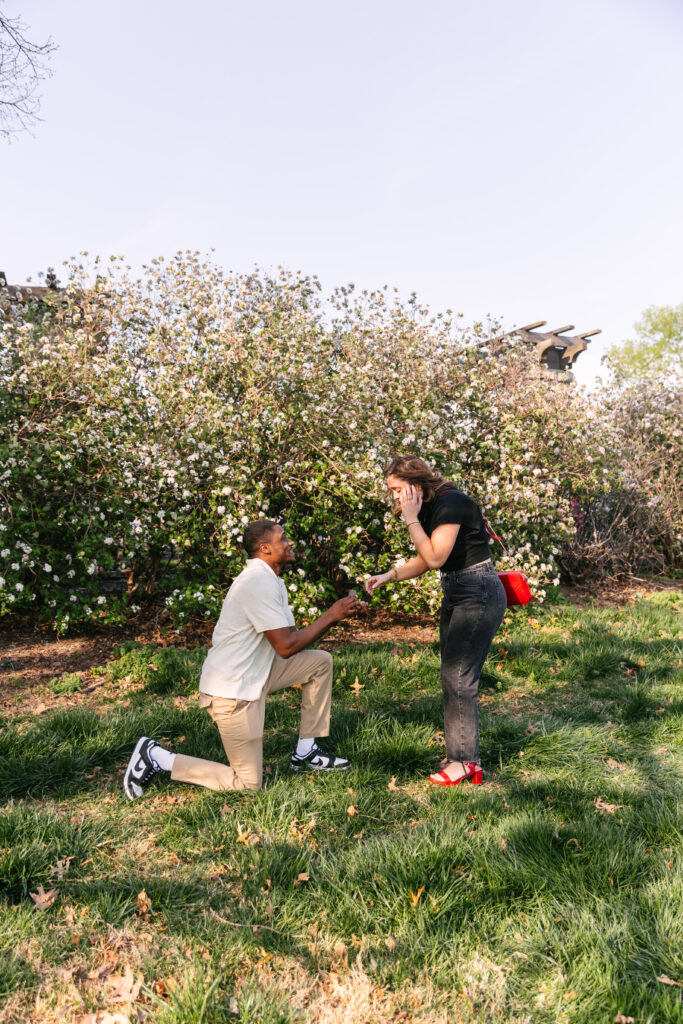
Jordan chose a stunning ring that sparkled in the afternoon sun, and we took a few moments to soak in that joy. The ring nestled on a pink spring blossom? Absolute perfection.
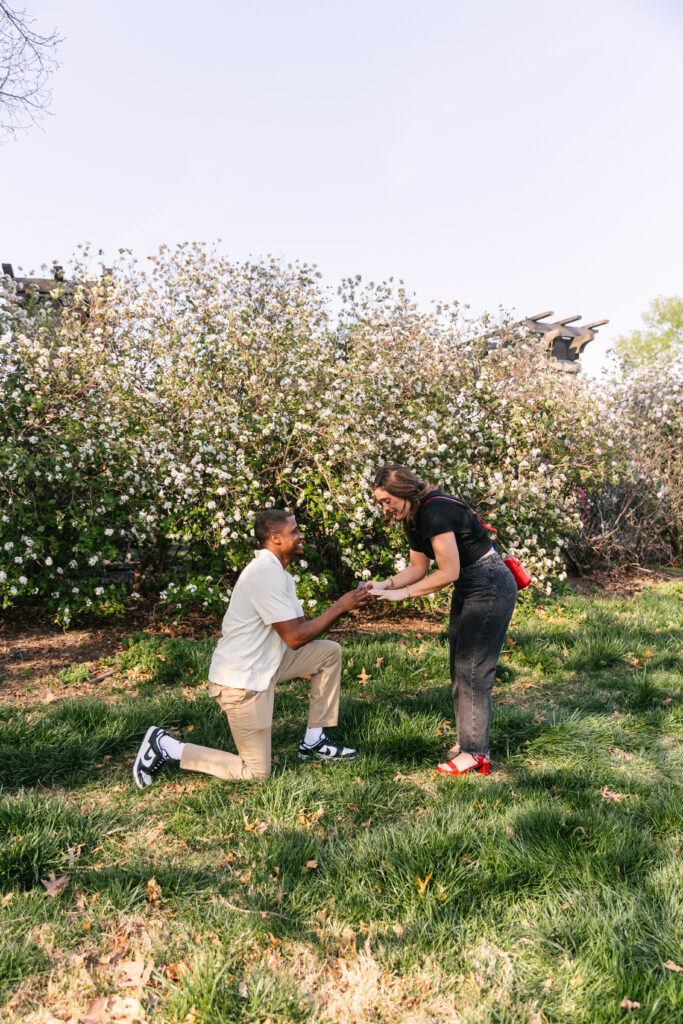
Celebrating Around Loose Park
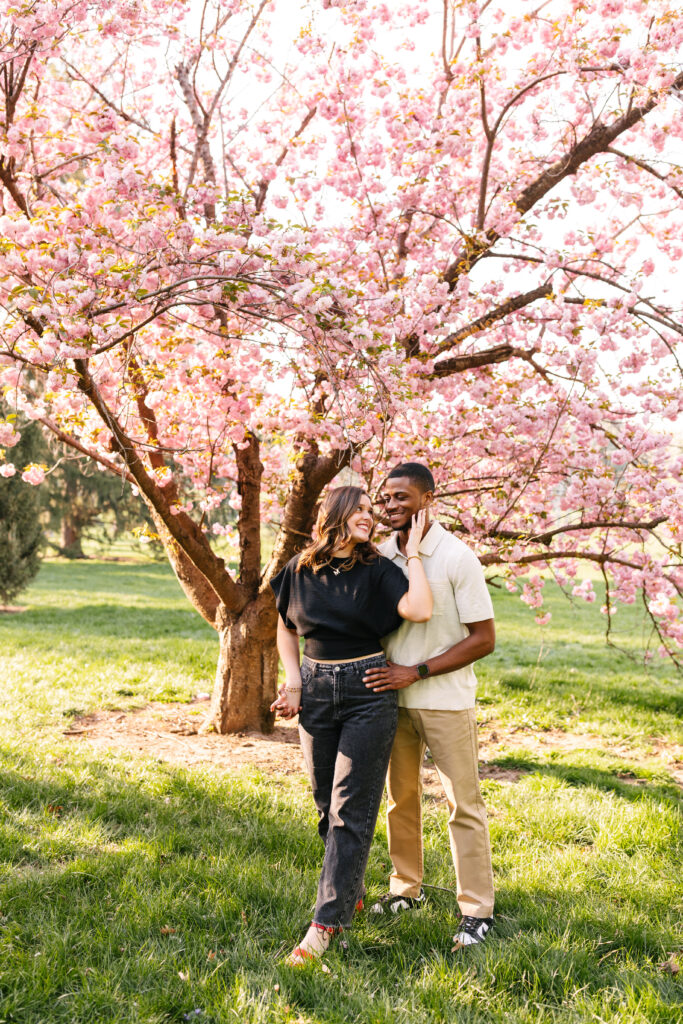
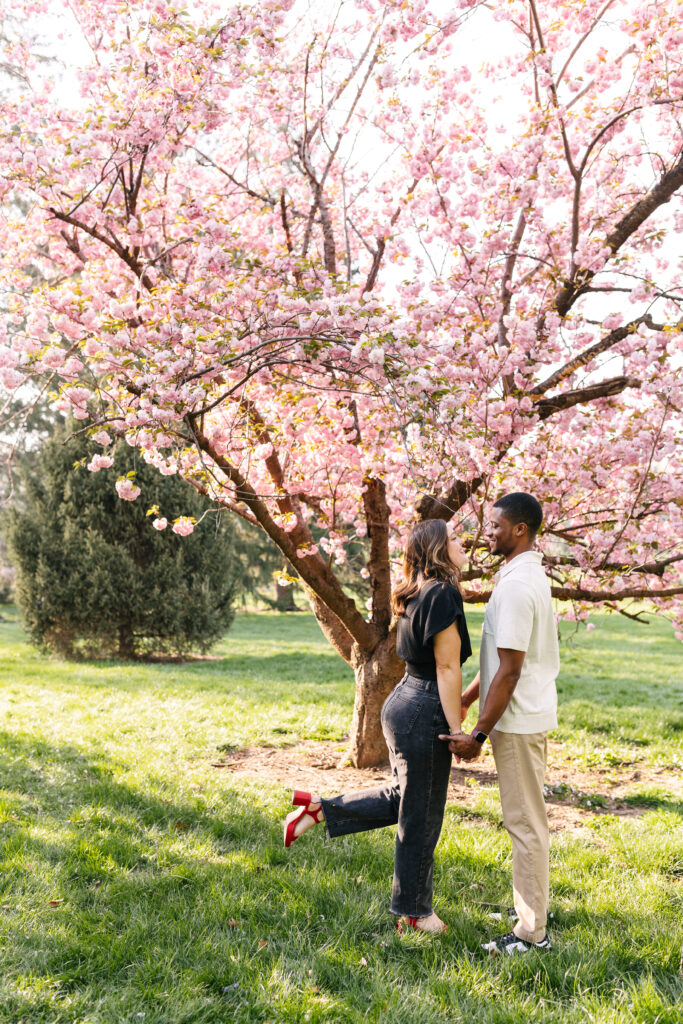
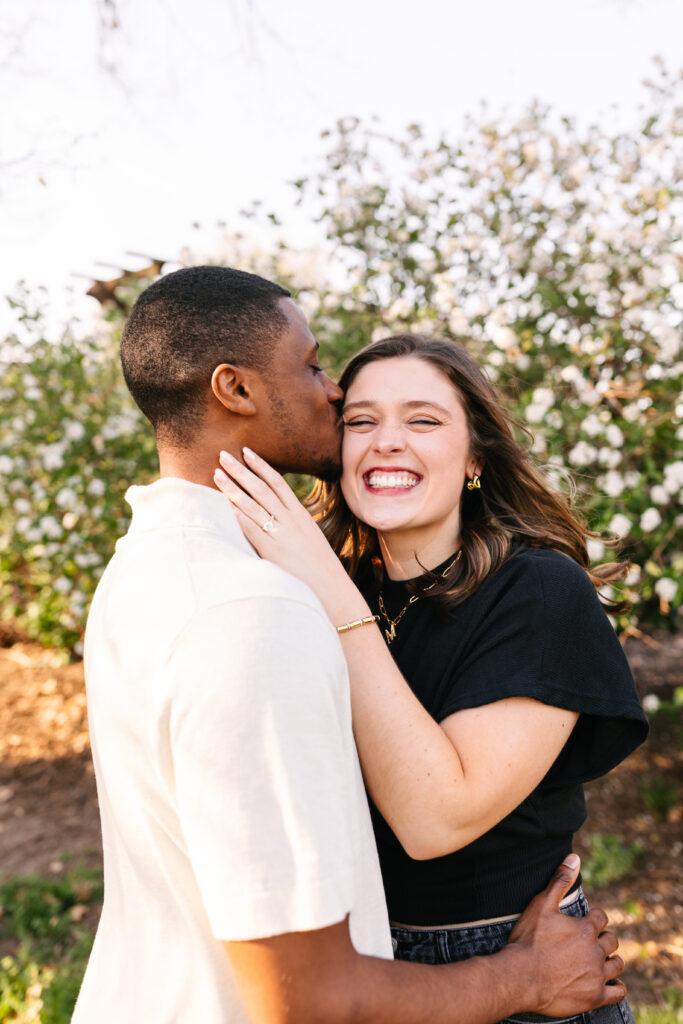
After the big moment, we wandered through Loose Park—soaked in sunlight, surrounded by cherry blossoms and fresh greenery. Molly and Jordan slipped so effortlessly into pure, happy love. They cuddled under the blooming branches, danced along the path, and shared sweet glances that made the entire session feel like something straight out of a movie.
We ended near a park bench, where they sat together and laughed about how perfectly everything unfolded. It was relaxed, heartfelt, and beautifully them.


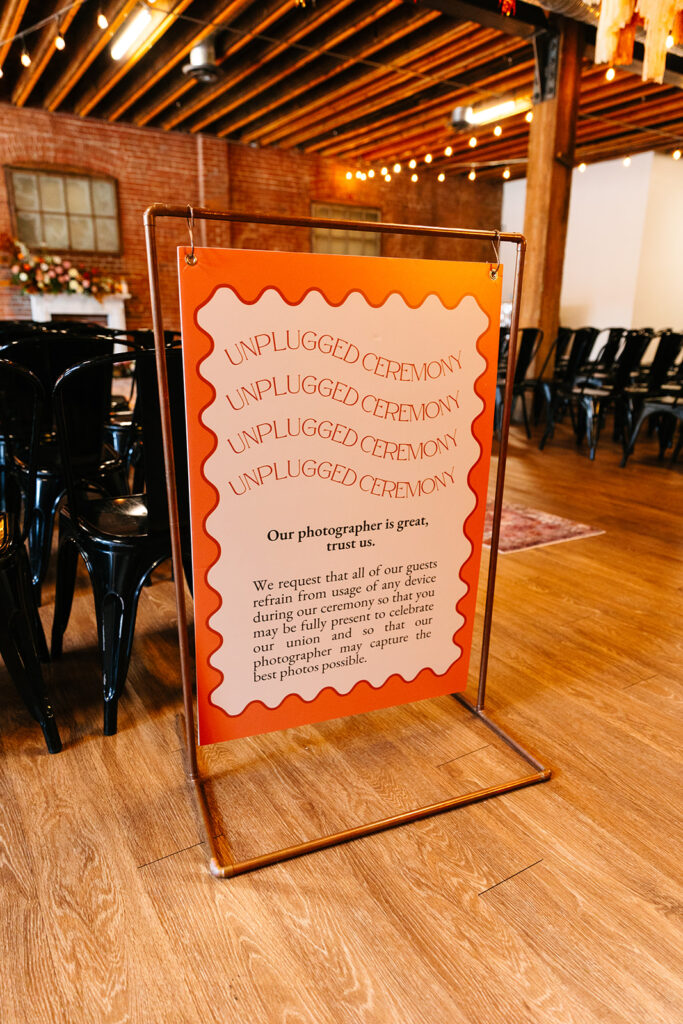
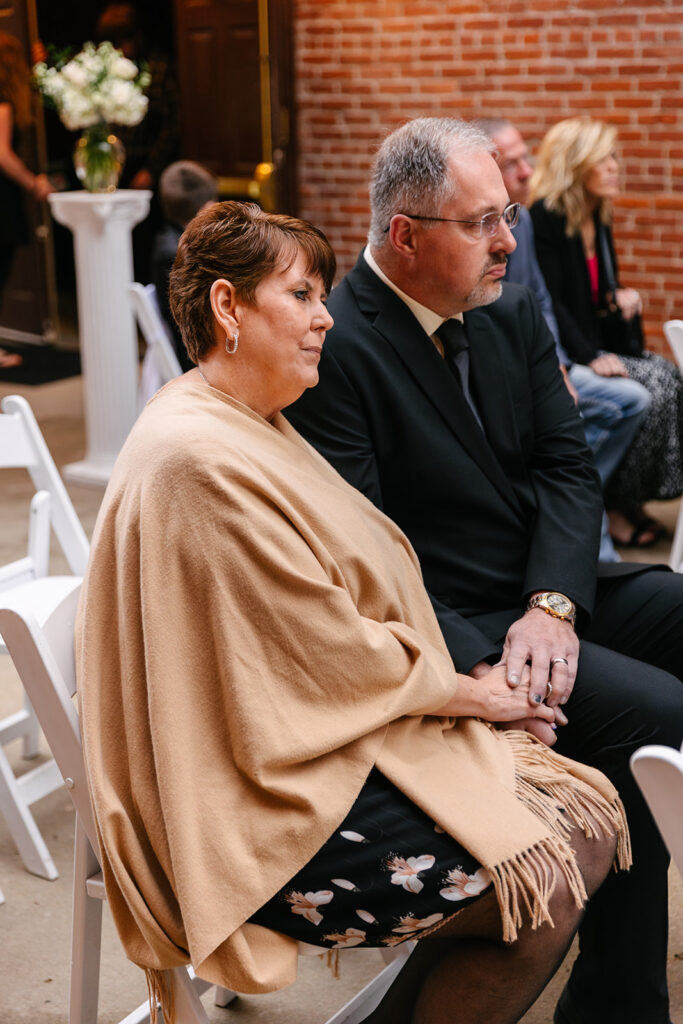
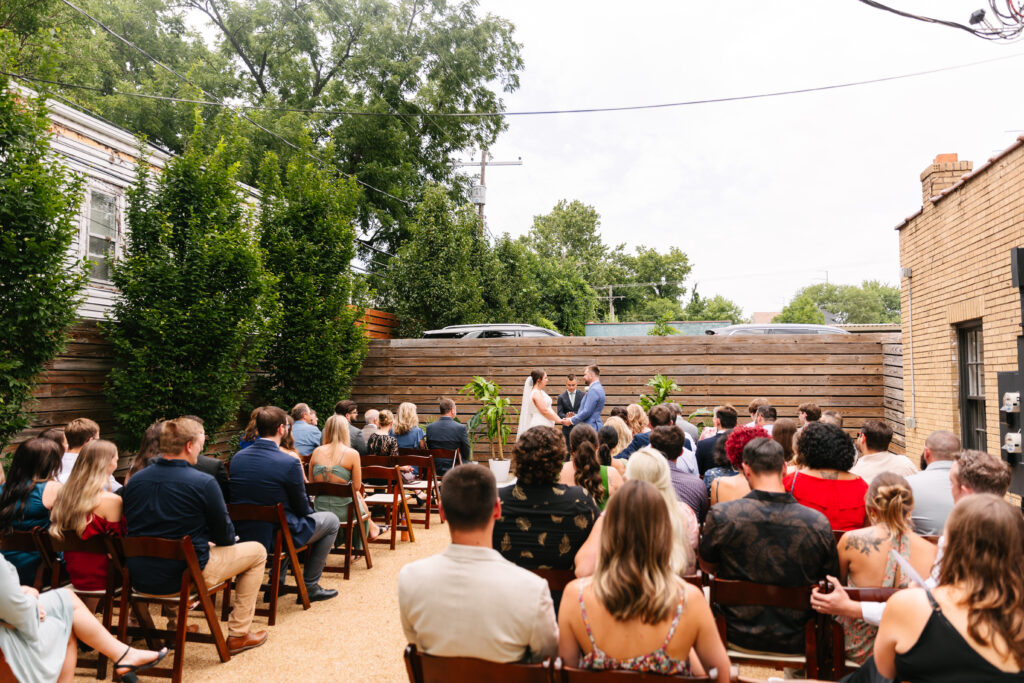
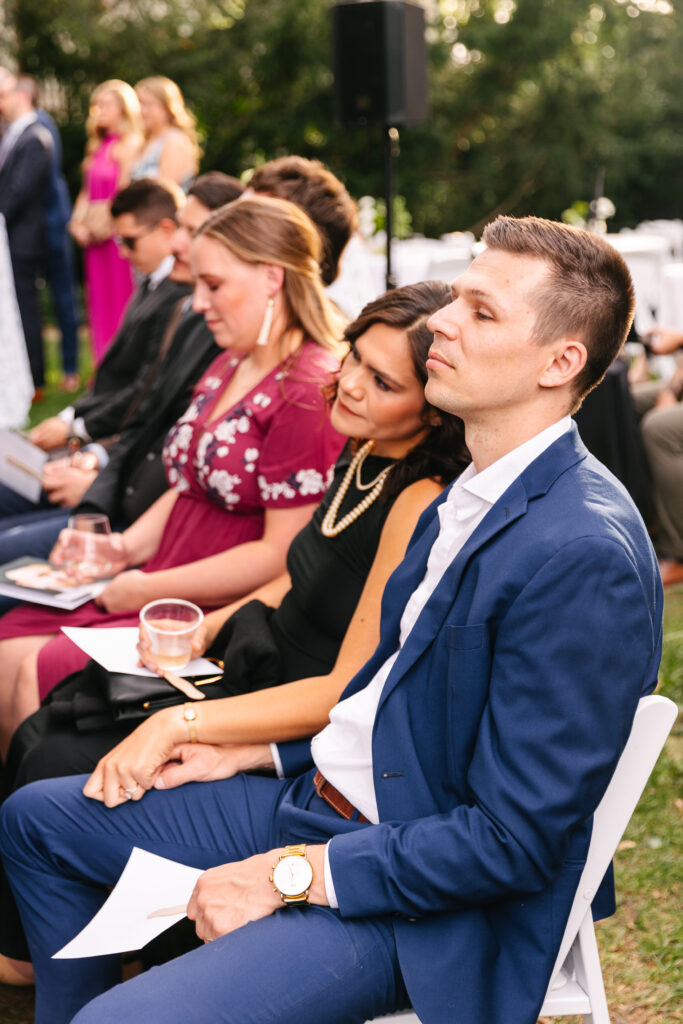
Let’s talk about something that can make a huge difference on your wedding day — an unplugged ceremony. If you haven’t heard the term before, an unplugged ceremony means asking your guests to put their phones and cameras away during your vows. As a Kansas City wedding photographer, I can confidently say this small request can make a big impact!
Be Present in the Moment
Your wedding ceremony is one of the most meaningful moments of your life. It’s the moment you look into your partner’s eyes, surrounded by your loved ones, and say “I do.” When everyone’s holding a phone instead of a hand, it changes the energy in the room. Asking guests to unplug lets them fully experience the emotion — the laughter, the tears, the love — without distraction.

Leave the Photos to the Pros
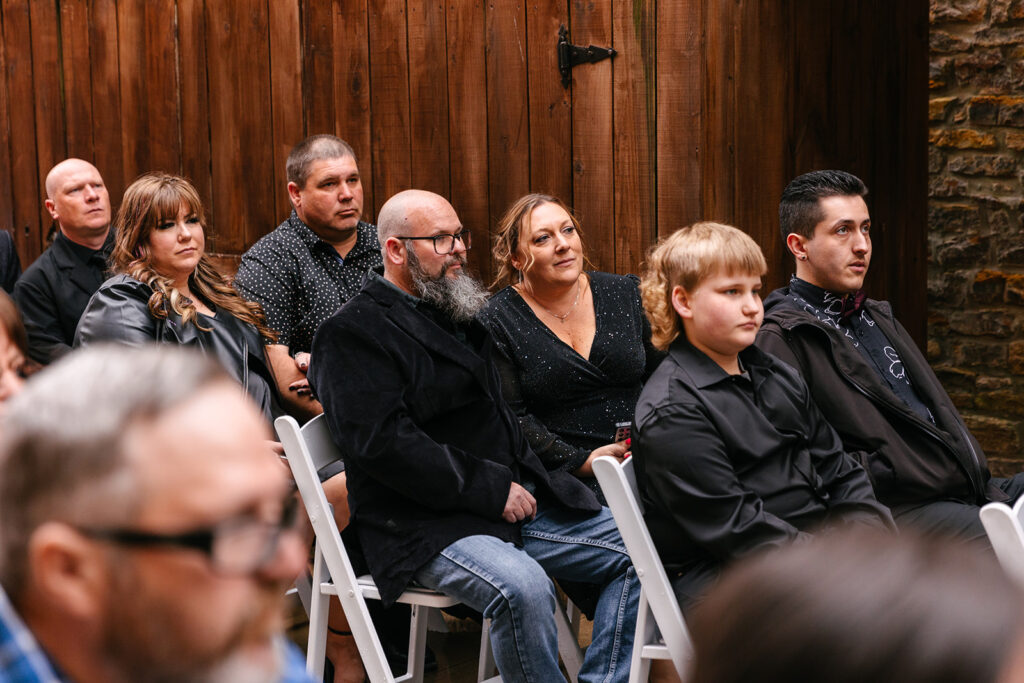
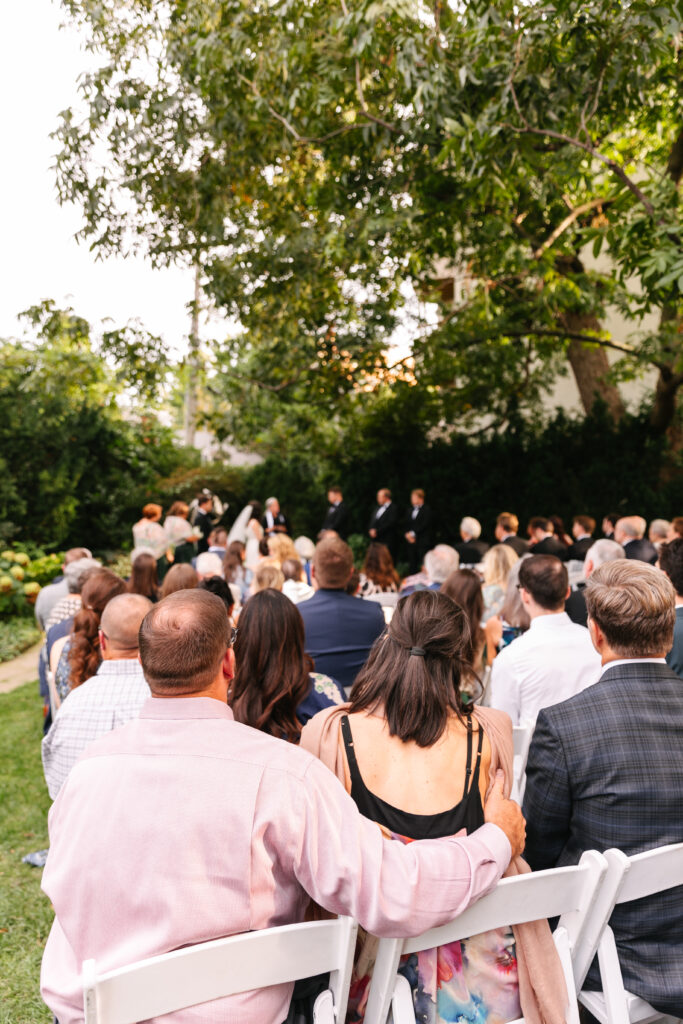
You’ve spent time choosing your wedding photographer, and it’s our job to capture every moment beautifully. When guests lean into the aisle with phones or flash unexpectedly, it can block your photos or alter the lighting. An unplugged ceremony ensures your professional photographs are clean, timeless, and focused entirely on you.
Protect the Magic of the Moment
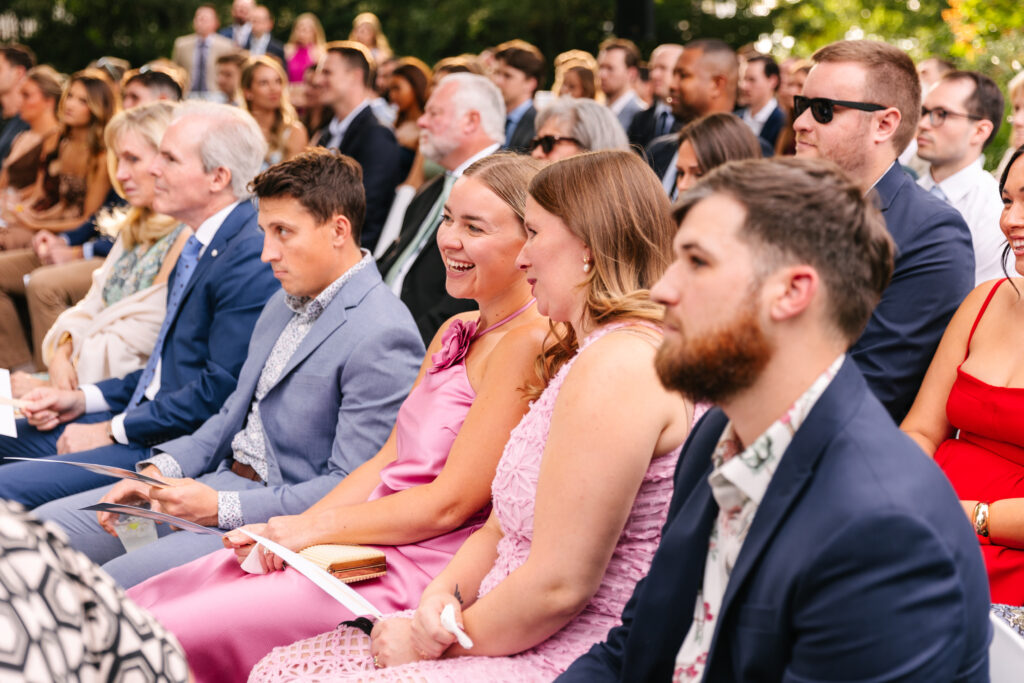
There’s something so special about hearing gasps, laughter, and applause instead of the click of a camera. Your guests will remember the warmth of the moment far more than a blurry photo on their phone. Plus, when you receive your gallery later, you’ll have gorgeous photographs to share with everyone — ones that tell the story perfectly.

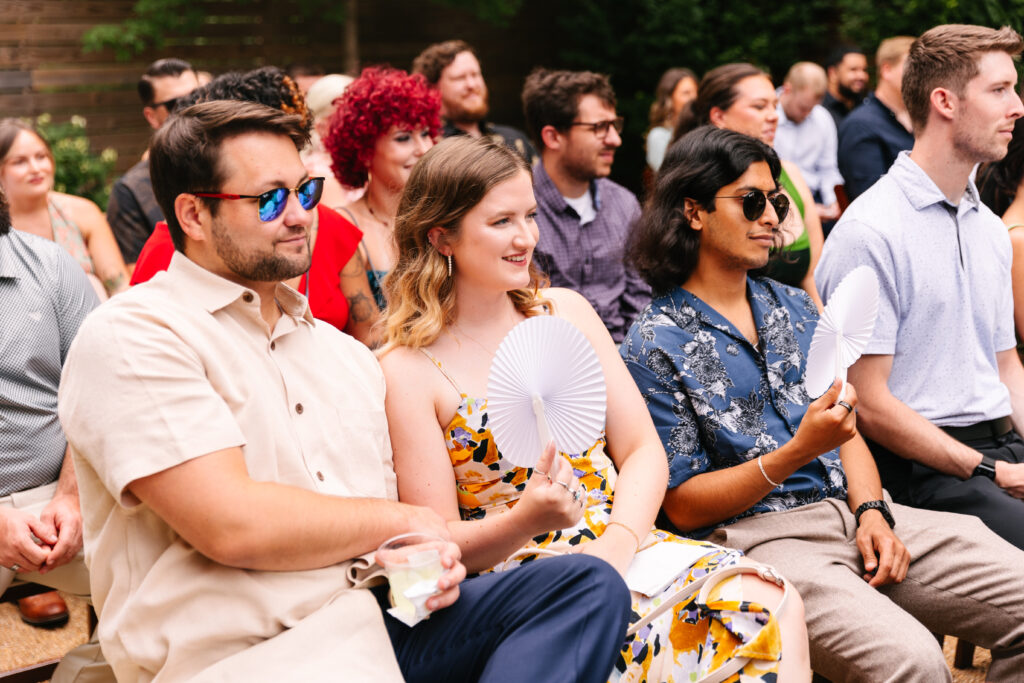
Make It Simple for Guests
If you decide on an unplugged ceremony, include a note in your program or have your officiant kindly announce it before the ceremony begins. A simple reminder goes a long way in helping everyone be present and respectful.
Your wedding day only happens once — and it deserves your full attention. Choosing an unplugged ceremony in Kansas City allows you and your guests to be truly present, creating memories that last a lifetime


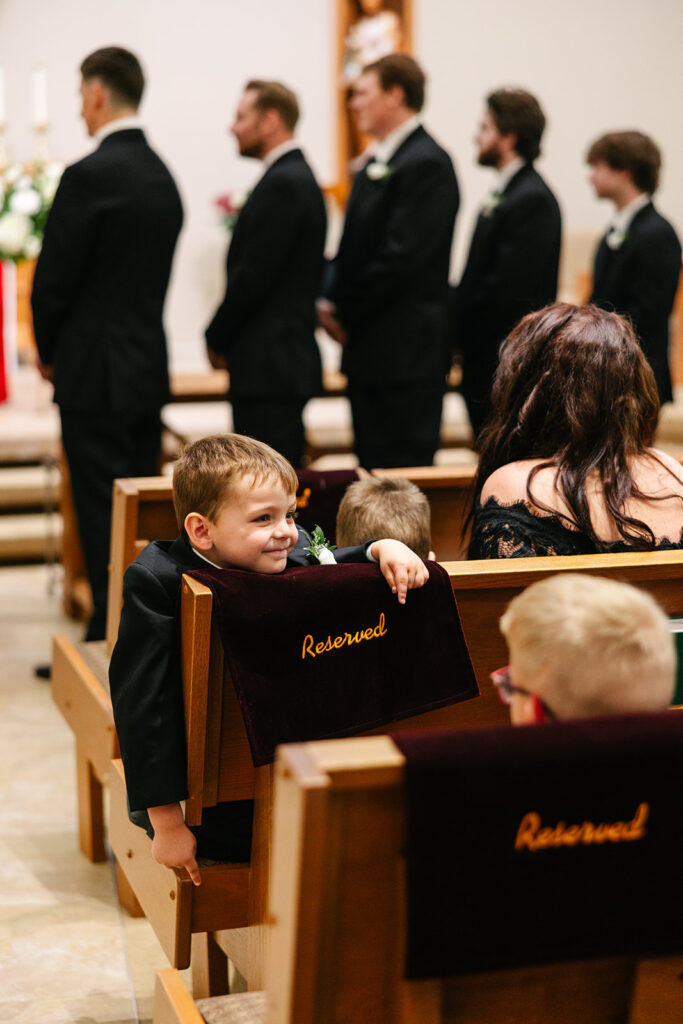
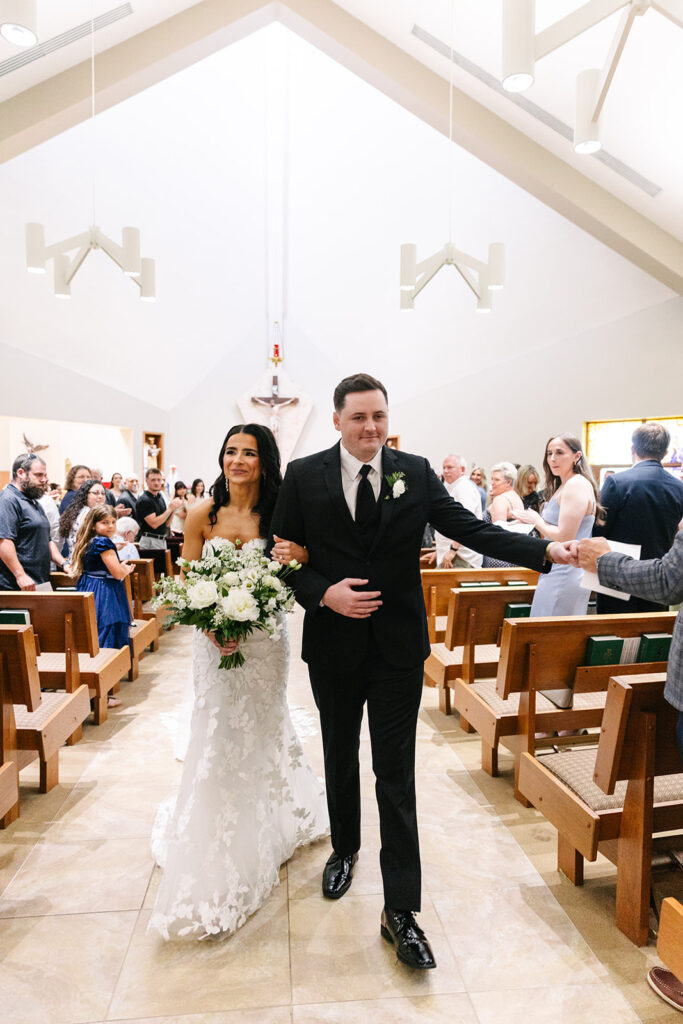
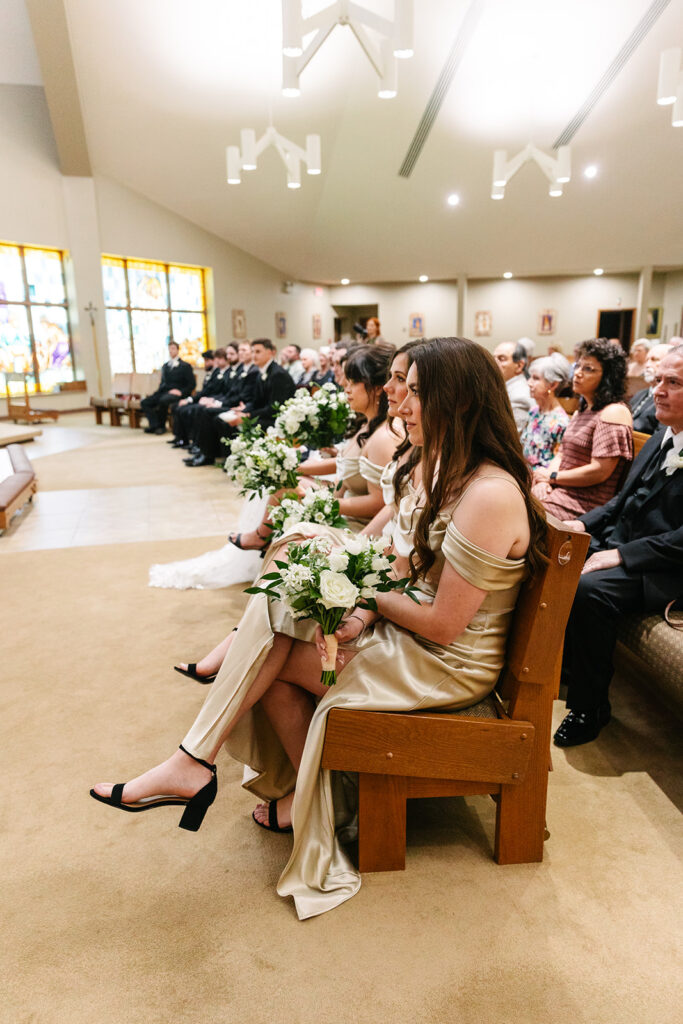
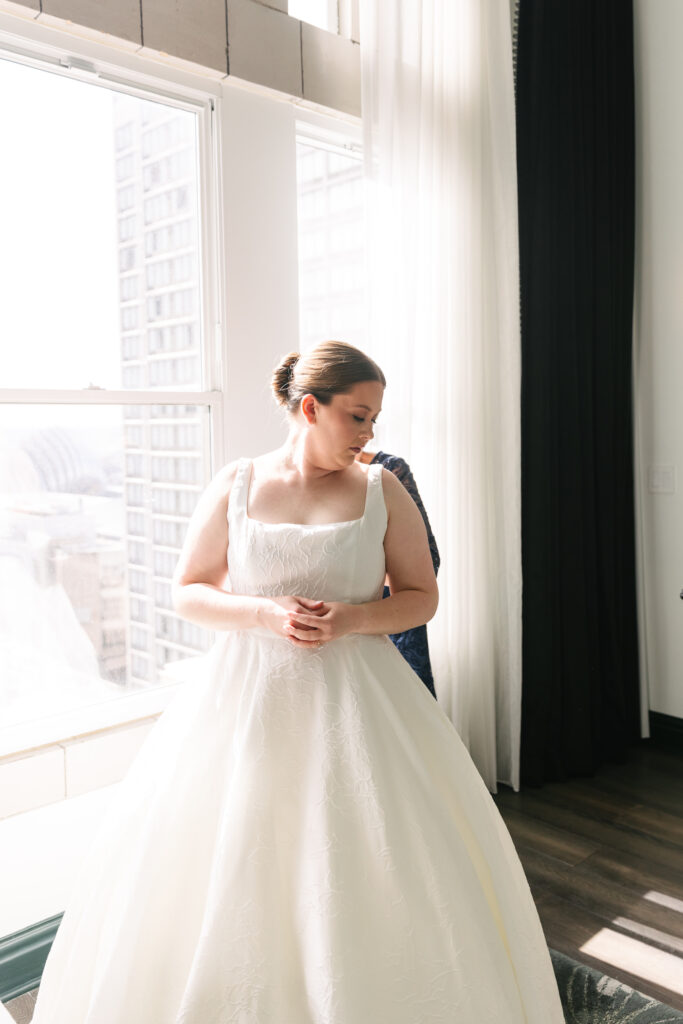
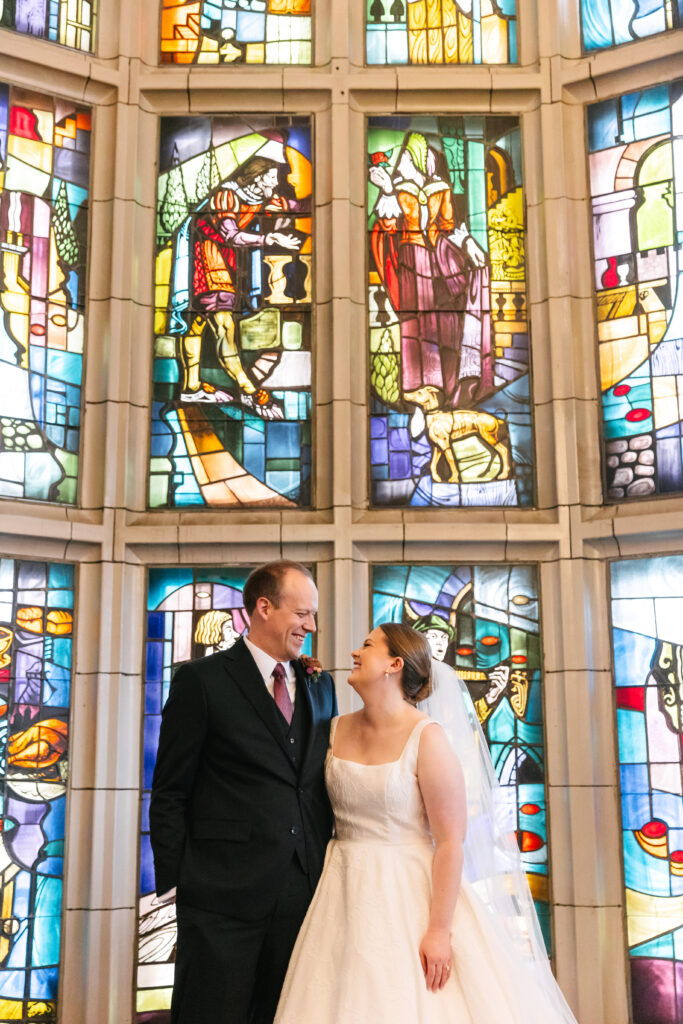
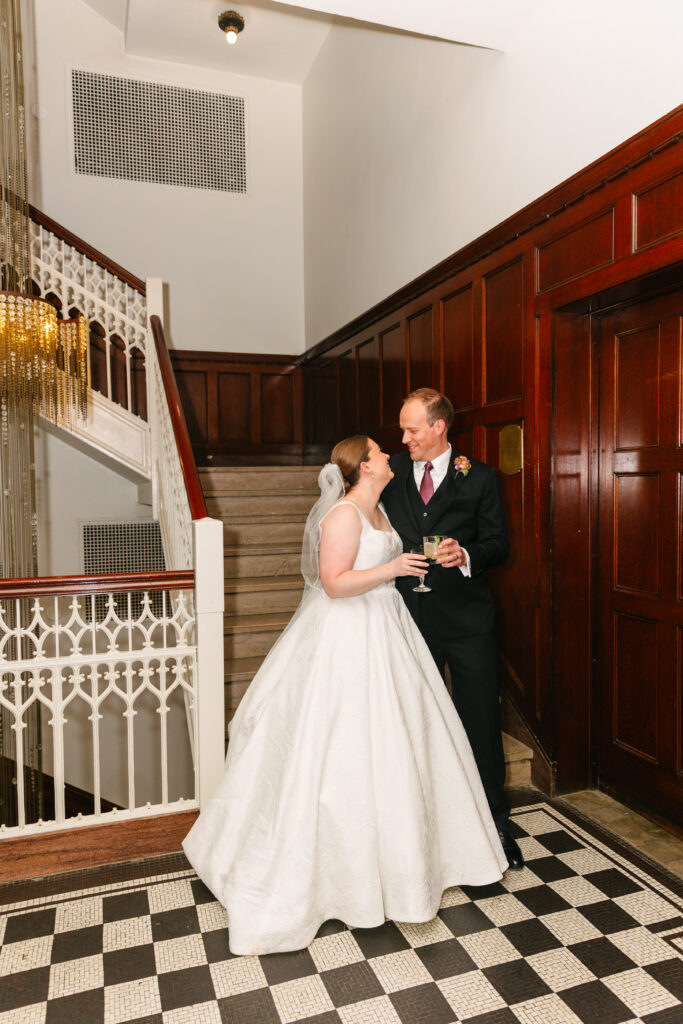
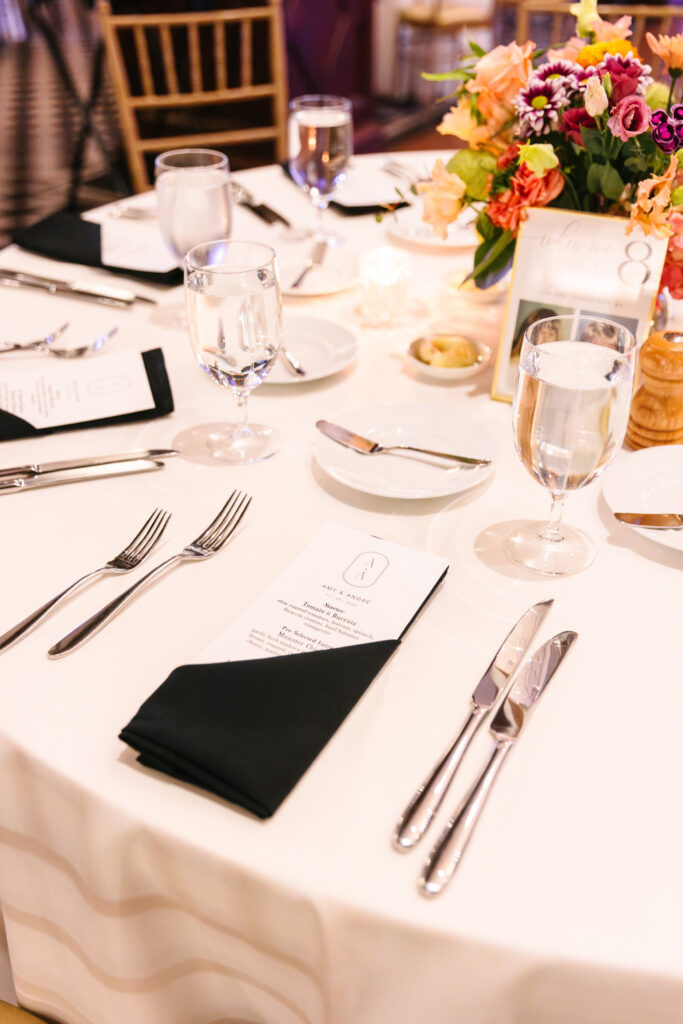
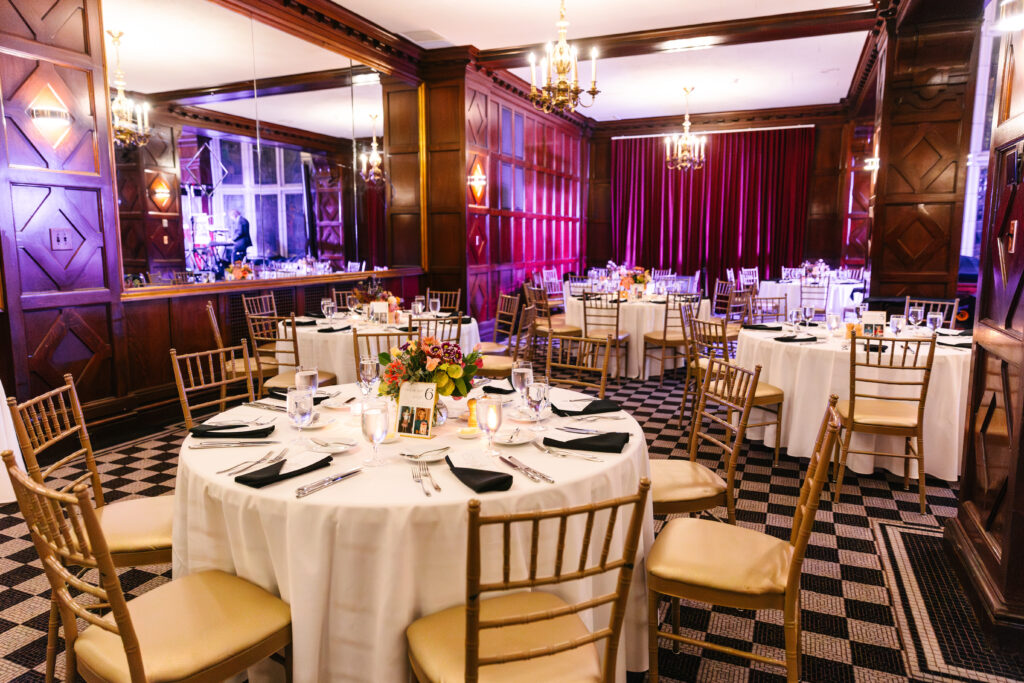
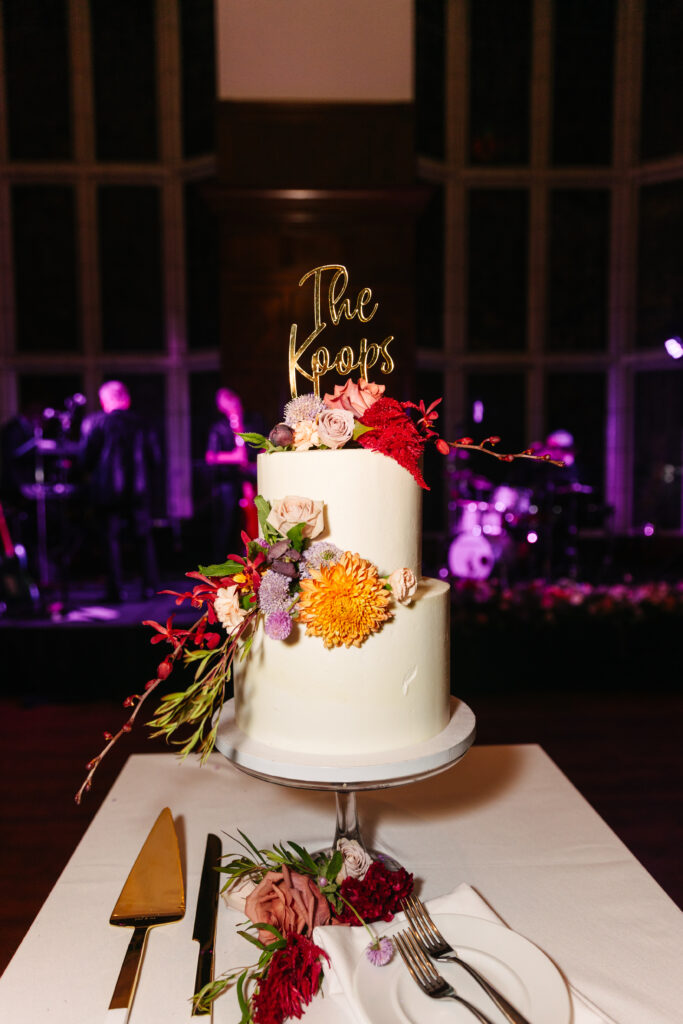
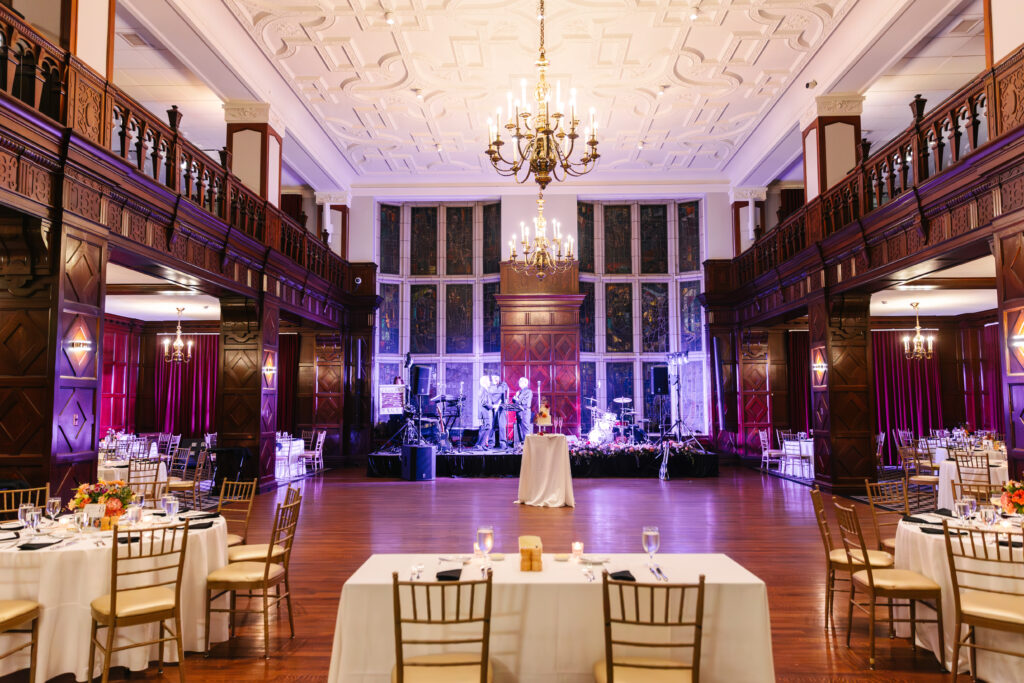
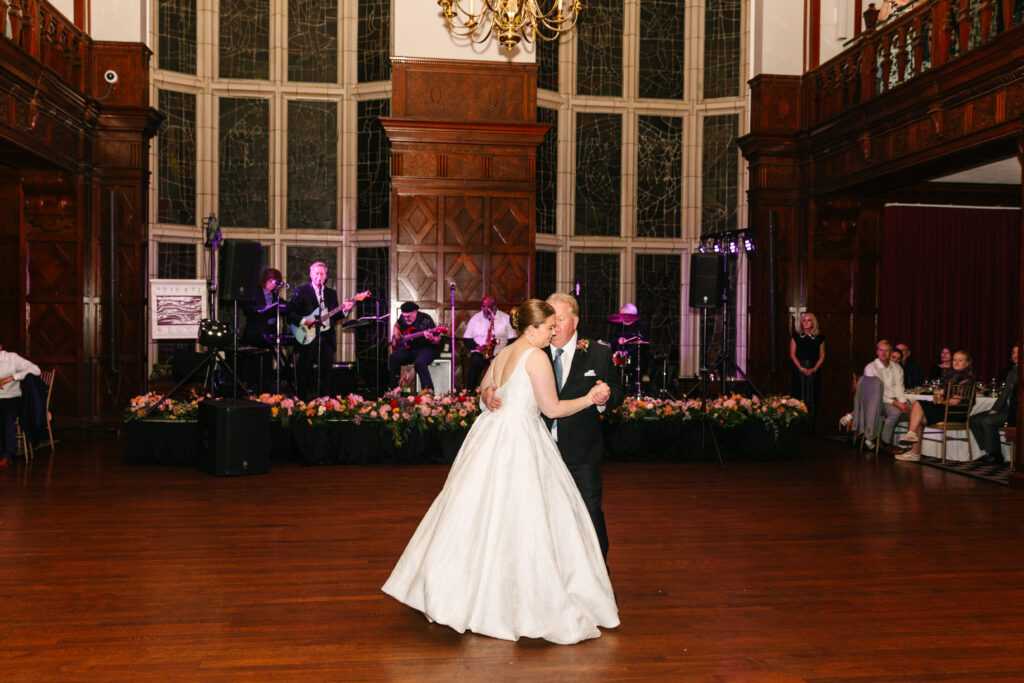
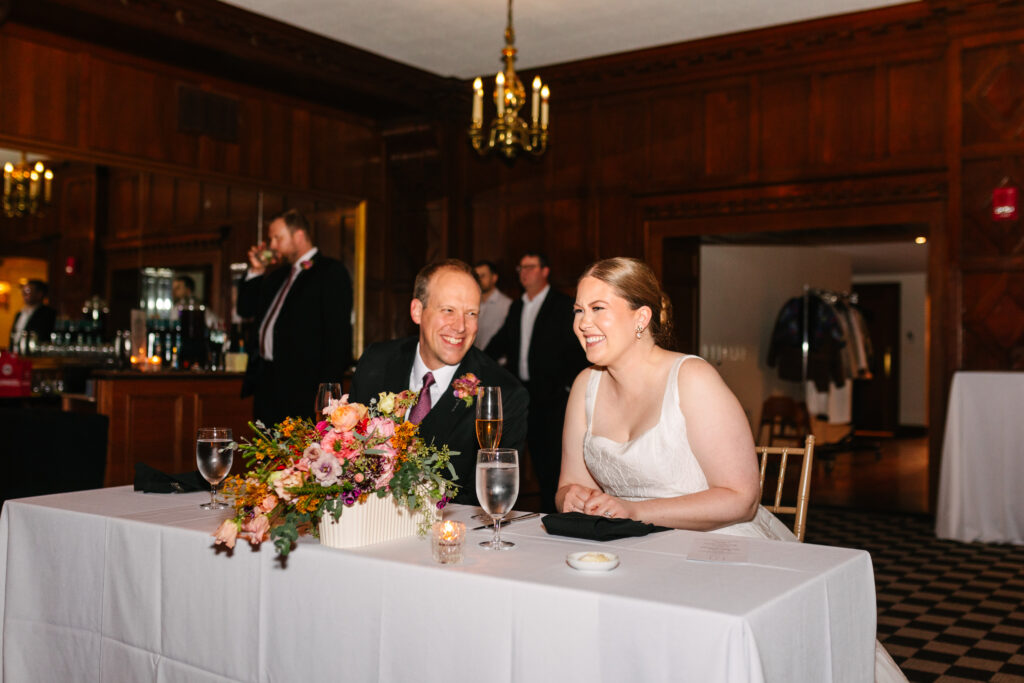
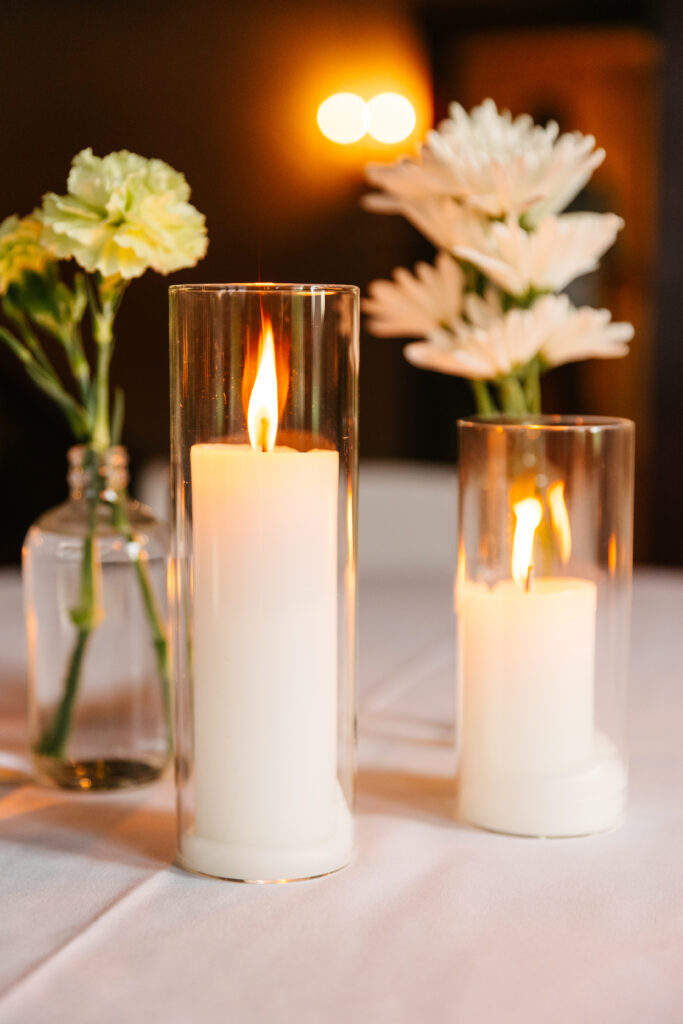
Amy and André’s Hotel Kansas City wedding was truly timeless. Their day felt elegant, joyful, and full of sweet, personal moments. From the stained glass windows at their church to the grand Tudor Ballroom, every part of their celebration felt meaningful and warm.
A Day Filled With Pure Joy
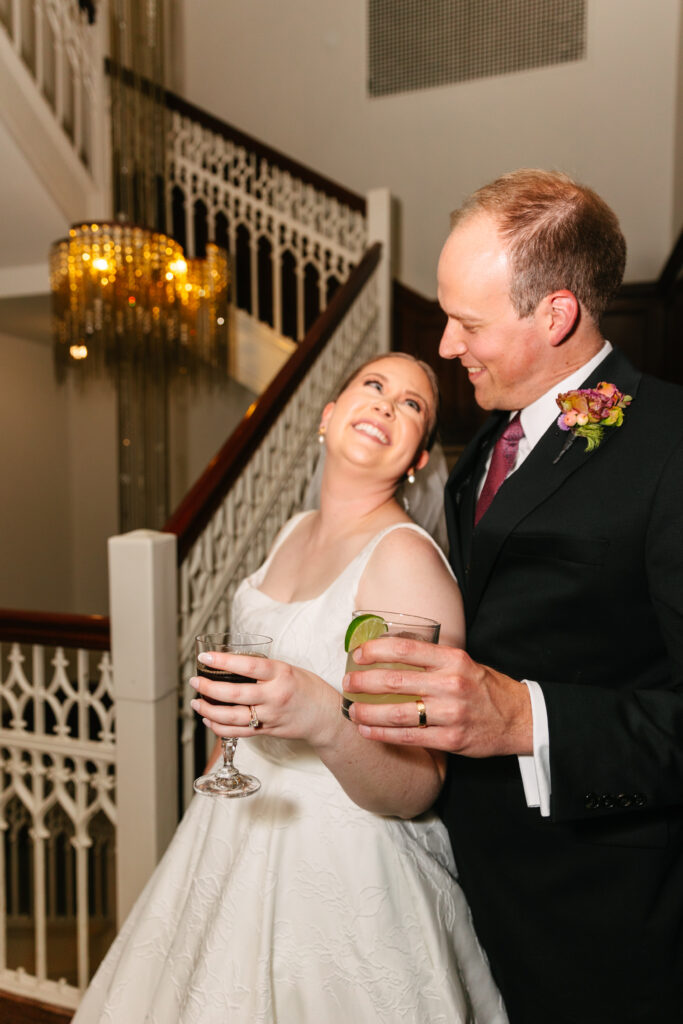
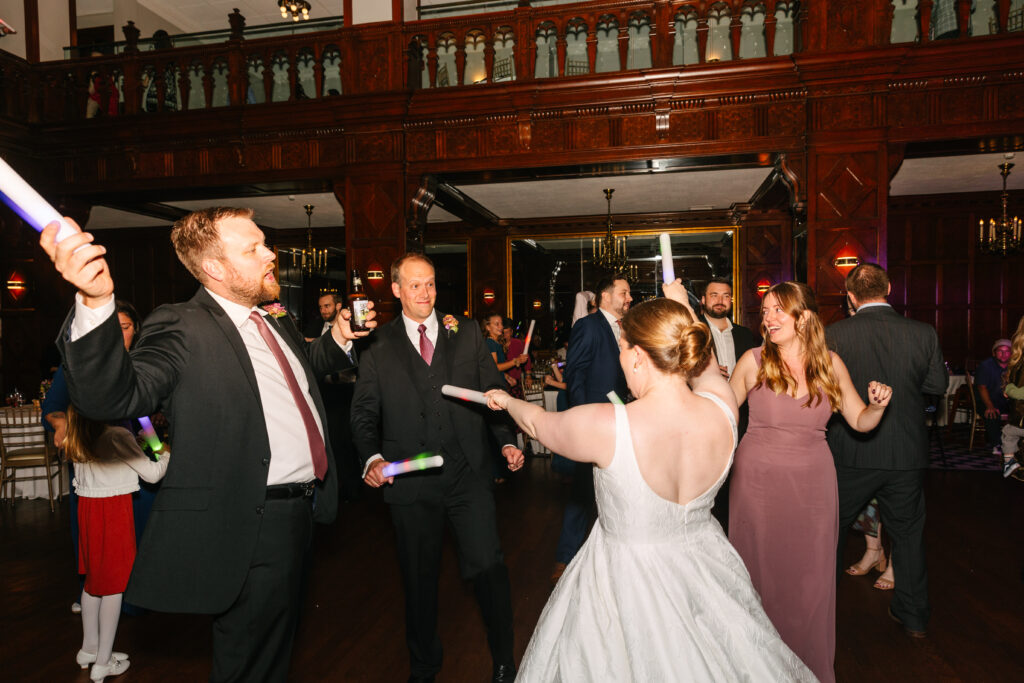
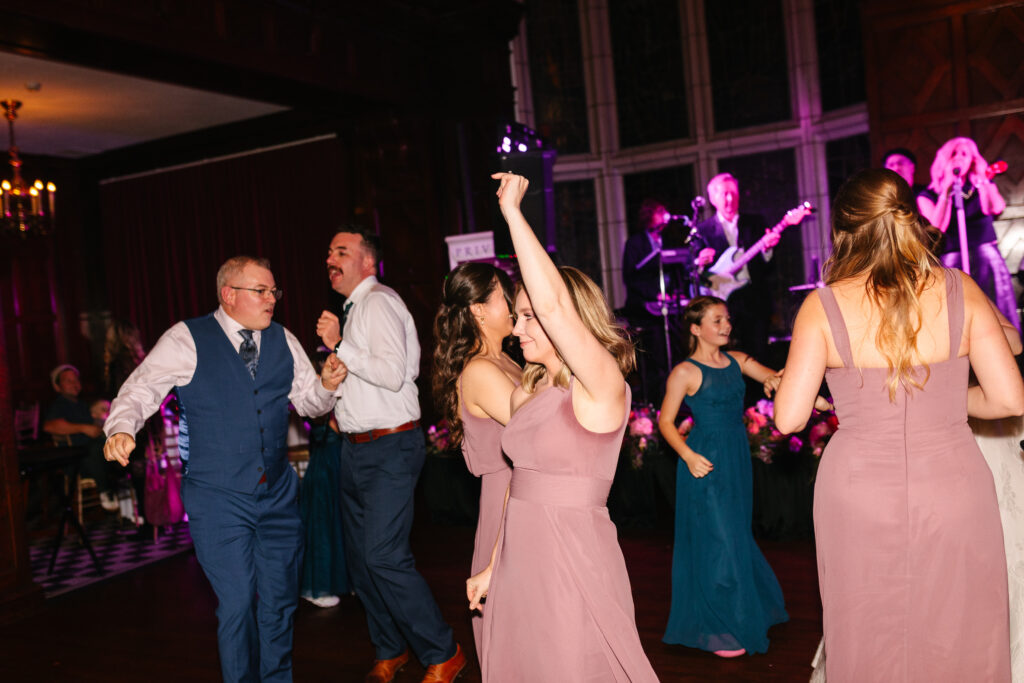
When I asked the couple how their wedding day felt, their answer was simple: “Happy!” They smiled from morning to night, and it showed in every moment. Their guests brought so much love and energy to the day. The grand entrance at their reception was their favorite part. They looked around the room and took it all in — every friend, every family member, every warm smile. It was a big, beautiful moment they will never forget.
Why They Loved The Hotel Kansas City
The Hotel Kansas City was the perfect fit for their classic style. They spent the morning in the king lofted suite, which gave them space to get ready and relax. The hotel team left a handwritten note and a bottle of sparkling rosé, which made the morning even sweeter.
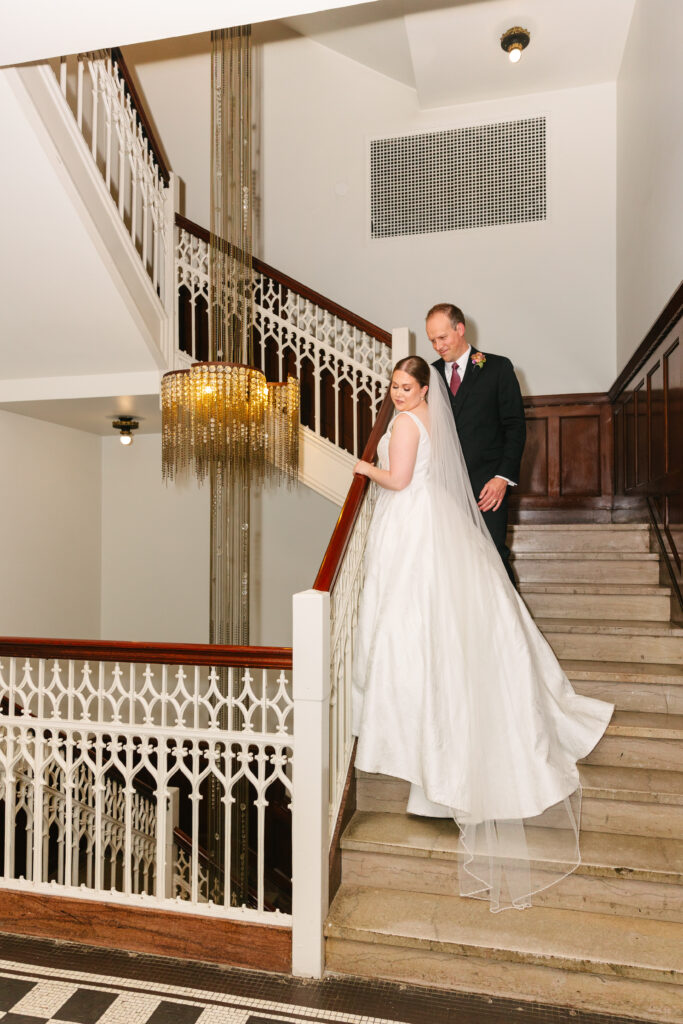
They also loved the balcony that overlooks the Tudor Ballroom. The rich wood details and stained glass around the venue added so much charm. Every room felt special and full of character.
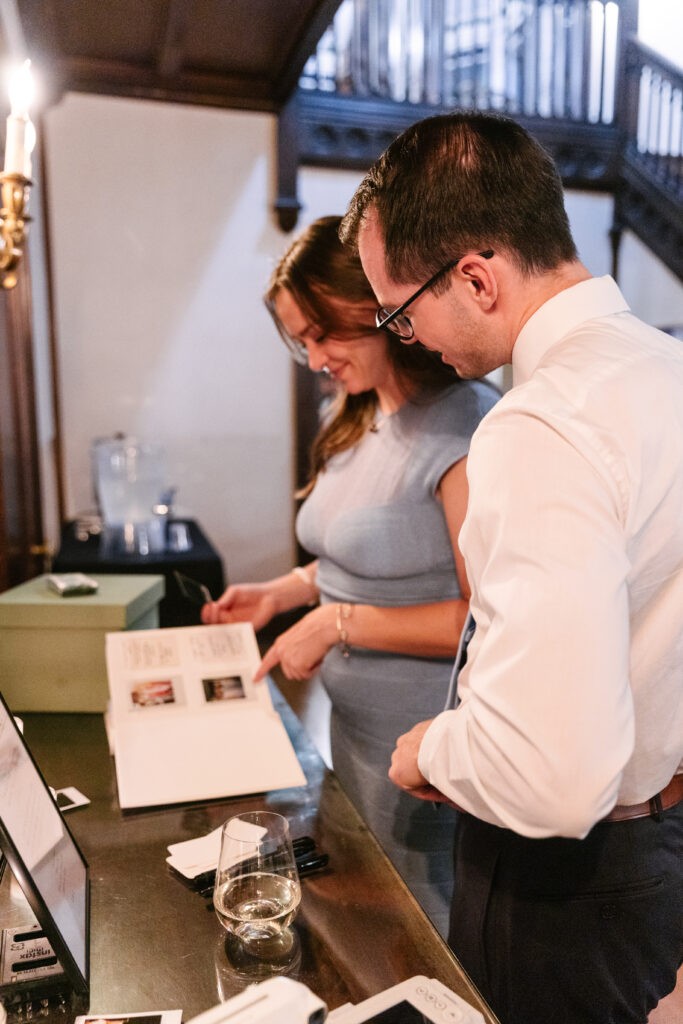
A First Look With a Meaningful Surprise
Amy surprised André during their first look with a custom painting by Steven Dragan. The artwork showed them standing in front of The Hotel Kansas City in their wedding attire — a moment that hadn’t even happened yet. It was thoughtful, beautiful, and incredibly unique.
Now, the painting hangs in their home as a reminder of one of the biggest days of their life.
When the Day Finally Felt “Real”
For Amy, it hit her the moment she walked down the aisle. She saw all their guests at once, and her eyes instantly filled with tears. For André, the moment felt real when they stepped out of the church as husband and wife. Their guests lined the exit and cheered as they walked out together.
Looking Back at Their Gallery
When they look at their photographs now, they feel all of the joy from their wedding day rush back. Doing a first look helped them take most of their portraits before the ceremony, which allowed them to enjoy more time with their guests afterward. It kept the day relaxed, intentional, and full of connection.


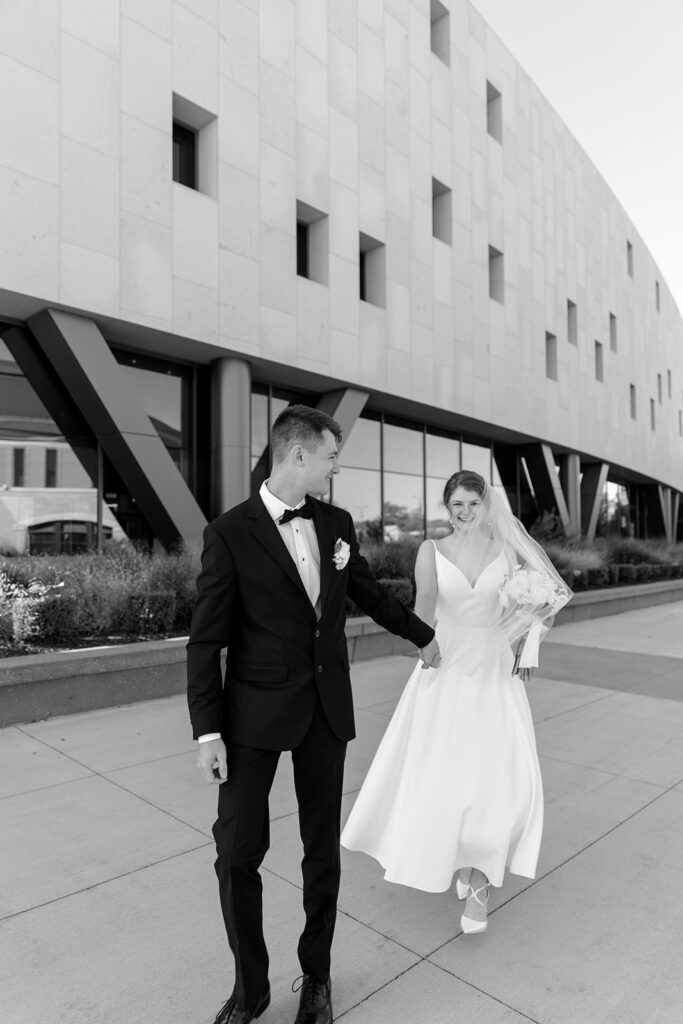

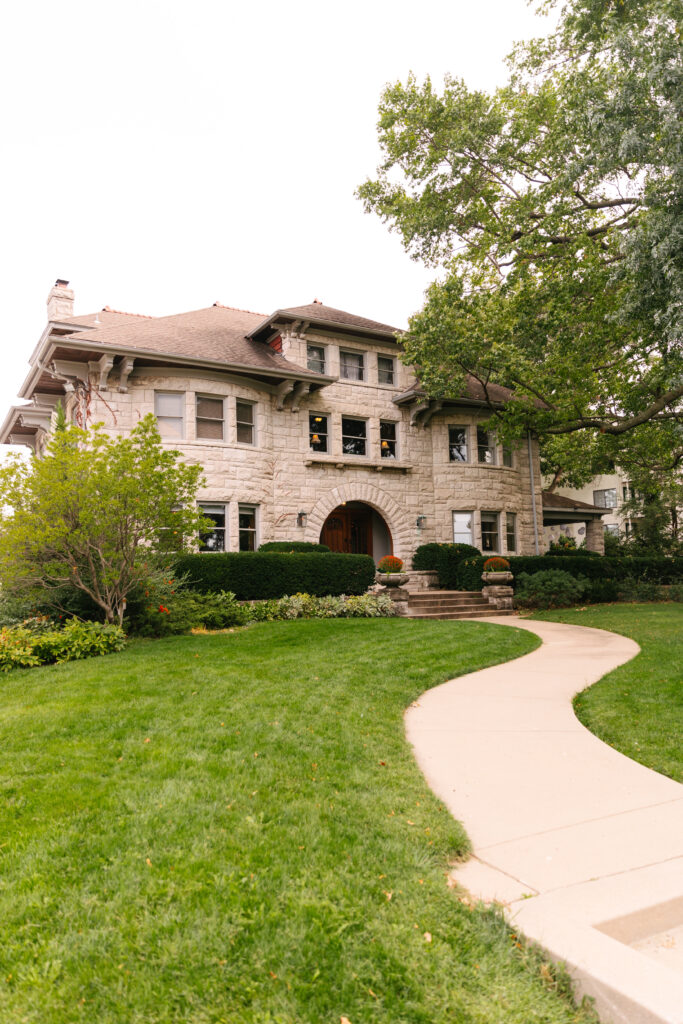
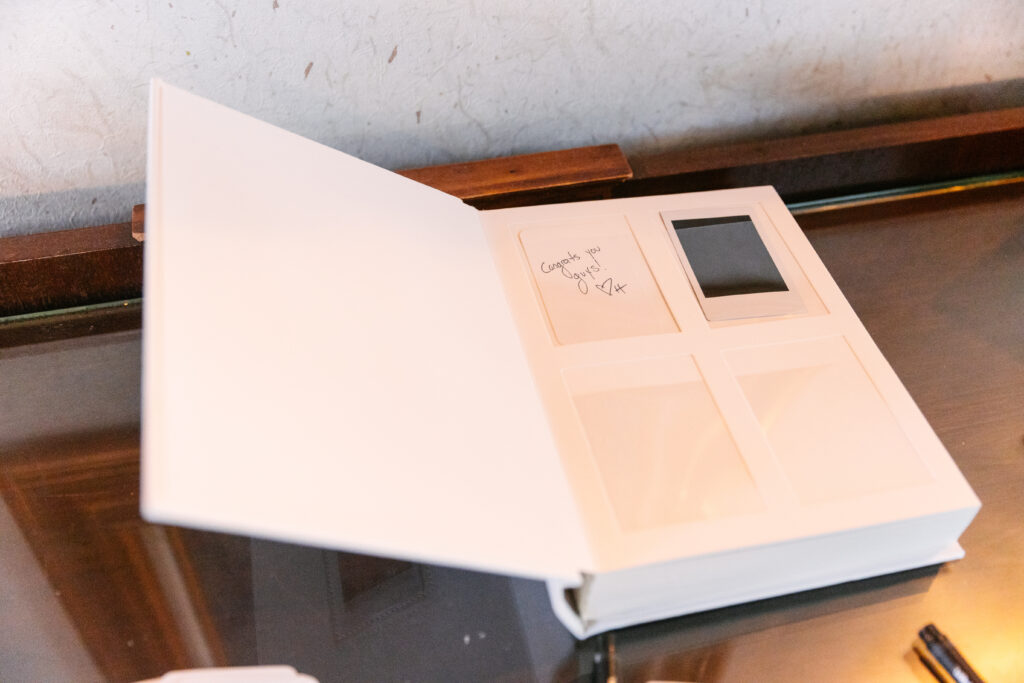
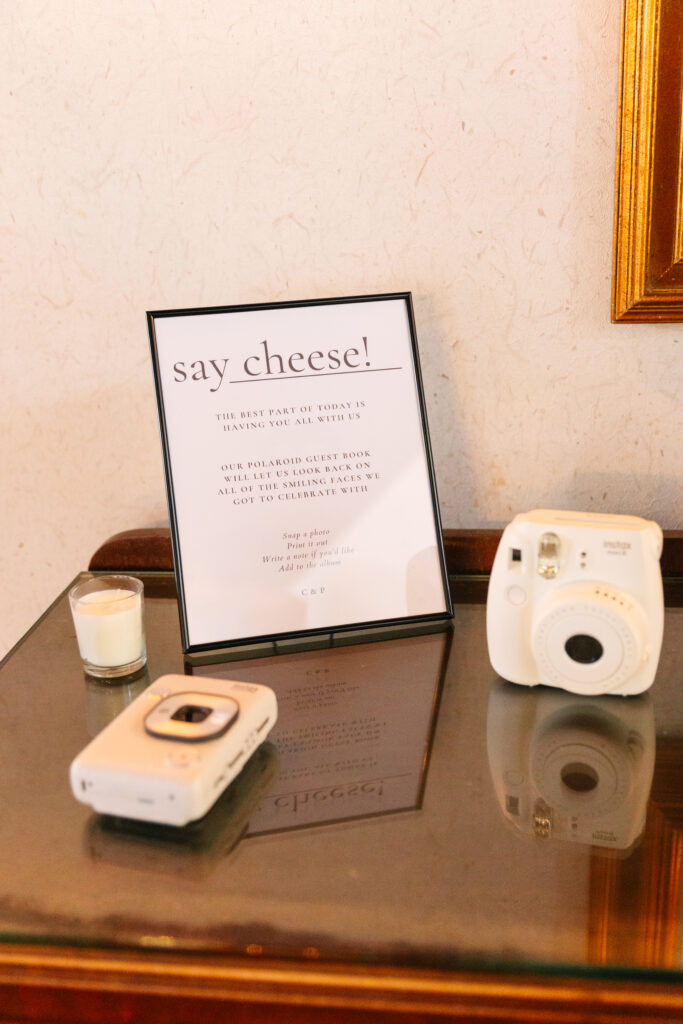
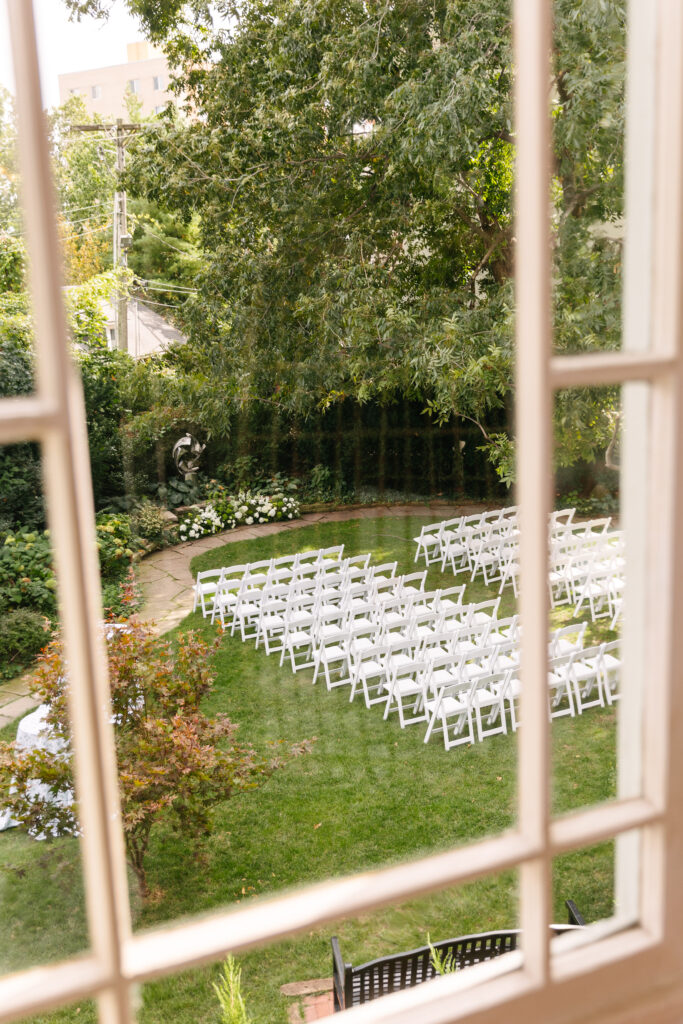
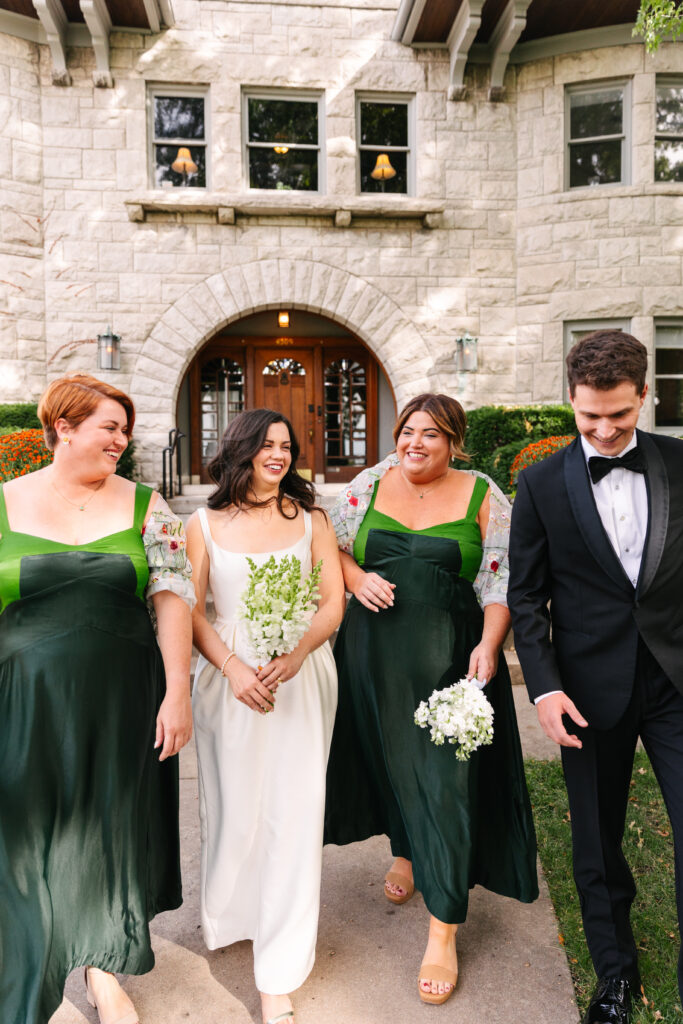
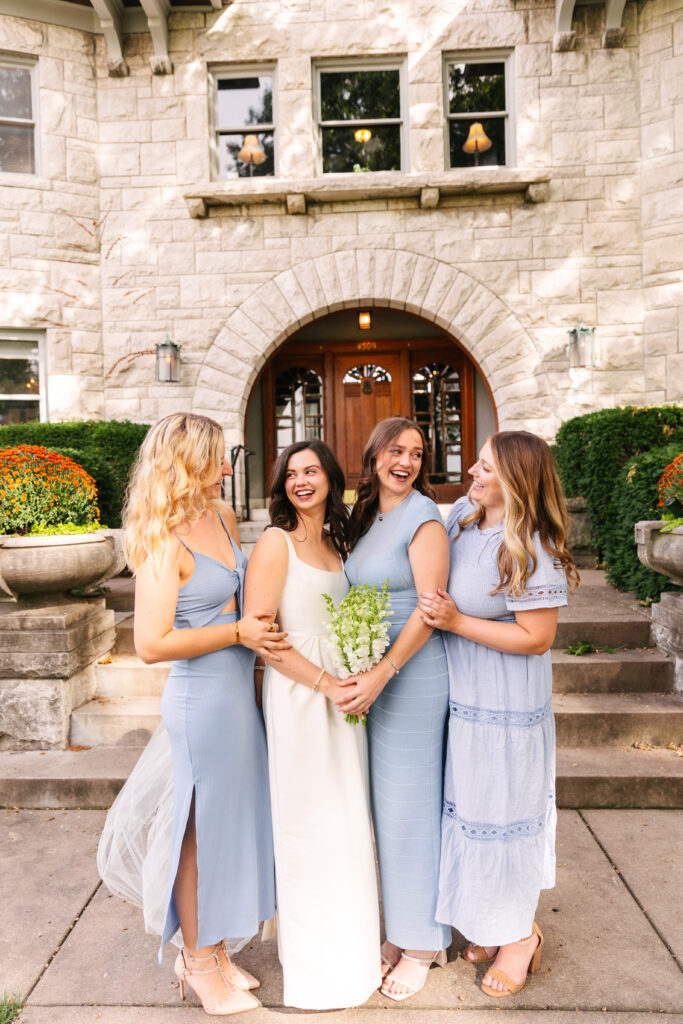
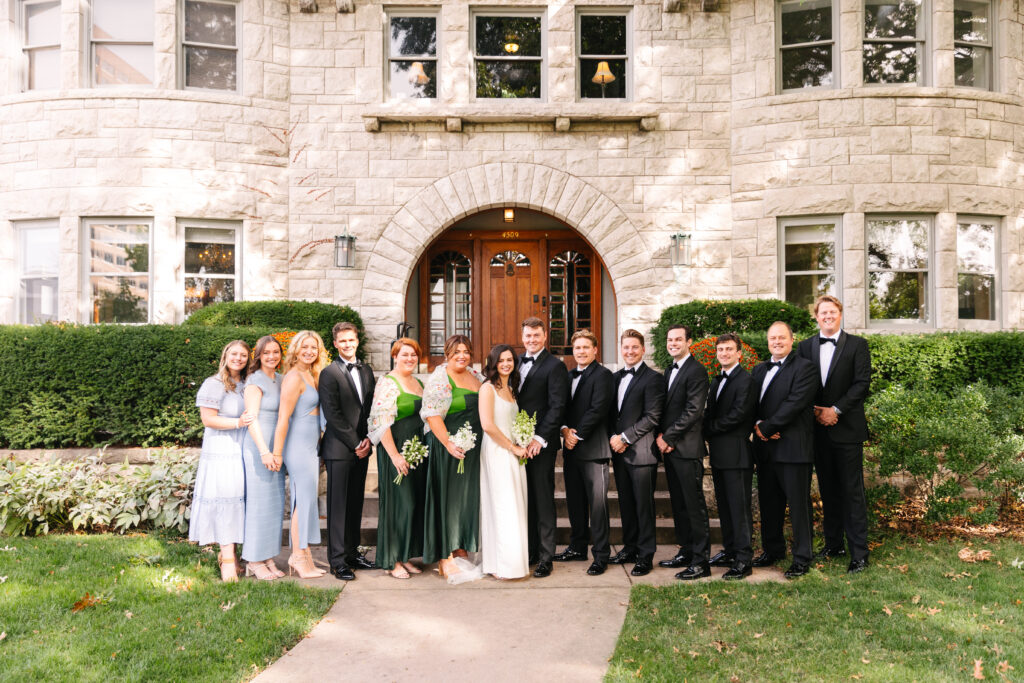
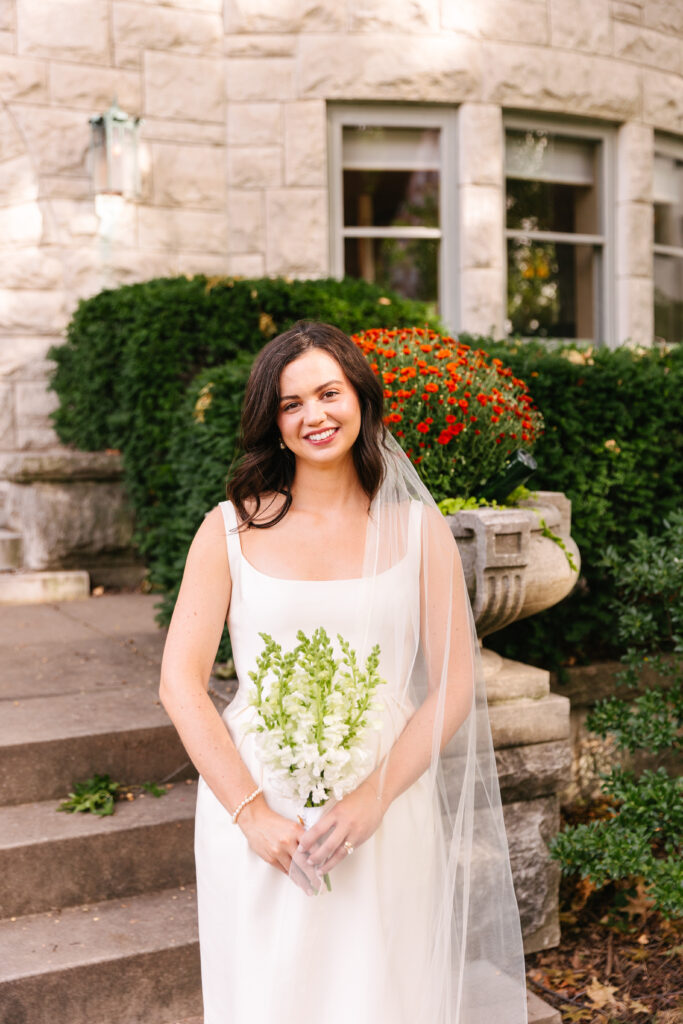
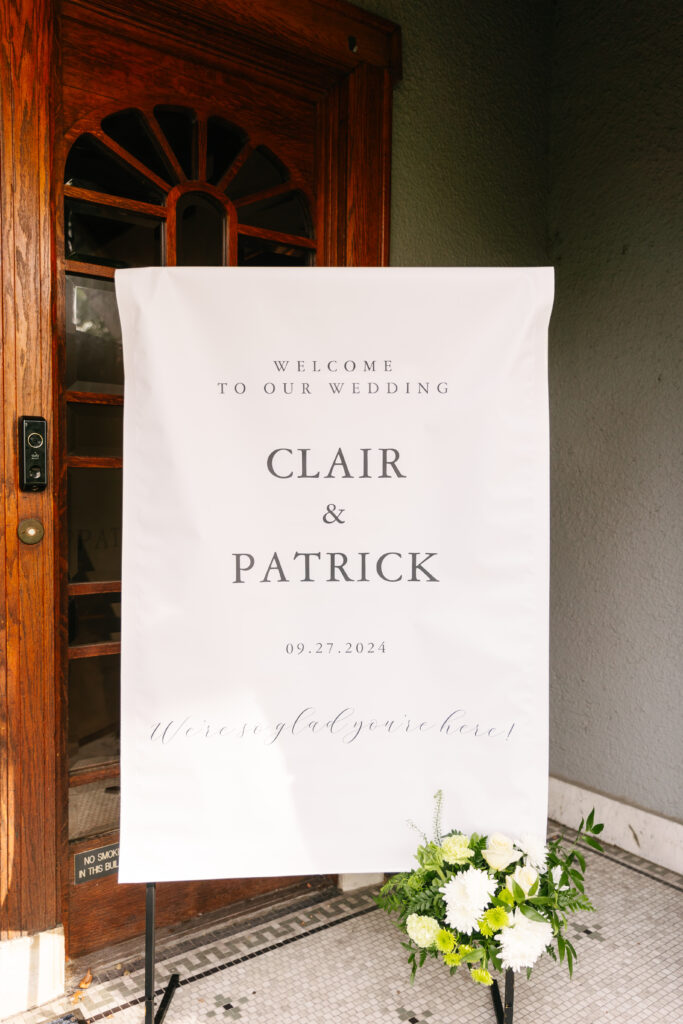
There’s something timeless about a Simpson House wedding in Kansas City—and Claire and Patrick’s day was the perfect example. From the elegant setting to their sweet, easy love, this late summer wedding was full of charm, laughter, and the kind of warmth that makes every photograph feel special.
A Classic Kansas City Setting
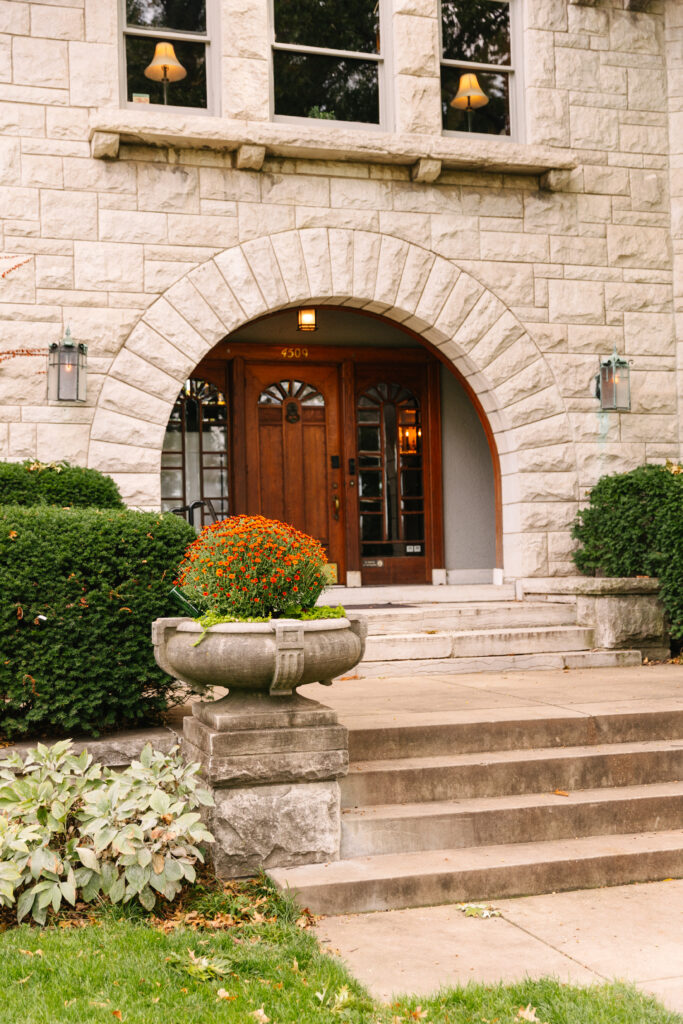
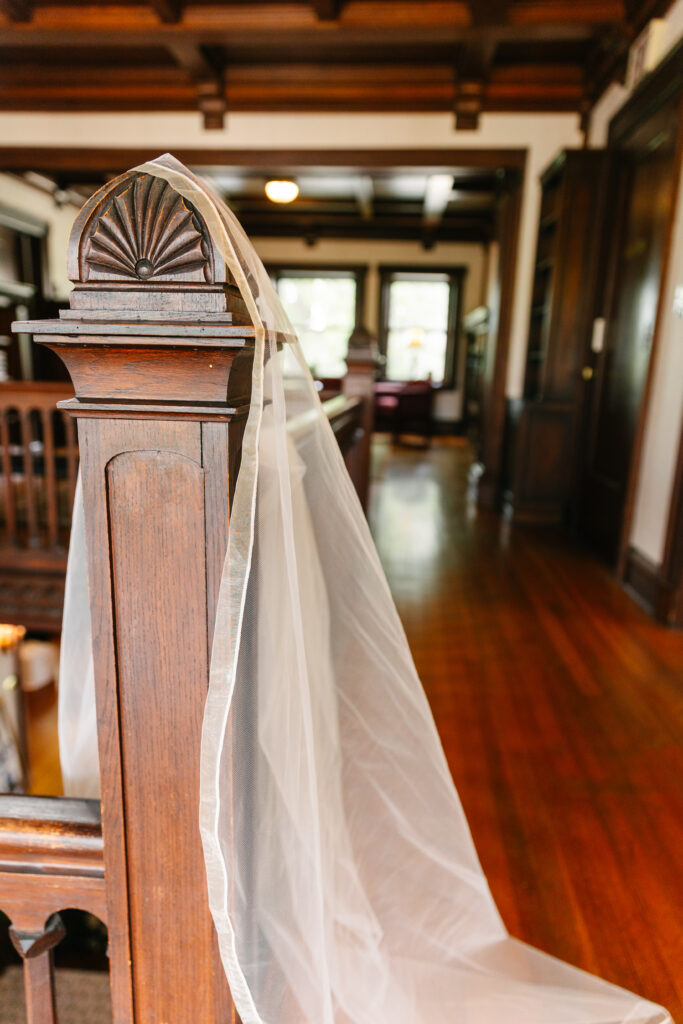
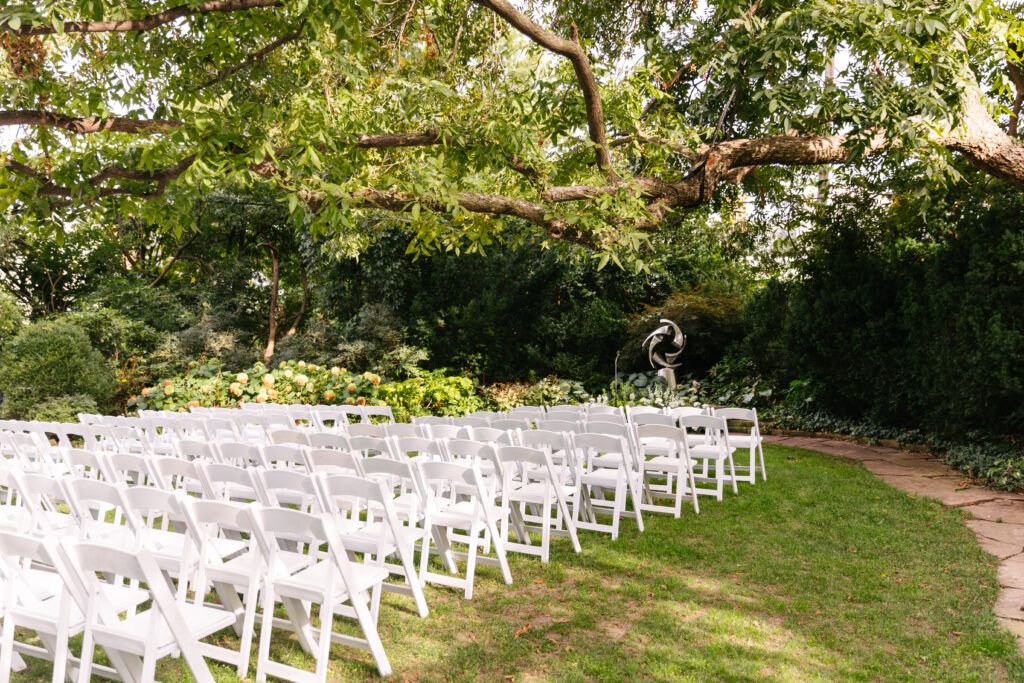
Simpson House is one of my favorite venues for so many reasons. It’s tucked right in the heart of Kansas City, yet it feels like a hidden gem. The historic stone exterior, lush gardens, and stately architecture make it a dream backdrop for portraits. On this warm August afternoon, the light filtered perfectly through the trees, wrapping everything in a golden glow.
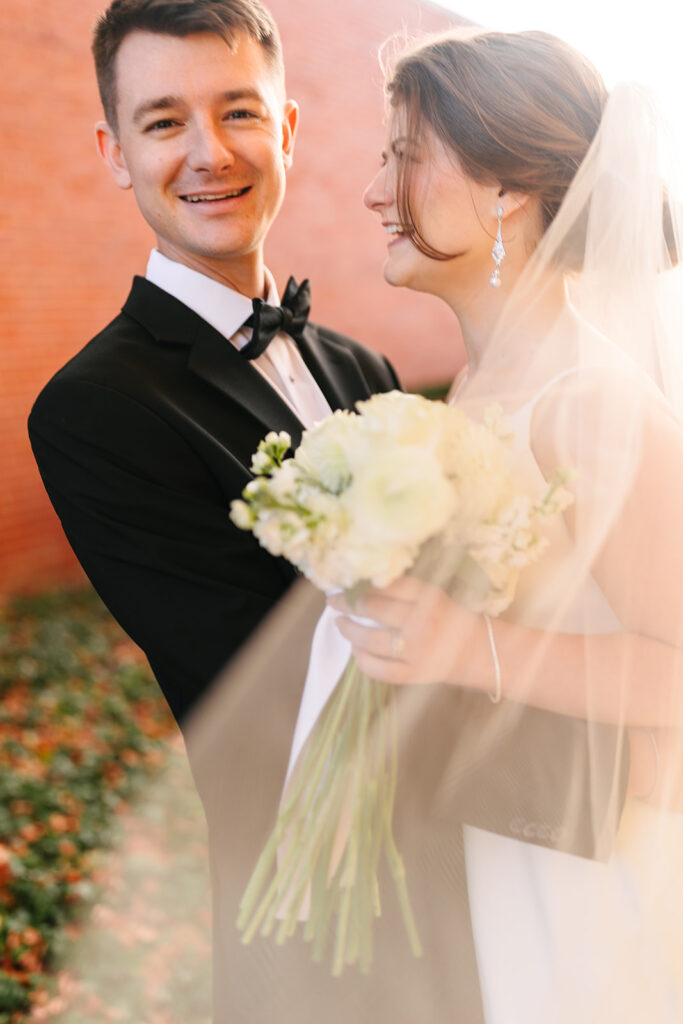
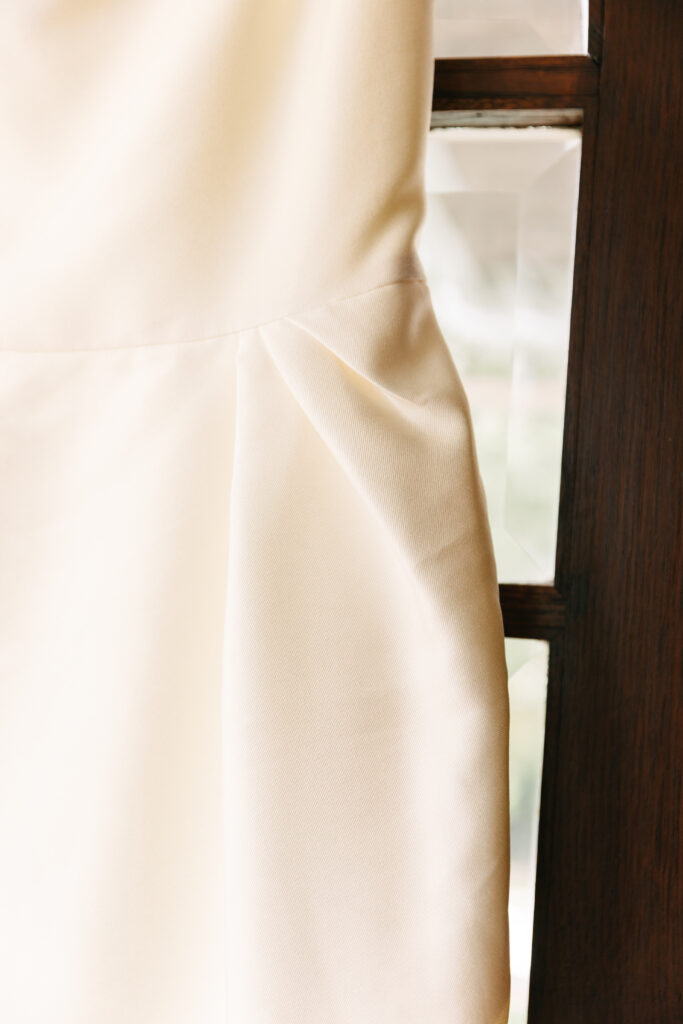
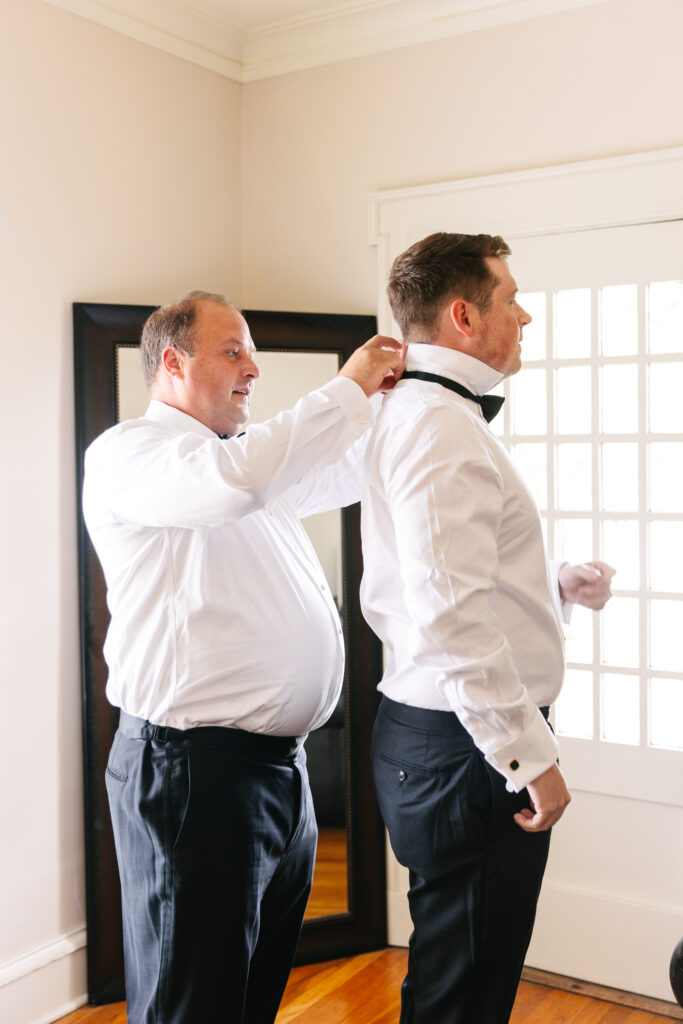
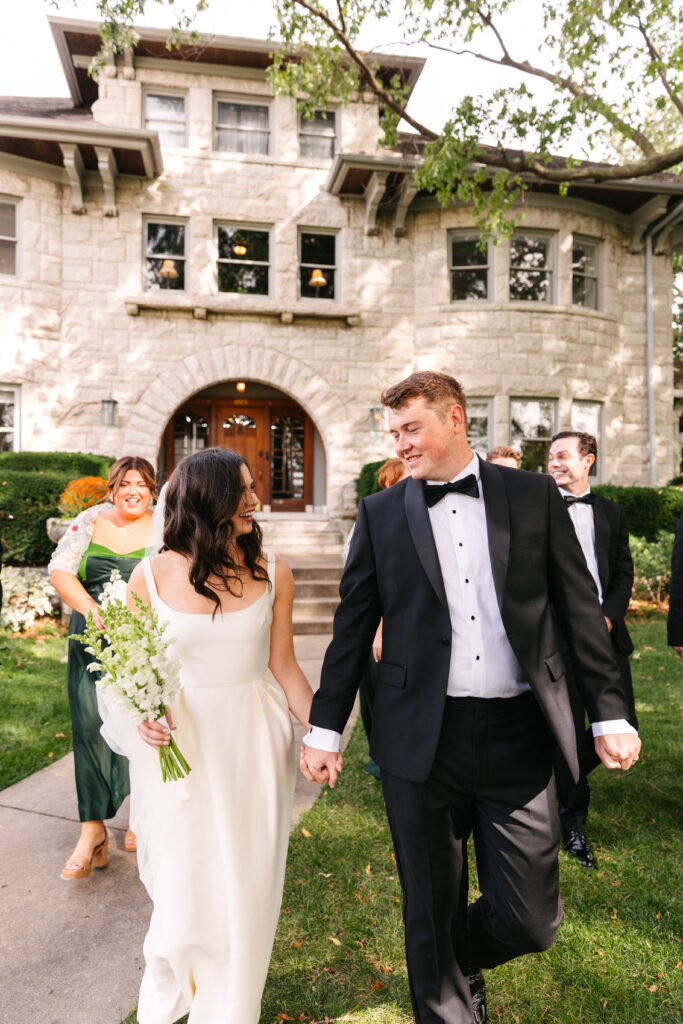
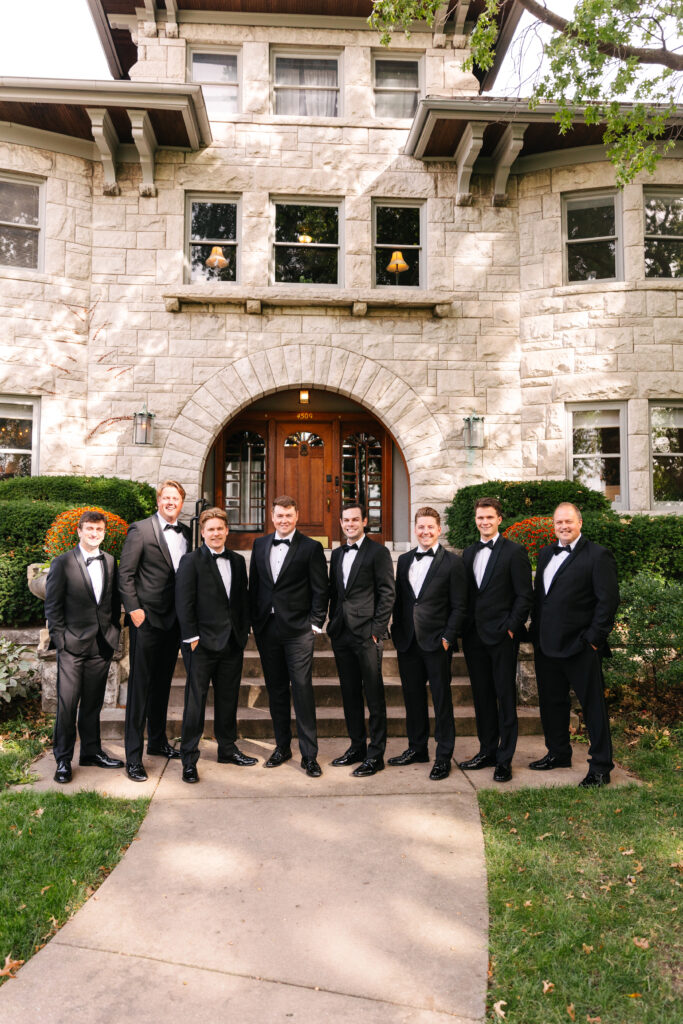
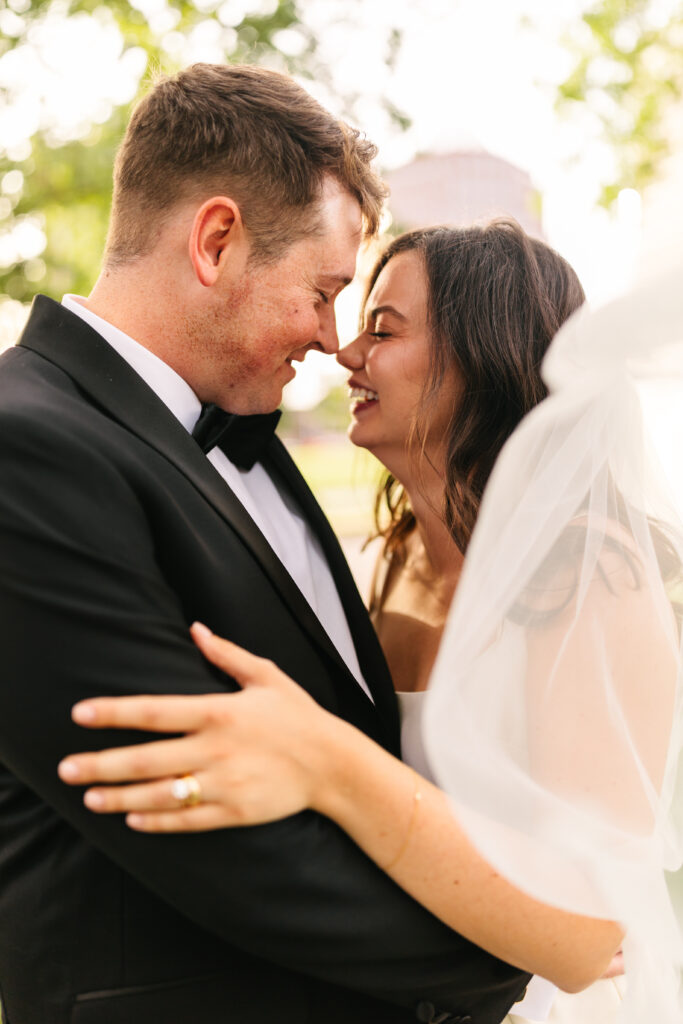
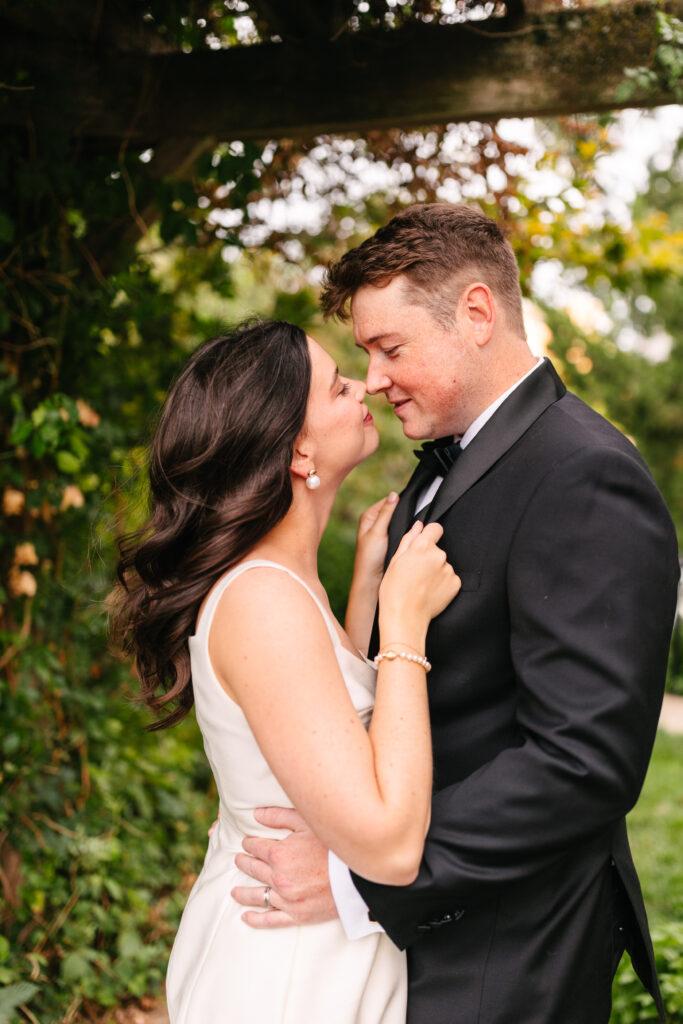
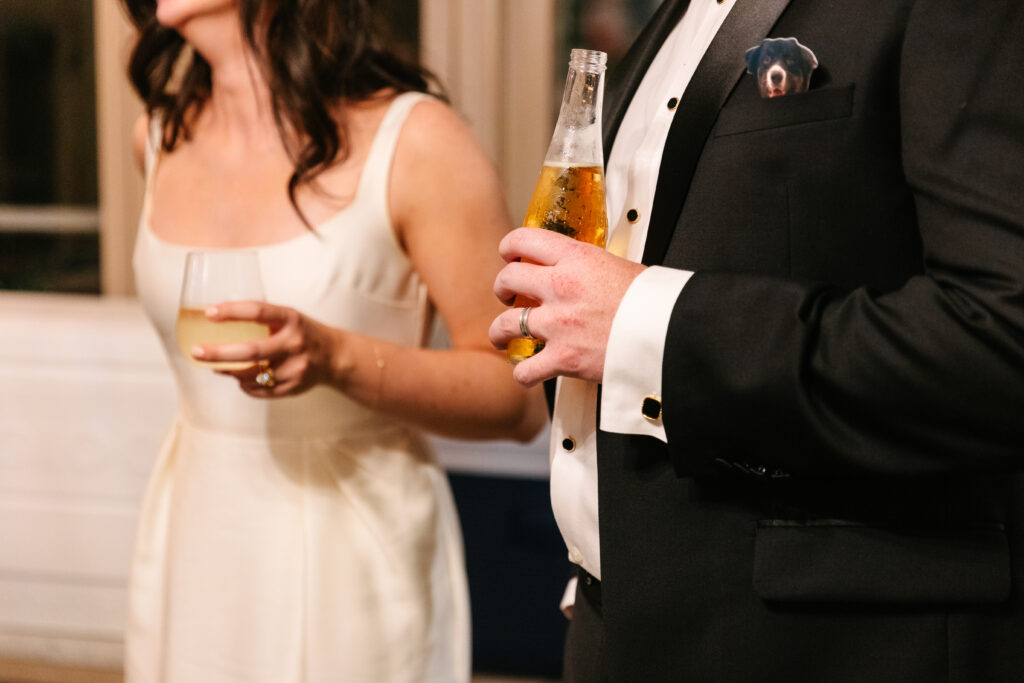
Claire looked radiant in her sleek, modern gown—simple and elegant, with just the right touch of timeless beauty. Patrick was equally dashing in a classic black tux, and the two of them together? Absolute perfection.
An Effortless Kind of Love
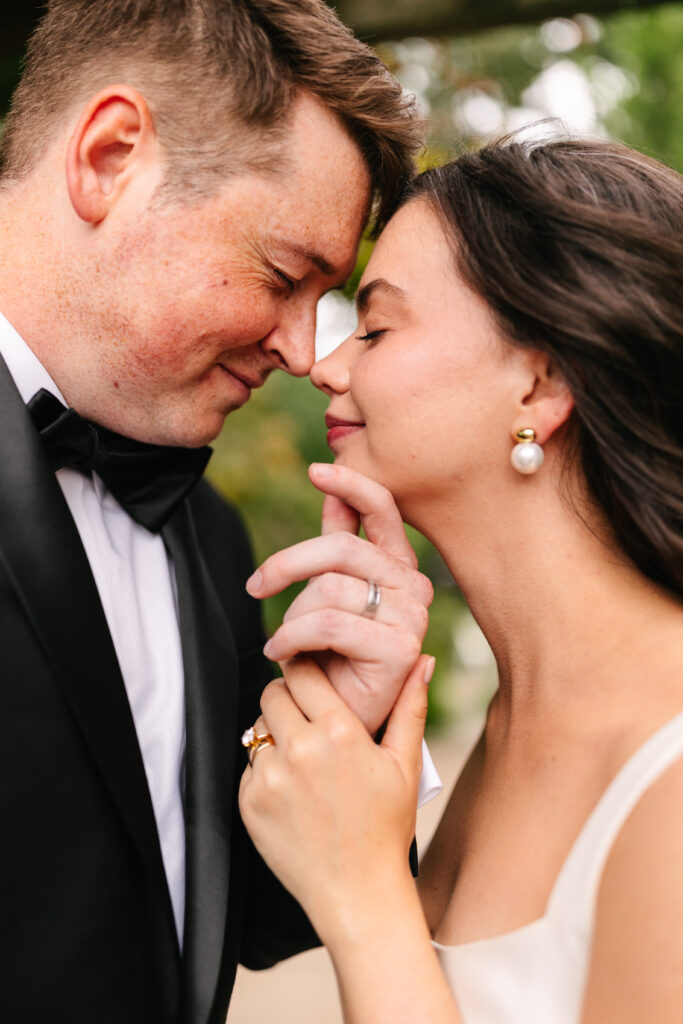
What I loved most about this wedding wasn’t just how beautiful it was—it was how genuine it felt. Claire and Patrick have such an easy way with each other. Every laugh, every glance, every quiet moment between them spoke volumes about their connection.
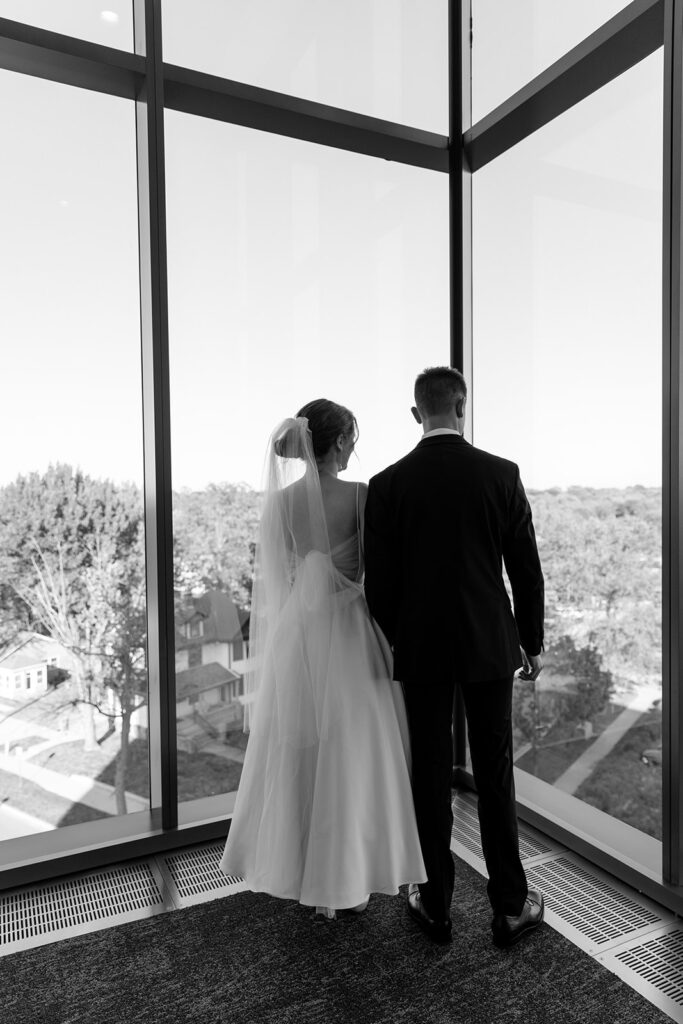
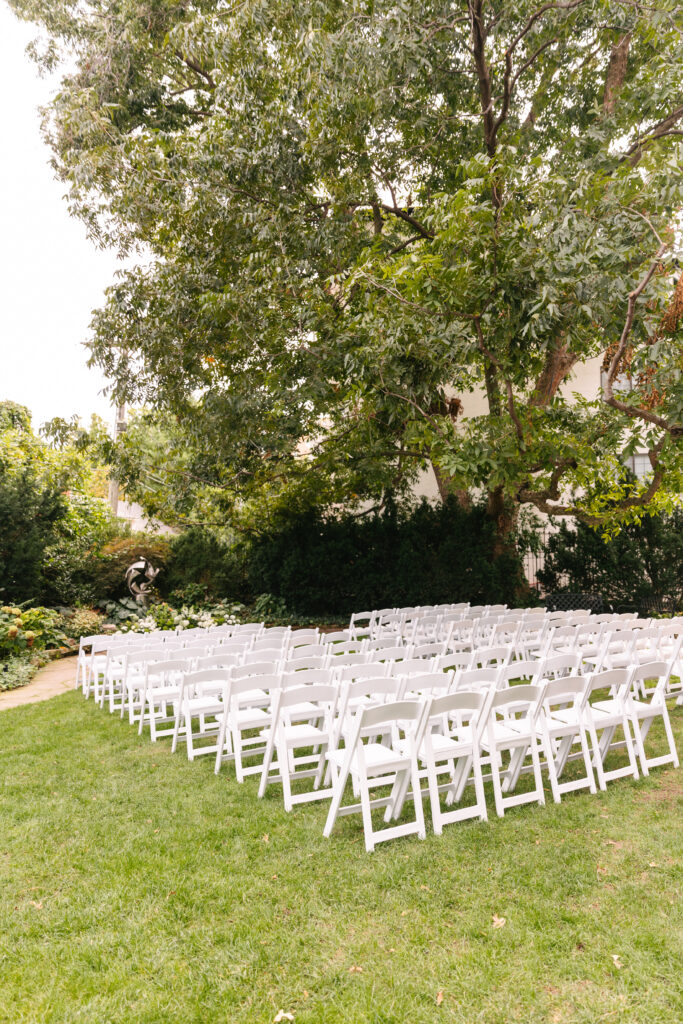
They shared their vows surrounded by close family and friends, filling the space with love and joyful energy. The ceremony flowed seamlessly into a relaxed celebration, with heartfelt toasts, good music, and an atmosphere that felt like a perfect reflection of who they are—graceful, kind, and full of life.
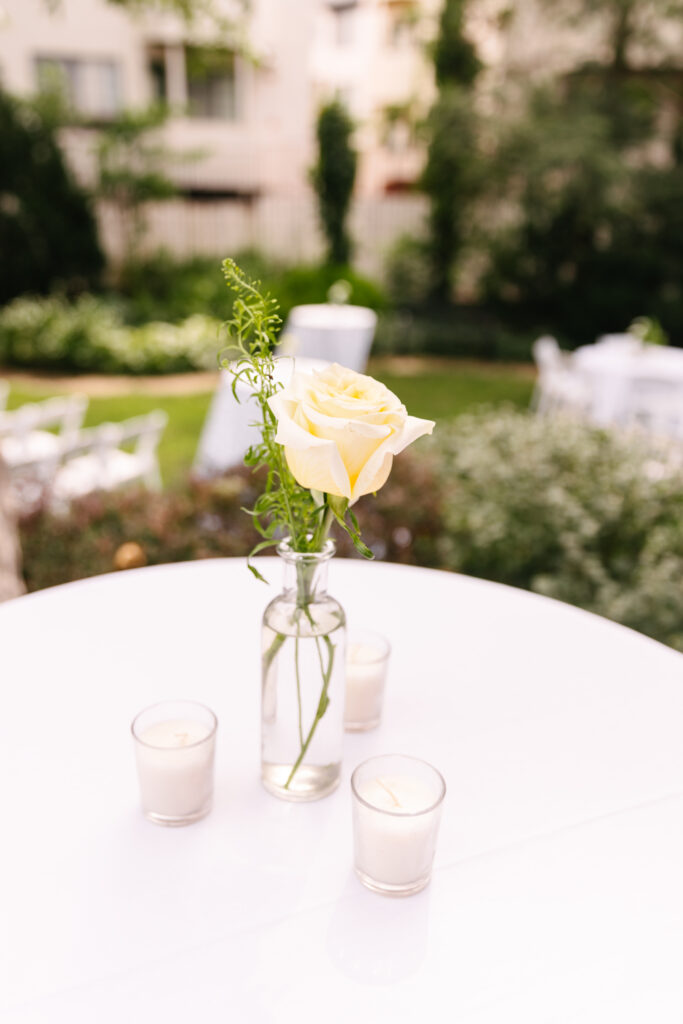
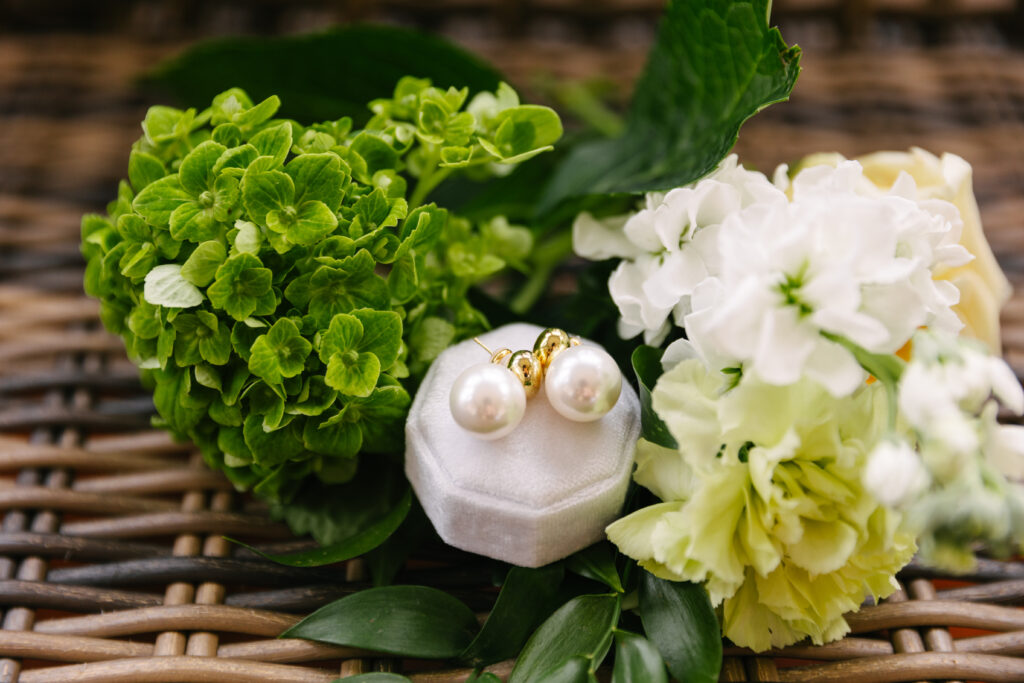
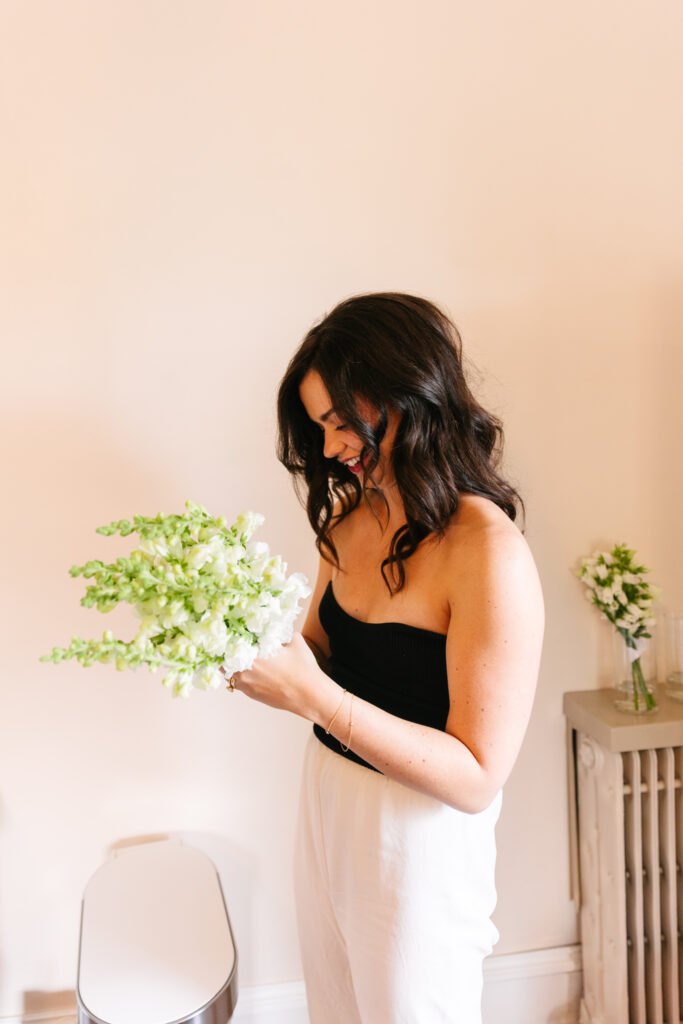
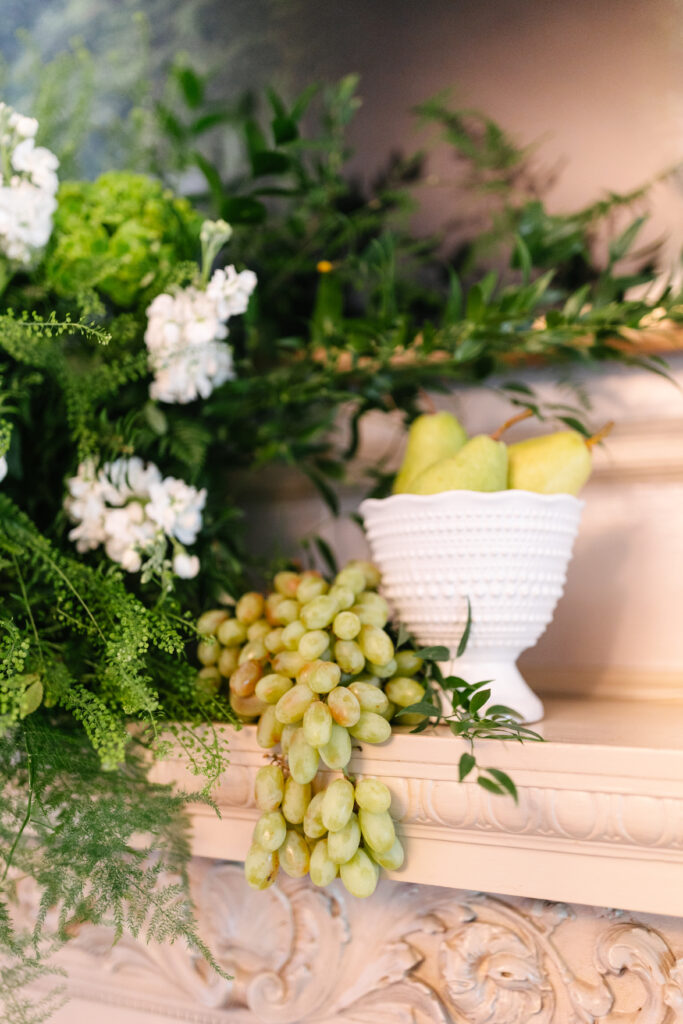
Late Summer Details That Stole the Show
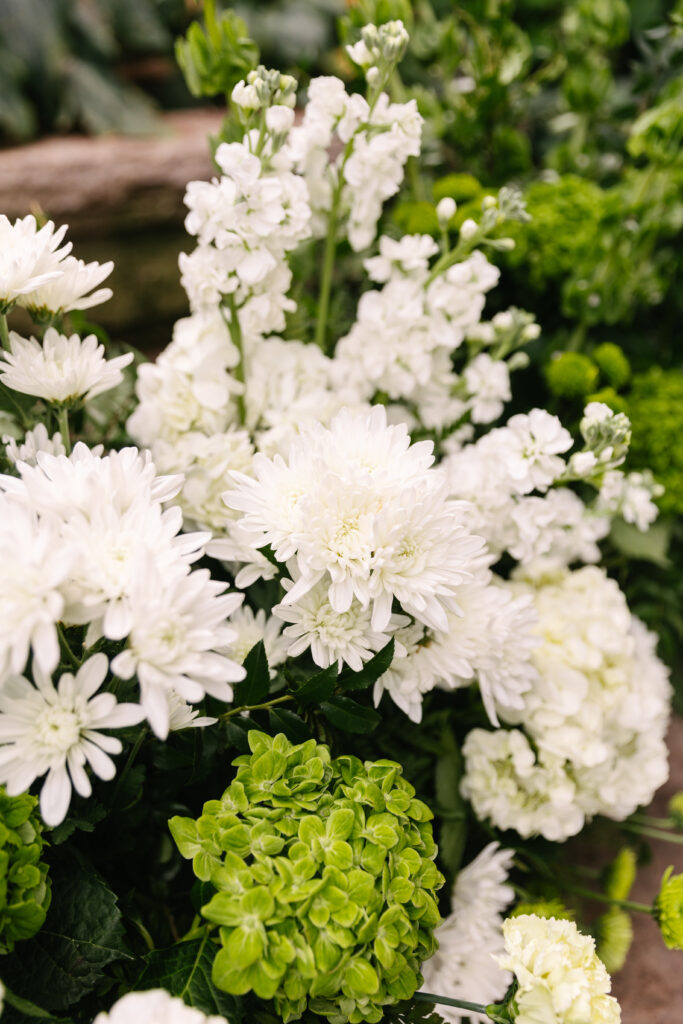
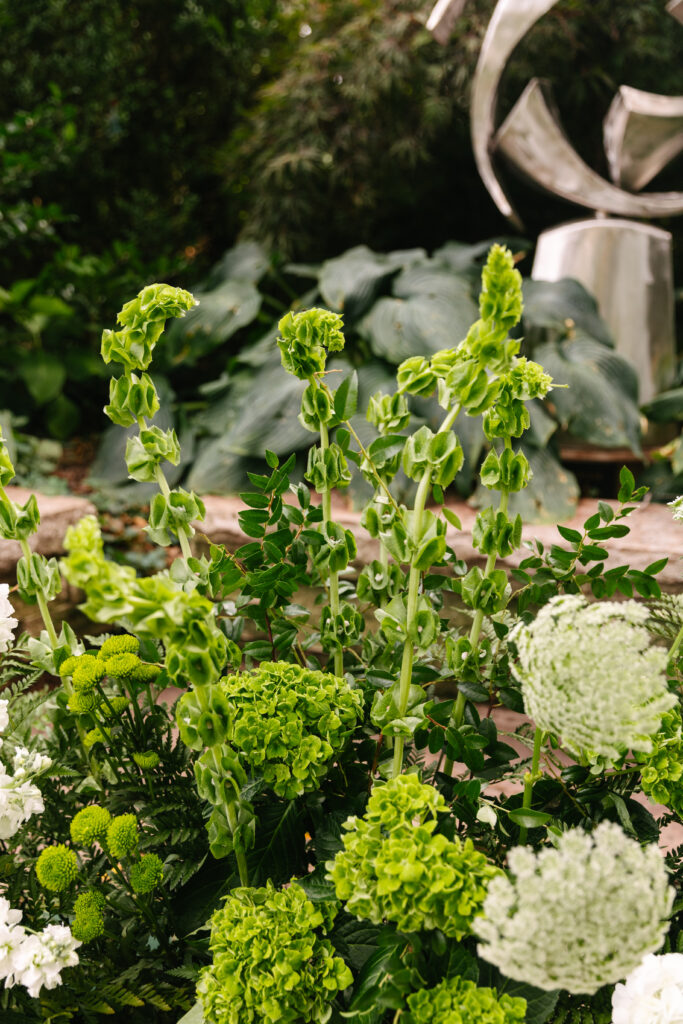
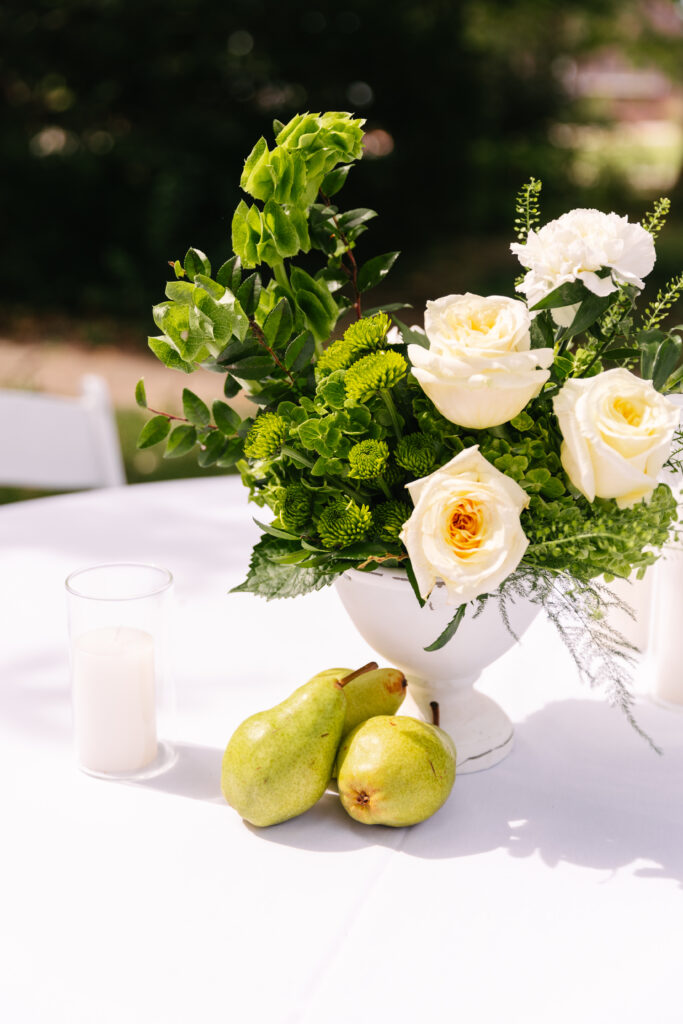
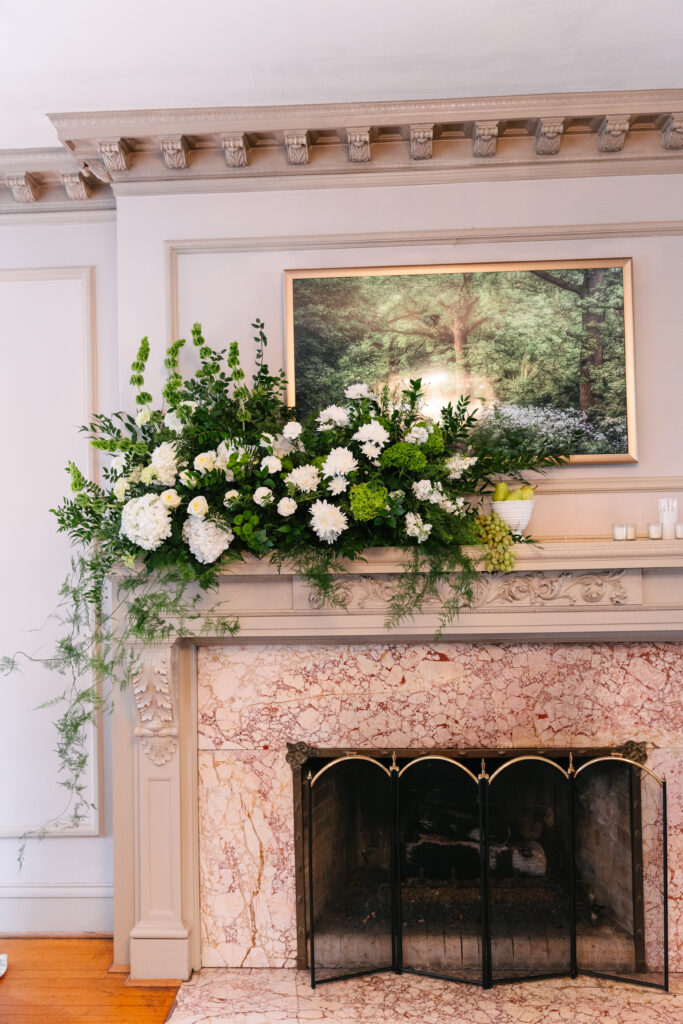
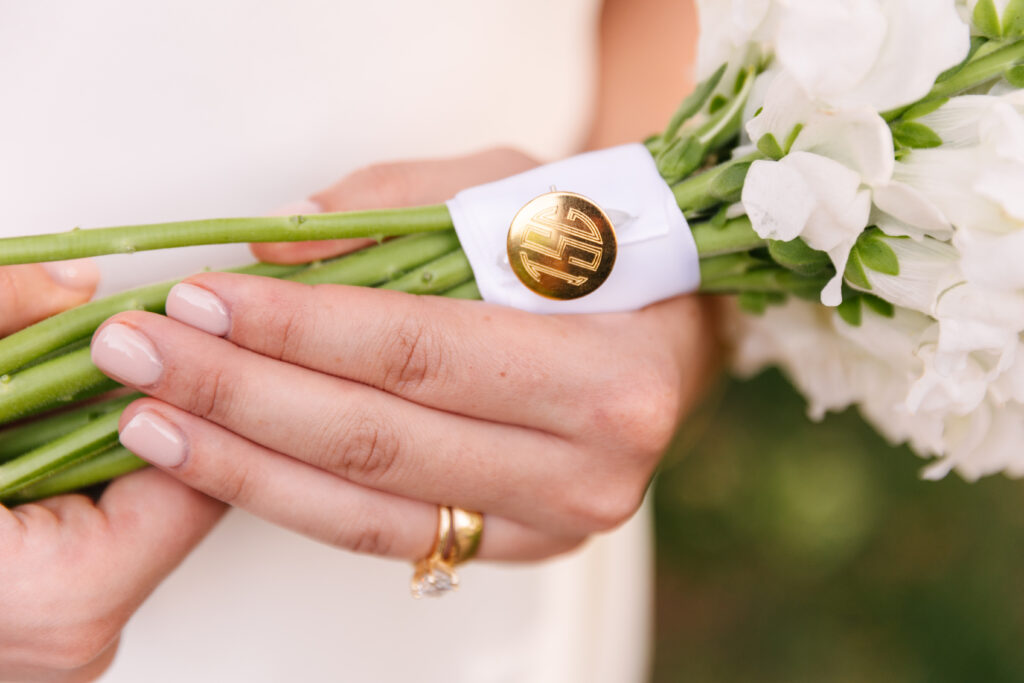
Every detail of this day felt intentionally simple, yet so refined. The white florals, soft greenery, and understated decor let the beauty of the venue shine. The pops of color from the seasonal blooms outside added just the right touch of warmth to the palette.
As the sun began to set, we snuck away for a few golden-hour portraits around the grounds. Those quiet minutes were some of my favorites—just Claire, Patrick, and the glow of the fading summer light.
A Day to Remember
Claire and Patrick’s Simpson House wedding was everything a summer celebration should be: elegant, heartfelt, and full of joy. It was an honor to document such a beautiful day for such an incredible couple.
If you’re dreaming of a wedding that blends historic charm with timeless romance, a Simpson House wedding in Kansas City might be perfect—and Claire and Patrick’s day was a perfect reminder of why.


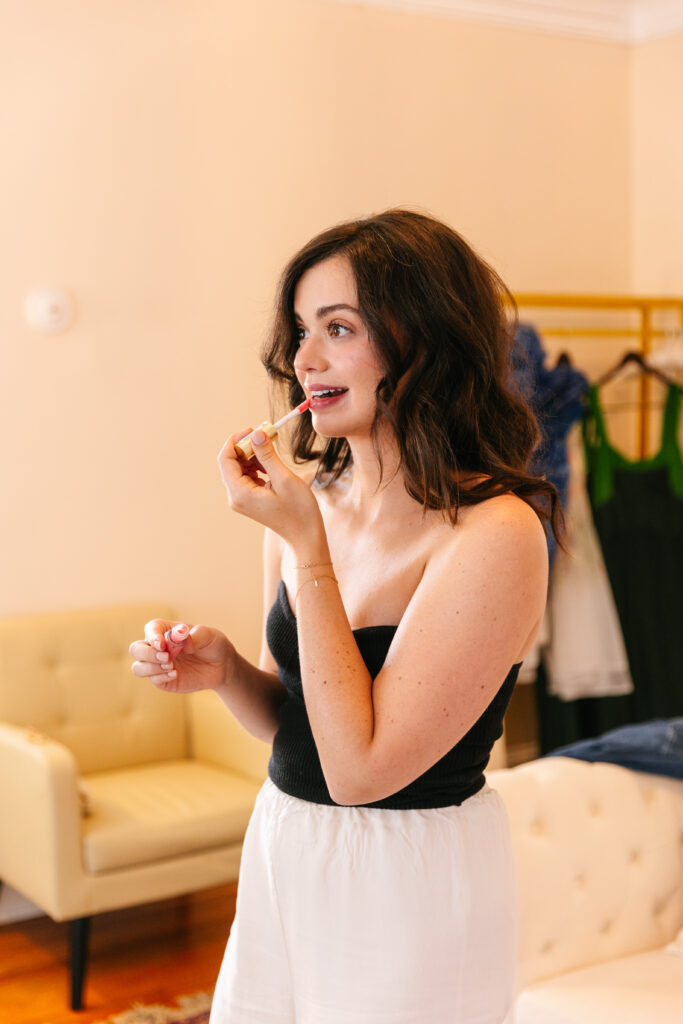

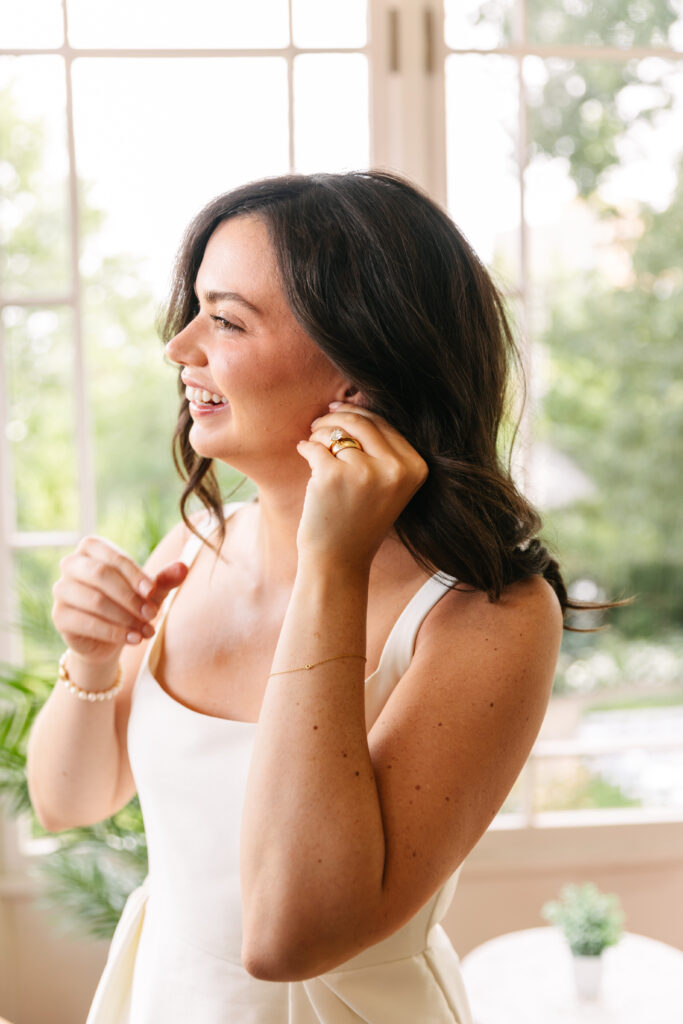


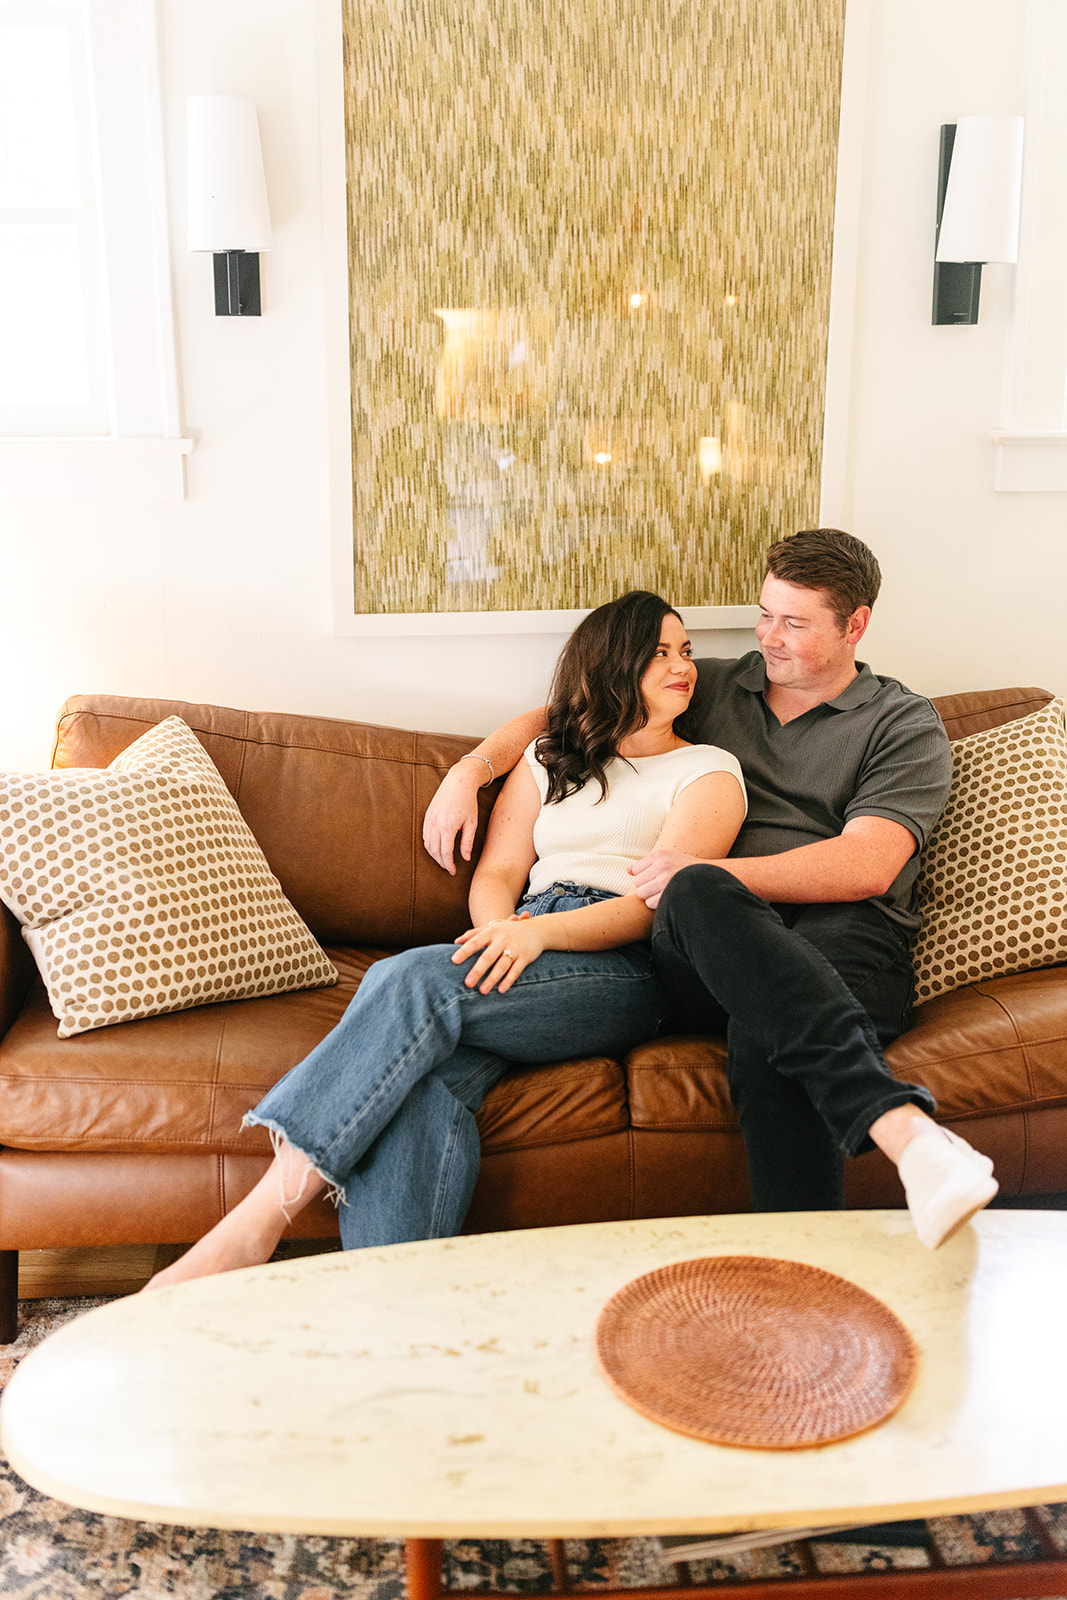
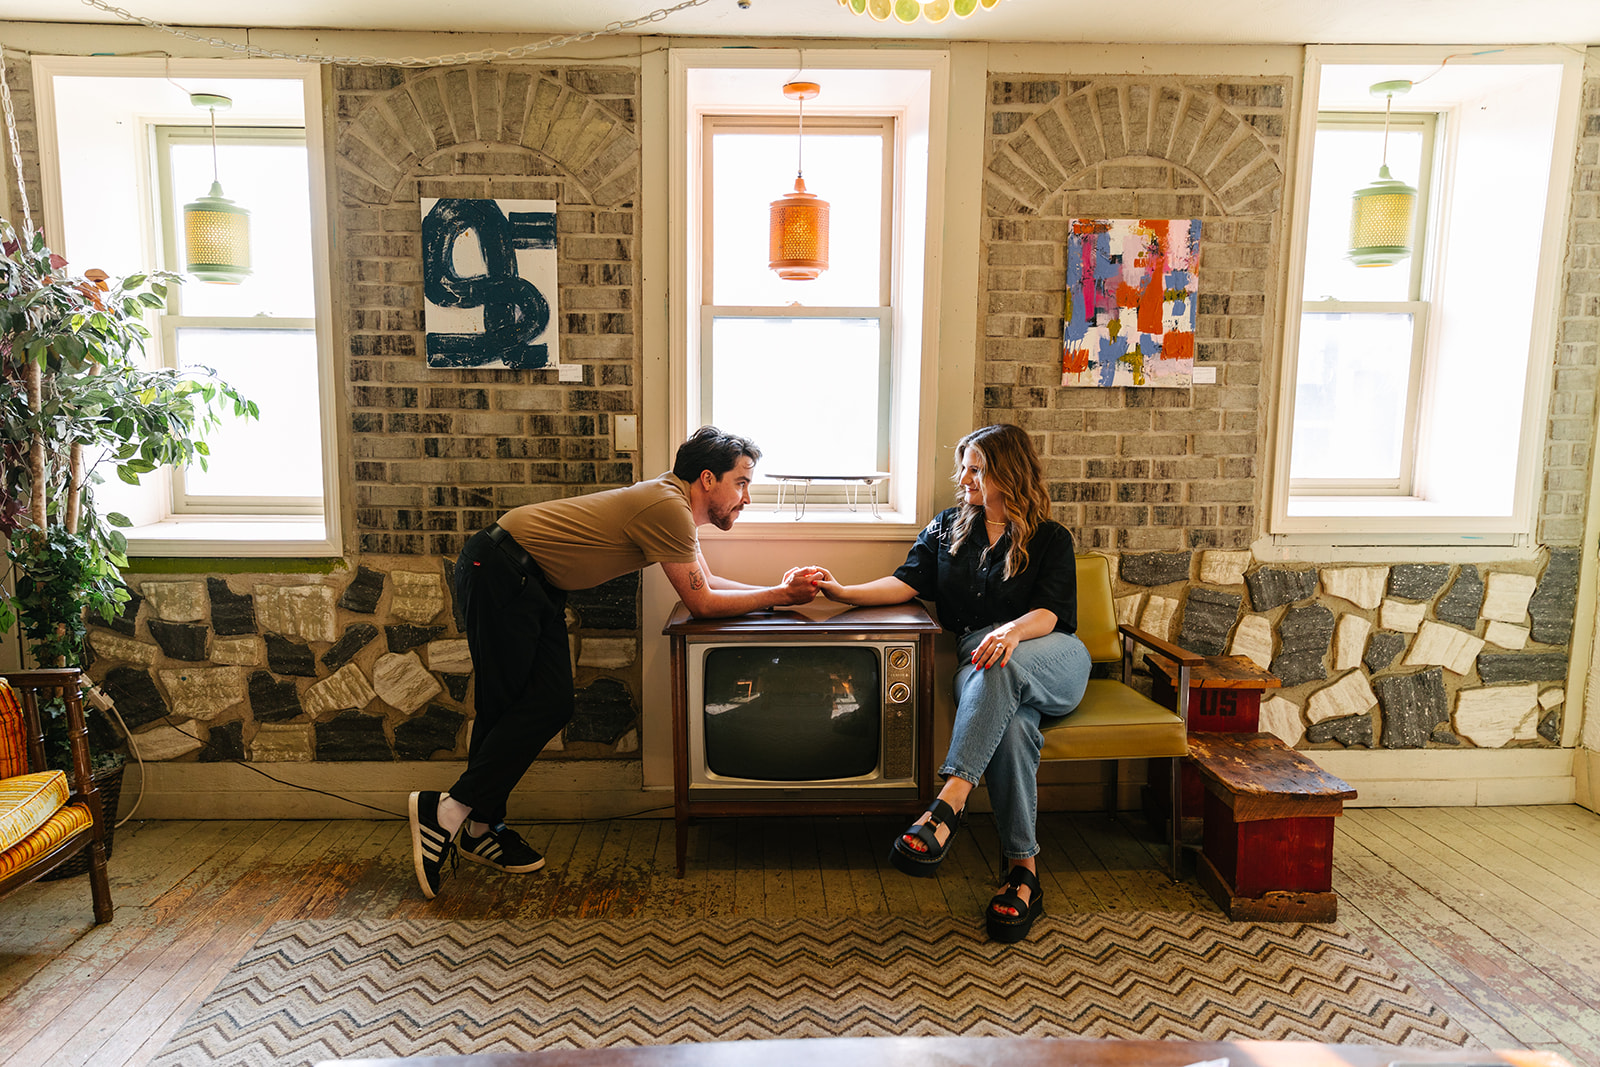
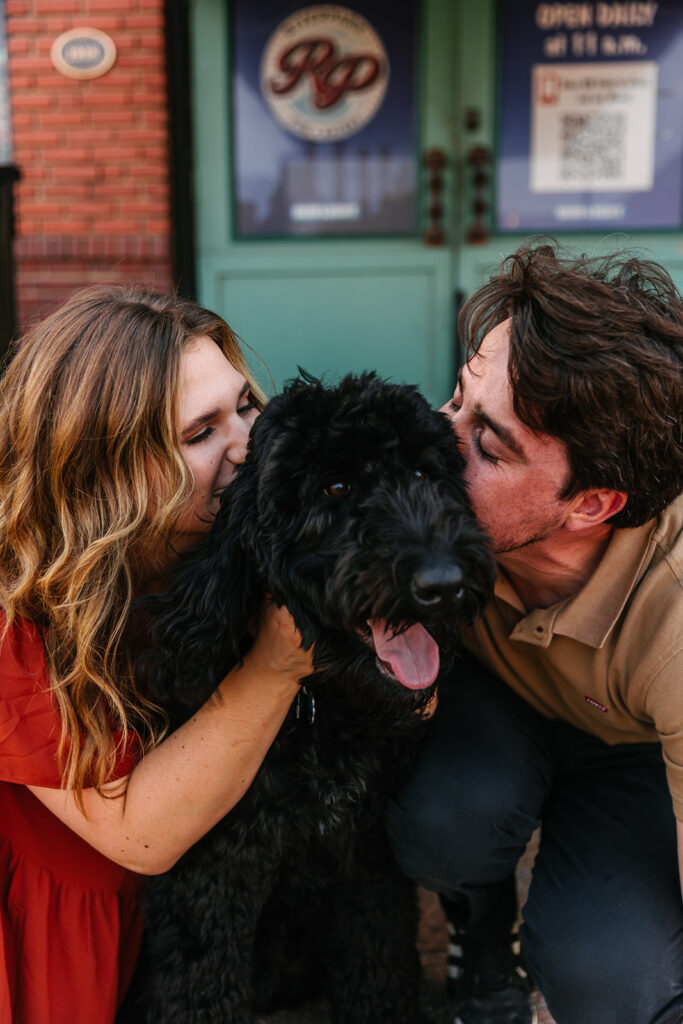
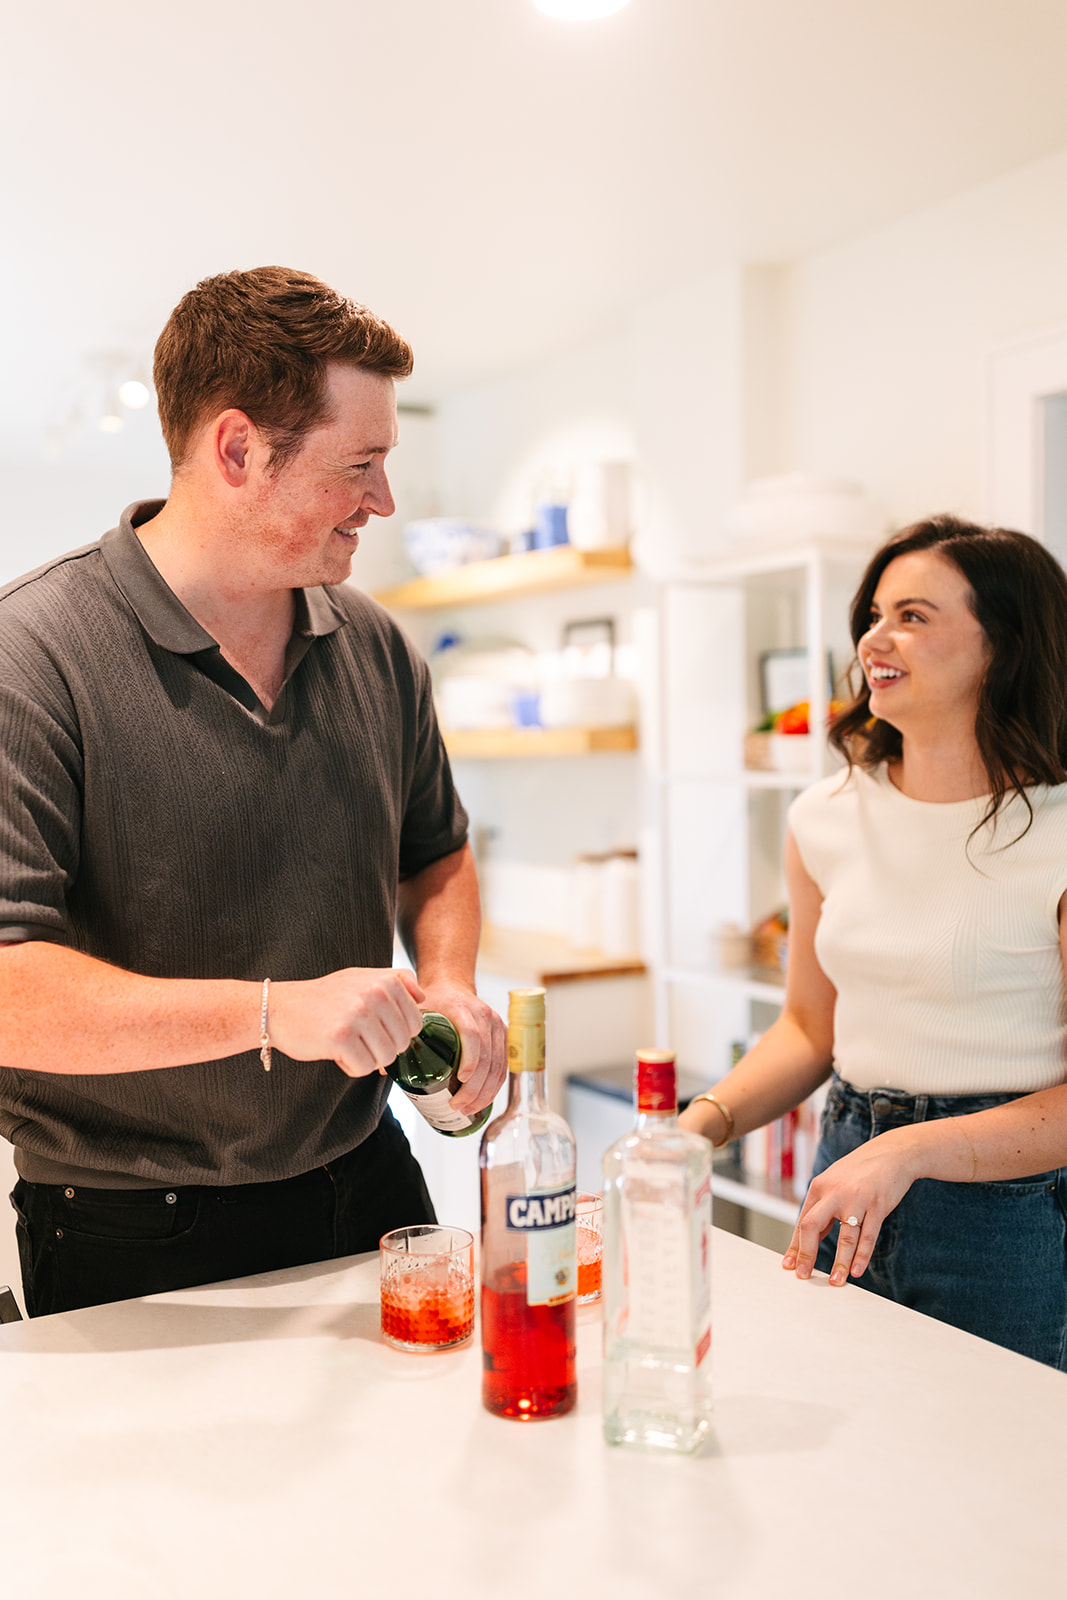
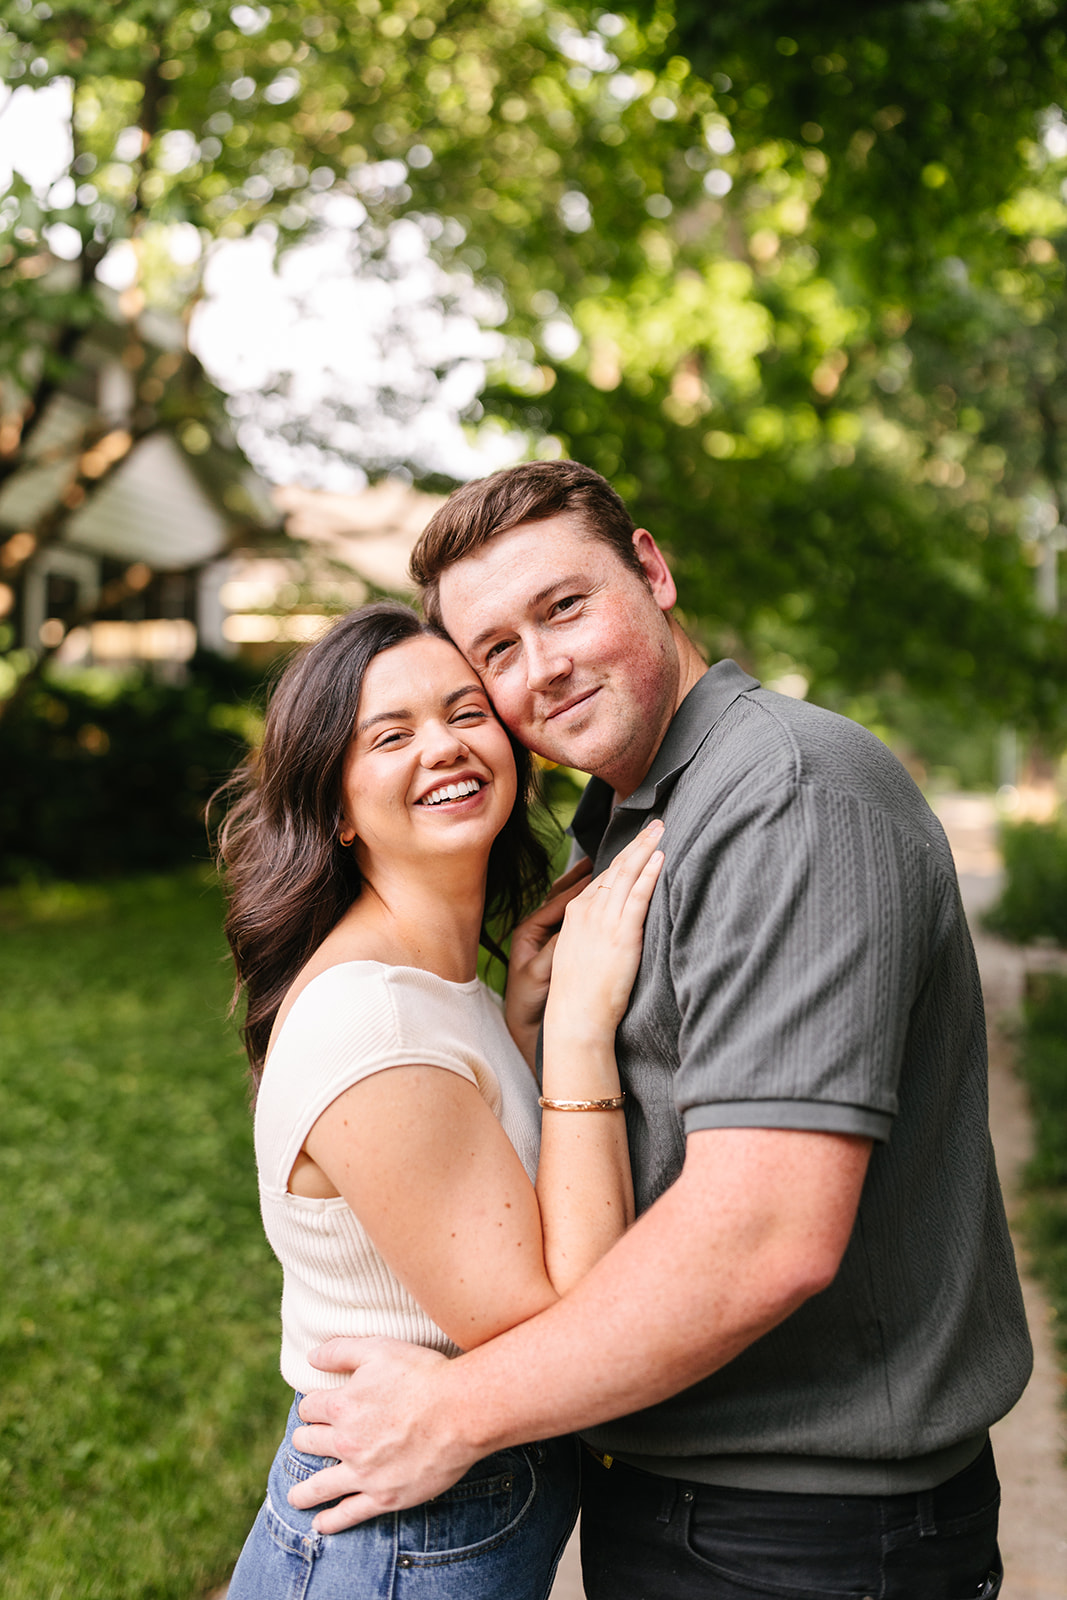
There’s something truly special about photographing couples in their own space. The comfort, the laughter, the little details that make their home feel like them — it all comes together so naturally. Claire and Patrick’s in-home engagement session in Kansas City was one of those sessions that felt effortless from start to finish.
A Home That Feels Like Them
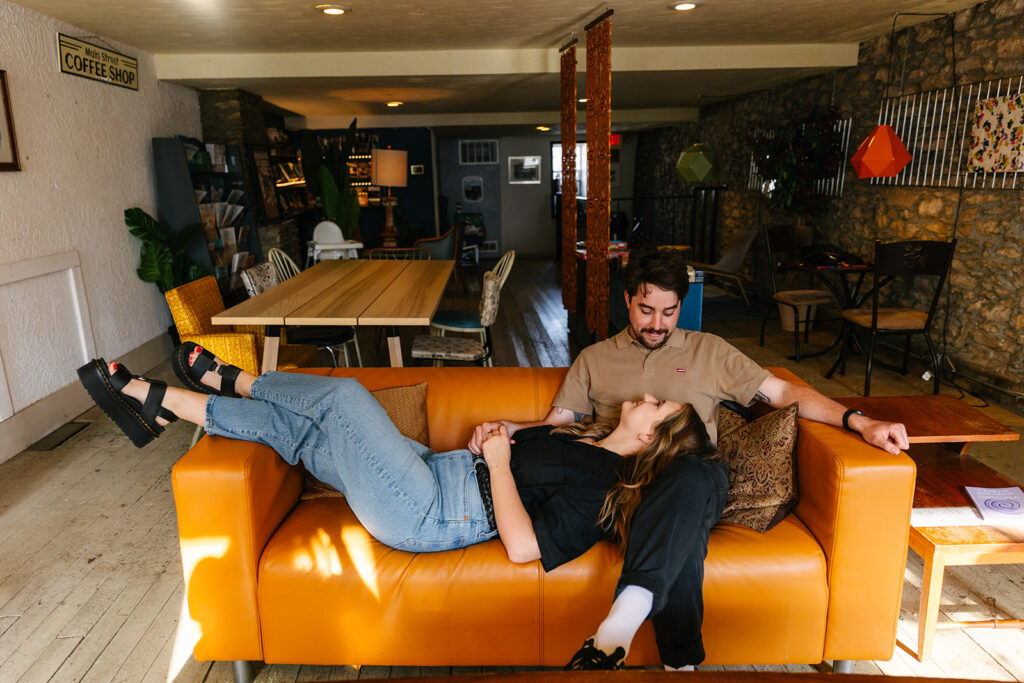
From the moment I walked in, I could tell this session was going to be something special. Claire and Patrick’s home perfectly reflects their style — modern, relaxed, and full of personality. Warm tones, soft light, and the coziest leather couch set the tone for a session that felt calm and inviting.
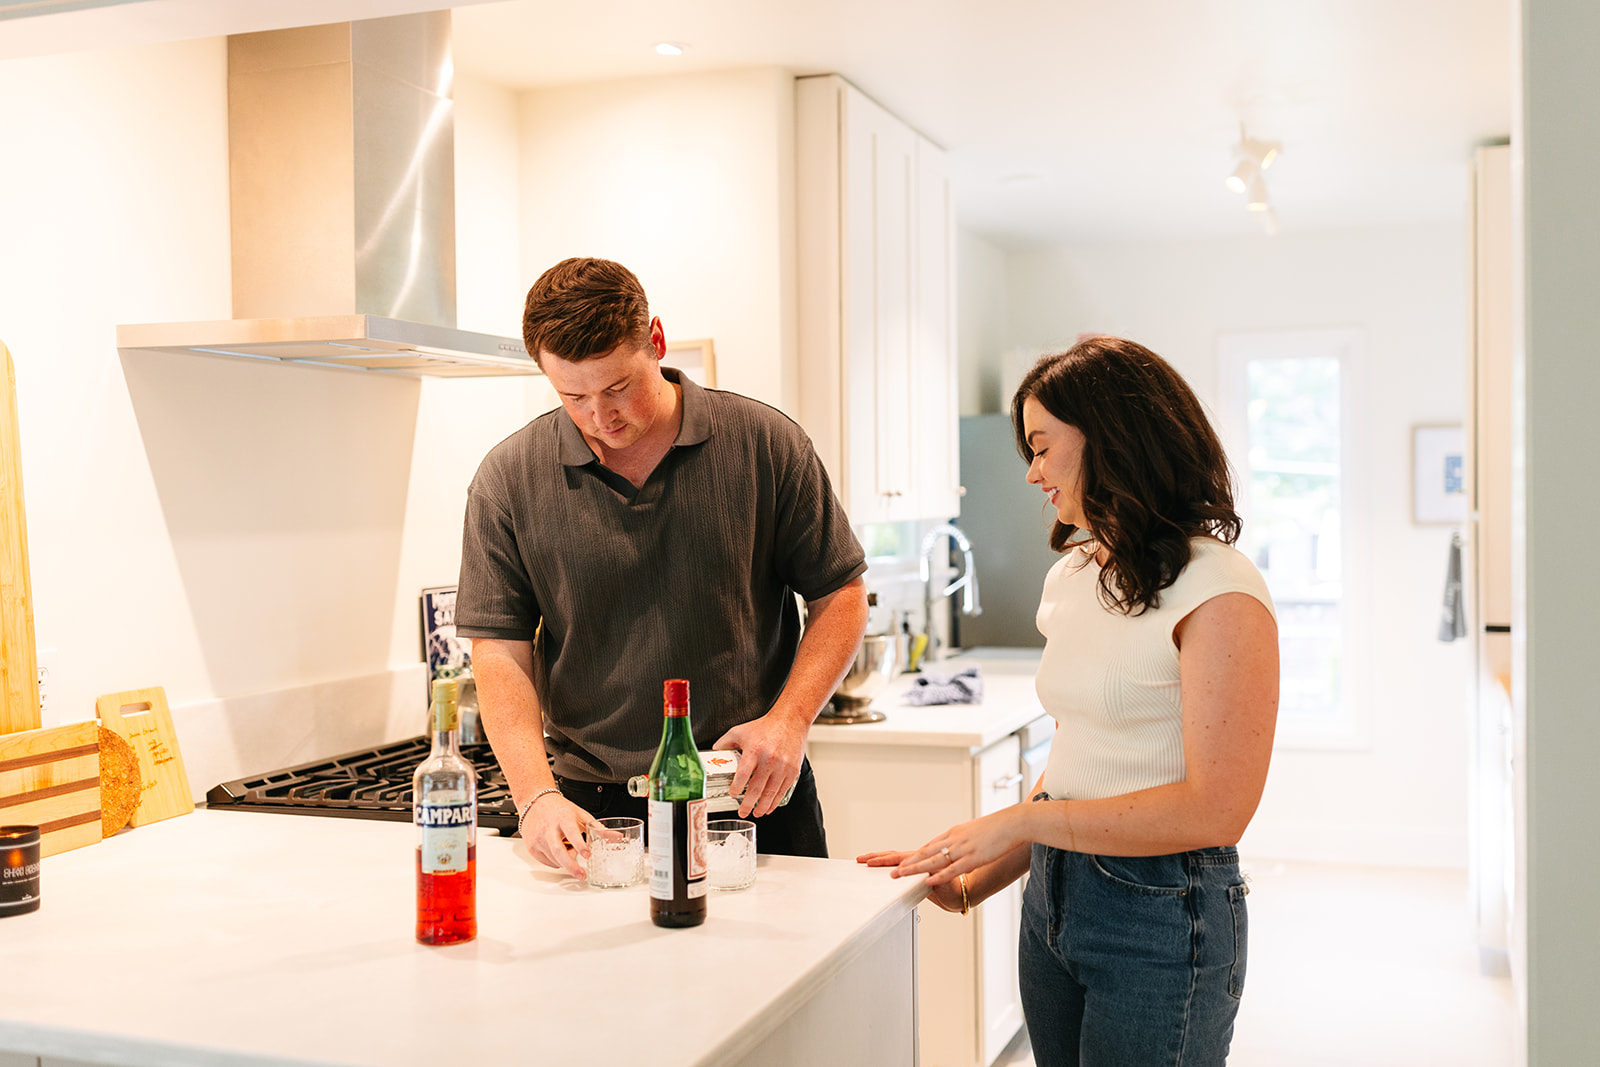
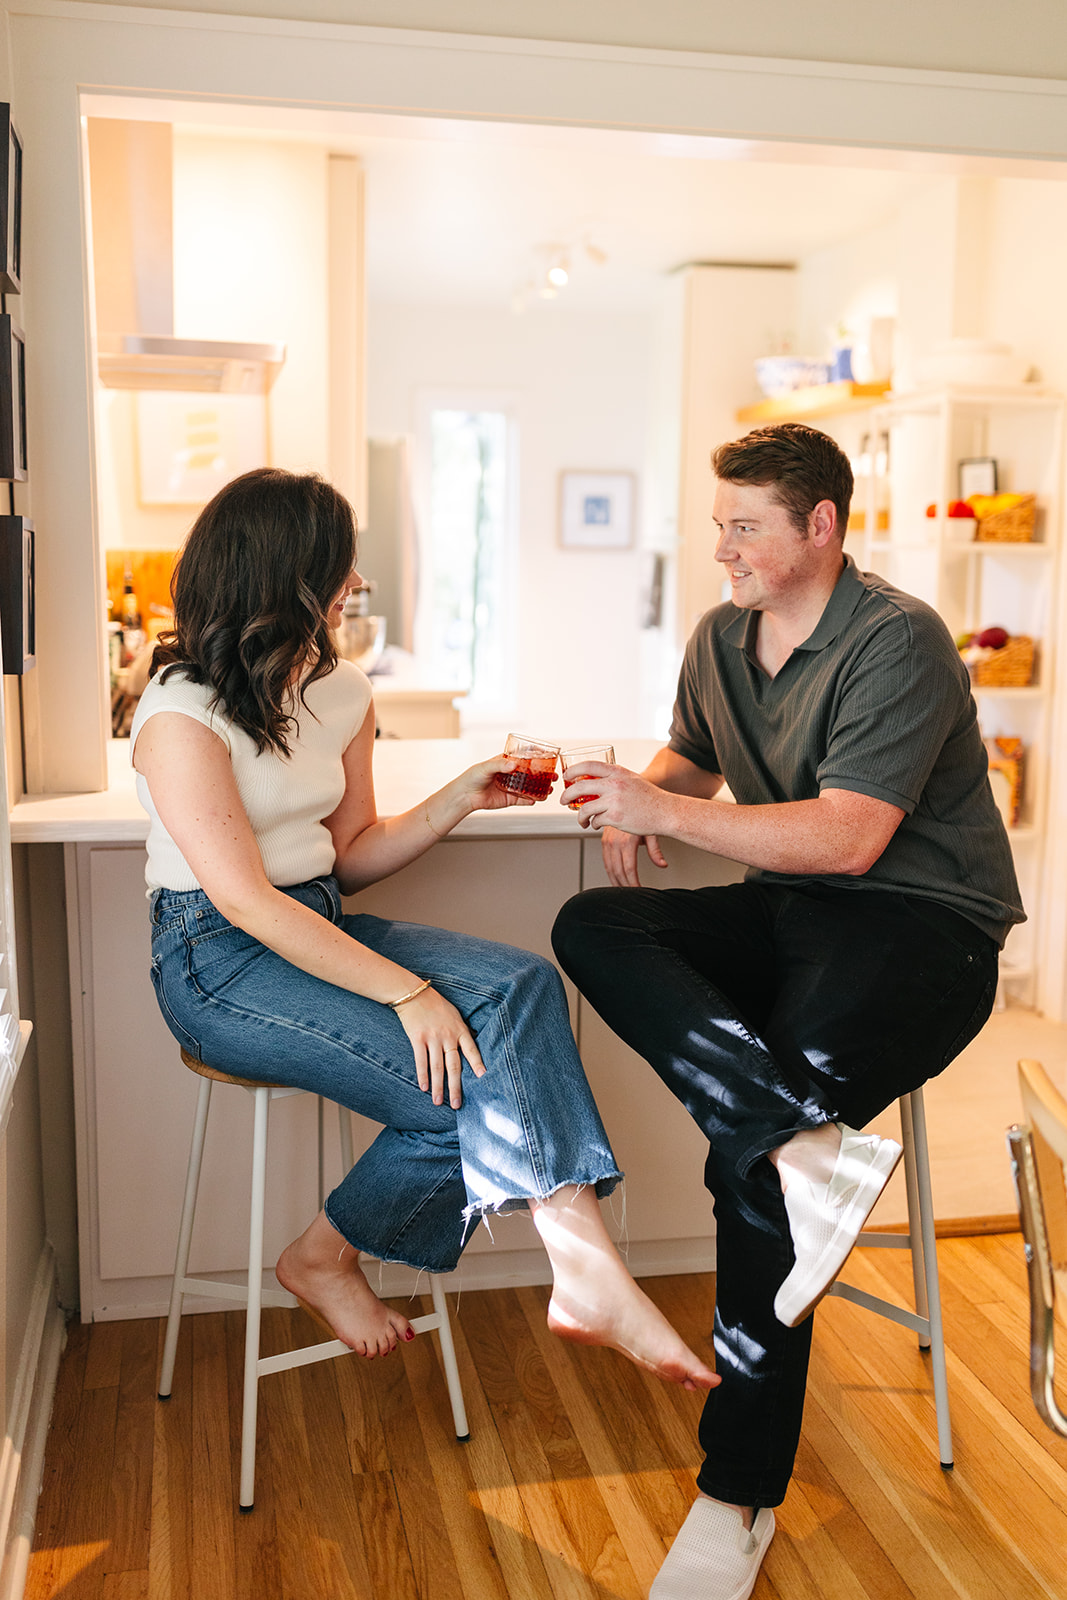
We started the afternoon inside, laughing and catching up while they made their favorite cocktails together. Watching them move around their kitchen felt so genuine — no posing, no pressure, just two people being themselves. The clinking of glasses, the sound of ice, and the way they looked at each other told the whole story.
Simple Moments, Beautiful Memories
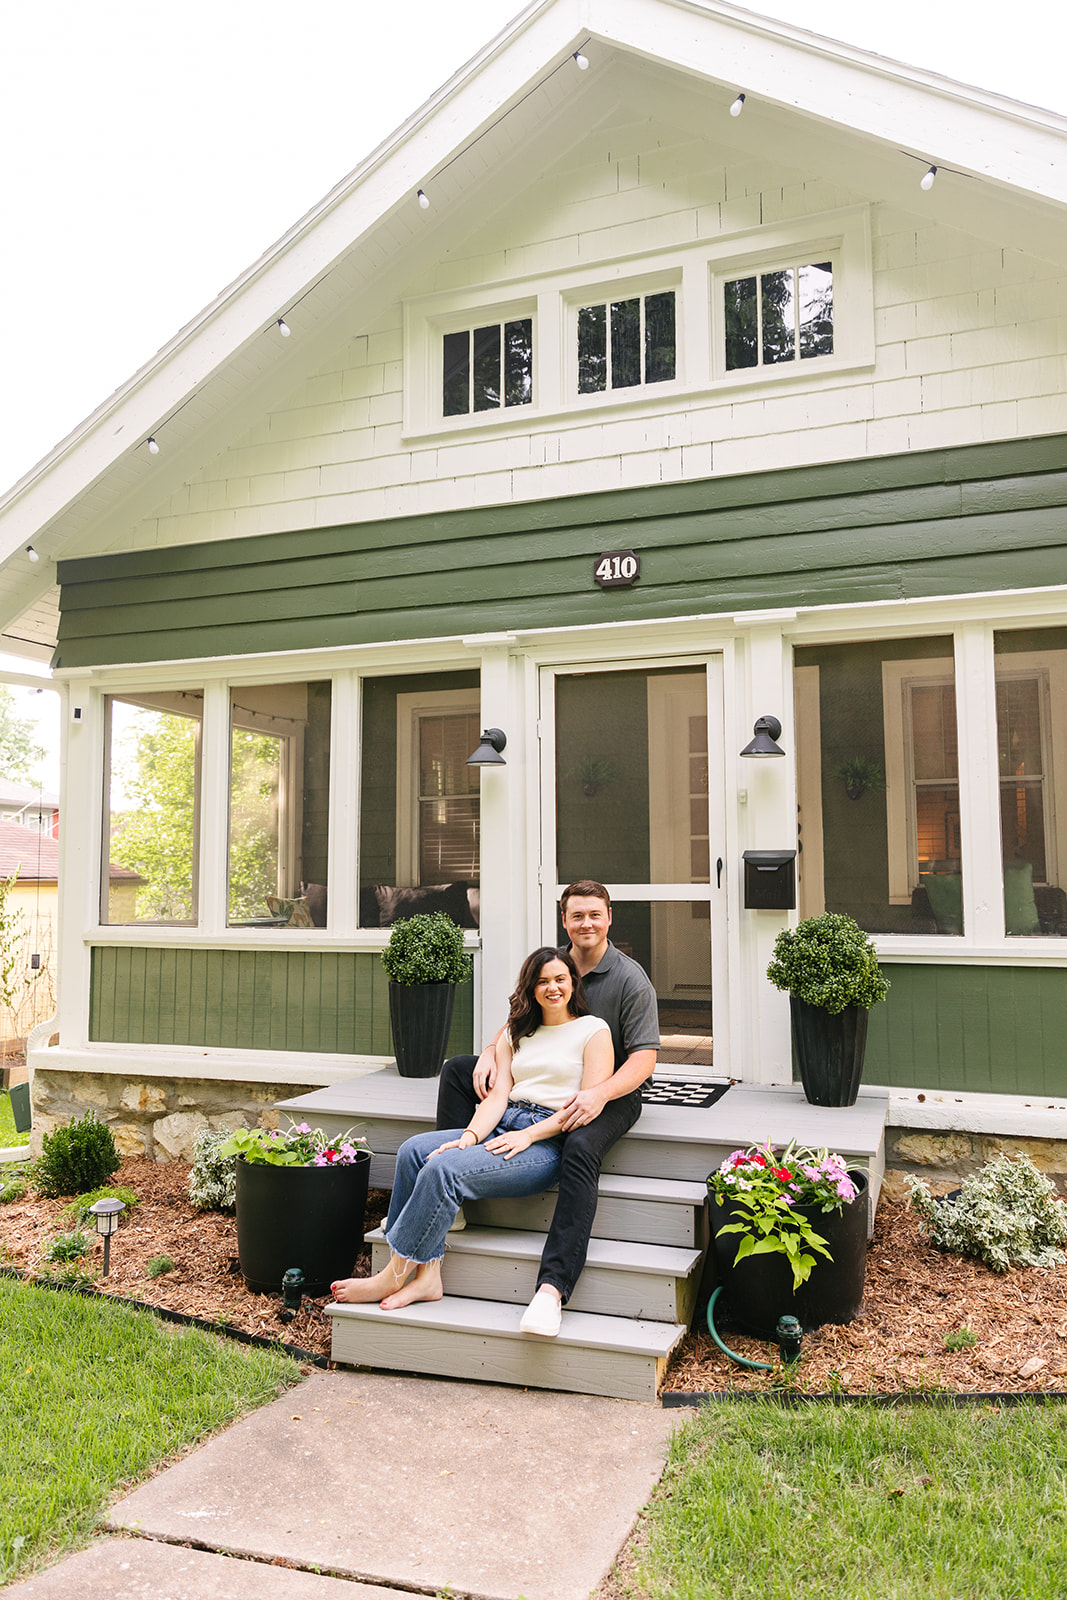
After a few sips and a lot of laughter, we moved out to the front porch just as the light started to turn golden. It was that perfect late-day glow that makes everything feel a little softer and more romantic.
They danced barefoot, leaned into each other, and soaked up the quiet moments together. It was easy, unhurried, and so full of warmth — the kind of session that reminds me why I love documenting love stories like theirs.
Why I Love In-Home Sessions
In-home engagement sessions like this are some of my absolute favorites. They let couples relax, be themselves, and create memories that feel deeply personal. Every photo becomes a time capsule of who they are in this exact season of life — in their favorite place, with their favorite person.
Claire and Patrick’s cozy in-home engagement session was everything I love about storytelling through photographs — intimate, authentic, and full of joy.
If you’re dreaming of engagement photographs that feel true to you, consider an in-home engagement session in Kansas City. Whether it’s baking in your kitchen, sipping cocktails on your porch, or dancing in your living room, your love deserves to be captured right where it lives.


One of my favorite things about being a photographer is documenting every chapter of your story. Whether it’s a surprise proposal, a wedding day, or a cozy in-home family session, each moment is a new piece of your journey — and being invited to capture them all is such a gift.
Watching Love Grow Through the Years
There’s something so special about seeing a couple’s story unfold over time. Maybe I first met you during your engagement session, when everything was new and exciting. Then came your wedding day — full of laughter, emotion, and those little in-between moments that make your story yours.
And just when I think my heart couldn’t get fuller, you call me again — this time for maternity photographs, or maybe your first newborn session. Watching the same couple grow from newly engaged to proud parents (and then to a bustling family!) is such an incredible privilege.


The Joy of Documenting Every Chapter
Nothing brings me more joy than following a couple through each phase of life. When I get to photograph your engagement, wedding, maternity, and newborn sessions — and then your family portraits year after year — it feels like being part of something bigger than a single moment.
Your story becomes part of mine, too. I get to witness the laughter, the milestones, and the quiet moments in between. And the best part? You’ll have photographs that tell your full story — from “yes” to “I do” and beyond.

Why It Matters
Photographs freeze time in the best way. They remind you where you started, how far you’ve come, and all the love you’ve built along the way. Whether it’s your anniversary, your child’s first steps, or simply a family day at home, these memories deserve to be documented with care and joy.
So, if you’re ready to keep adding to your story, I’d love to help you capture every chapter — big or small. Because your love, your growth, and your laughter are worth remembering at every stage.


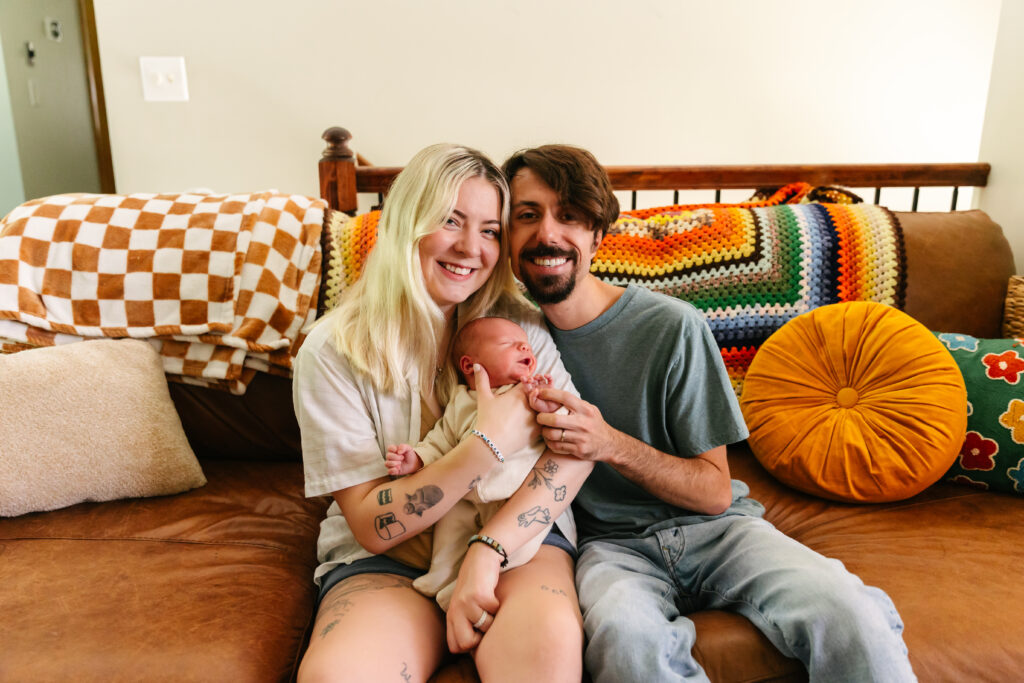
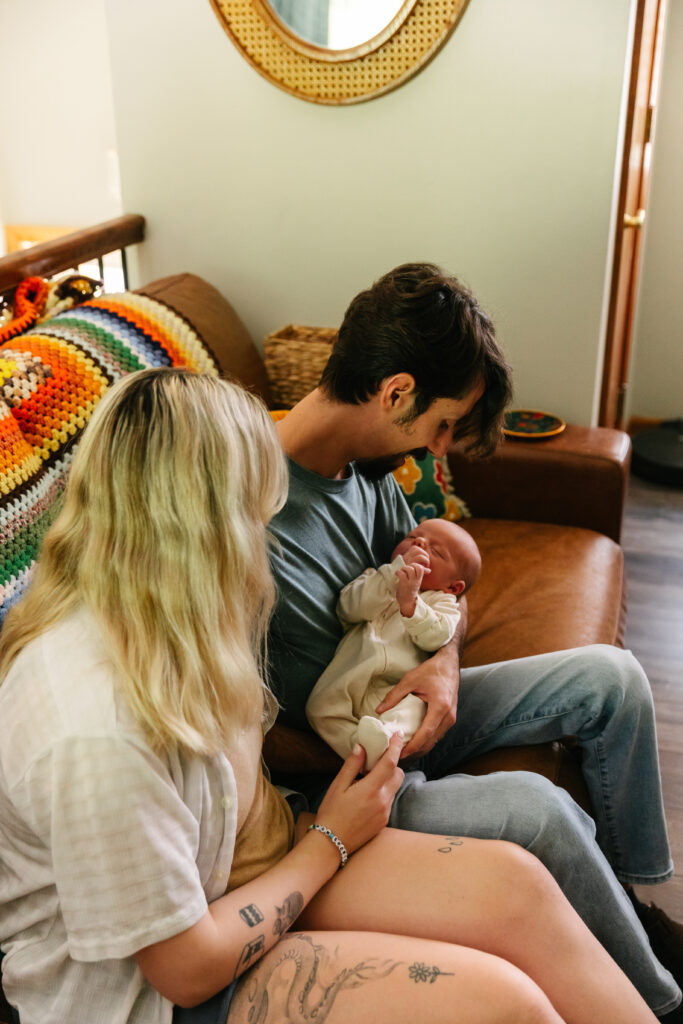
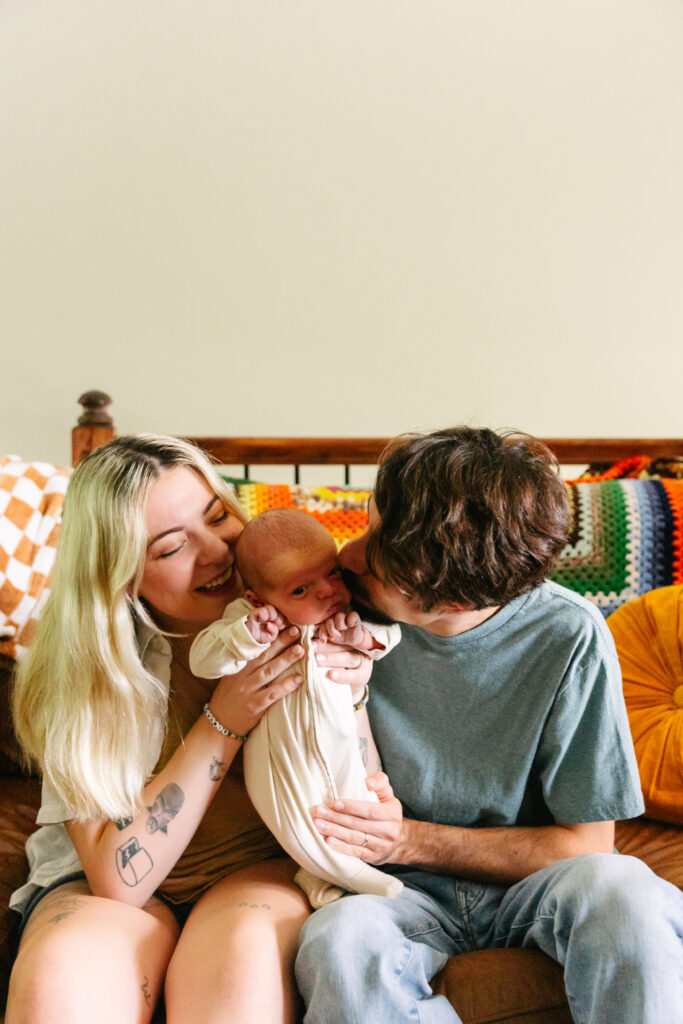
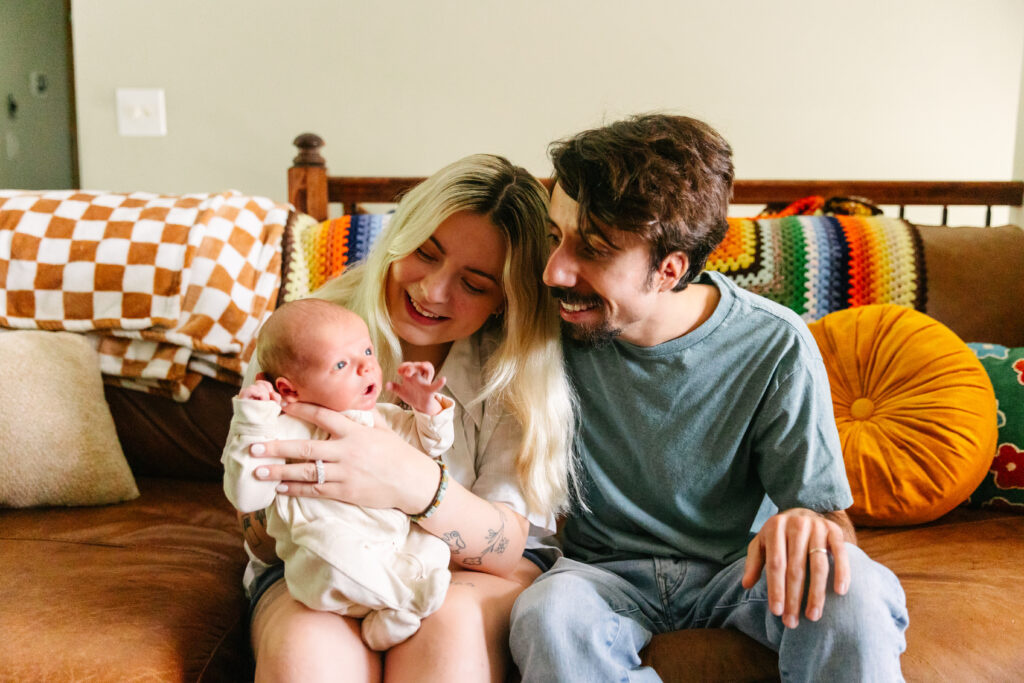
I can’t tell you how special this session was! I’ve photographed Mackenzie and Ian before — I even captured their wedding — so getting to meet baby Simon and see them as parents was the best kind of full-circle moment. Their in-home newborn session in Kansas City was cozy, colorful, and perfectly them.
A Home That Tells Their Story
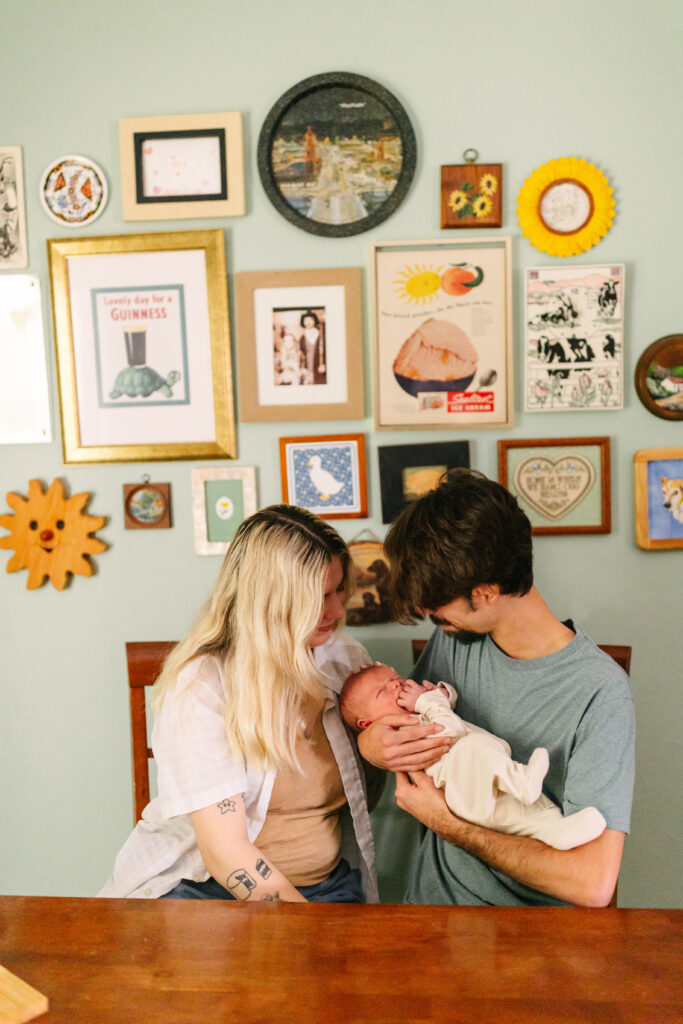
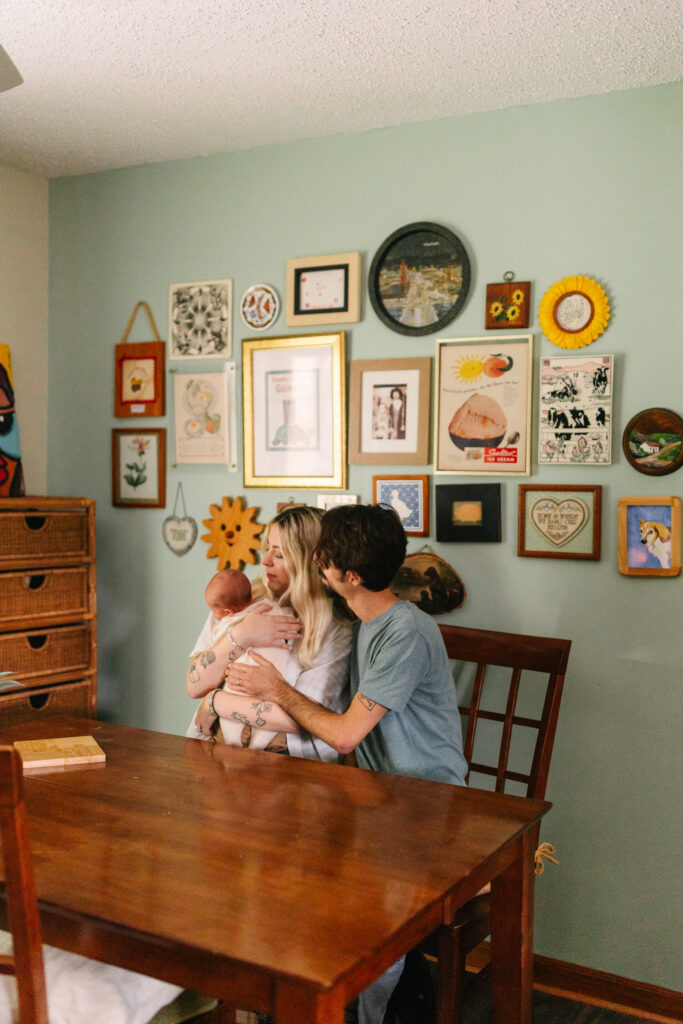
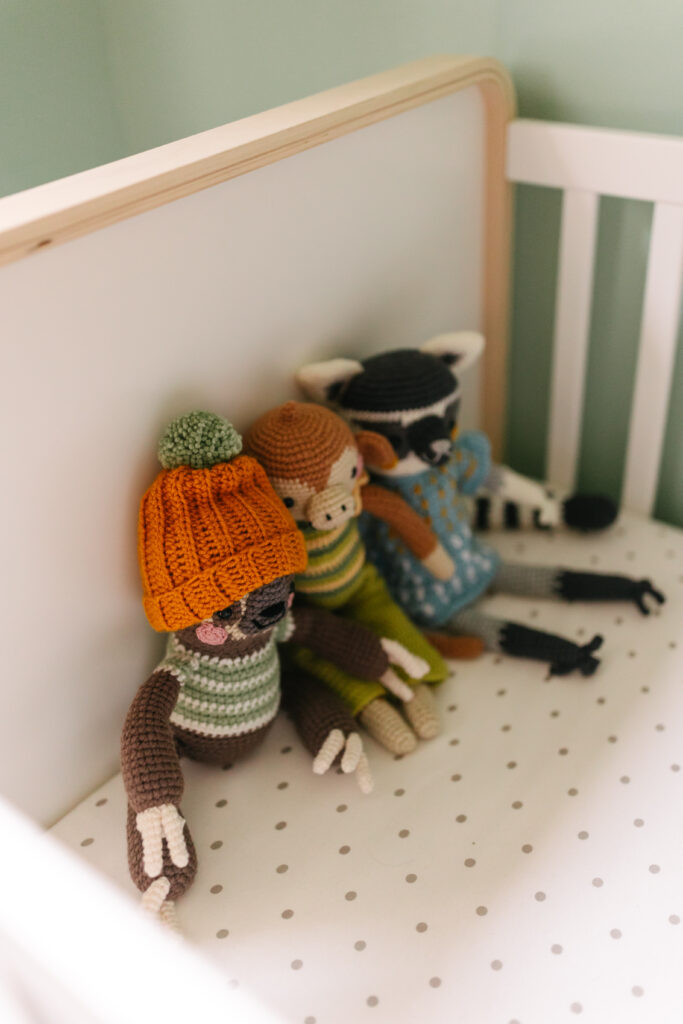
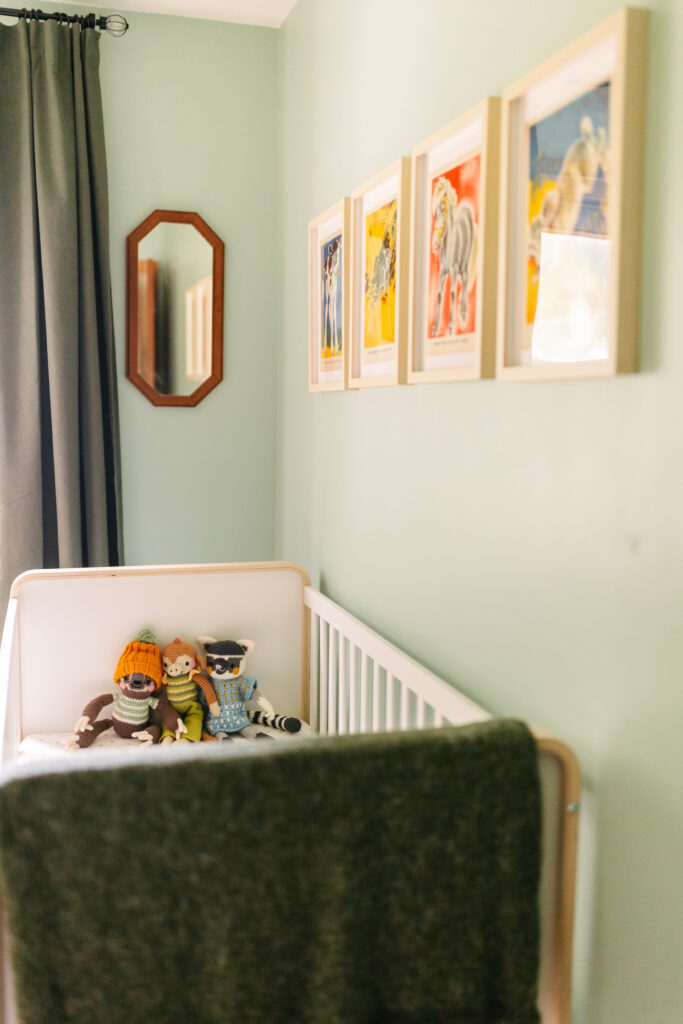
Mackenzie and Ian’s home feels like a reflection of who they are — creative, warm, and a little bit quirky in the best way. From the crochet blankets to the vintage wall art, every corner had something that made me smile. It’s always such a treat when clients choose to have their newborn session at home. There’s something about being in your own space that makes the photographs feel so natural and real.
Meeting Baby Simon
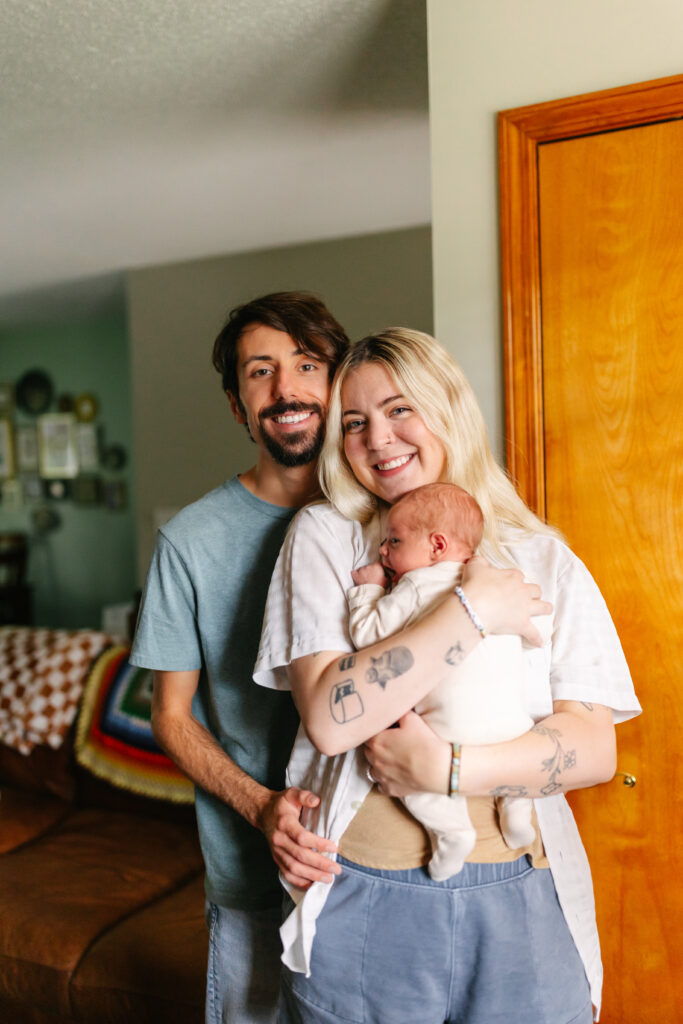
And then there’s Simon — the star of the show! This sweet boy already has the most expressive little face. He was so calm during the session, taking in the world with those curious eyes. Mackenzie and Ian were naturals, relaxed and happy as they cuddled him on the couch and in his adorable nursery.
The details made this session extra special — Simon’s personalized onesie, the tiny knitted booties, and that cozy blanket that tied it all together. These little touches are what make in-home sessions feel so authentic.
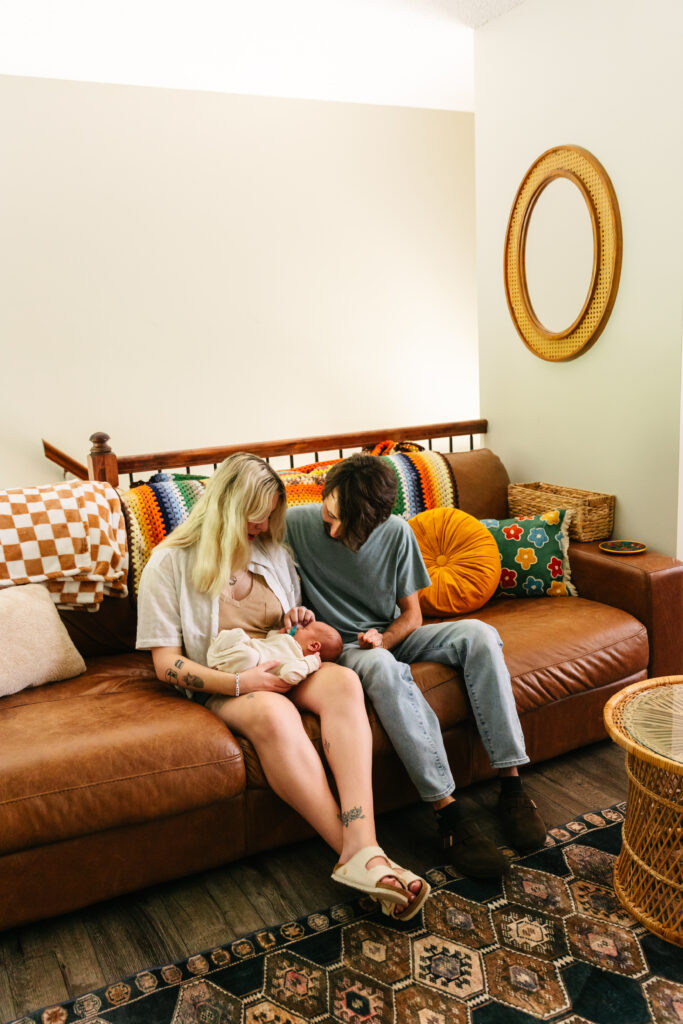
Why I Love In-Home Sessions
There’s just something so honest about capturing families in their own space. You can feel the love in every image — the laughter in the kitchen, the quiet moments in the nursery, the little looks between new parents that say, “Can you believe he’s ours?”
Mackenzie and Ian, thank you for inviting me back to document this next chapter. Watching your family grow has been such an honor, and I couldn’t be happier for you three.
If you’re welcoming a new baby soon and want a session that feels relaxed, personal, and full of love, an in-home newborn session in Kansas City is the perfect choice. Let’s capture the sweet, real moments that make your family’s story uniquely yours.


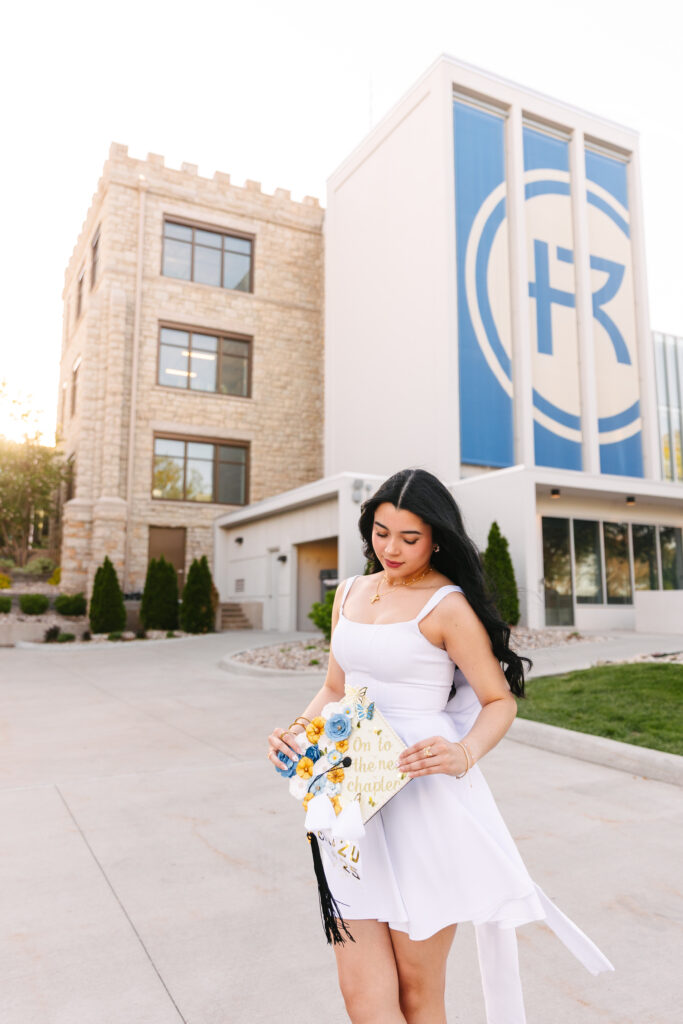
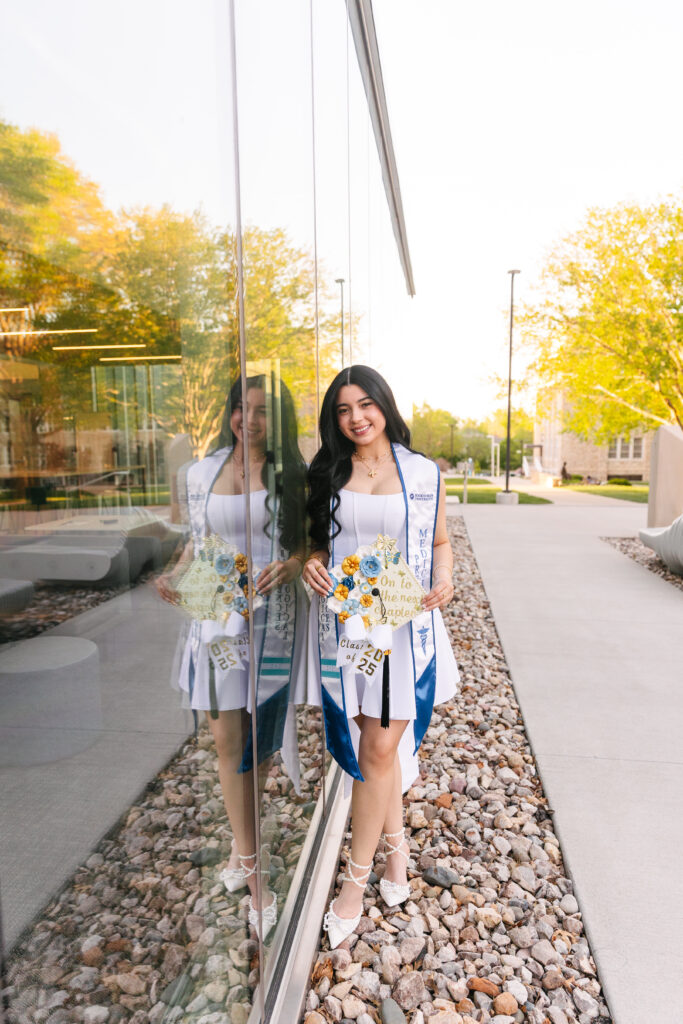
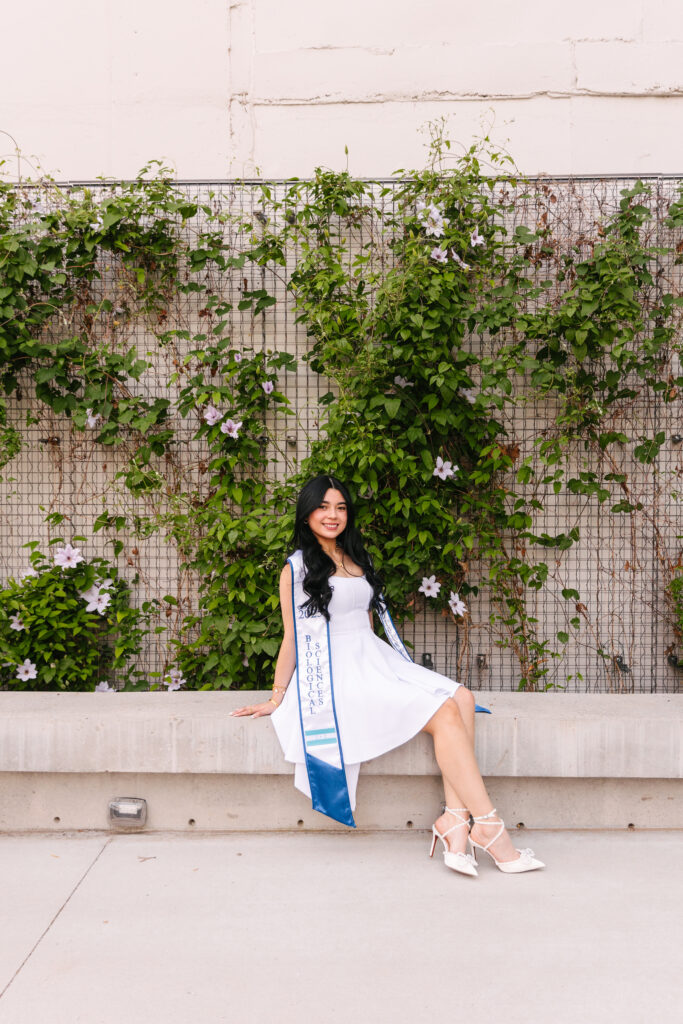
Katherine’s Rockhurst University graduation photos were the perfect way to celebrate such an incredible milestone! She recently earned her degree in Biological Science, and her session was filled with bright sunshine, elegance, and excitement for the next chapter of her life.
A Perfect Day on Campus
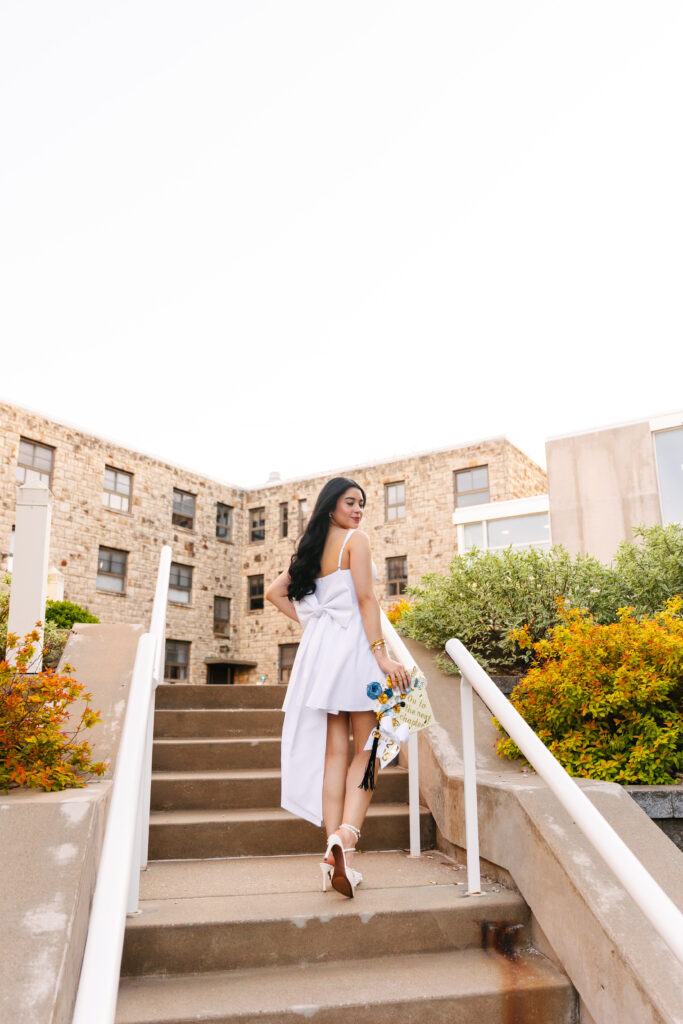
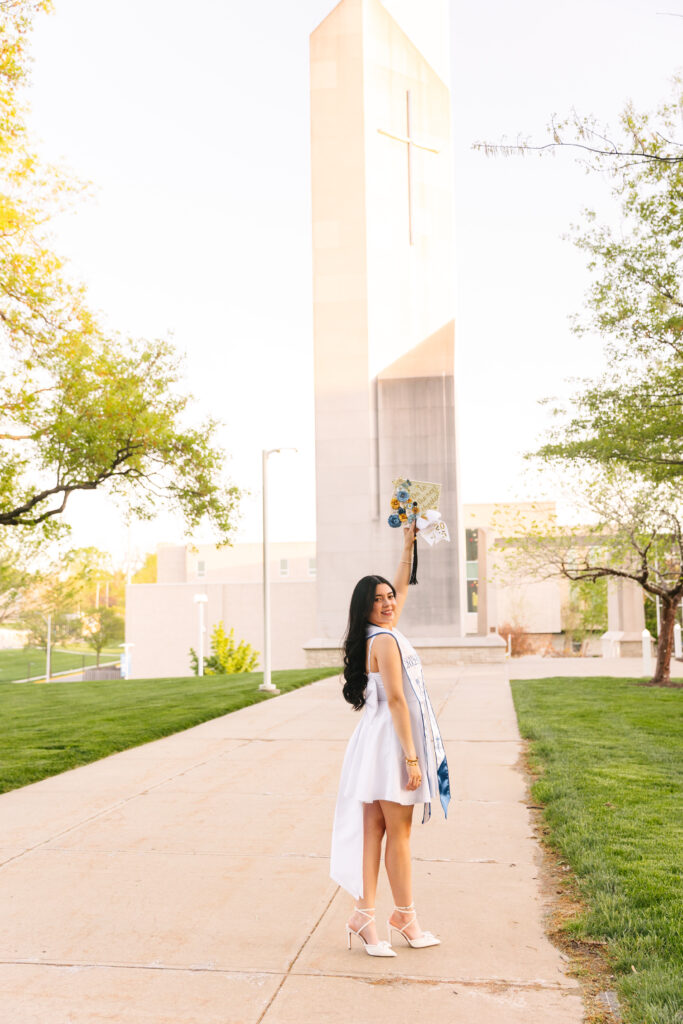
We met at Rockhurst University in Kansas City, and the campus could not have been more beautiful. The golden light streamed through the trees that afternoon. Which highlighted the mix of stone architecture and modern design that makes Rockhurst such a gorgeous session location. Katherine brought her cap, gown, and the biggest smile—it was clear she was ready to celebrate every bit of her hard work.
Her white dress flowed perfectly in the breeze, and the details she chose for her session made it even more special. Her graduation cap, decorated with blue and gold flowers and the words “On to the next chapter,” was a perfect reflection of her bright, optimistic spirit.
Capturing the Moment
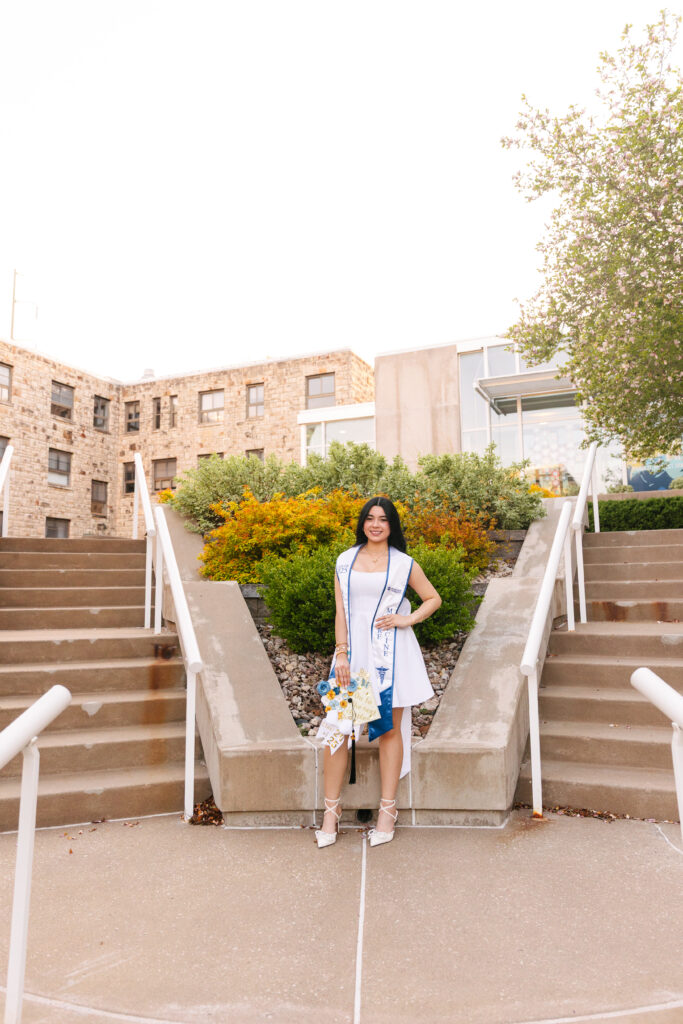
Throughout her session, Katherine was radiant. Every pose felt effortless—her joy and pride shone through in every photograph. We explored some of Rockhurst’s most iconic spots. Including the building with the bold blue “R” that makes the perfect backdrop for graduates!
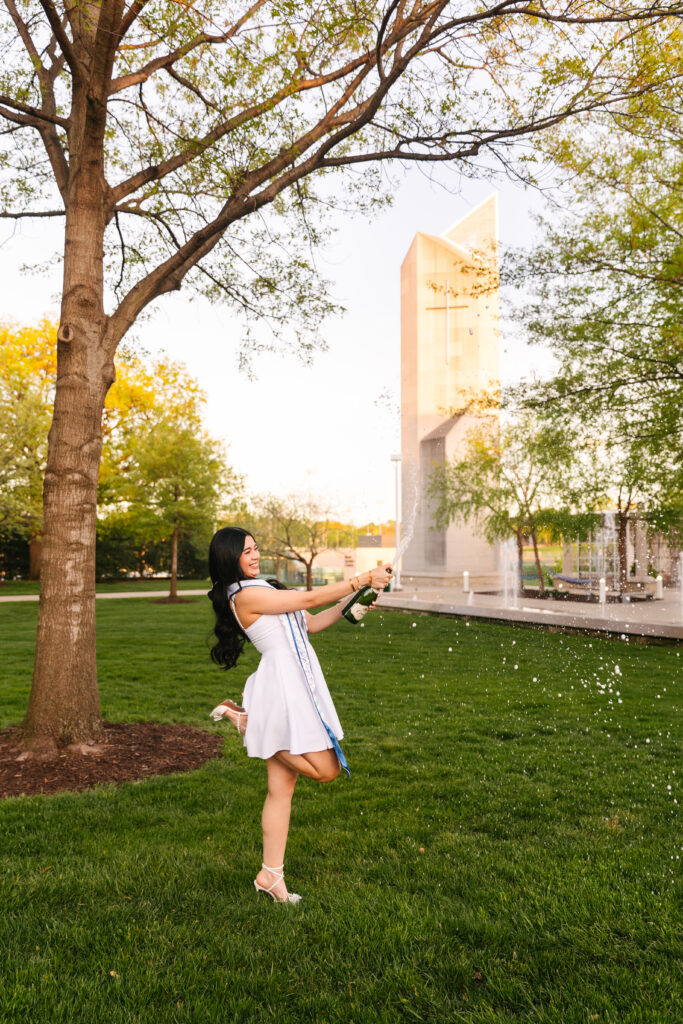
We laughed between shots and talked about her time in the Biological Science program. She reflected on how exciting it is to step into a new season of life. Graduation sessions are always some of my favorites because they’re full of energy, gratitude, and the pure excitement of accomplishment.
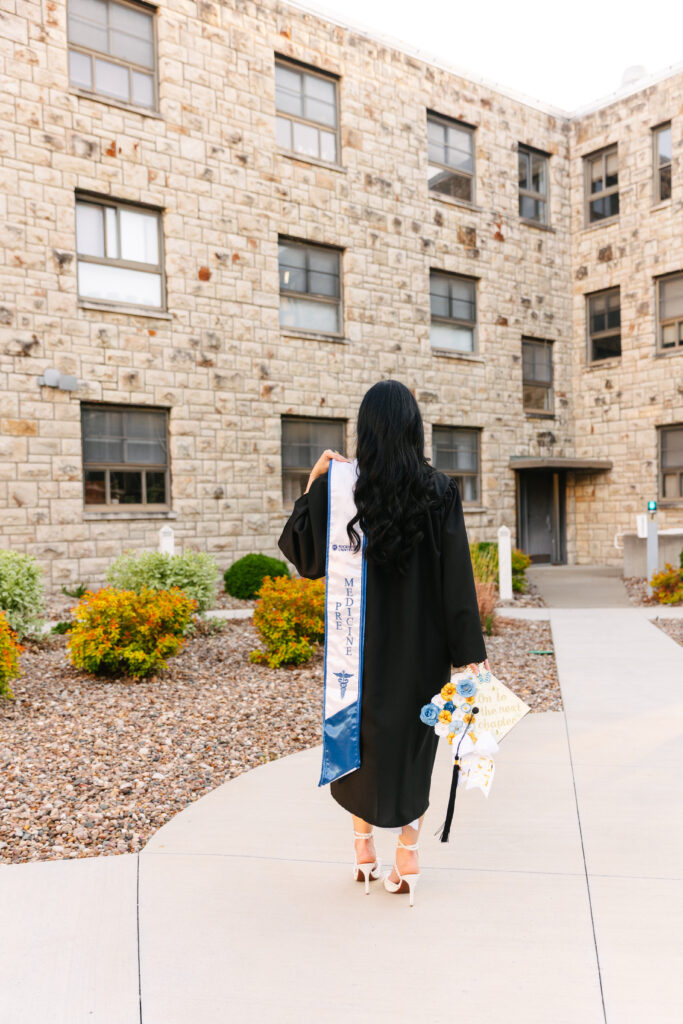
On to the Next Chapter
Katherine’s session was a reminder of how special it is to take time to celebrate your achievements. These photographs capture not just her degree, but all the effort, dedication, and dreams that brought her to this point.
If you’re getting ready to graduate and want to commemorate your hard work with your own Rockhurst University graduation photos, I’d love to help you create something personal, joyful, and unforgettable!


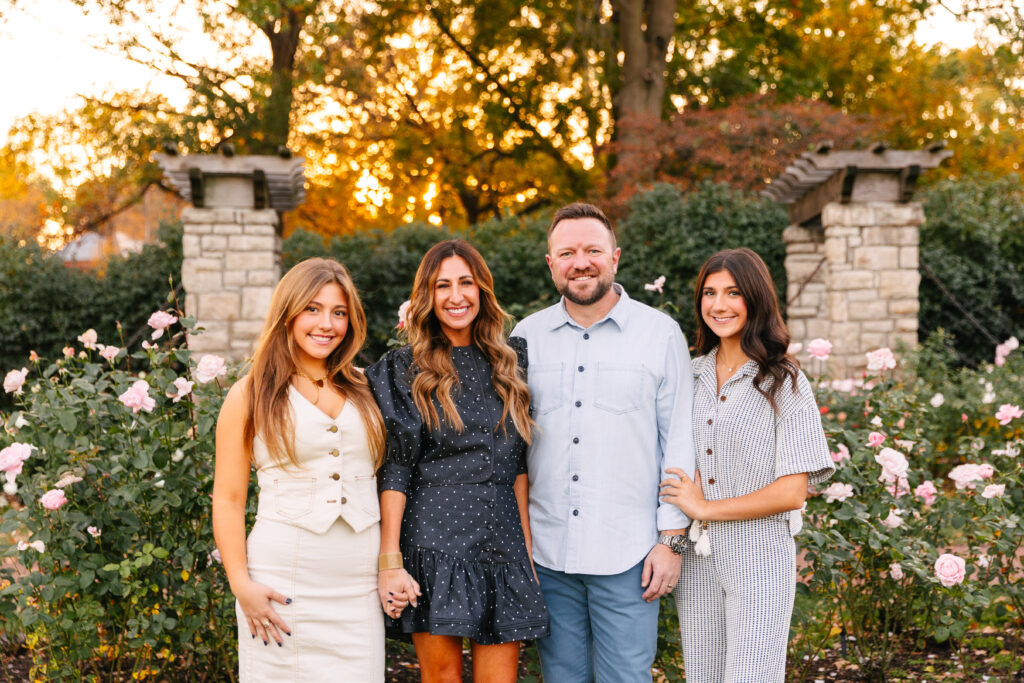
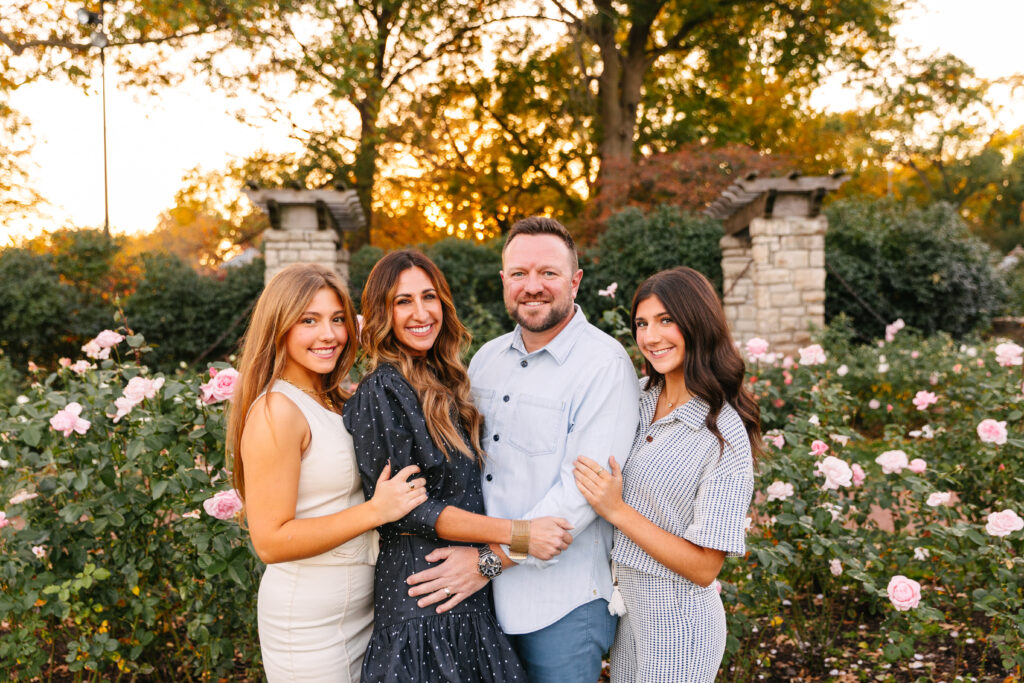
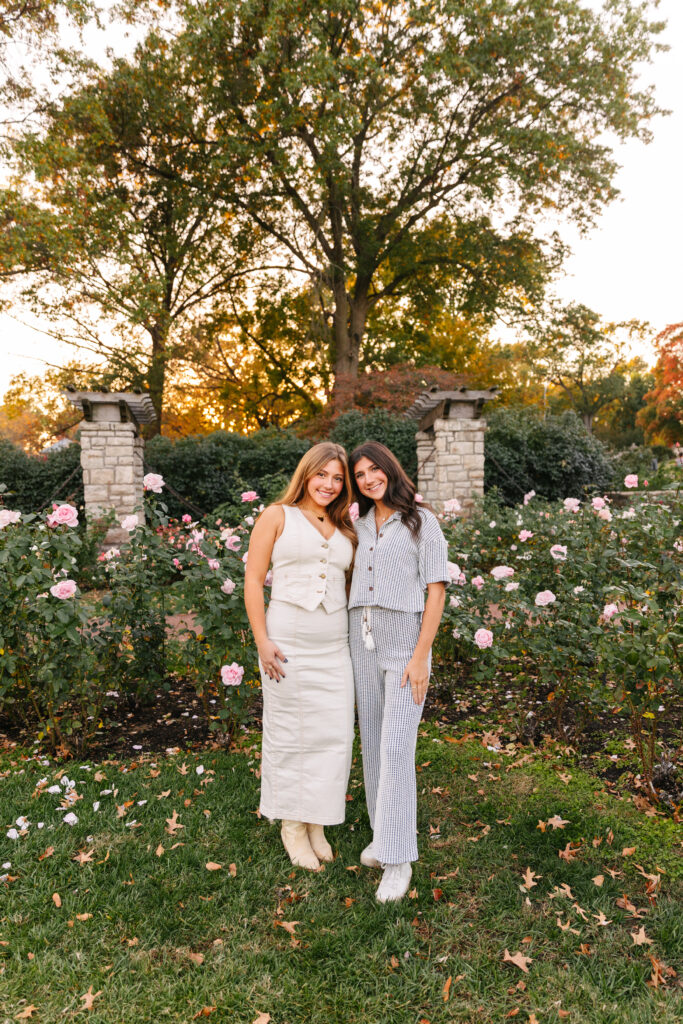
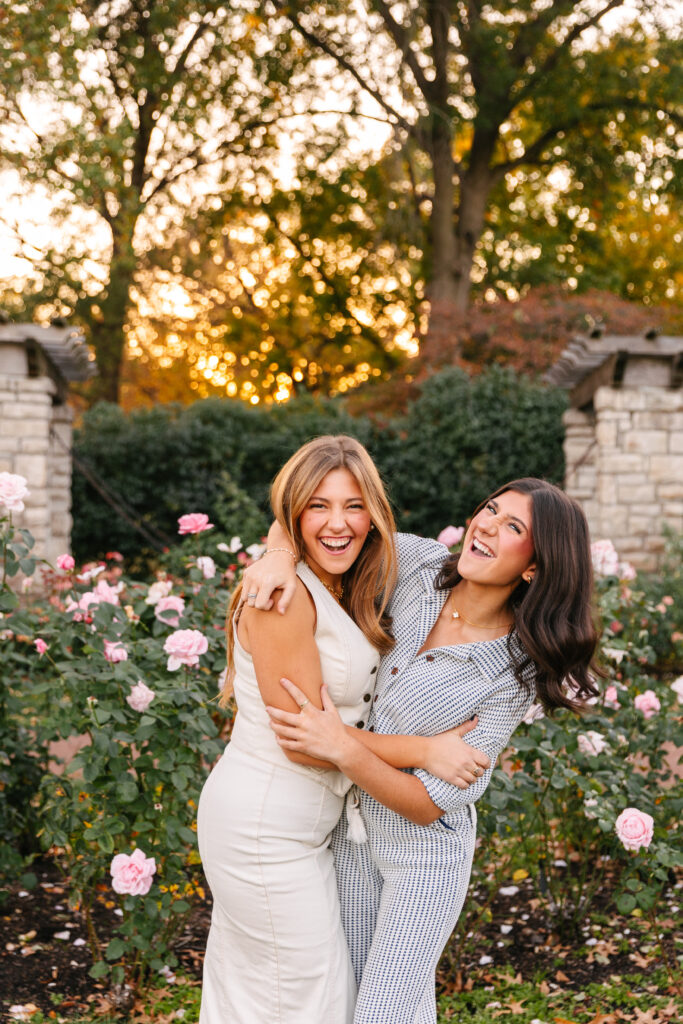
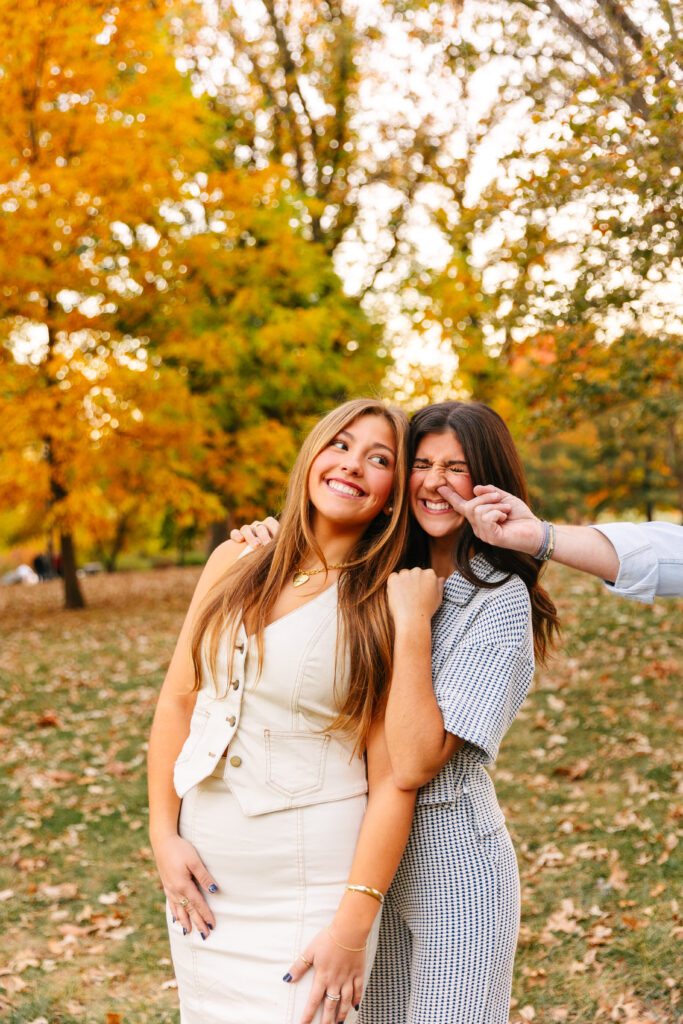
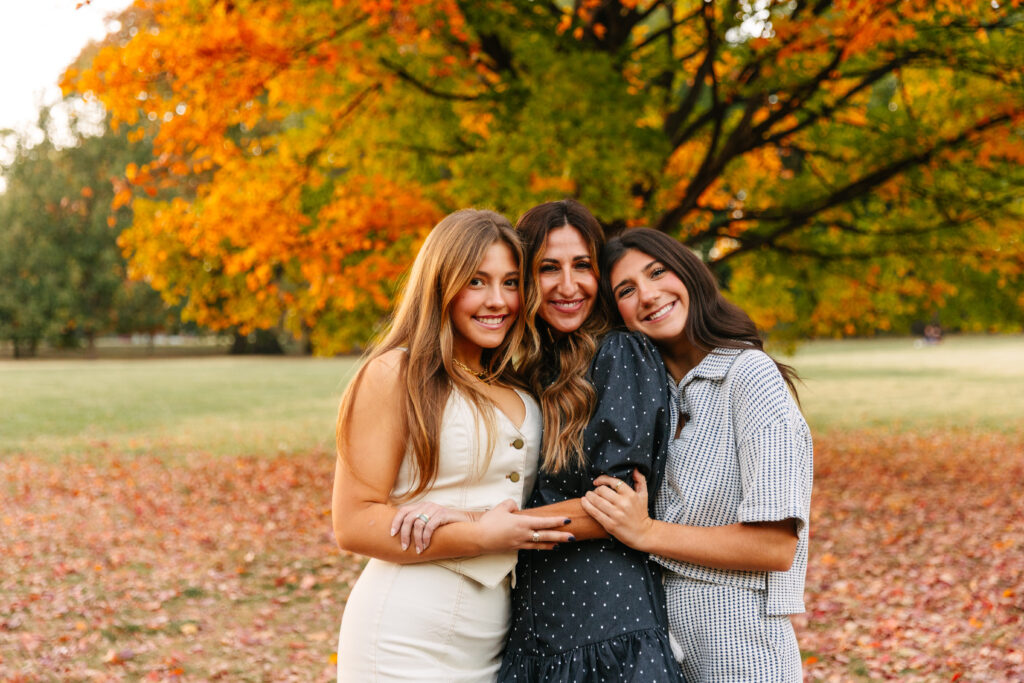
The Searle family fall session at Loose Park was an absolute dream! Kansas City in autumn never disappoints—the golden trees, soft breeze, and evening glow make it the perfect backdrop for family photographs. The Searles’ brought such warmth and joy to their session, making every image feel natural and full of life!
Returning Clients, New Memories
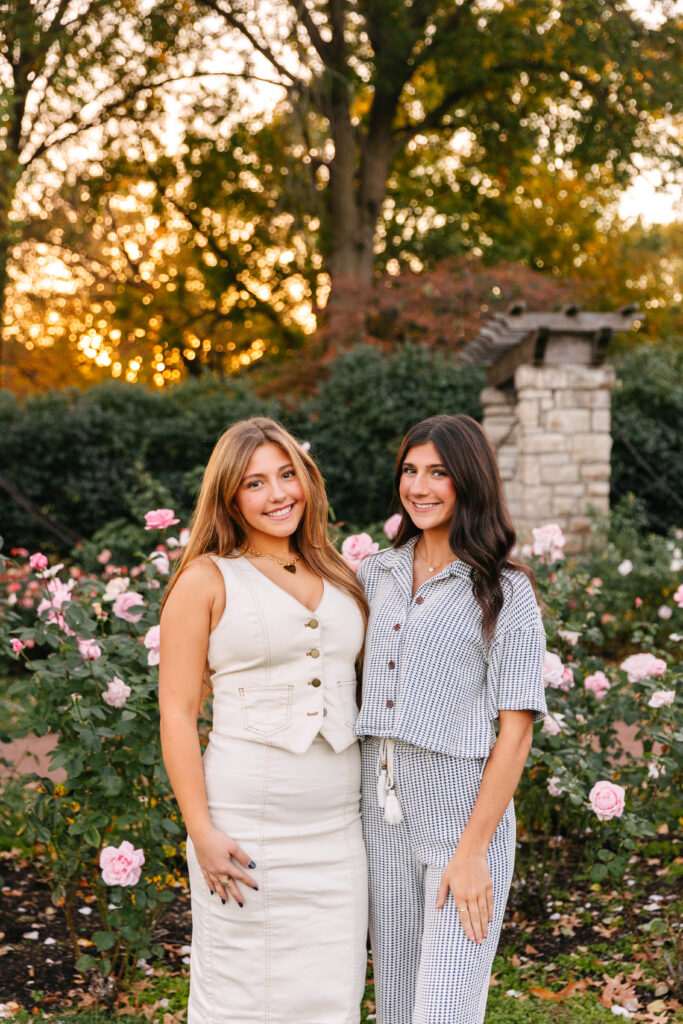
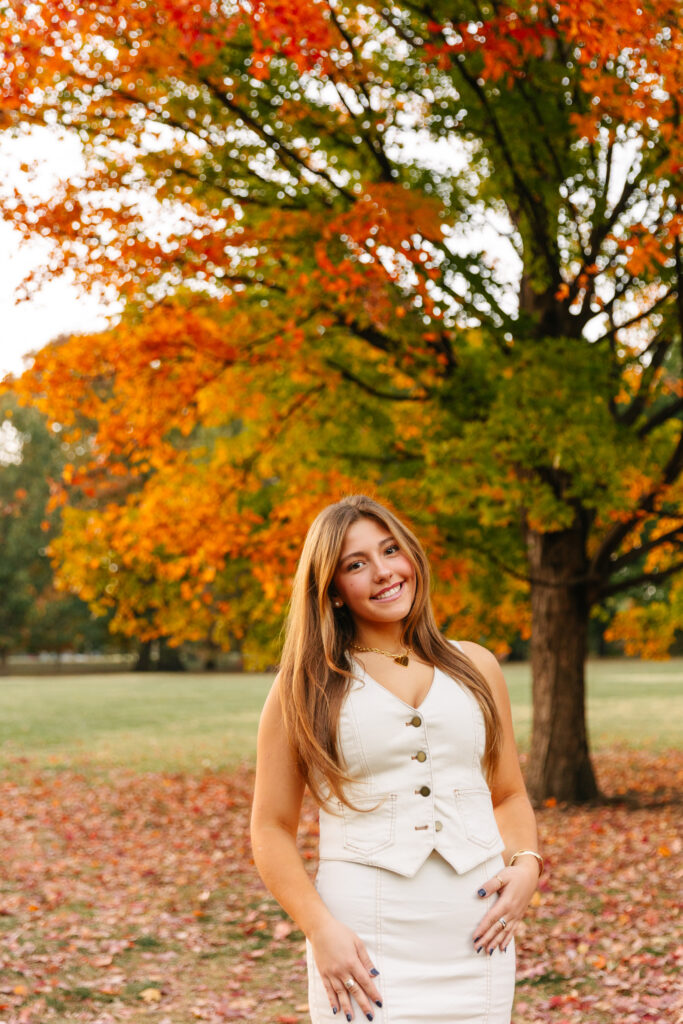
You might recognize Amelia! Earlier this year, I photographed her senior session at Liberty Memorial. Having the whole family return for this fall shoot made my heart so happy. I love when clients come back for new milestones—it’s such a gift to capture their story as it unfolds. Watching families grow and documenting each new season of life is what makes this work so rewarding.
Fall Magic at Loose Park
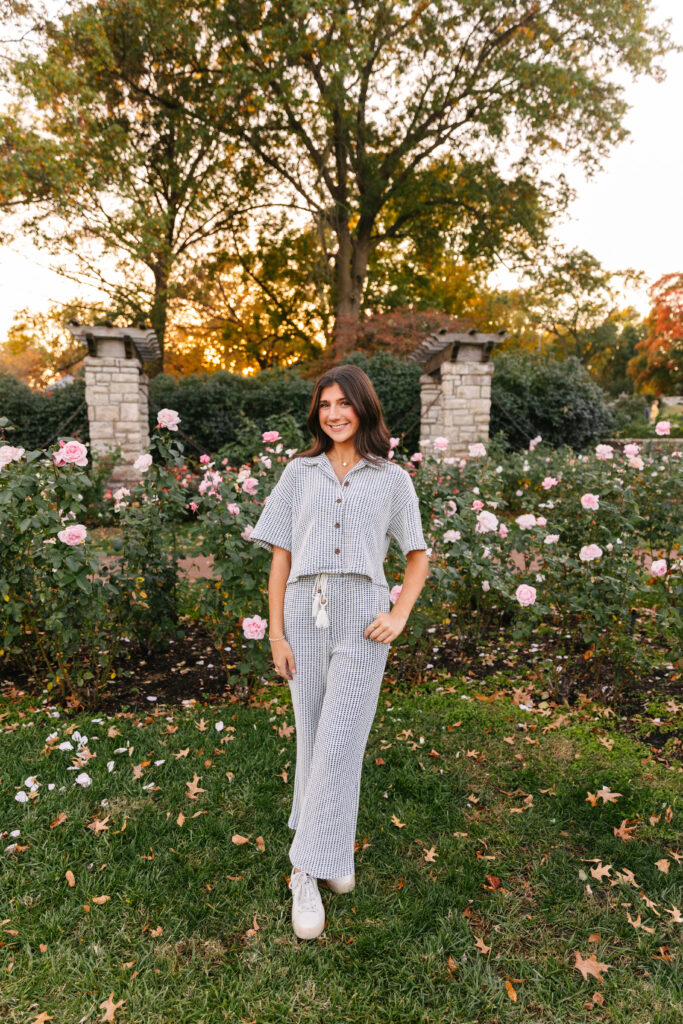
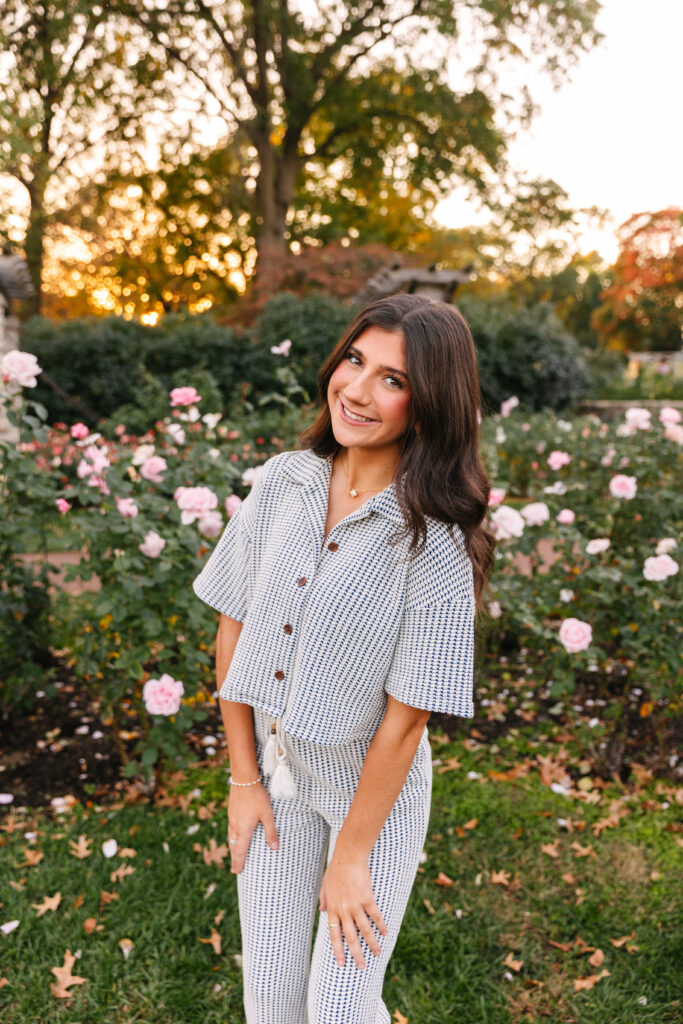
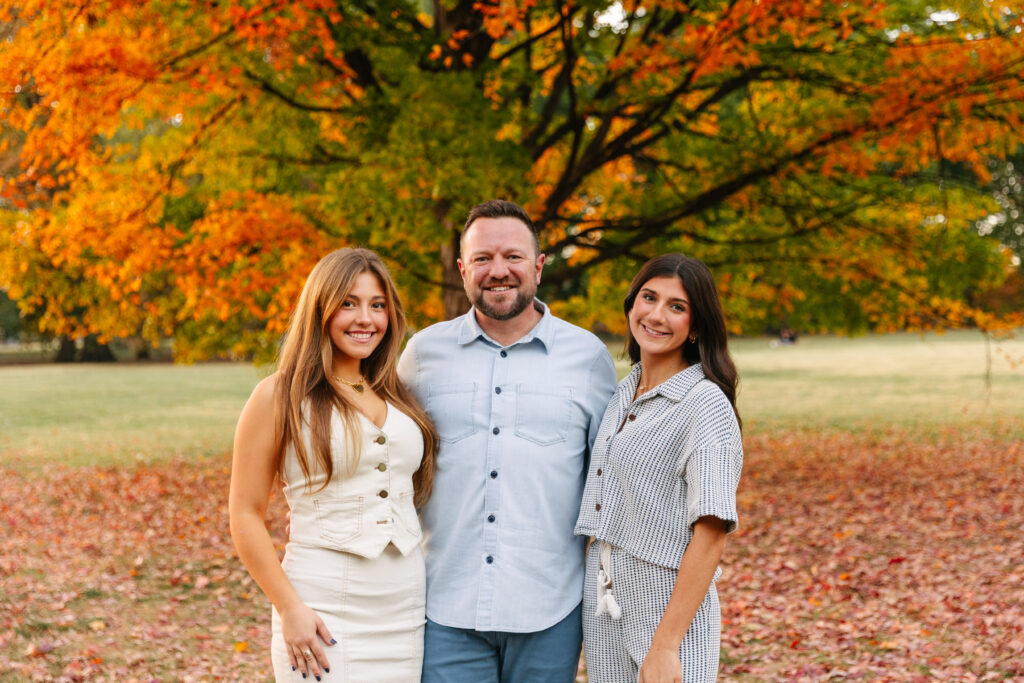
Loose Park gave us everything we could ask for—vibrant leaves, soft sunlight, and cozy fall air. The Searles looked incredible in neutral tones that complemented the season without blending into the scenery. Their outfit choices were timeless, coordinated, and picture-perfect for the park’s warm colors.
We wandered through the rose garden, walked beneath the stone arches, and laughed our way down the tree-lined paths. The golden light during sunset wrapped everything in a soft glow, creating that dreamy fall atmosphere Kansas City photographers love.
Why I Love Sessions Like This
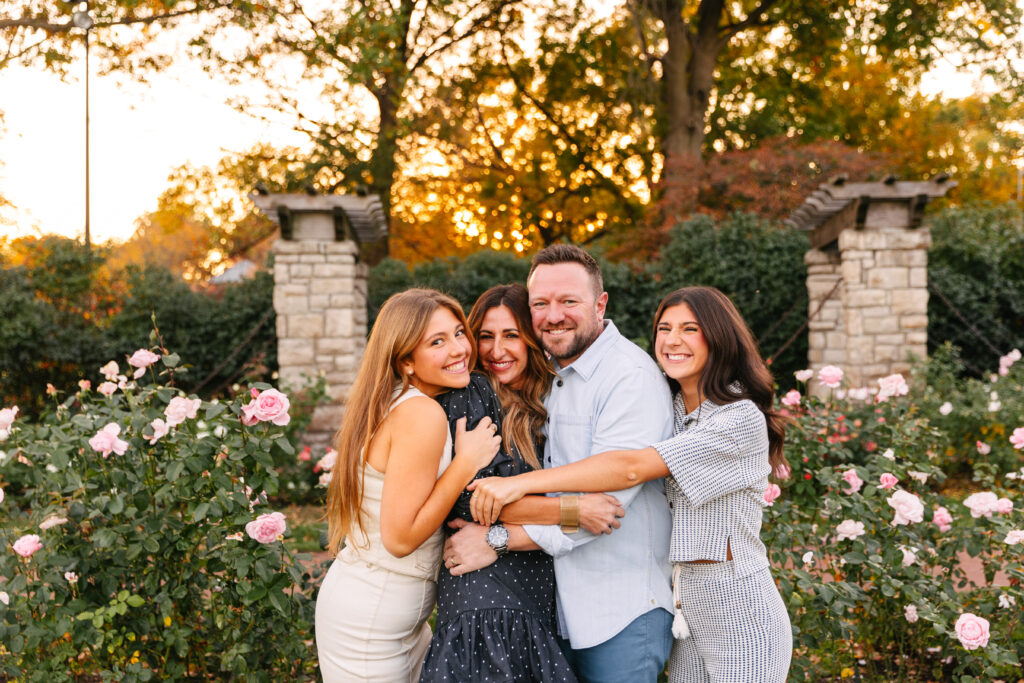
Sessions like this remind me why I love what I do. Real moments—those candid smiles, quick glances, and bursts of laughter—tell a family’s story better than anything posed ever could. The Searles made it so easy to capture their connection.
I’m so grateful they trusted me again to photograph another chapter of their life together. Loose Park remains one of the most beautiful, classic locations for Kansas City family sessions, and this one was truly special.
If you’re dreaming of a session like the Searle family fall session in Kansas City, Loose Park is the perfect spot to make it happen. Let’s plan something beautiful for your family too!